London:
Nationwide:


25,000+
Floors Restored

27 Years Experience

Wood Flooring Association Certified
Wood Floor Sanding & Maintenance Tips for the DIY lovers?
Posted on April 12, 2023
Blog
The Ultimate DIY Guide to Wood Floor Sanding, Varnishing, and Maintenance for a Stunning, Long-Lasting Finish
Wooden floors add timeless charm and warmth to any home. However, they do require regular maintenance to keep them looking their best. For DIY enthusiasts, this guide will provide a comprehensive breakdown of essential wood floor sanding and maintenance tips. From selecting the right equipment and sandpaper to mastering sanding techniques and proper floor care, we’ve got you covered.

1: The Importance of Proper Sanding
1.1 Understanding the sanding process
Sanding is a crucial step in refinishing a wooden floor, as it removes the top layer to reveal fresh wood and evens out any imperfections. Proper sanding ensures a smooth surface for the new finish and contributes to the overall durability and appearance of your floor.
1.2. Common sanding mistakes and their consequences
Inadequate sanding can lead to visible scratches, uneven surfaces, and missed spots, negatively affecting the final result. Moreover, improper sanding can damage the wood, making future refinishing more difficult.
1.3 Tips for efficient sanding
- Use the right equipment.
- Start with coarse-grit sandpaper and progress to finer grits.
- Always sand in the direction of the wood grain.
- Inspect your work regularly and adjust your technique as needed.
2: Choosing the Right Sanding Equipment
2.1 Types of Sanders
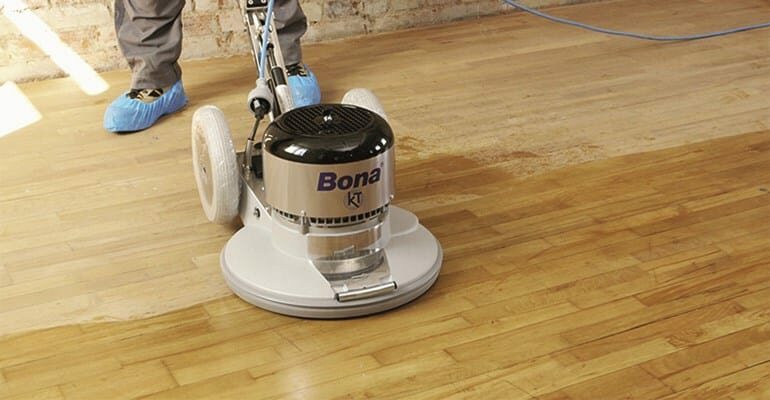
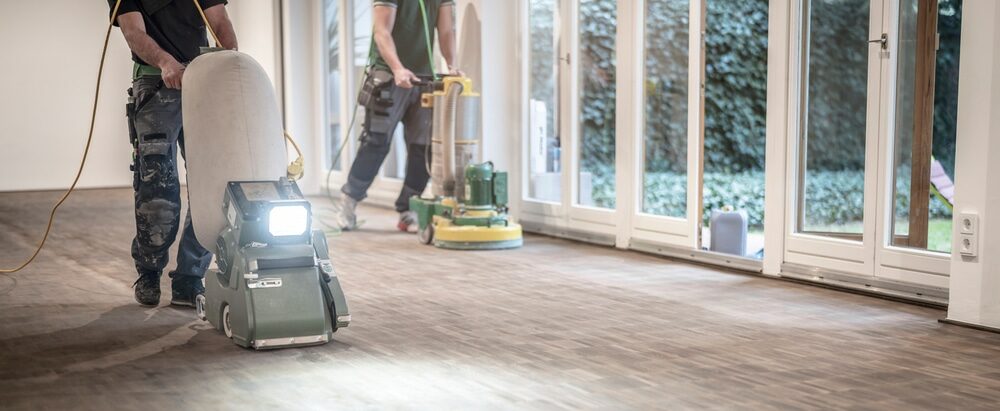
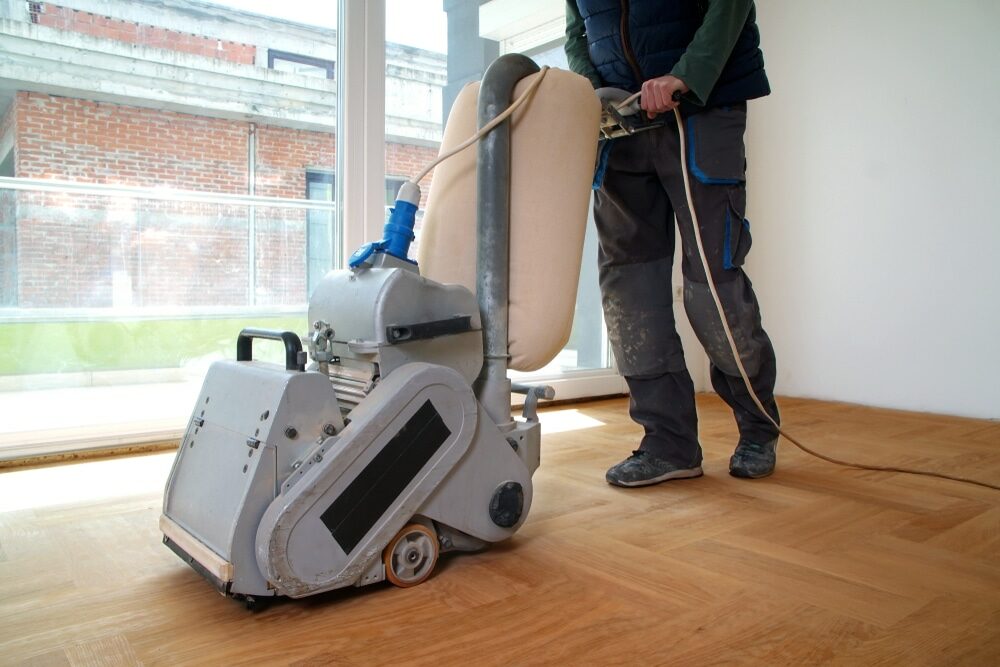
There are various sanders available, including drum sanders, belt sanders, orbital sanders, and random orbital sanders. Each type is suited for specific tasks and offers different advantages.
2.2 Pros and cons of different sanders
Each sander has its benefits and drawbacks, depending on factors like the size of the area, the condition of the floor, and the user’s skill level. Consider these factors when deciding which sander is best for your project.
2.3 How to choose the best sander for your needs
Evaluate your specific needs and consider factors such as the size of the area, the floor condition, your skill level, and your budget when selecting the most suitable sander for your floor refinishing project.
3: Selecting the Right Sandpaper
3.1 grit numbers and their significance
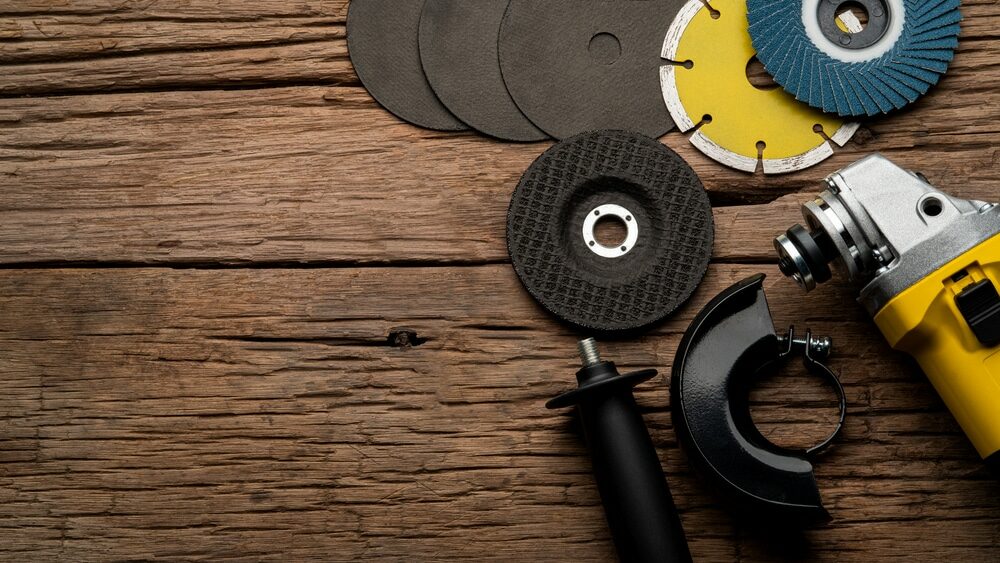
The coarseness of sandpaper is indicated by its grit number, with lower numbers being coarser and higher numbers being finer. Coarser grits are used for more aggressive sanding, while finer grits are used for finishing work.
3.2. Different types of sandpaper
Common sandpaper types include aluminium oxide, garnet, silicon carbide, and ceramic. Each type is suited for specific tasks and materials.
3.3 Tips for Choosing the Right Sandpaper for Your Project
Start with a coarse grit and progress to finer grits as you work. Choose a type of sandpaper that is suitable for your specific floor and sander.
4: Preparing the Floor for Sanding
4.1 Assessing the floor condition
Examine the floor for damage, wear, and existing finishes to determine the necessary sanding approach.
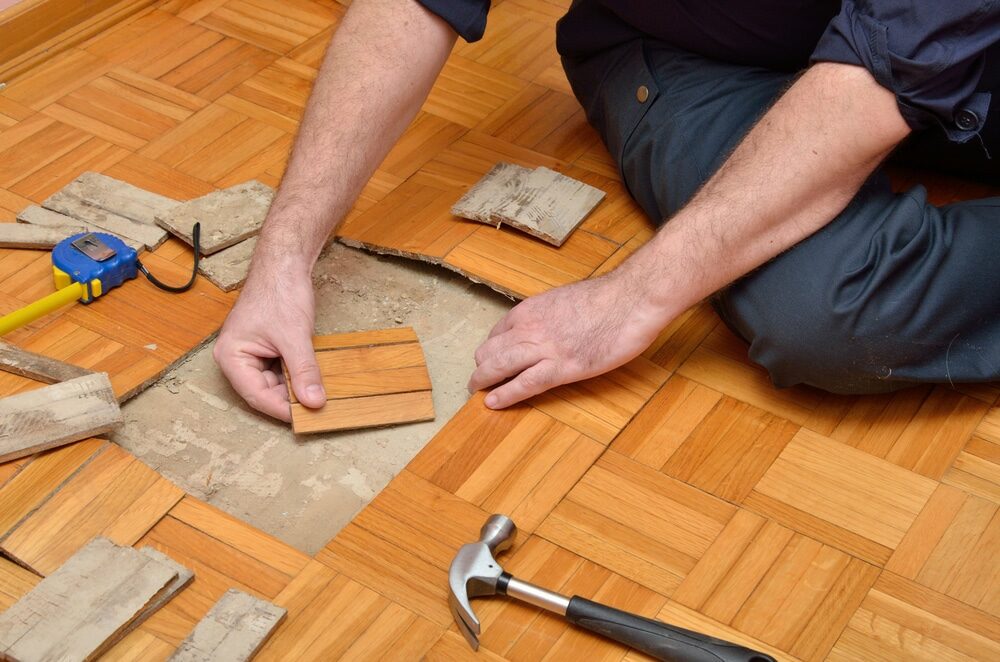
4.2. Necessary repairs before sanding
Address any damage, such as loose boards, deep gouges, or uneven areas, before sanding to ensure a smooth, consistent surface.
4.3 Clearing the room and protecting furniture
Remove all furniture and cover any items that cannot be removed to protect them from dust and debris.
5: The Sanding Process
5.1 Sanding techniques for different types of floors
Various techniques may be required depending on the type of floor, such as solid hardwood, engineered wood, or parquet.
5.2 Dealing with problem areas
Address deep scratches, gouges, stains, and uneven areas during the sanding process to achieve a smooth and consistent surface.
5.3 Tips for a smooth and even finish
- Sand in the direction of the wood grain
- Progress through grits, starting with coarse and moving to finer grits.
- Use high-quality equipment and sandpaper.
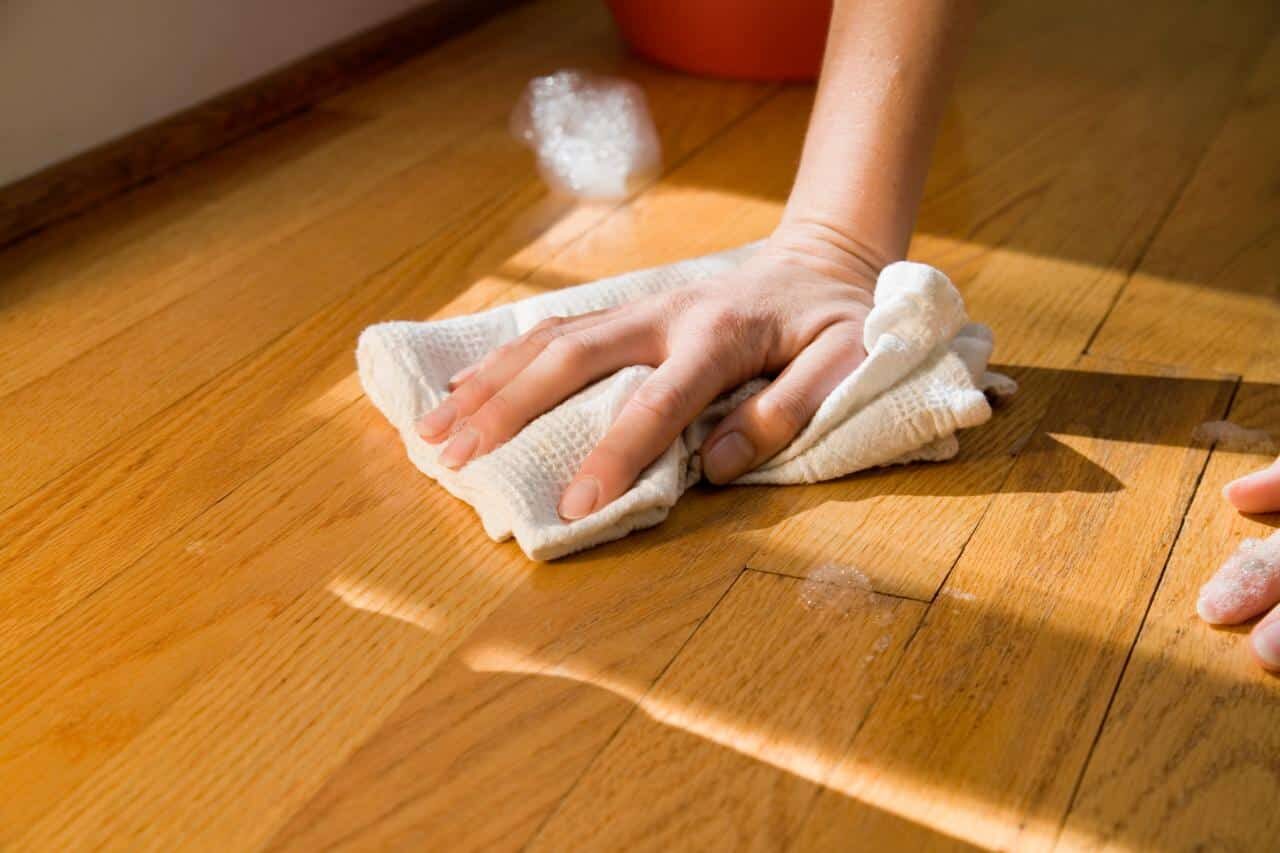
- Clean the floor between sanding passes to remove any debris.
6: Cleaning Up After Sanding
6.1 The importance of proper cleanup
Thorough cleaning ensures a smooth, dust-free surface for varnishing, which is crucial for achieving a flawless finish.
6.2 Tools and techniques for thorough cleaning
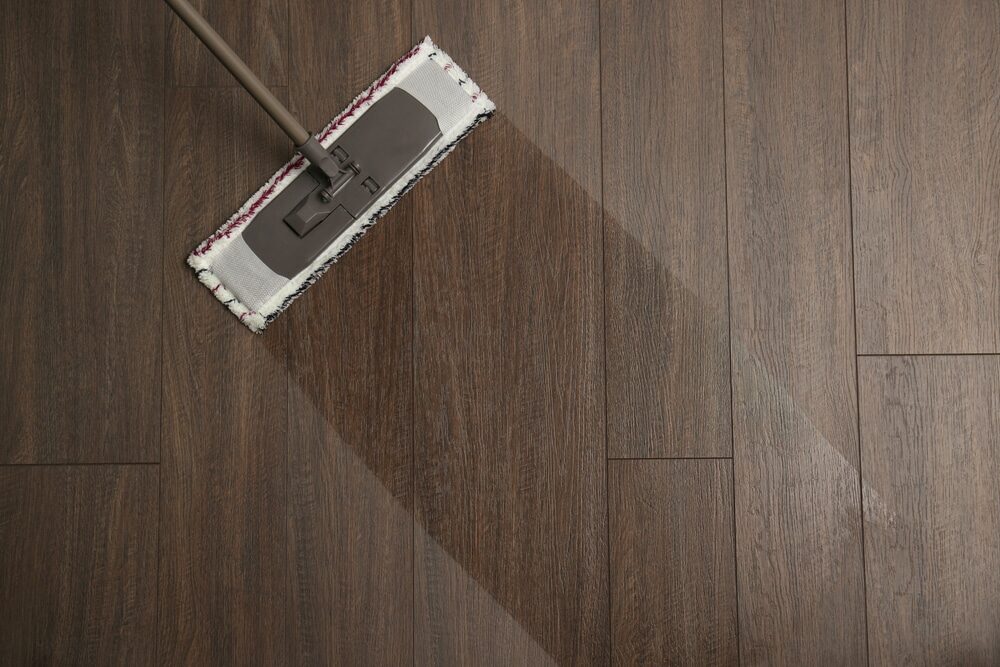
Use vacuum cleaners, tack cloths, and damp mops to remove all dust and debris from the floor after sanding.
6.3 Preparing the floor for varnishing
Ensure the floor is completely clean and dry before applying varnish to avoid any issues with adhesion or finish quality.
7: The Varnishing Process
7.1 Types of Varnishes and Their Uses
Common types of varnishes include oil-based, water-based, and conversion varnishes, each offering different benefits in terms of durability, appearance, and ease of application.
7.2 How to choose the right varnish for your floor
Consider factors such as the type of wood, desired finish, durability, environmental concerns, and ease of application when selecting the most suitable varnish for your floor.
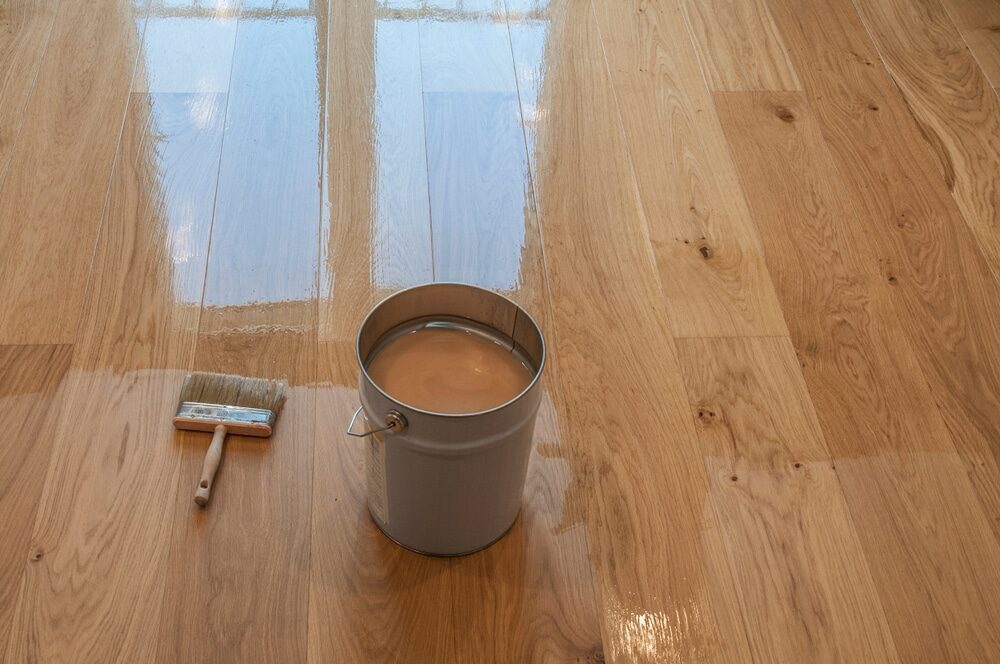
7.3 Tips for a flawless application
- Properly prepare the floor.
- Stir the varnish before application.
- Use high-quality brushes or rollers.
- Apply thin and even coats.
- Allow each coat to dry according to the manufacturer’s instructions.
8: Caring for Your Newly Refinished Floor
8.1 Daily maintenance tips
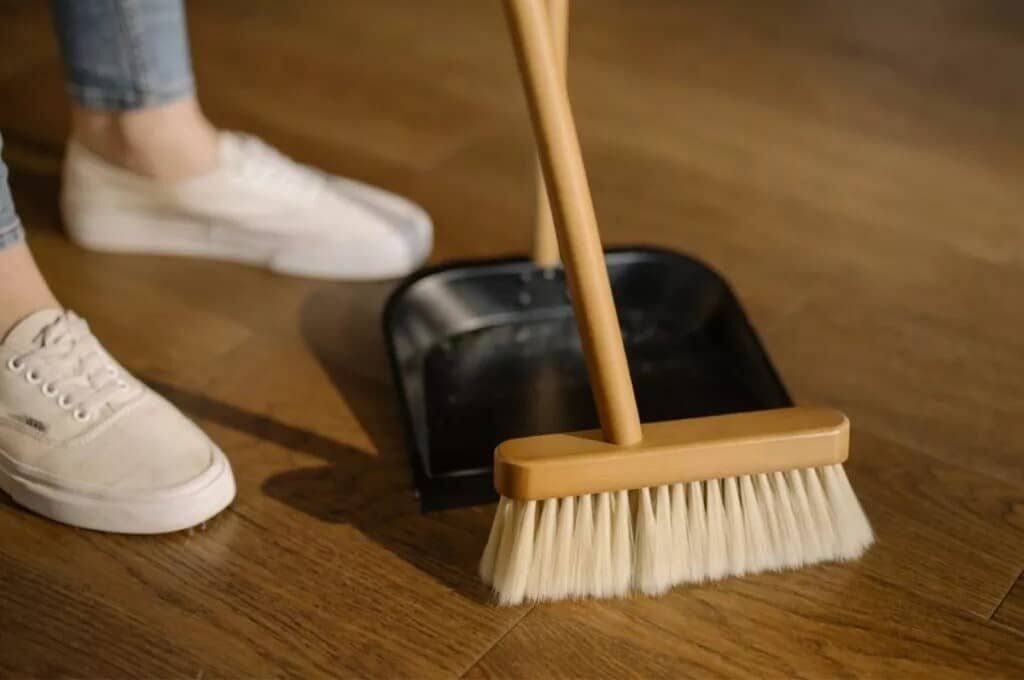
- Sweep or vacuum regularly to remove dirt and debris.
- Clean spills promptly to prevent staining.
- Use a damp mop for cleaning as needed, avoiding excessive moisture.
8.2 Protecting your floor from damage
- Use furniture pads to prevent scratches and dents.
- Place area rugs in high-traffic areas to minimize wear.
- Utilize door mats to capture dirt and debris before it enters your home.
8.3 When to consider refinishing again
Refinish your floor when it shows significant wear, scratches, or fading. The frequency of refinishing will depend on the type of finish used and the level of traffic and care the floor receives.
Some Useful Links:
Conclusion
Refinishing and maintaining a wooden floor can be a rewarding DIY project that preserves the beauty and longevity of your flooring. By following these tips on sanding, varnishing, and maintenance, you’ll be well on your way to enjoying a stunning wooden floor that stands the test of time.
More from our Blog:
Getting Rid of the Possible Floor Sanding and Varnishing Troubles
Why it is A Good Idea To Get Floor Sanding Company member of the NWFA
The Ultimate Guide to Floor Sanding and Polishing