London:
Nationwide:
25,000+
Floors Restored
27 Years Experience
Wood Flooring Association Certified
Wooden Stairs and Banisters Sanding: Mr Sander®, London
Posted on May 18, 2023
Floor Sanding and Finishing News
The Comprehensive Guide to Sanding Wooden Stairs and Bannisters
Sanding wooden stairs and bannisters is a task that requires careful planning and execution. While it may seem challenging, it is definitely achievable with the right knowledge and tools. Here’s your ultimate guide to ensuring that your staircase restoration project runs smoothly.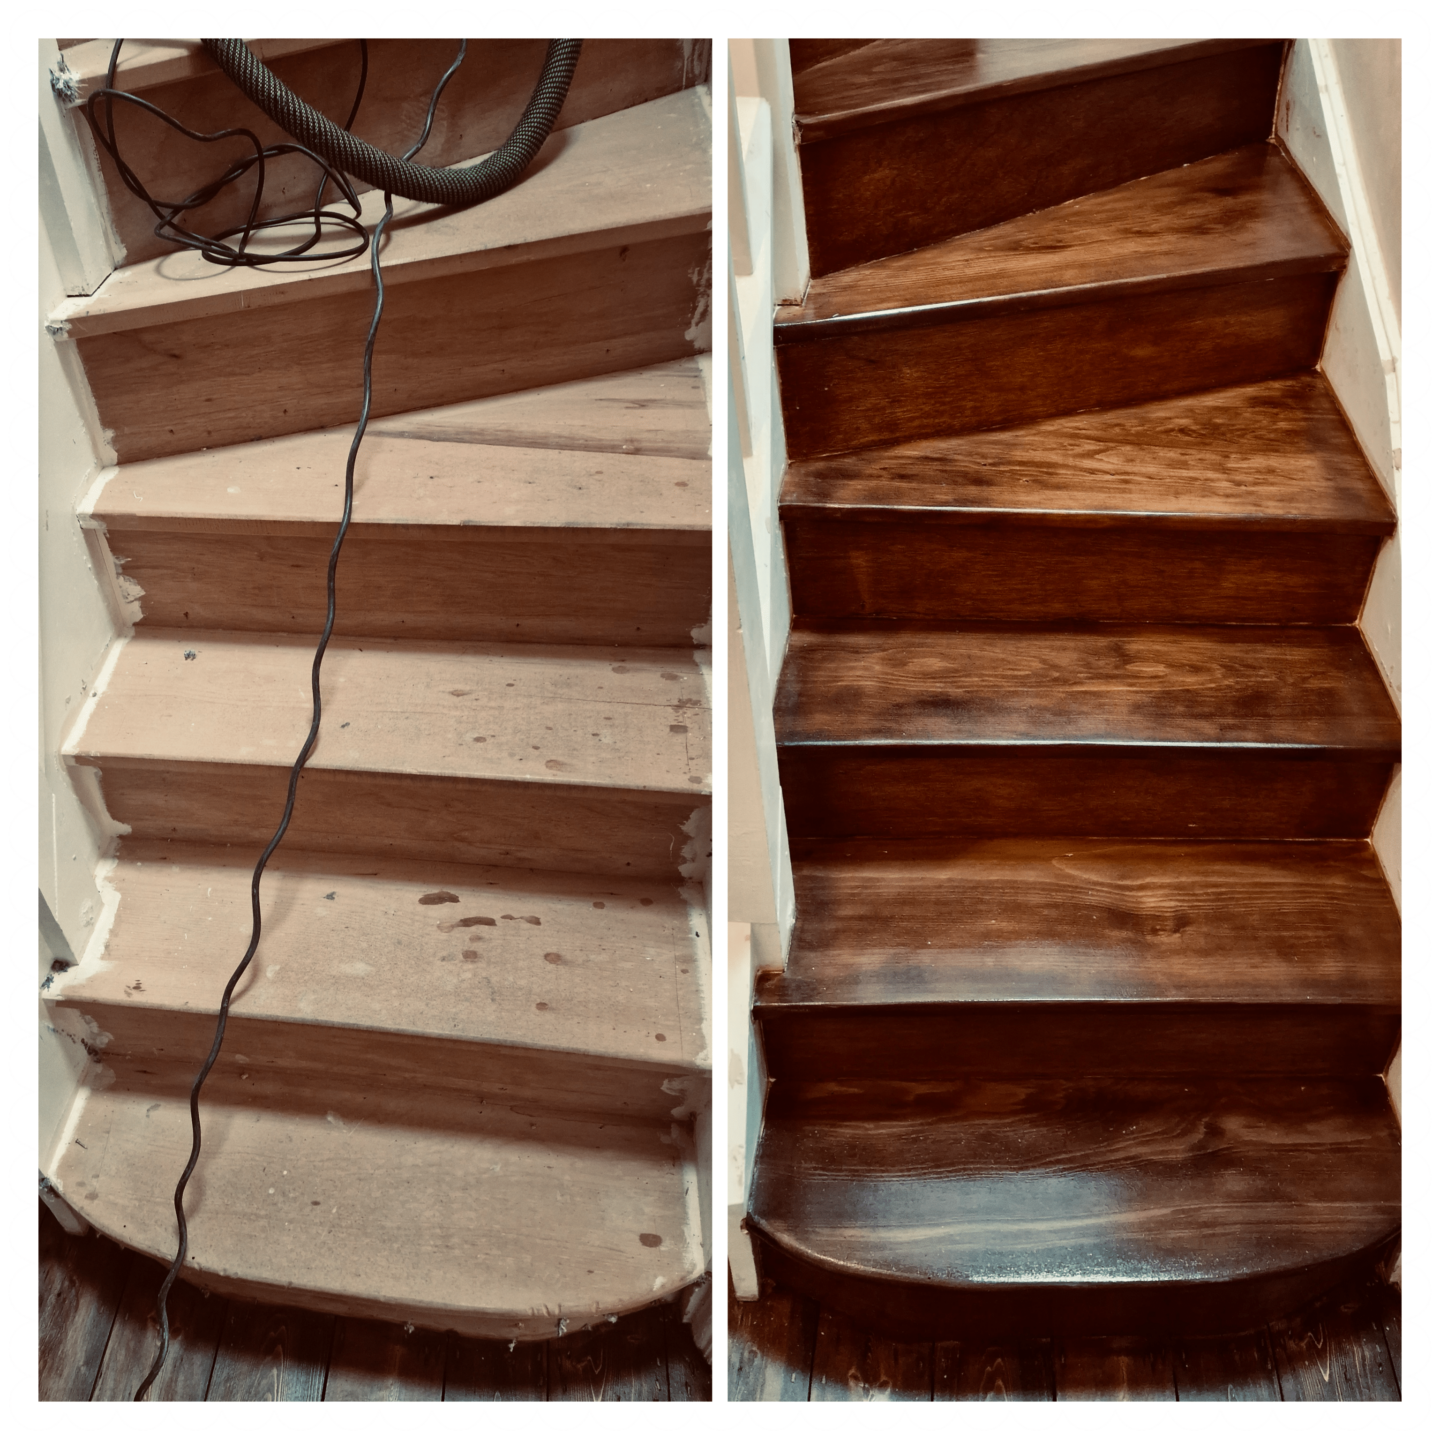
Why Sand Your Stairs and Bannisters?
Before we dive into the process, let’s first understand the importance of sanding. Wood is an organic material that changes over time due to foot traffic, environmental factors, and the natural ageing process. Sanding helps to remove old paint or varnish, scratches, and dents, resulting in a smooth surface that’s ready for staining or painting. Sanding stairs and bannisters can restore them to their former glory, enhance the look and feel of your home, and even increase its value. It’s an excellent way to refresh the overall aesthetic without the need for a complete renovation.Tools and materials required
To sand your wooden stairs and bannisters effectively, you will need:- Electric sander: This makes the process quicker and easier. It’s ideal for large flat surfaces like the treads and risers. An orbital sander is usually a good choice.
- Sandpaper: You’ll need a variety of grit sizes. Start with coarse (around 60 grit), then medium (80–120 grit), and finally fine (150–220 grit).
- Hand Sander or Sanding Block: This is for the areas where an electric sander can’t reach, like corners and edges.
- Safety Equipment: Dust mask, safety goggles, and ear protection Sanding can get noisy and dusty, so it’s important to protect yourself.
- Cleaning Supplies: A vacuum cleaner and a tack cloth to clean up the dust after sanding.
- Paint or wood stain: depending on your preferred finish
Preparing for sanding
Before you start, remove any carpeting or coverings from the stairs. You should also remove any nails or staples sticking out from the stairs using pliers. Use a wood filler to fill in any deep dents or holes, and let it dry completely before sanding. Consider isolating the area to prevent dust from spreading to other parts of the house. You can do this by hanging plastic sheets at the top and bottom of the stairs.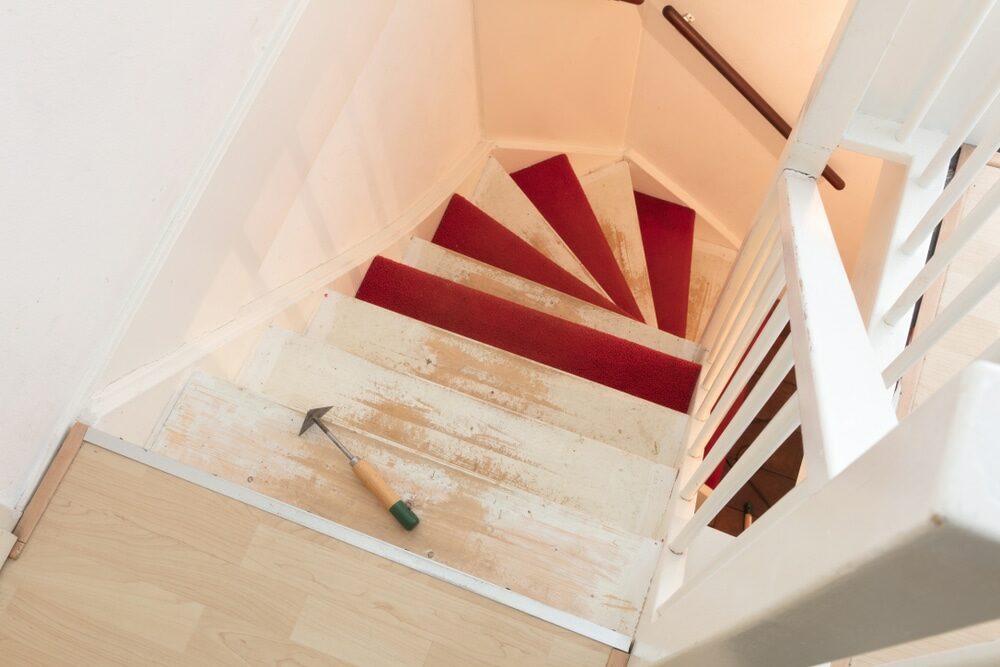
The sanding process
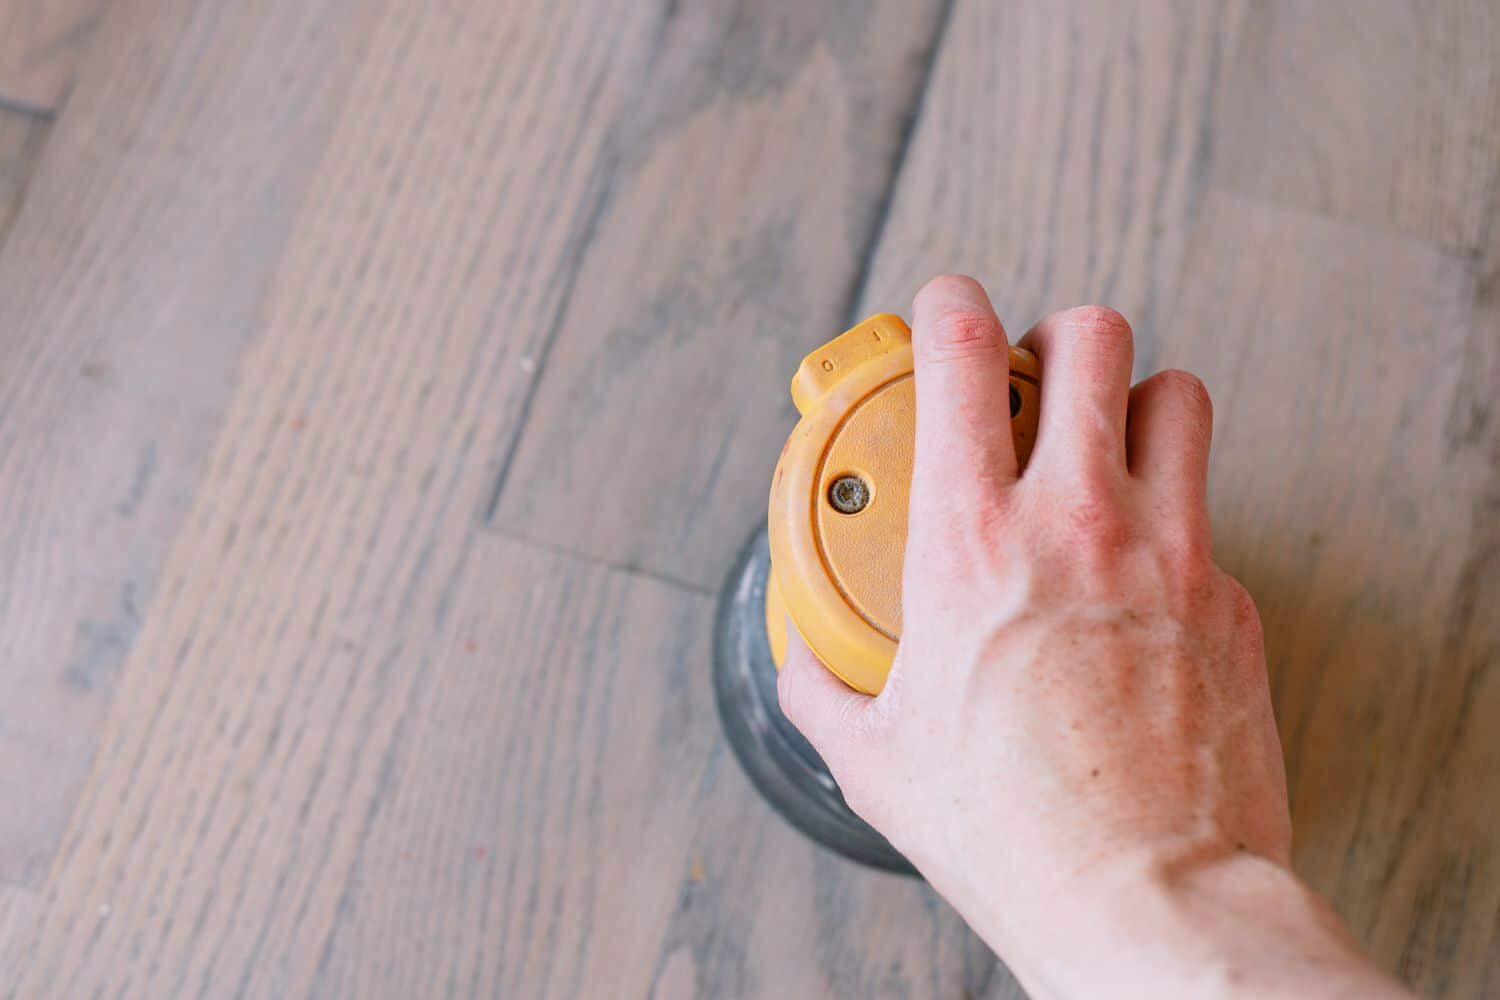
Step 1: Sand the Flat Areas
Start with the flat areas, such as the treads and risers. Use your electric sander with coarse sandpaper (60 grit) to remove the majority of the old finish. Always sand in the direction of the wood grain to prevent scratches. Don’t press down too hard; let the sander do the work. Remember to sand the edges and corners with a hand sander or sanding block.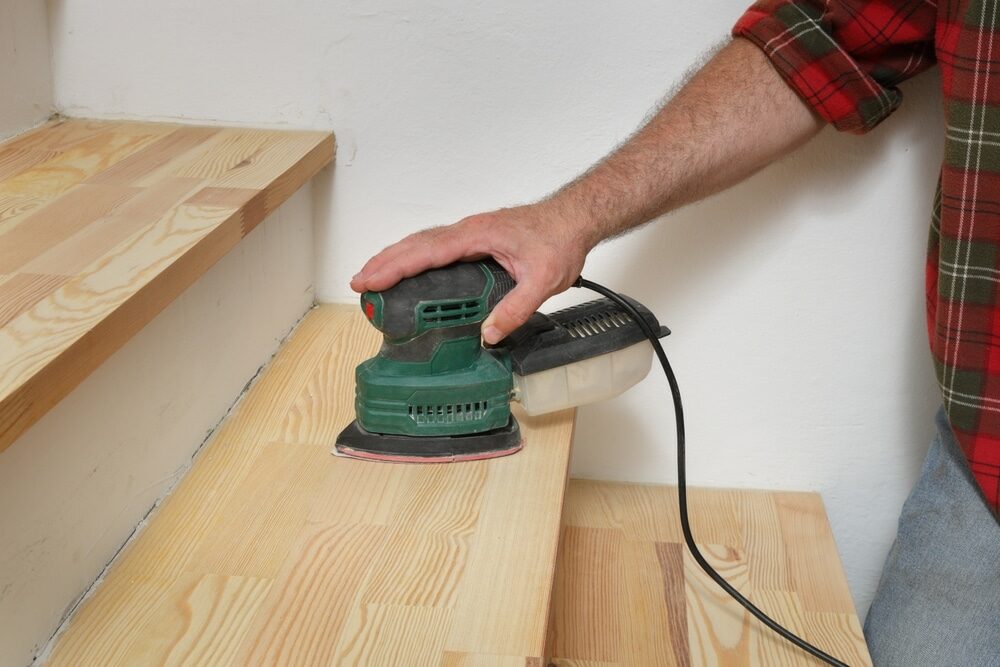
Step 2: Sand the Banisters
Banisters can be tricky because of their rounded shape and intricate details. For these areas, a manual approach might be necessary. Wrap sandpaper around the banister and move it back and forth, like you’re shining a shoe. Be sure to get into all the crevices and details.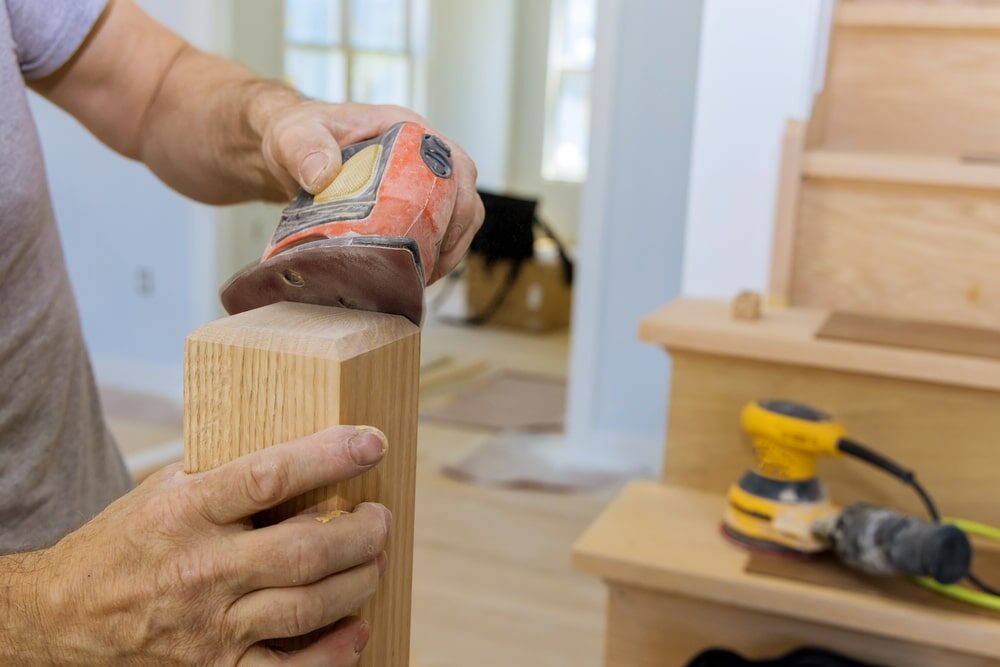
Step 3: Repeat With Medium and Fine Sandpaper
After you’ve removed the old finish, repeat the process with medium (80-120 grit) and then fine (150-220 grit) sandpaper. This will smooth out any scratches left by the coarser sandpaper and prepare the surface for finishing.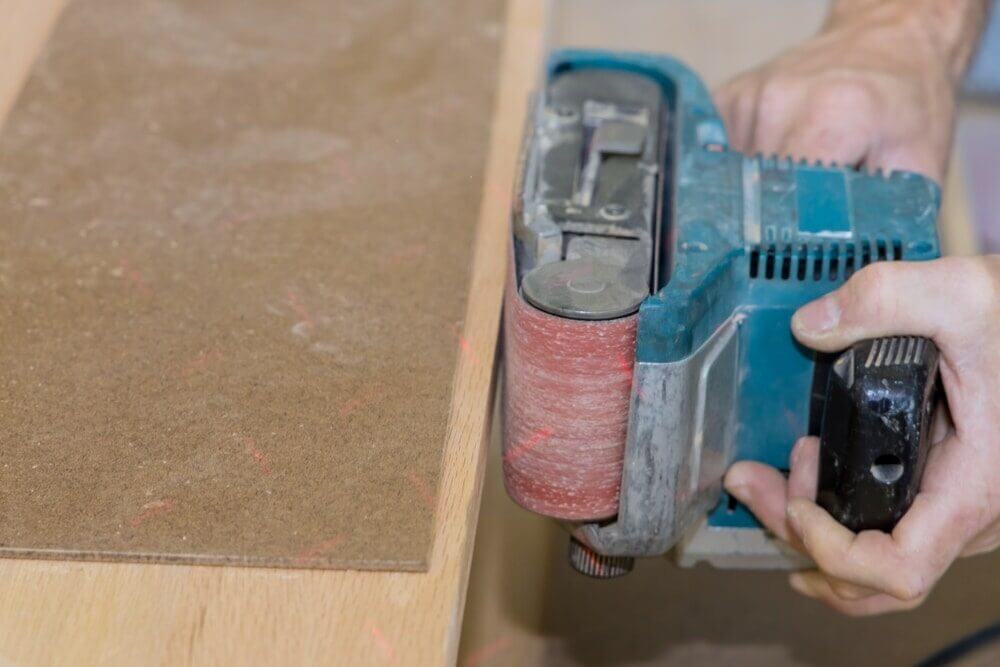
Step 4: Clean Up
After sanding, there will be a lot of dust, which can interfere with the finish. Use a vacuum cleaner to clean the stairs, then wipe them down with a tack cloth to remove any remaining dust.Applying the Finish
After sanding, it’s time to apply the finish. Whether you choose to paint or stain your stairs and bannisters is entirely up to you and depends on the look you’re trying to achieve.Step 1: Choosing Your Finish
If you love the natural look of wood, consider using a stain. It enhances the wood grain and comes in a variety of shades, allowing you to choose one that complements your home’s decor. On the other hand, if you want to add some colour or hide any imperfections in the wood, paint might be the way to go. It provides a more uniform finish and can be a great way to add a personal touch to your staircase. Remember that no matter which you choose, you’ll want to seal the wood afterward with a clear protective finish. This protects the wood from damage and makes it easier to clean.
Step 2: Applying the stain or paint
When applying stain or paint, start from the top and work your way down. This allows you to correct any drips as you go. Apply the stain or paint with a brush, moving in the direction of the wood grain. For stairs, apply the finish to the risers first, then the treads. For bannisters, start with the balusters, then the handrail, and finally the newel posts.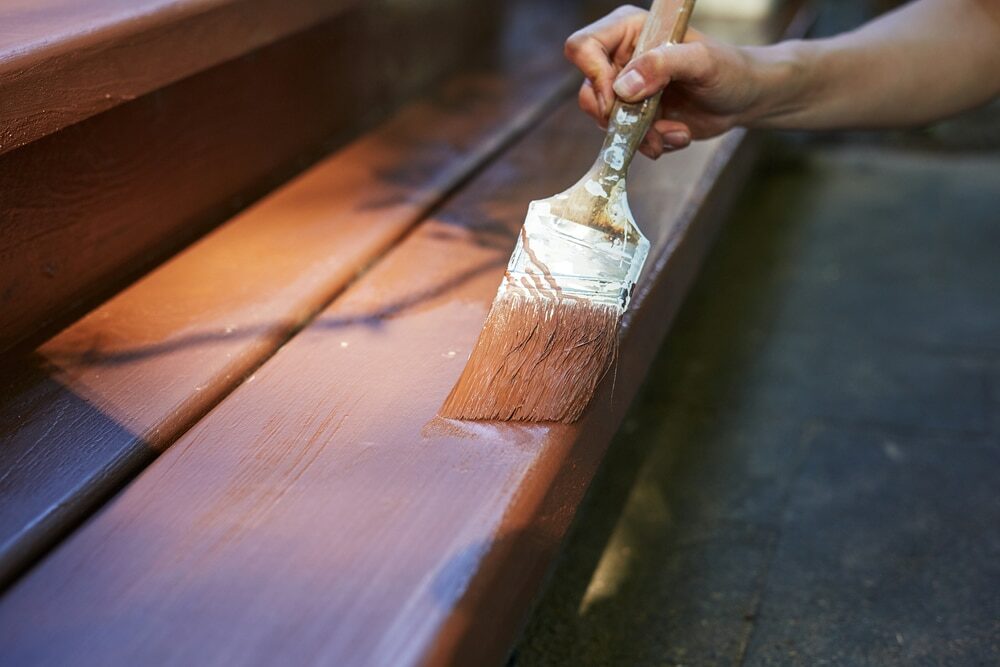
Step 3: Apply a Clear Coat
Once the stain or paint has dried, finish with a clear polyurethane coat to seal the wood and protect it from damage. Apply it in thin, even coats and allow it to dry fully between coats.Maintenance
With the right care, your newly sanded and finished stairs and bannisters can last for years. Here are a few maintenance tips:- Regularly sweep or vacuum your stairs to prevent dirt and grit from scratching the wood.
- Clean spills immediately to prevent stains.
- Use a damp cloth for cleaning. Avoid using excessive water, as it can damage the wood.
- Reapply the protective finish every few years, depending on wear and tear.
Conclusion
Sanding and refinishing your wooden stairs and bannisters is no small task, but with patience, the right tools, and this guide, it’s a task you can certainly tackle yourself. The result will not only add beauty and character to your home but also increase its value. So roll up your sleeves and give your stairs the makeover they deserve. Your future self (and your home) will thank you for it.Some Useful Links:
- Stairs Sanding & Refinishing
- Floor Sanding Services
- School Floor Sanding
- Wood Floor Restorations
- Wood Floor Repairs
- Wood Floor Polishing
More from our Blog:
Matching Wood Floor Restoration to Your Personality: An In-depth GuideKey Rules for Preparing Your Wood Floor for Sanding
Floor Sanding Services in London: Choosing Experts for Your Wooden Floors
Wood Floor Filling Tips: A Comprehensive Guide to Flawless Flooring


Sanding
We provide virtually dust-free sanding with our continuous belt machinery with mobile extraction units, giving you a safer environment for your family.
Oiling
This organic finish not only adds beauty to your home but also has exceptional water-repellent characteristics, making it easier to clean and maintain.
Waxing
This natural floor finish offers the softest and most mellow appearance – and leaves your floor able to breath.
Buffing
Using soft buffing machines (and hand-polishing where required) will bring a wonderful sheen to your newly-finished floor.
Repairs
We offer a full assessment of your wooden floors to determine what repairs are needed to provide the perfect working surface for the later stages of sanding, staining and sealing.
Restoration
We offer a comprehensive restoration process designed to address floors that are improperly fitted or damaged over time through wear and tear.
Request a fixed price quote for your wood floor restoration now
Simply enter your postcode below to get started.
Services
Wood Floor Sanding Wood Floor Restoration Wood Floor Scratch Repair Squeaky Wood Floor Repair Parquet Floor Sanding Parquet Floor Restoration Commercial Floor Sanding Church Floor Sanding Community Centre Floor Sanding School Floor Sanding Gap Filling Gap Filling with ResinCopyright © Mr Sander®
Privacy & Cookies Terms & Conditions Complaints Procedure Cancellation Rights Sitemap

Get An Instant Price Estimate Before You Go…
Simply enter the rooms you need sanded and we’ll provide you with a price estimate instantly! Try our price calculator now.
Get a Price Estimate NowLocal Floor Sanding Experts
Over 500 5-Star Reviews
Safe, Dust Free Sanding
Operating Since 1994