London:
Nationwide:
Wood Floor Stripping and Sanding: The Basics
Posted on June 21, 2023
Floor Sanding Articles
Revitalize Your Floors: A Basic Guide to Wood Floor Stripping and Sanding
Wood flooring offers a timeless appeal to any home. But over time, these floors can lose their luster due to traffic, wear and tear, and age. That’s where stripping and sanding come in. These processes can renew the life of your wood floors, restoring their original charm and elegance. This guide will explain the basics of wood floor stripping and sanding.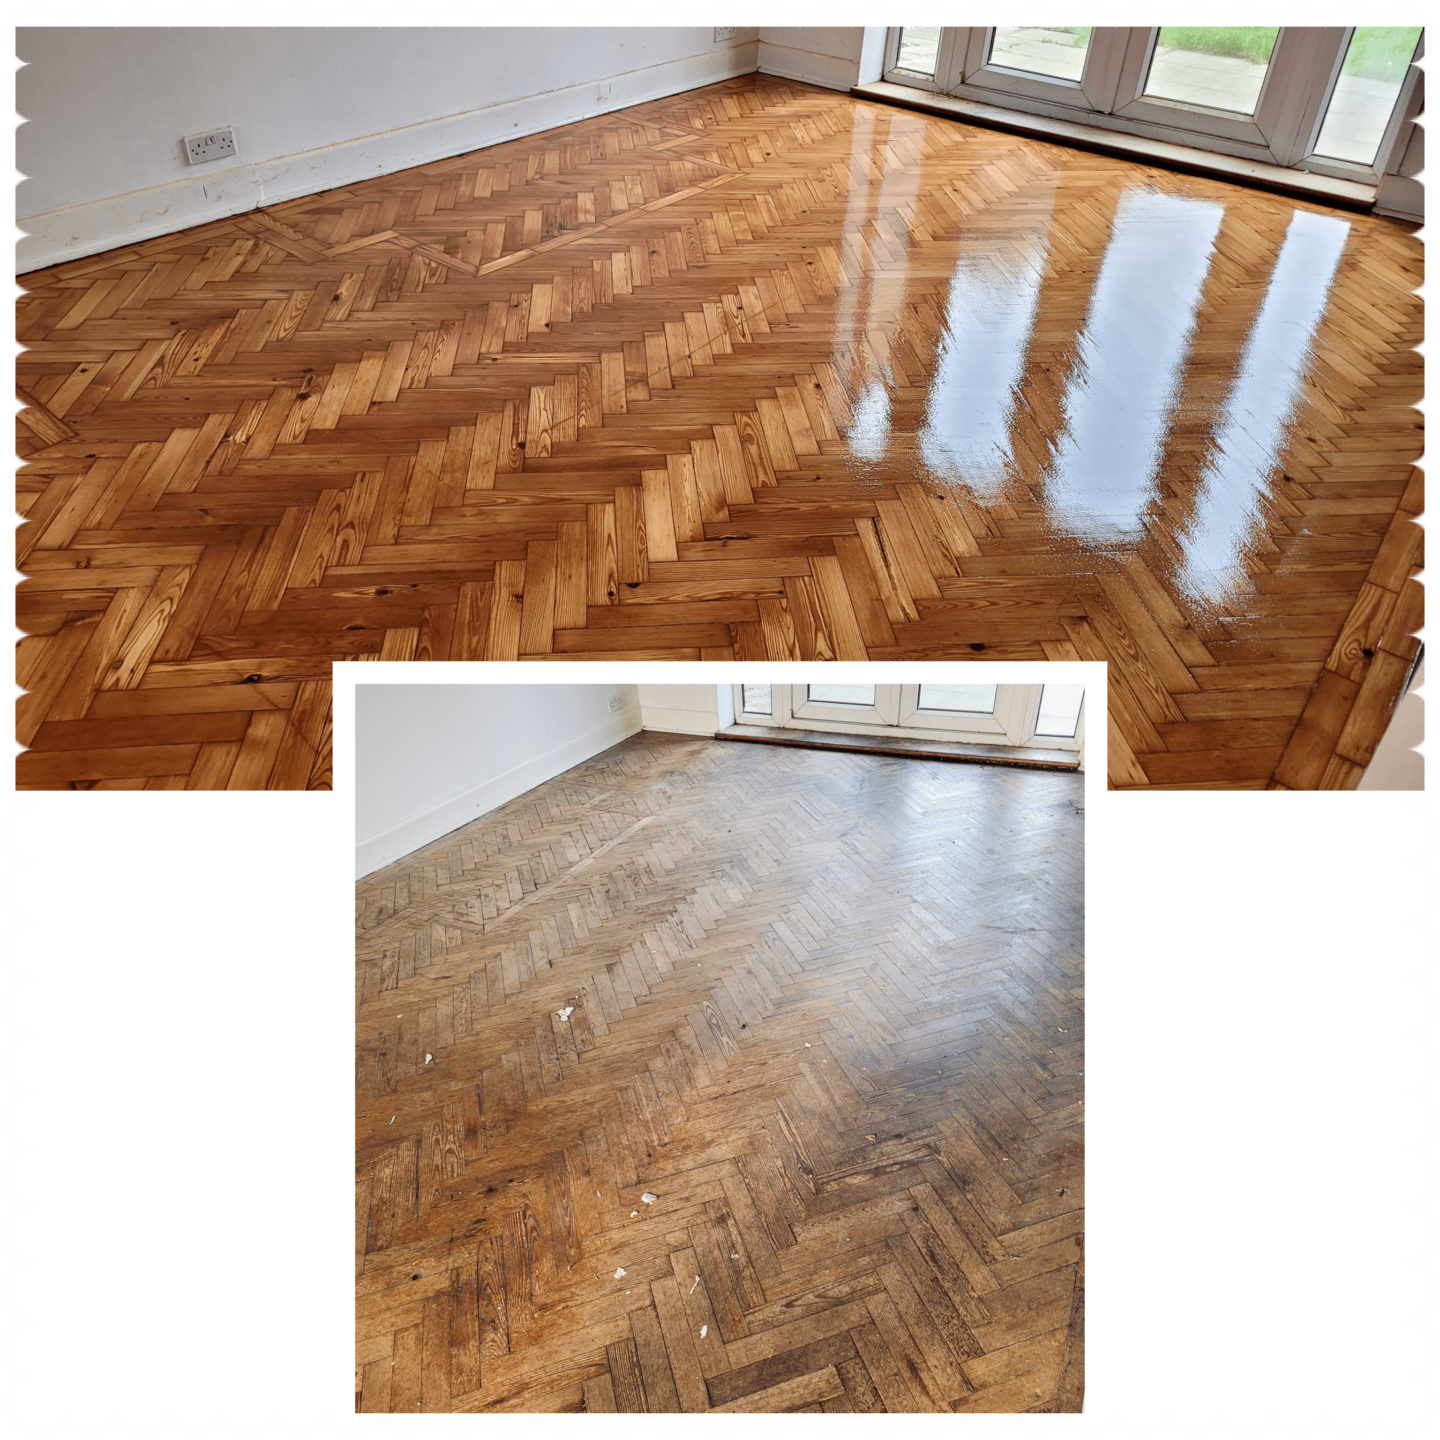
Introduction to Stripping and Sanding
Stripping and sanding are two essential steps in restoring wood floors. Stripping involves removing the old finish from the wood surface, while sanding smooths the surface in preparation for a new finish. Undertaking these processes can give your old, dull floors a refreshing new look.When Should You Strip and Sand Your Wood Floors?
If your wood floors are looking worn out, have deep scratches, or the finish has begun to flake, it may be time to consider stripping and sanding. It’s also an option if you’re looking to change the color of your wood floors. Remember, while this process can be DIY, it does require time, patience, and a bit of physical labor.Necessary Tools and Materials
Before you start, gather all necessary tools and materials:- Chemical stripper
- Protective gear (rubber gloves, eye protection, respirator)
- Scraper or stripping pad
- Sandpaper or an orbital sander
- Vacuum cleaner or broom
- Wood filler (if necessary)
- Stain or finish
A Step-by-Step Guide to Stripping and Sanding
Step 1: Preparation
Begin by clearing the room of all furniture, rugs, and other items. Ensure the room is well-ventilated and you have your protective gear on.Step 2: Stripping
Apply the chemical stripper to the floor following the manufacturer’s instructions. Wait for the specified time until the finish begins to bubble or peel. Use the scraper or stripping pad to gently remove the old finish. After stripping, clean the floor thoroughly to remove any remaining stripper.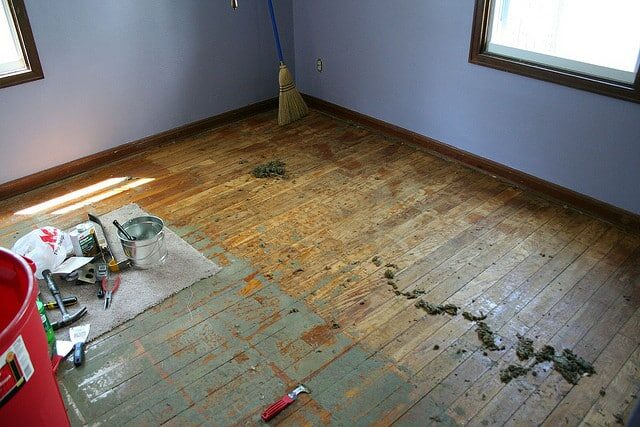
Step 3: Sanding
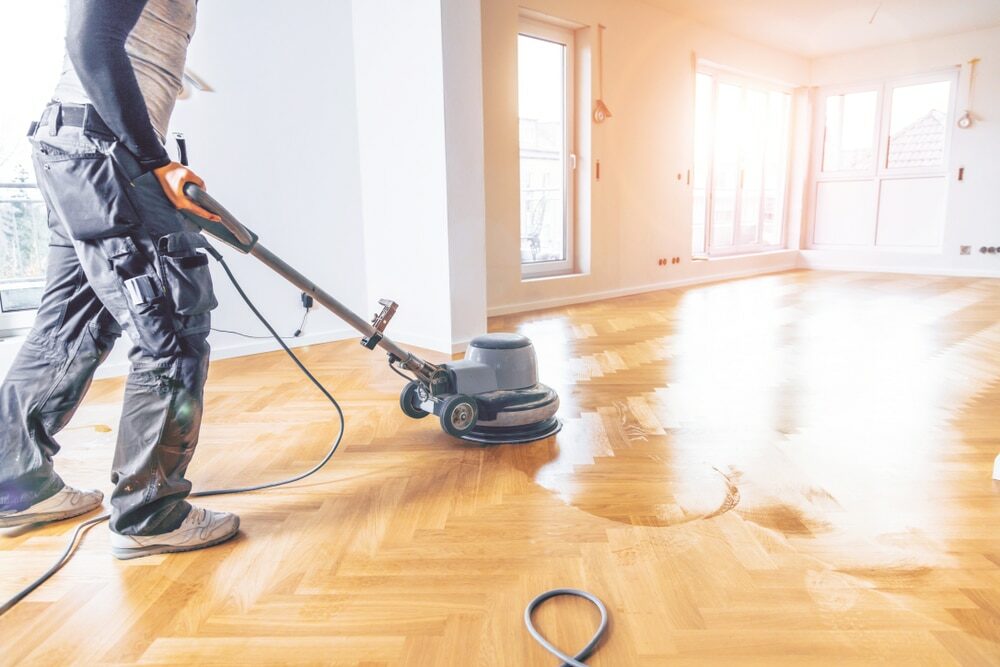
Start sanding the floor, beginning with coarse-grit sandpaper and gradually moving to finer grits. Always sand along the grain of the wood to avoid scratching the surface. An orbital sander can make this job quicker and easier.
Step 4: Cleaning and Filling
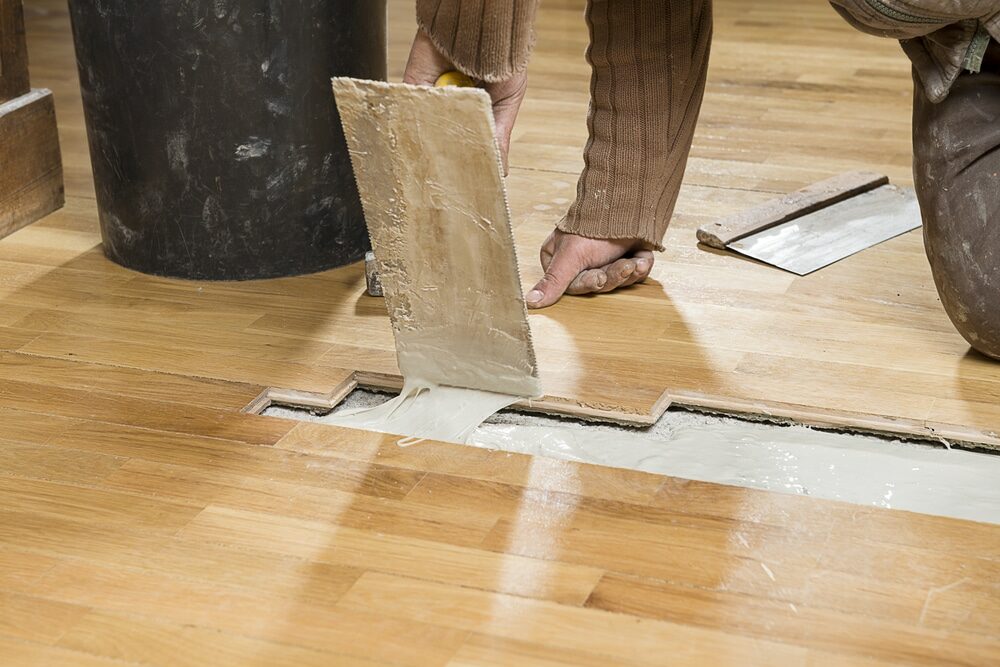
After sanding, clean the floor thoroughly to remove dust and debris. If there are any gaps or cracks in the floor, fill them with wood filler. Allow the filler to dry before moving to the next step.Step 5: Finishing
Once the floor is clean and dry, you can apply your chosen stain or finish. Follow the manufacturer’s instructions for the best results. Let each coat dry thoroughly before applying the next one.Aftercare Tips
To keep your newly stripped and sanded floors looking their best,- Sweep or vacuum regularly to prevent dust and debris from scratching the finish.
- Clean up spills immediately to prevent water damage.
- Consider using rugs or mats in high-traffic areas to protect the floor.
Conclusion
Stripping and sanding are crucial steps in renewing your wood floors. They can restore the beauty and longevity of your floors, enhancing the overall look of your home. While it might seem like a daunting task, with the right tools, a good plan, and a little patience, you can breathe new life into your wood floors. Remember, the goal of stripping and sanding is to restore and revitalize. With care and regular maintenance, your wood floors can remain a timeless centerpiece in your home for many years to come.Some Useful Links:
- Floor Sanding Services
- School Floor Sanding
- Wood Floor Restorations
- Wood Floor Repairs
- Wood Floor Polishing
More from our Blog:
The Best Way to Renovate Your Solid Wood Flooring DIY Floor Sanding: Enhance Your Property Value on a Budget Hardwood Floor Sanding: Essential for Long-lasting Beauty Buying Hardwood Flooring Online: Pros and Cons Hardwood Floor Installation: Nailing and Stapling
Sanding
We provide virtually dust-free sanding with our continuous belt machinery with mobile extraction units, giving you a safer environment for your family.
Oiling
This organic finish not only adds beauty to your home but also has exceptional water-repellent characteristics, making it easier to clean and maintain.
Waxing
This natural floor finish offers the softest and most mellow appearance – and leaves your floor able to breath.
Buffing
Using soft buffing machines (and hand-polishing where required) will bring a wonderful sheen to your newly-finished floor.
Repairs
We offer a full assessment of your wooden floors to determine what repairs are needed to provide the perfect working surface for the later stages of sanding, staining and sealing.
Restoration
We offer a comprehensive restoration process designed to address floors that are improperly fitted or damaged over time through wear and tear.
Request a fixed price quote for your wood floor restoration now
Simply enter your postcode below to get started.
Services
Wood Floor Sanding Wood Floor Restoration Wood Floor Scratch Repair Squeaky Wood Floor Repair Parquet Floor Sanding Parquet Floor Restoration Commercial Floor Sanding Church Floor Sanding Community Centre Floor Sanding School Floor Sanding Gap Filling Gap Filling with ResinCopyright © Mr Sander®
Privacy & Cookies Terms & Conditions Complaints Procedure Cancellation Rights Sitemap