London:
Nationwide:
25,000+
Floors Restored
27 Years Experience
Wood Flooring Association Certified
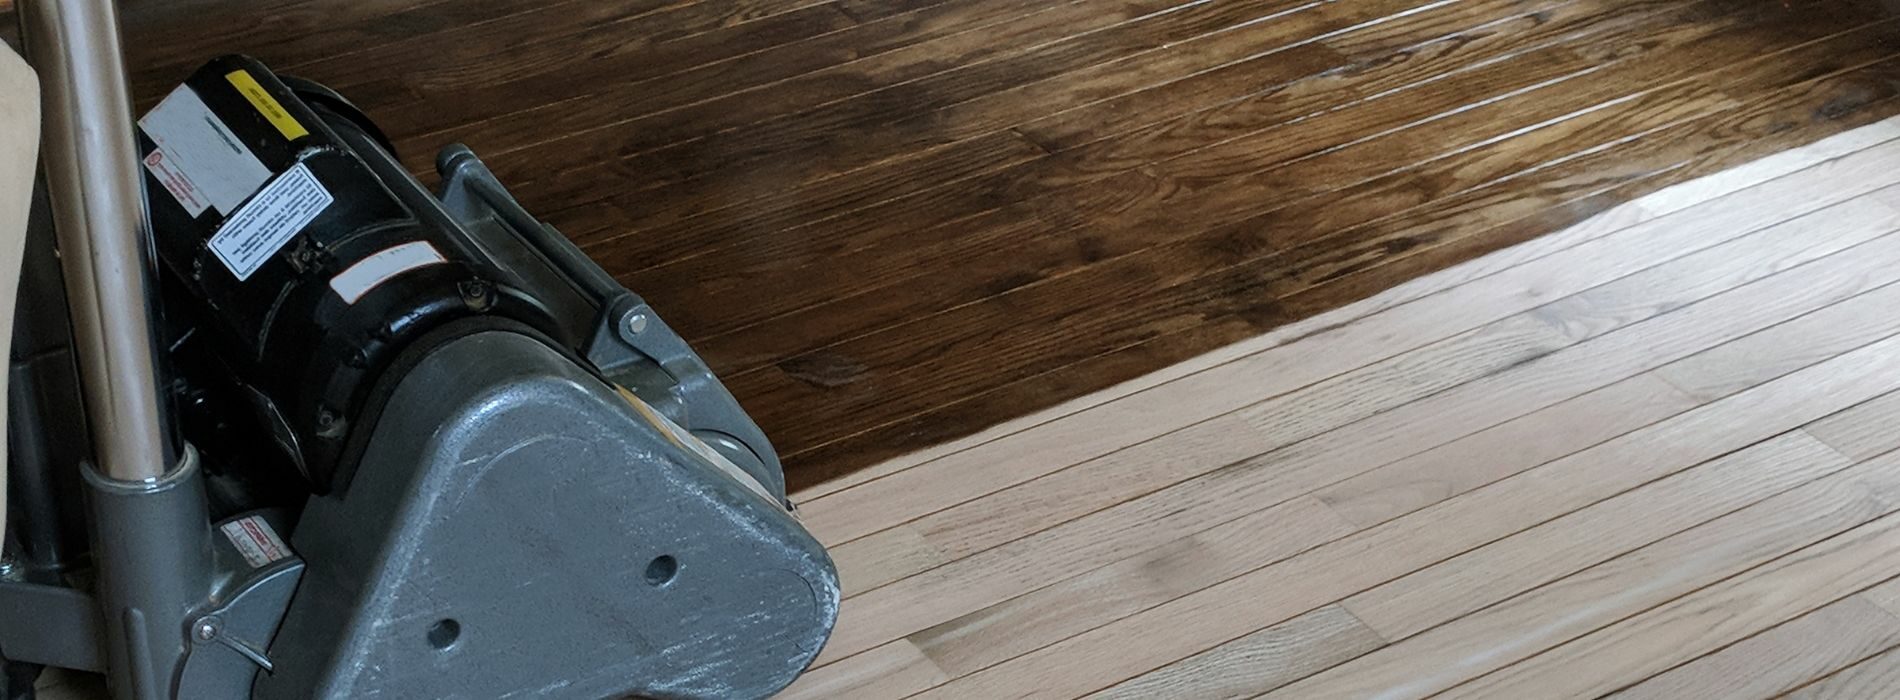
Tips for Achieving Smooth Finishes with Orbital Sanding
Posted on August 26, 2023
Floor sanding techniques
Mastering the Art of Orbital Sanding: Achieve Finishes That Impress
My dear chaps and chapettes, today we’re going to take a little jaunt through the fascinating world of orbital sanding. Now, I’m sure the mere mention of such a subject has a few of you recalling the heady aroma of sawdust, while others amongst you might be scrunching your brows in bewilderment. But fret not! By the time I’ve finished this little soiree of words, all will be as clear as a perfectly polished mahogany desk.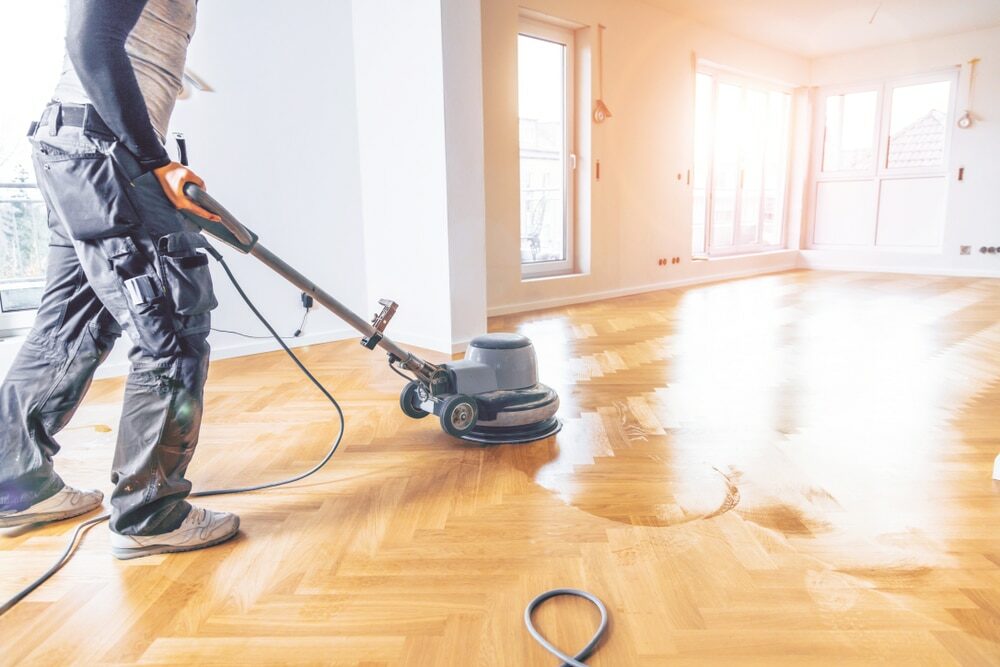 The ‘Orbital’ in Orbital Sanding
Let us start at the very beginning, which is a very good place to start. Orbital sanding, my friends, refers to those delightful machines that move sandpaper in a tiny orbital (circular) motion. Unlike its boisterous cousin, the belt sander, the orbital sander is a gentler, more refined tool—the sort you might bring home to meet your parents.
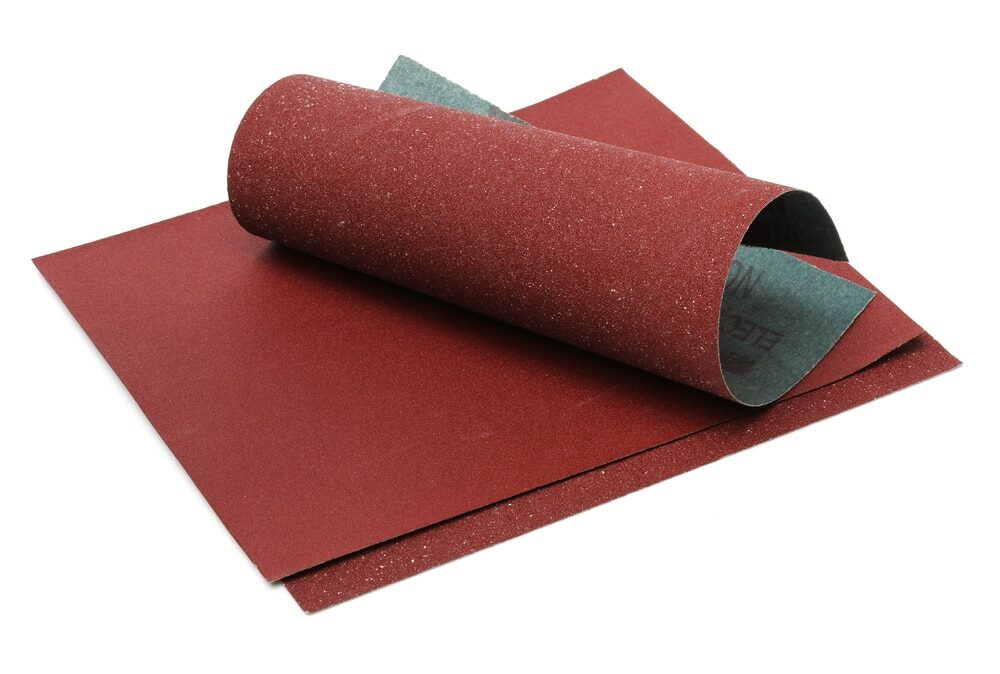
1. Sandpaper Grit: A Most Important Decision
Choosing the right grit is not dissimilar to choosing the appropriate attire for a posh do. You wouldn’t wear your Wellington boots to the opera, just as you wouldn’t use coarse grit for a delicate job.
Begin with a coarser grit (say, 60 or 80) if your surface is more “Sherwood Forest” than “Kensington Palace”. Once the major blemishes are addressed, gracefully transition to finer grits: 120, then 180, and so on. This gradual climb results in a finish as smooth as butter on a crumpet.
The ‘Orbital’ in Orbital Sanding
Let us start at the very beginning, which is a very good place to start. Orbital sanding, my friends, refers to those delightful machines that move sandpaper in a tiny orbital (circular) motion. Unlike its boisterous cousin, the belt sander, the orbital sander is a gentler, more refined tool—the sort you might bring home to meet your parents.
1. Sandpaper Grit: A Most Important Decision
Choosing the right grit is not dissimilar to choosing the appropriate attire for a posh do. You wouldn’t wear your Wellington boots to the opera, just as you wouldn’t use coarse grit for a delicate job.
Begin with a coarser grit (say, 60 or 80) if your surface is more “Sherwood Forest” than “Kensington Palace”. Once the major blemishes are addressed, gracefully transition to finer grits: 120, then 180, and so on. This gradual climb results in a finish as smooth as butter on a crumpet.
 2. Gentle Does It
Remember, this isn’t a race, and we aren’t trying to reenact the deforestation of the Amazon. Use gentle pressure. The orbital sander is a cultural beast; pushing too hard will leave those unsightly swirl marks we all dread.
2. Gentle Does It
Remember, this isn’t a race, and we aren’t trying to reenact the deforestation of the Amazon. Use gentle pressure. The orbital sander is a cultural beast; pushing too hard will leave those unsightly swirl marks we all dread.
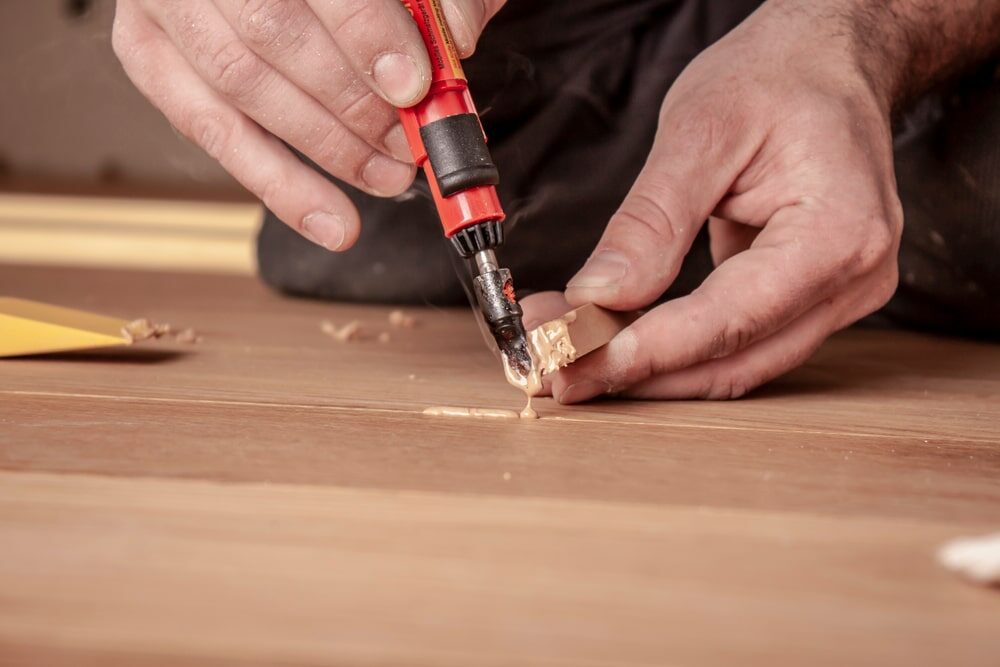
3. Don’t skimp on quality sandpaper.
Ah, the tempting allure of bargain-bin sandpaper! But heed this: quality matters. Premium sandpaper not only lasts longer but also sands more effectively. When working with a tool as nuanced as the orbital sander, it’s wise to invest in good sandpaper. Your wooden project deserves no less, and neither do you.4. Keeping the Sanding Disc Flat
Maintaining even contact with the surface is paramount. If the edge of the sanding disc digs into the material, it can create unwanted grooves. Picture this: It’s much like using a teapot, pouring in a stream so fluid it’s nearly poetic. Pour too aggressively, and you’re likely to flood your scone.9. Periodic Pad Cleaning
Your sandpaper will undoubtedly collect residue as you embark on this sanding journey. This can impede your progress and result in an uneven finish. Gently tapping the sander (while it’s off, of course) can dislodge some of this buildup. For a thorough clean, consider using a rubber sanding block or a specialised abrasive cleaning stick.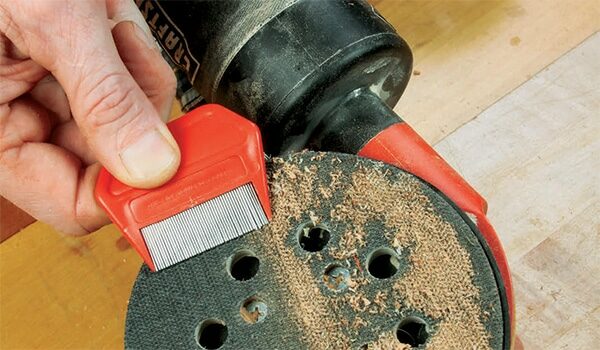
5. Know when to change the sandpaper.
While perseverance is a trait much admired across the realm, it can be a downfall if one clings to worn-out sandpaper. Once you notice reduced effectiveness or if the sandpaper appears visibly worn, it’s time to bid it adieu and replace it.6. Mind the corners and edges.
Our orbital companion, splendid as it is, does have its limitations. It’s not a fan of tight corners and edges. For these, consider briefly switching to detail sanders or good old-fashioned hand sanding. Remember, the end goal is a finish that’s seamless, not one that stands out for the wrong reasons! There you have it! With these additional pearls of wisdom in your woodworking arsenal, achieving that mirror-smooth finish should be as effortless as slicing through a well-made Victoria sponge. Happy sanding!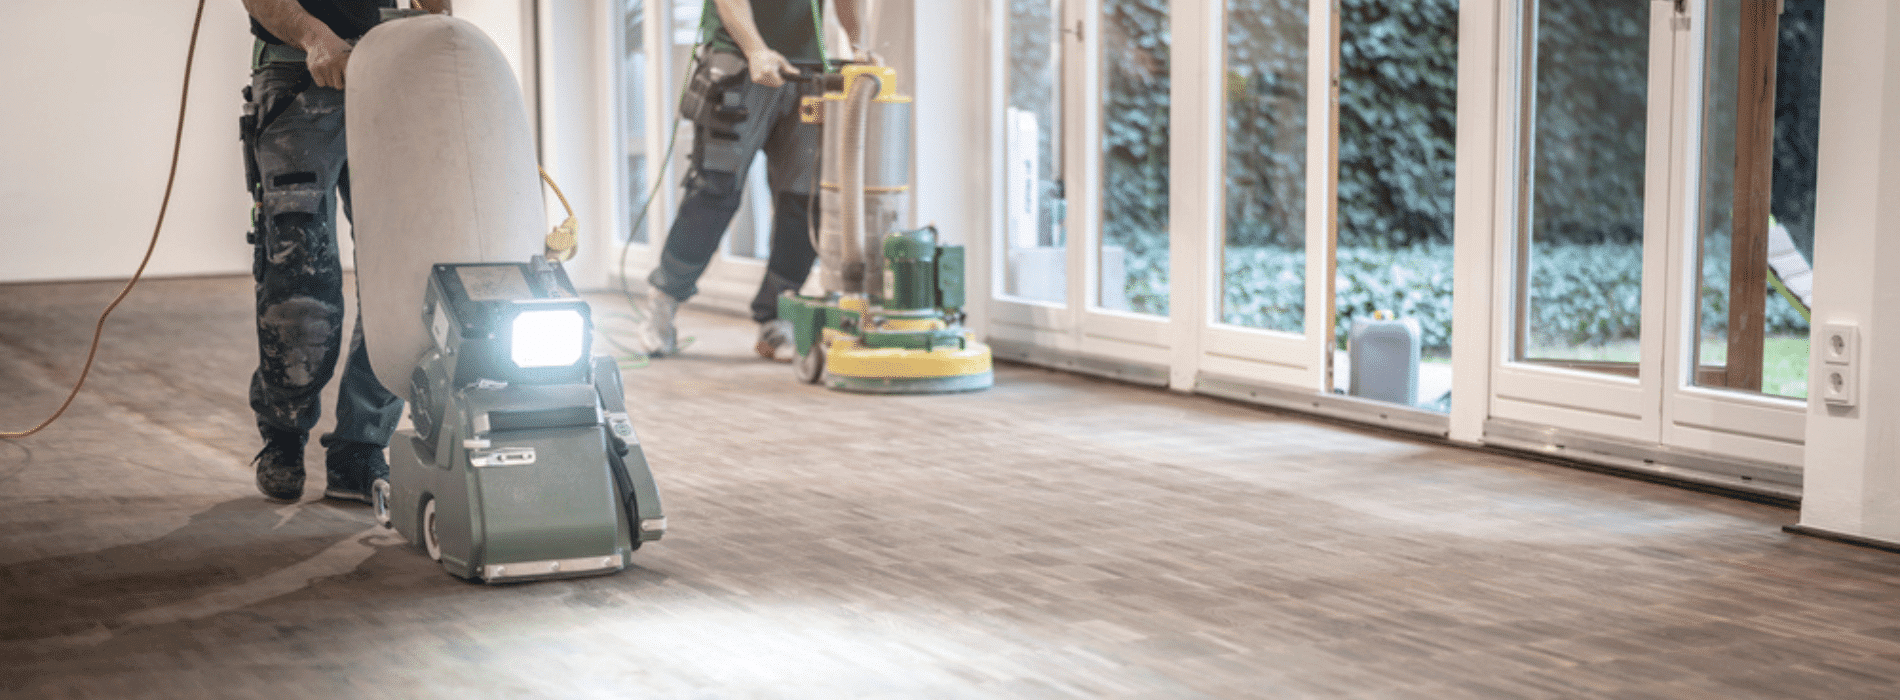
7. Let the tool do the dancing.
An orbital sander moves in tiny circles. Think of it as a waltz. Allow your sander to glide; don’t drag it or force it into the corner like an unruly teenager. Embrace the motion, and you’ll get a finish that even the Queen would nod at.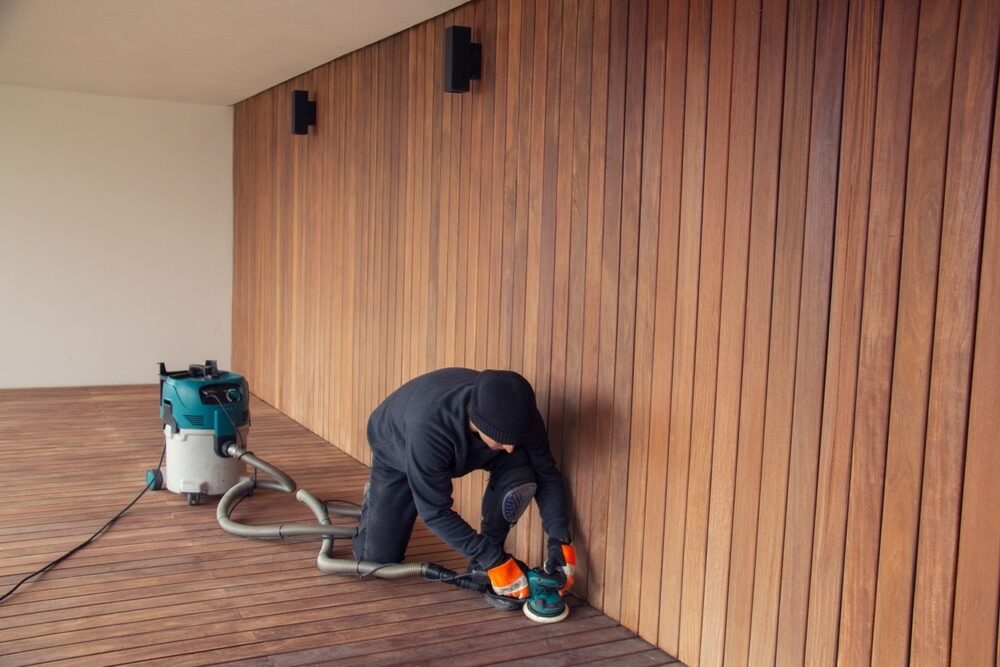
8. Dust Management, or Keeping One’s Workspace Ship-Shape
Now, one cannot discuss sanding without paying homage to the dusty aftermath. A tidy workspace is a joyful workspace! Most modern orbital sanders come with dust collection bags or ports. Employ them. If you’re in the workshop, consider connecting the sander to a shop vacuum. And always—always!—wear a dust mask. Sawdust might smell divine, but it’s no good for the lungs.9. The Art of Overlap
As you guide your sander across the timber, aim for an overlap of about 50%. This ensures a uniform finish and prevents those pesky missed spots that might otherwise escape your attention.10. Finish with a hand (or two).
Now, as much as I sing the praises of our mechanical friends, there’s nothing quite like the human touch. After orbital sanding, take a moment to hand-sand the piece, following the grain of the wood. This will whisk away any remaining inconsistencies and leave you with a surface so smooth, it might just rival the cheeks of a newborn.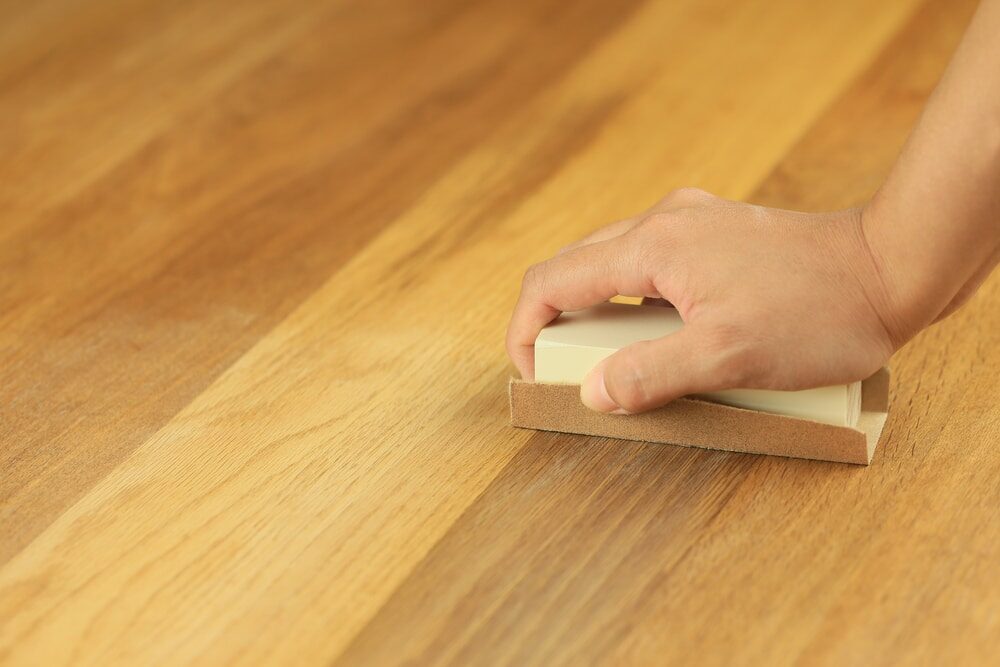
In Conclusion
Ladies and gentlemen, orbital sanding is an art. But it’s an art that, with a smidge of patience and a dash of elbow grease, can be mastered by even the most uninitiated among us. So, the next time you find yourself faced with a piece of timber yearning for a bit of TLC, I hope you recall our little chat and approach the task with all the confidence of a British butler serving tea. Now, as the great Howard Gossage once said—though not about sanding, mind you—Nobody reads ads. People read what interests them. I do hope this little escapade into the world of orbital sanding has piqued your interest, and I wish you the very best in all your woodworking endeavours. Until next time, keep those finishes smooth and those spirits high! Cheerio!Some Useful Links:
- Stairs Sanding & Refinishing
- Floor Sanding Services
- School Floor Sanding
- Wood Floor Restorations
- Wood Floor Repairs
- Wood Floor Polishing
More from our Blog:
The Importance of Dust Extraction in Orbital Sanding The Role of Sandpaper in Orbital Sanding for Floors Best Practices for Orbital Sanding Techniques How to Choose the Right Orbital Sander for Floor Sanding The Pros and Cons of Orbital Sanding for Floor Restoration Understanding the Mechanics of Orbital Sanding How to Choose Between Drum Sanding and Hand Sanding of Wooden Floors The Most Effective Drum Sanding Techniques for Removing Scratches
Sanding
We provide virtually dust-free sanding with our continuous belt machinery with mobile extraction units, giving you a safer environment for your family.
Oiling
This organic finish not only adds beauty to your home but also has exceptional water-repellent characteristics, making it easier to clean and maintain.
Waxing
This natural floor finish offers the softest and most mellow appearance – and leaves your floor able to breath.
Buffing
Using soft buffing machines (and hand-polishing where required) will bring a wonderful sheen to your newly-finished floor.
Repairs
We offer a full assessment of your wooden floors to determine what repairs are needed to provide the perfect working surface for the later stages of sanding, staining and sealing.
Restoration
We offer a comprehensive restoration process designed to address floors that are improperly fitted or damaged over time through wear and tear.
Request a fixed price quote for your wood floor restoration now
Simply enter your postcode below to get started.
Services
Wood Floor Sanding Wood Floor Restoration Wood Floor Scratch Repair Squeaky Wood Floor Repair Parquet Floor Sanding Parquet Floor Restoration Commercial Floor Sanding Church Floor Sanding Community Centre Floor Sanding School Floor Sanding Gap Filling Gap Filling with ResinCopyright © Mr Sander®
Privacy & Cookies Terms & Conditions Complaints Procedure Cancellation Rights Sitemap

Get An Instant Price Estimate Before You Go…
Simply enter the rooms you need sanded and we’ll provide you with a price estimate instantly! Try our price calculator now.
Get a Price Estimate NowLocal Floor Sanding Experts
Over 500 5-Star Reviews
Safe, Dust Free Sanding
Operating Since 1994