London:
Nationwide:
25,000+
Floors Restored
27 Years Experience
Wood Flooring Association Certified
DIY Floor Sanding: Enhance Your Property Value on a Budget
Posted on June 21, 2023
Floor Sanding Blogs
DIY Floor Sanding: Enhance Your Property Value on a Budget
Home renovation is a daunting task, especially when it comes to projects like floor sanding. However, don’t be intimidated. With the right tools and guidance, you can transform your floors and increase your property value on a budget. In this comprehensive guide, we’ll walk you through the process of DIY floor sanding and its perks.
Why Consider Floor Sanding?
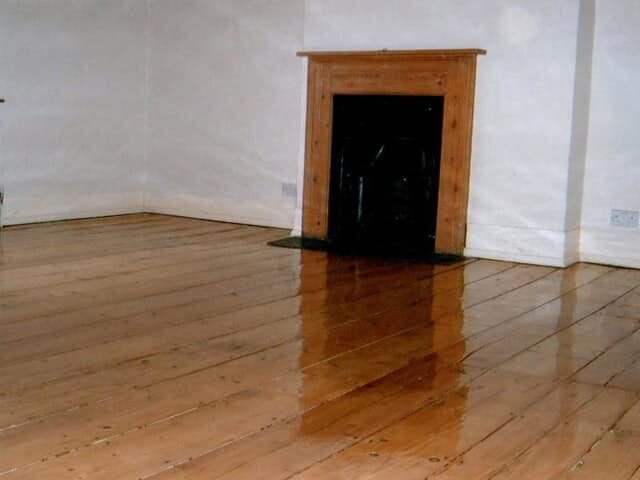
Over time, wooden floors can lose their luster due to wear and tear. Sanding can significantly improve their appearance by removing the top layer of the old finish and revealing the fresh wood underneath. This process not only rejuvenates your floor but also enhances the overall look of your home, thereby increasing its value.
The Economic Advantage of DIY
Choosing to do DIY Floor Sanding yourself can save a significant amount of money. While hiring professionals offers convenience, it comes with a hefty price tag. DIY floor sanding allows you to enhance your property value on a budget, making it an excellent option for homeowners looking to save money.
What You’ll Need
Floor sanding requires specific tools and materials. Here’s a basic list of what you’ll need:
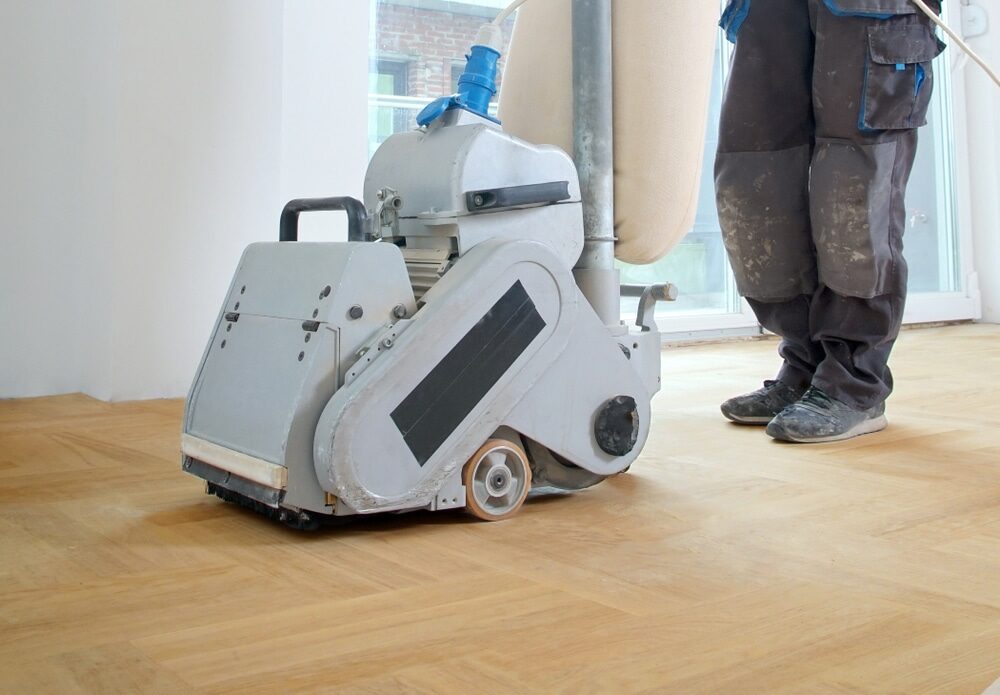
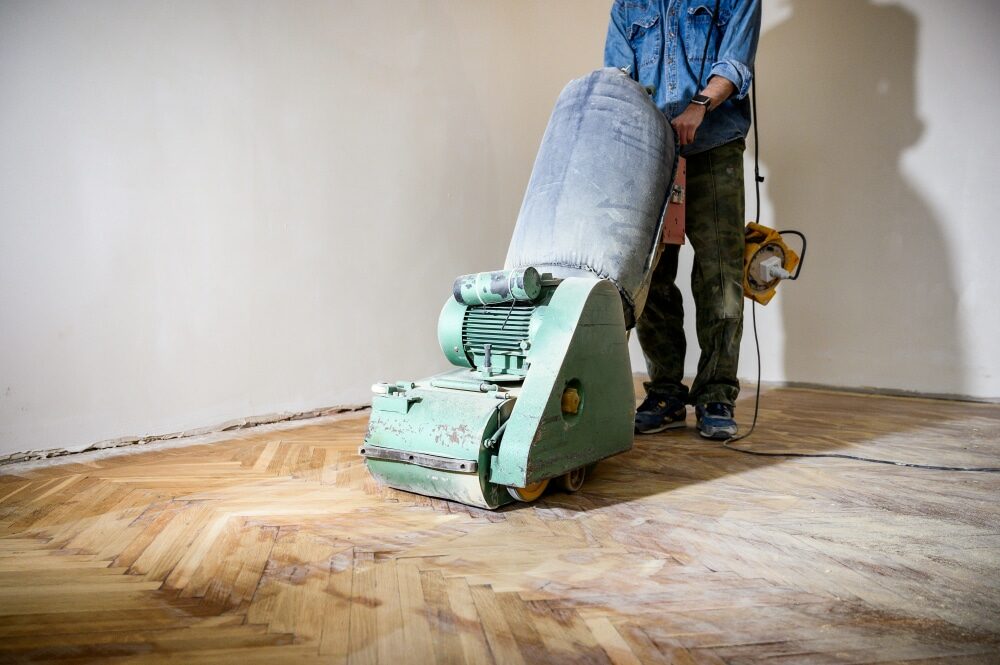
- Drum or orbital sander (rental options available)
- Sandpaper of various grits
- Protective gear (dust mask, ear protection, safety glasses)
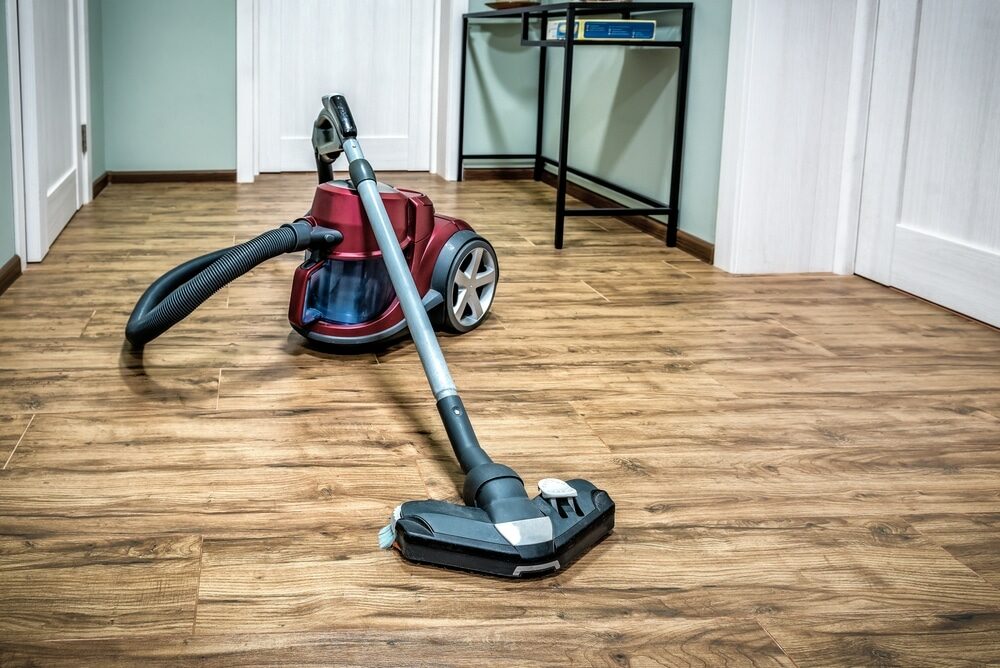
- Vacuum cleaner
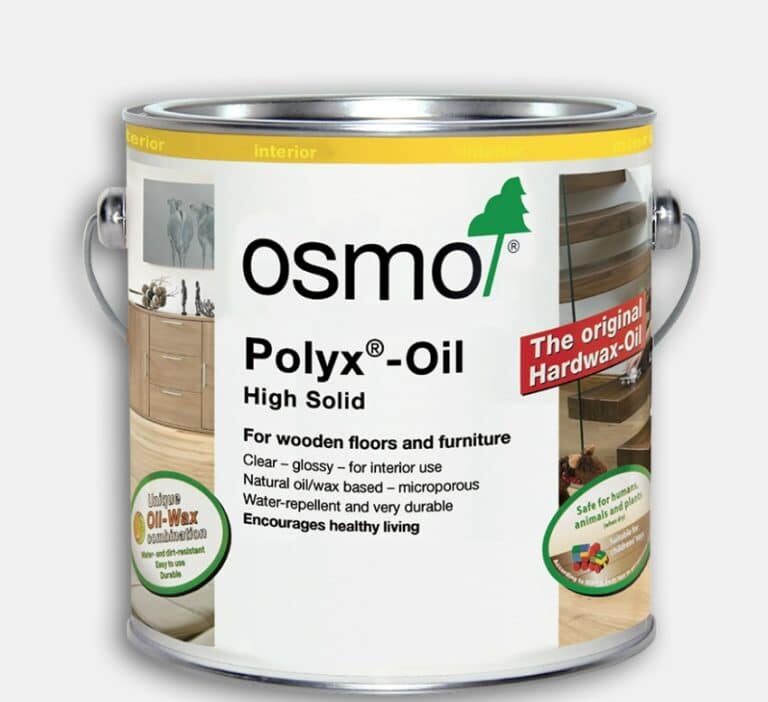
- Floor finish

A Step-by-Step Guide to Floor Sanding
Step 1: Preparation
Start by clearing the room entirely—remove furniture, rugs, and any other objects. Cover doorways and vents with plastic sheets to prevent dust from spreading to other parts of the house.
Step 2: Safety First
Ensure you have protective gear on. This includes safety glasses, a dust mask, and ear protection. Sanding can be a noisy and dusty process, so it’s crucial to protect yourself.
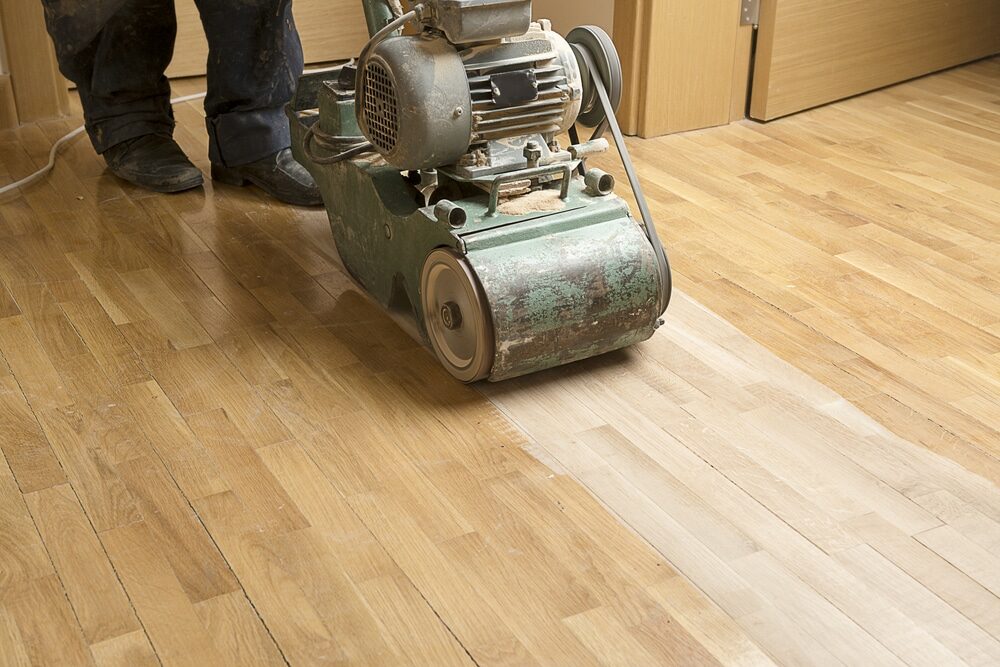
Step 3: Start Sanding
Start with the coarsest sandpaper to remove the old finish and any imperfections. Move the sander smoothly across the floor, going with the grain of the wood. Be careful not to linger in one spot to avoid creating uneven surfaces.
Step 4: Multiple Sandings
After the initial sanding, vacuum the floor to remove dust and debris. Repeat the process with finer-grit sandpaper. This step is critical for achieving a smooth finish.
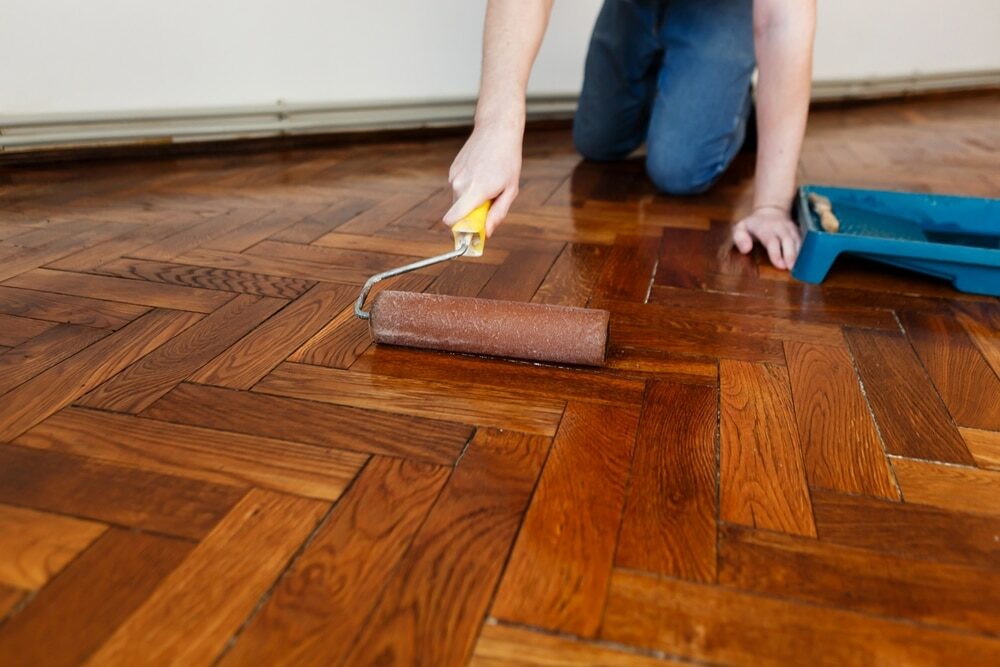
Step 5: Finishing
Once you’re satisfied with the sanding, it’s time to apply the finish. Make sure the room is dust-free, then apply your chosen finish according to the manufacturer’s instructions. Let it dry completely before moving furniture back in.
Benefits of DIY Floor Sanding
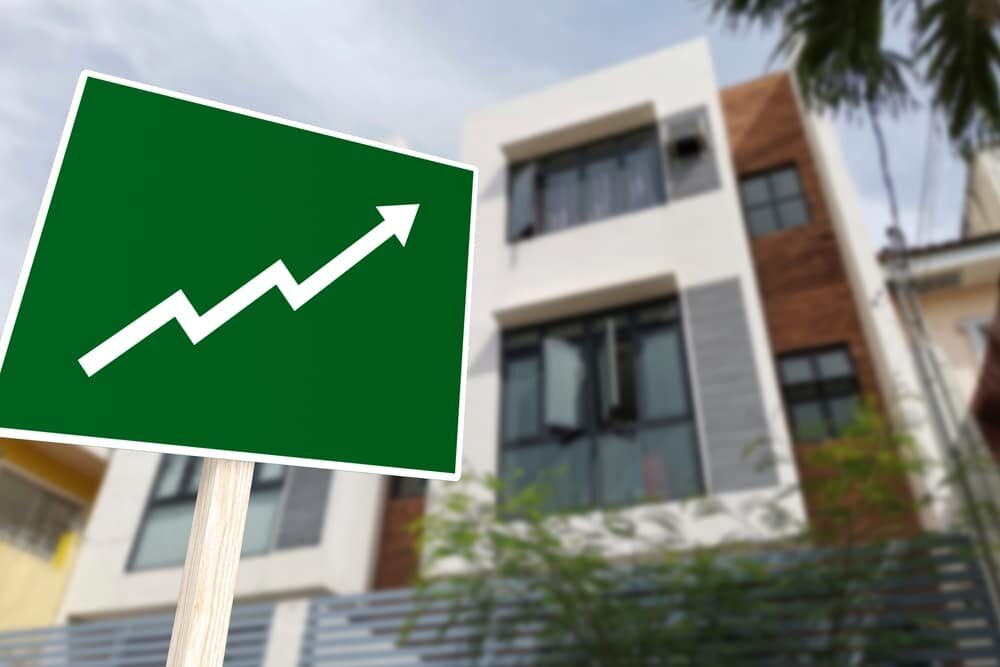
Increased Property Value
A well-maintained wooden floor can significantly boost your home’s value. By doing the floor sanding yourself, you’re investing in your property and are likely to see a return on investment when it’s time to sell.
Personal Satisfaction
There’s a certain satisfaction in completing a DIY project. The transformation of your floor can bring a sense of accomplishment and pride.
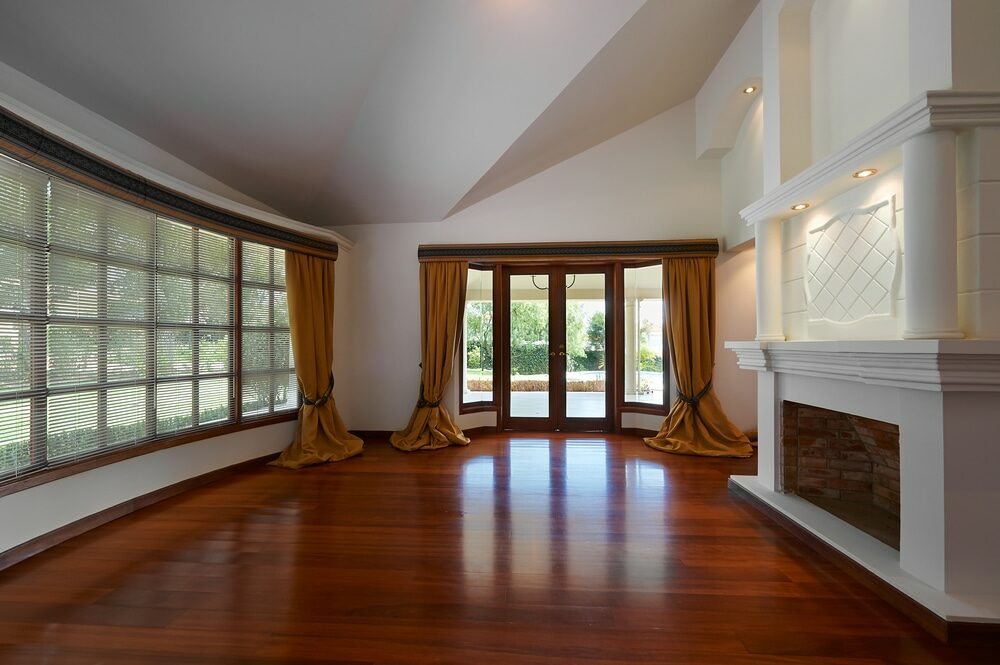
Customization
DIY gives you the freedom to customize the finish to your liking. Whether you prefer a glossy or matte finish, light or dark, the choice is yours.
Conclusion
While floor sanding can seem like a daunting task, it’s achievable with careful planning, the right tools, and a little patience. Not only does it rejuvenate your old wooden floor, but it also adds significant value to your property.
Remember, the key to successful DIY is not to rush the process. Take your time, follow the steps outlined in this guide, and soon you’ll be looking at a stunning floor that’s been restored to its former glory, all within your budget.
With DIY floor sanding, you’re not just saving money; you’re creating value. Go ahead, roll up your sleeves, and give your floors the facelift they deserve.

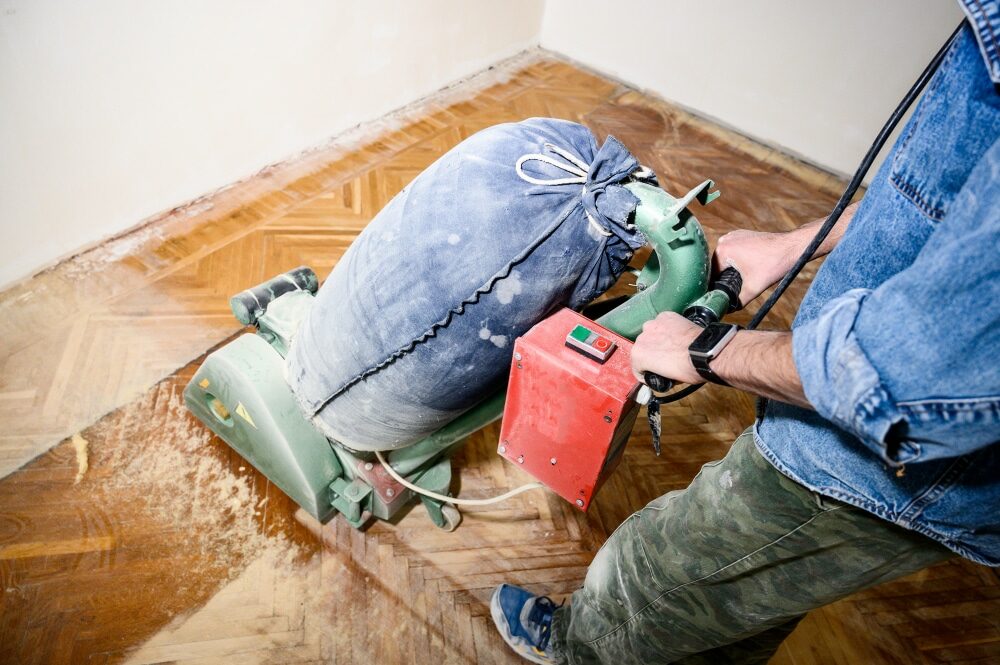
Sanding
We provide virtually dust-free sanding with our continuous belt machinery with mobile extraction units, giving you a safer environment for your family.
Oiling
This organic finish not only adds beauty to your home but also has exceptional water-repellent characteristics, making it easier to clean and maintain.
Waxing
This natural floor finish offers the softest and most mellow appearance – and leaves your floor able to breath.
Buffing
Using soft buffing machines (and hand-polishing where required) will bring a wonderful sheen to your newly-finished floor.
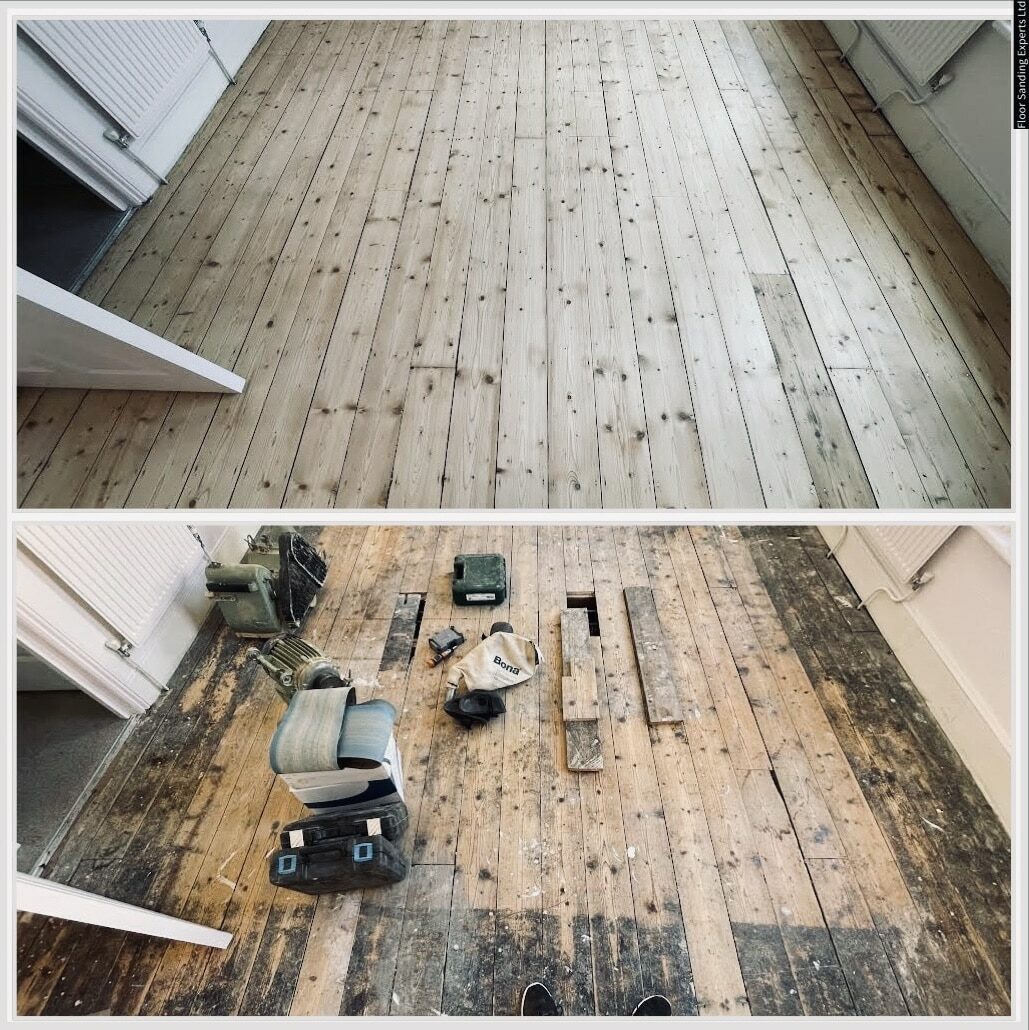
Repairs
We offer a full assessment of your wooden floors to determine what repairs are needed to provide the perfect working surface for the later stages of sanding, staining and sealing.
Restoration
We offer a comprehensive restoration process designed to address floors that are improperly fitted or damaged over time through wear and tear.
Request a fixed price quote for your wood floor restoration now
Simply enter your postcode below to get started.
Services
Wood Floor Sanding Wood Floor Restoration Wood Floor Scratch Repair Squeaky Wood Floor Repair Parquet Floor Sanding Parquet Floor Restoration Commercial Floor Sanding Church Floor Sanding Community Centre Floor Sanding School Floor Sanding Gap Filling Gap Filling with ResinCopyright © Mr Sander®
Privacy & Cookies Terms & Conditions Complaints Procedure Cancellation Rights Sitemap

Get An Instant Price Estimate Before You Go…
Simply enter the rooms you need sanded and we’ll provide you with a price estimate instantly! Try our price calculator now.
Get a Price Estimate NowLocal Floor Sanding Experts
Over 500 5-Star Reviews
Safe, Dust Free Sanding
Operating Since 1994