London:
Nationwide:
25,000+
Floors Restored
27 Years Experience
Wood Flooring Association Certified
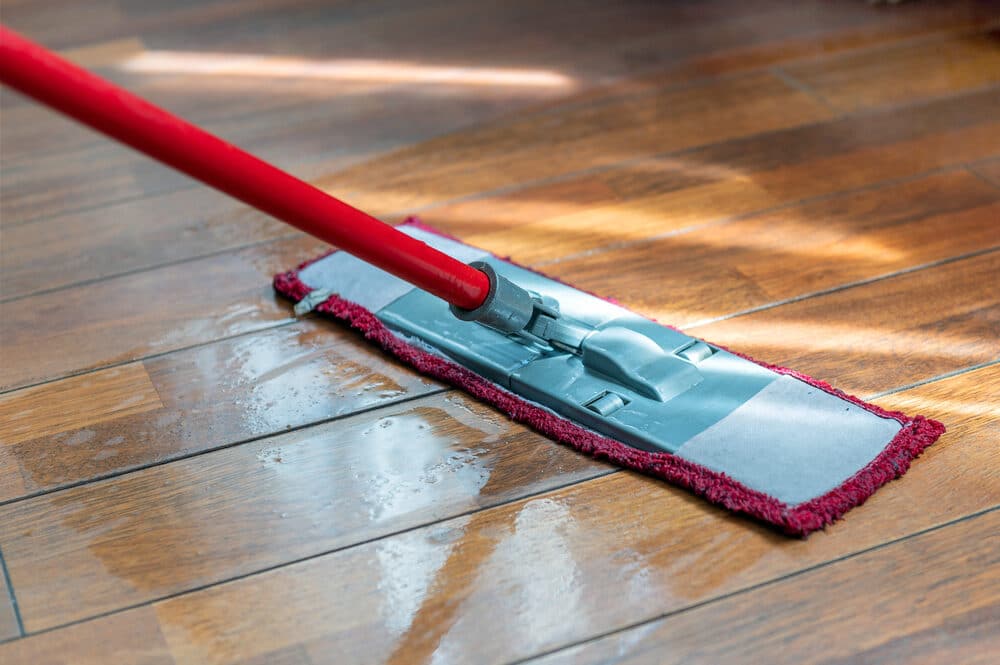
Effective Floor Sound Insulation Solutions
Posted on January 9, 2024
Wood Flooring
Efficient Solutions for Soundproofing Your Floors
In this modern era, where noise pollution is an ever-increasing concern, the significance of sound insulation in buildings cannot be overstated. Whether it’s for a residential apartment, a commercial space, or an industrial facility, effective floor sound insulation plays a crucial role in creating a peaceful and productive environment.
In this guide, we delve into the world of floor sound insulation, exploring its myriad benefits. Sound insulation is not just about blocking out unwanted noise; it’s about enhancing the quality of life and work by creating serene, noise-free spaces. From reducing the disturbances caused by foot traffic and machinery to mitigating the transmission of airborne noises like music and conversation, sound insulation is key to modern architectural design.
We’ll begin by laying the groundwork, explaining what floor sound insulation is and how it differs between airborne and impact noises. Understanding these concepts is essential for identifying the right insulation solution for your specific needs. Whether you’re looking to renovate your home, soundproof a music studio, or enhance the acoustic privacy in an office building, this guide will provide you with the necessary insights.
Our journey will take us through a variety of sound insulation materials, each with their own unique properties and applications. We will guide you through the pre-installation considerations, including assessing your current floor structure and navigating the complexities of building codes and regulations.
Moreover, our comprehensive guide will cover the installation techniques tailored for different floor types, helping you understand the complexities involved in both DIY and professional installations. We will also address common troubleshooting issues and provide tips for the maintenance and upkeep of sound-insulated floors.
So, whether you’re a DIY enthusiast, a professional builder, or simply someone seeking to learn more about sound insulation, this guide promises to equip you with all the information you need. Let’s embark on this journey towards achieving a quieter, more peaceful living and working environment through effective floor sound insulation.
Understanding Sound Insulation for Floors
To effectively address noise issues in any building, it’s crucial to have a fundamental understanding of sound insulation for floors. Sound insulation plays a pivotal role in enhancing the acoustic environment, whether it’s in a residential, commercial, or industrial setting. In this section, we will explore the basics of sound insulation for floors, focusing on the types of sound transmission and key concepts.
What is floor sound insulation?
Floor sound insulation refers to the use of specific materials and techniques to reduce the transmission of sound through floor assemblies. This process is essential in minimizing both airborne and impact noises, creating quieter and more comfortable indoor environments. Airborne noise includes sounds like voices, music, and TV audio, while impact noise involves physical impacts on the floor, such as footsteps, dropped items, or moving furniture.
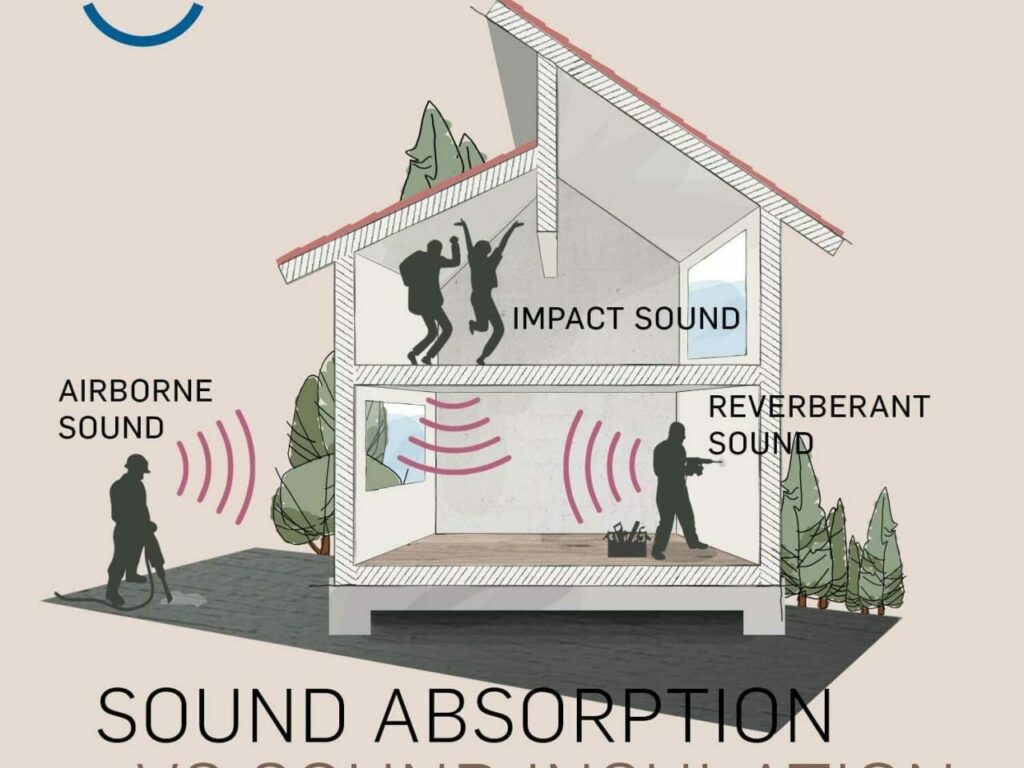
Types of Sound Transmission
- Airborne Sound Transmission: This is sound carried by the air, like conversations, music, or TV sound. It typically travels through gaps and weak points in a structure and can be mitigated using dense, sound-absorbing materials.
- Impact Sound Transmission: Caused by physical impacts on the floor, impact noises are transmitted through the building structure itself. Solutions for impact noise often involve adding mass and resilience to the floor structure to absorb and dissipate the energy.
Key Terms and Concepts in Sound Insulation
- Sound Transmission Class (STC): This is a rating system used to measure the ability of a material or assembly to reduce airborne sound transmission. A higher STC rating indicates better performance in blocking airborne sounds.
- Impact Insulation Class (IIC): Similar to STC, IIC measures the effectiveness of floor and ceiling assemblies in reducing impact noise. Higher IIC ratings signify better impact noise reduction.
- Decoupling: This involves separating the floor from the building structure to reduce the transmission of both airborne and impact noise. Techniques include using resilient underlayments, acoustic mats, or floating floors.
- Mass: Adding mass to a floor can improve its ability to block sound. Materials with greater density, like concrete or heavy rubber, are effective at absorbing sound energy.
- Absorption: Sound-absorbing materials, like foam or fiberglass, are used to reduce echoes and reverberation, further enhancing the acoustic quality of a space.
By understanding these basic principles of sound insulation for floors, you are better equipped to choose the most effective solutions for your specific needs. Whether it’s selecting the right materials or understanding the science behind sound transmission, this knowledge is crucial to achieving a quieter and more peaceful environment.
Types of Sound Insulation Materials for Floors
Choosing the right sound insulation material is crucial for effectively reducing noise transmission through floors. Various materials offer different benefits in terms of soundproofing, and understanding their properties can help you select the best option for your specific needs. Here, we explore the most commonly used sound insulation materials for floors, discussing their pros and cons.
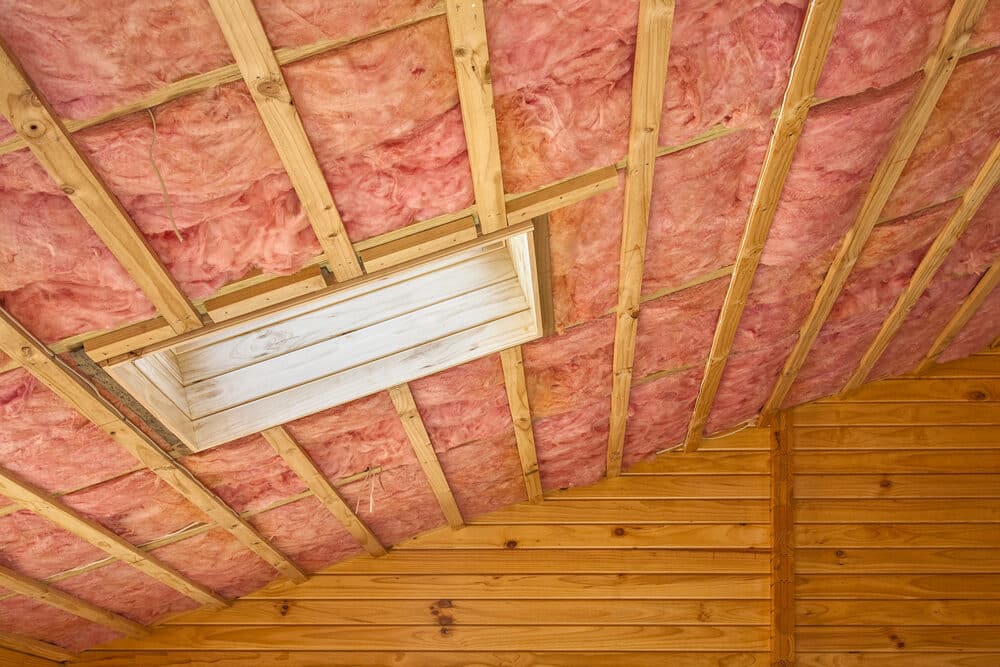
Fiberglass Insulation
- Description: Fiberglass is a lightweight, fibrous material known for its sound-absorbing qualities.
- Pros: It’s effective at reducing airborne noise and is relatively inexpensive.
- Cons: It may not be as effective against impact noise and requires careful handling due to its fibrous nature.
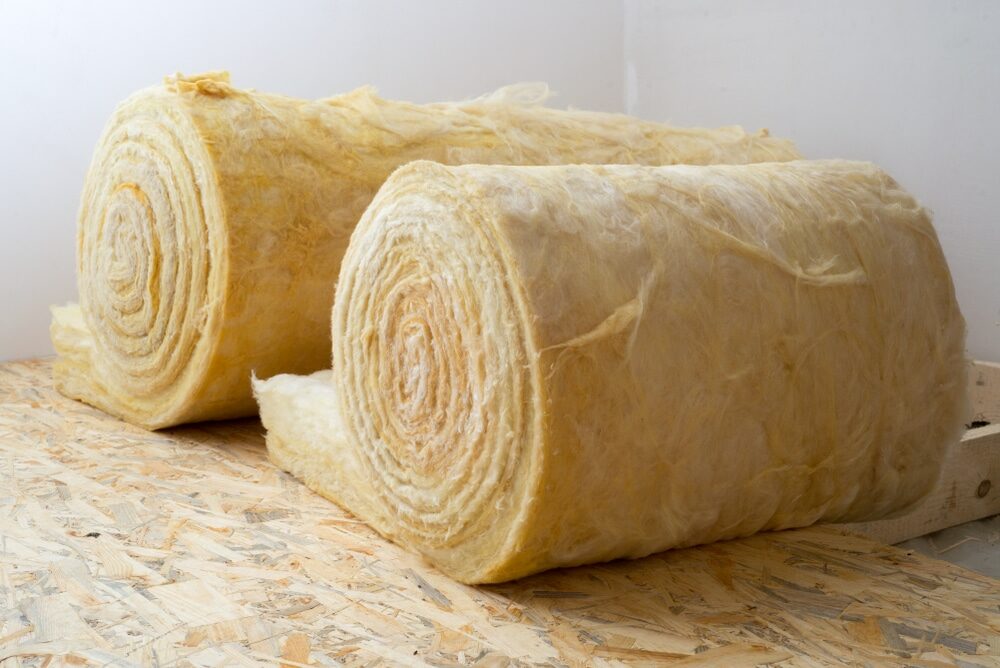
Mineral wool insulation
- Description: Also known as rock wool, this material has a denser structure compared to fiberglass.
- Pros: It offers excellent sound absorption capabilities and is also fire-resistant.
- Cons: It can be more expensive than fiberglass and may require professional installation.
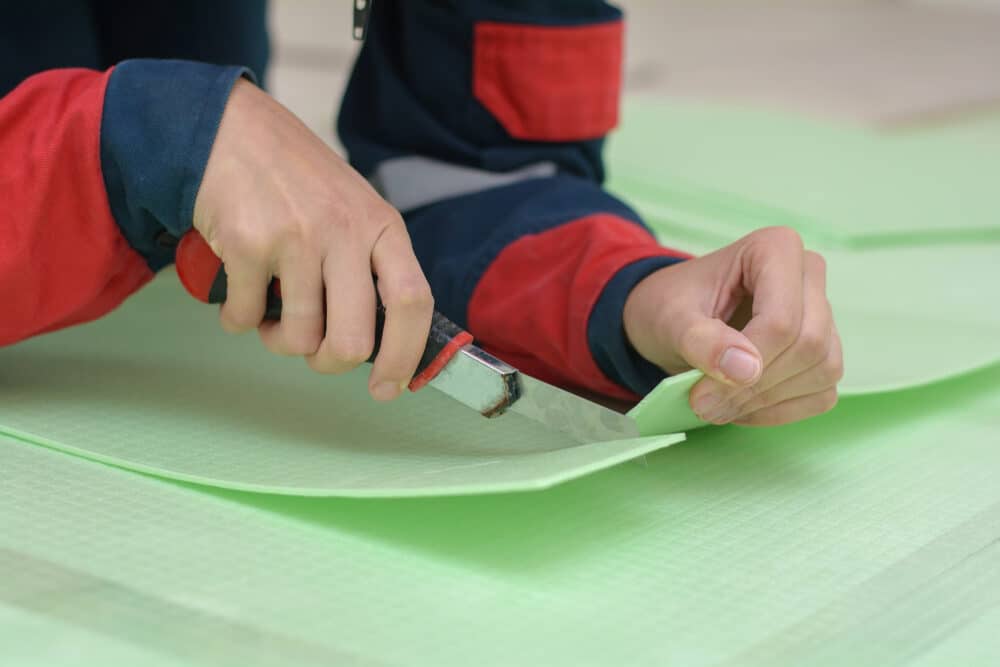
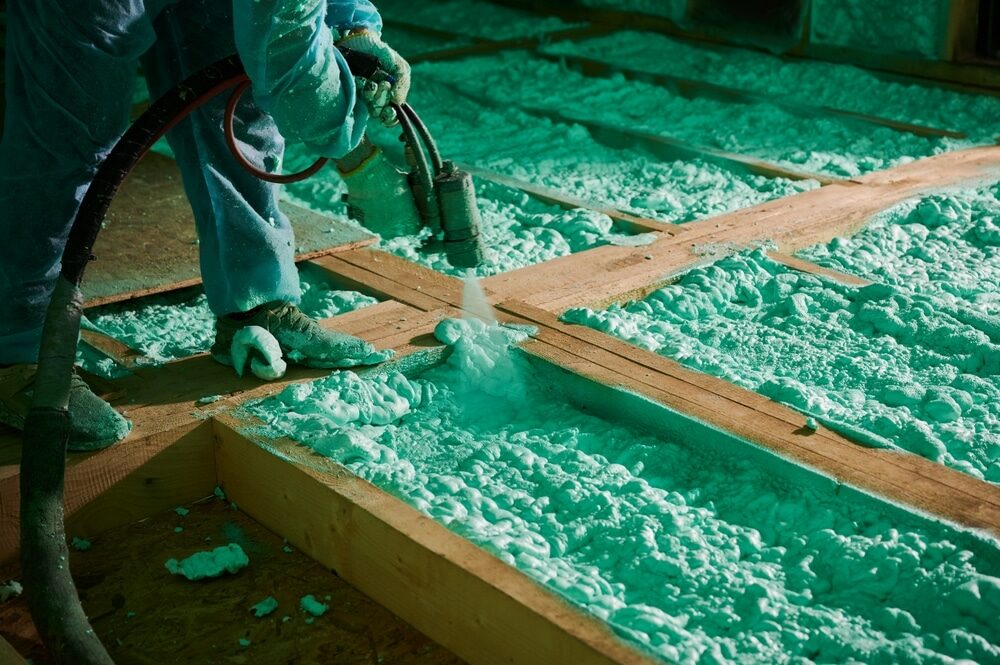
Foam Insulation
- Description: Foam insulation, including open-cell and closed-cell options, is a versatile soundproofing material.
- Pros: It’s effective for both airborne and impact noises and can be easily cut and fitted.
- Cons: The effectiveness can vary depending on the type of foam and its installation.
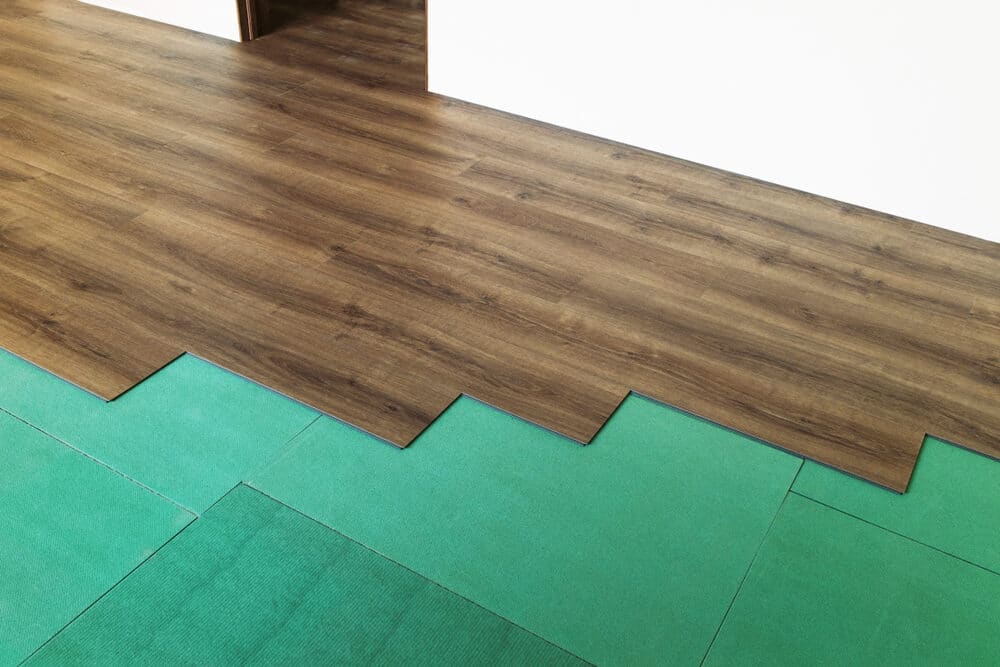
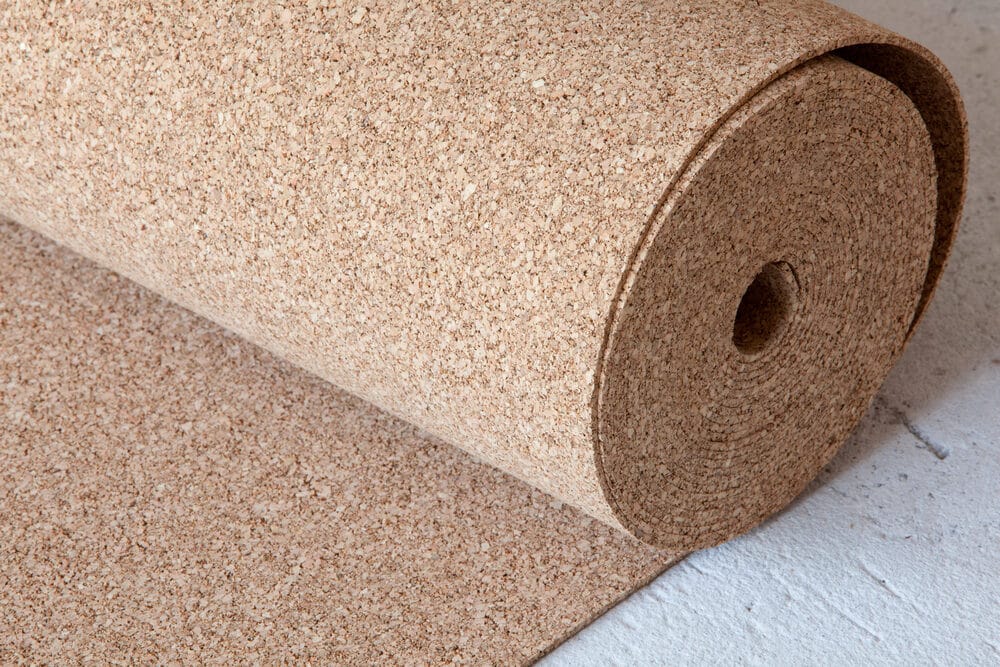
Acoustic Underlayment
- Description: These are special layers placed under floor finishes, such as carpet or hardwood, to reduce sound transmission.
- Pros: They are highly effective at dampening impact noise and can also add some level of airborne noise reduction.
- Cons: The cost can be higher than other materials, and they may require additional floor height.
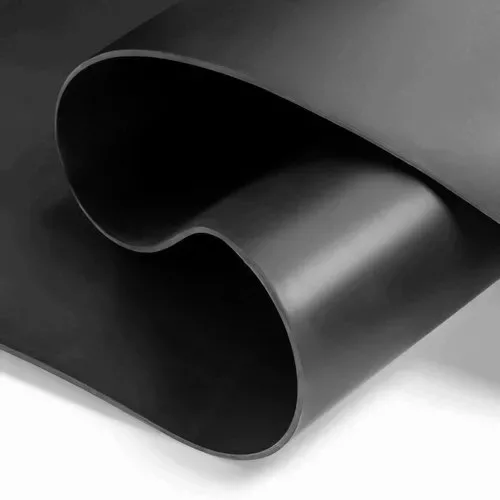
Mass-Loaded Vinyl (MLV)
- Description: MLV is a heavy, yet flexible, material used to block sound.
- Pros: It’s highly effective at reducing both airborne and impact noise and can be used in conjunction with other materials.
- Cons: It can be more expensive and requires precise installation for maximum effectiveness.
Green Glue
- Description: This is a noise-proofing compound used between layers of building materials.
- Pros: It significantly reduces sound transmission when used as part of a layered assembly.
- Cons: It’s an additional expense and works best when combined with other soundproofing methods.
Resilient Channels
- Description: These are metal channels designed to decouple drywall from its framing members.
- Pros: They effectively reduce sound transmission by breaking the path of sound waves.
- Cons: Incorrect installation can greatly reduce their effectiveness.
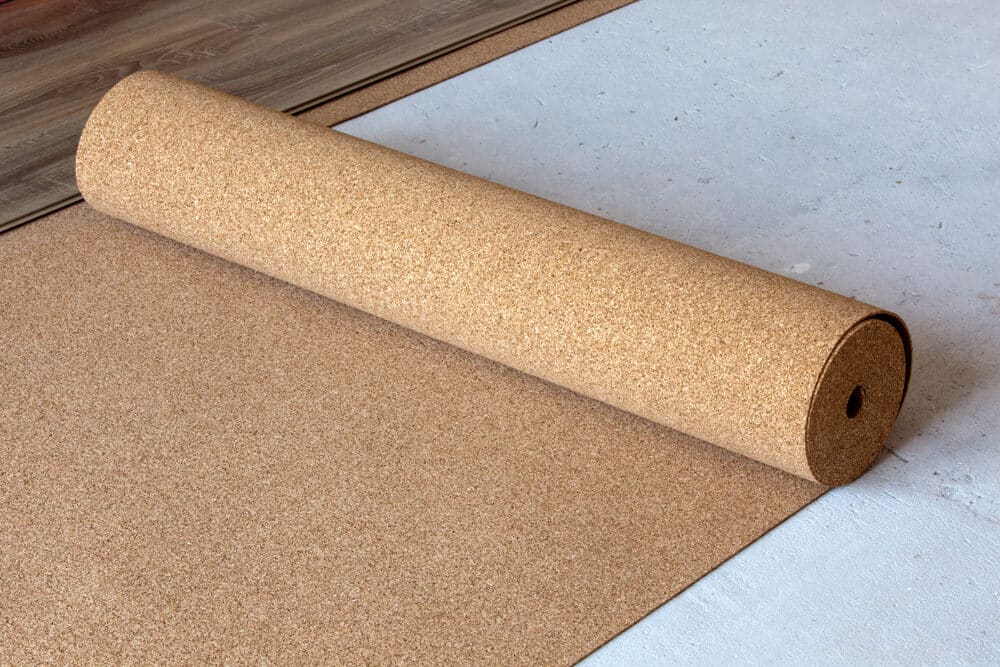
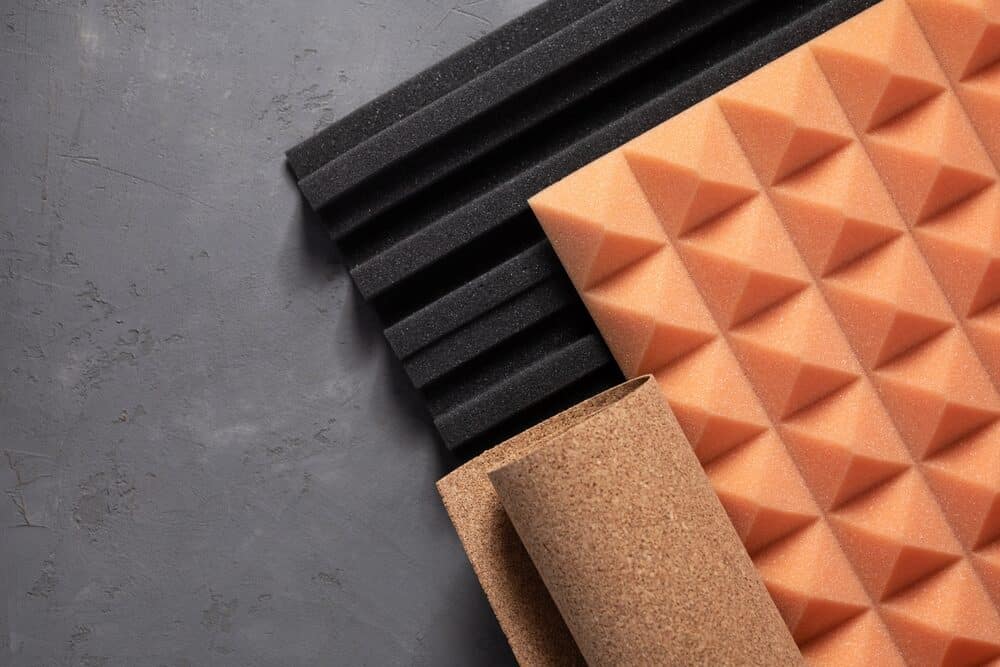
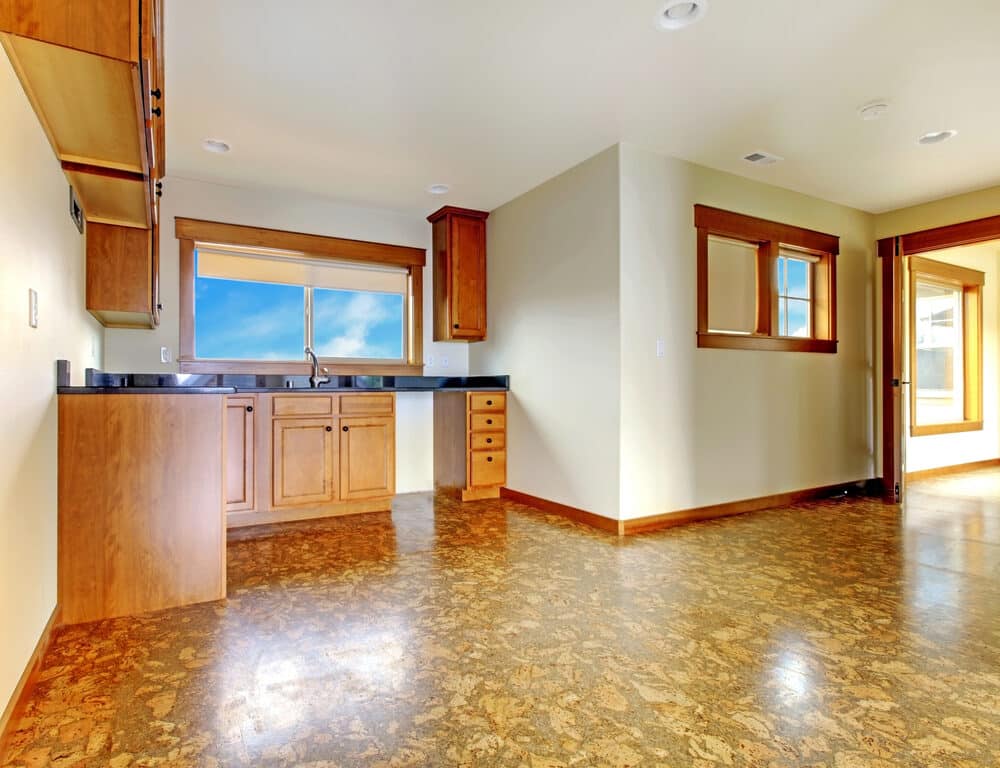
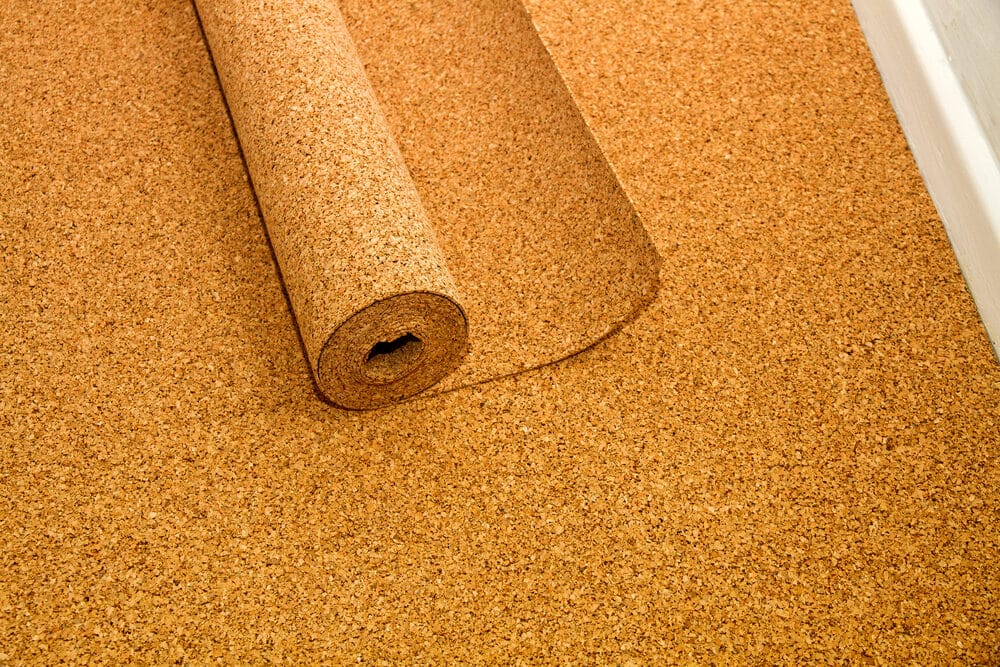
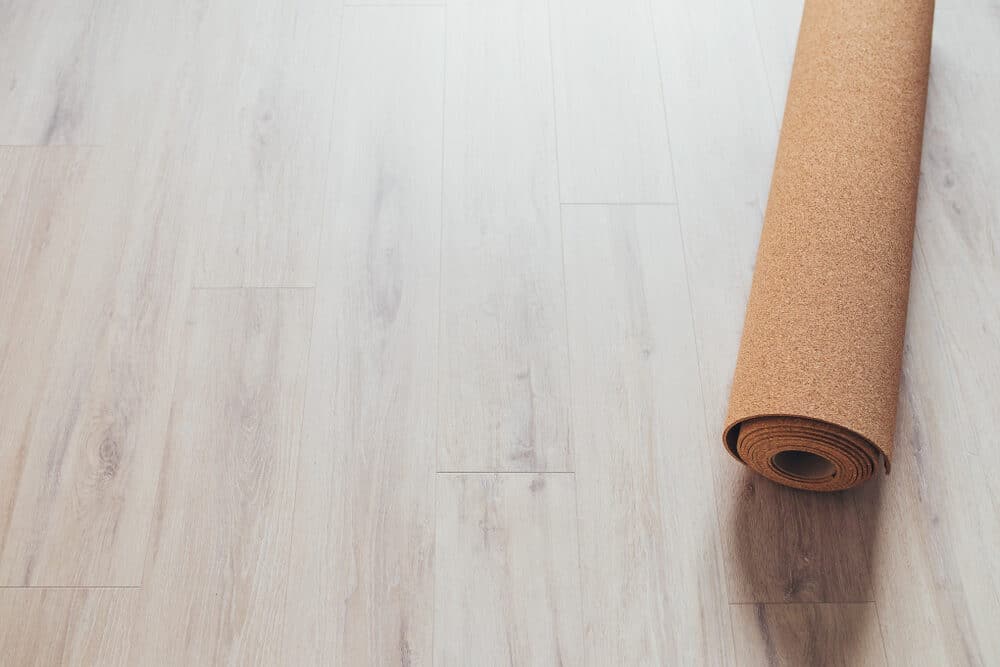
Cork Flooring
- Description: Cork is a natural, sustainable material with sound-absorbing properties.
- Pros: It’s eco-friendly and provides a degree of sound dampening.
- Cons: Its effectiveness is generally lower compared to more specialized soundproofing materials.
In choosing the right sound insulation material for your floors, consider factors like the type of noise (airborne or impact), your budget, and any specific installation requirements. A combination of these materials can often provide the most comprehensive solution for floor sound insulation.
Pre-Installation Considerations
Before embarking on your floor sound insulation project, there are several essential pre-installation considerations to address. Proper planning and preparation will help ensure that your soundproofing efforts are effective and successful.
-
Assess your current floor structure.
- Begin by thoroughly assessing your existing floor structure. Understand its composition, including the materials used for subflooring and finishing flooring.
- Identify any gaps, cracks, or weak points in the floor where sound may easily travel. These areas will require special attention during installation.
-
Understand building codes and regulations.
- Familiarize yourself with local building codes and regulations related to sound insulation. Compliance with these codes is essential to avoid potential issues in the future.
- Building codes often specify minimum requirements for sound insulation in various types of buildings and spaces.
-
Evaluate your goals and needs.
- Define your specific goals for sound insulation. Are you primarily concerned with reducing airborne noise, impact noise, or both?
- Consider the level of sound reduction required for the intended use of the space. Different areas may have varying soundproofing needs.
-
Select the right insulation material.
- Based on your assessment and goals, choose the appropriate sound insulation material or combination of materials. Consider factors like the type of noise, cost, and ease of installation.
- Ensure that the selected materials are compatible with your existing floor structure.
-
Prepare the installation area.
- Clear the area where the insulation will be installed. Remove any obstacles or furnishings that may obstruct the installation process.
- Ensure that the installation area is clean and free from debris, as this can affect the performance of the insulation.
-
Plan for Acoustic Sealing
- Pay attention to sealing gaps and cracks in the floor and walls. Proper acoustic sealing prevents sound leakage and maximizes the effectiveness of the insulation.
- Use acoustically rated sealants or tapes to seal joints and seams.
-
Consider floor height and door clearances.
- Keep in mind that adding sound insulation materials may increase the height of the floor. Ensure that door clearances and transitions between rooms are adjusted accordingly.
- Plan for any necessary adjustments to prevent issues with door swings or uneven floor surfaces.
-
Budgeting and Scheduling
- Establish a clear budget for your sound insulation project, accounting for materials, labor (if applicable), and any additional costs such as tools or acoustic sealants.
- Create a realistic timeline for the installation to ensure that it can be completed without rushing.

By addressing these pre-installation considerations, you set the stage for a successful floor sound insulation project. Proper planning and preparation are key to achieving effective soundproofing and a quieter, more comfortable living or working environment.
Installation Techniques for Different Floor Types
The effectiveness of floor sound insulation can vary depending on the type of flooring you have. Different floor materials require specific installation techniques to achieve the best results in soundproofing. In this section, we’ll explore the installation techniques tailored for various floor types.
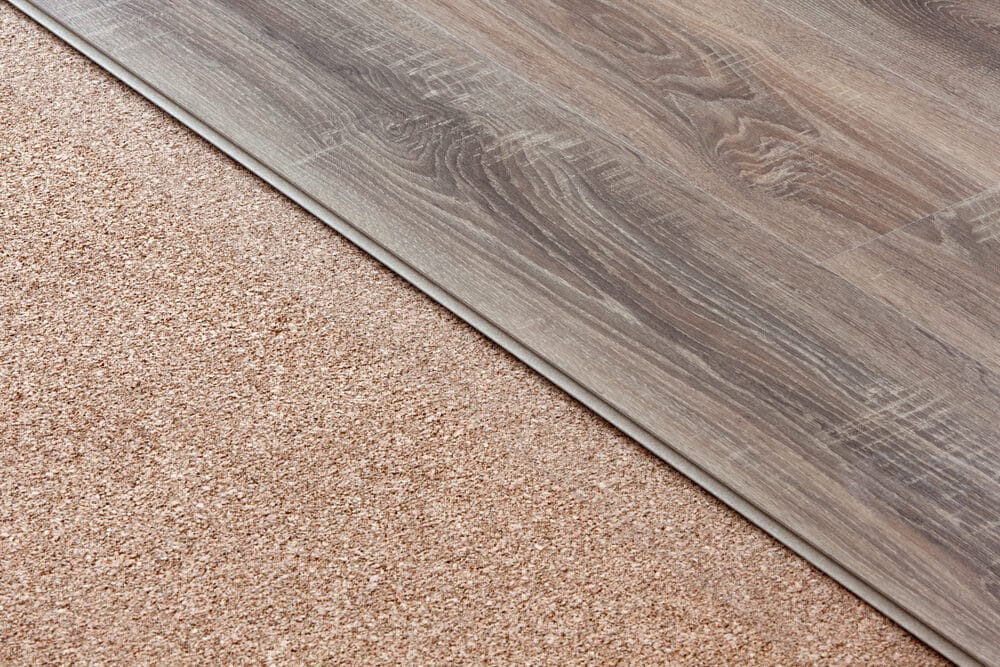
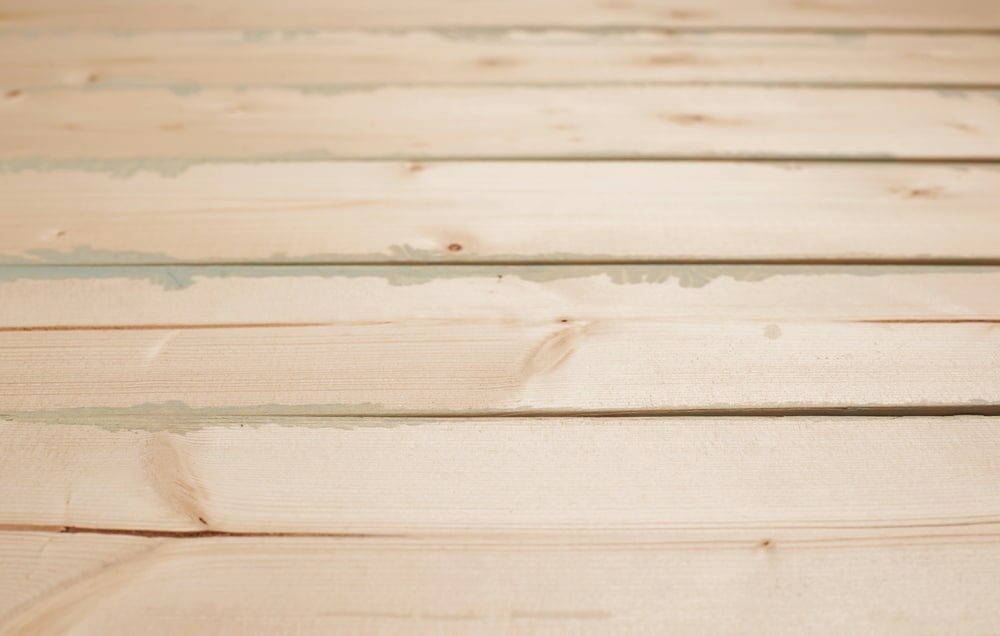
Wooden Floors
- Installation Technique: Wooden floors can transmit both airborne and impact noise. To address this, consider the following:
- Add Underlayment: Place an acoustic underlayment under the finished flooring. These underlayments are designed to absorb sound and reduce its transmission.
- Use Sound Clips and Joist Isolators: For suspended wooden floors, sound clips and joist isolators can be effective. They decouple the floor from the structural joists, preventing impact noise from traveling.
- Seal Gaps: Seal any gaps between the floorboards and walls to prevent sound leakage.
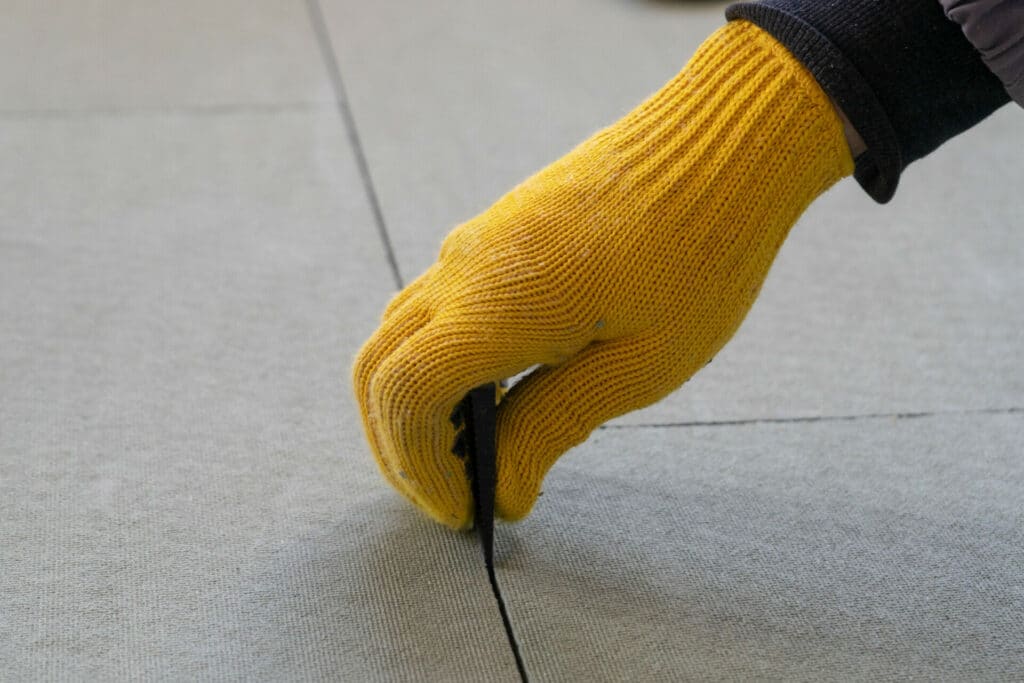
Tile Floors
- Installation Technique: Tile floors are known for their hard surfaces, which can amplify sound. To mitigate this:
- Install Acoustic Underlayment: Place an acoustic underlayment specifically designed for tile floors. This underlayment adds cushioning and minimizes the sound of footsteps.
- Use Soundproofing Membranes: Soundproofing membranes can be applied under the tiles to reduce impact noise.
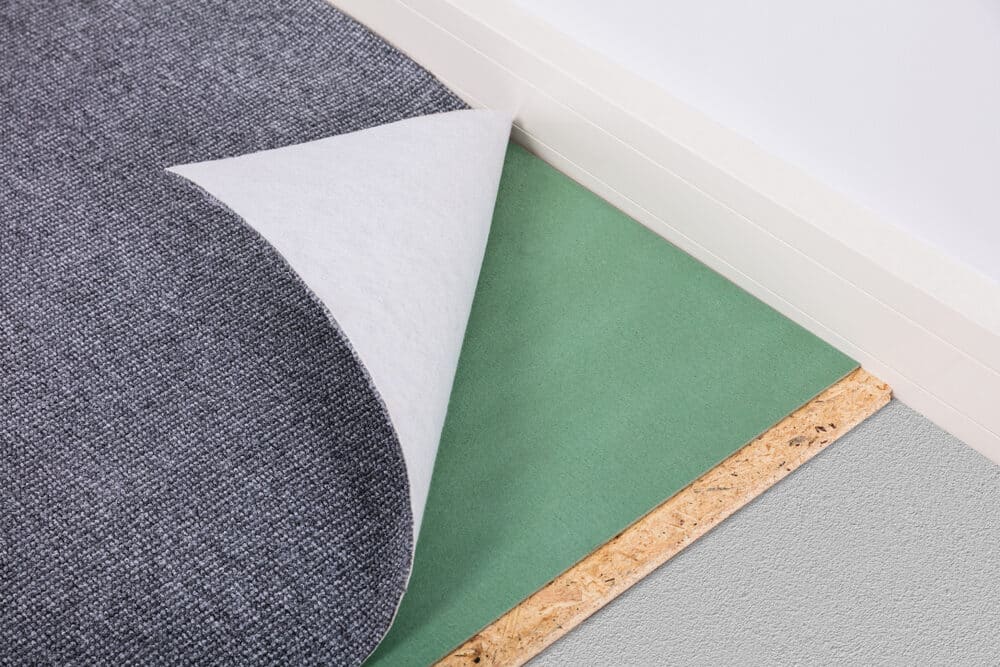
Carpeted Floors
- Installation Technique: Carpet provides inherent sound insulation, but further improvements can be made:
- Choose Thick Carpet Padding: Select thick, dense carpet padding to enhance impact noise reduction.
- Layer with Acoustic Underlayment: For maximum sound insulation, combine the carpet padding with an acoustic underlayment.
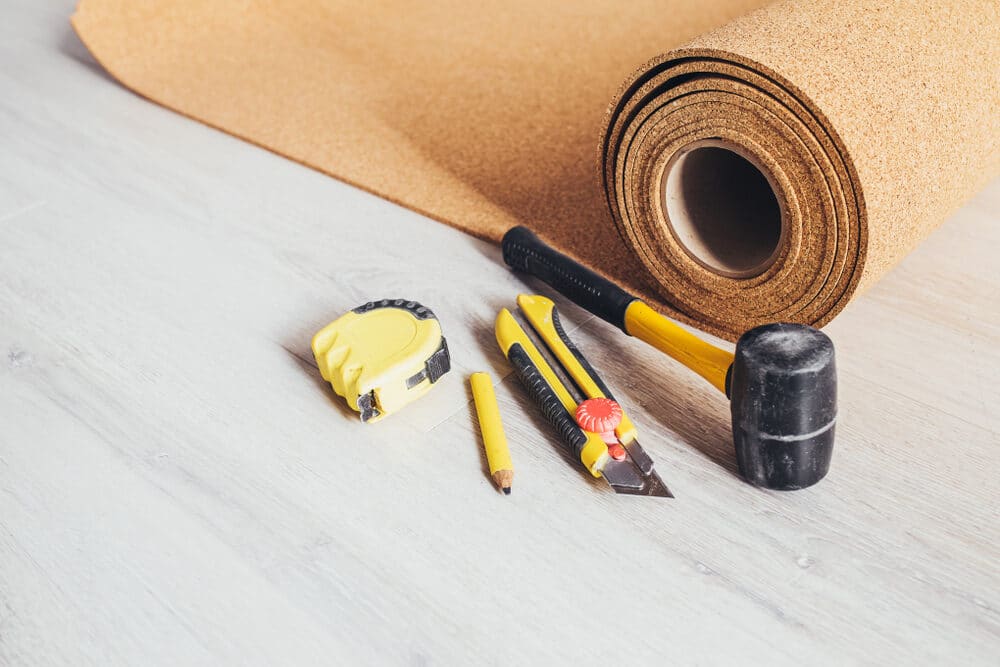
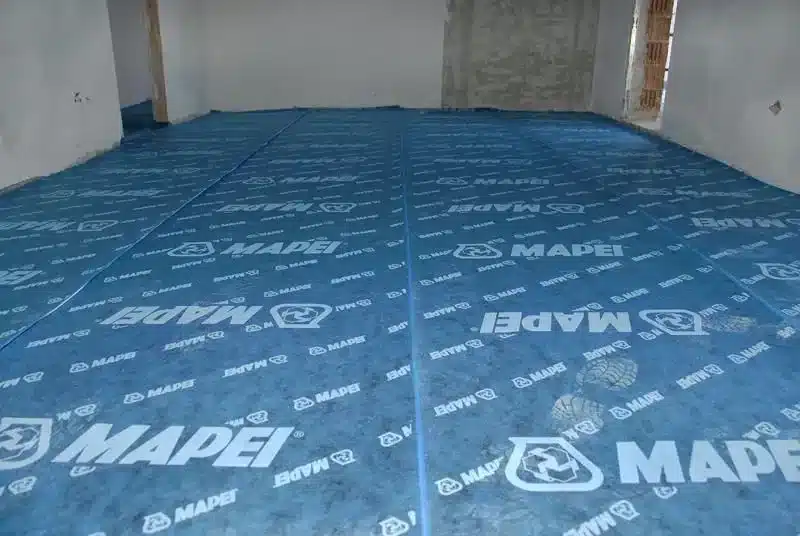
Floating Floors
- Installation Technique: Floating floors, which are not attached to the subfloor, are common in soundproofing projects.
- Install a resilient underlayment: Place a resilient underlayment beneath the floating floor material. This underlayment absorbs sound and minimizes vibrations.
- Use Acoustic Sealant: Seal gaps and seams with acoustic sealant to prevent sound leakage.
Special Considerations for High-Traffic Areas
In high-traffic areas, such as hallways or commercial spaces, consider employing a combination of soundproofing techniques. This may include using both underlayment and soundproofing membranes to achieve optimal sound insulation.
The choice of installation technique should align with your specific floor type and the level of sound insulation needed. Proper installation is key to creating a quieter and more comfortable living or working environment.
DIY vs. professional installation
When it comes to installing sound insulation for your floors, you have the option to either tackle the project yourself (DIY) or hire a professional installer. Each approach has its advantages and considerations. In this section, we’ll explore the pros and cons of both DIY and professional installation to help you make an informed decision.

DIY Installation
Pros of DIY Installation:
- Cost Savings: DIY installation can be more budget-friendly as you avoid the labor costs associated with hiring professionals.
- Flexibility: You have control over the project timeline and can work at your own pace.
- Learning Opportunity: DIY projects can be educational, allowing you to gain hands-on experience and knowledge.
- Personal Satisfaction: Completing a DIY project successfully can be personally fulfilling.
Cons of DIY Installation:
- Skill and Knowledge Required: Effective sound insulation installation requires specific skills and knowledge. Mistakes can lead to reduced effectiveness.
- Time-consuming: DIY projects often take longer to complete, especially if you’re learning as you go.
- Quality Control: Ensuring proper installation may be challenging without professional expertise.
- Risk of Incomplete Soundproofing: Inadequate installation can result in subpar sound insulation.
Professional Installation
Pros of Professional Installation:
- Expertise: Professionals have the knowledge and experience to install sound insulation effectively.
- Efficiency: Professionals can complete the project more quickly and efficiently.
- Quality Assurance: You can expect a higher level of quality and performance with professional installation.
- Compliance with Codes: Professionals are familiar with local building codes and regulations, ensuring compliance.
Cons of Professional Installation:
- Cost: Professional installation typically comes with labor costs, which can be a significant expense.
- Less Control: You may have less control over the project timeline and process.
- Scheduling: You’ll need to coordinate with the installer’s schedule, which may not always align with your preferences.
- Potential for Overkill: In some cases, professionals may recommend more insulation than needed, leading to unnecessary costs.
Choosing the Right Approach:
The decision between DIY and professional installation depends on your skills, budget, and the complexity of the project. Here are some guidelines:
- DIY: Consider DIY if you have the necessary skills and are comfortable with the project’s scope. It’s a cost-effective option for those with experience in construction or soundproofing.
- Professional Installation: If you lack the expertise or time, or if the project is complex (e.g., a large commercial space), hiring professionals is advisable. It ensures optimal results and compliance with building codes.
In some cases, a hybrid approach may work, where you handle some aspects of the installation and bring in professionals for more complex tasks. Ultimately, the choice should align with your goals, budget, and confidence in your abilities to achieve effective sound insulation.
Choosing the Right Installer
Selecting the right installer for your floor sound insulation project is a crucial step toward achieving effective and long-lasting results. The installer’s expertise and professionalism play a significant role in the success of your soundproofing efforts. Here are some key considerations for choosing the right installer:
- Experience: Look for an installer with a proven track record of sound insulation projects. Experience in working with various floor types and soundproofing materials is essential.
- Credentials: Check for certifications and licenses. Reputable installers often hold certifications related to soundproofing and construction.
- References: Ask for references or reviews from past clients. A reputable installer should be able to provide references who can vouch for the quality of their work.
- Portfolio: Request to see examples of their previous sound insulation projects. A portfolio of successful installations demonstrates their expertise.
- Insurance: Ensure that the installer has appropriate liability insurance. This protects both you and the installer in case of accidents or damage during the project.
- Transparent Pricing: Obtain detailed quotes from multiple installers. Compare the scope of work, materials used, and pricing to make an informed decision.
- Communication: Effective communication is key. Choose an installer who listens to your needs, answers your questions, and provides clear explanations.
- Local Knowledge: An installer familiar with local building codes and regulations can help ensure compliance.
- Timeline: Discuss project timelines and deadlines. Make sure the installer can accommodate your schedule.
- Contract: Always have a written contract that outlines the scope of work, materials, costs, and timelines. Review it carefully before signing.
- Warranty: Inquire about warranties for both materials and workmanship. A reputable installer should stand behind their work.
- Ask Questions: Don’t hesitate to ask questions about the installation process, materials used, and expected results. A knowledgeable installer should be able to address your concerns.
Troubleshooting common sound insulation issues
Even with careful planning and professional installation, sound insulation issues can sometimes arise. Troubleshooting these issues is essential to ensuring that your soundproofing efforts are effective. Here are common problems and their solutions:
- Gaps and leaks:
- Issue: Gaps or leaks in the sound insulation can allow sound to pass through.
- Solution: Inspect the installation for any gaps or openings and seal them with acoustic sealant or appropriate materials.
- Uneven Floor Surfaces:
- Issue: Uneven floor surfaces can lead to sound leakage.
- Solution: Level the floor using self-leveling compounds or underlayments to create a smooth and soundproof surface.
- Excessive Noise Penetration:
- Issue: If noise is still penetrating through the insulation, consider adding additional layers of insulation material or using thicker materials to enhance soundproofing.
- Improper Installation:
- Issue: If the installation is not done correctly, it can lead to reduced effectiveness.
- Solution: Consult with a professional to assess and correct any installation errors.
- Lack of maintenance:
- Issue: Neglecting maintenance can lead to the deterioration of sound insulation over time.
- Solution: Regularly inspect and maintain the sound insulation materials, replacing damaged or worn-out sections as needed.
- Inadequate acoustic sealing:
- Issue: Poor sealing of gaps and seams can compromise sound insulation.
- Solution: Ensure that all joints, seams, and gaps are properly sealed with acoustic sealants or tapes.
- Underestimating sound sources:
- Issue: Sometimes, sound sources themselves are underestimated, leading to unrealistic expectations of sound insulation.
- Solution: Identify and address the sources of noise (e.g., noisy equipment, loud appliances) in addition to soundproofing the space.
By addressing common sound insulation issues and choosing the right installer, you can optimize the effectiveness of your soundproofing project, creating a quieter and more comfortable environment.
Maintenance and Upkeep of Sound Insulated Floors
Proper maintenance and upkeep of sound-insulated floors are essential to ensuring their long-term effectiveness and performance. Sound insulation materials and installations can deteriorate over time, potentially leading to reduced soundproofing capabilities. In this section, we’ll discuss maintenance tasks and best practices to keep your sound-insulated floors in top condition.
-
Regular Inspections
- Conduct regular visual inspections of your sound-insulated floors. Check for any signs of wear, damage, or gaps in the insulation material.
- Pay attention to seams, joints, and edges where sound insulation materials meet. These areas are prone to wear and may require maintenance.
-
Address wear and tear.
- Promptly address any wear and tear by replacing damaged or worn-out insulation materials. This includes acoustic underlayments, soundproofing membranes, or any other components used in the installation.
- For carpets with padding, replace padding that has become compressed or damaged to maintain its sound-absorbing properties.
-
Seal gaps and cracks.
- Inspect the floor for any gaps, cracks, or openings that may have developed over time. These gaps can allow sound to pass through.
- Use acoustic sealant or specialized tape to seal any openings, ensuring that the soundproofing barrier remains intact.
-
Maintain Flooring
- If you have finished flooring (e.g., hardwood, tile, or carpet) installed over the sound insulation, follow appropriate maintenance procedures for the flooring material.
- Keep flooring clean and in good condition, as damaged or deteriorating finish flooring can impact sound insulation.
-
Monitor impact noise.
- If your floor sound insulation is designed to reduce impact noise (e.g., footsteps), be mindful of any changes in noise levels.
- Address any issues promptly, as increased impact noise could indicate wear or damage to the sound insulation.
-
Professional Inspection
- Consider scheduling periodic professional inspections of your sound insulation. Professionals can assess the condition of the insulation, identify potential issues, and recommend maintenance or repairs.
-
Reevaluate sound needs.
- Over time, your sound insulation needs may change. If you experience increased noise levels or changes in occupancy, reassess your soundproofing requirements and make the necessary adjustments.
-
Documentation
- Keep records of your sound insulation installation, including the types of materials used, installation techniques, and any maintenance or repairs performed.
- Documentation can be valuable for future reference and may be required for warranty claims.
-
Consult with experts.
- If you have any concerns or questions about the maintenance of your sound-insulated floors, don’t hesitate to consult with soundproofing experts or professionals with experience in acoustic solutions.
By following these maintenance and upkeep practices, you can extend the lifespan of your sound insulation and ensure that it continues to provide effective noise reduction. A well-maintained, soundproofed environment contributes to a quieter and more comfortable living or working space.

Conclusion
In conclusion, achieving effective sound insulation for your floors is essential for creating a quiet and comfortable living or working environment. Whether you’re dealing with airborne noise, impact noise, or both, the right soundproofing techniques and materials can make a significant difference. This comprehensive guide has provided you with valuable insights into floor sound insulation, from understanding the basics to troubleshooting common issues.
Key takeaways from this guide include:
- Understanding Sound Insulation: Sound insulation involves reducing the transmission of sound through floor assemblies, addressing both airborne and impact noise.
- Types of Sound Insulation Materials: Various materials, including fiberglass, mineral wool, foam, acoustic underlayment, and more, offer options for soundproofing your floors.
- Pre-Installation Considerations: Proper planning, understanding building codes, and selecting the right materials are essential pre-installation steps.
- Installation Techniques for Different Floor Types: Tailor your installation technique based on the type of flooring, whether it’s concrete, wood, tile, carpet, or floating floors.
- DIY vs. Professional Installation: Weigh the pros and cons of DIY installation versus hiring professionals to determine the best approach for your project.
- Choosing the Right Installer: Selecting an experienced and reputable installer is crucial for achieving effective sound insulation.
- Troubleshooting Common Sound Insulation Issues: Be prepared to address common problems like gaps, uneven surfaces, and excessive noise penetration during and after installation.
- Maintenance and Upkeep: Regular inspections, addressing wear and tear, sealing gaps, and consulting professionals contribute to the longevity of your sound insulation.
Creating a quiet and peaceful environment through sound insulation not only enhances comfort but also promotes well-being. By following the guidance provided in this guide and making informed decisions, you can enjoy the benefits of effective floor sound insulation for years to come.


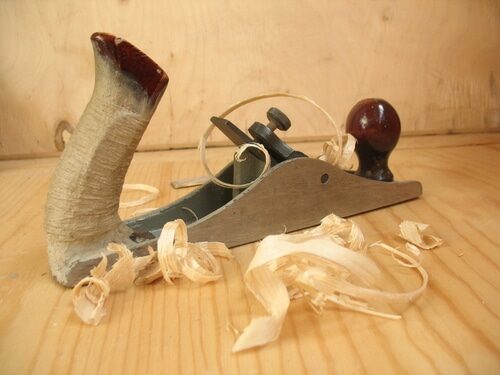
Sanding
We provide virtually dust-free sanding with our continuous belt machinery with mobile extraction units, giving you a safer environment for your family.
Oiling
This organic finish not only adds beauty to your home but also has exceptional water-repellent characteristics, making it easier to clean and maintain.
Waxing
This natural floor finish offers the softest and most mellow appearance – and leaves your floor able to breath.
Buffing
Using soft buffing machines (and hand-polishing where required) will bring a wonderful sheen to your newly-finished floor.
Repairs
We offer a full assessment of your wooden floors to determine what repairs are needed to provide the perfect working surface for the later stages of sanding, staining and sealing.
Restoration
We offer a comprehensive restoration process designed to address floors that are improperly fitted or damaged over time through wear and tear.
Request a fixed price quote for your wood floor restoration now
Simply enter your postcode below to get started.
Services
Wood Floor Sanding Wood Floor Restoration Wood Floor Scratch Repair Squeaky Wood Floor Repair Parquet Floor Sanding Parquet Floor Restoration Commercial Floor Sanding Church Floor Sanding Community Centre Floor Sanding School Floor Sanding Gap Filling Gap Filling with ResinCopyright © Mr Sander®
Privacy & Cookies Terms & Conditions Complaints Procedure Cancellation Rights Sitemap

Get An Instant Price Estimate Before You Go…
Simply enter the rooms you need sanded and we’ll provide you with a price estimate instantly! Try our price calculator now.
Get a Price Estimate NowLocal Floor Sanding Experts
Over 500 5-Star Reviews
Safe, Dust Free Sanding
Operating Since 1994