London:
Nationwide:
25,000+
Floors Restored
27 Years Experience
Wood Flooring Association Certified
Choosing the Best Underlay for Engineered Wood Flooring
Posted on December 7, 2023
Wood Flooring
Selecting the Ideal Underlay for Your Engineered Wood Flooring
When it comes to enhancing the beauty, durability, and comfort of your home’s flooring, engineered wood flooring is an excellent choice. Its natural aesthetic and versatility make it a popular option for homeowners and designers alike. However, the success of your engineered wood flooring project doesn’t solely depend on the quality of the wood itself. Equally important is the often-overlooked hero of the flooring world: the underlay.
Underlay, while often hidden beneath the surface, plays a crucial role in ensuring your engineered wood flooring performs at its best. It’s the unsung hero that provides support, insulation, and sound dampening, among other benefits. In this comprehensive guide, we’ll dive deep into the world of underlay for engineered wood flooring, helping you make informed decisions about which underlay is best suited for your project.
Join us as we explore the different types of underlay available, factors to consider when choosing the right one, installation tips, and answers to common questions. By the end of this journey, you’ll be well-equipped to select the best underlay for your engineered wood flooring, ensuring a floor that not only looks stunning but also stands the test of time. Let’s get started!
Understanding the Underlay for Engineered Wood Flooring
Before we delve into the nitty-gritty details of underlay choices and installation tips, it’s essential to have a clear understanding of what underlay is and why it matters in the context of engineered wood flooring.
What is an underlay?
Underlay, often referred to as underlayment or padding, is a layer of material that is placed beneath your engineered wood flooring. It serves several vital purposes in your flooring project:
- Support: The underlay provides structural support to your flooring, helping to distribute weight and minimize the risk of uneven wear or damage.
- Moisture Barrier: Some underlay materials come with moisture-resistant properties, acting as a barrier between your flooring and any moisture that may come from the subfloor.
- Sound Insulation: Underlay can significantly reduce noise transmission, making your home quieter by absorbing impact sound and reducing sound transfer between floors.
- Thermal Insulation: It also provides thermal insulation, helping to keep your space warmer and more energy-efficient by preventing heat loss through the floor.
Why Do You Need an Underlay for Engineered Wood Flooring?
While it might be tempting to skip the underlay and install your engineered wood flooring directly on the subfloor, there are compelling reasons not to:
- Protection: The underlay acts as a protective barrier, preventing your engineered wood flooring from coming into direct contact with the subfloor. This is especially important when dealing with moisture-prone subfloors.
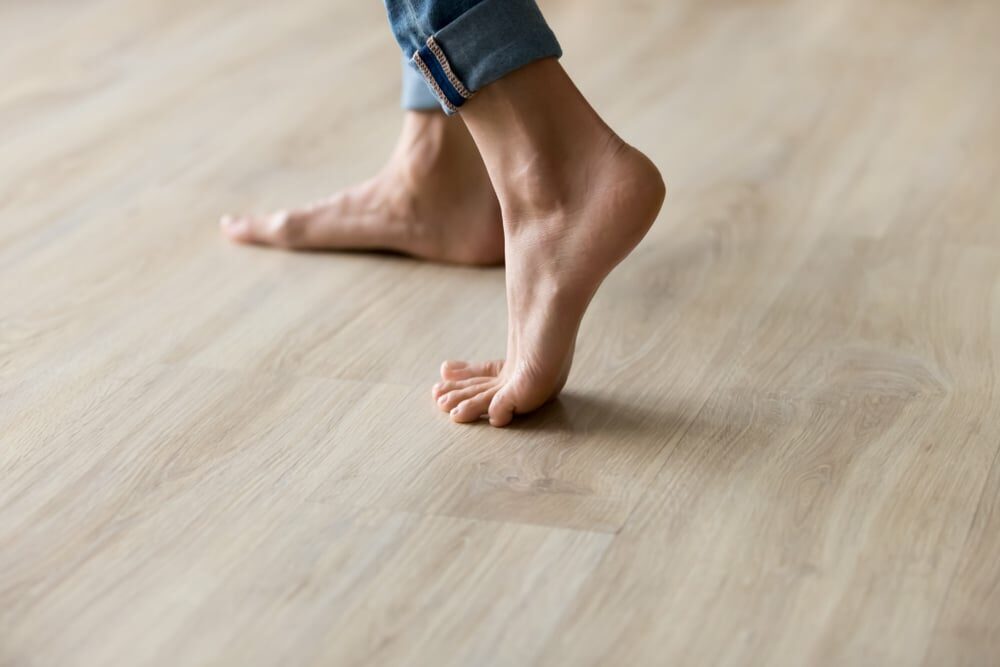
- Comfort: The right underlay adds a layer of cushioning and comfort underfoot, making your floors more comfortable to walk on.
- Durability: Underlay can extend the lifespan of your engineered wood flooring by reducing the stress and impact it experiences during daily use.
- Noise Reduction: If you live in a multi-story home or an apartment, an underlay is essential for reducing the noise transmitted between floors. It creates a quieter, more peaceful environment.
- Energy Efficiency: The thermal insulation provided by the underlay helps maintain a consistent indoor temperature, potentially reducing your energy bills.
Benefits of Using Underlay
Using underlay for your engineered wood flooring project offers several benefits:
- Enhanced Comfort: The underlay creates a softer and more comfortable surface to walk on, making your home more enjoyable to live in.
- Improved Acoustics: It reduces the impact and airborne noise, ensuring a quieter living space.
- Moisture Protection: An underlay with moisture-resistant properties safeguards your flooring against potential water damage.
- Longer Flooring Lifespan: By providing support and protection, the underlay can extend the life of your engineered wood flooring.
- Energy Savings: Thermal insulation keeps your home warmer, potentially reducing heating costs.
In the following sections, we’ll explore the different types of underlay available for engineered wood flooring and help you choose the right one based on your specific needs and circumstances. Whether you’re renovating an existing space or working on a new build, understanding the role of underlay is the first step to a successful flooring project.
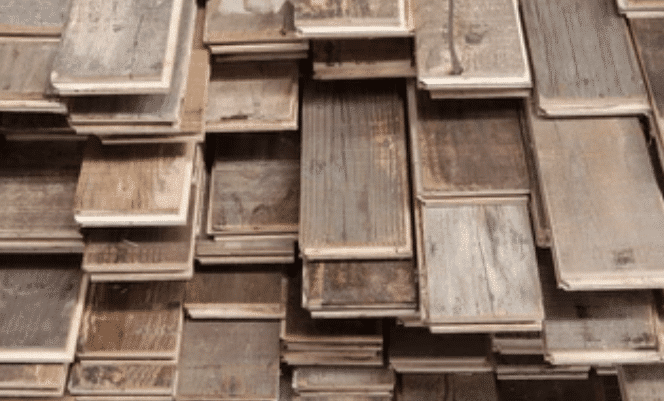
Types of Underlay for Engineered Wood Flooring
Now that you understand the significance of underlay for engineered wood flooring, let’s explore the various types of underlay materials available. Each type has its own unique characteristics and benefits, so choosing the right one is crucial to achieving the desired performance for your flooring project. Here are some common types of underlay:
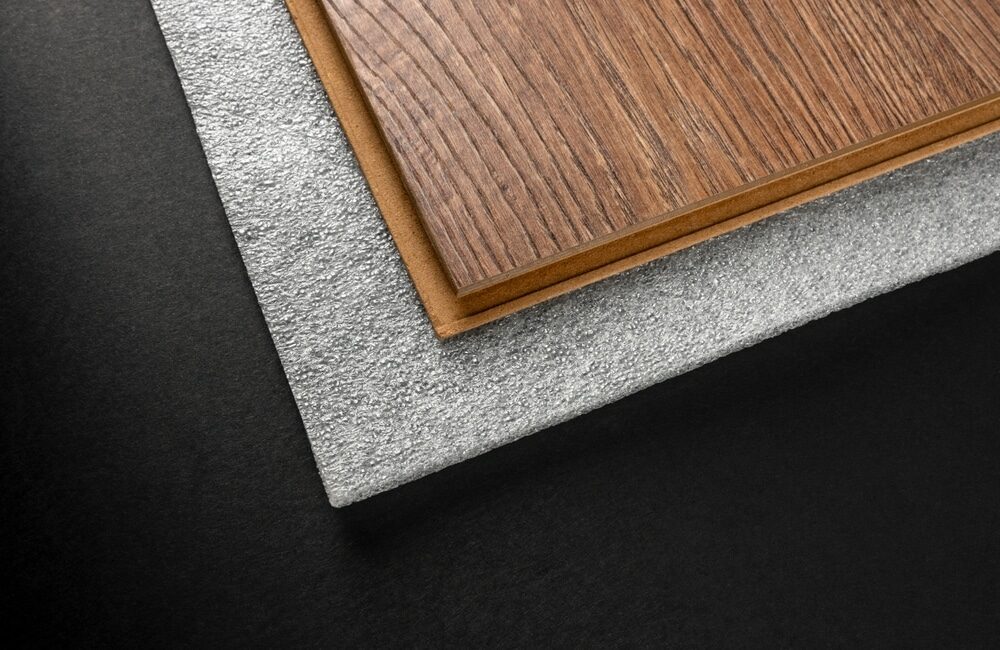
Foam Underlay:
- Material: Foam underlay is typically made from polyethylene or polypropylene foam.
- Benefits: It provides excellent cushioning, sound insulation, and thermal insulation. Foam underlay is easy to install and budget-friendly.
Rubber Underlay:
- Material: The rubber underlay is made from recycled or synthetic rubber.
- Benefits: It offers exceptional durability and is resistant to compression over time. Rubber underlay is ideal for high-traffic areas and provides excellent sound insulation.
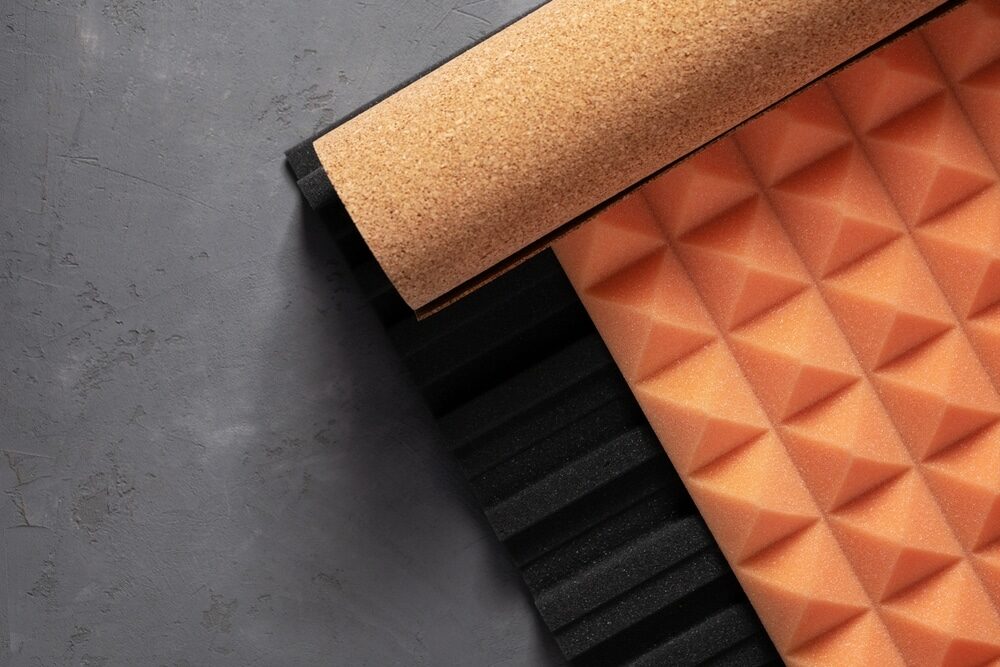
Felt Underlay:
- Material: A felt underlay is made from recycled textile fibers or wool.
- Benefits: It provides a luxurious feel underfoot and offers good sound and thermal insulation. A felt underlay is eco-friendly and can be a suitable choice for eco-conscious consumers.
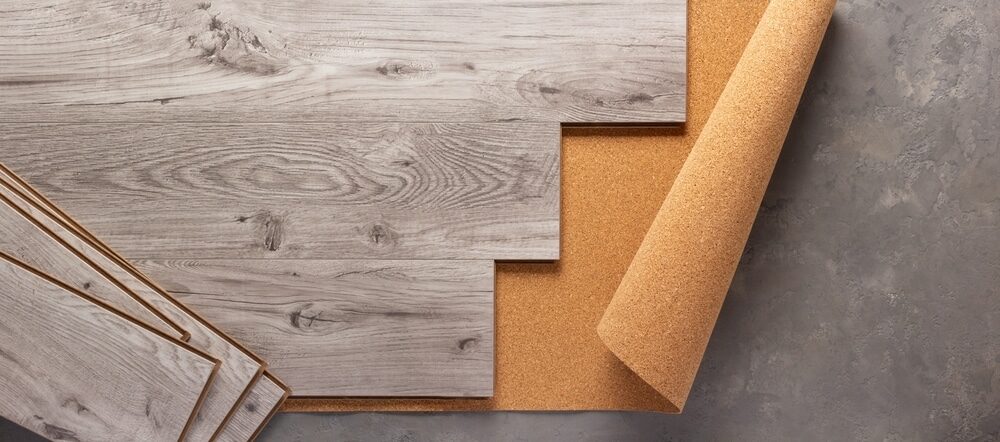
Cork Underlay:
- Material: Cork underlay is made from cork granules or sheets.
- Benefits: It is a natural and sustainable option that offers good sound insulation and thermal properties. Cork underlay is also resistant to moisture.
Combination Underlay:
- Material: A combination underlay combines multiple materials, such as foam and foil or foam and felt, to provide various benefits in one product.
- Benefits: This type of underlay aims to offer a balance of cushioning, sound insulation, and thermal properties. It can be a versatile choice for different flooring needs.
Choosing the right type of underlay depends on several factors, including your budget, the type of subfloor, and your specific requirements. Here are some considerations to help you decide:
- Subfloor Type: Different underlay materials may be better suited for specific subfloor types, such as concrete, plywood, or existing flooring.
- Moisture Resistance: If your subfloor is prone to moisture issues, selecting an underlay with moisture-resistant properties is crucial to protecting your engineered wood flooring.
- Sound Insulation: If noise reduction is a priority, opt for underlay materials known for their sound-absorbing qualities, such as rubber or felt.
- Thermal Insulation: In colder climates, choosing an underlay with good thermal insulation can help keep your home warmer and reduce energy costs.
- Budget: Consider your budget constraints, as some underlay materials may be more cost-effective than others.
In the next section, we’ll explore the factors you should consider when making the final decision on which underlay is the best fit for your engineered wood flooring project.
Factors to Consider When Choosing Underlay
Selecting the right underlay for your engineered wood flooring involves considering several important factors. By taking these factors into account, you can ensure that the underlay you choose is the best match for your specific needs and circumstances.
1. Subfloor Type:
The type of subfloor you have will significantly influence your underlay choice. Common subfloor types include concrete, plywood, and existing flooring. Different underlay materials may be better suited for each type:
- For concrete subfloors, consider a moisture-resistant underlay to protect against moisture seepage.
- Plywood subfloors may benefit from a variety of underlay options, depending on other factors like sound insulation and comfort.
- If you’re installing over existing flooring, ensure the underlay is suitable for this type of application.
2. Moisture Resistance:
Moisture is a common concern when it comes to flooring. If your subfloor is prone to moisture issues, it’s crucial to choose an underlay with moisture-resistant properties. This will help prevent any water damage to your engineered wood flooring over time.
3. Sound Insulation:
If noise reduction is a priority, consider underlay materials known for their sound-absorbing qualities. Rubber and felt underlays are excellent choices for sound insulation, creating a quieter and more peaceful living environment.
4. Thermal Insulation:
In regions with colder climates, thermal insulation becomes essential for maintaining a comfortable indoor temperature and potentially reducing heating costs. Look for underlay materials that offer good thermal properties.
5. Installation Method:
The method of installation can also impact your underlay choice. If you’re floating your engineered wood flooring, you’ll need an underlay that is designed for floating installations. Similarly, if you plan to glue down the flooring, your underlay should be compatible with adhesive applications.
6. Budget:
Your budget is a practical consideration when choosing an underlay. Different underlay materials come with varying price points, so it’s essential to balance your budget with your desired features and performance.
7. Environmental Considerations:
If you’re environmentally conscious, you might want to opt for eco-friendly underlay options. Materials like cork or felt, which are derived from sustainable sources, can be more environmentally friendly choices.
8. Compatibility with Flooring:
Ensure that the underlay you select is compatible with engineered wood flooring. Some underlays may be specifically designed for use with certain flooring types or brands, so check manufacturer recommendations.
9. Underfoot Comfort:
Consider the level of cushioning and comfort you desire. Foam underlays, for example, provide excellent underfoot comfort, making your floors more pleasant to walk on.
By carefully evaluating these factors and understanding your specific project requirements, you can make an informed decision when choosing the right underlay for your engineered wood flooring. This thoughtful approach will help ensure the longevity, performance, and comfort of your flooring investment.

Installation Tips for Underlay and Engineered Wood Flooring
Once you’ve selected the appropriate underlay for your engineered wood flooring project, it’s time to dive into the installation process. Proper installation is key to ensuring the longevity and performance of your flooring. Here are some essential tips to guide you through the installation:
-
Prepare the subfloor:
Before installing underlay and engineered wood flooring, it’s crucial to prepare the subfloor adequately. Ensure that the subfloor is clean, dry, and level. Remove any debris, dust, or old adhesive, and repair any cracks or imperfections. A well-prepared subfloor provides a stable foundation for your flooring.
-
Acclimatize Your Engineered Wood Flooring:
Allow your engineered wood flooring to acclimate to the room’s conditions before installation. This typically involves storing the flooring in the room for a few days to let it adjust to the temperature and humidity levels. This helps prevent issues like warping or buckling after installation.
-
Install a vapor barrier.
If moisture is a concern, especially over concrete subfloors, consider installing a separate vapor barrier before laying the underlay. This additional layer helps prevent moisture from reaching your engineered wood flooring.
-
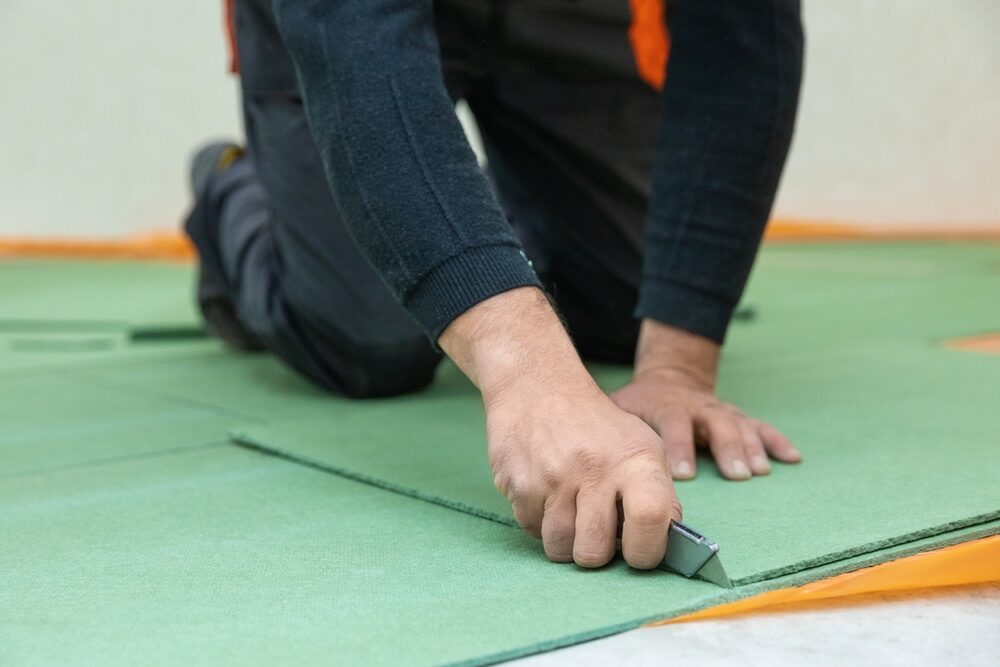
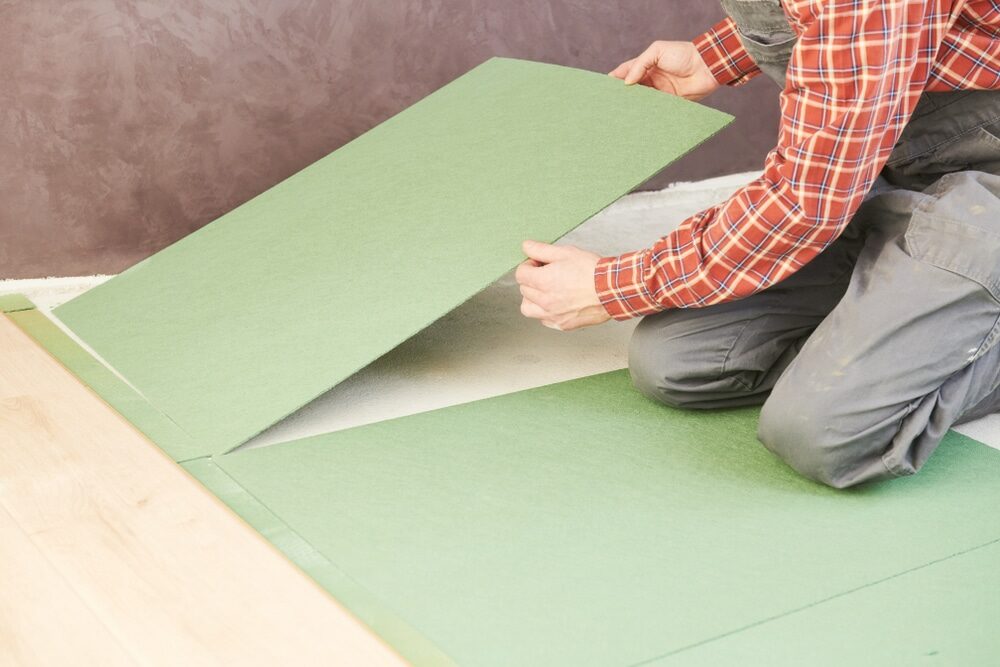
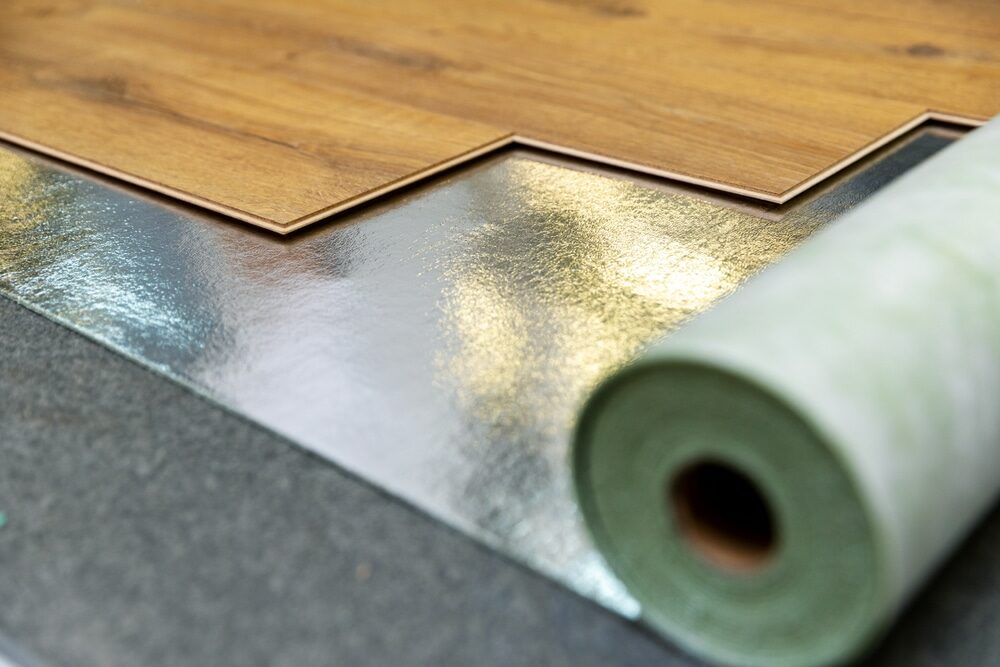
Lay the underlay:
Carefully roll out and position the underlay material over the prepared subfloor. Ensure that the underlay runs in the same direction as your planned flooring installation. If you have multiple underlay rolls, overlap the seams by a few inches and secure them with tape to create a continuous moisture barrier.
-
Trim and secure the underlay.
Trim any excess underlay along the edges of the room, leaving a slight gap (usually about 1/4 inch) between the underlay and the wall to allow for floor expansion. Secure the underlay in place using adhesive tape or staples, following the manufacturer’s recommendations.
-
Follow the manufacturer’s guidelines:
Each underlay product may have specific installation instructions provided by the manufacturer. It’s crucial to follow these guidelines carefully to ensure proper installation and maintain any warranties associated with the product.
-
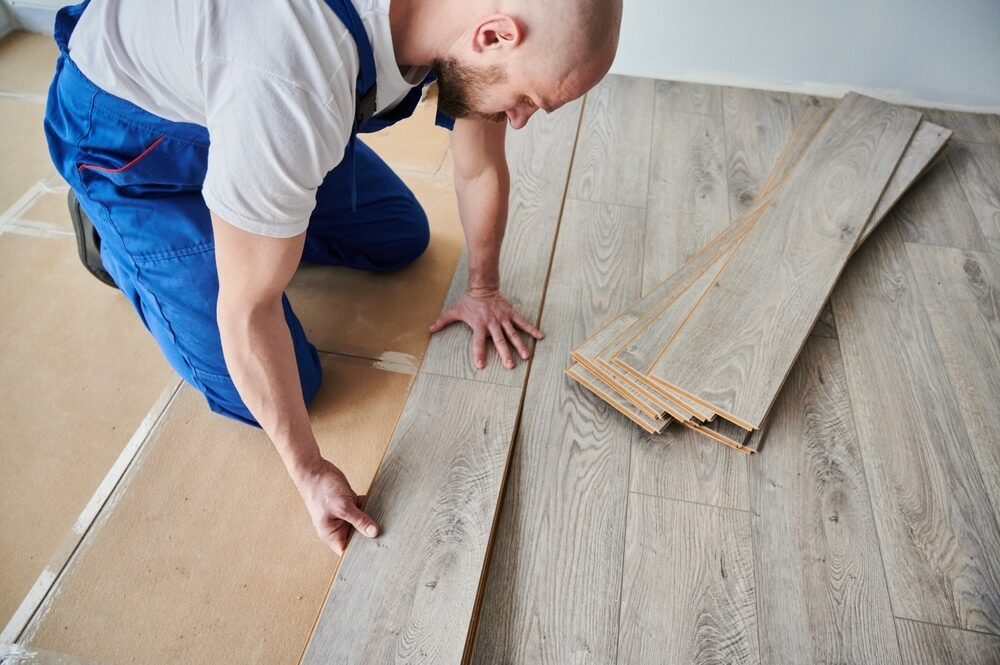
Install the Engineered Wood Flooring:
With the underlay in place, it’s time to lay your engineered wood flooring. Begin in one corner of the room and work your way toward the opposite wall. Be sure to maintain the recommended expansion gap along the perimeter of the room. Follow the manufacturer’s instructions for the specific installation method (e.g., floating, glue-down, or nail-down).
-
Proper space and secure flooring:
Space the engineered wood flooring boards according to the manufacturer’s recommendations for the type of installation you are doing. Use spacers to maintain consistent gaps along the walls and between boards. Secure the flooring as needed, whether it’s with adhesive, nails, or staples.
-
Carefully Trim Around Obstacles:
When you encounter obstacles, such as door jambs or vents, take the time to carefully cut and fit the flooring around them using the appropriate tools. Ensure that the fit is snug and that there are no gaps.
-
Finish with molding and trimming.
After the flooring is installed, add appropriate molding and trim to cover expansion gaps and create a polished look. Follow the manufacturer’s recommendations for finishing touches.
-
Allow Time for Settling:
Once the flooring is in place, allow it to settle for the recommended time before heavy foot traffic or moving furniture back into the room. This allows the flooring to adjust to its new environment.
By following these installation tips and taking your time during the process, you can achieve a successful and visually appealing installation of both the underlay and engineered wood flooring. Proper installation not only enhances the aesthetics of your space but also ensures the long-term durability and performance of your flooring investment.
Conclusion
In the world of home improvement and interior design, and Wood Floor Restoration, it’s often the unseen elements that make the most significant difference. When it comes to engineered wood flooring, the underlay is one such hidden hero that plays a crucial role in the performance and longevity of your floors.
We’ve explored the various aspects of underlay for engineered wood flooring, from understanding its importance to identifying the different types of underlay materials available. By now, you should have a clearer understanding of how to choose the right underlay for your specific project.
Remember that your choice of underlay can impact not only the comfort and durability of your flooring but also your overall living experience. Whether you’re looking for added warmth, sound insulation, or moisture protection, there’s an underlay option that aligns with your needs.
As you embark on your flooring journey, keep in mind the factors that matter most to you: the type of subfloor, moisture resistance, sound and thermal insulation, installation method, and budget. These considerations will guide you toward the underlay that best suits your circumstances.
By following the installation tips we’ve provided, you can ensure a seamless and successful installation process that enhances both the performance and aesthetics of your engineered wood flooring. With proper care and attention to detail, your flooring investment will continue to bring comfort and beauty to your home for years to come.
So, whether you’re Renovating your Wood Floor or living room, upgrading your bedroom, or transforming your entire home, make the right choice when it comes to the underlay for your engineered wood flooring. Elevate your space with a foundation that not only supports your floors but also elevates your quality of life. Happy flooring!

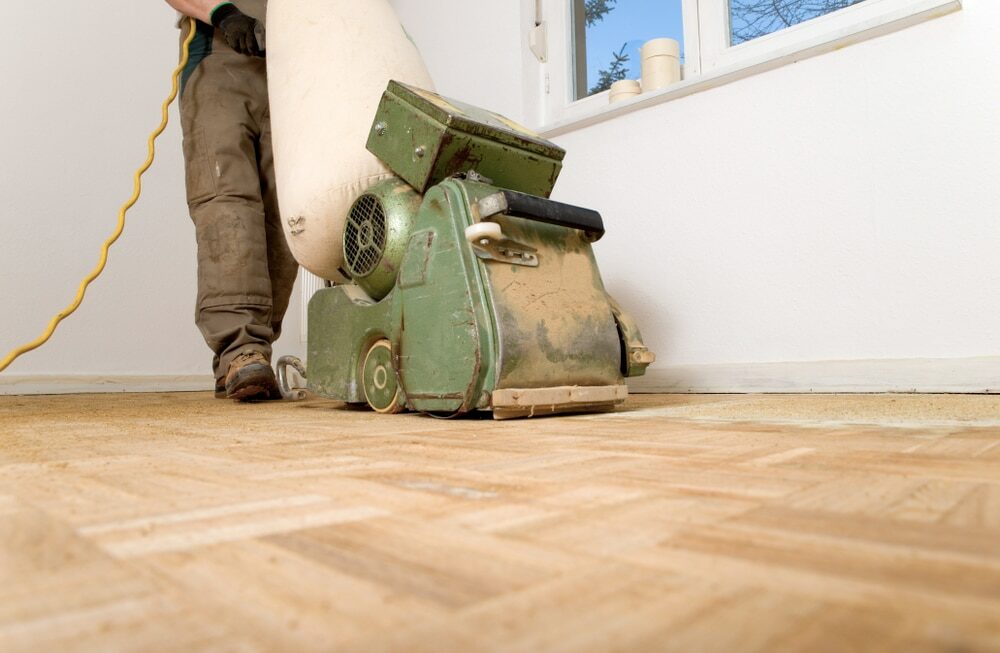
Sanding
We provide virtually dust-free sanding with our continuous belt machinery with mobile extraction units, giving you a safer environment for your family.
Oiling
This organic finish not only adds beauty to your home but also has exceptional water-repellent characteristics, making it easier to clean and maintain.
Waxing
This natural floor finish offers the softest and most mellow appearance – and leaves your floor able to breath.
Buffing
Using soft buffing machines (and hand-polishing where required) will bring a wonderful sheen to your newly-finished floor.
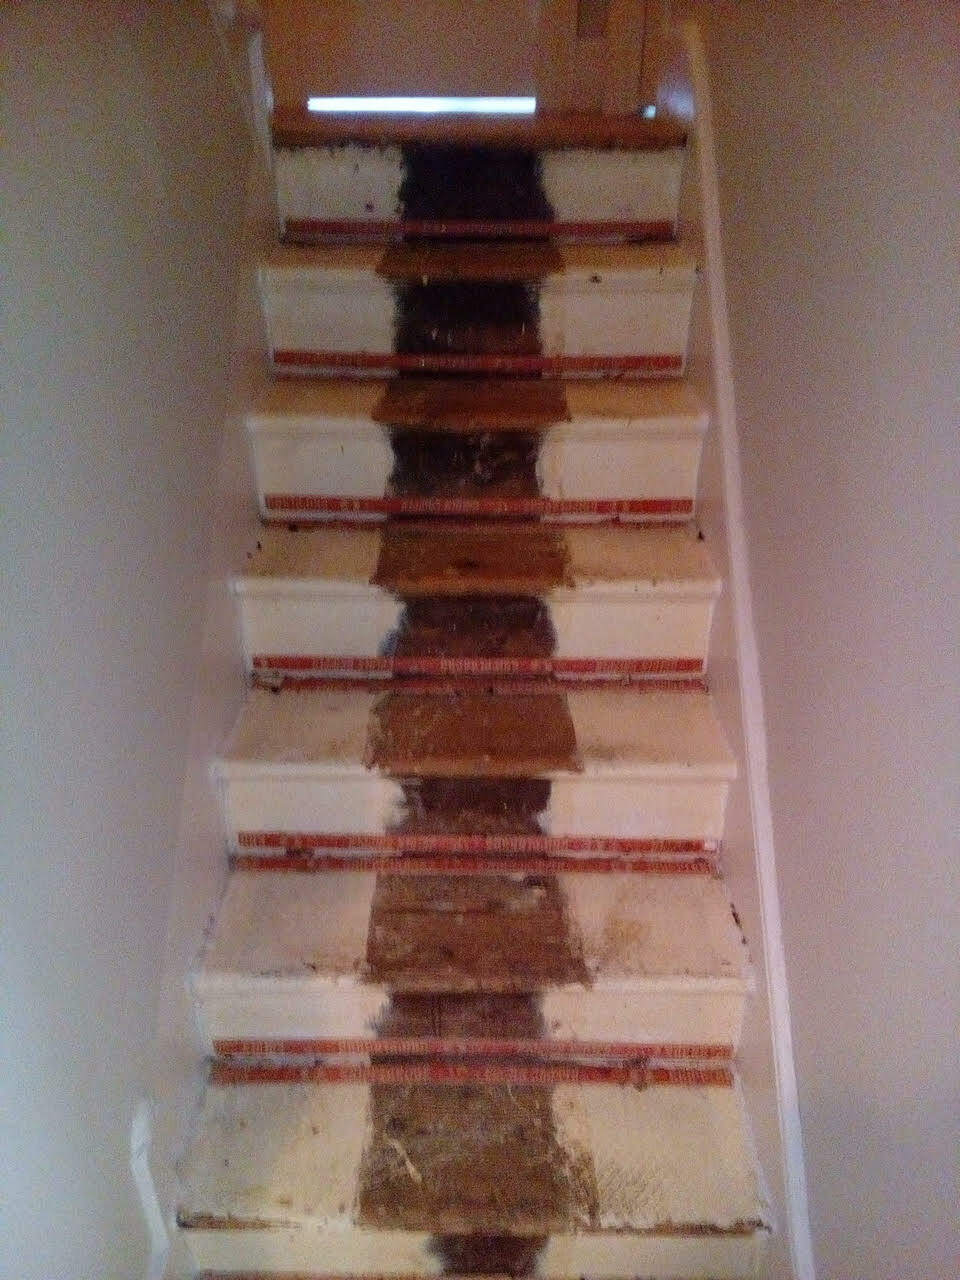
Repairs
We offer a full assessment of your wooden floors to determine what repairs are needed to provide the perfect working surface for the later stages of sanding, staining and sealing.
Restoration
We offer a comprehensive restoration process designed to address floors that are improperly fitted or damaged over time through wear and tear.
Request a fixed price quote for your wood floor restoration now
Simply enter your postcode below to get started.
Services
Wood Floor Sanding Wood Floor Restoration Wood Floor Scratch Repair Squeaky Wood Floor Repair Parquet Floor Sanding Parquet Floor Restoration Commercial Floor Sanding Church Floor Sanding Community Centre Floor Sanding School Floor Sanding Gap Filling Gap Filling with ResinCopyright © Mr Sander®
Privacy & Cookies Terms & Conditions Complaints Procedure Cancellation Rights Sitemap

Get An Instant Price Estimate Before You Go…
Simply enter the rooms you need sanded and we’ll provide you with a price estimate instantly! Try our price calculator now.
Get a Price Estimate NowLocal Floor Sanding Experts
Over 500 5-Star Reviews
Safe, Dust Free Sanding
Operating Since 1994