London:
Nationwide:
25,000+
Floors Restored
27 Years Experience
Wood Flooring Association Certified
Beginner’s Guide to Sanding Hardwood Floors: Steps and Tips
Posted on May 7, 2023
Wood Floor Renovations Articles
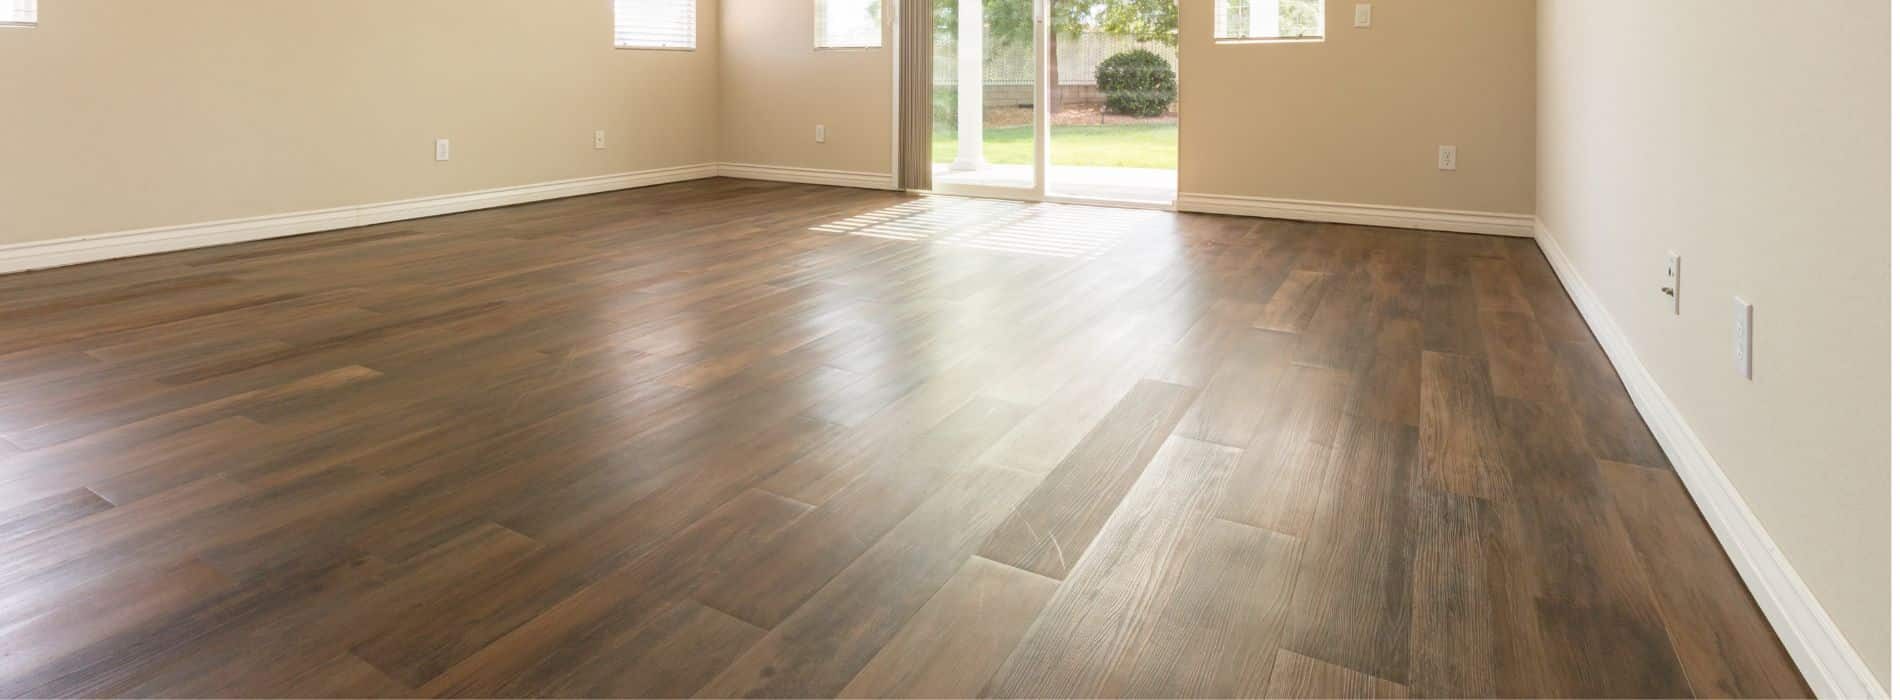
Mastering the Art of Sanding Hardwood Floors: A Comprehensive Guide for Beginners
There’s nothing quite like the warm, inviting glow of a freshly sanded and refinished hardwood floor. However, the thought of sanding those floors yourself may seem like a daunting task. Fear not, DIY enthusiasts! In this comprehensive guide, we’ll walk you through how to sand a hardwood floor in five easy steps. With a bit of time, patience, and elbow grease, you’ll be able to transform your tired, worn-out floors into the stunning centrepiece of your home.
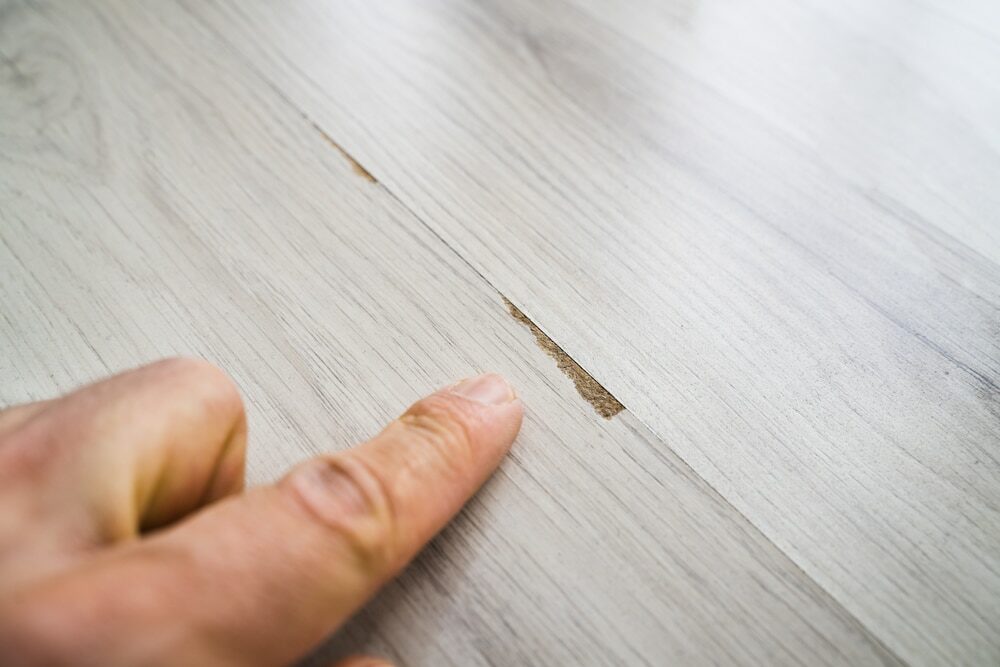
Assessing your hardwood floors
Before you dive into the sanding process, take a moment to assess the condition of your hardwood floors. Are there deep scratches, dents, or gouges that need to be filled? Do your floors have any water damage, stains, or uneven areas that may require more attention? Knowing the state of your floors beforehand will help you determine the right sanding equipment, grit sequence, and finishing products for the job.
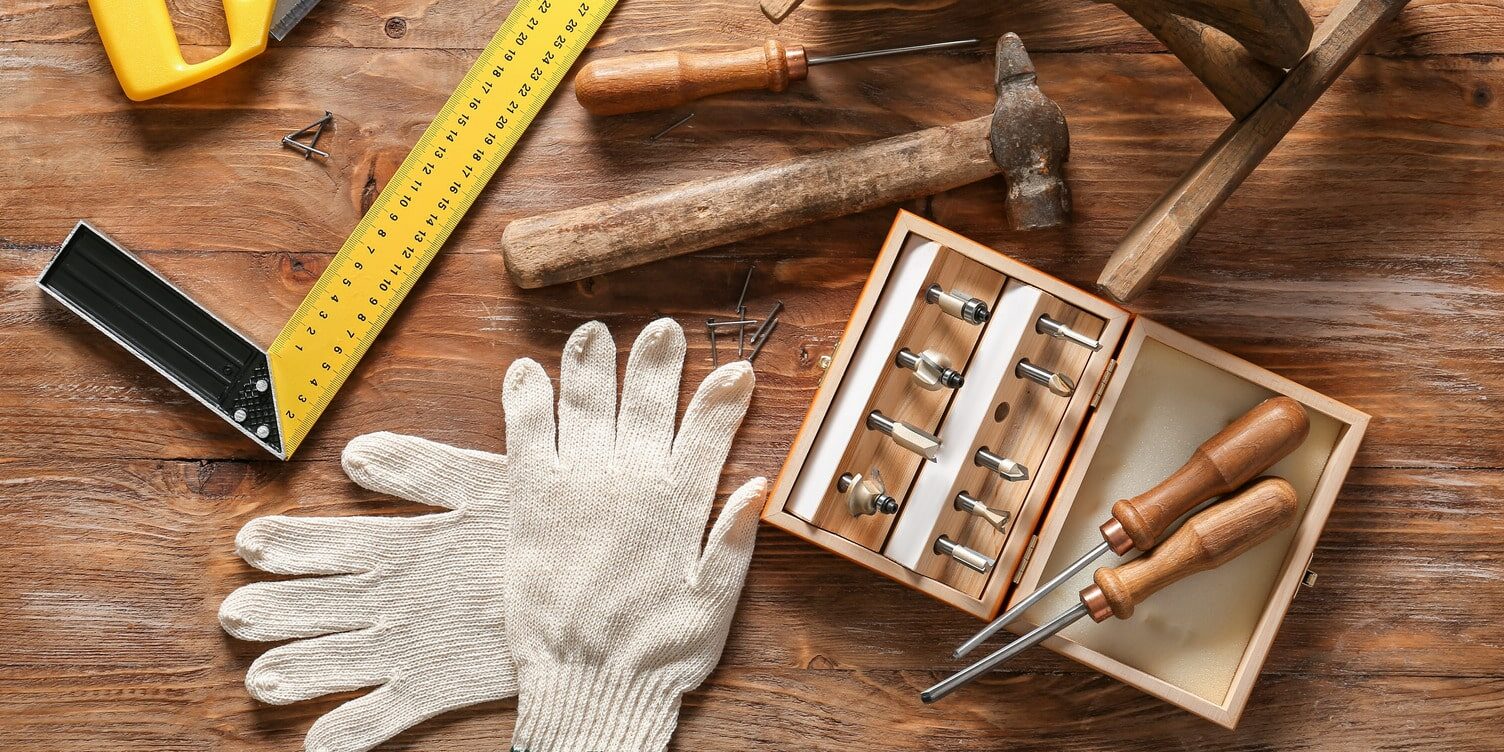
Gathering essential equipment
To sand your hardwood floors, you’ll need a few essential tools and materials. Here’s a list of what you’ll need:
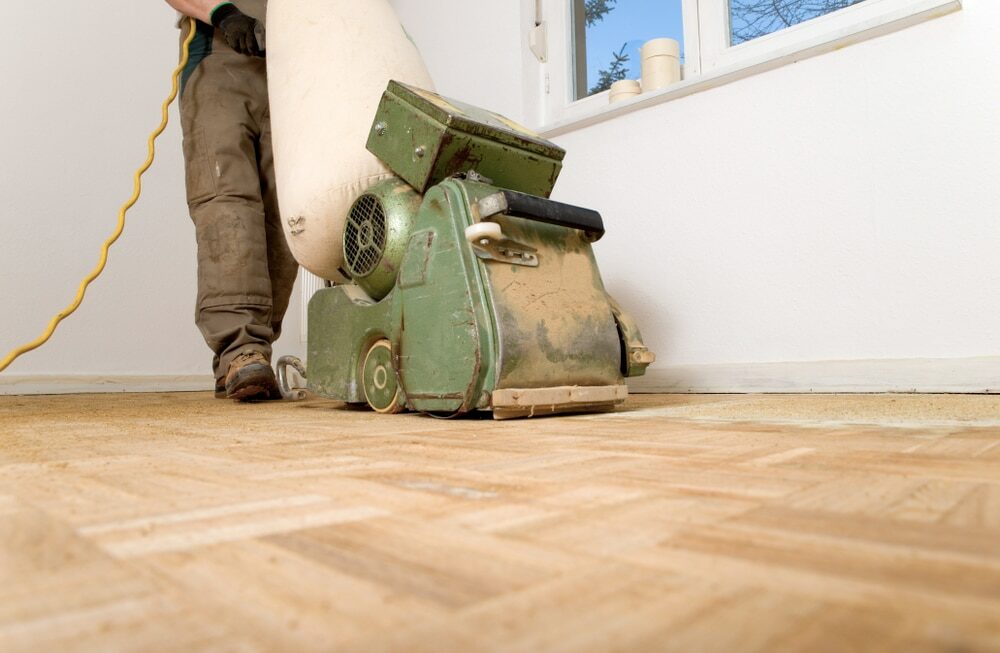
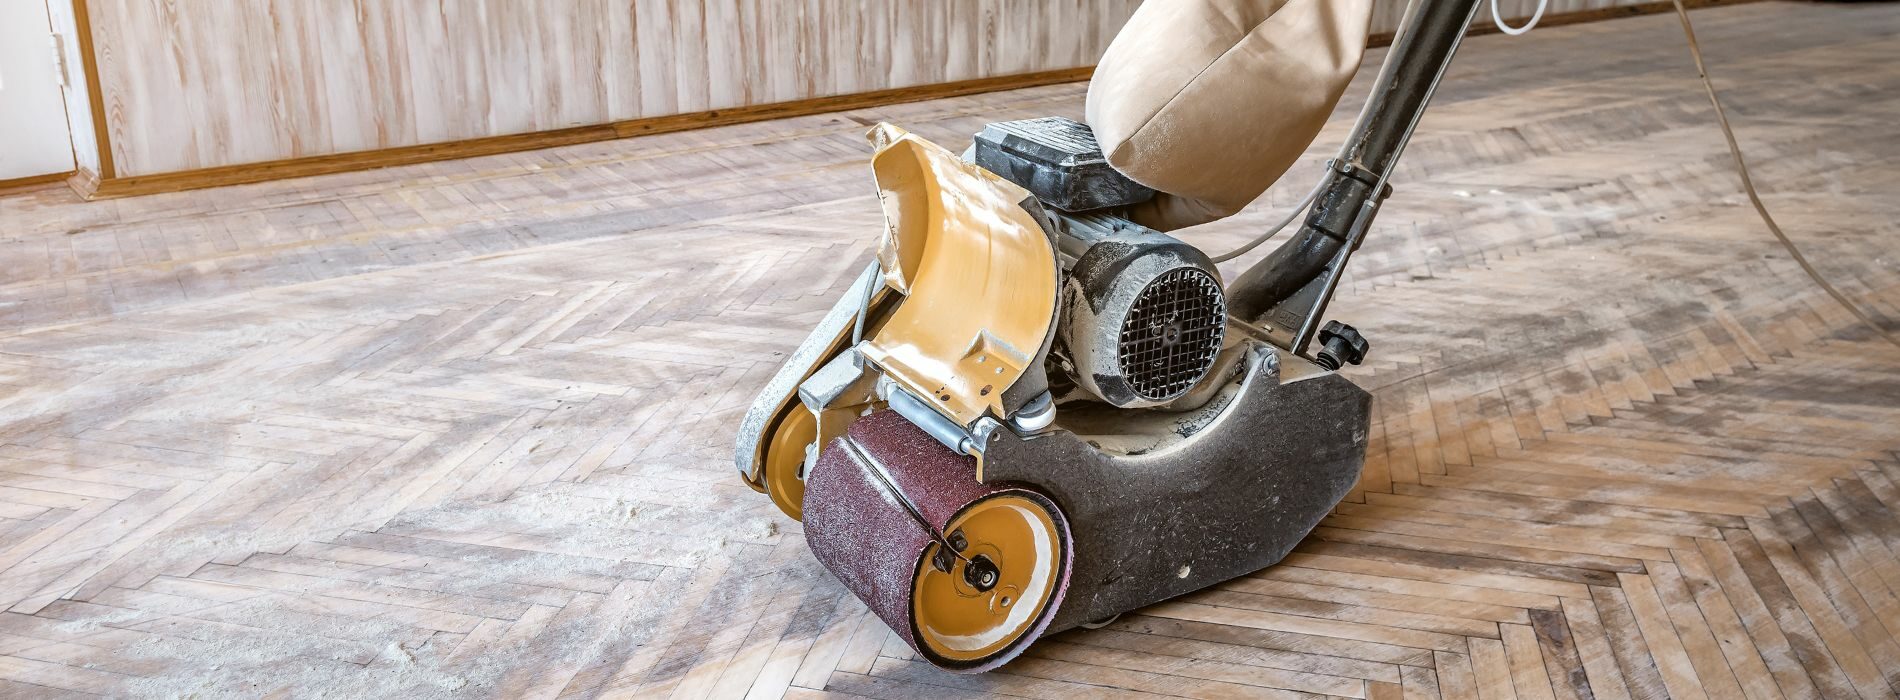
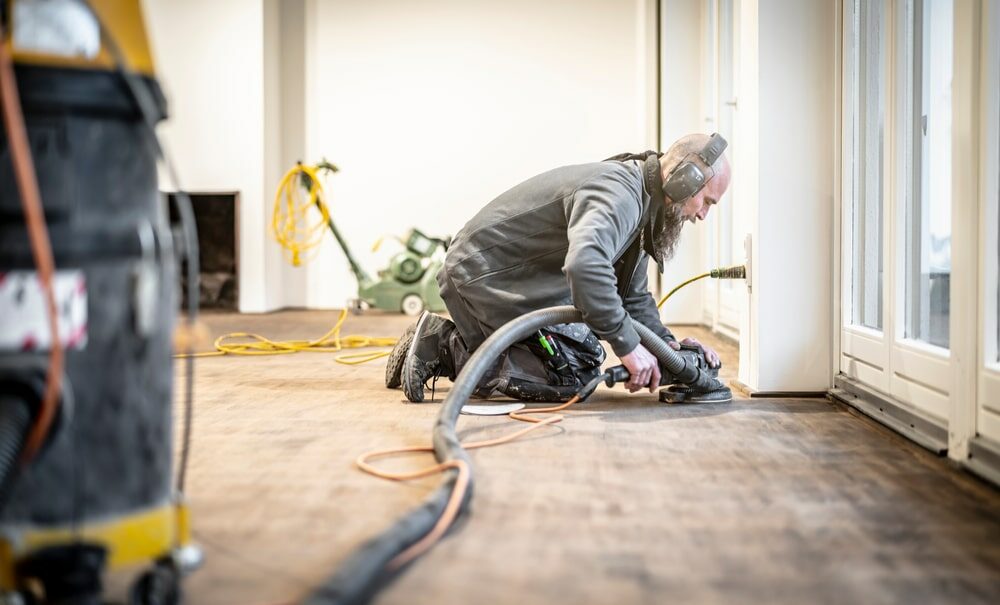
- Drum sander or orbital sander: The type of sander you choose will depend on your comfort level, the size of the room, and the floor’s condition. Drum sanders are powerful and effective, but they can be challenging to control for inexperienced users. Orbital sanders are less aggressive and easier to handle, making them a better choice for beginners.
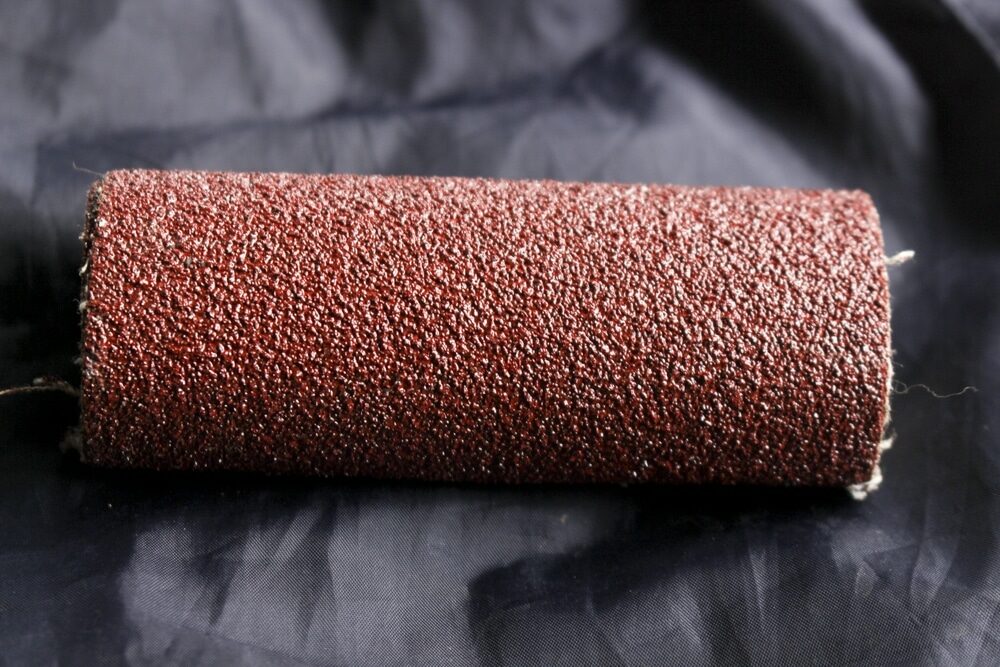
- Sandpaper: You’ll need a range of sandpaper grits for different stages of the sanding process, usually starting with coarse grit (36 or 40), progressing to medium grit (60 or 80), and finishing with fine grit (100 or 120). Be sure to purchase enough sandpaper for the entire job.
- Edge sander or hand scraper: These tools help you reach tight spots and corners that the main sander can’t access.
- Safety equipment: You’ll need a dust mask, safety glasses, and ear protection to keep yourself safe during the sanding process.
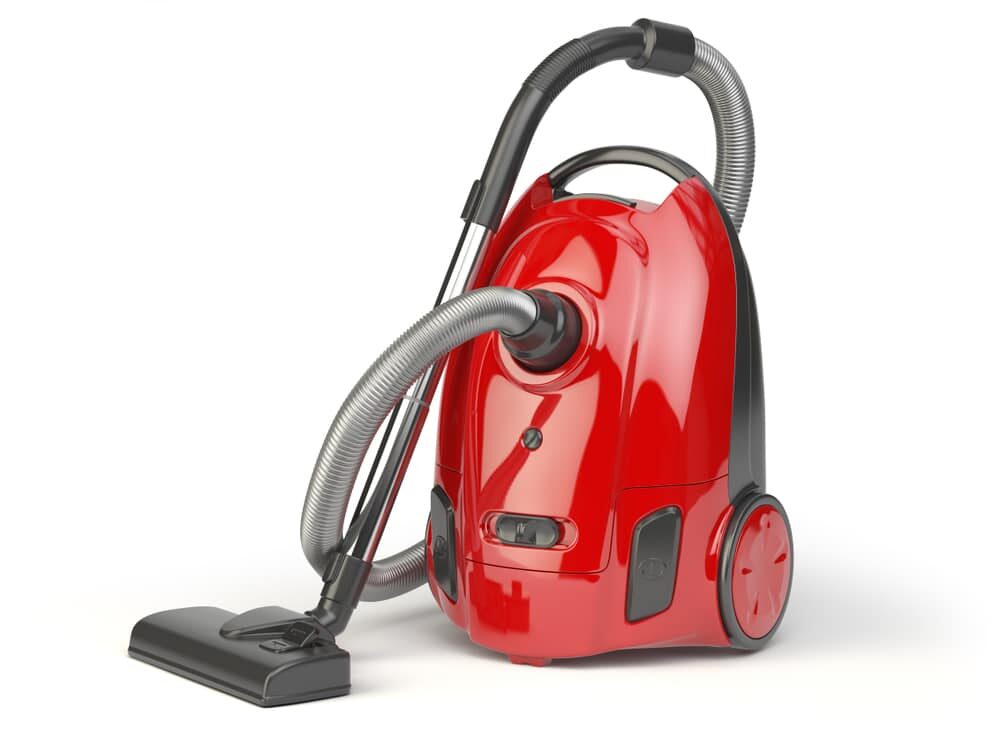
- Vacuum cleaner or broom: To clean up dust and debris after each sanding pass.
- Wood filler: for filling in any deep scratches, dents, or gouges.
- Painter’s tape: to protect baseboards, door frames, and other surfaces from accidental sanding.
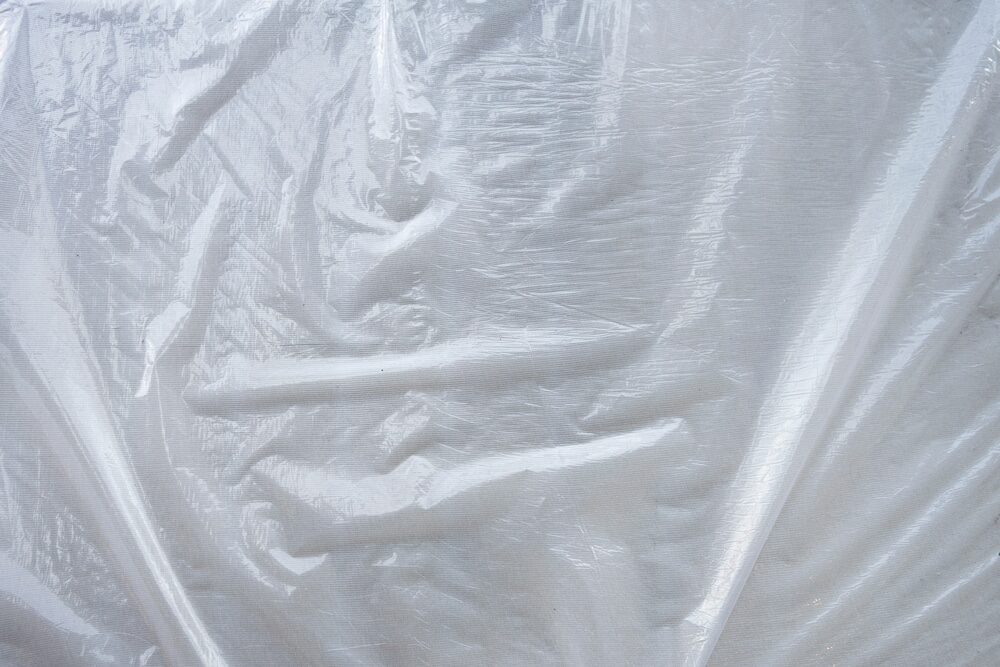
- Plastic sheeting: To seal off the room and prevent dust from spreading throughout your home.


Preparing the Room
Before you start sanding, you’ll need to prepare the room. Here’s how:
a. Remove all furniture, rugs, and other items from the room.
b. Seal off the room using plastic sheeting and painter’s tape. Cover any vents, doorways, and windows to prevent dust from spreading throughout your home.
c. Remove baseboards, shoe moulding, and other trim work to allow for easier sanding around the edges of the room.
d. Inspect your floors for any protruding nails or staples and either remove them or hammer them down flush with the floor.
e. Fill any deep scratches, dents, or gouges with wood filler, following the manufacturer’s instructions for application and drying times.
A Step-by-Step Guide to Sanding Hardwood Floors
Now that you’ve prepared the room and gathered your essential equipment, it’s time to start sanding! Here’s a step-by-step guide to help you through the process:
Step 1: Coarse Sanding
Begin with the coarsest grit sandpaper (36 or 40 grit) and attach it to your sander. Starting at one end of the room, sand with the grain of the wood, moving the sander in a straight and steady motion. Overlap each pass by about one-third of the sander’s width to ensure an even result. Be sure to keep the sander moving to avoid creating divots or uneven areas.
Step 2: Edging
After completing the first pass with the coarse-grit sandpaper, use an edge sander or hand scraper to reach the tight spots and corners that the main sander couldn’t access. Be careful not to gouge the floor and maintain consistent pressure to achieve an even finish.
Step 3: Medium Sanding
Swap out the coarse-grit sandpaper for a medium-grit (60 or 80) and repeat the sanding process. This pass will remove any marks or scratches left by the first round of sanding and help to create a smoother surface. Don’t forget to also sand the edges and corners with the appropriate grit.
Step 4: Fine Sanding
Finally, replace the medium-grit sandpaper with a fine-grit (100 or 120) and complete the last sanding pass. This step will further refine the surface and prepare it for the application of a stain or finish. Remember to sand the edges and corners one last time as well.
Step 5: Vacuum and inspect
After completing all the sanding passes, use a vacuum cleaner or broom to thoroughly clean the floor, removing all dust and debris. Inspect your floor for any missed spots or inconsistencies. If necessary, use a fine-grit sandpaper or sanding sponge to touch up any problem areas.
Cleaning Up and Applying Finish
With the sanding process complete, it’s time to clean up and apply the finish of your choice. Follow these steps to achieve a professional-looking result:
a. Vacuum the entire room, including the walls and baseboards, to remove any lingering dust.
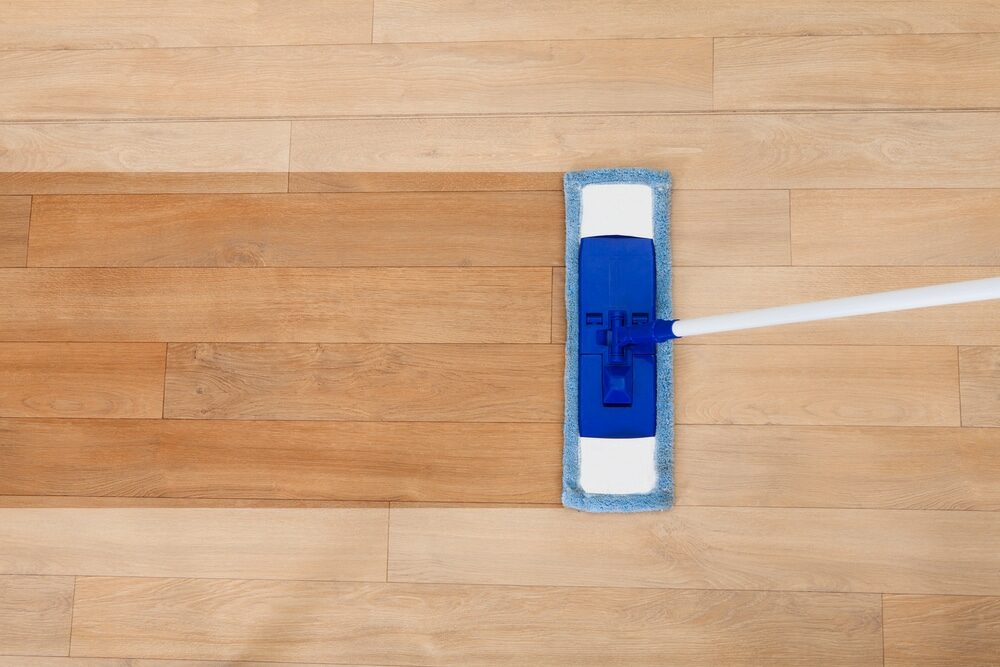
b. Wipe down the floor with a damp cloth or microfiber mop to pick up any remaining dust particles. Allow the floor to dry completely before moving on.
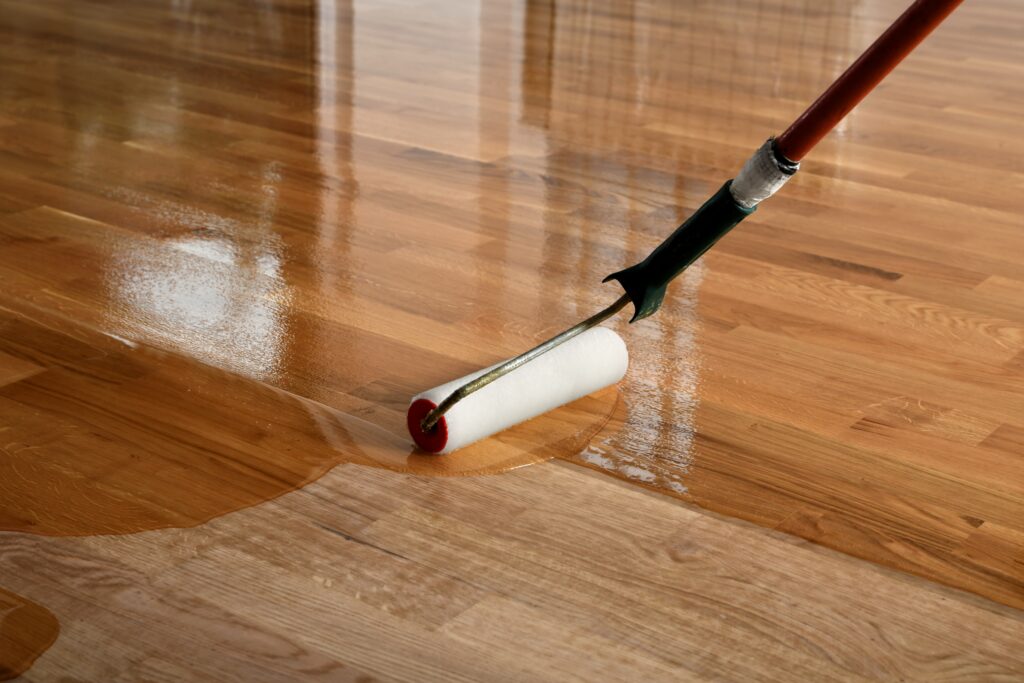
c. Apply your chosen stain or finish according to the manufacturer’s instructions. Be sure to use even, long strokes and maintain a wet edge to avoid lap marks. Allow the stain or finish to dry for the recommended time before applying additional coats if necessary.
d. Once the finish has fully cured (typically after 24–72 hours), reinstall baseboards, shoe moulding, and other trim work. Move your furniture and other items back into the room, taking care not to scratch your newly refinished floors.
Conclusion:
Sanding a hardwood floor may seem like a daunting task, but with the right equipment, preparation, and a little patience, it’s a project any DIY enthusiast can tackle. By following these five easy steps, you’ll be well on your way to transforming your worn-out hardwood floors into a stunning and inviting feature of your home. Happy sanding!

Sanding
We provide virtually dust-free sanding with our continuous belt machinery with mobile extraction units, giving you a safer environment for your family.
Oiling
This organic finish not only adds beauty to your home but also has exceptional water-repellent characteristics, making it easier to clean and maintain.
Waxing
This natural floor finish offers the softest and most mellow appearance – and leaves your floor able to breath.
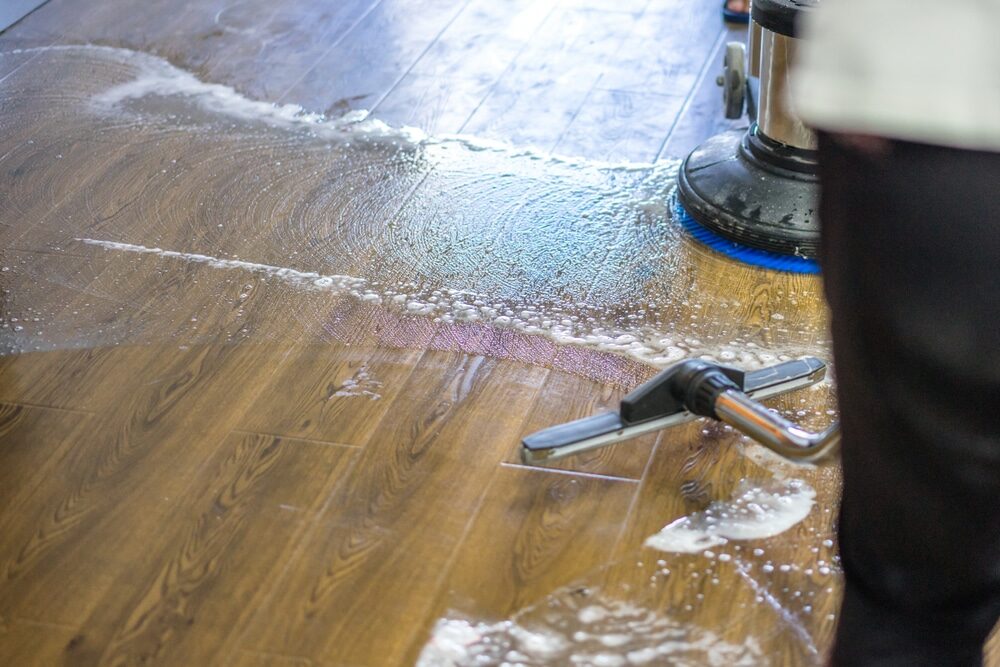
Buffing
Using soft buffing machines (and hand-polishing where required) will bring a wonderful sheen to your newly-finished floor.
Repairs
We offer a full assessment of your wooden floors to determine what repairs are needed to provide the perfect working surface for the later stages of sanding, staining and sealing.
Restoration
We offer a comprehensive restoration process designed to address floors that are improperly fitted or damaged over time through wear and tear.
Request a fixed price quote for your wood floor restoration now
Simply enter your postcode below to get started.
Services
Wood Floor Sanding Wood Floor Restoration Wood Floor Scratch Repair Squeaky Wood Floor Repair Parquet Floor Sanding Parquet Floor Restoration Commercial Floor Sanding Church Floor Sanding Community Centre Floor Sanding School Floor Sanding Gap Filling Gap Filling with ResinCopyright © Mr Sander®
Privacy & Cookies Terms & Conditions Complaints Procedure Cancellation Rights Sitemap

Get An Instant Price Estimate Before You Go…
Simply enter the rooms you need sanded and we’ll provide you with a price estimate instantly! Try our price calculator now.
Get a Price Estimate NowLocal Floor Sanding Experts
Over 500 5-Star Reviews
Safe, Dust Free Sanding
Operating Since 1994