London:
Nationwide:


25,000+
Floors Restored

27 Years Experience

Wood Flooring Association Certified
Ultimate Guide to Wood Floor Oiling
Posted on June 13, 2023
News
The Comprehensive Guide to Oiling Your Wood Floor
Hardwood floors are a timeless addition to any home, but they require proper maintenance to preserve their beauty and durability. One effective method of caring for your wood floors is oiling. This not only enhances the natural beauty of the wood but also offers protection against damage. This guide will take you through the process of wood floor oiling, and by the end, you’ll have the knowledge to undertake this task with confidence.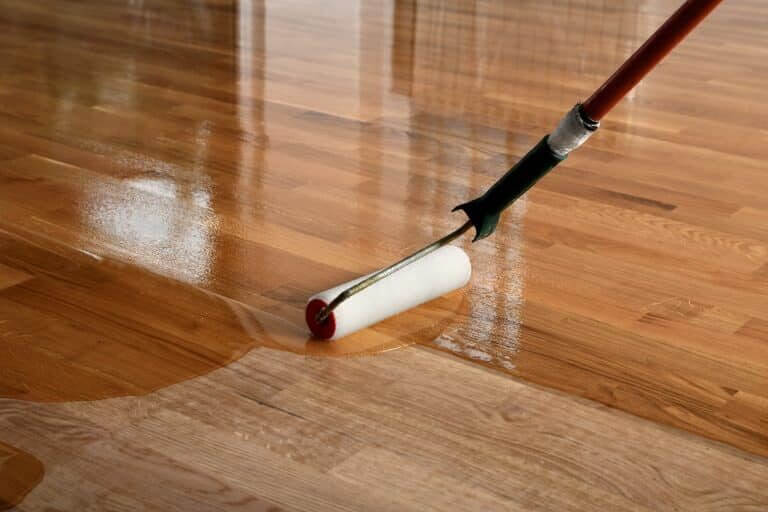
Understanding the Importance of Wood Floor Oiling
Wood floor oiling plays a vital role in the maintenance of your hardwood floor. Here are some reasons why:- Enhanced Natural Beauty: Oil penetrates the wood and accentuates its natural grain and colour.
- Added Protection: It protects the wood from damage due to daily wear, spills, and scratches.
- Restoration: Oiling helps to restore the look of tired, worn-out hardwood floors.
- Easy Maintenance: An oiled floor is easier to clean and maintain compared to untreated wood.
Choosing the Right Oil for Your Wood Floor
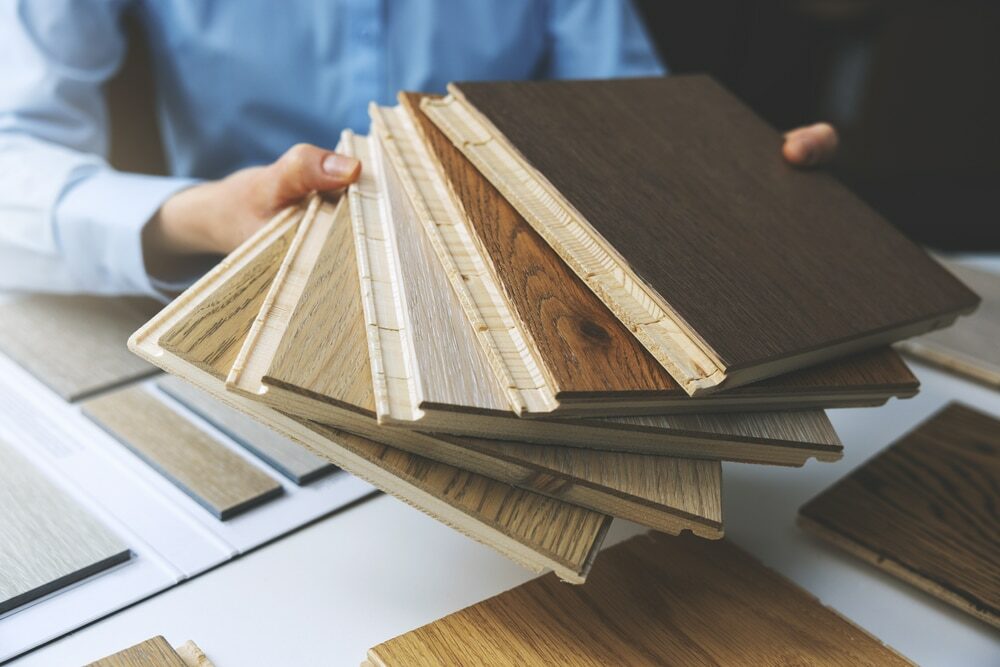
The first step in the process is selecting the right oil. Consider factors like your floor’s wood type, the desired finish, and your lifestyle.- Tung Oil: Tung oil is a natural product that provides a warm, rich finish. It’s durable and water-resistant, making it suitable for areas with high foot traffic.
- Linseed Oil: This is another natural oil that penetrates deeply into the wood, providing long-lasting protection. However, it takes longer to dry compared to other oils.
- Danish Oil: Danish oil is a mixture of tung oil, linseed oil, and varnish. It dries quicker and provides a low-sheen finish.

Gathering necessary supplies
Before you start, gather all the necessary supplies. You’ll need:- The chosen oil
- A vacuum cleaner or broom
- A mop
- Clean, lint-free cloths or rags
- A paintbrush or roller
- Sandpaper (if the floor needs sanding)
Preparing Your Wood Floor for Oiling
Cleaning
Start by thoroughly cleaning your floor. Remove dust and debris using a vacuum cleaner or broom. Afterward, mop the floor using a mild detergent. Make sure the floor is completely dry before proceeding.Sanding
If your floor was previously treated and needs refreshing, or if it has scratches, consider sanding your floor. This helps to open up the wood pores and remove any old finish, allowing the oil to penetrate better.The Wood Floor Oiling Process
Applying the oil
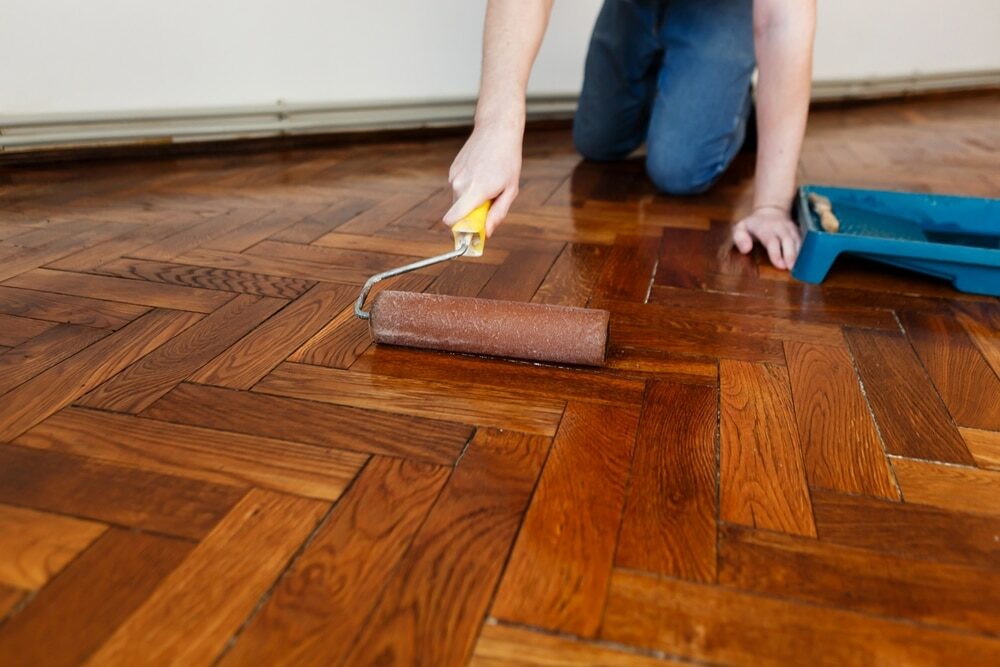
Stir the oil well before applying to ensure the ingredients are well mixed. Apply the oil evenly using a brush or roller, working in the direction of the wood grain. Apply the oil liberally, ensuring it soaks into the wood.Letting it soak
Allow the oil to soak into the wood. This process can take between 15 minutes and an hour, depending on the oil type and wood species.Removing excess oil
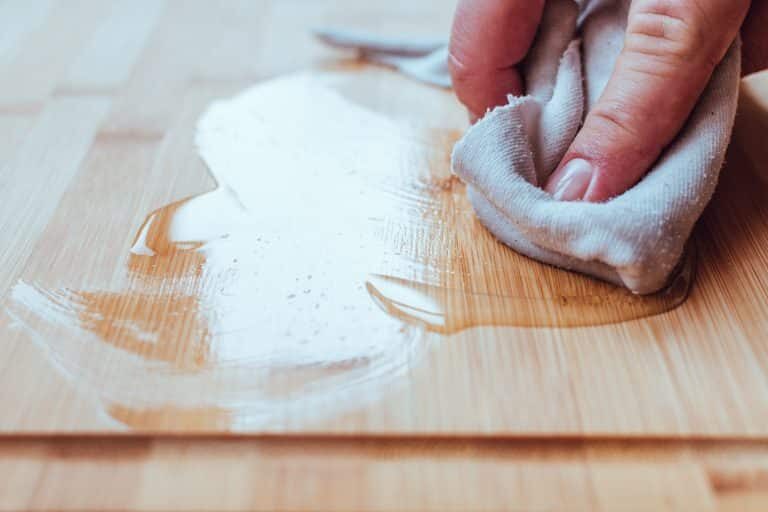
After the oil has sufficiently soaked into the wood, use a clean, lint-free cloth to wipe off any excess oil. This step is essential because any oil that hasn’t penetrated the wood can become sticky and create an uneven finish.Additional Coats
Depending on the type of oil and the condition of your floor, additional coats may be necessary. Always wait until the previous coat is dry before applying the next one.Aftercare for oiled wood floors
After oiling your wood floor, it’s essential to follow the correct aftercare procedures to maintain its beauty and durability.- Drying Time: Allow the floor to dry completely before walking on it. This typically takes 24-48 hours.
- Cleaning: Clean the floor using products recommended for oiled wood floors. Avoid harsh chemicals that can damage the oil finish.
- Re-oiling: Depending on the traffic and wear, your floor may need re-oiling every 2–3 years.
Conclusion
Wood floor oiling is a practical way to enhance the natural beauty of your wood floors and offer them protection against wear and tear. By choosing the right oil, properly preparing your floor, and following the correct oiling and aftercare procedures, you can keep your hardwood floors in pristine condition for many years. So, roll up your sleeves, and let’s bring out the best in your hardwood floors!Some Useful Links:
- Floor Sanding Services
- School Floor Sanding
- Wood Floor Restorations
- Wood Floor Repairs
- Wood Floor Polishing
More from our Blog:
DIY Guide to Repairing Scratches in Hardwood Floors Expert Parquet Floor Sanding Tips | Revitalize Your Elegant Floors Preparing Wood Floors for Sanding: A Comprehensive Guide Hand Scraped and Distressed Hardwood Floors: Adding Character to Your Home Advantages of Engineered Hardwood Floors: A Detailed Guide



Sanding
We provide virtually dust-free sanding with our continuous belt machinery with mobile extraction units, giving you a safer environment for your family.

Oiling
This organic finish not only adds beauty to your home but also has exceptional water-repellent characteristics, making it easier to clean and maintain.

Waxing
This natural floor finish offers the softest and most mellow appearance – and leaves your floor able to breath.

Buffing
Using soft buffing machines (and hand-polishing where required) will bring a wonderful sheen to your newly-finished floor.

Repairs
We offer a full assessment of your wooden floors to determine what repairs are needed to provide the perfect working surface for the later stages of sanding, staining and sealing.

Restoration
We offer a comprehensive restoration process designed to address floors that are improperly fitted or damaged over time through wear and tear.
Request a fixed price quote for your wood floor restoration now
Simply enter your postcode below to get started.






Services
Wood Floor Sanding Wood Floor Restoration Wood Floor Scratch Repair Squeaky Wood Floor Repair Parquet Floor Sanding Parquet Floor Restoration Commercial Floor Sanding Church Floor Sanding Community Centre Floor Sanding School Floor Sanding Gap Filling Gap Filling with ResinCopyright © Mr Sander®
Privacy & Cookies Terms & Conditions Complaints Procedure Cancellation Rights Sitemap

Get An Instant Price Estimate Before You Go…
Simply enter the rooms you need sanded and we’ll provide you with a price estimate instantly! Try our price calculator now.
Get a Price Estimate NowLocal Floor Sanding Experts
Over 500 5-Star Reviews
Safe, Dust Free Sanding
Operating Since 1994