London:
Nationwide:
25,000+
Floors Restored
27 Years Experience
Wood Flooring Association Certified
DIY Guide to Repairing Scratches in Hardwood Floors
Posted on June 13, 2023
Floor Sanding Services News
Comprehensive Guide to Fixing Scratches in Your Hardwood Floors
Hardwood floors are a beautiful, timeless addition to any home. However, they’re not immune to everyday wear and tear. One of the most common issues homeowners face is scratching. The good news is that these can often be repaired with a little know-how and elbow grease. In this extensive guide, we’ll walk you through the process of repairing scratches on your hardwood floors.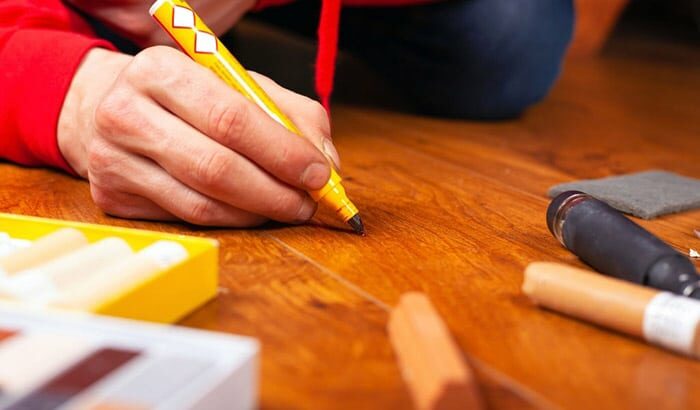
Understanding the severity of scratches
Before you start repairing, it’s essential to determine the severity of the scratches on your hardwood floor. This will dictate the course of action needed.- Surface Scratches: These are light, barely noticeable scratches that affect only the floor’s finish. They’re typically caused by everyday foot traffic or light furniture movement.
- Minor Scratches: These scratches go beyond the surface, penetrating the finish and reaching the wood, but not too deeply.
- Deep Scratches: Deep scratches go beyond the finish and penetrate deeply into the wood. These are usually caused by heavy furniture being dragged across the floor or sharp objects.
Fixing surface scratches
Surface scratches are the easiest to repair.Cleaning the area
Start by cleaning the scratched area using a soft, damp cloth to remove any dirt or debris. This prevents further scratches during the repair process.Applying a Repair Kit
Use a repair kit designed for hardwood floors. These kits typically include a filler, marker, or putty that matches your floor’s finish. Carefully apply the product over the scratch, making sure to follow the manufacturer’s instructions.Buffing
After the product dries, buff the area with a soft cloth until it blends seamlessly with the rest of the floor. This might take a few tries, but with patience, you’ll have your floor looking as good as new.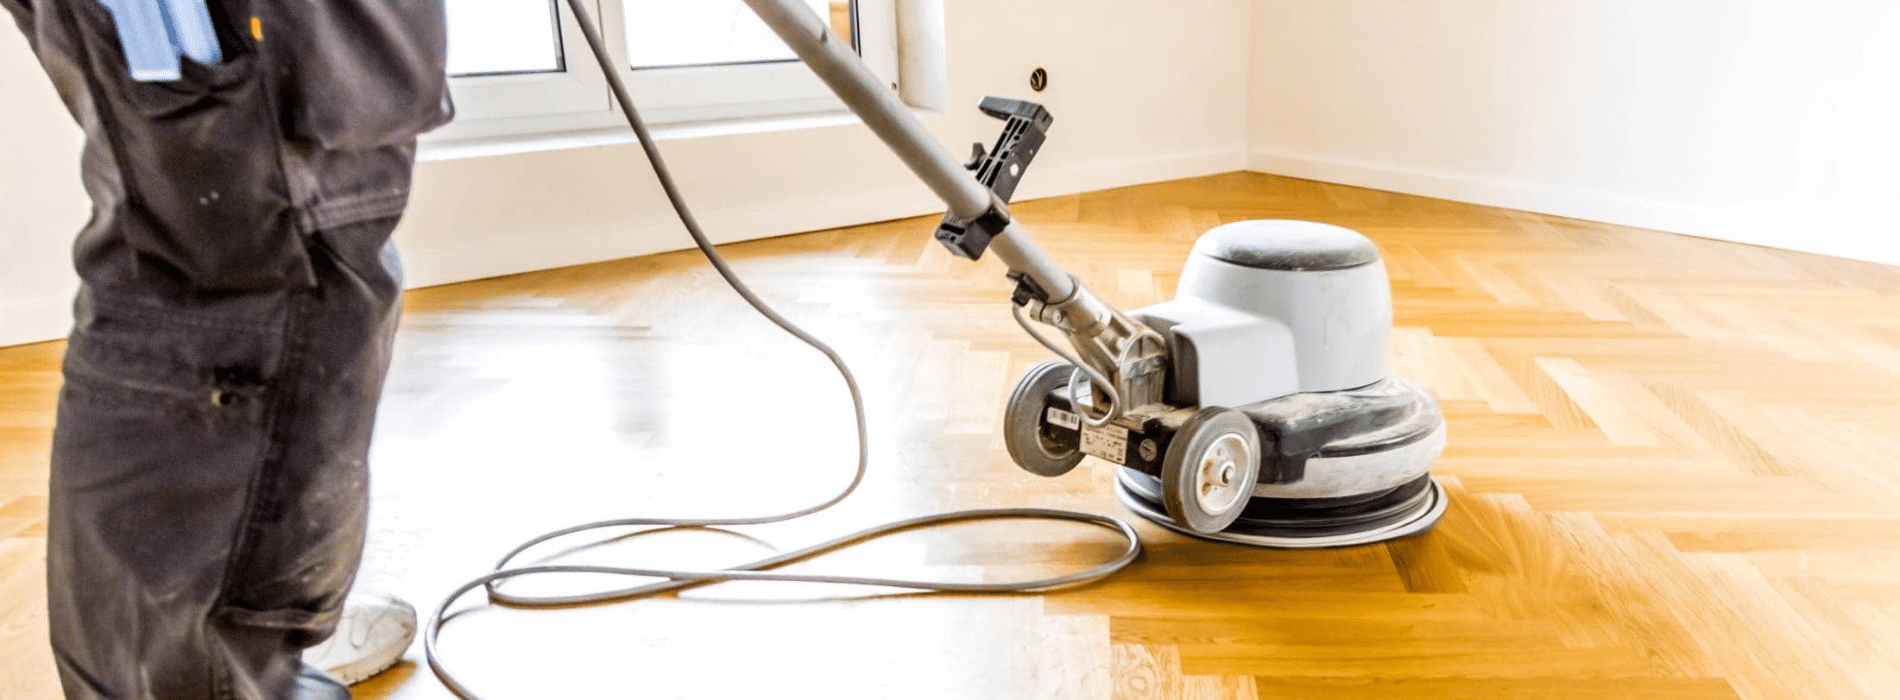
Repairing minor scratches
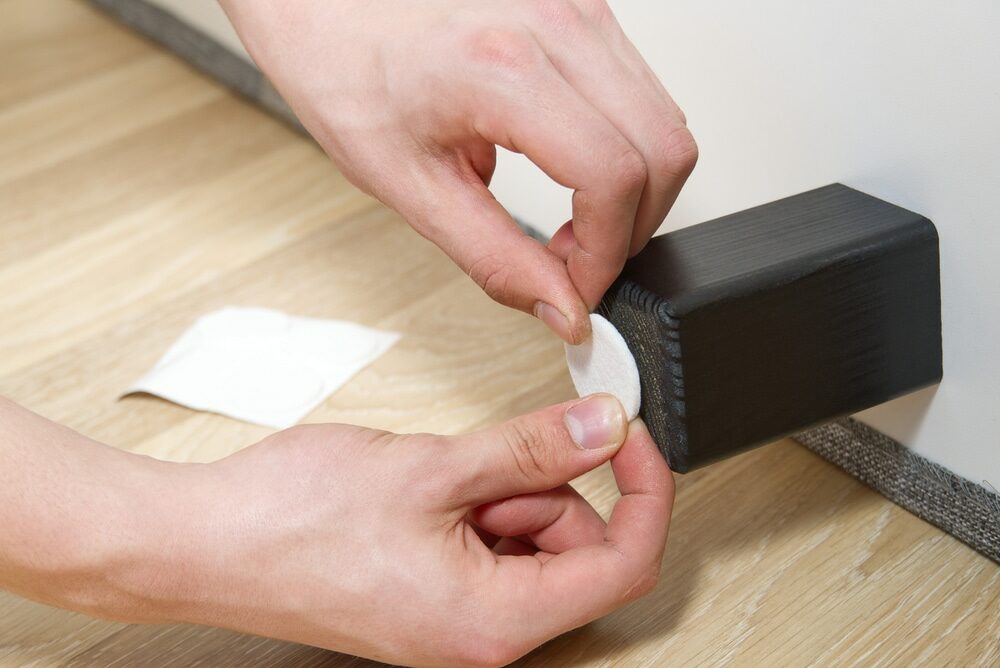
For minor scratches, a bit more work is required.Cleaning and sanding
As with surface scratches, start by cleaning the area. Then, lightly sand the scratch using fine-grit sandpaper. This will help to smooth out the scratch and prepare the surface for repair.Filling the scratch
Next, use a pre-coloured latex wood filler that matches your floor’s colour. Apply it to the scratch using a plastic putty knife, making sure to smooth it out evenly.Buffing and sealing
Once the filler dries, buff the area with fine-grit sandpaper to remove excess filler and smooth the surface. Lastly, apply a thin coat of polyurethane sealer to protect the repaired area and help it blend in with the rest of the floor.Restoring deep scratches
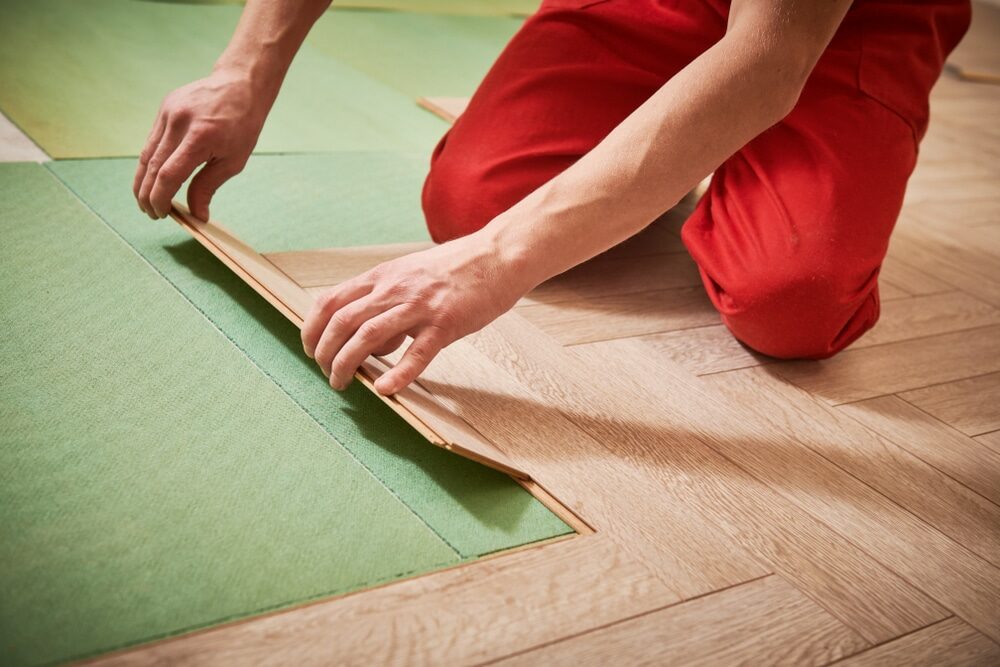
Repairing deep scratches or gouges is a more complex process that might require professional help. However, here are the steps if you’re up for a DIY project:Cleaning and sanding
As before, start by cleaning the scratched area. Next, sand the scratch and the surrounding area using medium-grit sandpaper. You need to remove the finish around the scratch to allow for a seamless repair.Filling the scratch
Use a wood filler or epoxy to fill the scratch. This needs to be slightly overfilled, as the filler or epoxy will contract as it dries.Sanding and refinishing
Once the filler or epoxy has dried, sand the area again using fine-grit sandpaper until it’s level with the rest of the floor. Then apply a matching stain to the repaired area. Once the stain has dried, apply a thin coat of polyurethane finish to seal the area and protect it.Preventing future scratches
Prevention is better than cure. Here are some preventative measures to help protect your hardwood floors from scratches:- Furniture Pads: Use felt pads under the legs of your furniture to prevent scratches when moving it.
- Area Rugs: Use area rugs in high-traffic zones to protect your floors from everyday wear and tear.
- Regular Cleaning: Regularly clean your floors to remove dust and small debris that could cause scratches.
- Trim Pet Nails: If you have pets, keep their nails trimmed to prevent them from scratching your floors.
Wrapping Up
Repairing scratches on hardwood floors may require time and patience, but it’s a job that can be done by any handy homeowner. Always start by assessing the severity of the scratch to determine the best course of action. With the right tools and a bit of effort, you can restore your hardwood floors to their original lustre. Remember, protecting your floors from potential damage is the best strategy to maintain their beauty for years to come. Happy repairing!Some Useful Links:
- Floor Sanding Services
- School Floor Sanding
- Wood Floor Restorations
- Wood Floor Repairs
- Wood Floor Polishing
More from our Blog:
Expert Parquet Floor Sanding Tips | Revitalize Your Elegant Floors Preparing Wood Floors for Sanding: A Comprehensive Guide Hand Scraped and Distressed Hardwood Floors: Adding Character to Your Home Advantages of Engineered Hardwood Floors: A Detailed Guide
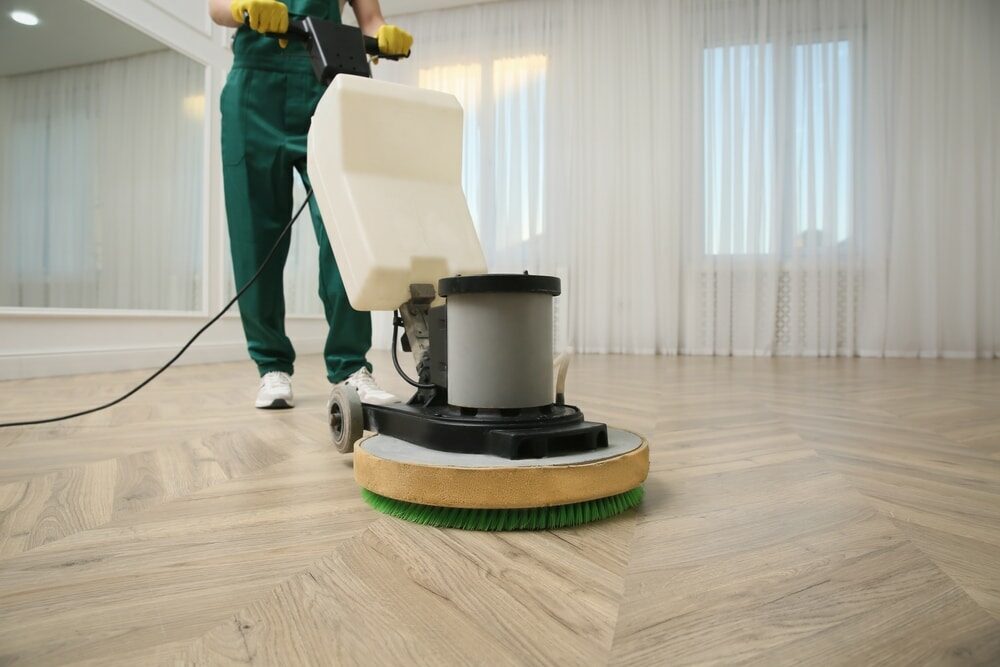
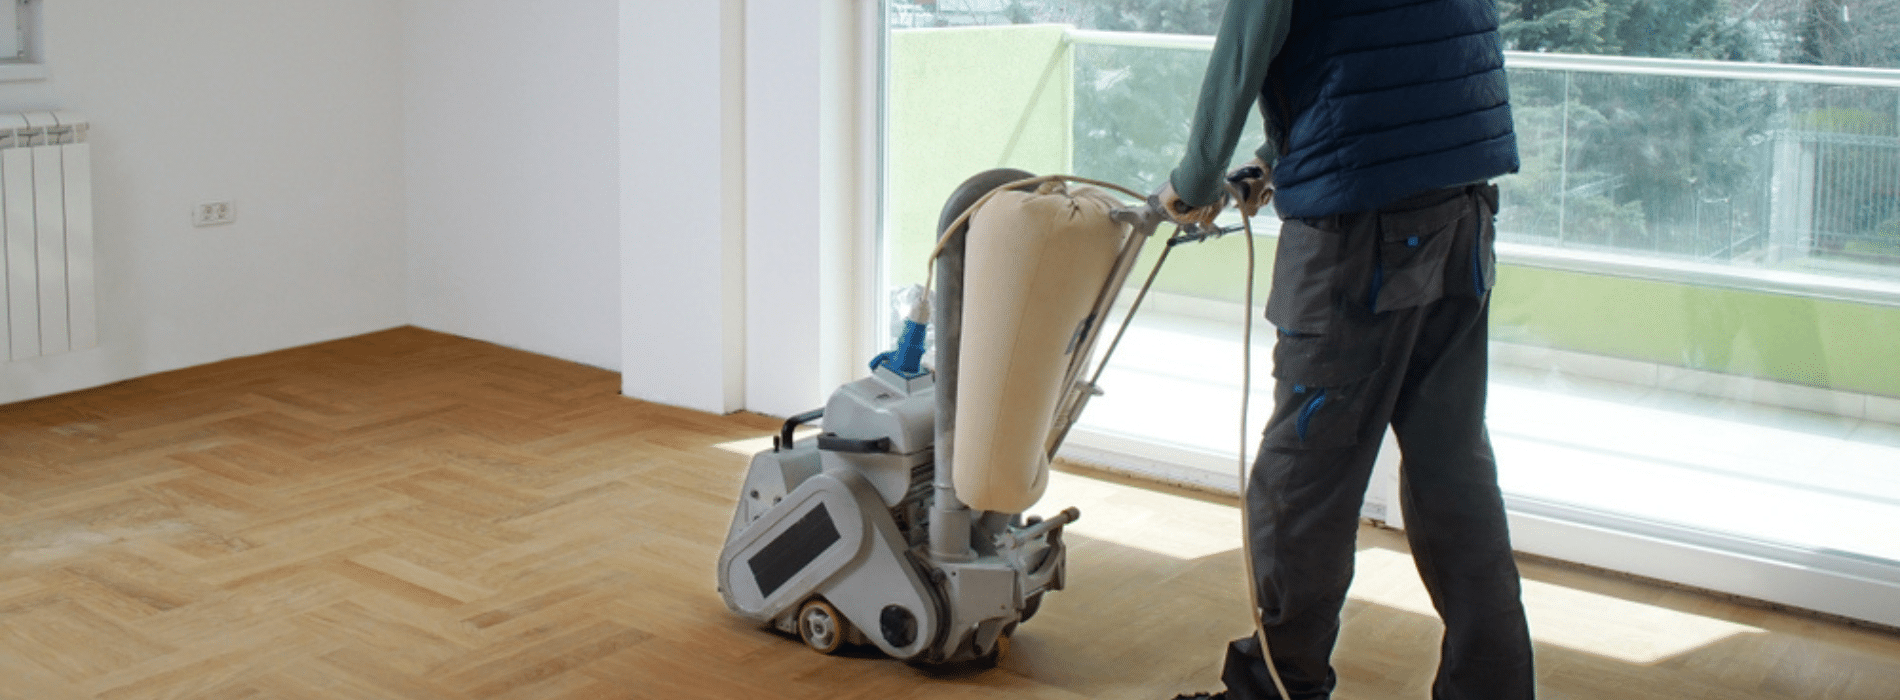
Sanding
We provide virtually dust-free sanding with our continuous belt machinery with mobile extraction units, giving you a safer environment for your family.
Oiling
This organic finish not only adds beauty to your home but also has exceptional water-repellent characteristics, making it easier to clean and maintain.
Waxing
This natural floor finish offers the softest and most mellow appearance – and leaves your floor able to breath.
Buffing
Using soft buffing machines (and hand-polishing where required) will bring a wonderful sheen to your newly-finished floor.
Repairs
We offer a full assessment of your wooden floors to determine what repairs are needed to provide the perfect working surface for the later stages of sanding, staining and sealing.
Restoration
We offer a comprehensive restoration process designed to address floors that are improperly fitted or damaged over time through wear and tear.
Request a fixed price quote for your wood floor restoration now
Simply enter your postcode below to get started.
Services
Wood Floor Sanding Wood Floor Restoration Wood Floor Scratch Repair Squeaky Wood Floor Repair Parquet Floor Sanding Parquet Floor Restoration Commercial Floor Sanding Church Floor Sanding Community Centre Floor Sanding School Floor Sanding Gap Filling Gap Filling with ResinCopyright © Mr Sander®
Privacy & Cookies Terms & Conditions Complaints Procedure Cancellation Rights Sitemap

Get An Instant Price Estimate Before You Go…
Simply enter the rooms you need sanded and we’ll provide you with a price estimate instantly! Try our price calculator now.
Get a Price Estimate NowLocal Floor Sanding Experts
Over 500 5-Star Reviews
Safe, Dust Free Sanding
Operating Since 1994