London:
Nationwide:
25,000+
Floors Restored
27 Years Experience
Wood Flooring Association Certified
London Guide: How to Sand and Varnish Your Wood Floor
Posted on June 16, 2023
News
How to Sand and Varnish a Wood Floor in London: A Comprehensive Guide
When it comes to restoring the original beauty of your wooden floors, sanding and varnishing are two fundamental processes. This guide provides a step-by-step approach to how to sand and varnish a wood floor in London, ensuring you’ll have all the information you need to breathe new life into your floors.
1. Understanding the Importance of Sanding and Varnishing
Before we delve into the practical steps, it’s crucial to understand the importance of sanding and varnishing. Sanding removes the old finish and the top layer of the wood, eradicating scratches, stains, and dents. It gives the wood a smoother surface that readily absorbs the varnish.
On the other hand, varnishing seals the wood, protecting it from damage and giving it an attractive sheen that can dramatically improve the aesthetic appeal of a room. Together, sanding and varnishing can add years to your floor’s lifespan.
2. Gathering Your Materials and Tools
You’ll need some specific tools and materials for this project. These include a drum or belt sander for the main floor area, an edge sander for the corners and edges, sandpaper in various grits, a vacuum cleaner or broom, a mop, a paintbrush or roller, and your chosen varnish.
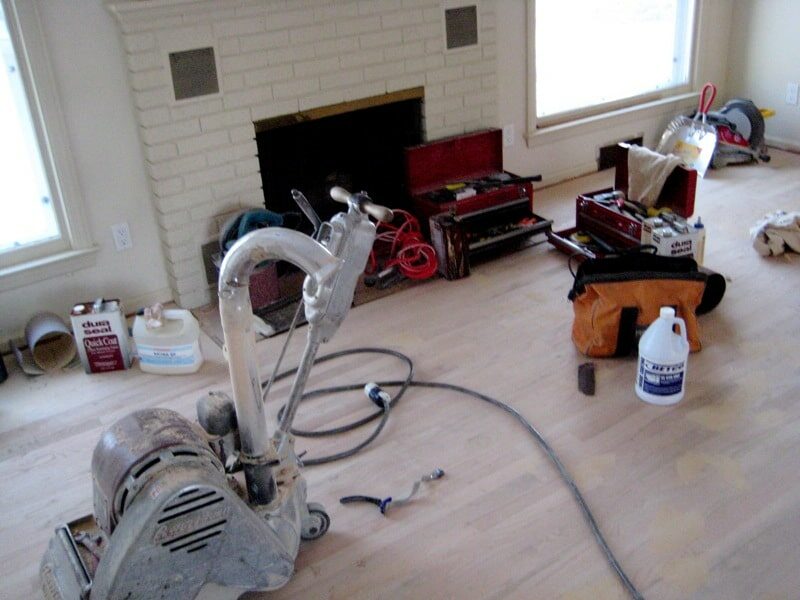
3. Preparation: Clearing and Cleaning
Before sanding, ensure the room is completely empty. Remove furniture, rugs, and other items. Cover doorways with plastic sheeting to prevent dust from spreading to other areas of the house. Check the floor for protruding nails and fix any loose boards. Clean the floor thoroughly to remove any debris.
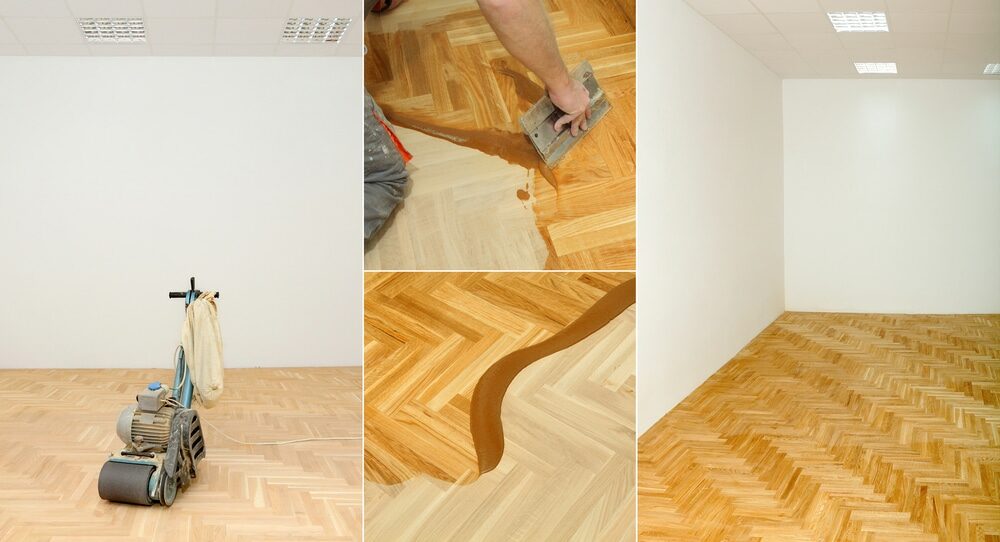
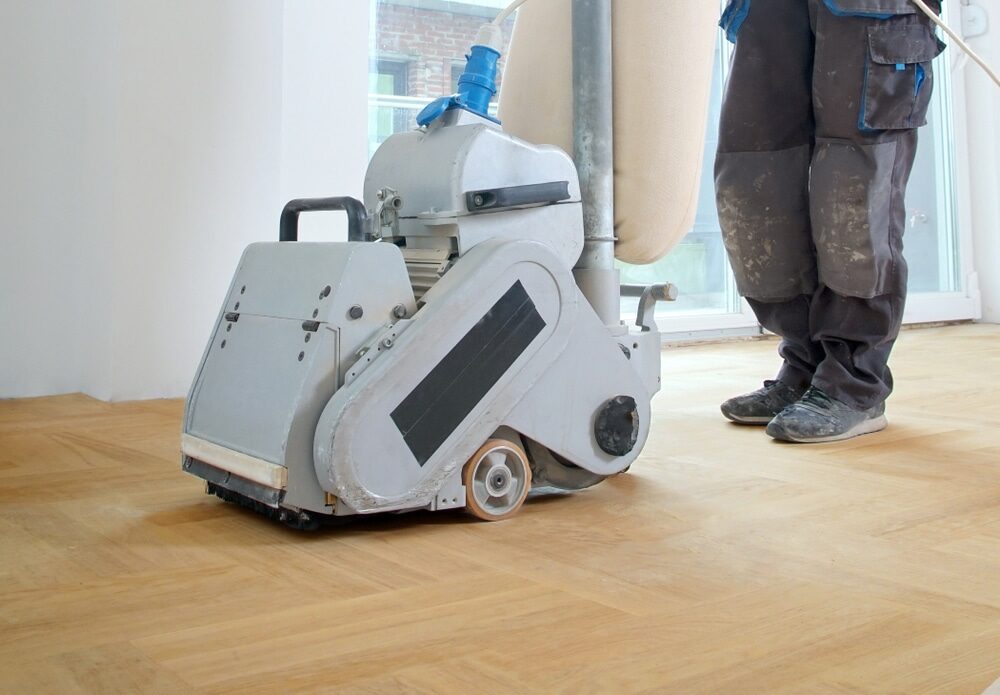
4. The Sanding Process
Start sanding using the drum or belt sander and coarse-grit sandpaper. Always sand along the grain, not against it, to avoid scratching the wood. Begin from the center of the room and work your way towards the edges. After the main floor is done, use the edge sander for corners and edges.
Repeat the sanding process with medium-grit sandpaper to remove any remaining old finish. Finish the sanding process with fine-grit sandpaper to smooth the floor surface. Always ensure to keep the sanders moving to avoid creating depressions in the floor.
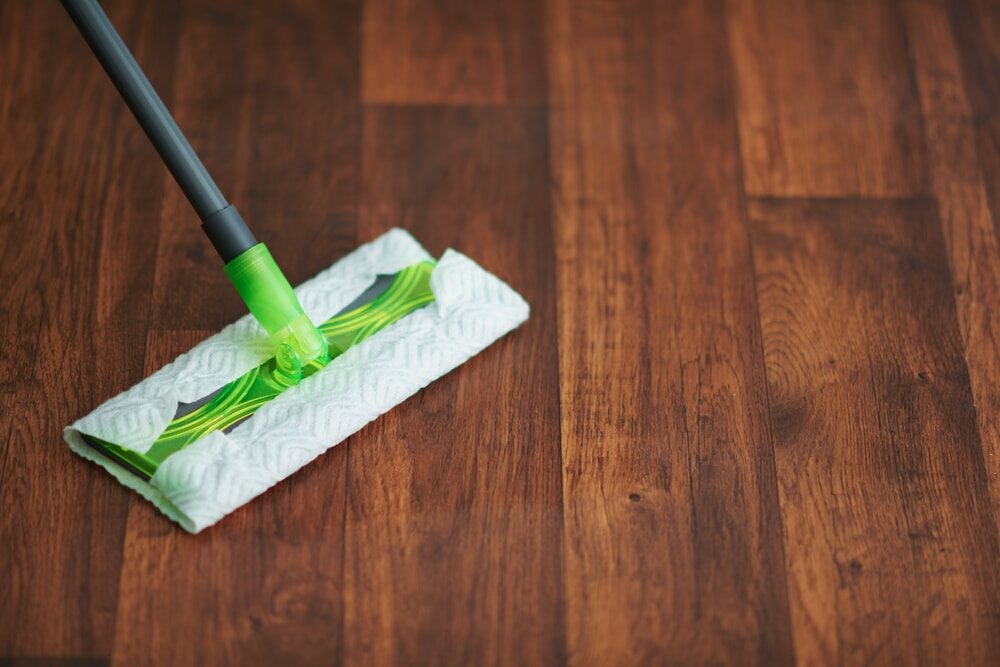
5. Cleaning Post-Sanding
After sanding, there will be a lot of dust. Vacuum the floor carefully, ensuring you remove all dust, as it can affect the finish. Mop the floor with a damp (not wet) mop and let it dry thoroughly.
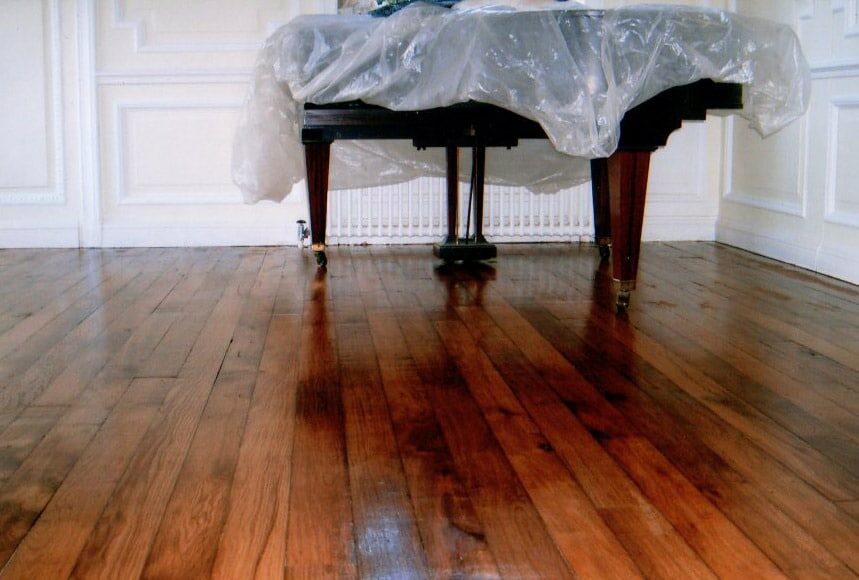
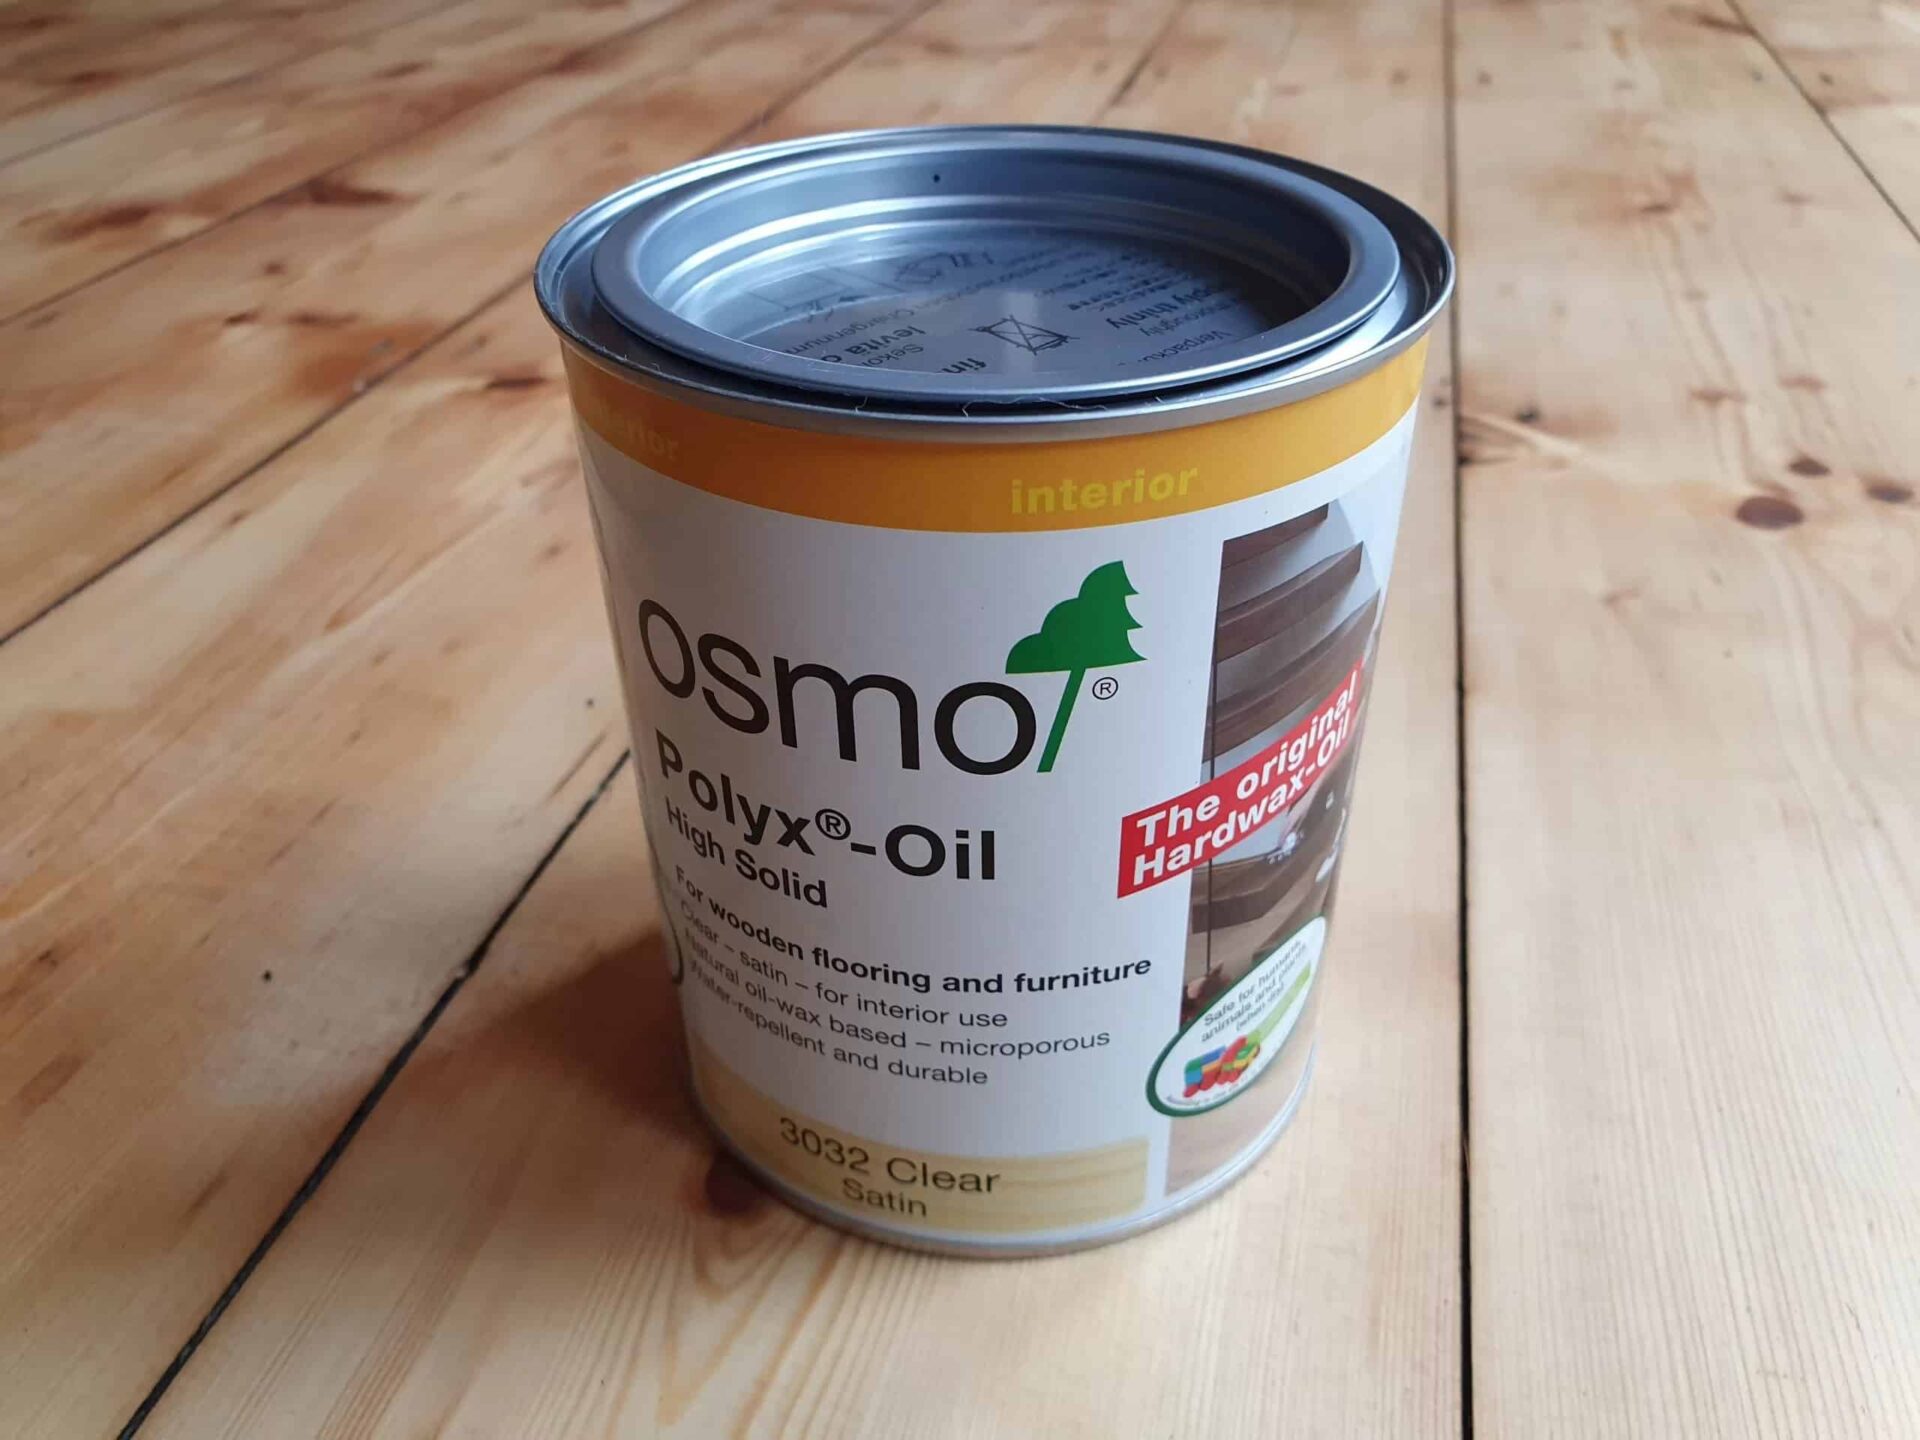
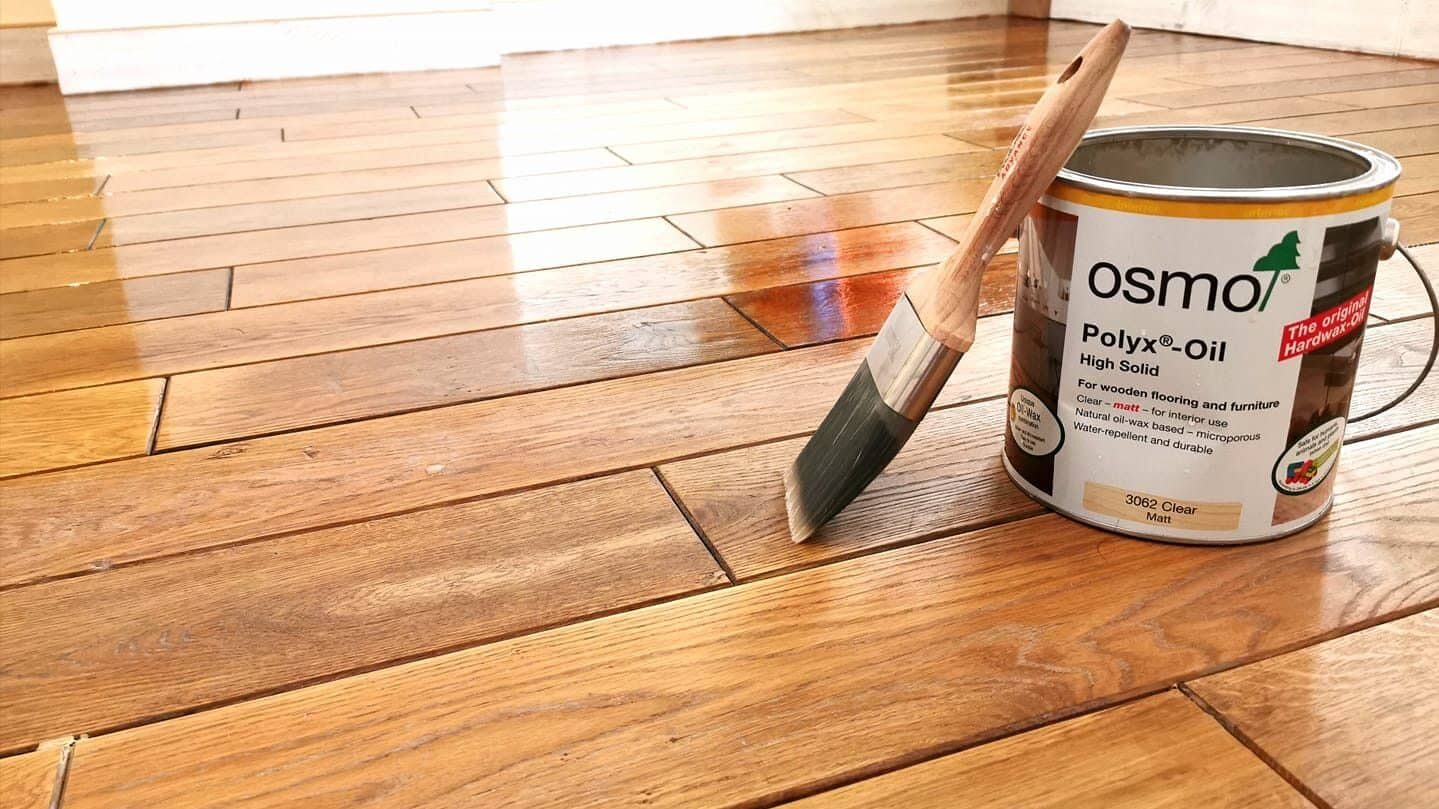
6. Choosing Your Varnish
When choosing your varnish, consider the type of wood, the amount of traffic the floor receives, and your personal aesthetic preferences. In general, choose a varnish that’s hard-wearing and provides the look you want. Polyurethane varnishes are popular due to their durability and range of finishes.
7. The Varnishing Process
Before you start varnishing, make sure the room is well ventilated. Apply the varnish using a paintbrush or roller, working along the grain. Apply the varnish evenly, avoiding pooling.
After the first coat, let it dry according to the manufacturer’s instructions. Then, lightly sand the floor with fine-grit sandpaper to ensure the next coat adheres well. Clean up the dust before applying the next coat. Repeat this process until you’ve applied the recommended number of coats.
8. Maintaining Your Sanded and Varnished Floor
Regular cleaning with a soft broom or vacuum and prompt clean-up of spills will help maintain your floor. Use mats or rugs in high-traffic areas to minimize wear. Refrain from using harsh cleaning products that can damage the varnish.
Conclusion
Sanding and varnishing your wood floor can be a challenging yet rewarding task. It revitalizes the look of your home and adds to the longevity of your floor. Remember, while this guide provides a comprehensive overview, if your floors are significantly damaged or you’re not comfortable doing it yourself, it’s best to hire professional floor sanding and varnishing services in London.
Some Useful Links:
- Floor Sanding Services
- School Floor Sanding
- Wood Floor Restorations
- Wood Floor Repairs
- Wood Floor Polishing
More from our Blog:
Essential Guide to Hardwood Floors Refinishing | Top FAQs Answered Mastering Wooden Floor Cleaning: Top Tips & Tricks Fantastic Wood Floor Sanding Tips for a Superior Finish Uncover Top Wood Floor Finishing Options | Mr Sander® Master Wood Floor Sanding with Our Essential Guide


Sanding
We provide virtually dust-free sanding with our continuous belt machinery with mobile extraction units, giving you a safer environment for your family.
Oiling
This organic finish not only adds beauty to your home but also has exceptional water-repellent characteristics, making it easier to clean and maintain.
Waxing
This natural floor finish offers the softest and most mellow appearance – and leaves your floor able to breath.
Buffing
Using soft buffing machines (and hand-polishing where required) will bring a wonderful sheen to your newly-finished floor.
Repairs
We offer a full assessment of your wooden floors to determine what repairs are needed to provide the perfect working surface for the later stages of sanding, staining and sealing.
Restoration
We offer a comprehensive restoration process designed to address floors that are improperly fitted or damaged over time through wear and tear.
Request a fixed price quote for your wood floor restoration now
Simply enter your postcode below to get started.
Services
Wood Floor Sanding Wood Floor Restoration Wood Floor Scratch Repair Squeaky Wood Floor Repair Parquet Floor Sanding Parquet Floor Restoration Commercial Floor Sanding Church Floor Sanding Community Centre Floor Sanding School Floor Sanding Gap Filling Gap Filling with ResinCopyright © Mr Sander®
Privacy & Cookies Terms & Conditions Complaints Procedure Cancellation Rights Sitemap

Get An Instant Price Estimate Before You Go…
Simply enter the rooms you need sanded and we’ll provide you with a price estimate instantly! Try our price calculator now.
Get a Price Estimate NowLocal Floor Sanding Experts
Over 500 5-Star Reviews
Safe, Dust Free Sanding
Operating Since 1994