London:
Nationwide:
Master Wood Floor Sanding with Our Essential Guide
Posted on June 15, 2023
Floor Sanding Articles
An Essential Guide to Wood Floor Sanding: Everything You Need to Know
Wooden floors can bring a timeless and elegant charm to any home. However, over time, this beauty can fade due to wear and tear. The solution to bring back the lustre and charm lies in a technique called wood floor sanding. This comprehensive guide will provide you with the essential information you need to understand and carry out a successful wood floor sanding project.Understanding wood floor sanding
What is wood floor sanding?
Wood floor sanding is a restoration process that involves removing the top layer of a wooden floor by using abrasive materials. The purpose of sanding is to remove old finishes, eliminate surface-level imperfections, scratches, and stains, and prepare the floor for refinishing.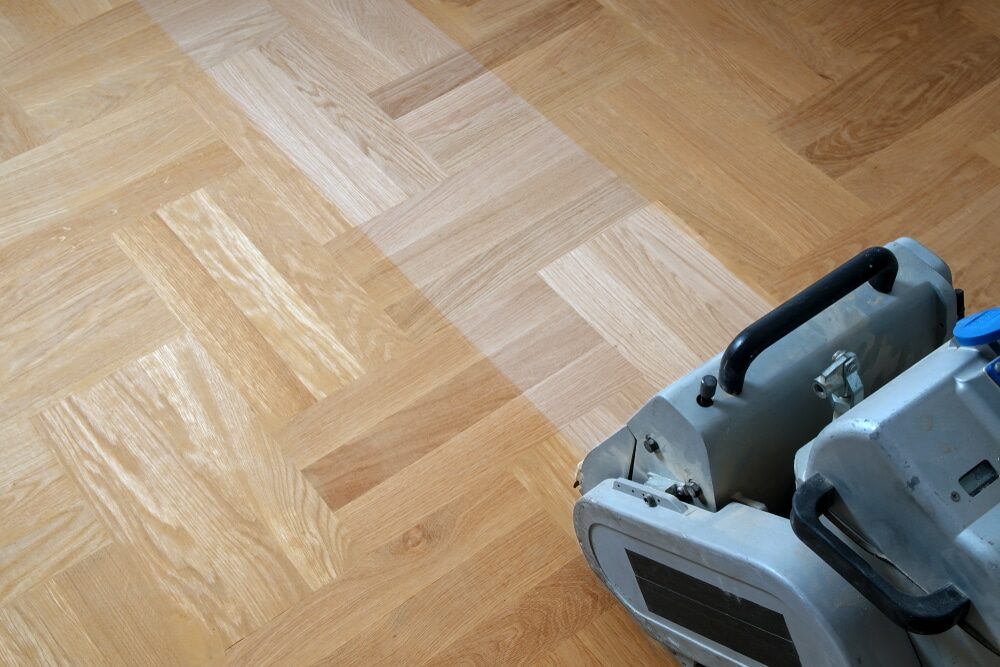
Why Sand Your Wood Floor?
Sanding is an excellent way to enhance the aesthetics and longevity of your wood floor. It refreshes the surface and provides a smooth canvas for new stains and finishes. By sanding your floors, you can restore them to their former glory and prevent further damage.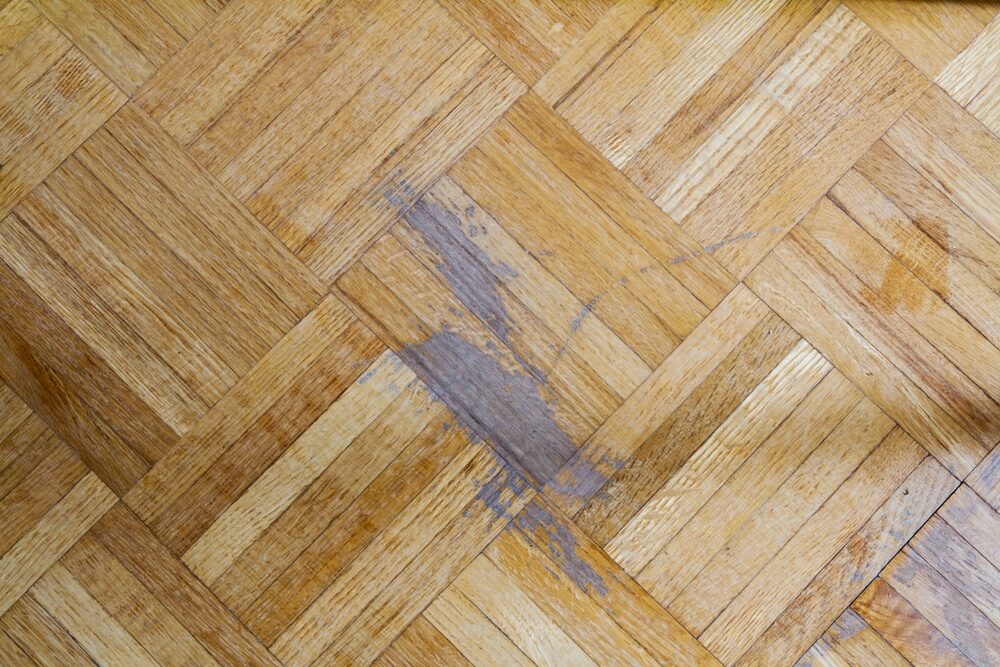
Essential Tools and Materials for Wood Floor Sanding
Floor Sanders
These are powerful machines that make the sanding process efficient and uniform. There are primarily two types:- Drum Sanders: These are large, heavy-duty machines used for the initial, more aggressive sanding stages.
- Orbital Sanders: These are smaller and less aggressive, making them perfect for the final stages of sanding where a delicate touch is needed.
Sandpaper
You’ll need different sandpaper grits, ranging from coarse to fine. Coarse grit (24–60) is for the initial sanding, medium grit (80–120) for the intermediate stage, and fine grit (150–180) for the final sanding stage.Other tools and materials
You’ll also need a vacuum cleaner for cleaning up dust, protective gear (like a dust mask, safety goggles, and ear protection), and a detail sander for hard-to-reach areas.

The wood floor sanding process
Step 1: Preparation
Before sanding, remove all furniture and rugs from the room. Cover any vents with plastic sheeting to prevent dust from spreading, and check the floor for protruding nails or screws.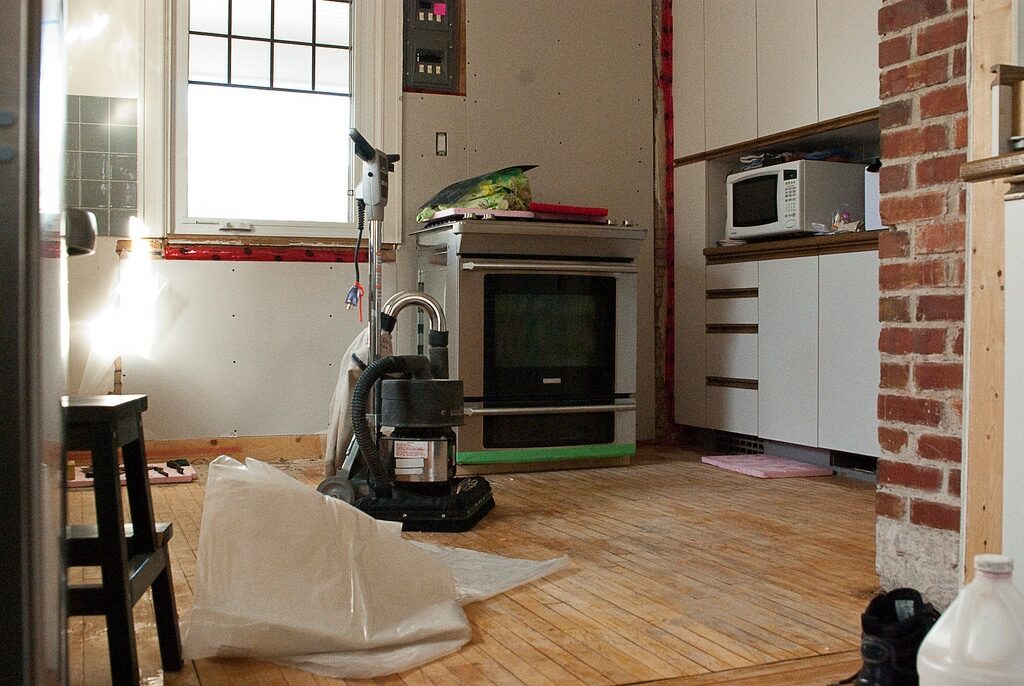
Step 2: Initial sanding
Start sanding with the drum sander and coarse-grit sandpaper. Move the sander along the grain, not against it, and keep it moving to avoid digging into the wood.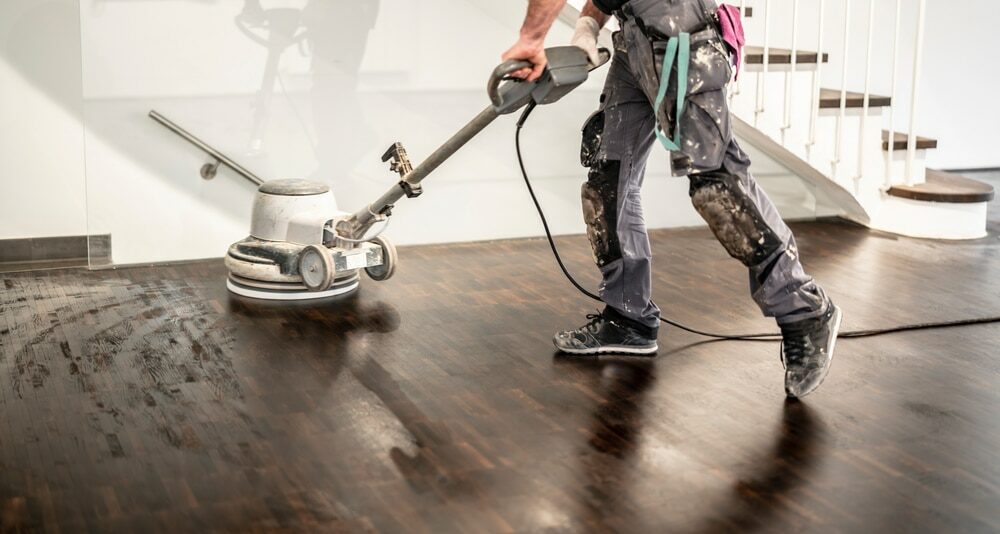
Step 3: Intermediate Sanding
Switch to medium-grit sandpaper for the second round of sanding. This stage removes the scratches left by the coarse grit.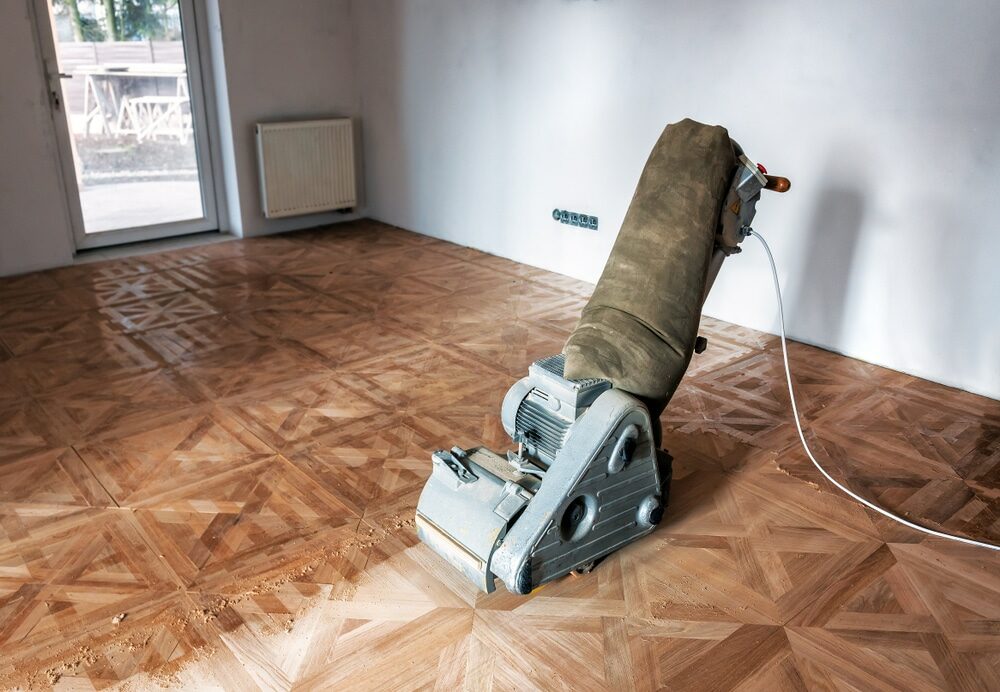
Step 4: Fine Sanding
For the final round, switch to fine-grit sandpaper and the orbital sander. This stage will give the floor a smooth, polished look.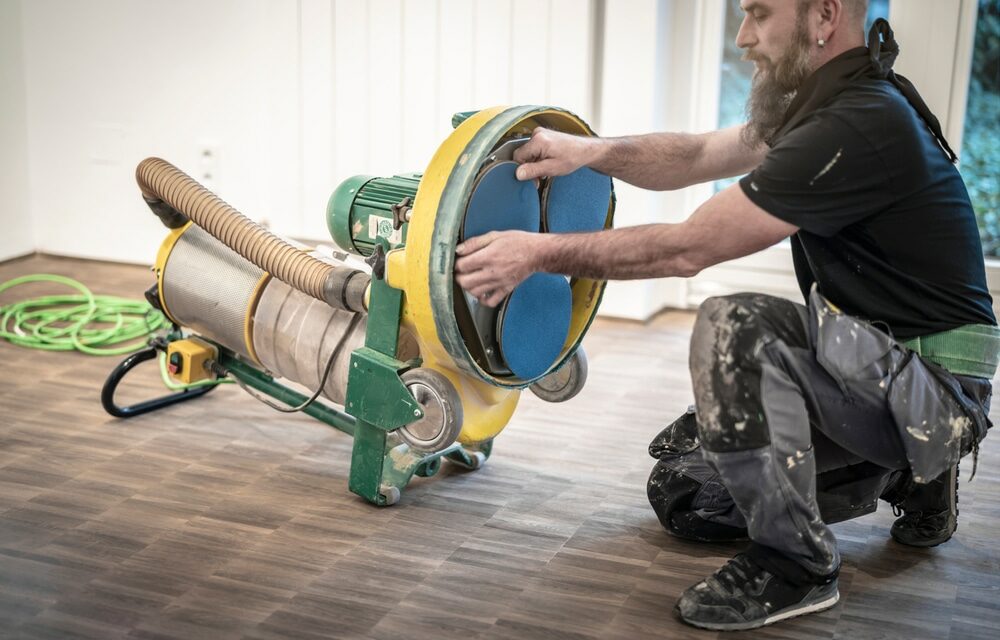
Step 5: Clean up
After sanding, it’s time to clean up. Use a vacuum to remove dust and wipe the floor with a damp cloth.What to Do After Sanding: The Refinishing Process
Once you’ve sanded the floor, it’s time to refinish it. Depending on the look you want, you can choose from a variety of finishes, including oil-based, water-based, and varnish. Make sure to apply the finish evenly and allow it to dry completely before using the floor.Conclusion
Wood floor sanding is a critical aspect of maintaining and restoring the beauty of your wooden floors. With the right tools, precautions, and patience, you can effectively carry out this task and ensure that your floors remain in prime condition for years to come. Whether you’re a seasoned DIYer or a beginner, this guide has provided you with the essential information you need to embark on your wood floor sanding journey.Some Useful Links:
- Floor Sanding Services
- School Floor Sanding
- Wood Floor Restorations
- Wood Floor Repairs
- Wood Floor Polishing
More from our Blog:
The Ultimate Guide to Sanding Hardwood Floors Successfully Essential Guide to Wood Floor Sanding – Basics and Tools You Need How to Use a Drum Sander – Hints and Tips Sanding Wooden Floors – A Comprehensive DIY Guide for Beginners Unveiling the Secrets of Successful Floor Sanding
Sanding
We provide virtually dust-free sanding with our continuous belt machinery with mobile extraction units, giving you a safer environment for your family.
Oiling
This organic finish not only adds beauty to your home but also has exceptional water-repellent characteristics, making it easier to clean and maintain.
Waxing
This natural floor finish offers the softest and most mellow appearance – and leaves your floor able to breath.
Buffing
Using soft buffing machines (and hand-polishing where required) will bring a wonderful sheen to your newly-finished floor.
Repairs
We offer a full assessment of your wooden floors to determine what repairs are needed to provide the perfect working surface for the later stages of sanding, staining and sealing.
Restoration
We offer a comprehensive restoration process designed to address floors that are improperly fitted or damaged over time through wear and tear.
Request a fixed price quote for your wood floor restoration now
Simply enter your postcode below to get started.
Services
Wood Floor Sanding Wood Floor Restoration Wood Floor Scratch Repair Squeaky Wood Floor Repair Parquet Floor Sanding Parquet Floor Restoration Commercial Floor Sanding Church Floor Sanding Community Centre Floor Sanding School Floor Sanding Gap Filling Gap Filling with ResinCopyright © Mr Sander®
Privacy & Cookies Terms & Conditions Complaints Procedure Cancellation Rights Sitemap