London:
Nationwide:
25,000+
Floors Restored
27 Years Experience
Wood Flooring Association Certified
DIY Guide: Filling Gaps in Wood Floors to Restore Their Beauty
Posted on May 20, 2023
News
The Ultimate Guide to Wood Floor Gap Filling: Restore Your Floors to Their Former Glory
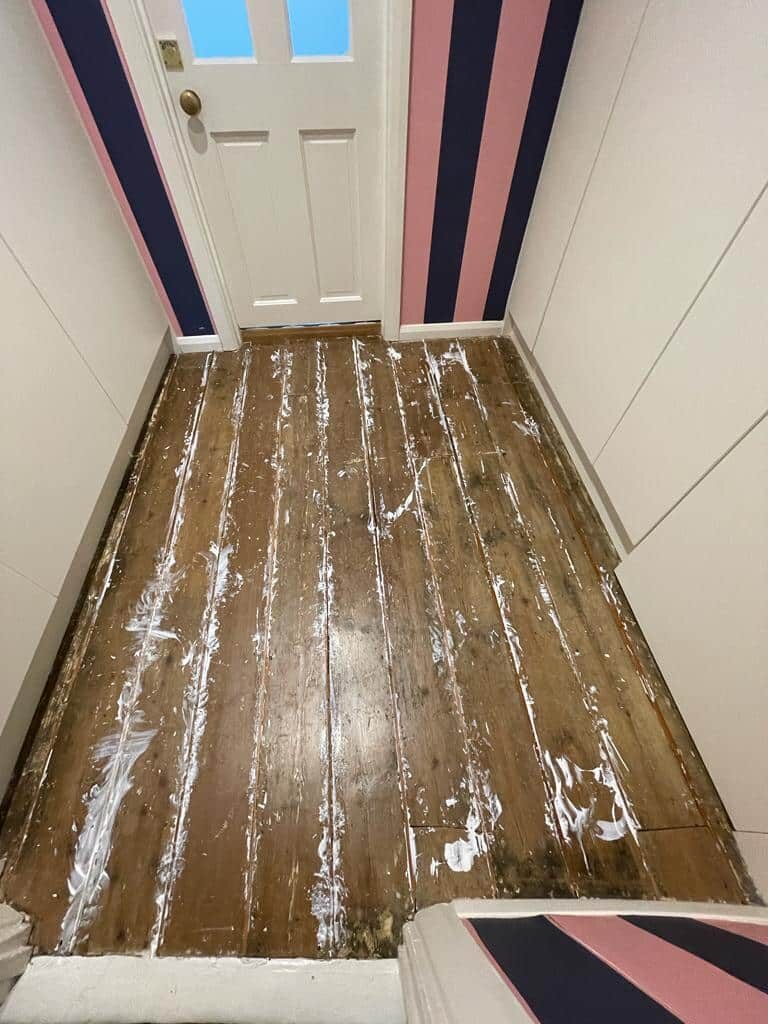
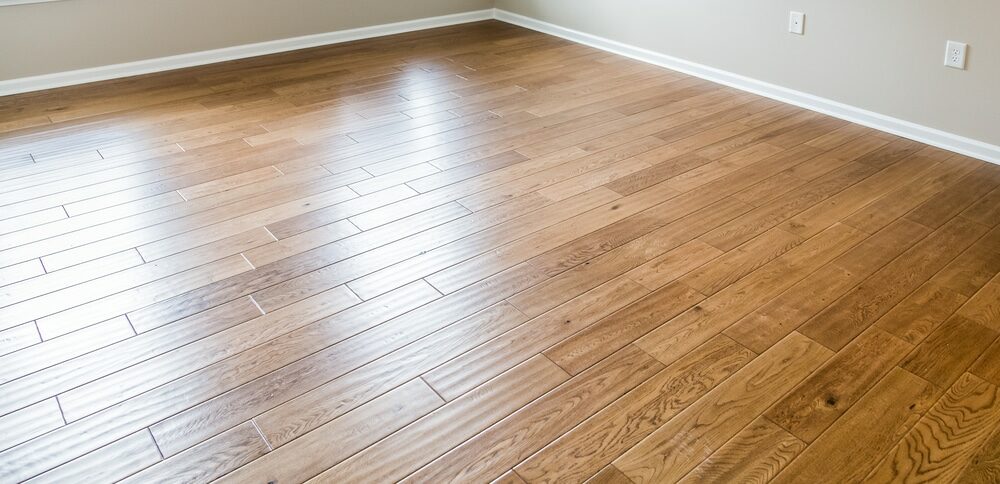
Wooden floors are a beautiful, classic, and long-lasting choice for any home. However, over time, it’s normal for gaps to appear between the planks due to the natural expansion and contraction of the wood. Filling these gaps can restore the floor’s smoothness and aesthetics and prevent issues like drafts or squeaks. This comprehensive guide offers step-by-step instructions on wood floor gap filling, covering various methods, tools, and tips to rejuvenate your wooden floors.
Understanding Gaps in Wood Floors
Gaps in wood floors can occur for several reasons, including seasonal fluctuations in humidity, incorrect installation, or simply the wood aging and drying out over time. Small gaps are standard and not typically a cause for concern, but more significant gaps can become a problem. These can let in drafts, collect dust, or even pose a trip hazard. Fortunately, filling these gaps can breathe new life into your floor.
Materials and tools needed
Depending on the method chosen, you may need:
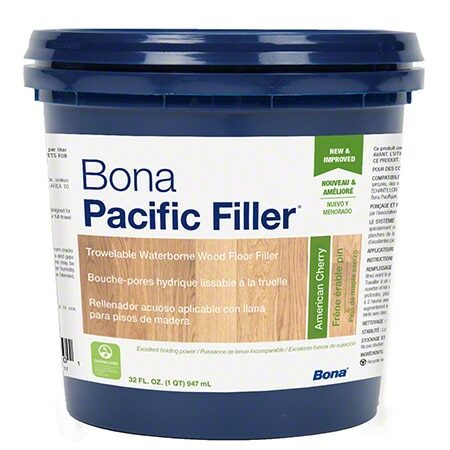
- Wood Filler or Putty
- Wood Strips
- Wood Dust
- PVA wood glue
- Lacquer, oil, or wood stain
- Chisel
- Hammer
- Vacuum Cleaner
- Sandpaper
- Putty Knife
- Safety gear (goggles, gloves, and a dust mask)
Choosing the Right Filling Method
The correct method to fill gaps in your wood floor depends on the size of the gaps, the type of wood, and the finish of your floor. Here are three commonly used methods:
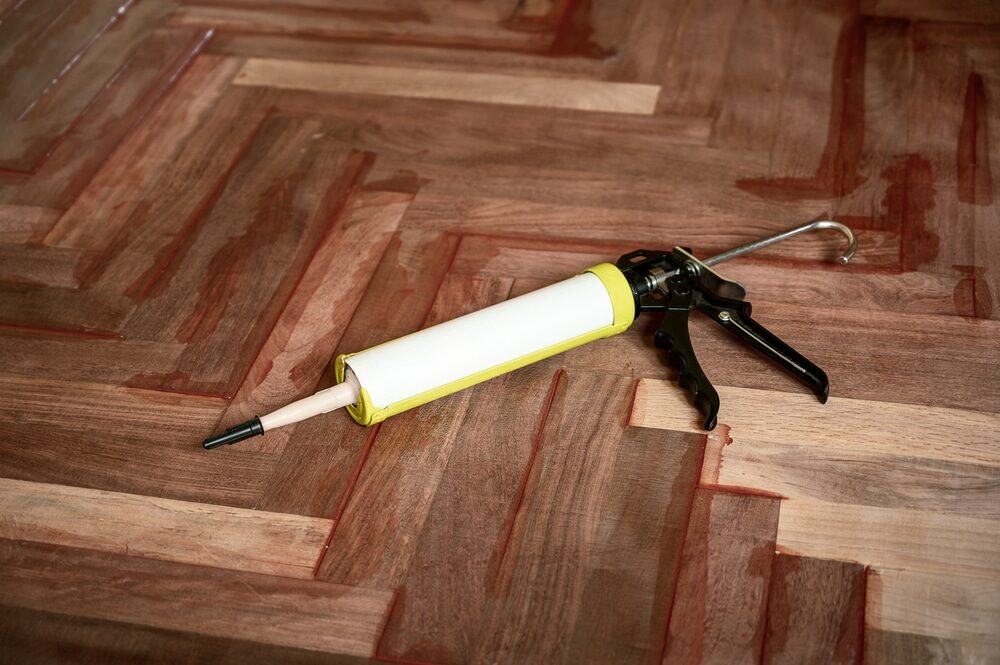
1. Wood Filler or Putty: Wood filler or putty is a ready-made solution for small to medium gaps. They are easy to apply and come in various colors to match wood types.
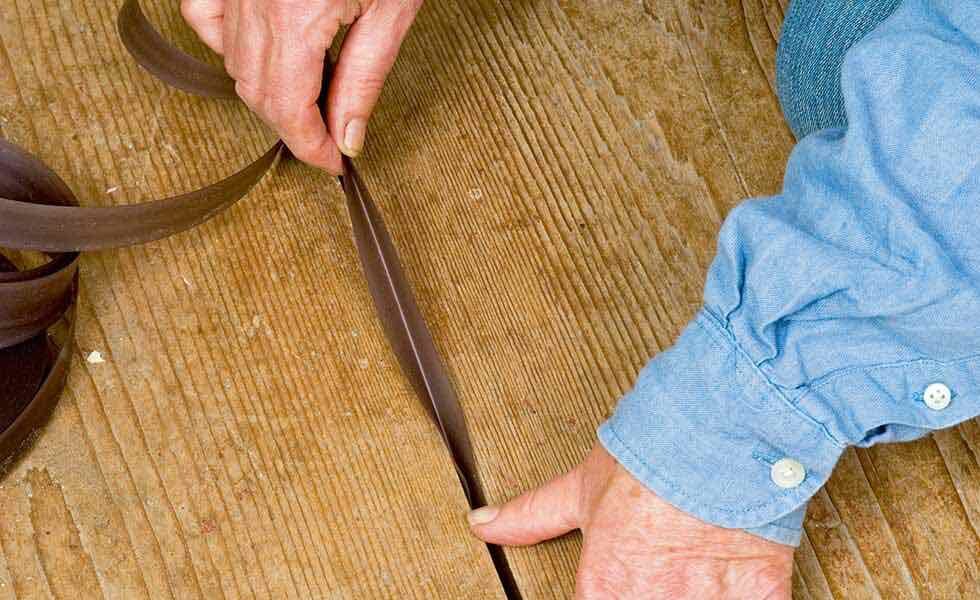
2. Wood Strips: For more significant gaps, particularly in old, plank-style flooring, thin strips of wood, also known as ‘slivers,’ can be an effective solution.
3. Wood Dust and Resin: This method involves mixing wood dust from your floor with resin to create a filler. The advantage of this method is that the filler will match your floor.
Filling Gaps in Wood Floors: A Step-by-Step Guide
Regardless of your chosen method, there are some common steps to follow when filling gaps in wood floors.
1. Prepare the floor.
Begin by thoroughly cleaning your floor. Vacuum or sweep up any loose dust and debris. Use a chisel to clean out the gaps and ensure they are ready to be filled.
2. Select and prepare your filler.
Select a color that closely matches your floor if using a pre-made wood filler or putty. If using wood strips, cut them to fit the length of the gap and ensure they’re slightly higher than the floor surface. If you are making your filler with wood dust and resin, mix the two components until you have a paste that matches the color of your floor.
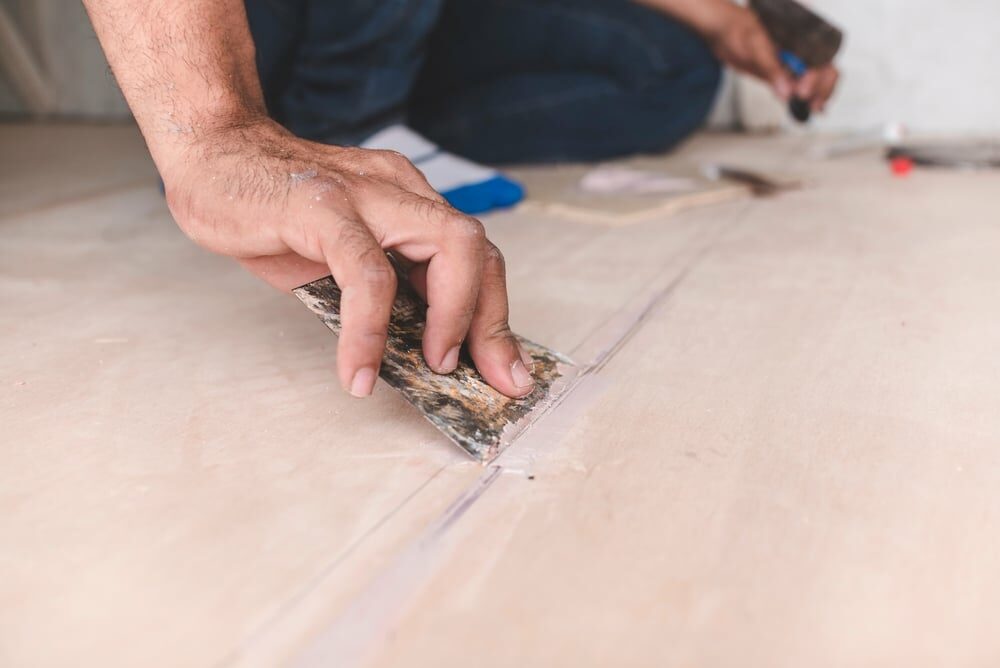
3. Apply the filler.
If using wood filler or putty, apply it to the gap with a putty knife, ensuring it’s filled. For wood strips, apply wood glue into the gap, insert the strip, and use a hammer to tap it into place gently. If using wood dust and resin, apply the paste to the gaps with a putty knife, ensuring each gap is filled.
4. Let the filler dry.
Allow the filler to dry as per the manufacturer’s instructions. This usually takes between a few hours and a day.
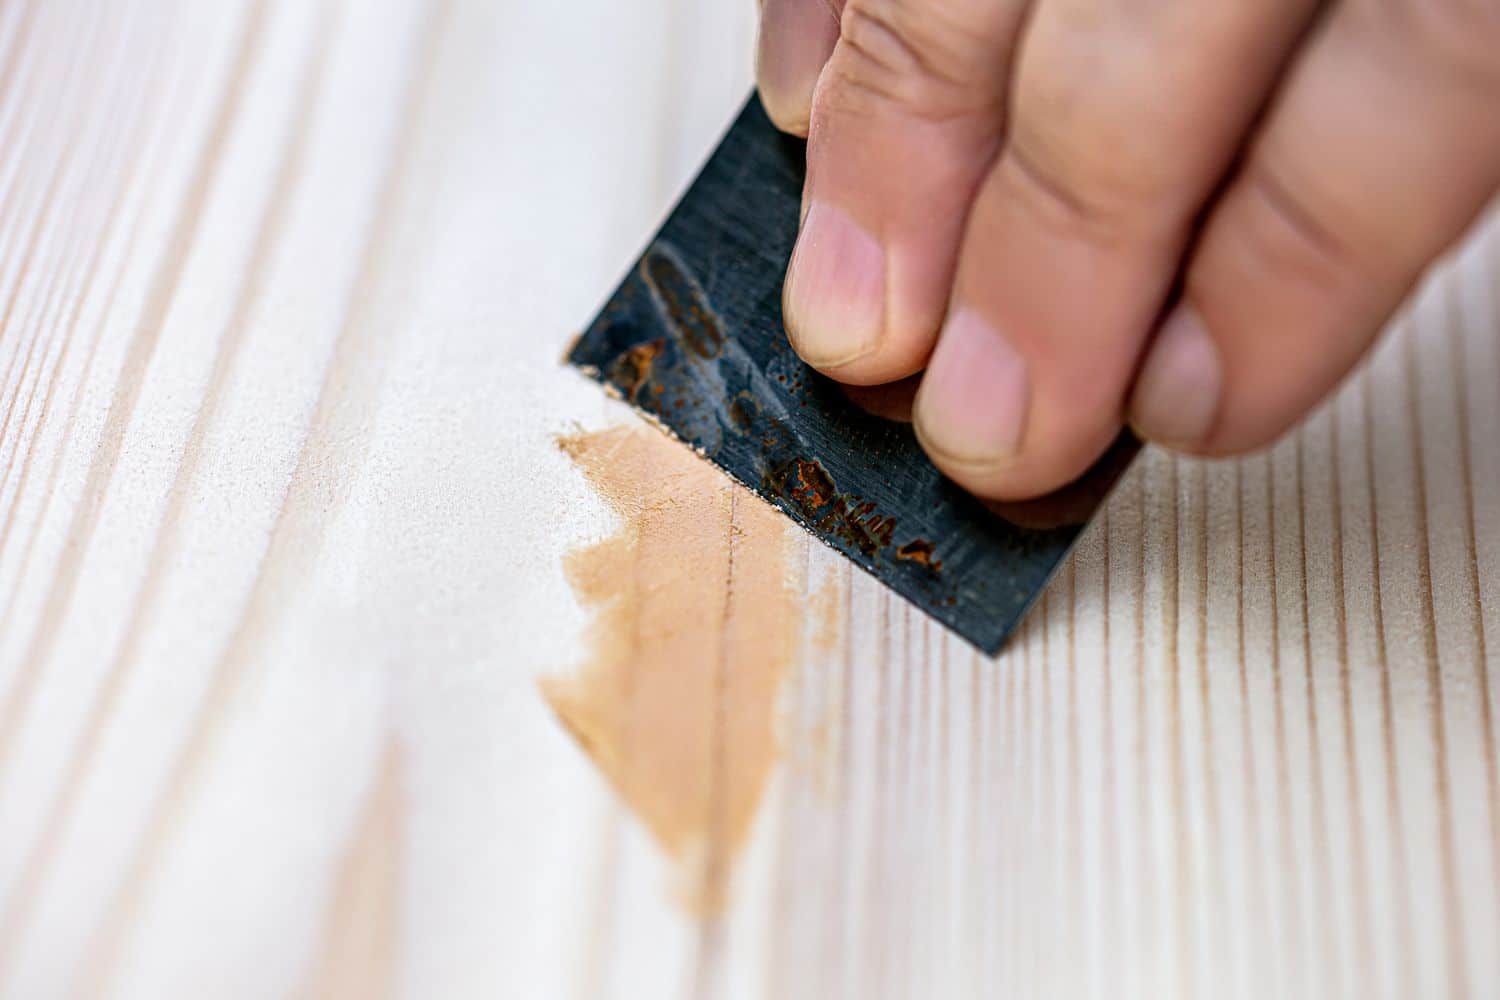
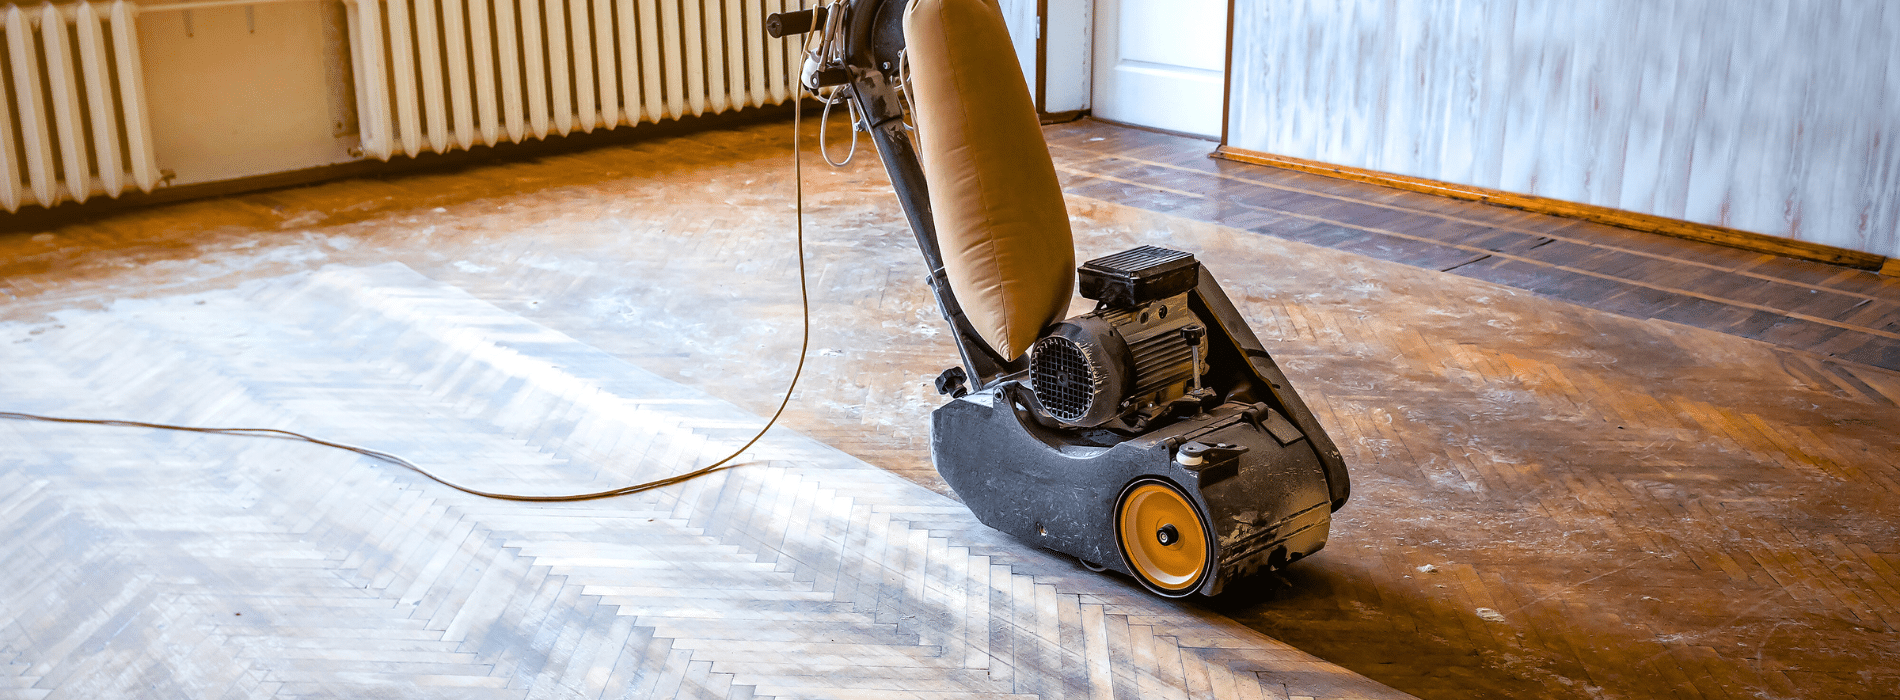
5. Sand the area.
Once the filler is dry, sand the area until it’s flush with the rest of the floor. Start with coarse sandpaper and gradually move to finer grades for a smooth finish. Wear a dust mask during this process to avoid inhaling wood dust.
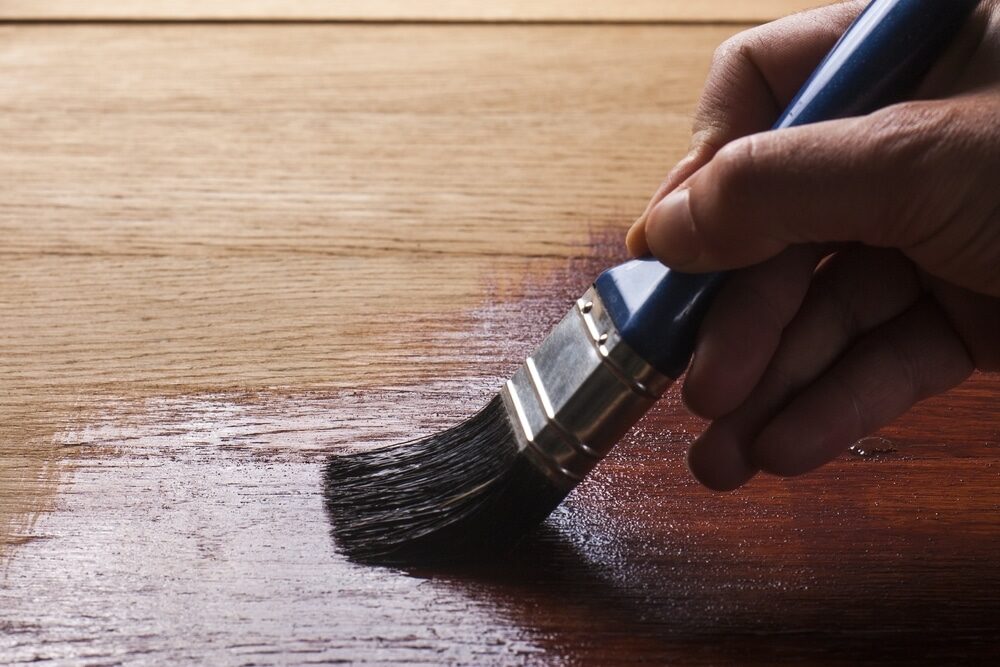
6. Finish the floor.
After sanding, clean the area thoroughly to remove any dust. Then apply your chosen finish (oil, lacquer, or wood stain) to seal the filler and protect the floor. Ensure the finish matches the rest of your floor to maintain a consistent look.
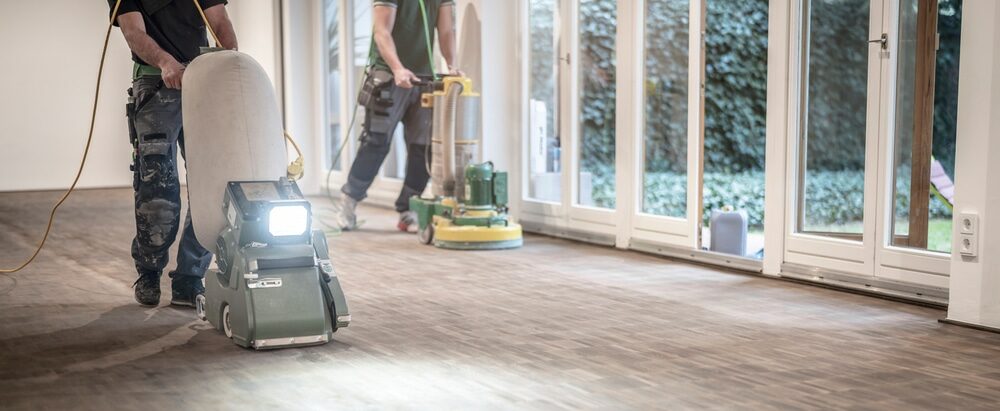
Professional help or DIY?
While filling gaps in wood floors can be a doable DIY project, there are cases when it’s better to call in a professional. If your wooden floor has extensive damage, is antique, or requires complex restoration, a professional can ensure the job is done correctly and to a high standard. This can save you time, effort, and potential mishaps.
Preventing Gaps in Wood Floors
To prevent gaps from forming in your wood floors, maintain a consistent indoor climate with humidity levels between 40% and 60% and temperatures between 60 and 80 degrees Fahrenheit. Using a humidifier or dehumidifier can help achieve this.
Also, proper installation is critical. Wood flooring must acclimate to the room’s conditions before installation, and the planks must be laid tightly together.
Conclusion
Wood floor gap filling can rejuvenate your floors, restore their beauty, and increase the comfort of your home. Whether you opt for a pre-made filler, wood strips, or a custom blend of wood dust and resin, the process requires patience, precision, and care.
Remember, each flooring situation is unique. What works for one type of wooden floor may not work for another. If you’re unsure about any part of the process, don’t hesitate to consult with a professional. A beautifully maintained wood floor can be a show-stopping feature in your home and is well worth the effort of doing it right. Happy filling!
Some Useful Links:
- Stairs Sanding & Refinishing
- Floor Sanding Services
- School Floor Sanding
- Wood Floor Restorations
- Wood Floor Repairs
- Wood Floor Polishing
More from our Blog:
Engineered Wood Floor Installation in London Homes at Mr Sander® How to Install a Solid Bamboo Floor: A Step-by-Step Guide Wood Floor Sanding Machines: Your Comprehensive Guide for Restoration Success Revamp Your Home with Professional Floor Sanding Services in London DIY Wood Floor Installation: Step-by-Step Guide for Homeowners

Sanding
We provide virtually dust-free sanding with our continuous belt machinery with mobile extraction units, giving you a safer environment for your family.
Oiling
This organic finish not only adds beauty to your home but also has exceptional water-repellent characteristics, making it easier to clean and maintain.
Waxing
This natural floor finish offers the softest and most mellow appearance – and leaves your floor able to breath.
Buffing
Using soft buffing machines (and hand-polishing where required) will bring a wonderful sheen to your newly-finished floor.
Repairs
We offer a full assessment of your wooden floors to determine what repairs are needed to provide the perfect working surface for the later stages of sanding, staining and sealing.
Restoration
We offer a comprehensive restoration process designed to address floors that are improperly fitted or damaged over time through wear and tear.
Request a fixed price quote for your wood floor restoration now
Simply enter your postcode below to get started.
Services
Wood Floor Sanding Wood Floor Restoration Wood Floor Scratch Repair Squeaky Wood Floor Repair Parquet Floor Sanding Parquet Floor Restoration Commercial Floor Sanding Church Floor Sanding Community Centre Floor Sanding School Floor Sanding Gap Filling Gap Filling with ResinCopyright © Mr Sander®
Privacy & Cookies Terms & Conditions Complaints Procedure Cancellation Rights Sitemap

Get An Instant Price Estimate Before You Go…
Simply enter the rooms you need sanded and we’ll provide you with a price estimate instantly! Try our price calculator now.
Get a Price Estimate NowLocal Floor Sanding Experts
Over 500 5-Star Reviews
Safe, Dust Free Sanding
Operating Since 1994