London:
Nationwide:
25,000+
Floors Restored
27 Years Experience
Wood Flooring Association Certified
Sanding Your Kitchen Worktop: A DIY Guide
Posted on December 26, 2023
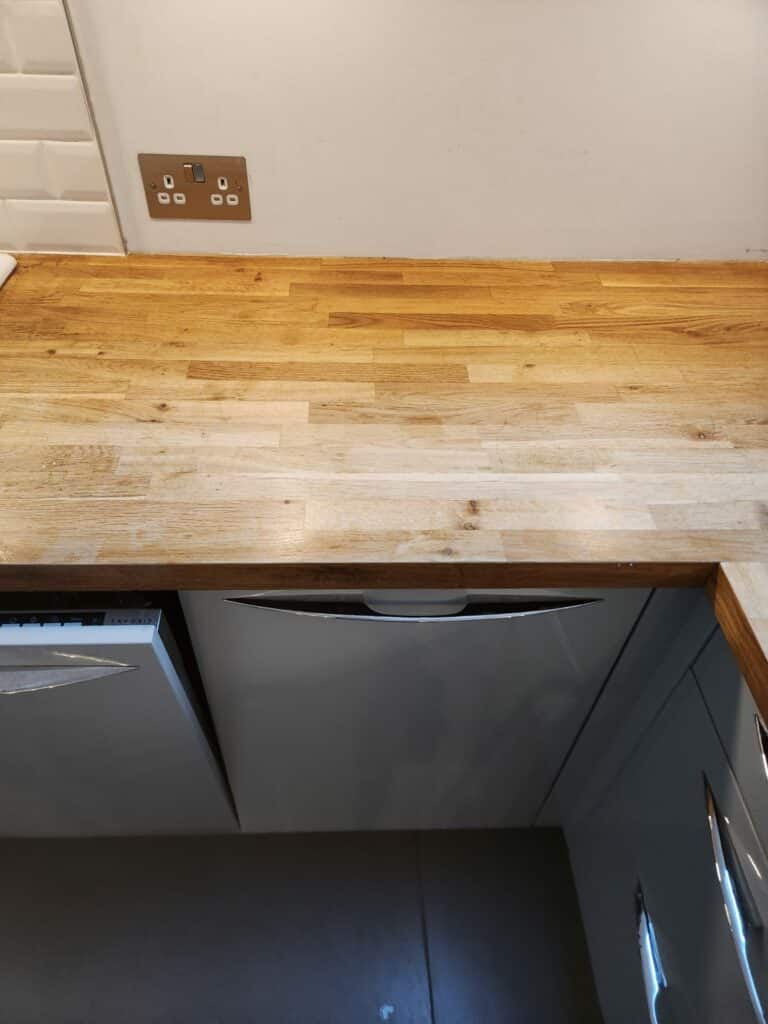
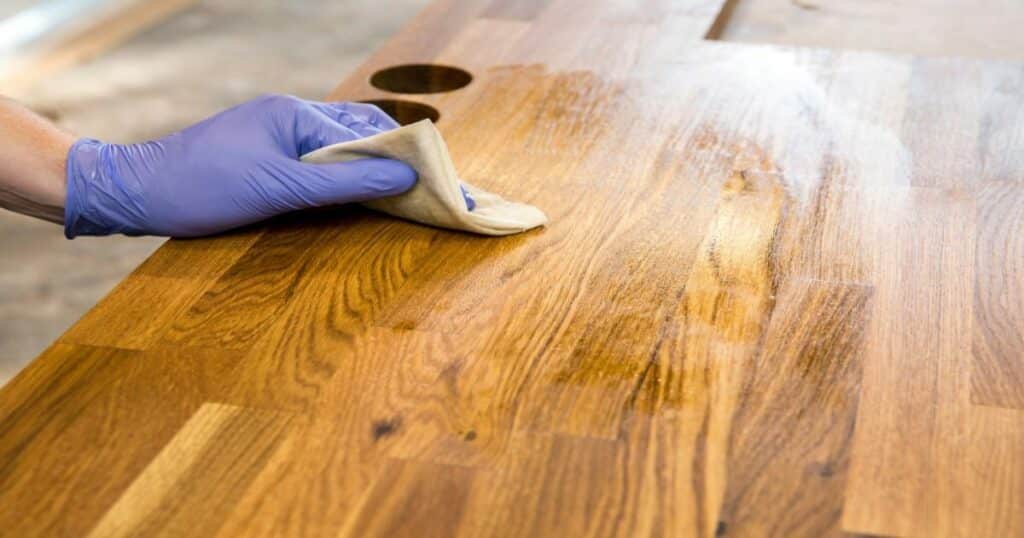
Kitchen Worktop sanding
DIY Sanding and Refinishing Guide for Your Kitchen Worktop
Welcome to our comprehensive guide on sanding your kitchen worktop—a rewarding DIY project that can rejuvenate the heart of your home. The kitchen, often referred to as the soul of a house, is not just a place for cooking; it’s a space where memories are made and stories are shared. Over time, the kitchen worktop, a central element of this space, can show signs of wear and tear, losing some of its original lustre and smoothness.
Sanding your kitchen worktop is a practical and cost-effective way to breathe new life into this essential surface. Whether it’s made of wood, laminate, or composite materials, a well-sanded worktop not only enhances the aesthetics of your kitchen but also extends the life of the surface. This guide is designed to empower you with the knowledge and techniques needed to tackle this task confidently.
We’ll walk you through every step of the process, from selecting the right tools and materials to the actual sanding techniques. You’ll learn how to choose the appropriate sandpaper, deal with any imperfections, and apply the finishing touches to achieve a professional-looking result. We understand that safety is paramount to any DIY project, so we’ve also included essential safety tips and best practices to ensure a smooth and safe experience.
Whether you’re a seasoned DIY enthusiast or a beginner looking to undertake your first project, this guide aims to provide you with all the necessary information, tips, and tricks to successfully sand your kitchen worktop. So, roll up your sleeves, and let’s transform your kitchen worktop into a beautiful and durable surface that’s ready for all the cooking adventures ahead!
Materials and Tools Needed
Embarking on a sanding project for your kitchen worktop requires not just skill and patience, but also the right set of materials and tools. Being well-prepared with everything you need beforehand can make the process smoother and more efficient. Here’s a list of essential materials and tools you’ll need for sanding your kitchen worktop:
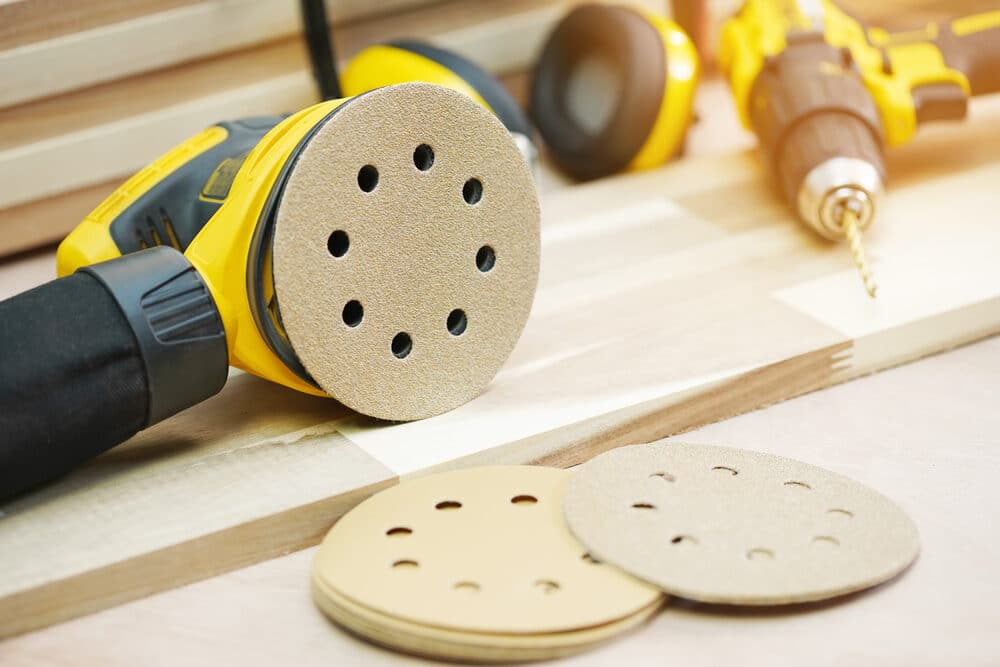
Sandpaper:
- A variety of grits (e.g., 80, 120, 220) for different stages of sanding.
- Both coarse (for initial sanding) and fine (for finishing touches) grits.
Power Sander (Optional):
- An orbital sander or a palm sander for quicker, more uniform sanding.
- Suitable for larger worktops or for saving time and effort.
Hand Sanding Block:
- For areas where a power sander cannot reach or for more control over sanding.

Safety Equipment:
- Safety goggles to protect your eyes from dust.
- A dust mask or respirator to avoid inhaling fine particles.
- Ear protection is required if using a power sander.
Work Gloves:
- To protect your hands during the sanding process.
Dust sheets or tarp:
- To protect surrounding areas from dust and debris.
Vacuum Cleaner with a Brush Attachment:
- For cleaning up dust between sanding stages and after the final sanding.

Tack Cloth:
- To pick up any residual dust after vacuuming.
Wood filler (if needed):
- Filling in cracks or holes in the worktop before sanding.
Screwdriver or Drill:
- For removing any hardware or fittings from the worktop area.
Painter’s Tape:
- To protect areas adjacent to the worktop that you don’t want to sand.
Finishing Product:
- Oil, varnish, or sealant to protect the worktop after sanding.
Clean rags or brushes:
- For applying the finishing product.
Gathering these materials and tools before starting your project will ensure that you’re well-equipped to handle each step of the sanding process effectively. Remember, the right tools not only make the job easier but also contribute to a professional and satisfying finish.
Preparation Steps
Proper preparation is key to the success of any DIY project, especially when it comes to sanding your kitchen worktop. Adequate preparation not only makes the sanding process smoother but also helps ensure a high-quality finish. Here are the essential steps to prepare for sanding your kitchen worktop:
Clear the work area.
- Remove all items from your kitchen worktop, including appliances, utensils, and any decorative objects.
- Ensure the work area is free of any obstacles that could hinder movement or safety.
Clean the Worktop Surface:
- Thoroughly clean the worktop to remove grease, dirt, and any residue.
- Use a mild detergent or a specialised cleaner suitable for your worktop material.
- Dry the surface completely before proceeding.
Assess the Condition of the Worktop:
- Examine the worktop for any damages like cracks, chips, or deep scratches.
- Identify areas that might need extra attention or filling before sanding.
Prepare Your Work Area for Sanding:
- Lay down dust sheets or a tarp on the floor and surrounding areas to collect dust and debris.
- Use painter’s tape to protect areas adjacent to the worktop, such as walls or cabinets, from accidental sanding.
Remove or protect fittings and hardware:
- If possible, remove any fittings or hardware, such as sink fixtures or knobs, from the worktop.
- If removal is not possible, cover them thoroughly with painter’s tape to protect them from dust and scratches.
Set up ventilation:
- Ensure good ventilation in your kitchen to avoid dust buildup.
- Open windows or use fans to circulate air and direct dust away from the work area.
Don protective gear:
- Wear safety goggles to protect your eyes from dust particles.
- Use a dust mask or respirator to prevent inhaling fine dust.
- Put on work gloves to protect your hands.
Gather your tools and materials:
- Assemble all the tools and materials listed in the previous section.
- Ensure your power tools are in good working order and that you have enough sandpaper of various grits.
Plan your approach:
- Decide whether you’ll be sanding by hand, using a power sander, or a combination of both.
- Plan your sanding direction, typically along the grain of the wood, for a uniform finish.
By following these preparation steps, you set a strong foundation for an efficient and effective sanding process. This attention to detail in the preparation phase will reflect on the quality of your finished worktop.
Choosing the Right Sandpaper
Selecting the appropriate sandpaper is a crucial step in sanding your kitchen worktop. Sandpaper comes in various grits, which refers to the coarseness of the abrasive particles on the paper. The right grit will not only efficiently remove the old surface but also ensure a smooth finish. Here’s a guide to help you choose the right sandpaper for your project:
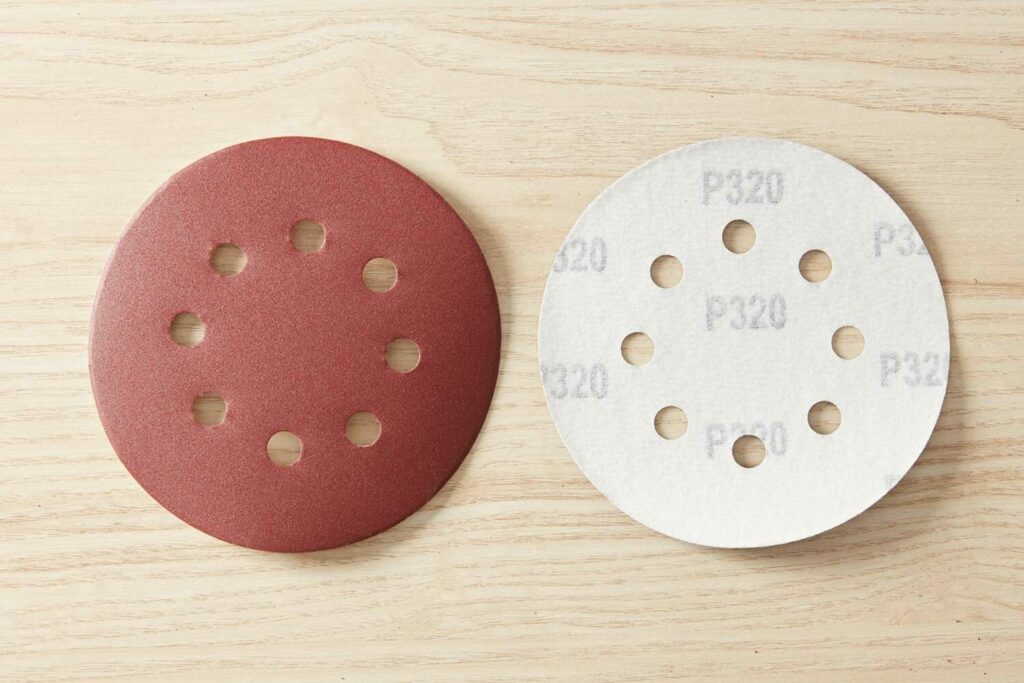
Understanding Sandpaper Grit:
- Sandpaper grit is numbered, with lower numbers indicating a coarser grit and higher numbers indicating a finer grit.
- Coarse grits (e.g., 40–80) are used for removing old finishes and smoothing out rough surfaces.
- Medium grits (e.g., 100–150) are suitable for smoothing the wood further and preparing it for finishing.
- Fine grits (e.g., 180–220) are used for final finishing before applying a sealant or varnish.
Assessing Your Worktop’s Condition:
- If your worktop has an old finish, deep scratches, or stains, start with a coarser grit to remove the top layer.
- For worktops with minimal wear and tear, a medium grit may be sufficient to start with.
Progressive Sanding:
- Begin with a coarser grit and progressively move to finer grits.
- This method ensures that each level of sanding refines the scratches made by the previous, coarser grit.
- Skipping grits can leave deep scratches that are hard to remove later.
Type of material:
- Consider the material of your worktop. Softer woods may require finer grits to avoid deep scratches, while harder woods can handle coarser grits.
- For non-wood worktops, ensure you use sandpaper designed for that specific material.
Number of Sandpaper Sheets:
- Estimate the amount of sandpaper you will need. Larger or more damaged surfaces will require more sandpaper, especially the coarser grits.
- It’s always better to have a little extra than to run out mid-project.
Quality of Sandpaper:
- Invest in good-quality sandpaper. Higher-quality sandpaper may cost more, but it usually lasts longer and provides a better finish.
Special Sandpapers:
- For certain finishes or materials, you may need special sandpapers, like waterproof sandpaper or mesh sanding screens.
Sanding Techniques
Effective sanding techniques are crucial for achieving a smooth, even finish on your kitchen worktop. Whether you’re using hand sanding methods, a power sander, or a combination of both, understanding the right techniques will ensure a successful outcome. Here’s a guide to various sanding techniques for your kitchen worktop:

Hand Sanding vs. Power Sanding:
- Hand sanding is ideal for small areas, intricate details, or where you need more control. Use a sanding block to apply even pressure and to avoid creating grooves or indentations with your fingers.
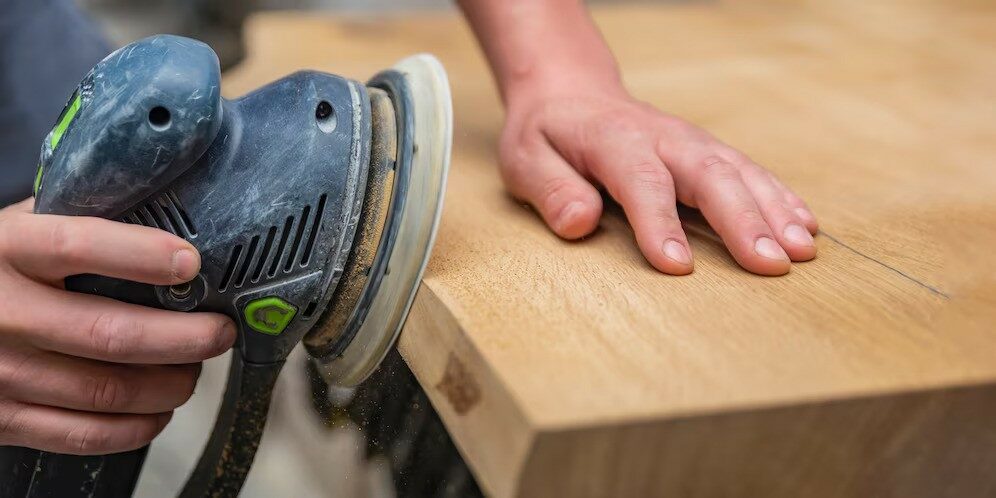
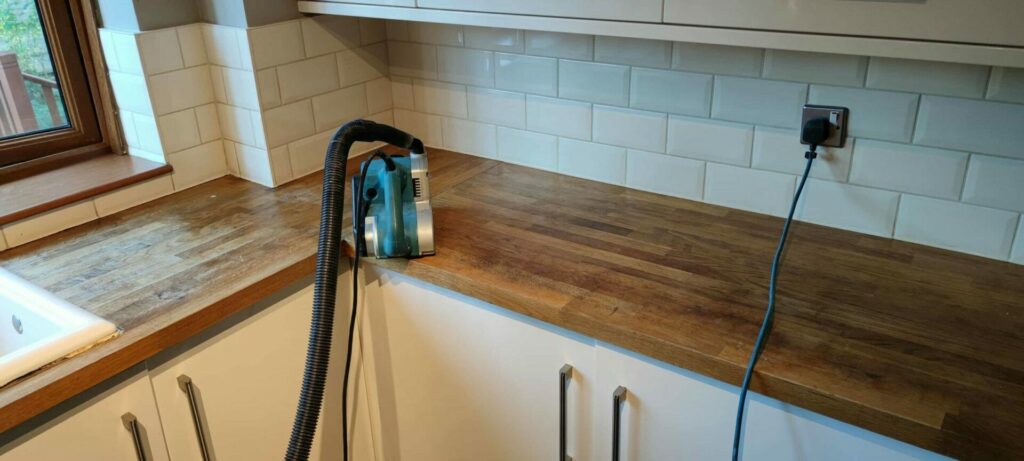
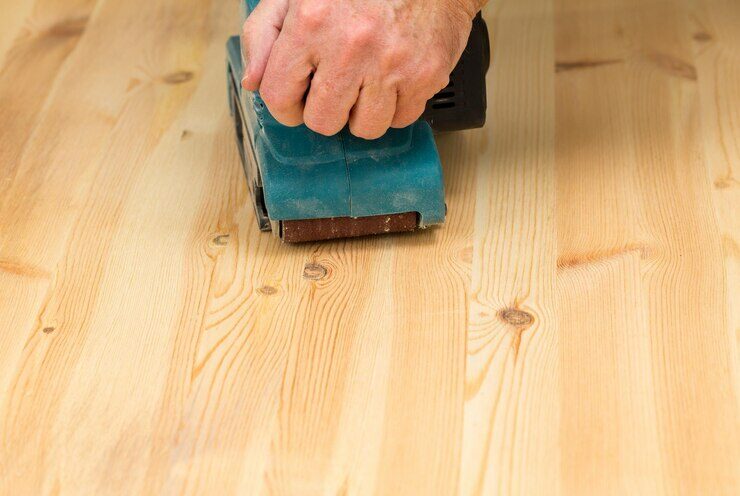
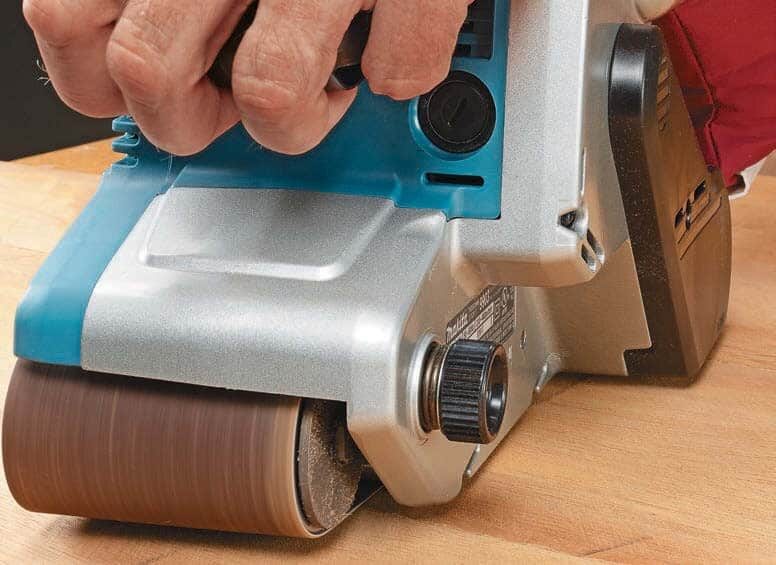
- Power sanding is best for larger, flat areas. Power sanders save time and effort, providing a more uniform finish. Orbital sanders are commonly used for worktops due to their ease of use and effectiveness.
Sanding in the Direction of the Grain:
- Always sand in the direction of the wood grain. This is crucial for avoiding scratches and achieving a smooth finish.
- For non-wood surfaces, follow the manufacturer’s recommendations or sand in a consistent pattern.
Even Pressure and Motion:
- Apply consistent pressure when sanding. Avoid pressing too hard, as it can create gouges or uneven surfaces.
- Move the sandpaper or sander in smooth, even strokes. Overlap your strokes slightly to ensure complete coverage.
Progressing Through Grits:
- Start with a coarser grit to remove old finishes or major imperfections.
- Gradually move to finer grits to smooth the surface and prepare it for finishing.
- Do not skip grits, as each finer grit removes the scratches left by the previous coarser one.
Checking Your Progress:
- Frequently check your progress by feeling the surface with your hand. It should feel consistently smooth.
- Look at the surface from different angles to spot any missed spots or remaining scratches.
Dealing with Edges and Corners:
- Be extra careful when sanding edges and corners, as they can be easily oversanded.
- Consider hand-sanding these areas for better control.
Dust Management:
- Regularly remove dust from the worktop to check your progress and prevent the buildup of dust particles, which can affect sanding efficiency.
- Use a vacuum cleaner or a tack cloth to remove dust.
Safety First:
- Always wear protective gear, including safety goggles, a dust mask, and ear protection (especially when using power sanders).
- Ensure good ventilation in your working area.
Finishing Touches:
- After completing the sanding with the finest grit, wipe down the surface with a damp cloth or a tack cloth to remove all dust before applying any finish or sealant.
Dealing with Imperfections and Damage
When sanding your kitchen worktop, you may encounter various imperfections and damages, such as scratches, dents, or cracks. Addressing these issues correctly is essential for achieving a smooth and attractive finish. Here’s how to effectively deal with common imperfections and damages:
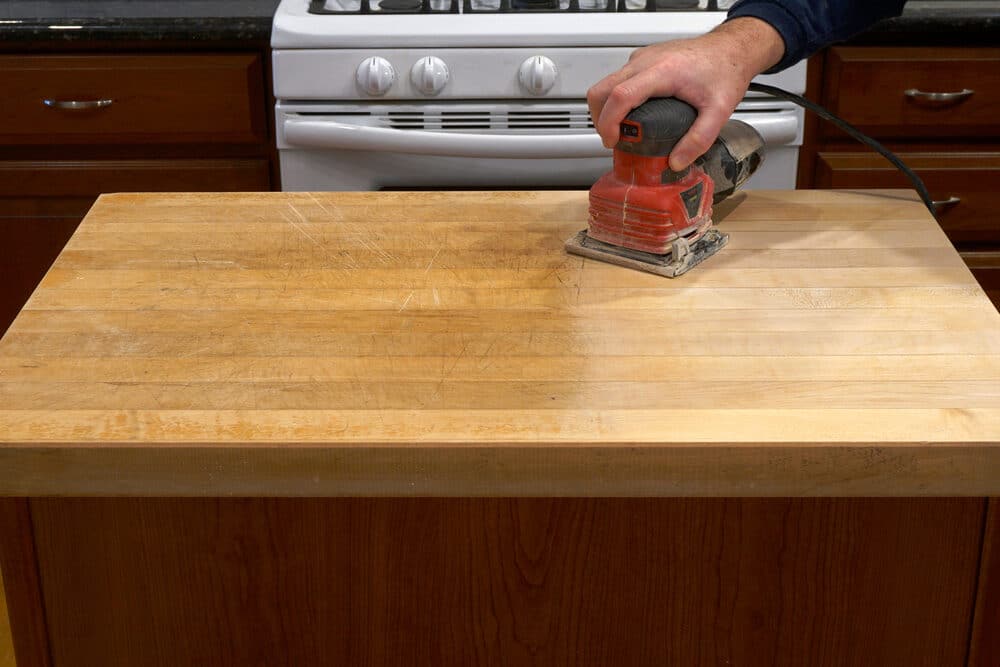
Identifying Imperfections:
- Before starting the sanding process, thoroughly inspect your worktop for any flaws, including cracks, dents, deep scratches, and water stains.
- Mark these areas with a pencil so you can easily find and address them during the sanding process.
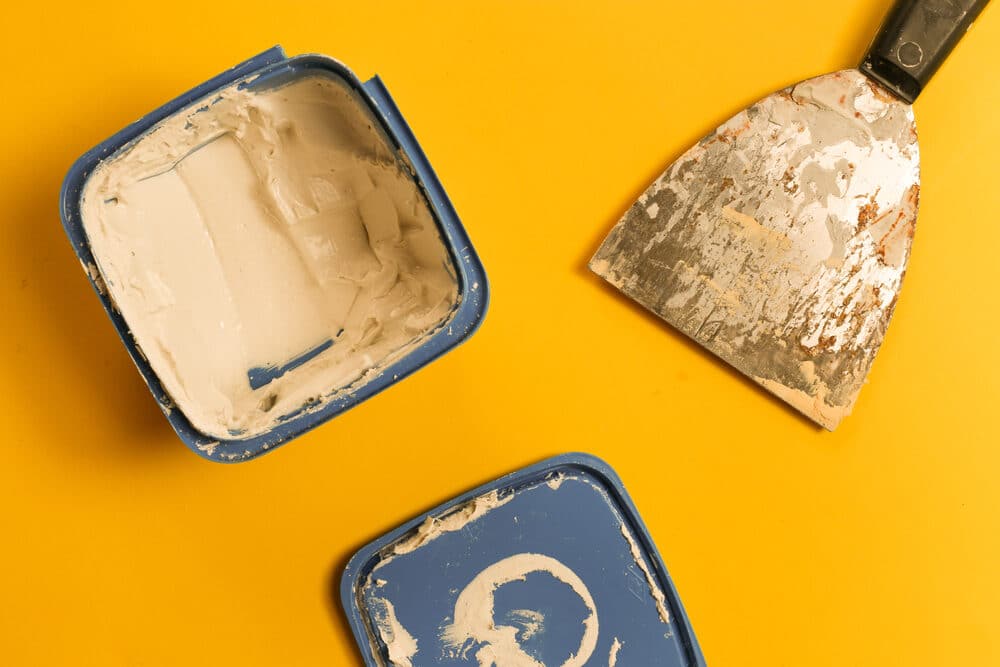
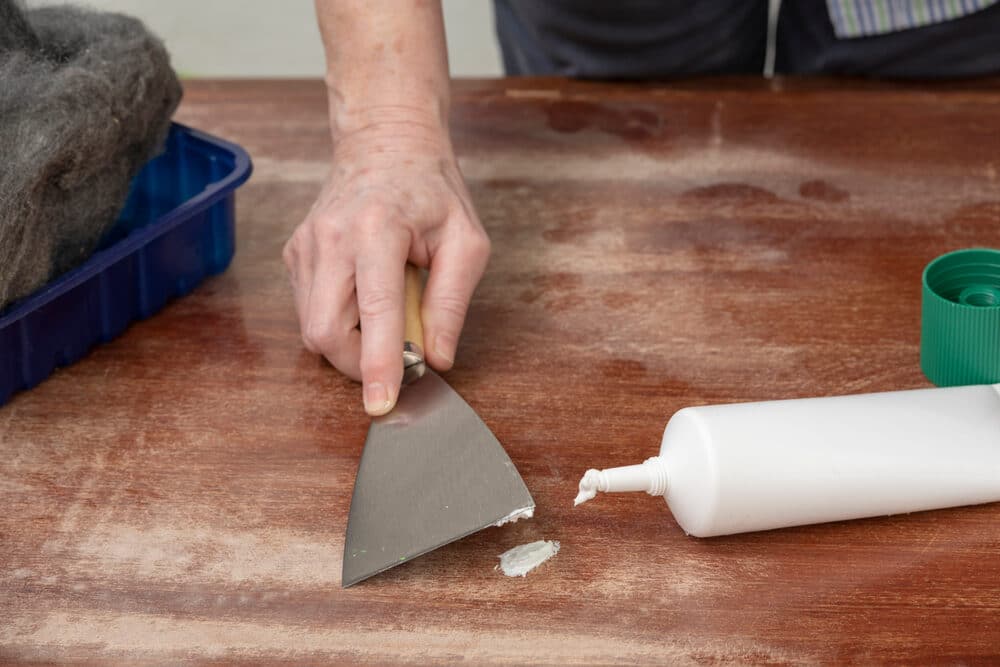
Filling cracks and holes:
- For wood worktops, use a wood filler that matches the colour of your worktop. Apply the filler into the crack or hole using a putty knife, and smooth it out so it’s level with the surface.
- Allow the filler to dry completely, following the manufacturer’s recommended drying time.
Sanding Down Imperfections:
- Once the filler is dry, sand the area gently using a fine-grit sandpaper until the filled area is flush with the rest of the worktop.
- For deep scratches or gouges, you may need to start with a coarser grit to level the area before moving to finer grits for a smooth finish.
Dealing with Water Stains and Burns
- Light water stains can often be sanded out. For deeper stains, you may need to use a coarser grit initially.
- For burn marks, sand the area carefully. If the burn has penetrated deeply, it might not be fully removable, and you may need to consider other options like cutting that section out or covering it.
Smoothing Raised Grain:
- Water exposure can sometimes raise the grain of the wood. After initial sanding, lightly dampen the surface to raise the grain, then sand it down when dry to achieve a smoother finish.
Addressing Uneven Surfaces:
- If your worktop has uneven areas, use a belt sander or orbital sander with coarse grit to level the surface. Be cautious to avoid creating depressions in the worktop.
Final Checks:
- After dealing with all visible imperfections, give the entire worktop a final sanding with fine-grit sandpaper for a uniformly smooth surface.
- Wipe down the worktop with a tack cloth to remove all dust, and inspect the surface for any missed spots.
Applying a sealant or finish:
- Once you are satisfied with the surface, apply a sealant or finish. This will not only protect the worktop but can also help to hide any minor imperfections that remain.
Finishing Touches
After diligently sanding your kitchen worktop and dealing with any imperfections, the final step is to apply finishing touches. This stage is crucial, as it enhances the appearance of your worktop and provides protection against wear, moisture, and other elements. Here’s a guide to applying the finishing touches to your kitchen worktop:
Thorough Cleaning:
- Before applying any finish, ensure the worktop is free from dust and debris. Vacuum the surface, and then wipe it down with a tack cloth to remove any residual dust.
- Consider using a damp cloth to pick up any remaining fine particles, but make sure the surface is completely dry before applying any finish.
Choosing the Right Finish:
- Select a finish that complements the type of material your worktop is made from and suits your aesthetic preference. Common options include oil, varnish, and sealant.
- Consider factors like durability, ease of application, and maintenance when choosing your finish.
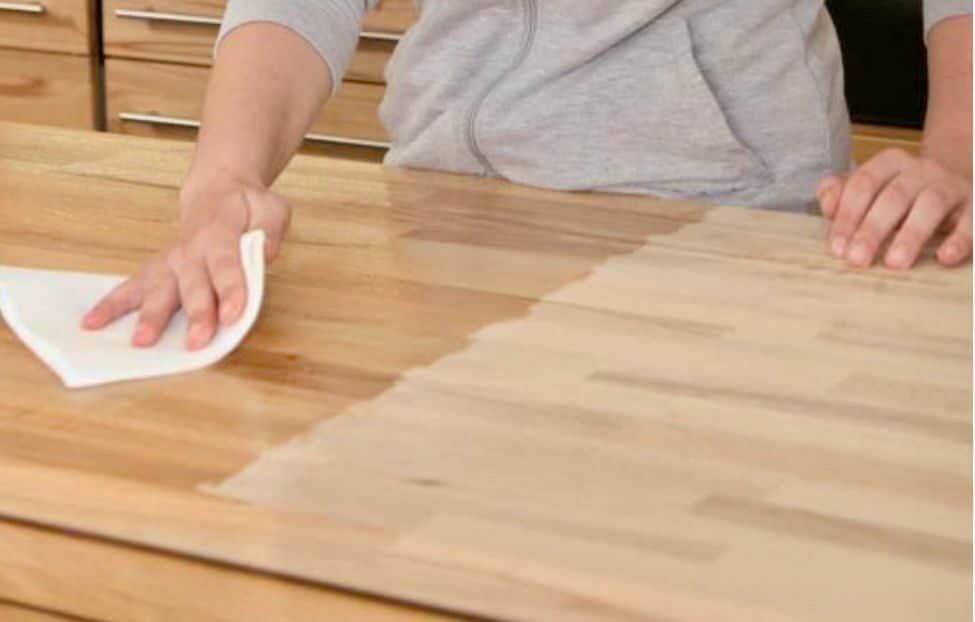
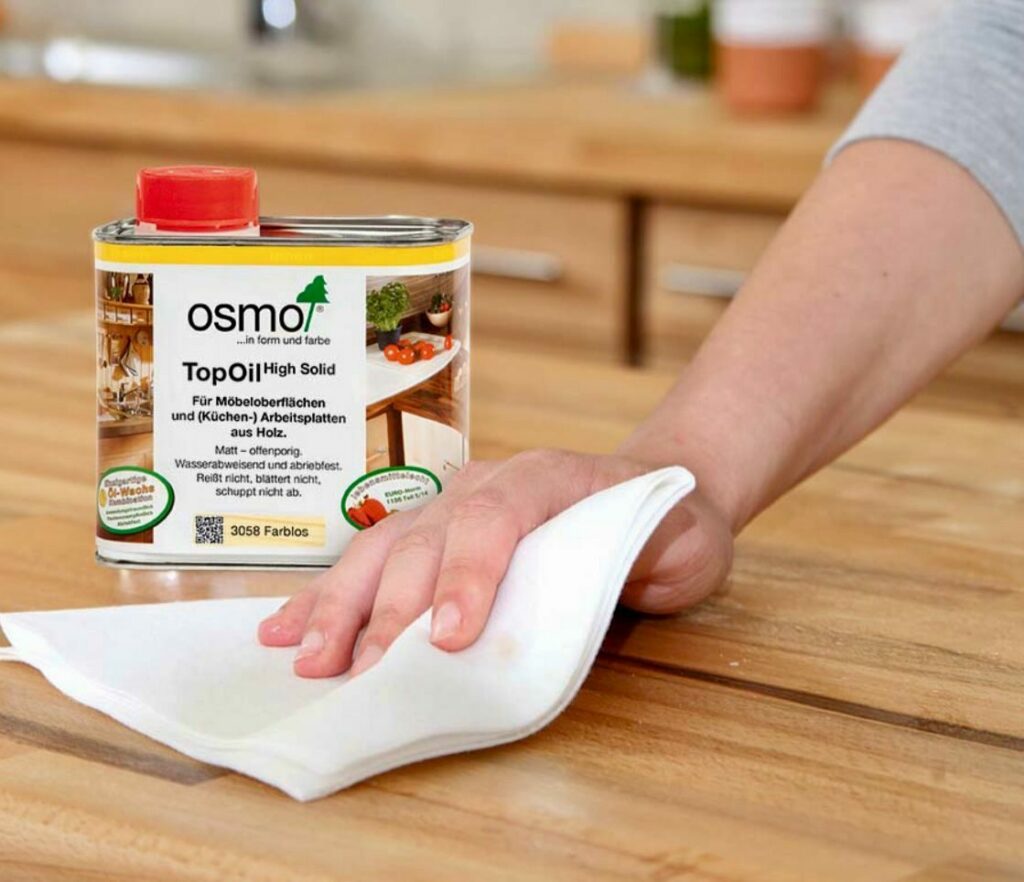
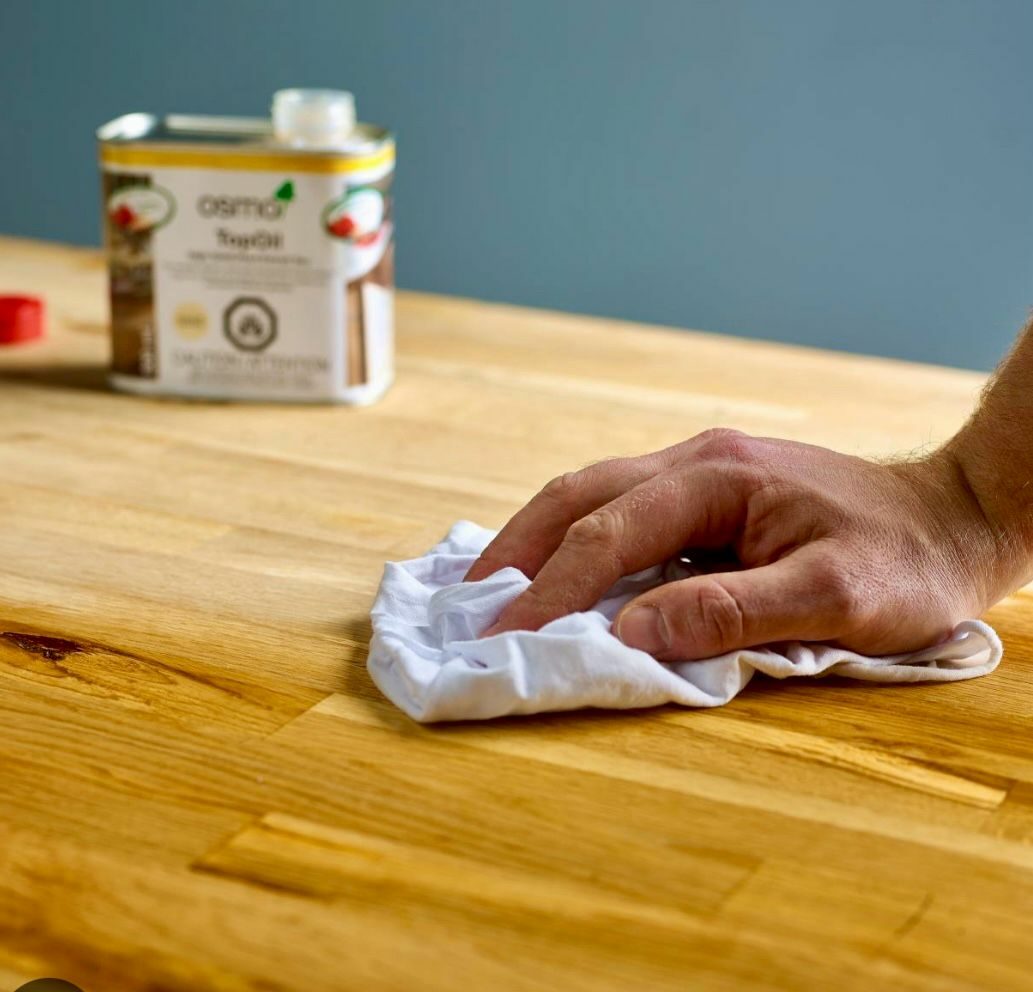
Applying oil or sealant:
- For natural wood worktops, mineral oil or a specialised worktop oil can enhance the grain and provide protection.
- Apply the oil or sealant with a clean, lint-free cloth or a brush, following the direction of the wood grain.
- Allow it to penetrate the wood for the time specified by the product instructions, then wipe off any excess.
Applying varnish or lacquer:
- If you prefer a varnish or lacquer finish for a more durable and water-resistant surface, apply it with a clean brush.
- Apply thin, even coats to avoid drips and buildups. Sand lightly with a fine-grit sandpaper between coats for better adhesion.
Buffing the Surface:
- Once the finish has dried completely, buff the surface with a soft cloth to enhance its shine and smoothness.
- This step is especially important if you’ve applied an oil finish, as it helps to evenly distribute the oil and remove any excess.
Curing Time:
- Allow sufficient curing time for the finish to harden and set properly. This time can vary depending on the type of finish and environmental conditions.
- Avoid using the worktop or placing any objects on it during this period.
Final Inspection:
- Once the finish is fully cured, inspect the worktop for any missed spots or imperfections in the finish.
- Apply touch-ups if necessary, following the same procedures as before.
Maintenance Tips
Maintaining your newly sanded and finished kitchen worktop is essential to preserving its appearance and prolonging its life. Regular care and attention will keep your worktop looking great and functioning well for years to come. Here are some key maintenance tips for your kitchen worktop:
Regular Cleaning:
- Clean the worktop regularly with a soft cloth and a mild detergent. Avoid using harsh chemicals or abrasive cleaners, as they can damage the finish.
- Wipe up spills immediately to prevent staining, especially on wood surfaces.
Avoiding water damage:
- Try to keep the worktop as dry as possible. Water can cause wood to swell, discolour, or even rot over time.
- If your worktop gets wet, dry it off promptly with a clean towel.
Protecting from Heat and Scratches:
- Use trivets or mats under hot pots and pans to prevent scorch marks or heat damage.
- Avoid cutting directly on the worktop. Use a cutting board to protect the surface from scratches and cuts.
Periodic re-oiling or re-sealing:
- For wood worktops, re-apply oil or sealant periodically (every 6 to 12 months, depending on usage and the manufacturer’s recommendations) to keep the wood protected and looking fresh.
- For varnished or lacquered surfaces, watch for signs of wear or damage and reapply as needed.
Avoiding Heavy Objects and Impact:
- Be cautious with heavy objects on the worktop. Avoid dropping or banging items on the surface, which can cause dents or cracks.
Preventing Stains:
- Be mindful of items that can cause stains, such as coffee, wine, and certain fruits. Use coasters or mats under these items.
- For stubborn stains, use a cleaner appropriate for your worktop material, but always test it in an inconspicuous area first.
Sunlight Protection:
- If your worktop is exposed to direct sunlight, consider using blinds or curtains to minimise prolonged exposure, as UV rays can fade or discolour the surface over time.
Regular Inspection:
- Periodically check your worktop for signs of wear, damage, or loose joints (especially around sinks). Addressing these issues early can prevent more significant problems later.
Gentle Use:
- Treat your worktop gently. Although it’s a functional surface, avoiding harsh treatment can greatly extend its life and appearance.
Professional Advice for Major Issues:
- If you encounter significant damage or wear, consult with a professional for advice or restoration services.

Conclusion
As we wrap up our comprehensive guide on “Sanding Your Kitchen Worktop: A DIY Guide,” let’s reflect on what we’ve covered and the journey you’re about to embark on.
We started with an understanding of the importance of revitalising your kitchen worktop and how it can transform not just the surface itself but the entire look and feel of your kitchen. From gathering the necessary materials and tools to the detailed steps of preparation, we walked through each phase of the sanding process. You learned how to choose the right sandpaper, the nuances of different sanding techniques, and the art of dealing with imperfections and damage.
The importance of finishing touches was highlighted to ensure your worktop is not only aesthetically pleasing but also well-protected. Finally, we discussed ongoing maintenance to ensure your worktop continues to shine and remains functional for years to come.
Sanding and refinishing your kitchen worktop is more than just a DIY task; it’s a journey of transformation and care for one of the most vital spaces in your home. The effort and time you invest in this project will not only bring new life to your workspace but also instill a sense of accomplishment and pride in your DIY skills.
Remember, patience and attention to detail are key. Don’t rush the process; take your time to achieve the best results. Safety should always be your priority, so never overlook the importance of protective gear and a well-ventilated workspace.
We hope this guide empowers you with the confidence and knowledge to successfully complete your kitchen worktop sanding project. Whether you’re a seasoned DIY enthusiast or a beginner, the satisfaction of revitalising your kitchen space with your own hands is immensely rewarding.
Happy sanding, and enjoy the beautiful results of your hard work!


Sanding
We provide virtually dust-free sanding with our continuous belt machinery with mobile extraction units, giving you a safer environment for your family.
Oiling
This organic finish not only adds beauty to your home but also has exceptional water-repellent characteristics, making it easier to clean and maintain.
Waxing
This natural floor finish offers the softest and most mellow appearance – and leaves your floor able to breath.
Buffing
Using soft buffing machines (and hand-polishing where required) will bring a wonderful sheen to your newly-finished floor.
Repairs
We offer a full assessment of your wooden floors to determine what repairs are needed to provide the perfect working surface for the later stages of sanding, staining and sealing.
Restoration
We offer a comprehensive restoration process designed to address floors that are improperly fitted or damaged over time through wear and tear.
Request a fixed price quote for your wood floor restoration now
Simply enter your postcode below to get started.
Services
Wood Floor Sanding Wood Floor Restoration Wood Floor Scratch Repair Squeaky Wood Floor Repair Parquet Floor Sanding Parquet Floor Restoration Commercial Floor Sanding Church Floor Sanding Community Centre Floor Sanding School Floor Sanding Gap Filling Gap Filling with ResinCopyright © Mr Sander®
Privacy & Cookies Terms & Conditions Complaints Procedure Cancellation Rights Sitemap

Get An Instant Price Estimate Before You Go…
Simply enter the rooms you need sanded and we’ll provide you with a price estimate instantly! Try our price calculator now.
Get a Price Estimate NowLocal Floor Sanding Experts
Over 500 5-Star Reviews
Safe, Dust Free Sanding
Operating Since 1994