London:
Nationwide:
25,000+
Floors Restored
27 Years Experience
Wood Flooring Association Certified
How to Achieve a Perfectly Flat Surface with Belt Sanding for Floor Refinishing
Posted on September 11, 2023
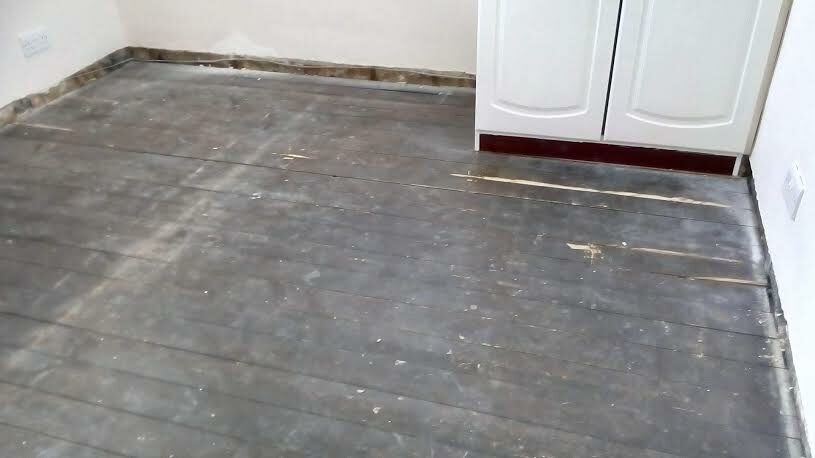
Belt sanding
A Master Guide to Belt Sanding: Achieving the Perfectly Flat Floor Surface for a Grand Refinishing
In the venerated realms of home renovation and improvement, the reverent task of floor refinishing stands as a monumental pillar, combining the rich traditions of craftsmanship with the precision of modern technology. One might regard this task as an endeavour where history meets innovation. If you are contemplating embarking upon such a venture, belt sanding presents itself as the unequivocal hero in the narrative of achieving a flat, immaculate surface that not only looks visually pleasing but also speaks of quality craftsmanship. In this extensive guide, we shall traverse the paths leading to that ultimate destination—a flawlessly flat floor. Strap in as we navigate the waters of belt sanding intricacies, peppered with tips, insights, and pearls of wisdom from the seasoned carpenters of yore.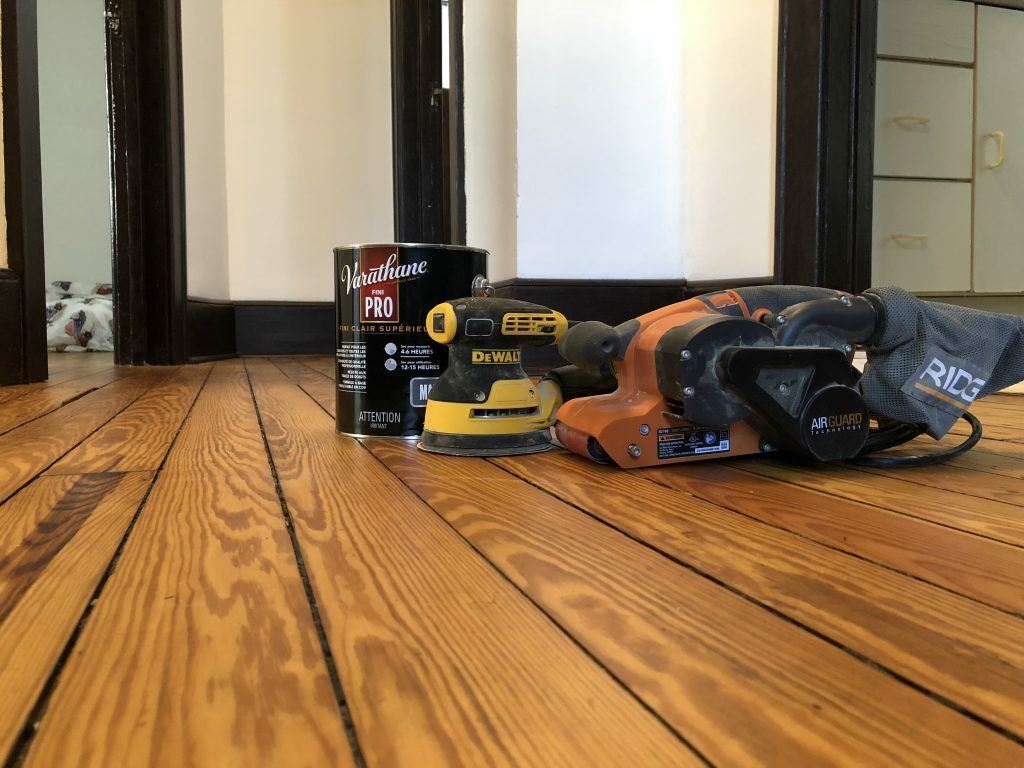
Chapter 1: Laying the Foundations
Before embarking on any significant voyage, one must be prepared with the proper knowledge and tools. Let us begin with a proper introduction to belt sanding and why it holds a pivotal role in floor refinishing.The essence of belt sanding
Belt sanding, in essence, is a technique that utilises a sanding machine equipped with a continuous loop of sandpaper to evenly smooth surfaces. When tasked with floor refinishing, this tool becomes invaluable, capable of transforming a battered floor into a canvas of smooth, pristine beauty.Understanding the wood
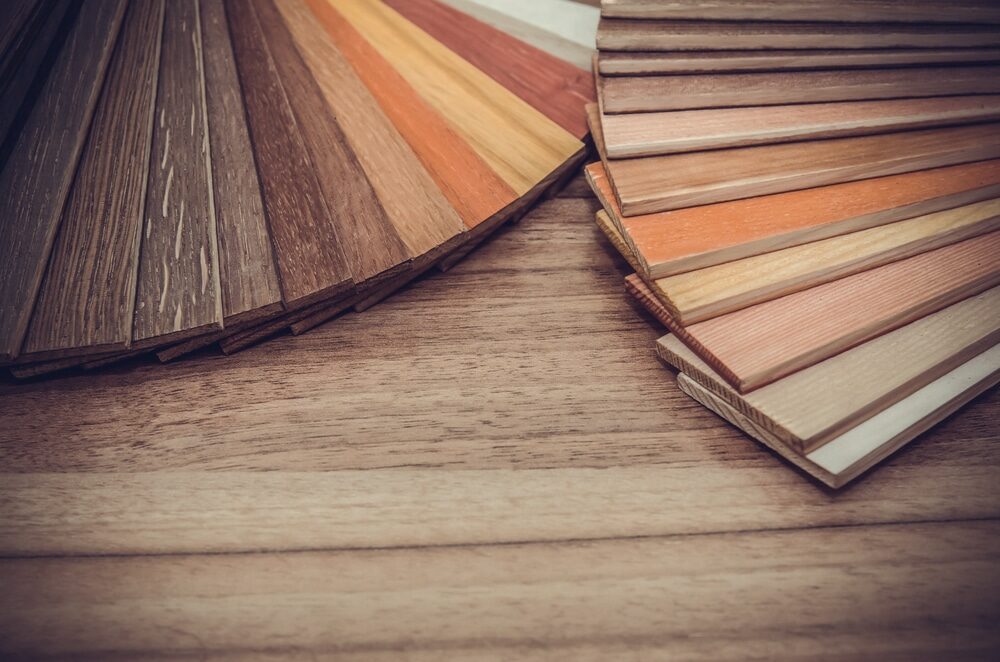
Before one begins, it is essential to have a deep understanding of the type of wood that lies before you. Each wood type, with its unique grain pattern and density, will respond differently to the belt sanding process. Thus, research and a keen understanding are your starting points.Chapter 2: The Preparatory Phase
As with any great endeavour, preparation is the keystone to success. Before you initiate the belt sanding process, ensure that your workspace is prepped and ready to undergo the transformation.Clearing the area
First things first, you must evacuate all furniture and fixtures from the room. This gives you unhindered space to work and move freely with the belt sander.Inspecting the Floor
Once cleared, conduct a meticulous inspection of the floor. Identify areas with visible damage, such as deep scratches, gouges, or uneven areas. These spots may require additional attention during the sanding process.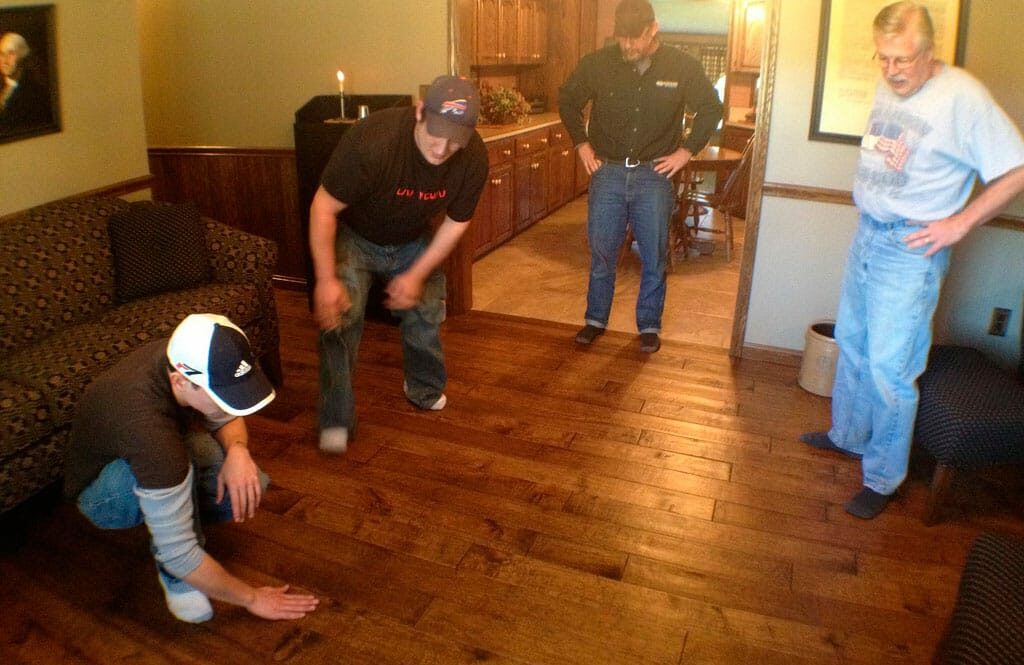
Securing loose boards
At this juncture, you will want to secure loose boards or planks to prevent them from vibrating or shifting during sanding. Utilise screws or nails to firmly anchor them into place.Chapter 3: Choosing the Right Grit
Much like a fine British tea selection, choosing the right grit of sandpaper is an art in itself. Understanding the grit range and their respective roles can significantly influence the outcome of your project.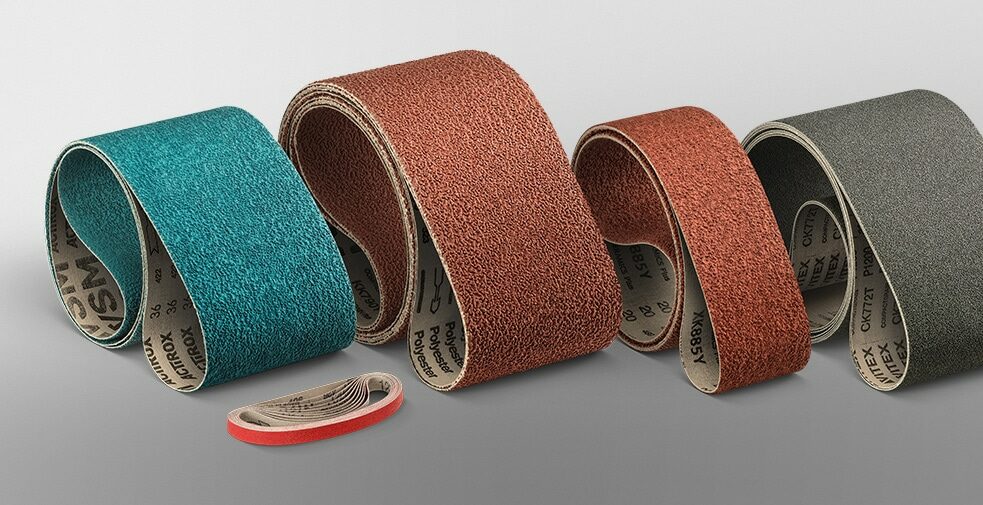
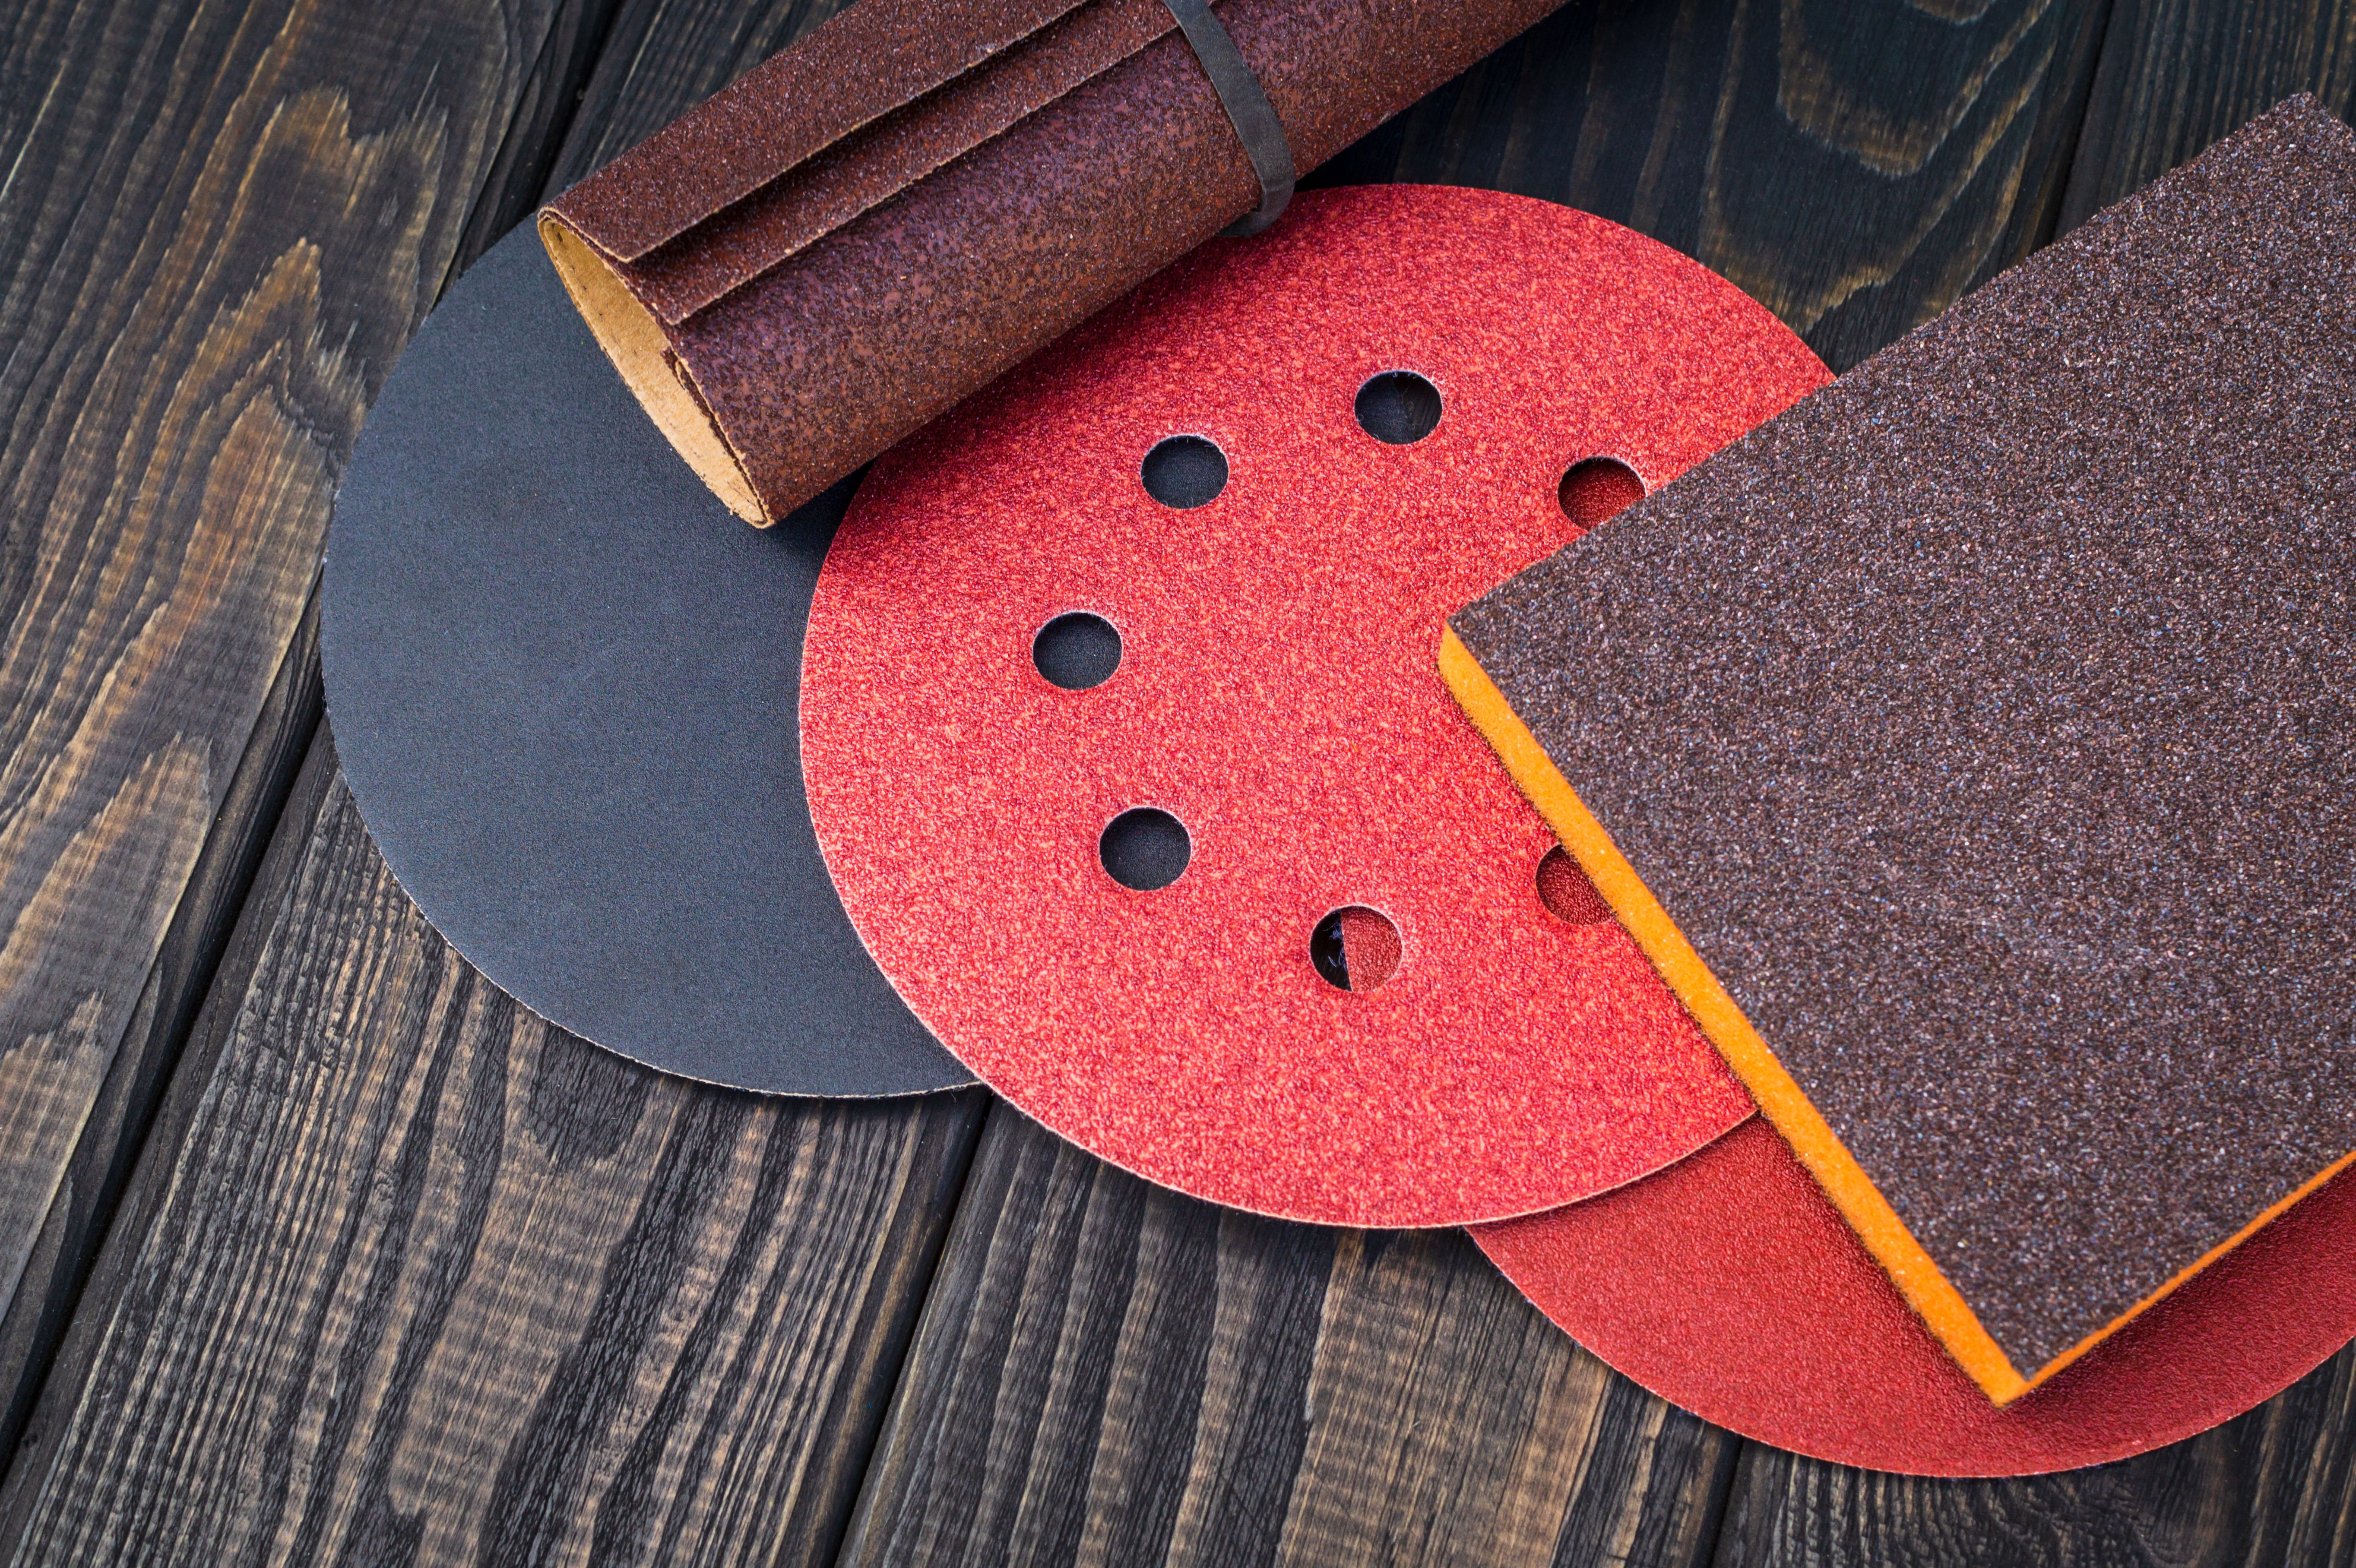
Coarse Grit (40–60)
Ideal for floors that have seen better days, coarse-grit sandpaper will help remove deep scratches, stains, and old paint. However, use it judiciously, as it can also leave noticeable scratches.Medium Grit (80–120)
Once the major blemishes have been dealt with, transition to medium grit. This level will help smooth out the scratches left by the coarse grit, preparing the surface for the finishing touches.Fine Grit (150–180)
The pièce de résistance in your sandpaper selection is the fine grit, which is employed for the final stages of sanding. It bestows a silky smooth finish, preparing the floor for the subsequent sealing and finishing processes.Chapter 4: The Technique: Belt Sanding to Perfection
At this point, you find yourself on the cusp of the actual process. Armed with knowledge and preparedness, it is time to delve into the technical aspects of belt sanding.Getting Acquainted with Your Belt Sander
Before you commence, take time to familiarise yourself with the belt sander. Understand its nuances, the weight distribution, and the manoeuvrability. Practice on a spare piece of wood if necessary.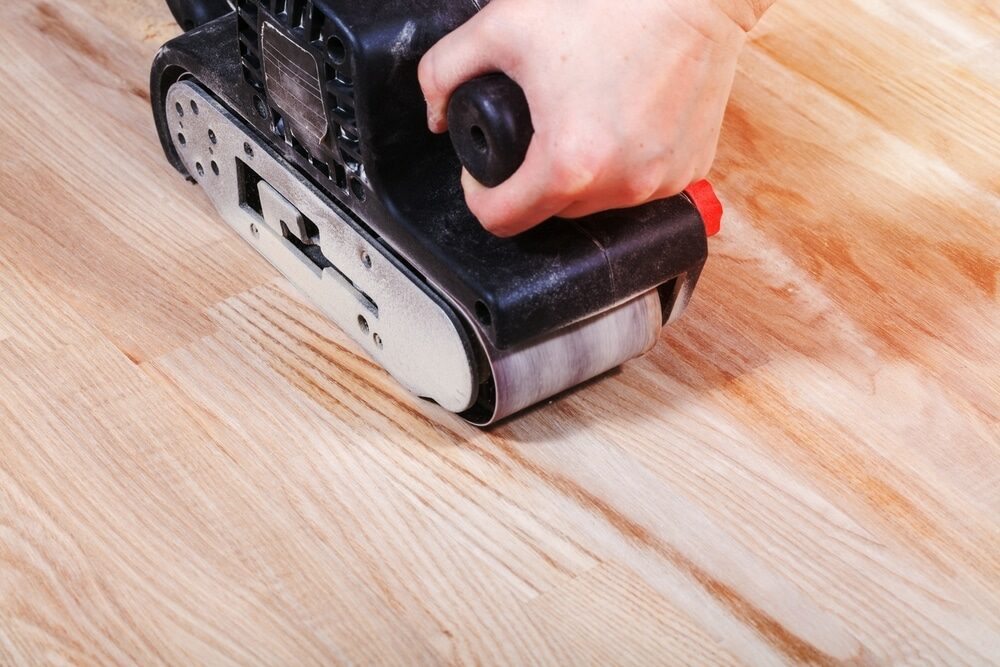
The Initial Pass
As you initiate the sanding process, start with coarse-grit sandpaper, especially if the floor has several imperfections. Move the sander in the direction of the wood grain to prevent cross-grain scratches. It is essential to maintain a steady pace to avoid uneven removal of the wood surface.Subsequent Passes
Following the initial pass, shift to medium-grit sandpaper to smooth the surface further. Remember to vacuum between passes to remove dust and debris, providing a clean surface for each sanding phase.The finishing touch
As you approach the final stages of sanding, switch to fine-grit sandpaper. This step is where you achieve the smoothness and evenness that epitomise a perfectly flat floor. Pay close attention to detail, ensuring an even finish across the entire floor surface.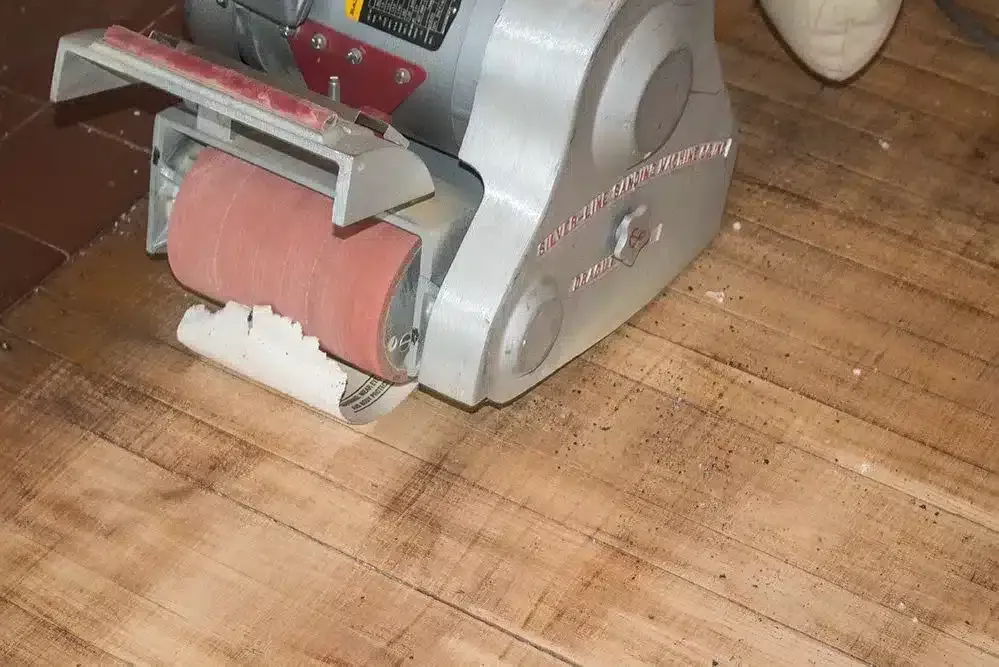
Chapter 5: Aftercare and Finishing
With the sanding process completed, your floor stands transformed, yet naked and vulnerable. It now requires a protective layer to seal in the beauty and protect it from future wear and tear.Cleaning the surface
Use a vacuum cleaner to remove the majority of the sanding dust. Following this, a damp mop can be employed to pick up any remaining fine dust particles, preparing the surface for finishing.Choosing the right finish
Depending on your preference and the type of wood, choose a finish that complements the natural beauty of the wood. Finishes come in various types, including polyurethane, varnish, and oil-based options. Research and choose one that aligns with your vision and the wood’s characteristics.Applying the finish
The final step in your journey, applying the finish, should be done with care and patience. Utilise a high-quality brush or roller to apply even coats, following the grain of the wood. Allow adequate drying time between coats to achieve a rich, lustrous finish.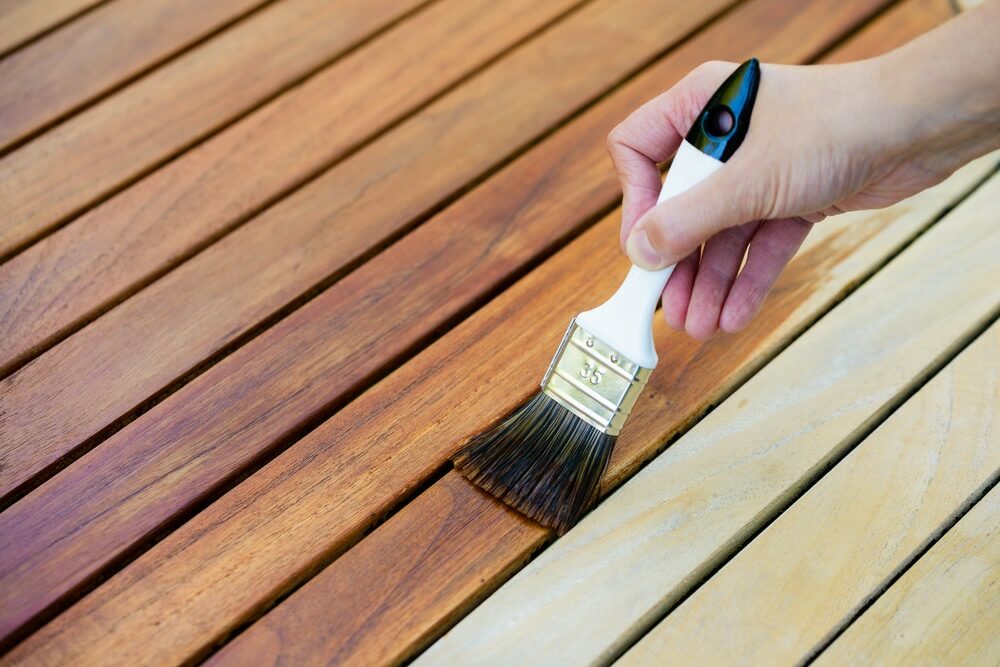
Conclusion: Stepping Back to Admire Your Handiwork
As you step back, you now witness a floor transformed into a canvas that speaks of time, effort, and craftsmanship. The once weary floor now beams with renewed vigour, ready to grace your home with its beauty for years to come. In this voyage, we have traversed the intricate landscape of belt sanding, a technique that has proven itself to be a cornerstone in achieving a perfectly flat surface for floor refinishing. It is an endeavour that calls upon both skill and knowledge, much like the mastery required in crafting a fine piece of literature or creating a piece of art. As we conclude this guide, we hope that you are now armed with the insights and knowledge to undertake this fulfilling task with confidence and gusto. Remember, like any noble venture, achieving perfection is a journey. Take your time, revel in the process, and soon you will be stepping onto a floor that is not just a flat surface but a testament to craftsmanship and beauty, a floor that welcomes you home with the warmth and richness that only a well-refinished floor can offer.Some Useful Links:
- Stairs Sanding & Refinishing
- Floor Sanding Services
- School Floor Sanding
- Wood Floor Restorations
- Wood Floor Repairs
- Wood Floor Polishing
More from our Blog:
Common Belt Sanding Tools and Accessories for Floor Refinishing The Role of Belt Sanding in Achieving a Professional Finish on Your Floors Belt Sanding vs. Drum Sanding for Floor Refinishing How to Safely Use a Belt Sander for Floor Sanding The Science Behind Belt Sanding and Its Benefits for Floor Refinishing Enhancing Your Floor Sanding Results with Effective Belt Sanding Techniques The Importance of Proper Sandpaper Grit Selection in Belt Sanding How to Choose the Right Abrasive Belts for Floor Sanding

Sanding
We provide virtually dust-free sanding with our continuous belt machinery with mobile extraction units, giving you a safer environment for your family.
Oiling
This organic finish not only adds beauty to your home but also has exceptional water-repellent characteristics, making it easier to clean and maintain.
Waxing
This natural floor finish offers the softest and most mellow appearance – and leaves your floor able to breath.
Buffing
Using soft buffing machines (and hand-polishing where required) will bring a wonderful sheen to your newly-finished floor.
Repairs
We offer a full assessment of your wooden floors to determine what repairs are needed to provide the perfect working surface for the later stages of sanding, staining and sealing.
Restoration
We offer a comprehensive restoration process designed to address floors that are improperly fitted or damaged over time through wear and tear.
Request a fixed price quote for your wood floor restoration now
Simply enter your postcode below to get started.
Services
Wood Floor Sanding Wood Floor Restoration Wood Floor Scratch Repair Squeaky Wood Floor Repair Parquet Floor Sanding Parquet Floor Restoration Commercial Floor Sanding Church Floor Sanding Community Centre Floor Sanding School Floor Sanding Gap Filling Gap Filling with ResinCopyright © Mr Sander®
Privacy & Cookies Terms & Conditions Complaints Procedure Cancellation Rights Sitemap

Get An Instant Price Estimate Before You Go…
Simply enter the rooms you need sanded and we’ll provide you with a price estimate instantly! Try our price calculator now.
Get a Price Estimate NowLocal Floor Sanding Experts
Over 500 5-Star Reviews
Safe, Dust Free Sanding
Operating Since 1994