London:
Nationwide:
25,000+
Floors Restored
27 Years Experience
Wood Flooring Association Certified
Kitchen Worktop Sanding 101: How to Prepare Your Worktop
Posted on January 1, 2024
Kitchen Worktop sanding

Kitchen Worktop Sanding 101: A Comprehensive Guide to Preparing Your Worktop
Welcome to our comprehensive guide to kitchen worktop sanding! Whether you’re a seasoned DIY enthusiast or a beginner looking to spruce up your kitchen, this blog post is tailored to help you navigate the process of preparing and sanding your kitchen worktops.
Sanding your kitchen worktop is a fantastic way to rejuvenate an old surface or prepare a new one for finishing. It’s an essential step in ensuring a smooth, professional-looking finish, whether you’re aiming to repaint, varnish, or simply restore the natural beauty of the material. This process not only enhances the aesthetic appeal of your kitchen but also extends the life of your work surfaces.
Throughout this guide, we will walk you through every step of the sanding process. We’ll start by discussing the tools and materials you’ll need, followed by how to assess your worktop’s current condition. We’ll then delve into the heart of the matter—the sanding process itself. Our step-by-step approach will cover everything from choosing the right sandpaper to mastering the technique for an even, flawless finish.
Moreover, we understand that challenges may arise, so we’ll provide tips on how to handle common issues like scratches, gouges, and tricky edges. Finally, we’ll guide you through the post-sanding steps, including cleaning, maintenance, and selecting the perfect finish to protect and highlight your freshly sanded worktop.
Whether your goal is to breathe new life into an old worktop or prepare a new one for its debut, this guide is here to assist. So, grab your sanding tools, and let’s get started on transforming your kitchen worktop into a masterpiece of your home.
Materials and Tools Needed for Kitchen Worktop Sanding
Before you dive into the task of sanding your kitchen worktop, it’s important to gather all the necessary materials and tools. Having everything at hand will make the process smoother and more efficient. Here’s a comprehensive list of what you’ll need:
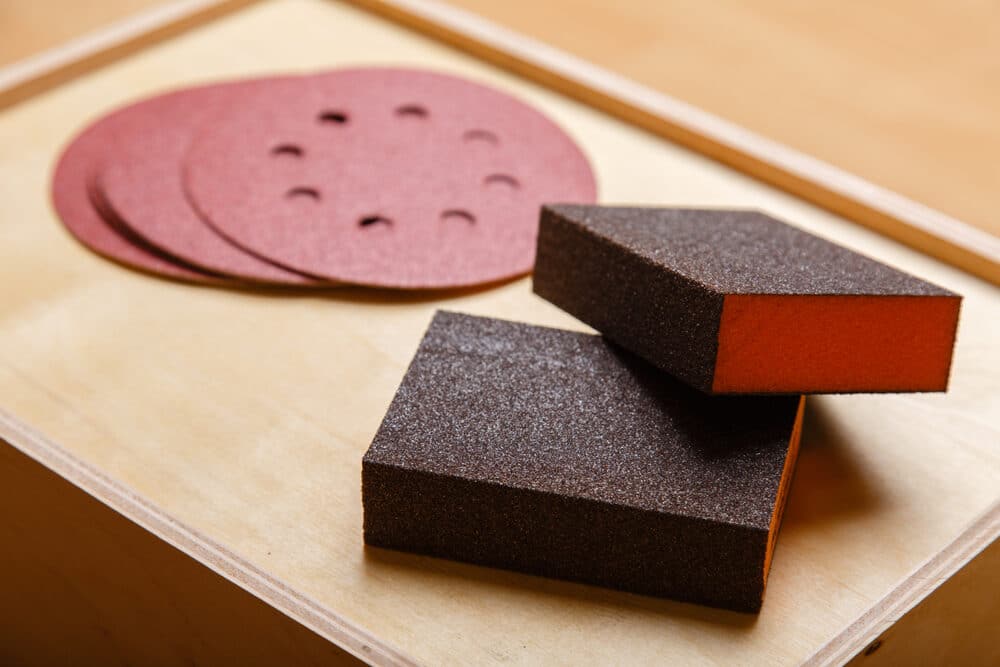
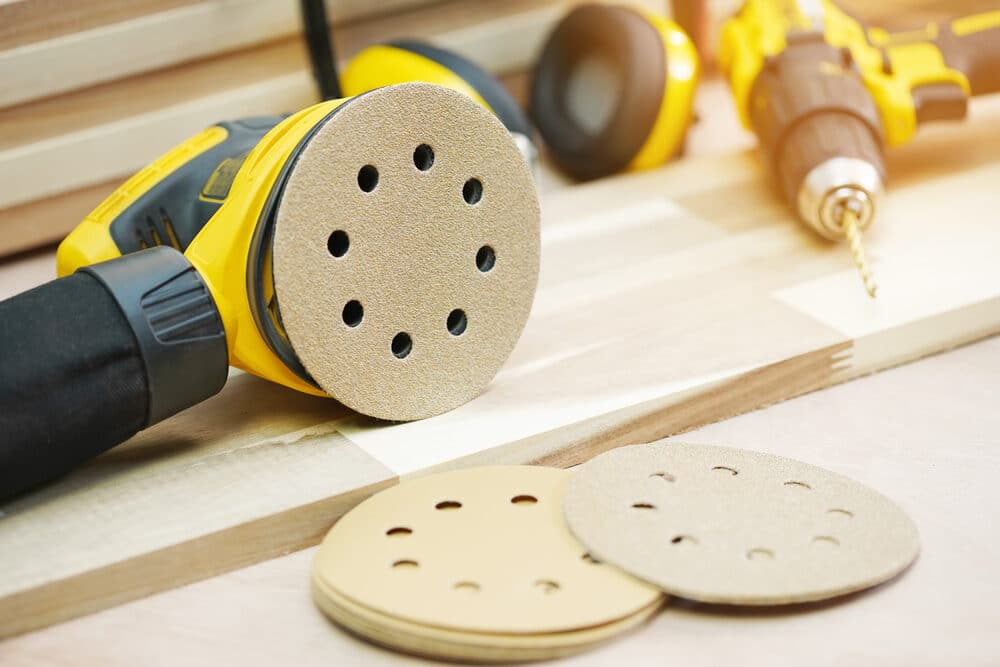
1. Sandpaper:
You will need a variety of grits. Start with lower grits (e.g., 60–80) for removing old finishes or smoothing rough surfaces, and progress to higher grits (e.g., 180–220) for finer, smoother finishes.
2. Sanding Block or Power Sander:
A sanding block can be used for manual sanding, offering good control. For larger surfaces or a more uniform finish, consider using a power sander.
3. Safety Gear:
Safety should be your top priority. Ensure you have safety goggles to protect your eyes from dust, a dust mask or respirator for breathing protection, and ear protection if you’re using a power sander.
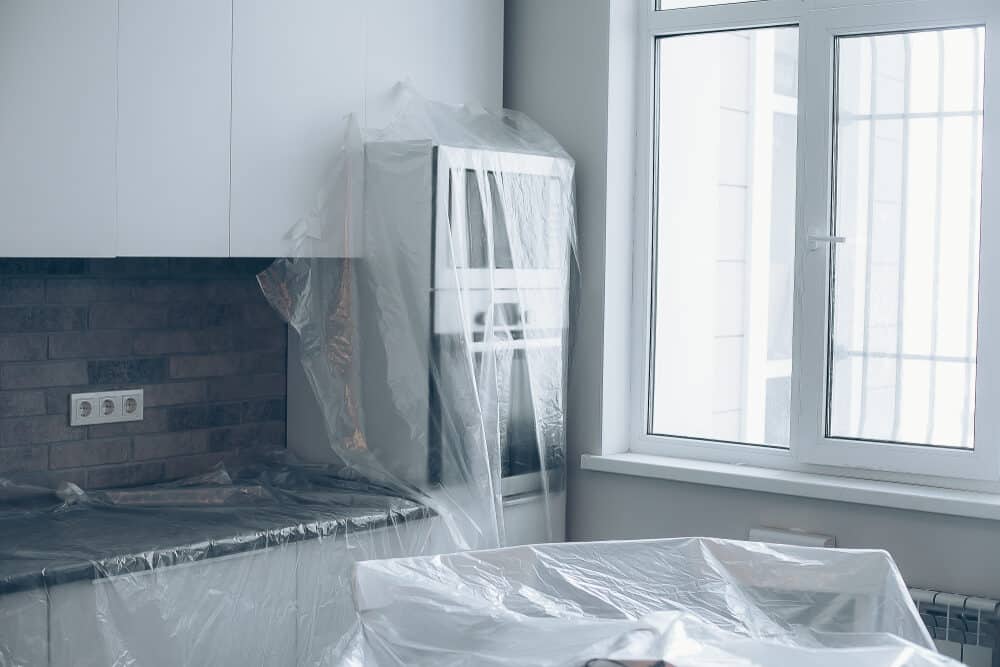
4. Dust Sheets or Tarps:
To protect your kitchen area from dust and debris, use dust sheets or tarps to cover appliances, countertops, and floors.
5. Vacuum Cleaner and Dustpan:
For cleaning up sawdust and debris during and after sanding.
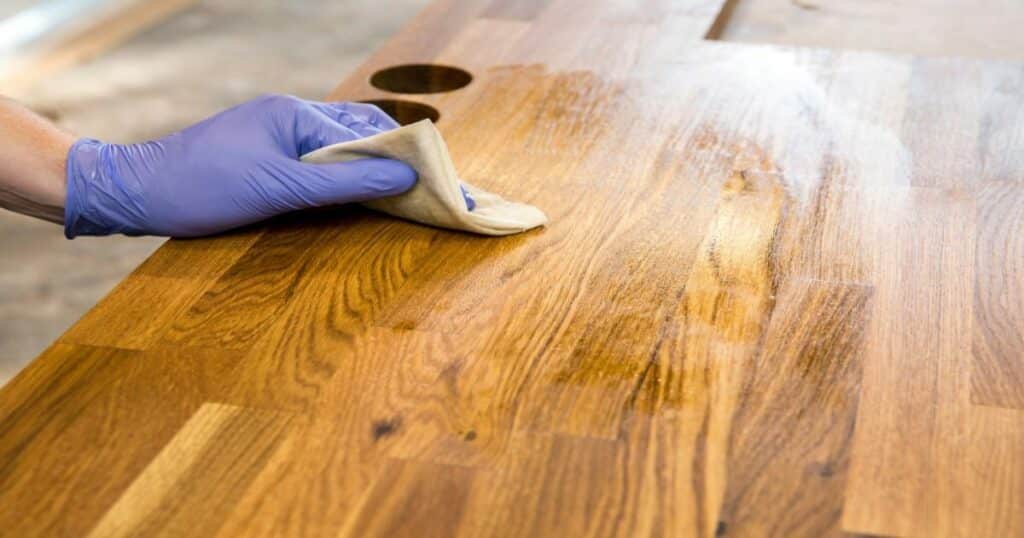
6. Tack Cloth or Damp Rag:
After sanding, you’ll need to remove all the dust from the worktop. A tack cloth or damp rag works well for this.
7. Painter’s Tape:
Useful for protecting areas around the worktop that you don’t want to sand, like walls or backsplashes.

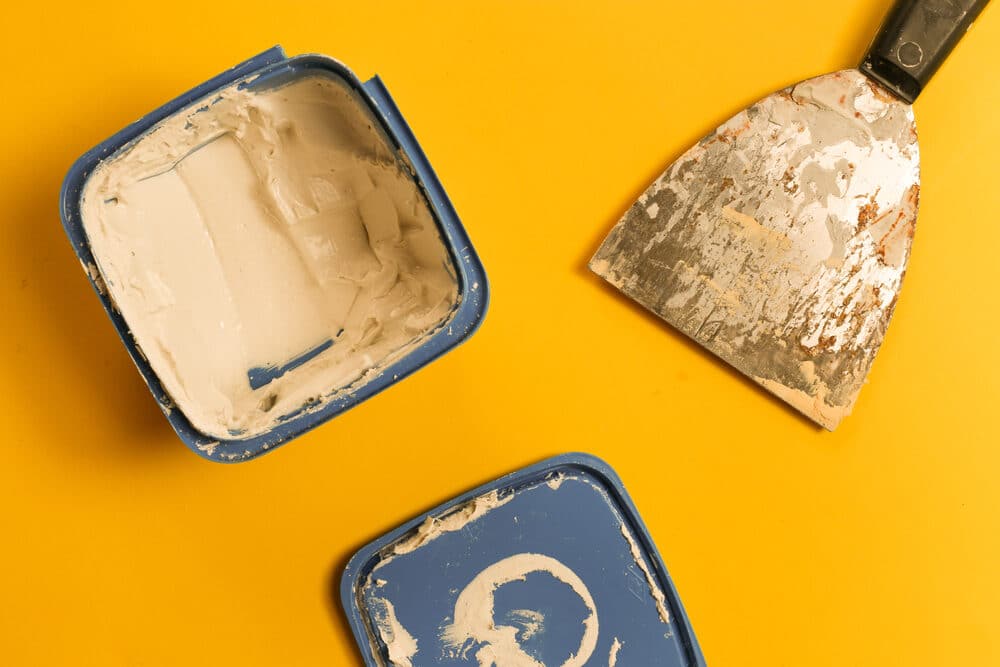
8. Wood Filler (Optional):
If there are any cracks, holes, or imperfections, wood filler can be used to repair these areas before sanding.
9. Screwdriver or Drill:
If you need to remove any hardware like handles or knobs from the worktop or surrounding areas,.
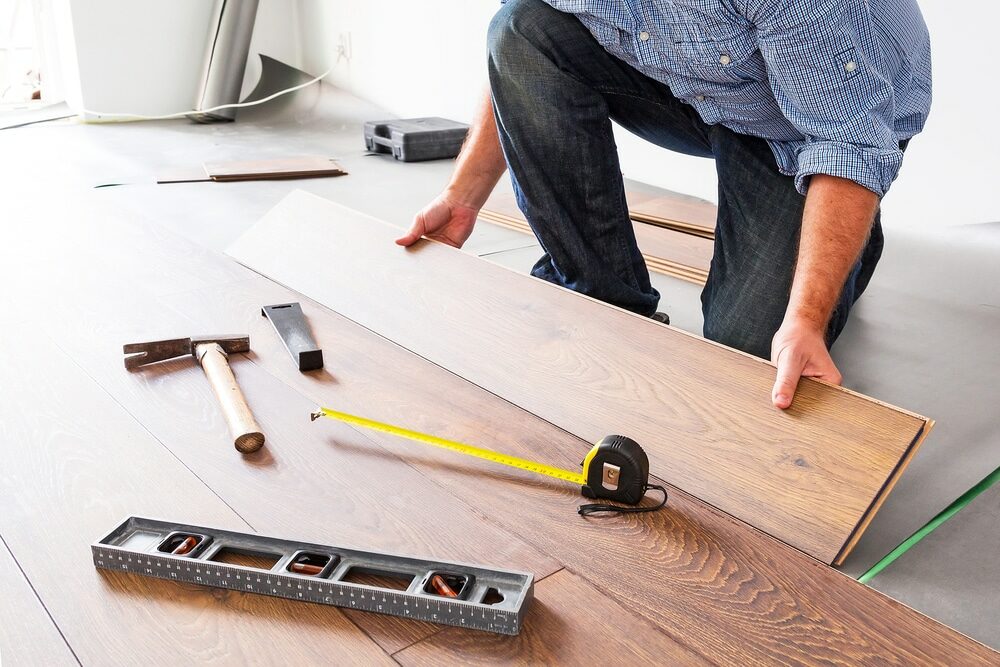
10. Levelling Tool:
To check the evenness of the surface after sanding, especially if you’re working on a new installation.

11. Measuring Tape:
For precise measurements, if you plan to cut or resize the worktop,.
Finishing Products:
Depending on your desired outcome, this could include wood stain, varnish, oil, or sealant for the final finishing touch after sanding.
Assessing your worktop
Before you begin the sanding process, it’s crucial to assess the condition of your kitchen worktop thoroughly. This assessment will guide your approach to sanding and help you determine the extent of the work required. Here are the steps to follow:
1. Identify the Material:
Kitchen worktops can be made from a variety of materials, including wood, laminate, granite, quartz, or marble. Each material requires a different approach to sanding and preparation. For example, wood is sandable, while laminate might only need a light sanding to help paint adhere.

2. Inspect for Damage and Wear:
Look for any signs of damage such as scratches, gouges, stains, or burns. The extent and type of damage will influence your sanding technique and the grit of the sandpaper needed.
3. Check for Flatness and Evenness:
Use a level to check if the worktop is evenly installed. Uneven surfaces may require more attention during the sanding process to achieve a flat finish.
4. Assess the Current Finish:
Determine the type of finish currently on the worktop, if any. This could be paint, varnish, oil, or sealant. Different finishes might require different methods of removal or preparation before sanding.
5. Consider the Age and History of the Worktop:
If your worktop is quite old or has historical value, you might want to consider more gentle sanding methods to preserve its character.
6. Moisture Content:
Especially for wooden worktops, check for signs of moisture damage or rot. Wood should be dry before sanding to prevent further damage.
7. Test Sand a Small Area:
Before fully committing, it’s wise to sand a small, inconspicuous area first. This test will give you an idea of how the material reacts to sanding and if your chosen sandpaper grit is appropriate.
8. Plan Your Approach:
Based on your assessment, plan how you will tackle the project. Decide on the starting grit of sandpaper and the progression to finer grits, the type of sanding tools you will use, and the areas that need special attention.
Preparing the Area for Kitchen Worktop Sanding
Proper preparation of the area is key to a successful kitchen countertop sanding project. Taking the time to set up your workspace correctly will not only make the sanding process more efficient but also help protect your kitchen and ensure safety. Here’s how to prepare the area:
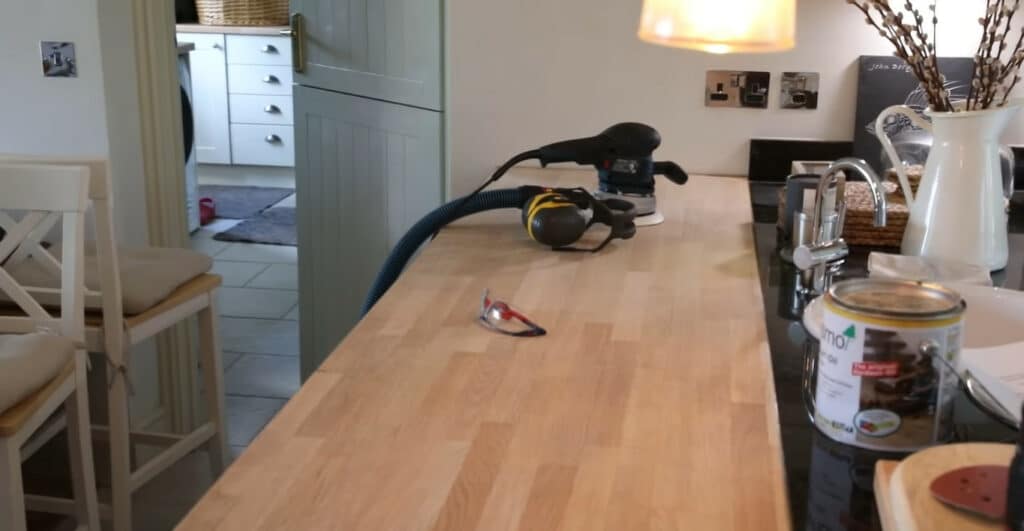
1. Clear the Worktop:
- Remove all items from your worktop, including appliances, cutting boards, utensils, and any decorative items.
2. Clean the Surface:
- Thoroughly clean the worktop to remove any grease, dust, or debris. This step is crucial for ensuring an even sanding process and preventing contaminants from mixing into the finish.
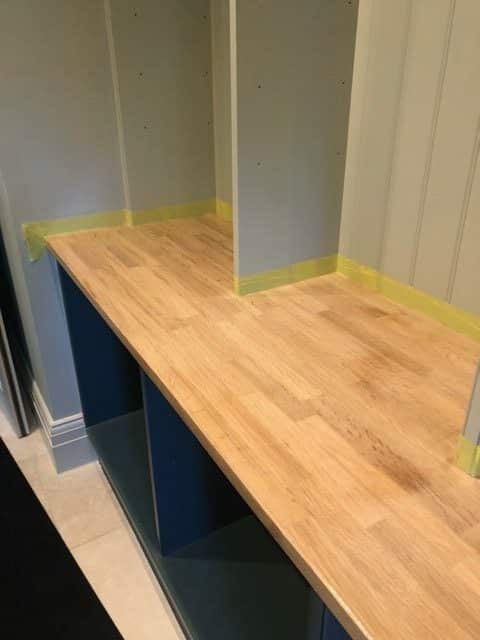
3. Protect surrounding areas:
- Use dust sheets or tarps to cover nearby appliances, cabinets, and the floor. This will protect them from dust and debris.
- Seal off the area if possible, using plastic sheeting or a similar barrier to prevent dust from spreading to other parts of your home.
- Use painter’s tape to cover and protect areas adjacent to the worktop, such as backsplashes and walls.
4. Ensure Good Ventilation:
- Sanding can generate a lot of dust. Open windows and doors to ensure good ventilation, and consider using a fan to help circulate the air and direct dust away from you.
5. Set Up Your Tools and Materials:
- Organise all your tools and materials in a convenient and accessible way. This includes your sandpaper, sanding tools, safety gear, and any cleaning supplies.

6. Safety Precautions:
- Equip yourself with the necessary safety gear: safety goggles, a dust mask or respirator, and hearing protection if using a power sander.
- Make sure your work area is well-lit to avoid any missed spots or uneven sanding.
- Keep a first aid kit accessible in case of minor injuries.
7. Prepare for Dust Collection:
- Have a vacuum cleaner or dustpan and brush ready for regular clean-up during the sanding process. This will help keep the area clean and reduce the amount of dust in the air.
8. Plan for Waste Disposal:
- Decide how you will dispose of the dust and debris. Keep garbage bags or a designated bin nearby for easy disposal.
Sanding Basics for Kitchen Worktops
Sanding is a crucial step in preparing your kitchen worktop for finishing or refinishing. Understanding the basics of sanding will help you achieve a smooth, even surface. Here are the fundamental concepts and techniques you should know:
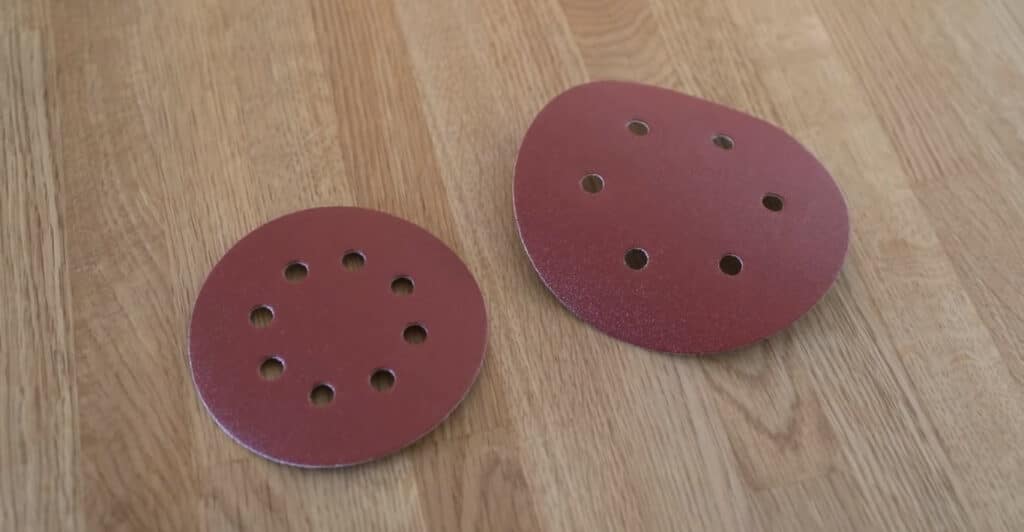
Understanding Sandpaper Grits:
- Grit refers to the roughness of the sandpaper. Lower grit numbers mean coarser sandpaper, which is used for initial sanding and removing old finishes or rough spots. Higher grit numbers indicate finer sandpaper for smoothing and finishing surfaces.
- Start with a coarser grit (around 60–80) and progressively move to finer grits (up to 180–220) for a smooth finish.
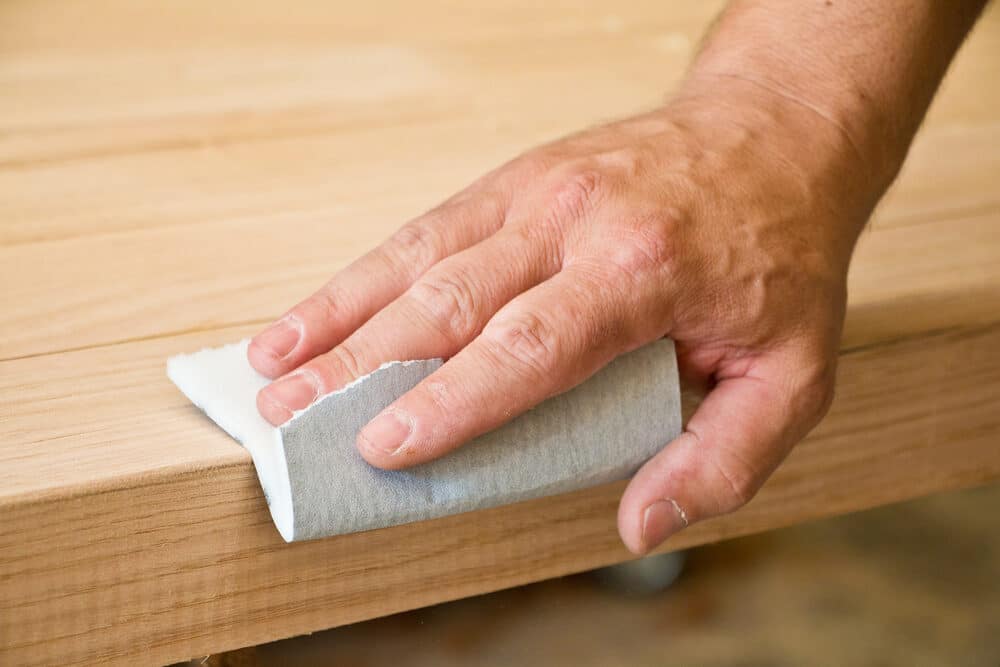
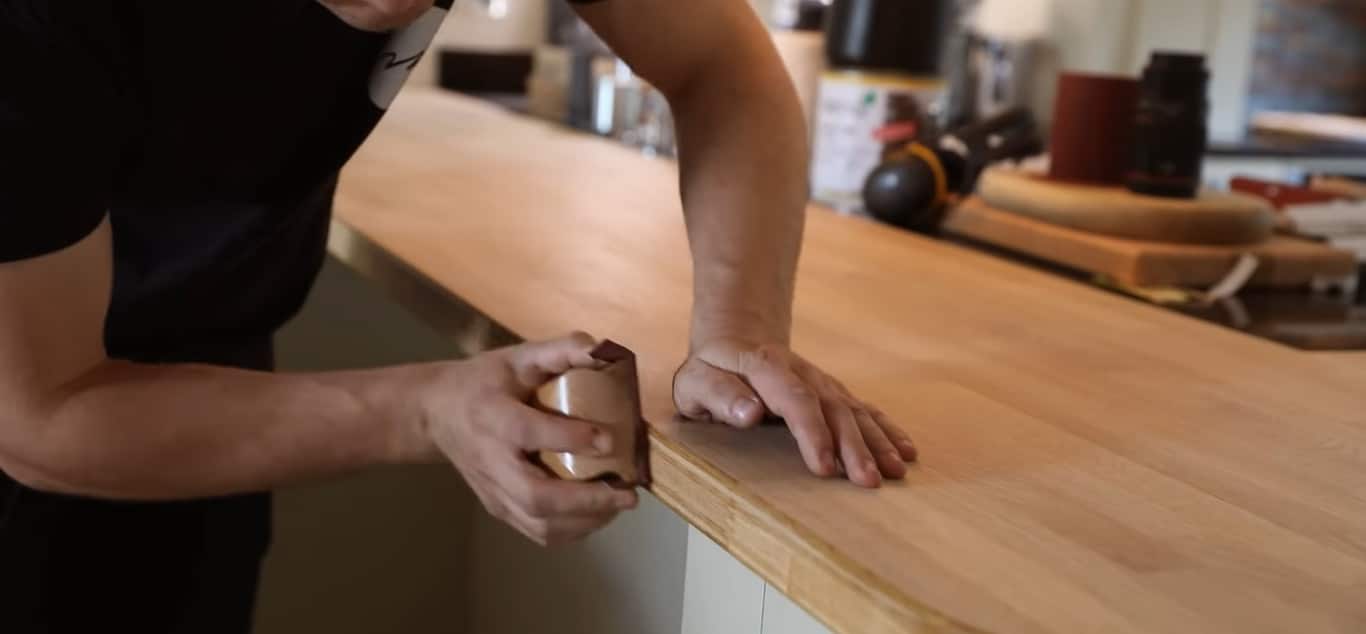
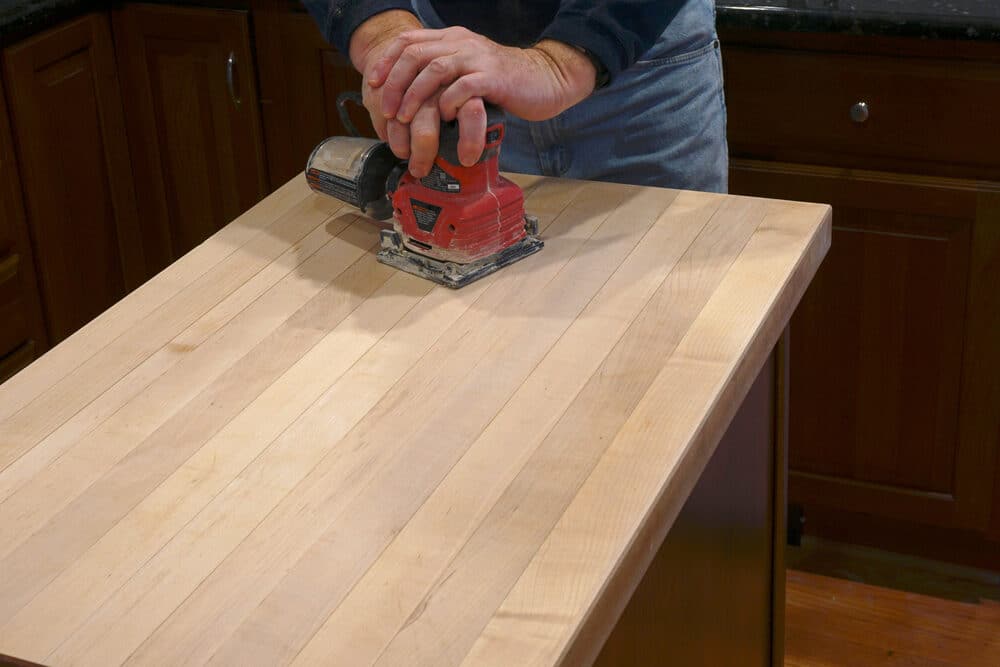
Manual vs. Power Sanding:
- Manual Sanding: Using a sanding block or hand-held sandpaper gives you more control and is suitable for small areas or delicate work. It’s essential for getting into corners and detailed areas.
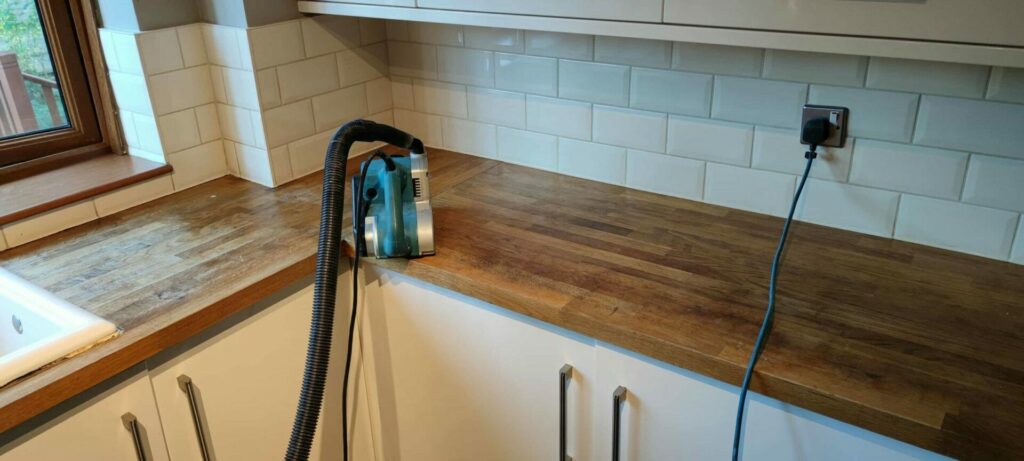
- Power Sanding: Ideal for larger surfaces, a power sander saves time and effort. Orbital sanders are commonly used for worktops due to their efficiency and ease of use.

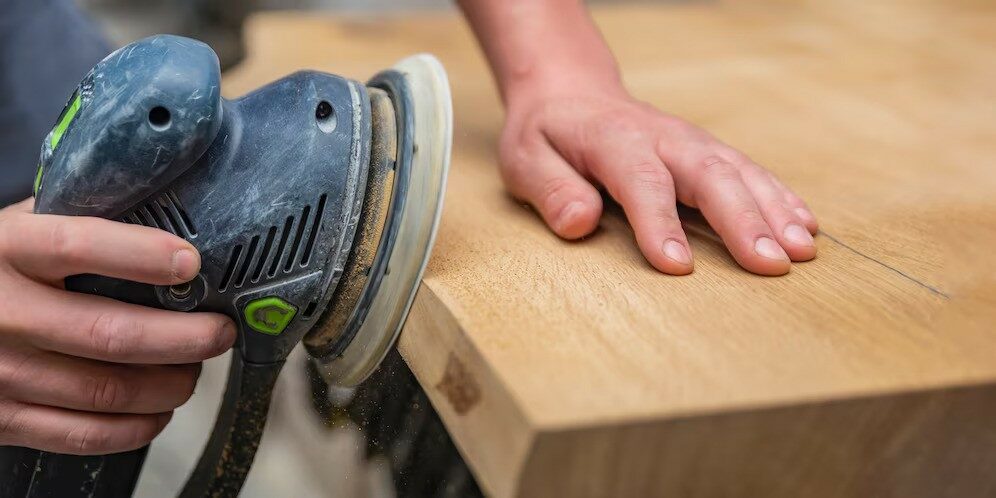
Sanding Technique:
- Always sand in the direction of the grain, especially on wood surfaces. This prevents scratches and maintains the integrity of the material.
- Apply even pressure throughout the process. Avoid pressing too hard, as this can create gouges or uneven surfaces.
- Regularly check your progress and the surface’s smoothness. This helps in determining when to switch to a finer grit.

Dust Management:
- Sanding generates a lot of dust. Use a vacuum or dust extraction system if your sander has one. Regularly clean the surface with a tack cloth or slightly damp rag to remove dust.
- Take breaks to clean up dust from your work area. This not only keeps the area tidy but also reduces the chances of dust settling back on the worktop.
Edge Sanding:
- Pay special attention to edges and corners. These areas require careful sanding to avoid rounding off or damaging the edges.
Safety First:
- Always wear safety goggles, a dust mask, and hearing protection (when using power tools).
- Ensure good ventilation in your work area to manage dust and fumes.
Testing and Adjusting:
- Before starting the main project, test your sanding technique on a scrap piece or a small, inconspicuous area.
- Adjust the grit of the sandpaper or your technique based on the test results to achieve the desired smoothness.
Step-by-Step Guide to Sanding Your Kitchen Worktop
Sanding your kitchen worktop can rejuvenate its appearance and prepare it for a fresh finish. Here’s a detailed guide to help you through the process:
Set Up Your Work Area:
Follow the preparation steps previously outlined to ensure a safe and efficient sanding environment.
Initial Cleaning:
Clean the worktop surface thoroughly to remove any grease, debris, or loose particles.
Choose your starting grit:
Begin with a coarse-grit sandpaper (around 60–80 grit) if you need to remove old finishes, significant scratches, or level the surface.
If your worktop is in relatively good condition, start with a medium grit (around 100–120).
Begin Sanding:
If using a power sander, turn it on and gently place it on the surface. If sanding by hand, wrap the sandpaper around a sanding block for an even pressure distribution.
Sand in the direction of the grain to avoid scratches. Use even, consistent pressure.
Cover the entire surface systematically, ensuring you don’t miss any spots.

Check your progress:
Periodically stop and clean the dust to check the smoothness of the surface.
Feel the surface with your hand to find any rough spots that might need more attention.
Switch to Finer Grits:
Once the major imperfections are removed, switch to a finer-grit sandpaper (around 150–180).
Repeat the sanding process, ensuring a smooth transition and eliminating any marks left by the coarser grit.
Clean the surface thoroughly between each grit change to remove all dust and debris.
Final Sanding:
Finish with a very fine-grit sandpaper (200–220) for a smooth, polished surface ready for finishing.
This final pass should be gentle, focusing on achieving a uniform look.
Detail Sanding:
For edges and hard-to-reach areas, switch to hand sanding. Be cautious around edges to maintain their shape and sharpness.
Final Cleaning:
Once you are satisfied with the smoothness, thoroughly clean the worktop with a vacuum cleaner.
Wipe down the surface with a tack cloth or damp rag to ensure all dust is removed.
Inspect Your Work:
Review the entire worktop for consistency in smoothness and finish.
Address any areas that may need a bit more sanding.
Prepare for finishing:
At this stage, your worktop should be ready for finishing, whether it’s oiling, sealing, or painting.
Handling Common Challenges in Kitchen Worktop Sanding
Sanding a kitchen worktop can present various challenges, especially if you’re dealing with an older surface or unique materials. Here are some common issues you might encounter and how to effectively handle them:
Deep Scratches and Gouges:
- Fill deeper scratches or gouges with wood filler (for wooden worktops) or an appropriate filler material matching your worktop’s material.
- Allow the filler to dry completely, then sand it down gently to level it with the rest of the worktop’s surface.
- Start with a coarser grit to level the filler, and gradually move to finer grits to blend it seamlessly with the surrounding area.
Uneven Surfaces:
- If your worktop is uneven, start with coarse-grit sandpaper to level the high spots.
- Use a levelling tool or a straight edge to check your progress and ensure evenness across the surface.
- Continue with finer grits to smooth out the surface after levelling.
Stubborn stains or burn marks:
- For stains, sanding might be sufficient. Start with a medium grit and increase the intensity if the stain persists.
- For burn marks, sand the affected area with a coarse grit until the mark is no longer visible, then smooth the area with finer grits.
- If the stain or burn is too deep, consider using a wood stain to mask the area after sanding.
Edge and corner sanding:
- Use a sanding block or hand-held sandpaper for more control in these areas.
- Be gentle around edges and corners to avoid rounding them off or causing damage.
- Consider using a finer grit for delicate areas to ensure a smooth finish.
Dust Accumulation:
- Regularly clean the surface and surrounding area to prevent dust buildup. This also helps you see your progress more clearly.
- If using a power sander, attach a vacuum or dust extraction system to minimise dust in the air.
Varying material hardness:
- If your worktop comprises different materials (like a composite), be aware that they may sand at different rates.
- Adjust your pressure and sandpaper grit accordingly to achieve an even finish.
Residue from Previous Finishes:
- Old paint or varnish may clog your sandpaper. Clean or replace the sandpaper frequently if you notice it’s not as effective.
- Consider using a chemical stripper before sanding if the old finish is particularly stubborn.
Avoiding Over-Sanding:
- Continuously monitor your progress, especially when using a power sander, as it’s easy to over-sand and damage the worktop.
- Feel the surface with your hand for smoothness instead of relying solely on visual inspection.
After Sanding: Cleaning and Maintenance of Your Kitchen Worktop
Once you have completed sanding your kitchen worktop, it’s important to clean it thoroughly and follow proper maintenance steps to ensure the longevity and beauty of the surface. Here’s how to proceed:
Cleaning After Sanding:
- Dust Removal: First, remove all the sanding dust from the surface. Use a vacuum cleaner to get rid of the majority of the dust.
- Tack Cloth: After vacuuming, go over the surface with a tack cloth. This sticky cloth picks up even the smallest dust particles, ensuring a clean surface for finishing.
- Damp Cloth: Finally, wipe the surface with a slightly damp cloth to remove any remaining dust. Allow the worktop to dry completely before applying any finishes.

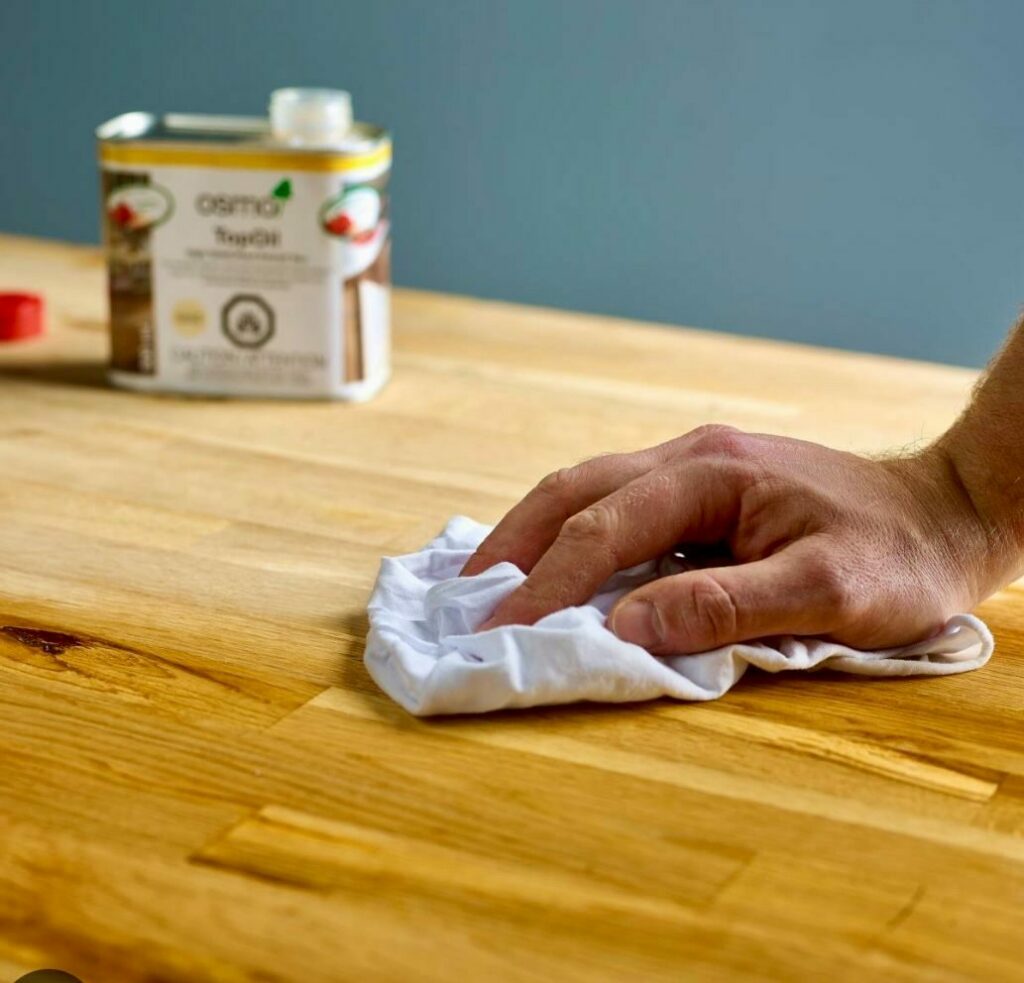
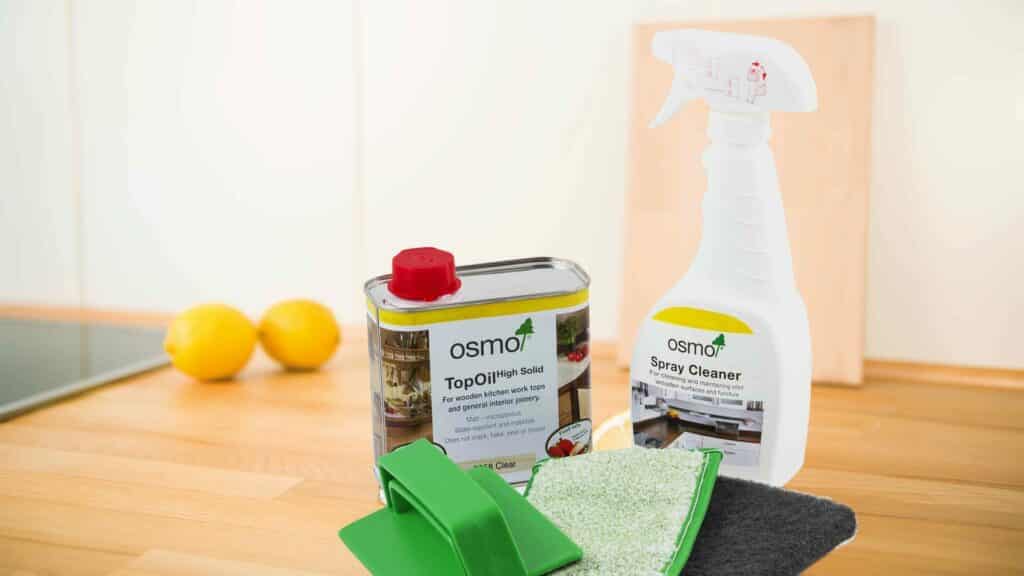
Applying Finish:
- After sanding, you may choose to apply a finish like oil, varnish, or sealant. Ensure that the worktop is completely clean and dry before application.
- Follow the manufacturer’s instructions for your chosen finish. This might include applying multiple coats, sanding lightly between coats, or allowing ample drying time.
Regular Cleaning:
- To maintain your newly sanded and finished worktop, regular cleaning is essential. Use a soft cloth or sponge with mild soap and water.
- Avoid abrasive cleaners or scouring pads, as they can damage the finish.
Maintenance and Care:
- Reapply Finish as Needed: Depending on the type of finish and the usage of your worktop, reapply the finish periodically. For example, oiled wooden worktops typically require re-oiling every 6–12 months.
- Avoid direct heat: Use trivets or mats to protect the surface from hot pots and pans.
- Prevent Water Damage: Wipe up spills promptly, especially on wood worktops, to prevent water marks and damage.
- Use Cutting Boards: To prevent scratches and cuts, always use a cutting board instead of cutting directly on the worktop.

Addressing minor damage:
- If you notice minor scratches or wear over time, you can lightly sand the area and reapply the finish. This spot treatment can significantly extend the life of your worktop.
By following these cleaning and maintenance steps, you can ensure that your kitchen worktop remains in excellent condition for many years. Regular care not only preserves the appearance but also the functionality of your worktop.
Finishing Touches for Your Sanded Kitchen Worktop
After sanding your kitchen worktop, applying the right finishing touches is crucial to protecting the surface and enhancing its appearance. Here’s a guide to help you choose and apply the appropriate finishes:
1. Choosing the Right Finish:
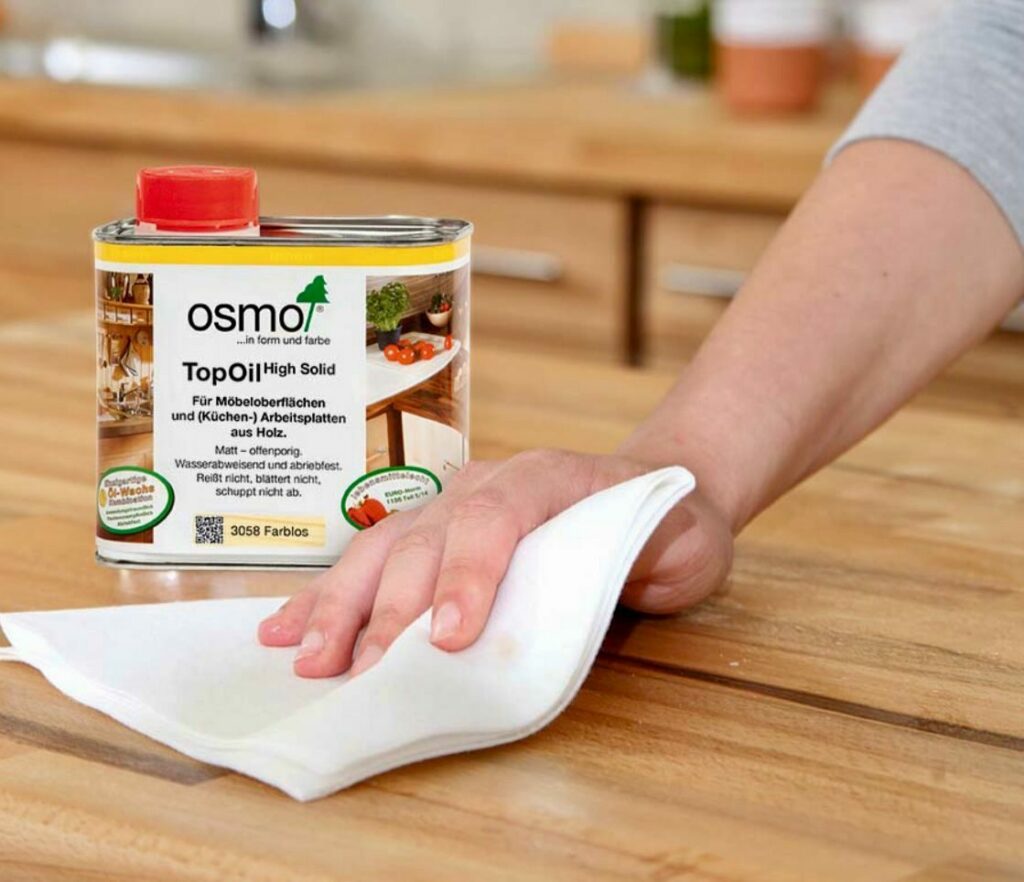
- Oil (e.g., Linseed, Tung, or Mineral Oil): Ideal for wooden worktops, oil penetrates the wood, enhancing its grain and natural beauty. It offers a warm, matte finish and is easy to reapply.
- Varnish or polyurethane: Provides a durable, water-resistant surface, making it suitable for heavy-use areas. Available in various sheens, from matte to glossy.
- Food-Safe Sealant: For worktops where food preparation is common, a food-safe sealant is essential. These are non-toxic and provide a safe, protective layer.
- Wax: Offers a natural, soft sheen and provides minor protection against stains and scratches. Best for surfaces that don’t endure heavy use.
2. Application of Finish:
- Prepare the surface: Ensure the worktop is clean and dry. Any dust or residue can affect the finish’s adherence and appearance.
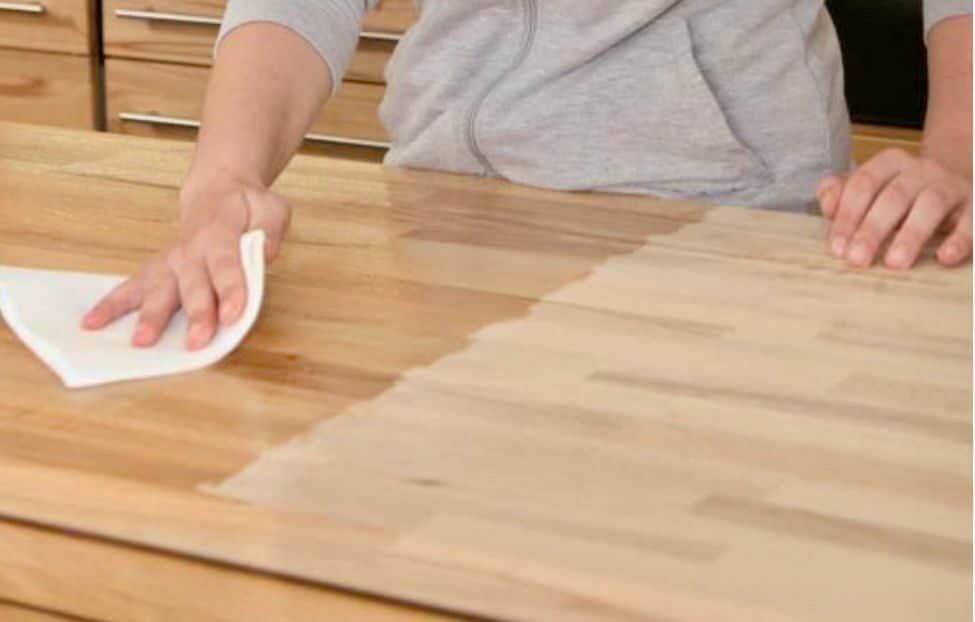
- Apply Evenly: Use a clean brush, cloth, or sponge to apply the finish. Follow the manufacturer’s instructions regarding application methods.
- Work in Sections: Apply the finish in manageable sections, maintaining a wet edge to avoid overlap marks.
- Allow Adequate Drying Time: Different finishes require different drying times; some may need several days to cure fully. Refer to the product’s instructions for specific timelines.
- Apply Multiple Coats if Necessary: Depending on the type of finish and the level of protection you desire, multiple coats may be necessary. Lightly sand between coats for better adhesion.
3. Final Inspection:
- After the final coat, inspect the worktop for any missed spots or inconsistencies. Touch it up as needed.
4. Aftercare:
- Avoid using the worktop until the finish has completely cured.
- Follow specific care instructions for your chosen finish to maintain its look and protective qualities.
5. Maintenance:
- Regular maintenance can vary based on the type of finish. For oiled surfaces, periodic re-oiling is necessary, while varnished surfaces may only need occasional cleaning with a damp cloth.
- Address spills and stains promptly to prevent damage.
Conclusion
As we reach the conclusion of our guide on kitchen worktop sanding, let’s take a moment to reflect on the journey we’ve embarked upon. From understanding the basics of sanding to applying the final finishes, each step has been crucial in transforming your worktop into a refreshed and revitalised surface.
Through this process, you’ve not only enhanced the aesthetic appeal of your kitchen but also extended the life and functionality of your worktop. The skills and techniques learned can serve you in future DIY projects, further enriching your home improvement repertoire.
Remember, the key to a successful sanding project lies in patience, attention to detail, and following each step diligently. Whether it was selecting the right sandpaper, mastering the sanding technique, or applying the finishing touches, every aspect contributed to the overall quality of your work.
We hope this guide has been informative and empowering, providing you with the confidence and knowledge to tackle kitchen worktop sanding effectively. As you enjoy your beautifully finished worktop, take pride in the hard work and craftsmanship that went into its renewal.
Feel free to revisit any section of this guide whenever you embark on a new sanding project, and don’t hesitate to explore further resources or seek professional advice for more complex tasks. Happy sanding, and may your kitchen worktop continue to be a centrepiece of beauty and function in your home!

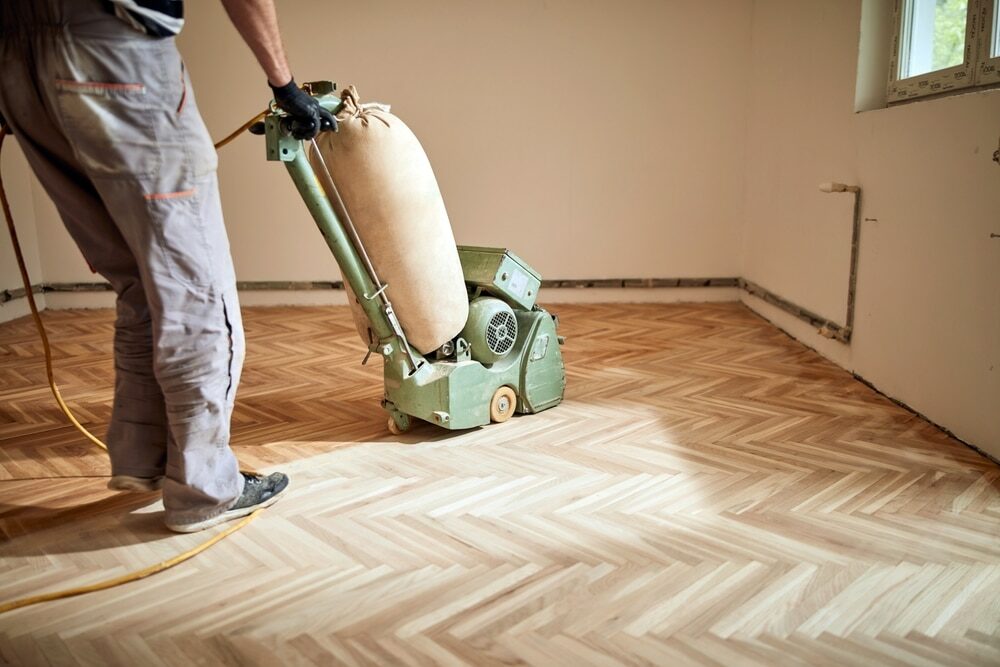

Sanding
We provide virtually dust-free sanding with our continuous belt machinery with mobile extraction units, giving you a safer environment for your family.
Oiling
This organic finish not only adds beauty to your home but also has exceptional water-repellent characteristics, making it easier to clean and maintain.
Waxing
This natural floor finish offers the softest and most mellow appearance – and leaves your floor able to breath.
Buffing
Using soft buffing machines (and hand-polishing where required) will bring a wonderful sheen to your newly-finished floor.
Repairs
We offer a full assessment of your wooden floors to determine what repairs are needed to provide the perfect working surface for the later stages of sanding, staining and sealing.
Restoration
We offer a comprehensive restoration process designed to address floors that are improperly fitted or damaged over time through wear and tear.
Request a fixed price quote for your wood floor restoration now
Simply enter your postcode below to get started.
Services
Wood Floor Sanding Wood Floor Restoration Wood Floor Scratch Repair Squeaky Wood Floor Repair Parquet Floor Sanding Parquet Floor Restoration Commercial Floor Sanding Church Floor Sanding Community Centre Floor Sanding School Floor Sanding Gap Filling Gap Filling with ResinCopyright © Mr Sander®
Privacy & Cookies Terms & Conditions Complaints Procedure Cancellation Rights Sitemap

Get An Instant Price Estimate Before You Go…
Simply enter the rooms you need sanded and we’ll provide you with a price estimate instantly! Try our price calculator now.
Get a Price Estimate NowLocal Floor Sanding Experts
Over 500 5-Star Reviews
Safe, Dust Free Sanding
Operating Since 1994