London:
Nationwide:
25,000+
Floors Restored
27 Years Experience
Wood Flooring Association Certified
Preparation for sanding wooden floors
Posted on April 10, 2023
Blog
-
Assessing the Condition of Your Wooden Floor
 Before you begin, take the time to assess the condition of your wooden floor. Look out for any signs of damage, such as water stains, termite infestations, or large cracks. If you identify any major issues, it may be necessary to consult with a professional to determine whether your floor is suitable for sanding and refinishing.
-
Clearing the Space
 Begin by removing all furniture, rugs, and other items from the room. This will make it easier to move around the space and access every inch of the floor. Don’t forget to remove curtains, drapes, or blinds, as dust from the sanding process can easily accumulate on fabric.
-
Cleaning the floor
 Clean the floor thoroughly to remove dirt, debris, and any remnants of previous finishes. Start by sweeping or vacuuming the floor, followed by mopping with a damp cloth or sponge. Avoid using excessive water, as this can damage the wood. Allow the floor to dry completely before proceeding to the next step.
-
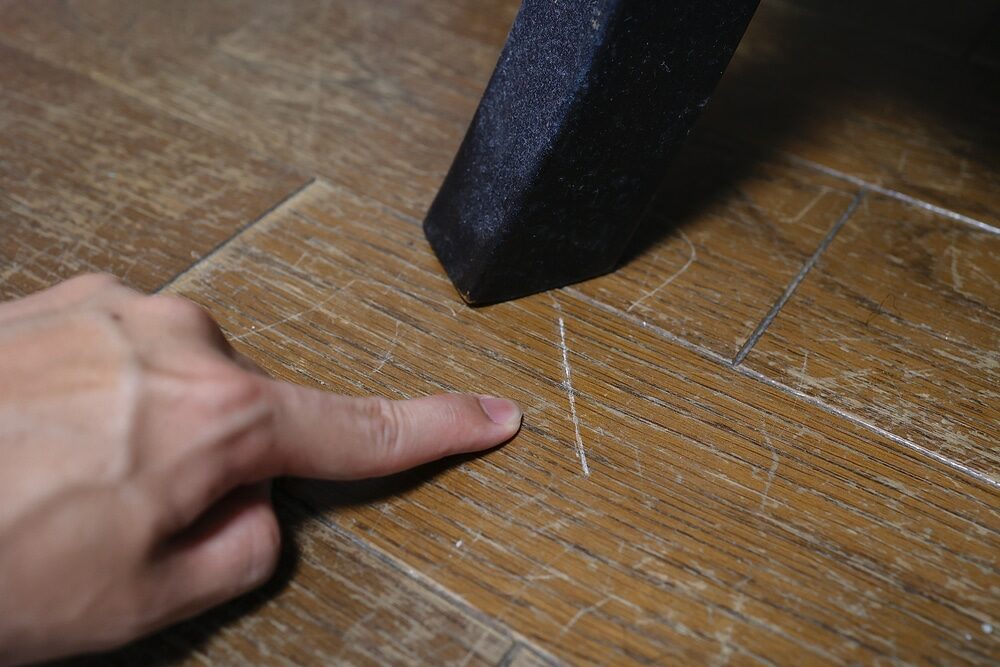
Checking for Loose or Damaged Boards
-
Removing Nails, Staples, and Carpet Tack Strips
-
Filling Gaps and Cracks
 Small gaps between floorboards are natural and allow for the expansion and contraction of the wood. However, larger gaps can collect dirt and debris and may need to be filled. Use a flexible wood filler or a mixture of sawdust and wood glue to fill the gaps. Apply the filler with a putty knife, pressing it firmly into the gaps, and then remove any excess with a scraper. Allow the filler to dry according to the manufacturer’s instructions.
-
Preparing the Perimeter of the Room
 When sanding a wooden floor, it’s important to protect the walls, baseboards, and other surfaces from damage. Mask the perimeter of the room with painter’s tape to protect the baseboards and walls from the sanding process. If necessary, cover vents and electrical outlets with plastic sheeting to prevent dust from entering your HVAC system or electrical components.
-
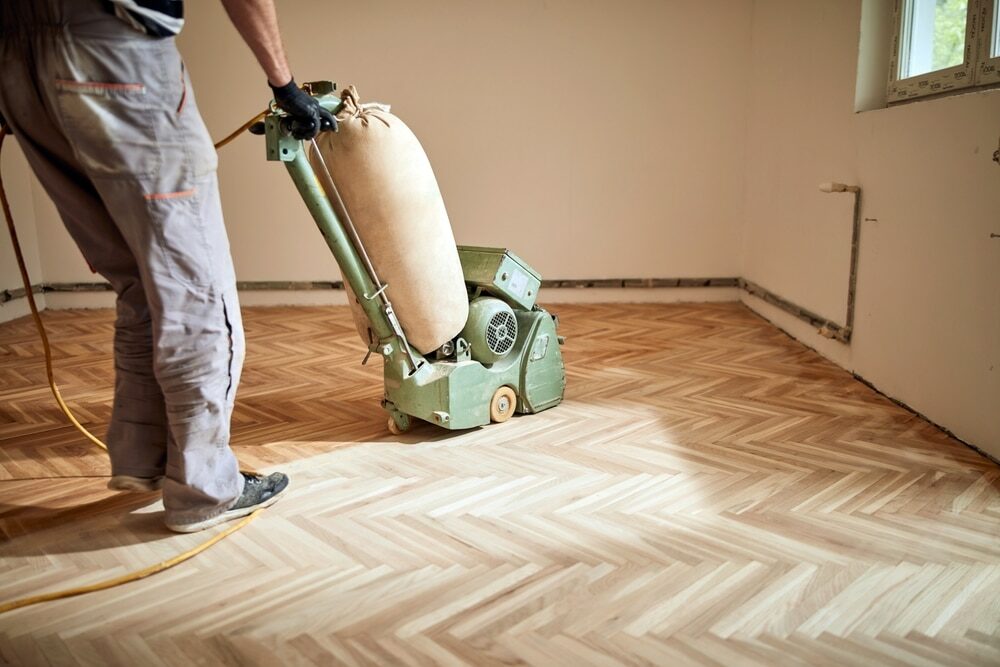
Choosing the Right Sanding Equipment
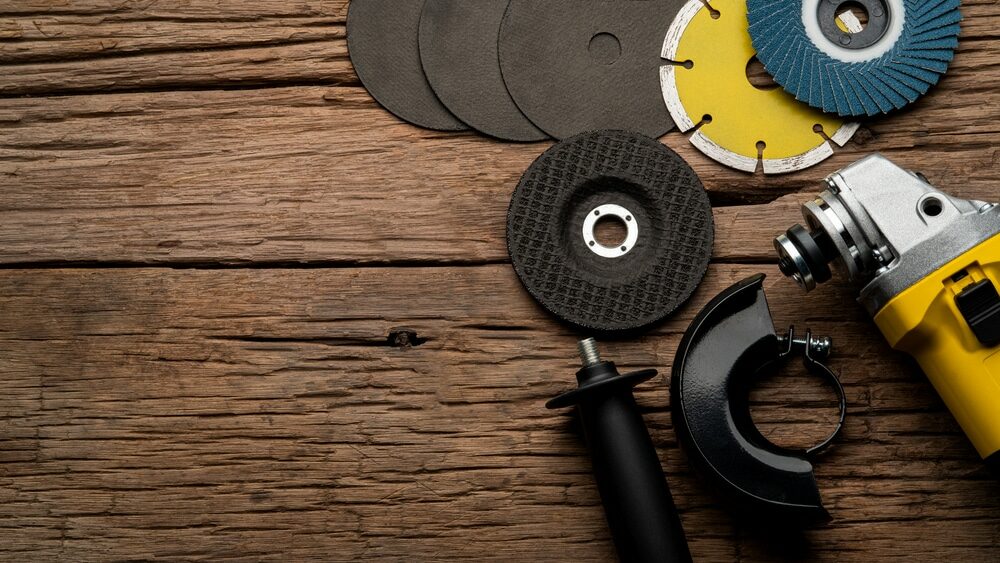 Selecting the appropriate sanding equipment is crucial for a successful sanding project. For large, open spaces, a drum sander is the most efficient choice, as it covers more surface area quickly. For smaller rooms or areas near walls and corners, an orbital or edge sander will provide better control and precision. If you’re inexperienced with sanding equipment, it may be helpful to rent a machine and practise on a spare piece of wood before tackling your floor.
-
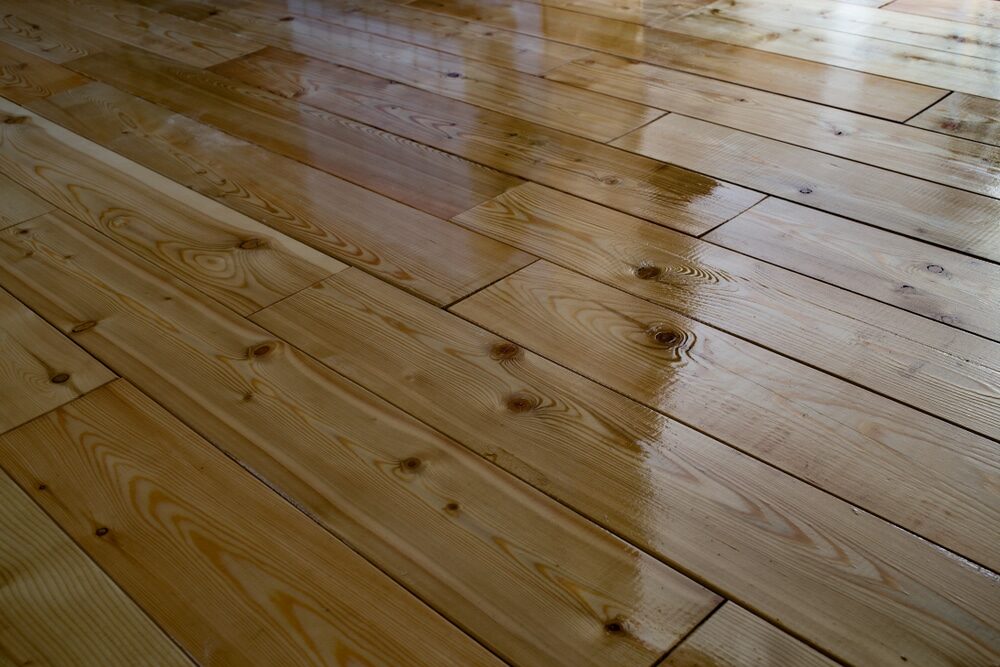
Selecting the Proper Sandpaper Grit
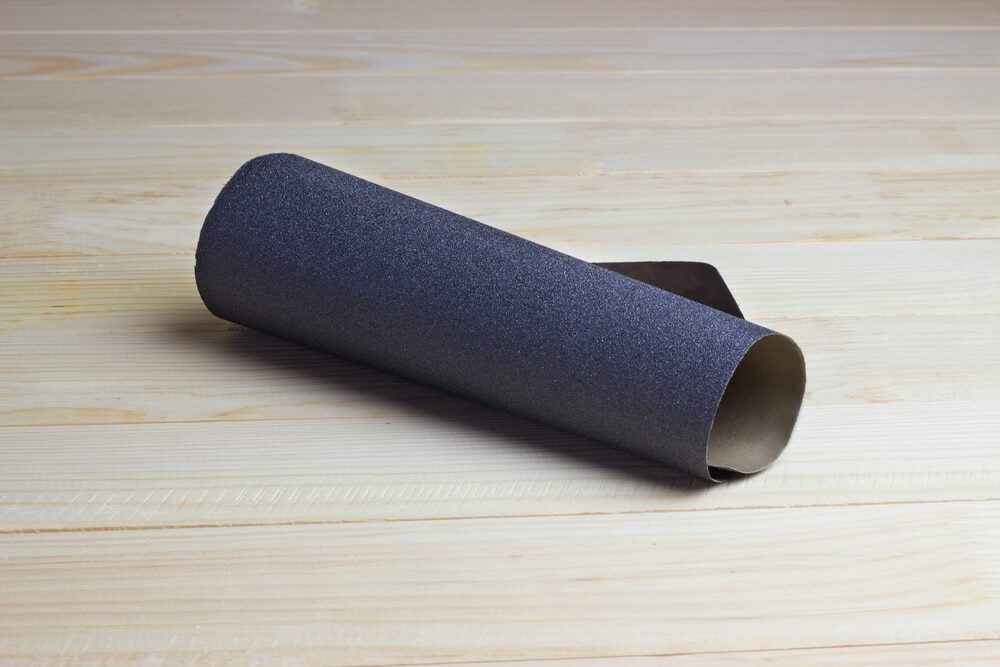 The sandpaper grit you choose will depend on the condition of your floor and the desired finish. Start with a coarse grit (e.g., 36 or 40) to remove any old finish and level the floor. Gradually progress to finer grits (e.g., 60, 80, and 100) to smooth the surface and prepare it for staining or sealing. Always follow the manufacturer’s recommendations for the specific sanding equipment you are using.
-
Preparing Yourself for the Sanding Process
 Sanding a wooden floor generates a considerable amount of dust and noise. Protect yourself by wearing a dust mask, safety goggles, and ear protection. Additionally, wear comfortable clothing that covers your skin to prevent irritation from wood dust.
-
Ventilation and dust control
-
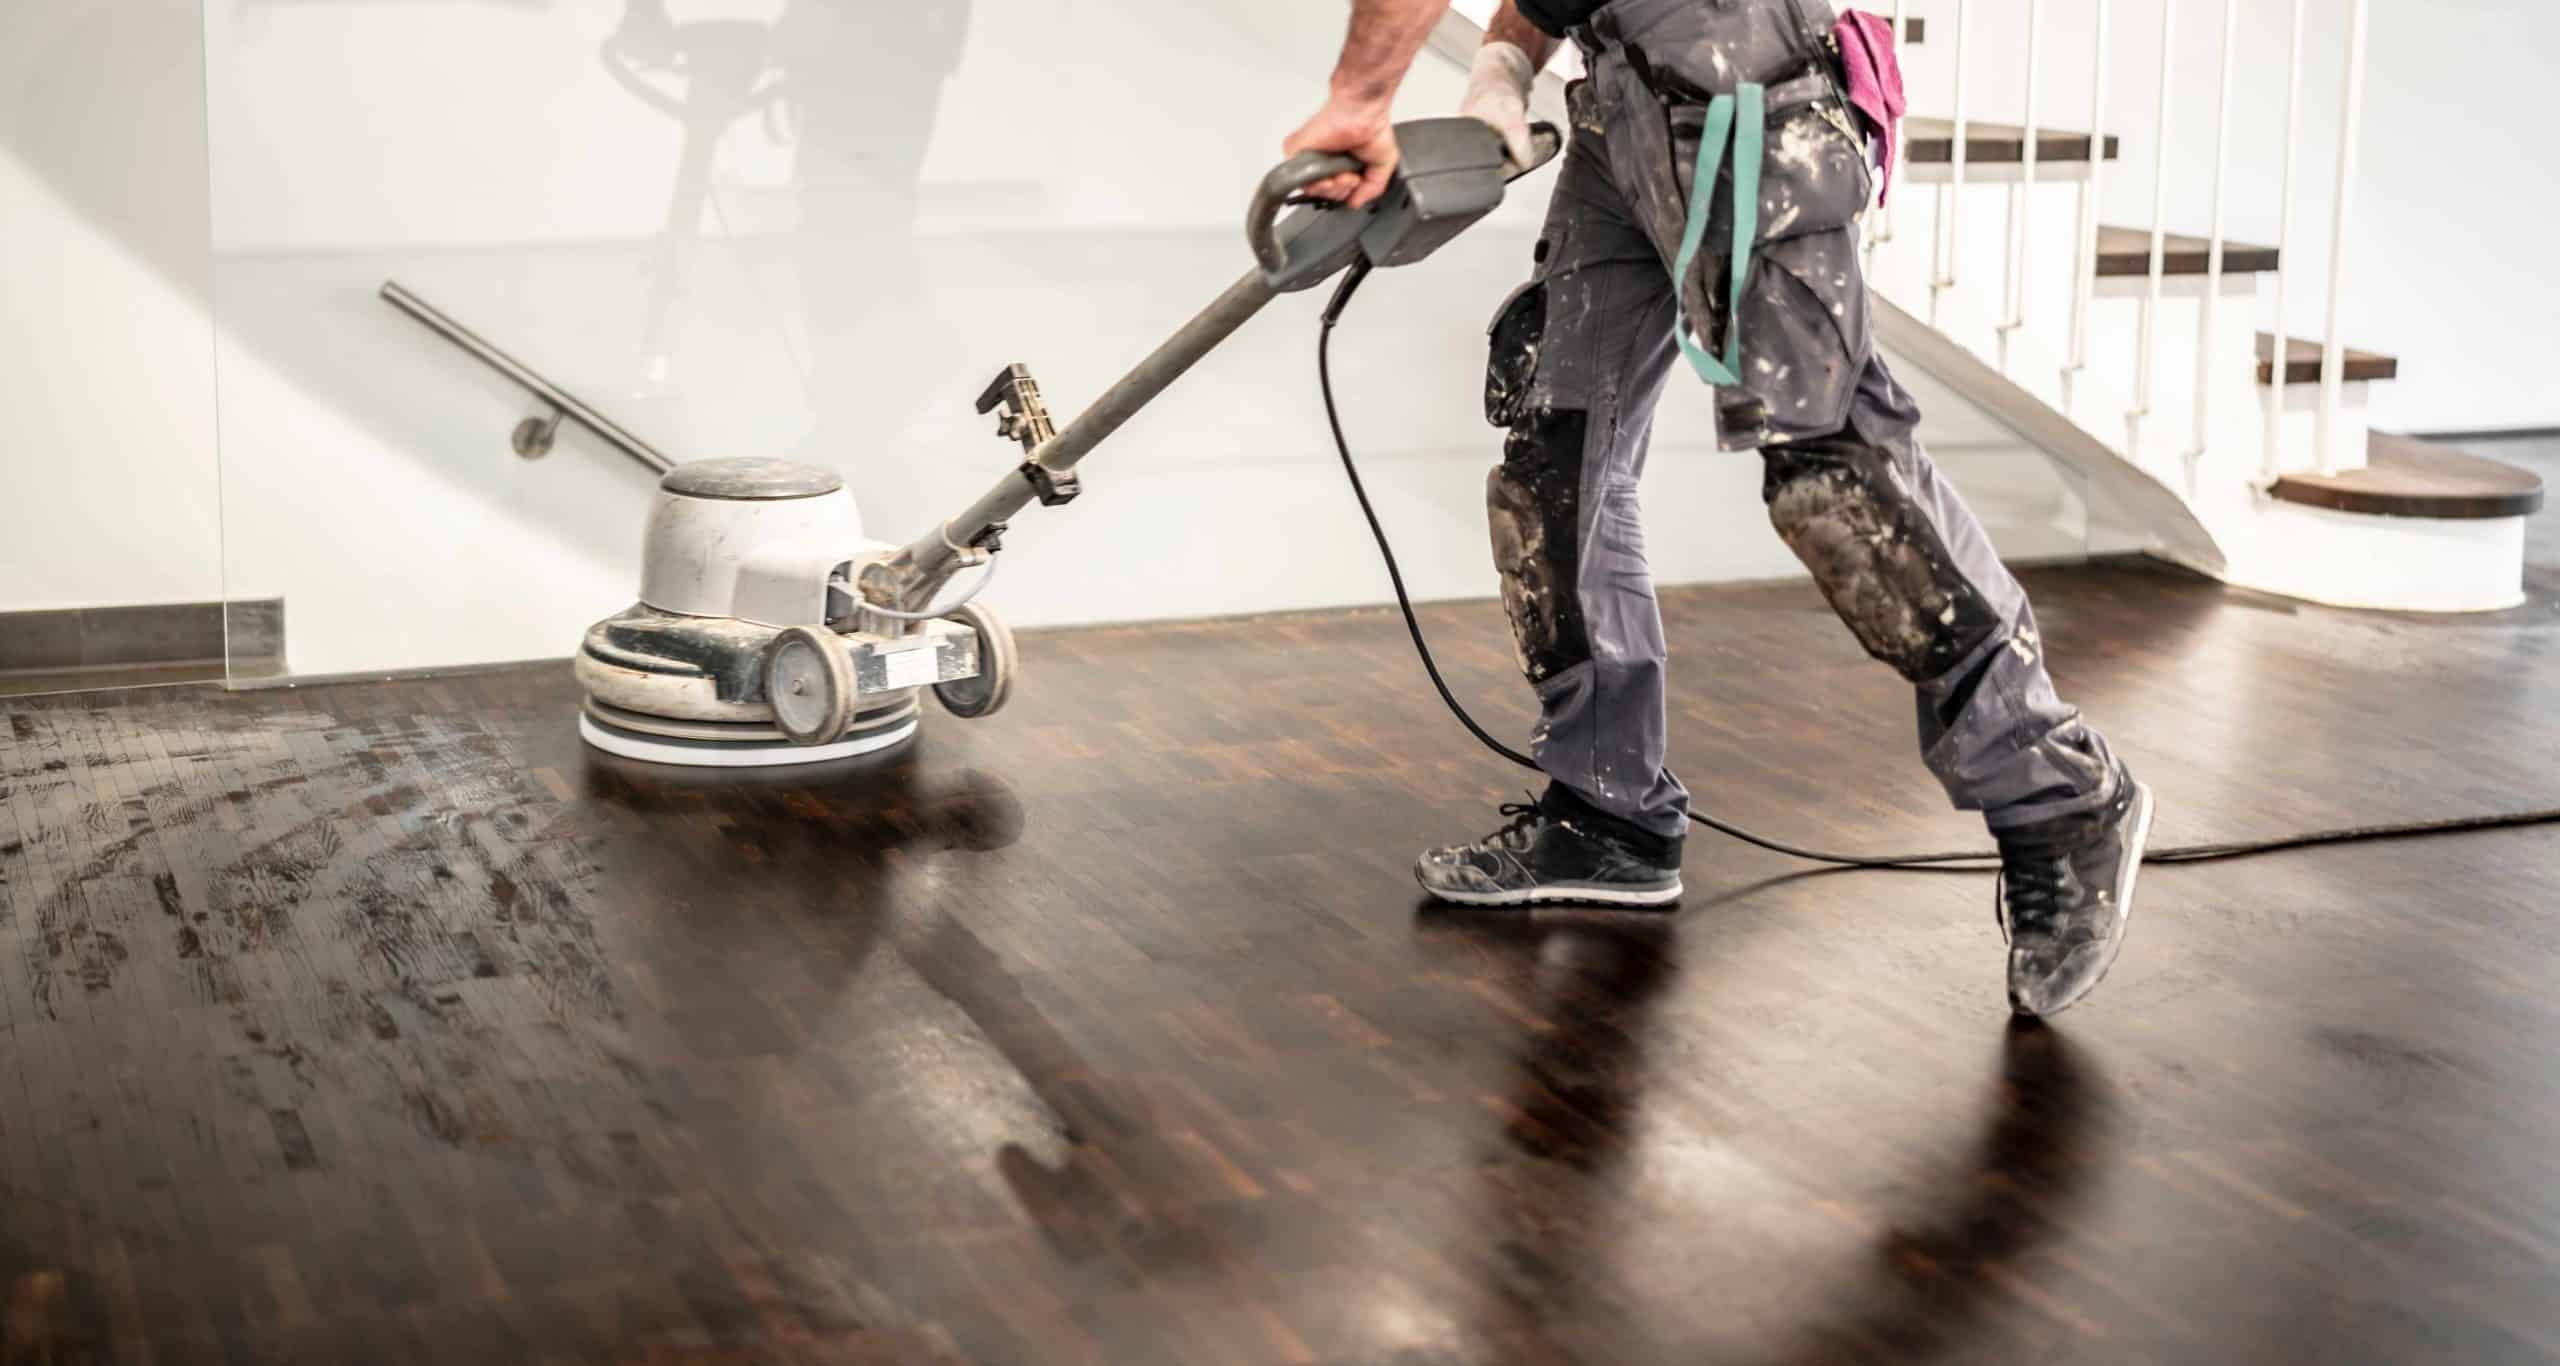
Practising Proper Sanding Techniques
Some Useful Links:
Conclusion
Preparing your wooden floor for sanding is a crucial step in achieving a beautiful and long-lasting finish. By following this comprehensive guide, you can ensure that your floor is free of damage, debris, and imperfections that could hinder the sanding process. With patience, the right tools, and proper techniques, you will be well on your way to a stunning, revitalised wooden floor that enhances the beauty and value of your home.More from our Blog:
Enhance Your Floor’s Shine: Expert Tips How to Remove Stains and Marks from Wooden Floors ? A Comprehensive Guide to Maintaining Your Floor’s Finish

Sanding
We provide virtually dust-free sanding with our continuous belt machinery with mobile extraction units, giving you a safer environment for your family.
Oiling
This organic finish not only adds beauty to your home but also has exceptional water-repellent characteristics, making it easier to clean and maintain.
Waxing
This natural floor finish offers the softest and most mellow appearance – and leaves your floor able to breath.
Buffing
Using soft buffing machines (and hand-polishing where required) will bring a wonderful sheen to your newly-finished floor.
Repairs
We offer a full assessment of your wooden floors to determine what repairs are needed to provide the perfect working surface for the later stages of sanding, staining and sealing.
Restoration
We offer a comprehensive restoration process designed to address floors that are improperly fitted or damaged over time through wear and tear.
Request a fixed price quote for your wood floor restoration now
Simply enter your postcode below to get started.
Services
Wood Floor Sanding Wood Floor Restoration Wood Floor Scratch Repair Squeaky Wood Floor Repair Parquet Floor Sanding Parquet Floor Restoration Commercial Floor Sanding Church Floor Sanding Community Centre Floor Sanding School Floor Sanding Gap Filling Gap Filling with ResinCopyright © Mr Sander®
Privacy & Cookies Terms & Conditions Complaints Procedure Cancellation Rights Sitemap

Get An Instant Price Estimate Before You Go…
Simply enter the rooms you need sanded and we’ll provide you with a price estimate instantly! Try our price calculator now.
Get a Price Estimate NowLocal Floor Sanding Experts
Over 500 5-Star Reviews
Safe, Dust Free Sanding
Operating Since 1994