London:
Nationwide:
25,000+
Floors Restored
27 Years Experience
Wood Flooring Association Certified
DIY Guide: How to Sand Your Kitchen Worktop
Posted on December 27, 2023
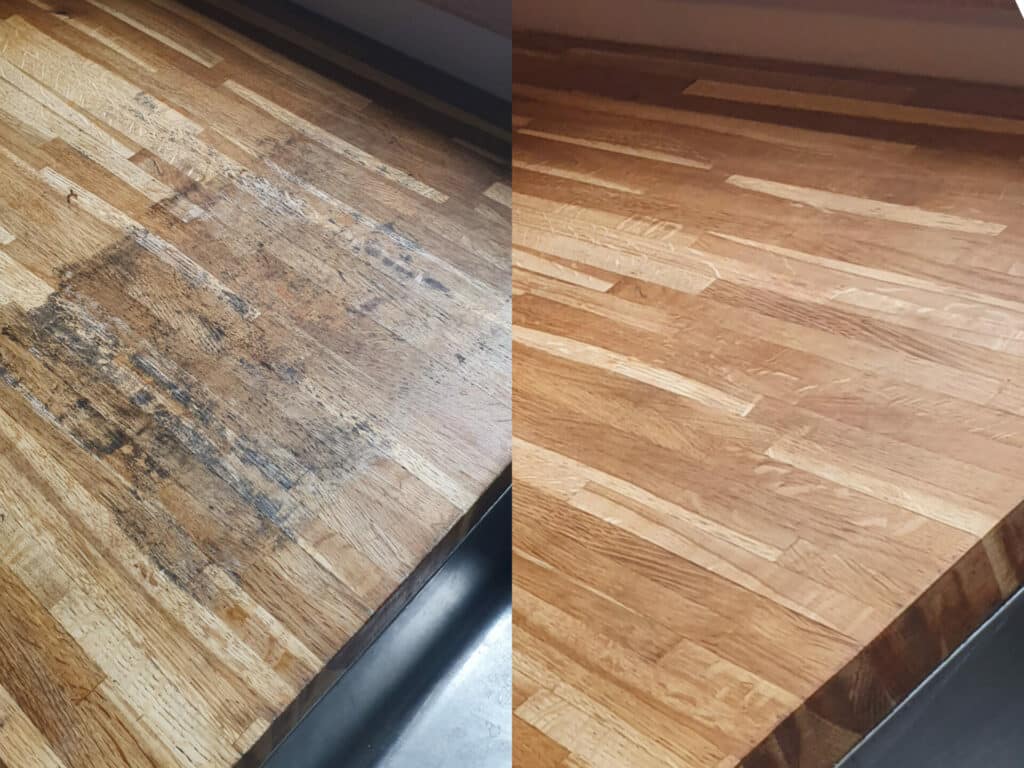
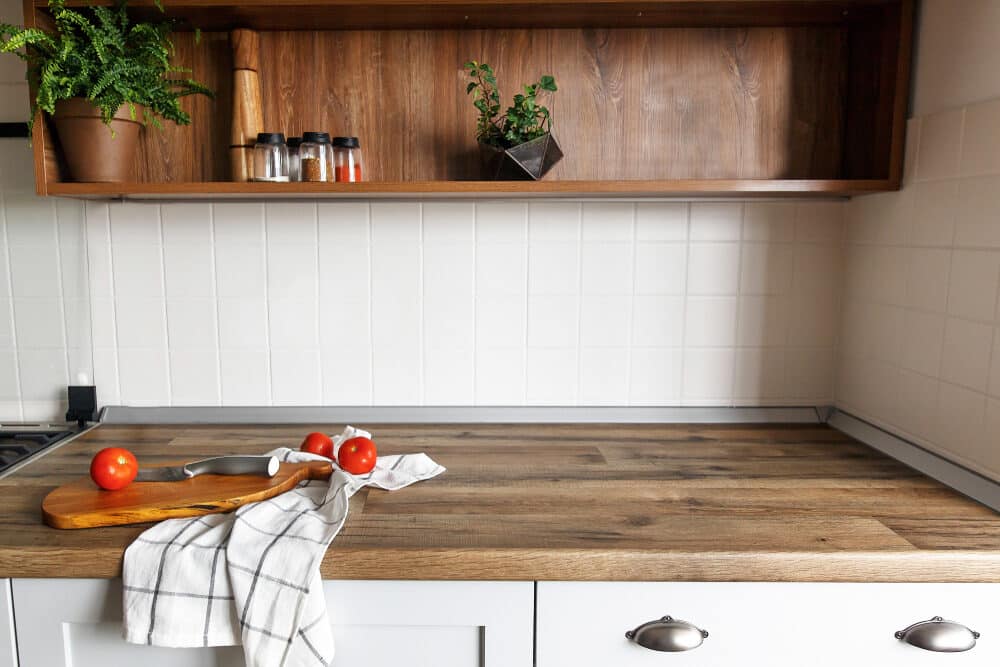
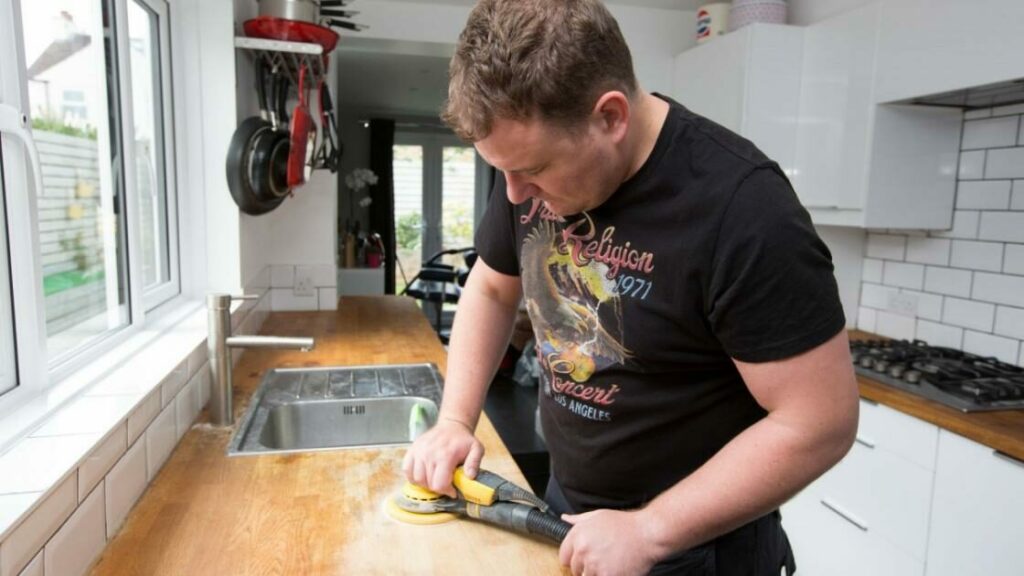
Kitchen Worktop sanding
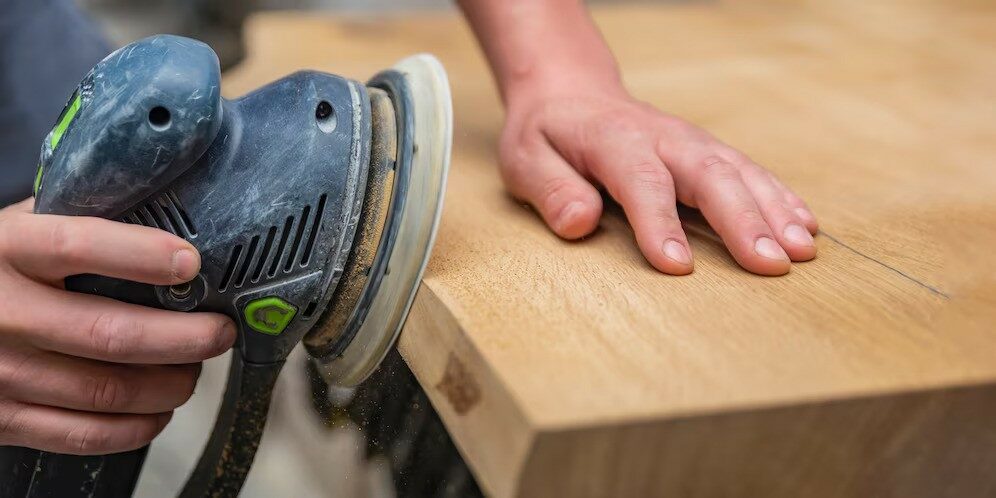
Sanding Your Kitchen Worktop: A Step-by-Step DIY Guide
Welcome to our DIY Guide on “How to Sand Your Kitchen Worktop“! If you’re looking to rejuvenate the heart of your home, sanding your kitchen worktop is a fantastic and rewarding project. Not only does it breathe new life into a potentially worn-out space, but it also offers an opportunity to infuse your personal touch into one of the most used areas in your home.
In this guide, we’ll take you through the entire process of sanding your kitchen worktop. Whether you’re dealing with a wooden, granite, or laminate surface, we have you covered. Sanding can seem daunting, but with the right tools, techniques, and a bit of patience, you’ll be amazed at the transformation you can achieve.
We’ll start by discussing the materials and tools you’ll need for the job. This will include a comprehensive list to ensure you’re fully prepared before you begin. Next, we’ll guide you through the preparation steps, emphasising the importance of safety and proper setup to make the task as smooth and hassle-free as possible.
Understanding your worktop material is crucial, as different surfaces require different approaches. We’ll delve into the specifics of each type, providing tailored advice to ensure you get the best results without damaging your worktop.
The heart of this guide is our section on sanding techniques. Here, we’ll break down the process into easy-to-follow steps, offering professional tips to help you achieve a flawless finish. We’ll also address common challenges you might encounter, like stubborn stains or uneven surfaces, and how to overcome them effectively.
Lastly, we’ll discuss the finishing touches, including sealing and protecting your worktop to ensure it stands the test of time. Regular maintenance tips will also be provided to keep your worktop looking as good as new.
So, whether you’re a seasoned DIY enthusiast or a beginner looking to tackle your first project, this guide is designed to empower you to transform your kitchen worktop with confidence. Let’s get started on this exciting journey to revitalise your kitchen space!
Materials and Tools Needed
Embarking on the journey of sanding your kitchen worktop requires some essential materials and tools. Having everything at hand before you start will make the process smoother and more efficient. Here’s a comprehensive list of what you’ll need:
Materials
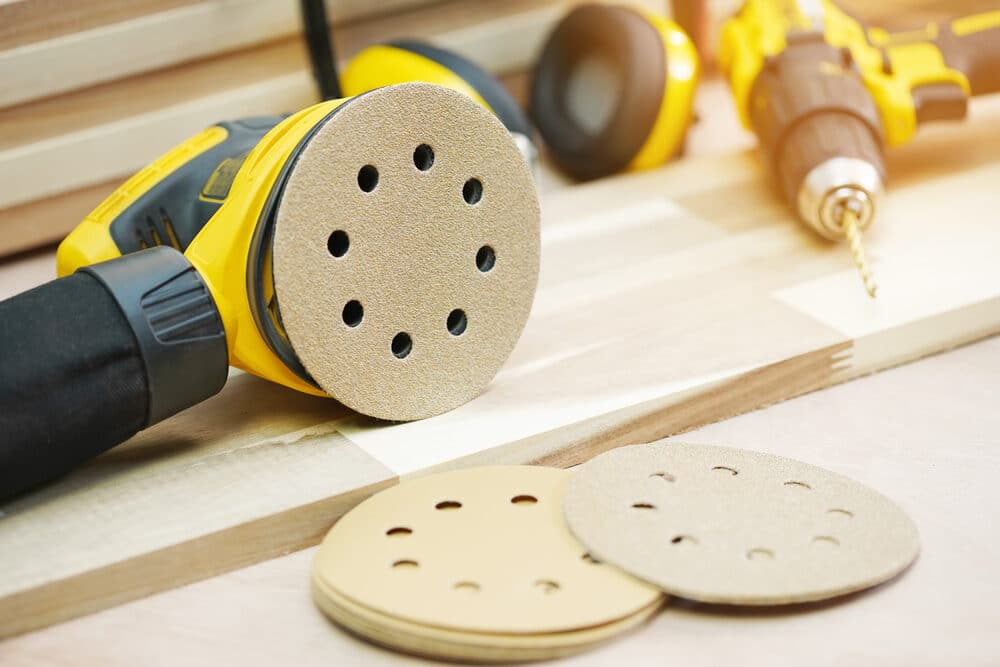
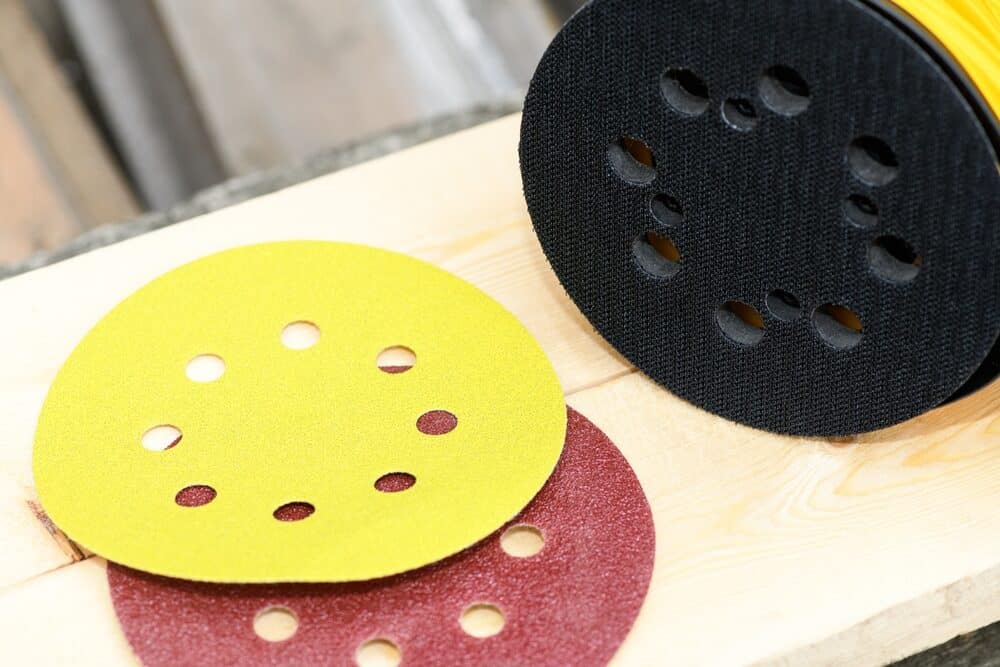
- Sandpaper: You’ll need various grits. Start with a coarser grit (around 60–80) for initial sanding and then progressively finer grits (up to 220 or higher) for finishing touches.
- Wood Filler (if applicable): For wooden worktops, wood filler can be used to fix any holes or deep scratches.
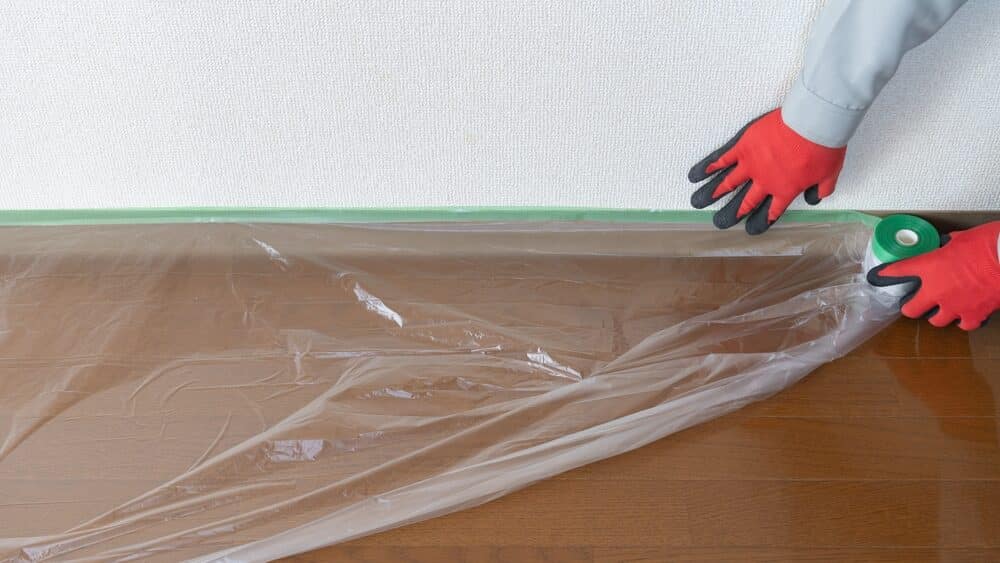
- Masking Tape: To protect areas adjacent to the worktop from accidental sanding or dust.
- Dust sheets or plastic covers: to protect the surrounding area from dust.
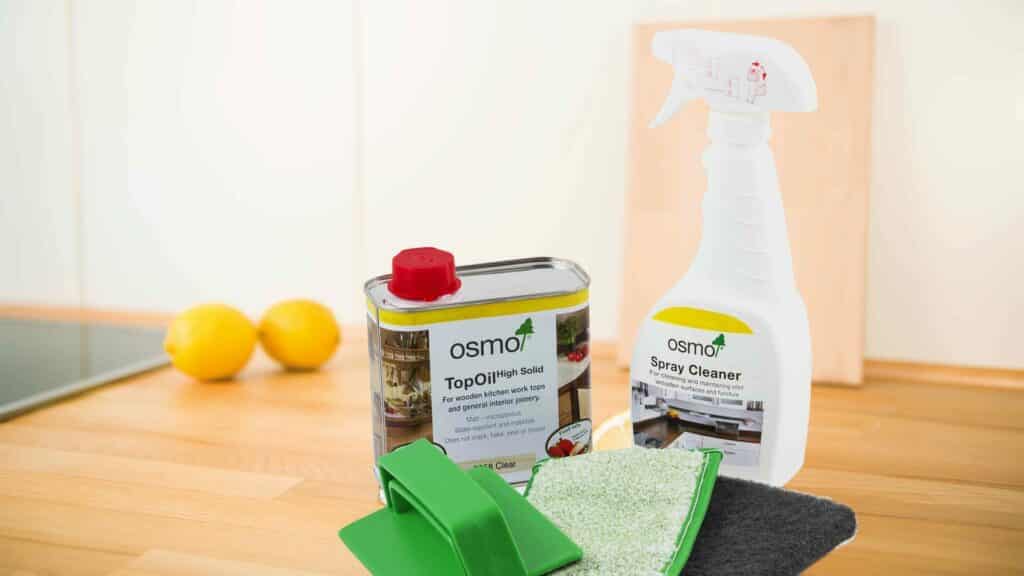
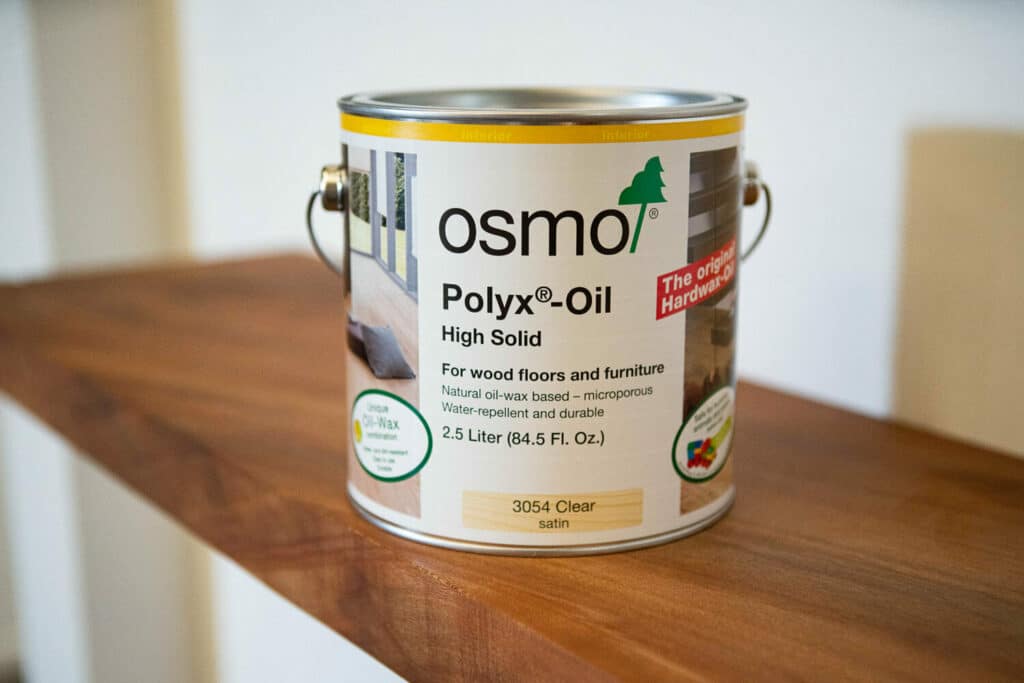
- Sealant or Wood Oil: Depending on your worktop material, you’ll need a suitable sealant or oil for finishing.
Tools
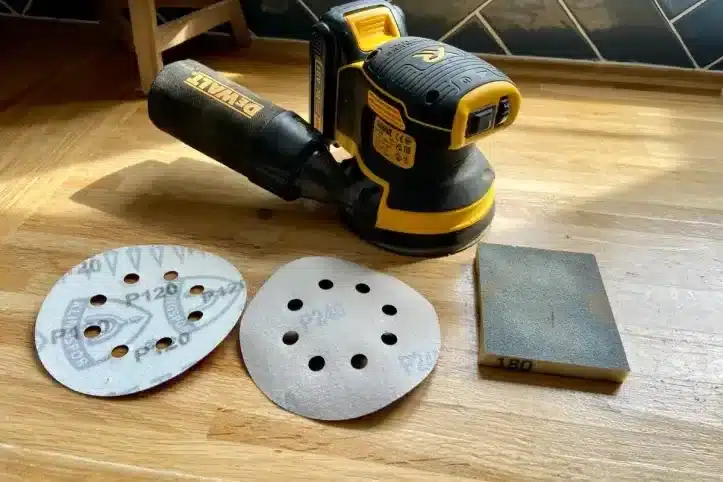
- Sanding Block or Electric Sander: An electric sander is ideal for larger surfaces and will save time. A sanding block can be used for manual sanding or for areas needing finer control.
- Vacuum Cleaner with Brush Attachment: For cleaning up dust after sanding.
- Safety Equipment: safety glasses to protect your eyes from dust, and a dust mask or respirator to avoid inhaling fine particles.
- Cleaning Supplies: A damp cloth or sponge for wiping down the worktop post-sanding.
- Measuring tape and pencil: for marking areas that might need extra attention or specific treatment.
Optional Tools
- Detail Sander: Handy for reaching corners and tight spaces.
- Paint scraper: useful for removing any residual adhesive or sealant before sanding.
Tips for Tool and Material Selection
- Choose sandpaper quality suitable for your worktop material. Silicon carbide or aluminium oxide sandpapers are generally good for most surfaces.
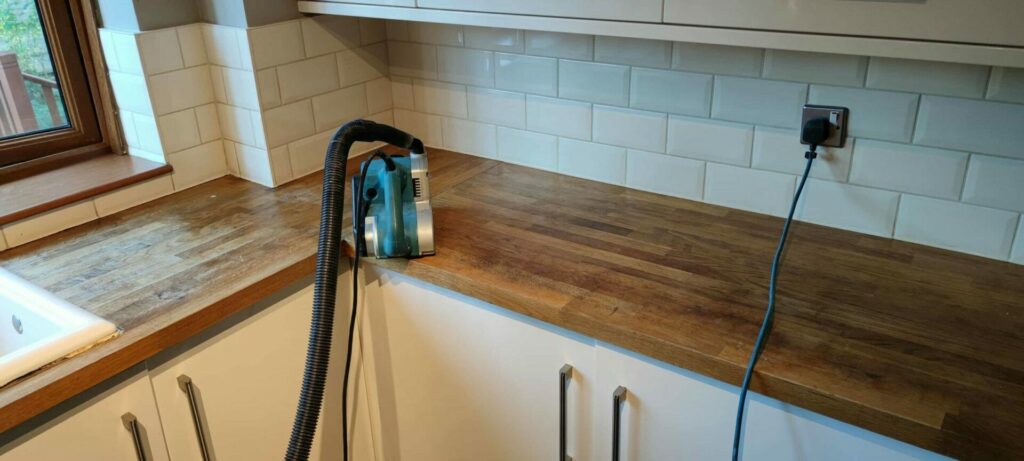
- If using an electric sander, ensure it has a dust collection system to minimise mess.
- For wooden worktops, consider a wood conditioner before applying the sealant or oil, especially if the wood is porous.
- Read the labels and safety instructions on all products and tools before use.
Gathering these materials and tools will lay the foundation for a successful and efficient worktop sanding project. Remember, the quality of your tools and materials can significantly impact the outcome of your work, so choose wisely based on your worktop’s specific needs and your personal comfort level with the tools.
Preparation Steps
Proper preparation is key to achieving a successful and efficient sanding project. Before you dive into the actual sanding of your kitchen worktop, here are some essential steps to prepare your workspace and ensure a safe, smooth process:
1. Clear the work area:
- Remove all appliances, utensils, and other items from your kitchen worktop.
- If possible, remove drawers and cabinet doors to prevent them from getting dusty.
2. Clean the Worktop Surface:
- Wipe down the worktop thoroughly with a damp cloth to remove any grease, crumbs, and surface dirt. This ensures you’re working on a clean surface.
- Allow the worktop to dry completely.
3. Set up protection for your space:
- Use dust sheets or plastic covers to protect the floor and nearby furniture from dust.
- Seal off other areas of the kitchen with plastic sheeting, especially if you are using a power sander, as this can generate a lot of dust.
4. Safety Precautions:
- Ensure good ventilation in your workspace. Open windows or use fans to circulate air and disperse dust.
- Wear safety glasses to protect your eyes from dust and debris.
- Use a dust mask or respirator to avoid inhaling fine particles.
- Consider wearing ear protection if using a power sander.

5. Prepare your tools and materials:
- Gather all the materials and tools listed in the previous section and place them within easy reach.
- Check the condition of your tools, especially the sandpaper or sander, to ensure they are in good working order.
6. Masking Off Areas:
- Use masking tape to cover areas you don’t want to sand, like edges adjacent to walls or built-in appliances.
- Protect the sink and faucet if they are close to or part of the worktop.
7. Plan your approach:
- Decide on where to start and end your sanding. Typically, it’s best to work from one end of the worktop to the other systematically.
- If there are any particularly damaged areas, plan to spend more time on those.
8. Mental Preparation:
- Sanding can be a physically demanding task, so mentally prepare yourself for the effort involved.
- Be patient, and remember that a thorough, well-paced job will yield the best results.
Understanding Your Worktop Material
Before you start sanding your kitchen worktop, it’s crucial to understand the material you’re working with. Each material has its own characteristics and requires specific considerations to ensure you don’t damage it during the sanding process. Here’s a guide to the most common worktop materials:
Wooden Worktops
- Types: Common types include hardwoods like oak, beech, and walnut, and softer woods like pine.
- Sanding Considerations: Wood is generally forgiving and easy to sand. Start with a coarse grit and progress to finer grits for a smooth finish.
- Special Care: Pay attention to the wood grain direction. Sanding along the grain reduces the risk of scratches.
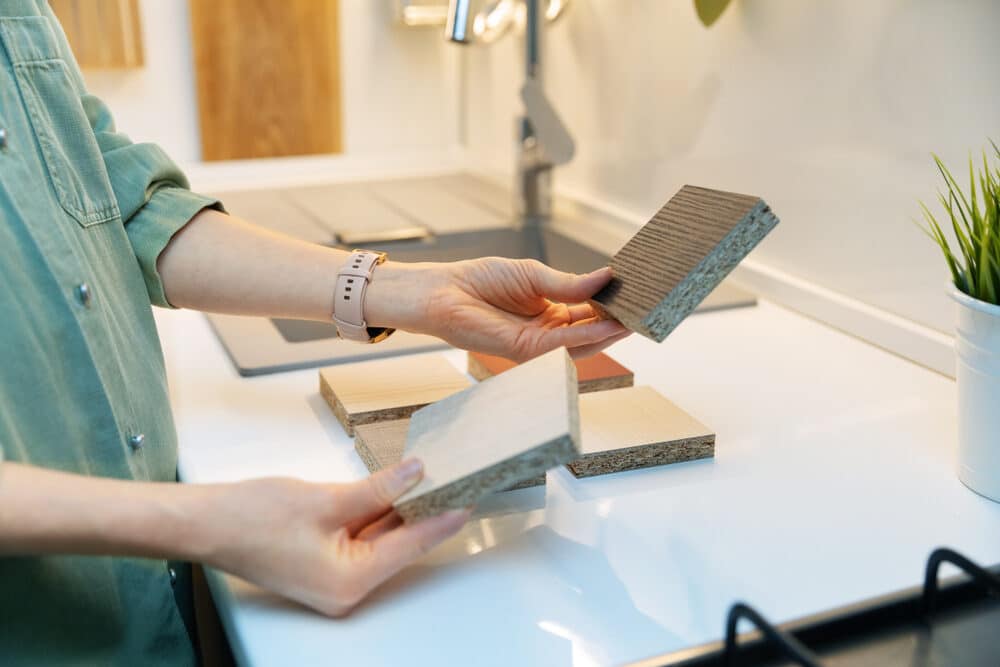
Laminate Worktops
- Types: Laminate is a composite product, often with a particleboard core and a plastic laminate top layer.
- Sanding Considerations: Be cautious; sanding too aggressively can wear through the laminate layer, revealing the particleboard beneath.
- Special Care: Use fine-grit sandpaper and gentle pressure. Sanding laminate is typically done to prepare the surface for painting.

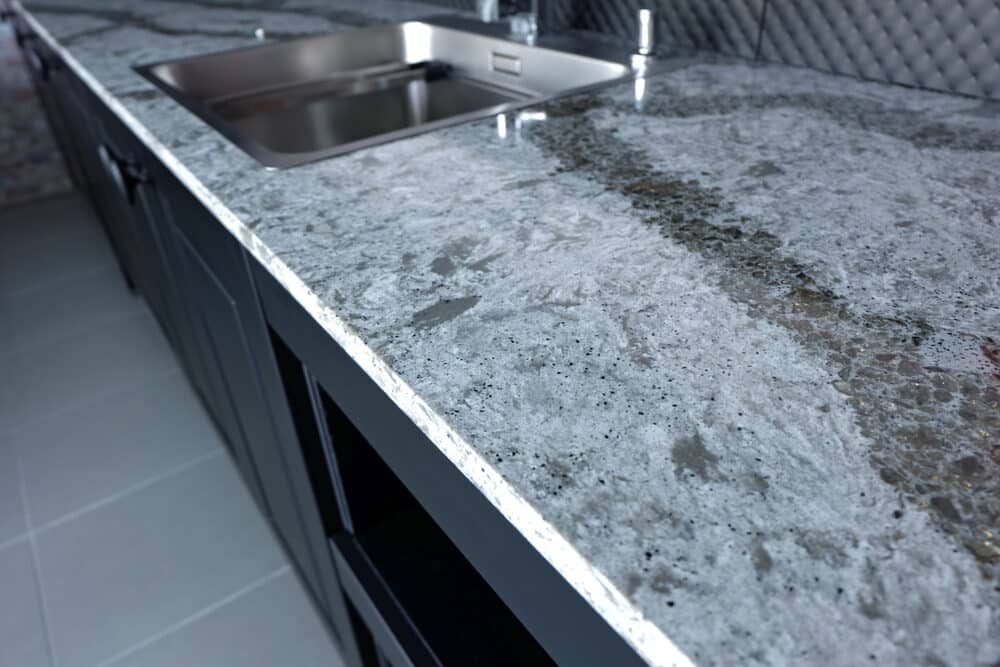
Granite and Other Stone Worktops
- Types: granite, marble, quartz, and other stone materials.
- Sanding Considerations: Stone requires special tools like diamond sanding pads.
- Special Care: Wet sanding is often recommended to minimise dust and prevent overheating of the stone.
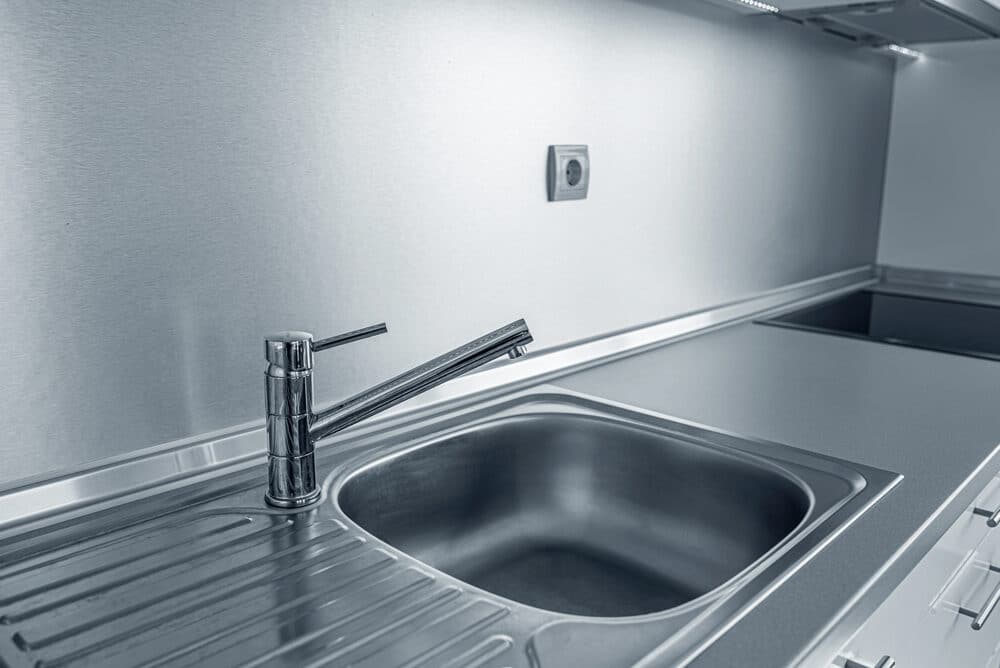
Stainless steel worktops
- Types: Typically used in professional kitchens, stainless steel is durable and resistant to heat.
- Sanding Considerations: This requires very fine-grit sandpaper or specific stainless steel polishers.
- Special Care: Always sand in the direction of the existing polish lines to maintain their appearance.
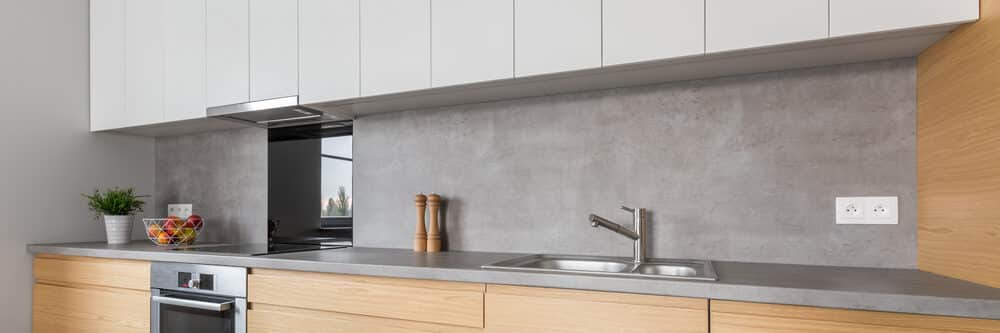
Concrete Worktops
- Types: Poured concrete, often sealed or polished.
- Sanding Considerations: Requires diamond pads or very coarse sandpaper for shaping, followed by finer grits for smoothing.
- Special Care: Wet sanding is recommended to keep the dust down and prevent chipping.
Solid Surface Materials (like Corian)
- Types: acrylic or polyester plastics, often used for seamless countertop installations.
- Sanding Considerations: Can be sanded easily but requires fine-grit sandpaper to avoid scratches.
- Special Care: Use a random orbital sander for an even finish and avoid excessive heat buildup.
Sanding Techniques
Sanding your kitchen worktop effectively requires a combination of the right technique, patience, and attention to detail. Regardless of the material of your worktop, these general sanding techniques will help you achieve a smooth and rejuvenated surface.
1. Start with coarser grit and progress to finer grit.
- Initial Sanding: Begin with a coarser grit sandpaper (around 60–80 grit) to remove the old finish, any stains, and to smooth out scratches.
- Progression: Gradually move to finer grits (100–120, then 180–220) to refine the surface. This step-by-step progression is crucial for achieving a smooth finish.
2. Sanding Technique
- Direction: Always sand in the direction of the grain for wood. For other materials, follow the pattern or texture of the surface.
- Pressure: Apply consistent, moderate pressure. Too much pressure can gouge the surface, while too little won’t effectively remove the old finish.
- Even Coverage: Keep the sander moving in smooth, even strokes to avoid uneven sanding.
- Edge Treatment: Be extra careful around edges and corners to avoid rounding them off, unless that’s the desired effect.
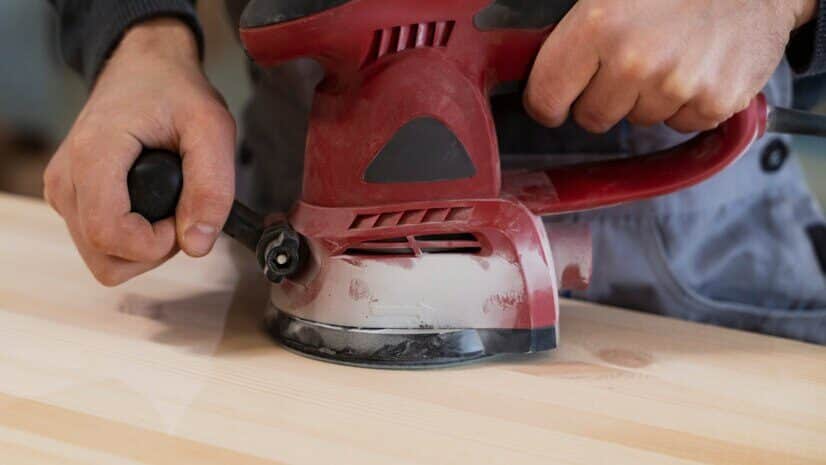
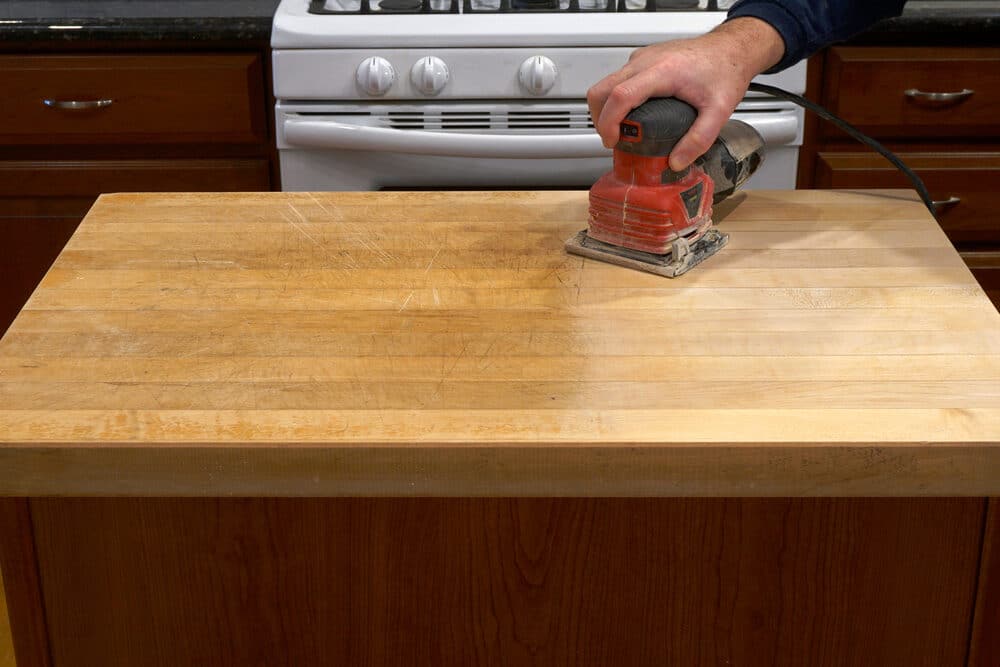
3. Using a Sanding Block or Electric Sander
- Sanding Block: Ideal for manual sanding, offering better control. It’s useful for smaller surfaces or delicate areas.
- Electric Sander: Saves time and effort, especially for larger surfaces. Orbital sanders are a good choice for a more uniform finish.
4. Checking Your Progress
- Visual Inspection: Regularly check your work. Look for an even finish, and ensure all old finishes, stains, and scratches are removed.
- Touch Test: Run your hand over the surface to feel for any rough spots or inconsistencies.
5. Finishing Sanding
- Finest Grit: Finish with a very fine grit (220 or higher) for a smooth, ready-to-finish surface.
- Clean Surface: After the final sanding, thoroughly clean the surface with a tack cloth or slightly dampened cloth to remove all dust.
6. Special Considerations for Different Materials
- Laminate and Solid Surfaces: Use a finer grit and sand lightly to avoid damaging the surface.
- Stone and Concrete: Wet sanding is often recommended to reduce dust and improve the smoothness of the finish.
7. Safety and Cleanliness
- Dust Collection: If using a power sander, connect it to a vacuum with a dust collection system to minimise airborne dust.
- Personal Safety Gear: Always wear safety glasses and a dust mask while sanding.
Dealing with Common Challenges
Sanding your kitchen worktop can present various challenges, especially when dealing with wear, damage, or specific material characteristics. Here are some common issues you might encounter and how to effectively address them:
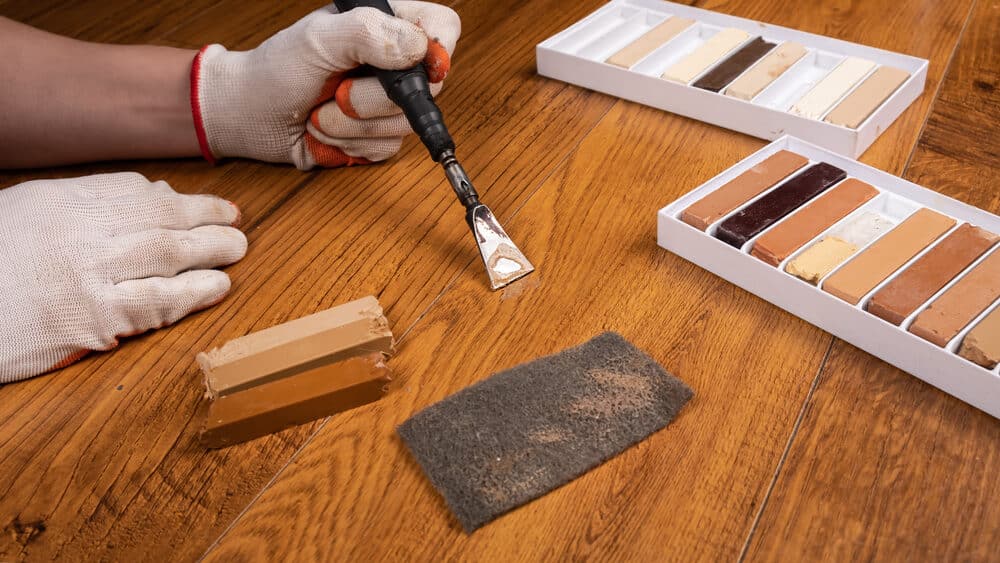
1. Deep Scratches or Dents
- Wooden Worktops: Fill deep scratches or dents with wood filler that matches the colour of your worktop. Allow it to dry completely before sanding it down flush with the rest of the surface.
- Laminate and Solid Surfaces: These materials can’t be filled like wood. If the damage is too deep, replacement may be the only option.
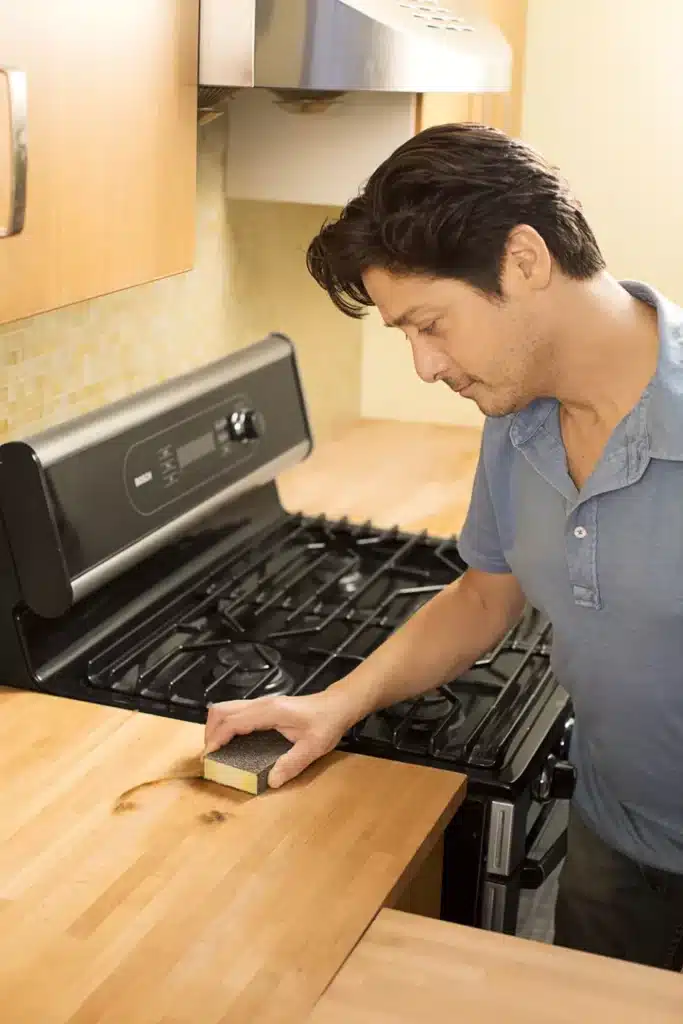
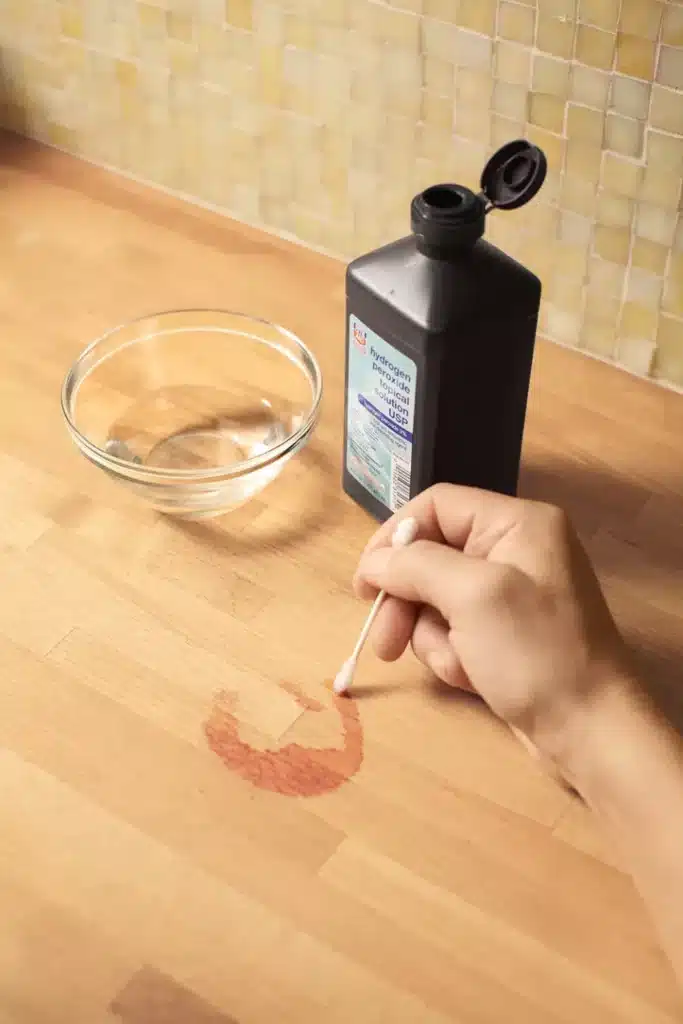
2. Stubborn Stains
- Surface Stains: For superficial stains, increased sanding in the affected area can often remove them.
- Deep Stains in Wood: If the stain has penetrated deeply, you might need to sand more aggressively. If the stain remains, consider using a wood bleach or stain to even out the colour.
3. Uneven Surfaces
- High Spots: Use a coarser grit sandpaper to even out high spots, then progressively move to finer grits for a smooth finish.
- Low Spots: For wooden worktops, these can sometimes be filled with wood filler. For other materials, try to gently sand the surrounding areas to achieve a more even surface.
4. Dust Management
- Excessive Dust: Connect your power sander to a vacuum with a dust collection system. Regularly clean the area with a vacuum and a damp cloth.
- Dust in the air: Ensure good ventilation. Use a dust mask or respirator to avoid inhaling fine particles.
5. Over-Sanding
- Avoiding Over-Sanding: Regularly check your progress and feel the surface with your hands. Stop when you’ve achieved an even, smooth surface.
- Repairing Over-Sanded Areas: In wood, you can sometimes compensate by applying a thicker layer of finish. On laminate or solid surfaces, be extremely cautious, as over-sanding can be irreversible.
6. Maintaining the Edge Profiles
- Protecting Edges: Sand edges and corners with a lighter touch. Use hand sanding for better control in these areas.
7. Heat buildup
- Preventing Overheating: When using power sanders, take breaks to prevent the worktop material, especially laminate and solid surfaces, from overheating, which can cause damage.
8. Matching the Finish
- Consistency in Finish: Sand the entire surface uniformly. For refinishing, choose a finish that matches or complements the original as closely as possible.
Finishing Touches
After diligently sanding your kitchen worktop, the final steps are crucial to protect your work and enhance the beauty of the surface. Here’s how to apply the finishing touches effectively:
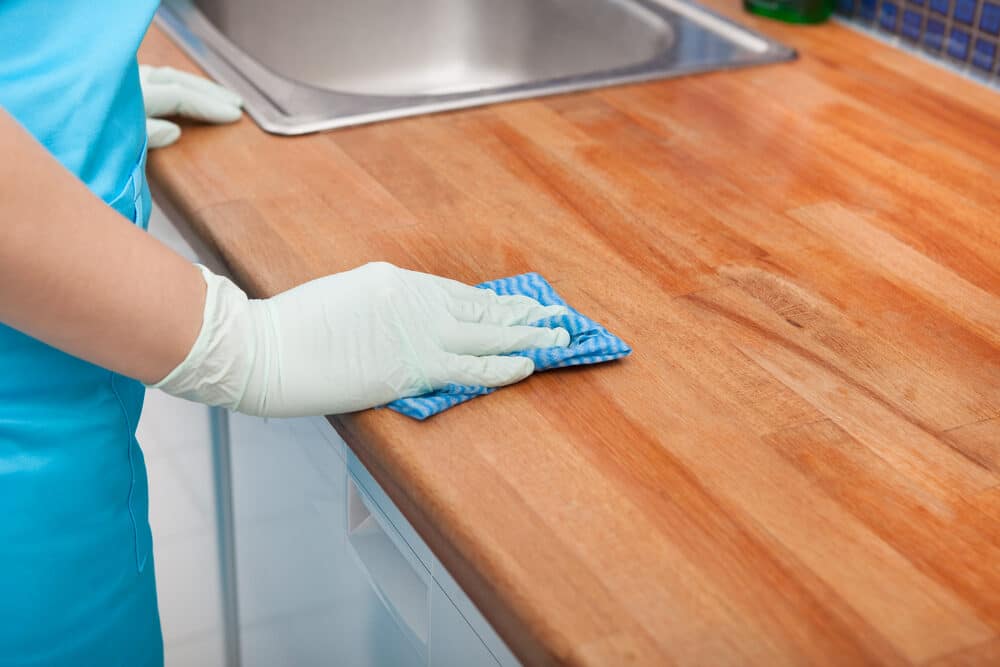
1. Cleaning the worktop
- Remove all dust: Use a vacuum cleaner to remove the bulk of the sanding dust. Then, wipe the surface with a tack cloth or a slightly damp cloth to pick up any remaining dust particles.
- Ensure It’s Completely Clean: Any remaining dust can interfere with the finish, so take your time with this step.
2. Choosing the Right Finish
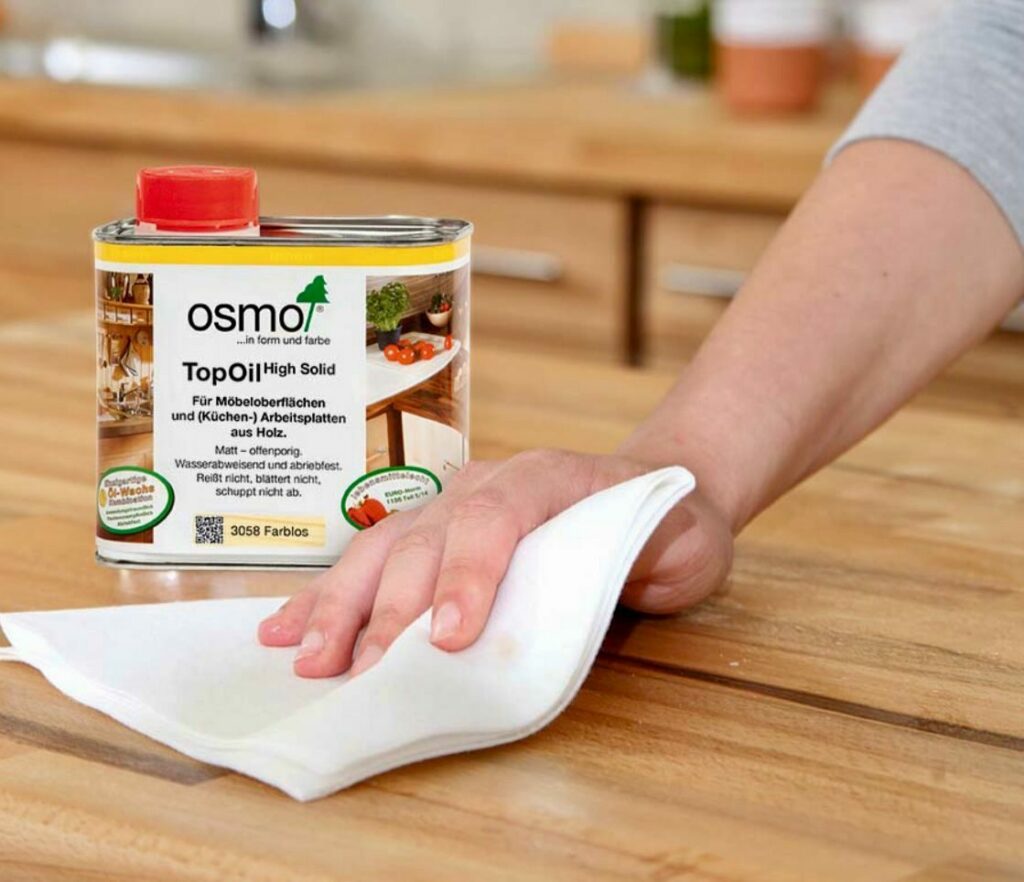
- Wooden Worktops: Options include food-safe mineral oil, beeswax, or a specific worktop oil or varnish. Each has its own appearance and maintenance requirements.
- Laminate and Solid Surfaces: Usually, these don’t require a finish after sanding, especially if you sanded for repainting or resurfacing.
- Stone Worktops: Use a sealer designed for the specific type of stone. This will protect against stains and enhance the stone’s natural beauty.
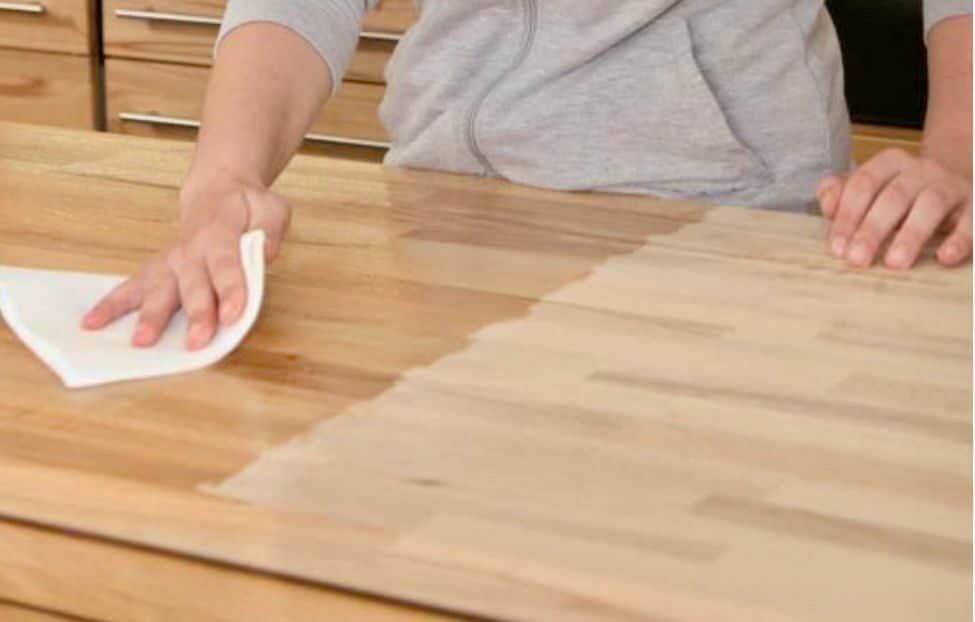
3. Applying the Finish
- Test First: If possible, test the finish on a small, inconspicuous area first.
- Even Application: Use a clean brush or cloth to apply the finish evenly. Follow the manufacturer’s instructions for the best results.
- Multiple Coats: Some finishes may require multiple coats. Allow adequate drying time between coats.
4. Curing the Finish
- Drying Time: Allow the finish to dry completely. This can vary from a few hours to a couple of days, depending on the product used.
- Avoid Use During Curing: Don’t use the worktop or place anything on it during this period.
5. Final Inspection
- Check for Missed Spots: Once the finish is dry, inspect the worktop for any missed spots or uneven areas.
- Touch-Ups: If necessary, apply additional finish to areas that need it, ensuring an even, consistent look across the worktop.
6. Maintenance Advice
- Provide Care Tips: Depending on the finish, the worktop may require regular maintenance, such as re-oiling.
- Cleaning Instructions: Offer advice on how to clean the worktop going forward, recommending gentle, non-abrasive cleaners.

7. Enjoy Your Revitalised Worktop!
- Admire Your Work: Take a moment to appreciate the effort you’ve put in and the transformation of your kitchen space.
- Functional and Aesthetic Enjoyment: Your newly refinished worktop is not just a functional surface but also a key element in your kitchen’s aesthetic.
Maintenance Tips
Proper maintenance of your newly sanded and finished kitchen worktop is essential to preserving its appearance and extending its lifespan. Here are some valuable tips to keep your worktop looking great:
1. Regular cleaning
- Daily Wiping: Wipe down the worktop daily with a soft, damp cloth to remove crumbs, spills, and fingerprints.
- Gentle Cleaning Products: Use mild detergents or a solution of warm water and mild dish soap. Avoid harsh chemicals or abrasive cleaners that can damage the finish.
2. Immediate Spill Cleanup
- Prompt Action: Clean spills immediately to prevent stains, especially on porous materials like wood or certain stones.
- Non-Abrasive Cloth: Use a soft cloth or sponge; avoid scrubbing, which can damage the surface.
3. Avoiding Scratches and Heat Damage
- Use Cutting Boards: Never cut directly on the worktop, especially on wood, laminate, or solid surface materials.
- Hot Pads and Trivets: Always use trivets or hot pads under hot pots, pans, or baking dishes to prevent heat damage.
4. Protecting the Surface
- Avoid Heavy Objects: Don’t drop or place heavy objects on the worktop, which can cause cracks or dents.
- Use Coasters: Protect the surface from water rings and stains by using coasters under glasses and mugs.
5. Regular Oiling (for Wooden Worktops)
- Frequency: Re-oil the wooden worktop every 3–6 months, or as needed, to keep it hydrated and protected.
- Suitable Oil: Use a food-safe oil or specific worktop oil, applying it evenly and wiping off any excess.
6. Periodic Resealing (for Stone Worktops)
- Resealing Schedule: Reseal granite, marble, or other stone worktops once a year or as recommended by the manufacturer.
- Quality Sealant: Choose a sealant suitable for your specific type of stone.
7. Avoiding direct sunlight
- Sunlight Exposure: Prolonged exposure to direct sunlight can fade or discolour certain worktop materials, especially wood and laminate.
- Use blinds or curtains: To minimise exposure, use window treatments in your kitchen.
8. Addressing minor damages quickly
- Touch-ups: For small scratches or nicks, address them promptly with a repair kit or touch-up solutions specific to your worktop material.
9. Professional Help for Major Issues
- Seek Expertise: If your worktop suffers significant damage or wear, consult a professional for repair or refinishing advice.
Conclusion
Congratulations on completing the journey of sanding your kitchen worktop and refinishing your kitchen worktop! This DIY project is not just about improving the appearance of a crucial part of your kitchen; it’s also about instilling a sense of accomplishment and personal touch into your home.
Throughout this guide, we’ve explored various stages of the sanding process, from understanding the material of your worktop to applying the final touches. You’ve learned how to select the right tools and materials, prepare your workspace, and employ effective sanding techniques tailored to your specific worktop. We’ve tackled common challenges and provided tips for achieving a smooth, rejuvenated surface.
The finishing touches and maintenance tips ensure that your efforts are well-protected and that your worktop remains in excellent condition for years to come. Remember, the beauty of a DIY project like this lies not just in the physical transformation but also in the learning and experience gained along the way.
We hope this guide has empowered you with the knowledge and confidence to take on similar projects in the future. Whether you’re a seasoned DIY enthusiast or a beginner, the skills you’ve developed here are invaluable. Your newly refinished kitchen worktop is a testament to your hard work and dedication.
So, take a moment to admire your handiwork and enjoy the refreshed look of your kitchen. You’ve earned it!
If you have any further questions or embark on another DIY adventure, feel free to seek out more information and guidance. Happy DIYing, and may your kitchen worktop continue to be a source of pride and joy in your home!

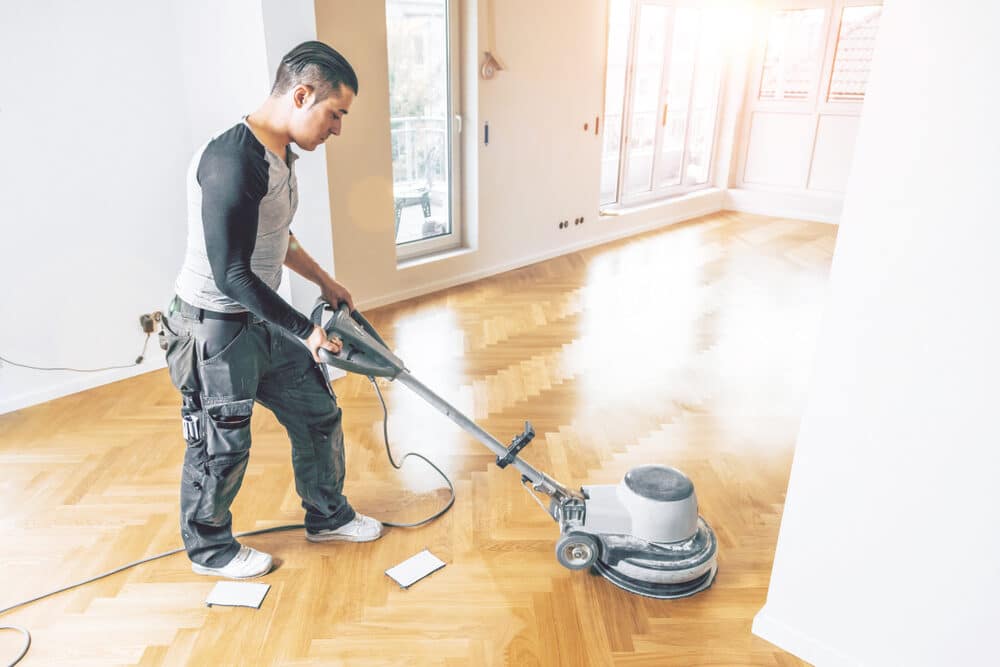


Sanding
We provide virtually dust-free sanding with our continuous belt machinery with mobile extraction units, giving you a safer environment for your family.
Oiling
This organic finish not only adds beauty to your home but also has exceptional water-repellent characteristics, making it easier to clean and maintain.
Waxing
This natural floor finish offers the softest and most mellow appearance – and leaves your floor able to breath.
Buffing
Using soft buffing machines (and hand-polishing where required) will bring a wonderful sheen to your newly-finished floor.
Repairs
We offer a full assessment of your wooden floors to determine what repairs are needed to provide the perfect working surface for the later stages of sanding, staining and sealing.
Restoration
We offer a comprehensive restoration process designed to address floors that are improperly fitted or damaged over time through wear and tear.
Request a fixed price quote for your wood floor restoration now
Simply enter your postcode below to get started.
Services
Wood Floor Sanding Wood Floor Restoration Wood Floor Scratch Repair Squeaky Wood Floor Repair Parquet Floor Sanding Parquet Floor Restoration Commercial Floor Sanding Church Floor Sanding Community Centre Floor Sanding School Floor Sanding Gap Filling Gap Filling with ResinCopyright © Mr Sander®
Privacy & Cookies Terms & Conditions Complaints Procedure Cancellation Rights Sitemap

Get An Instant Price Estimate Before You Go…
Simply enter the rooms you need sanded and we’ll provide you with a price estimate instantly! Try our price calculator now.
Get a Price Estimate NowLocal Floor Sanding Experts
Over 500 5-Star Reviews
Safe, Dust Free Sanding
Operating Since 1994