London:
Nationwide:
25,000+
Floors Restored
27 Years Experience
Wood Flooring Association Certified
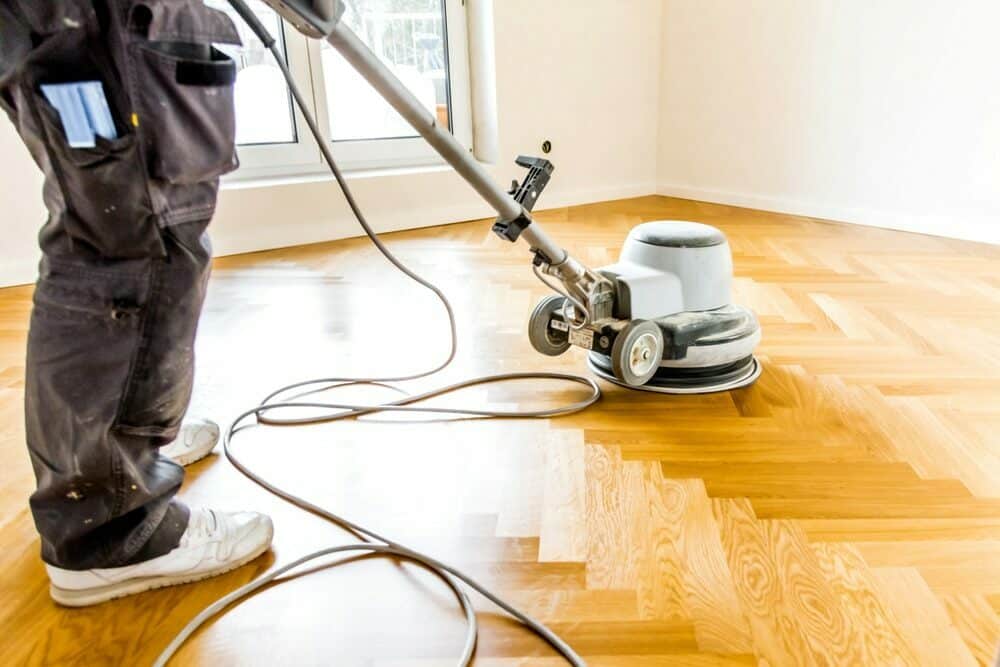
How to Repair Damages on Wooden Floors Before Drum Sanding
Posted on August 24, 2023
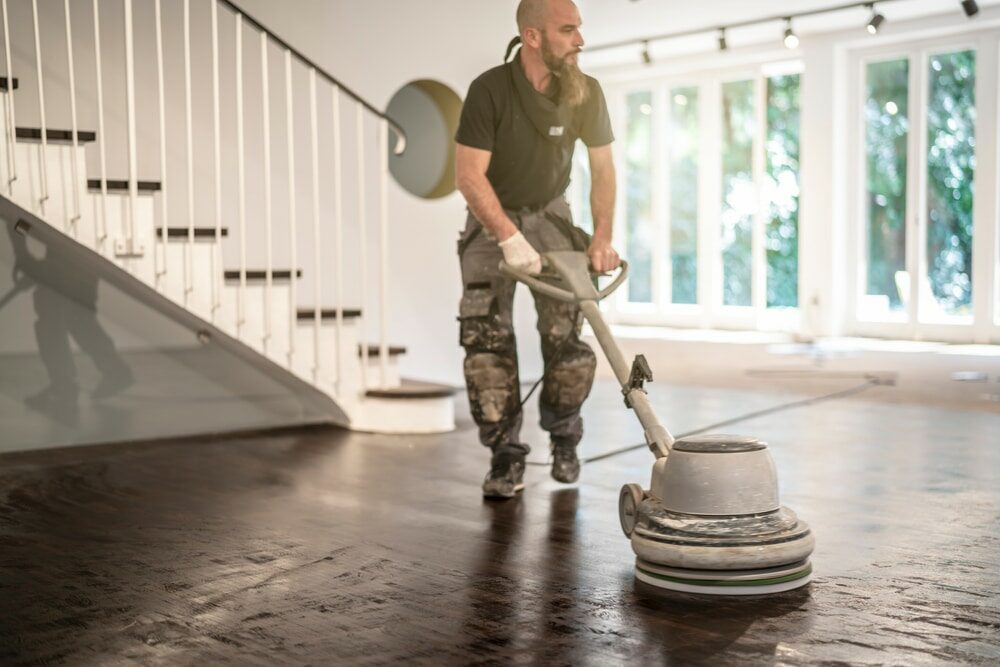
Drum sanding
Restoring the Splendour: Repairing Wooden Floors Before Drum Sanding
Ah, the timeless appeal of wooden flooring. To the British homeowner, there’s something innately comforting about the warm embrace of a wooden floor underfoot. Yet, as with all things charming and aged, our beloved wooden floors can sometimes show wear and tear. Scratches, dents, and the odd stain serve as testaments to years of gatherings, spills, and daily life. But fear not, my friends. Before you head straight to drum sanding, there are preparatory steps one can take to ensure your floor emerges looking as splendid as a freshly brewed cuppa.1. Understanding the damage
Before embarking on your repair journey, it’s pivotal to assess and understand the type of damage you’re dealing with. There are superficial scratches that simply graze the surface. Then there are deeper gouges, which look as if they’ve been inflicted by a particularly peevish cat. Water damage? Well, that’s a category on its own, and it looks unmistakably like your floor has been caught in the rain without an umbrella.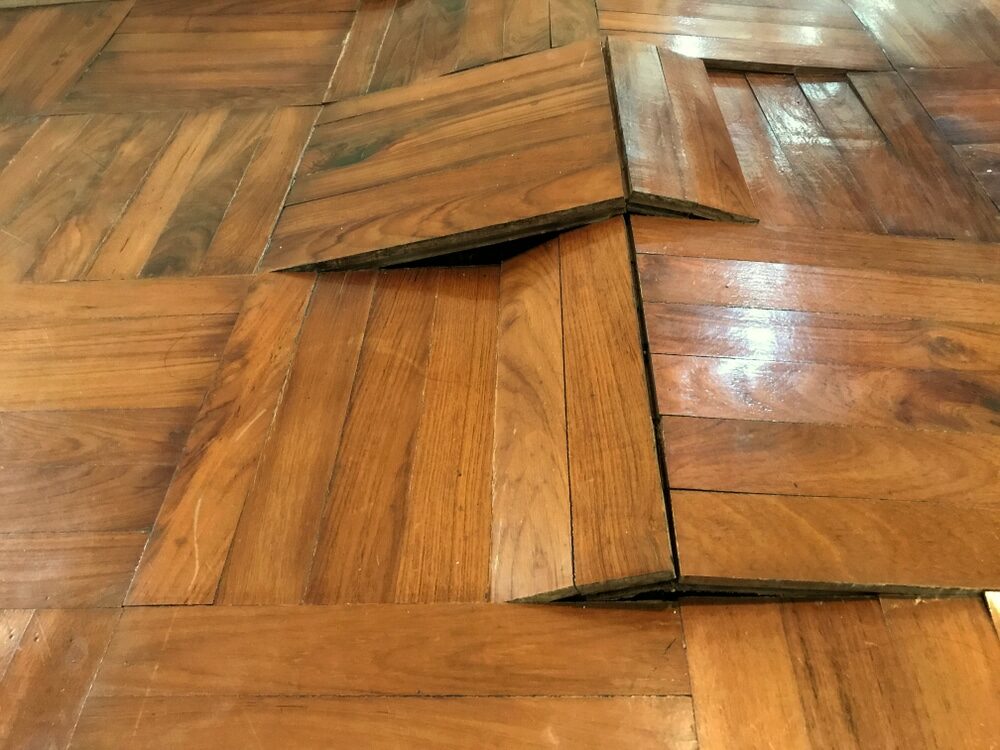
2. Preparing Your Workspace
You wouldn’t dive into a cup of tea without ensuring you had milk and sugar at the ready, would you? Similarly, preparing your workspace is key. Make sure the room is well-ventilated, especially if you’ll be using any solvents or finishes. You’ll also need some essentials:- Wood filler or wood putty
- Putty knife
- Fine-grit sandpaper (about 120 to 150 grit)
- Clean rags
- Wood stain (to match your floor)
- Protective gloves and safety glasses
3. Addressing Superficial Scratches
A superficial scratch is much like a short-lived drizzle: bothersome but easily dealt with.- Begin by cleaning the area using a soft cloth to ensure no debris interferes with your work.
- Lightly sand the scratch in the direction of the wood grain using the fine-grit sandpaper. This will help to smooth out the edges.
- If your floor is sealed with a finish, simply reapply the finish over the sanded area.
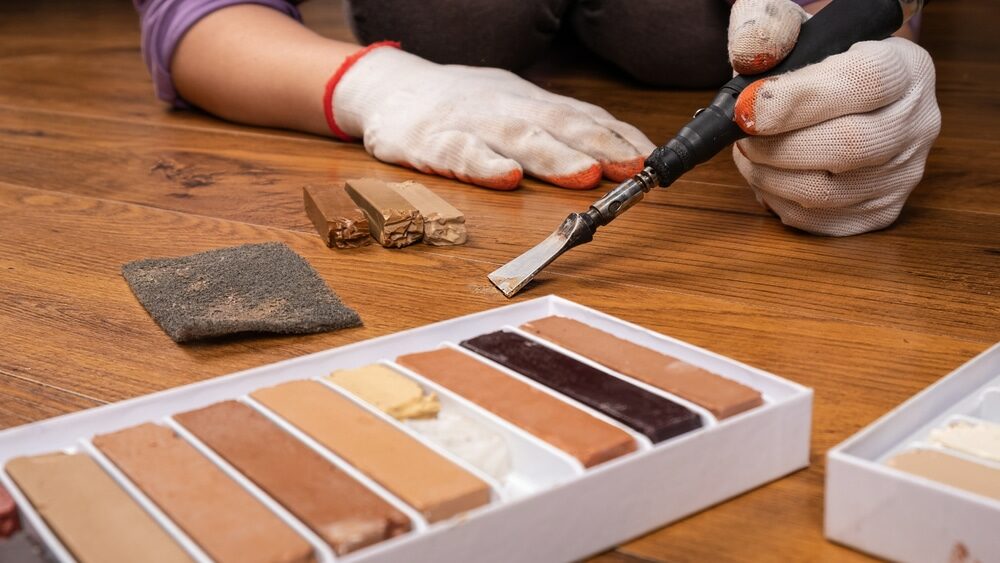
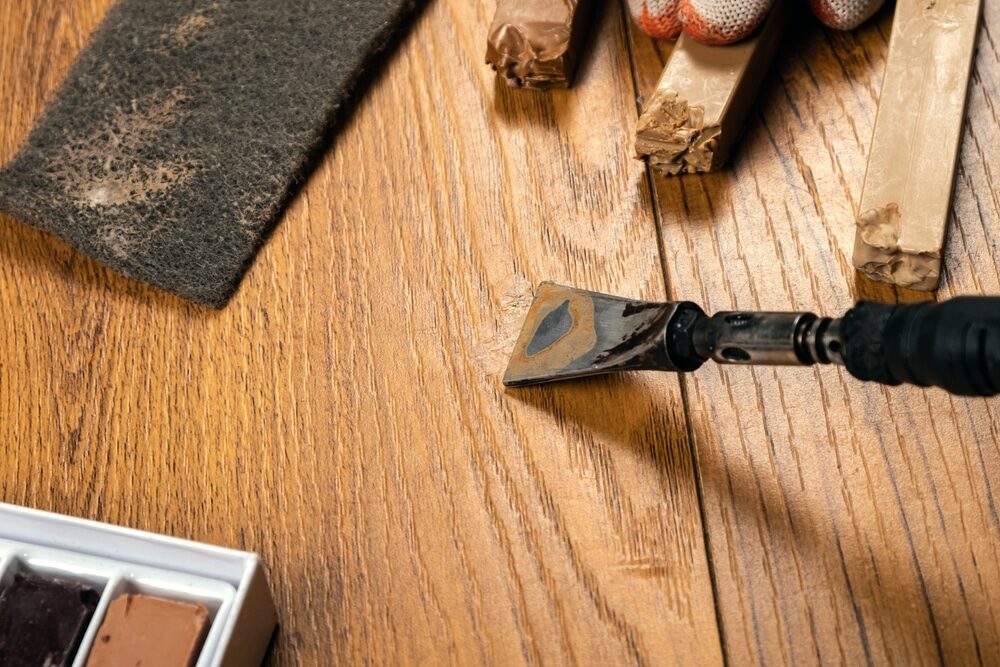
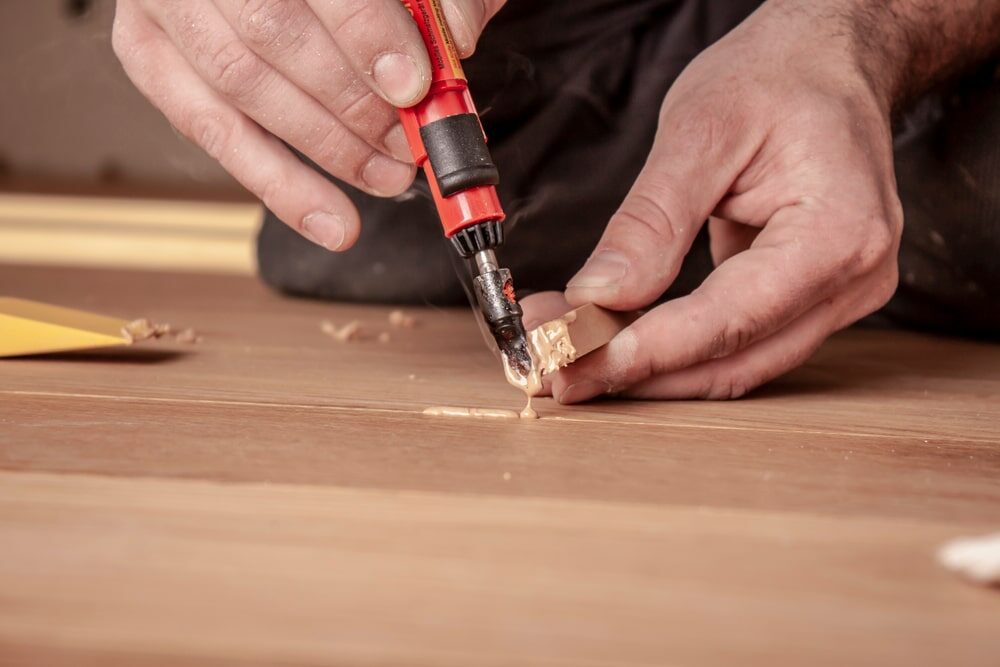
4. Tackling deep gouges
Ah, the nefarious gouges. A tad more troublesome, but fear not.- Start by cleaning the affected area.
- Using your putty knife, apply wood filler to the gouge. Make sure to overfill it slightly, as the filler will contract when drying.
- Allow the filler to dry as per the manufacturer’s instructions. Patience is a virtue, as the Brits say!
- Once dried, sand the area smooth, blending the edges to match the rest of the floor.
- Finish by staining the repaired area to match the rest of your floor.
5. Managing water damage
Water damage might appear like a daunting affair, but with a bit of British tenacity, it’s conquerable.- First, identify if the damage is a simple stain or if there’s structural damage (like warping).
- For stains, lightly sand the area and apply a matching stain.
- For warping or structural damage, it might be necessary to replace the affected plank. This requires a bit more work but ensures the longevity of your flooring.
6. The Final Touches
Once you’ve repaired the damages, it’s essential to ensure uniformity in appearance. Clean the entire floor and apply a consistent coat of wood finish or sealant. This not only protects your newly mended floor but also imparts a shine reminiscent of a polished silver teapot.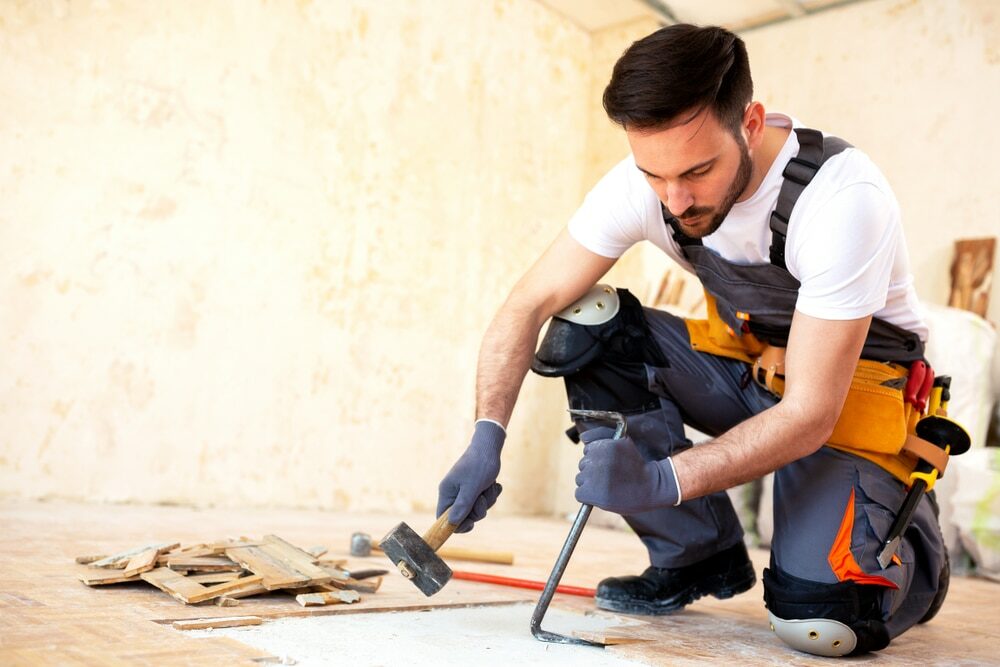
7. Addressing age-related discoloration
Over time, with sunlight streaming in through your bay windows and years of footsteps tracking across them, wooden floors can develop discoloration. This ageing process can manifest as patches that are either lighter (from sun fading) or darker (from oxidation).- Start by cleaning the affected areas to ensure there’s no surface-level discoloration caused by spills or dirt.
- If the discoloration persists, it’s time to lightly sand the area. Remember, always move in the direction of the wood grain to prevent cross-scratch marks.
- After sanding, choose a stain that closely matches the original colour of your floor. If you’re unsure, it might be wise to test a small, inconspicuous area first.
- Apply the stain evenly and allow it to dry as per the manufacturer’s instructions.
8. Dealing with Squeaks and Creaks
One of the charms (or quirks) of older wooden floors is their tendency to communicate, often in the form of squeaks. While a creaky floorboard might lend an air of mystery to a Victorian novel, in reality, it can be quite bothersome.- The culprit behind squeaky floors is usually loose floorboards or changes in humidity that cause wood expansion.
- To address this, first identify the squeaky spots by walking over the floor.
- If you have access to the underside of the floor (perhaps from a basement or crawl space), you can tighten the boards with screws.
- If not, consider using specialty screws designed to fix squeaky floors. These can be drilled from the top and then snapped off at the base, ensuring they remain hidden from sight.
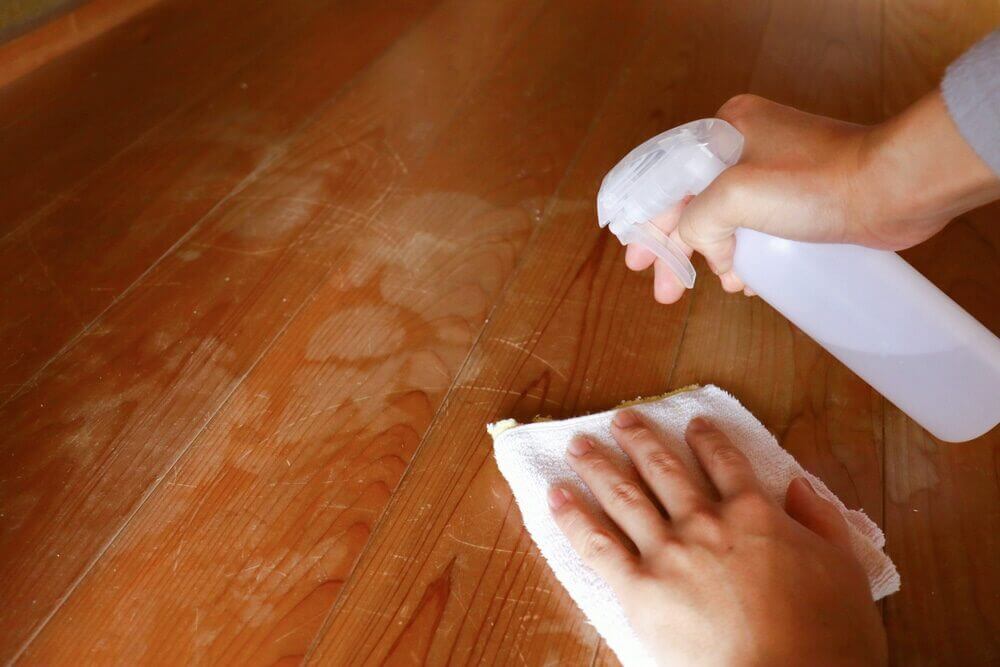
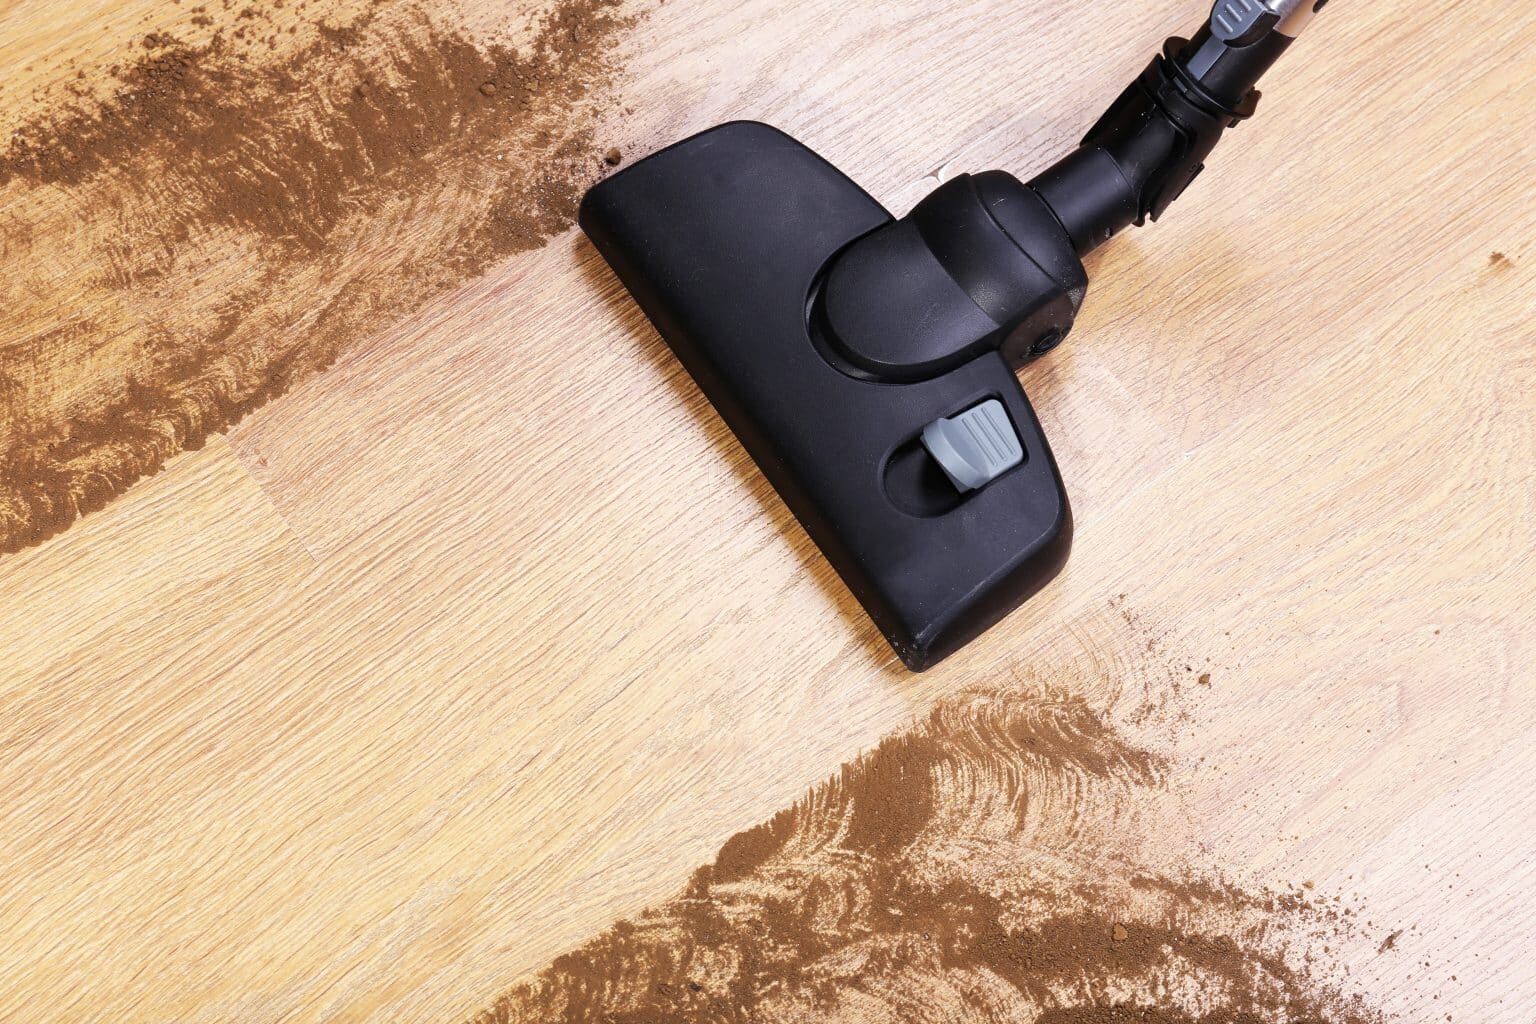
9. Pre-Drum Sanding Cleaning
Before you even consider firing up the drum sander, a meticulous cleaning is in order.- Vacuum the entire floor to ensure there’s no loose debris, dirt, or grit. These particles can become abrasive under a sander and cause unwanted scratches.
- Wipe down with a damp (not wet) cloth to catch any remaining dust.
- Allow the floor to dry completely. Using a fan or opening windows can expedite this process.
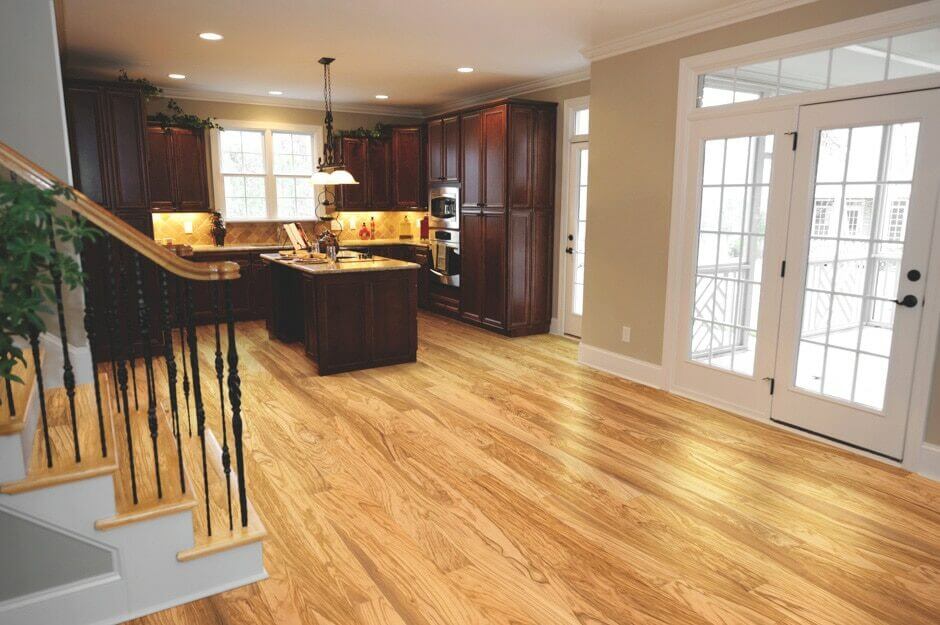
In Conclusion
To look at wooden floors is to gaze upon the history of a home. Every mark and scratch tells a story. Yet, sometimes, a little erasure or touch-up is needed to ensure that these tales don’t overshadow the beauty of the wood itself. While drum sanding offers a profound rejuvenation to wooden floors, taking the time to repair damages before this step ensures a more seamless and polished result. It’s like taking the time to ensure your tie is straight before a big meeting or checking the kettle has water before switching it on. So, before you embark on drum sanding, embrace the challenge of repairing. With a touch of dedication and a sprinkle of British resolve, your wooden floor will be ready to weather many more stories, gatherings, and years to come.Some Useful Links:
- Stairs Sanding & Refinishing
- Floor Sanding Services
- School Floor Sanding
- Wood Floor Restorations
- Wood Floor Repairs
- Wood Floor Polishing
More from our Blog:
The Best Practices for Drum Sanding Large Wooden Floors How to Achieve a Smooth and Even Finish with a Drum Sander How to Choose the Right Abrasive Grit for Drum Sanding Floors The Benefits of Using a Professional Drum Sander for Floor Sanding How to Handle Drum Sanding of Softwood Floors The Cost of Professional Drum Sanding Services for Wooden Floors Tips for Effective Drum Sanding of Narrow and Hard-to-Reach Areas The Differences Between Drum Sanding and Belt Sanding
Sanding
We provide virtually dust-free sanding with our continuous belt machinery with mobile extraction units, giving you a safer environment for your family.
Oiling
This organic finish not only adds beauty to your home but also has exceptional water-repellent characteristics, making it easier to clean and maintain.
Waxing
This natural floor finish offers the softest and most mellow appearance – and leaves your floor able to breath.
Buffing
Using soft buffing machines (and hand-polishing where required) will bring a wonderful sheen to your newly-finished floor.
Repairs
We offer a full assessment of your wooden floors to determine what repairs are needed to provide the perfect working surface for the later stages of sanding, staining and sealing.
Restoration
We offer a comprehensive restoration process designed to address floors that are improperly fitted or damaged over time through wear and tear.
Request a fixed price quote for your wood floor restoration now
Simply enter your postcode below to get started.
Services
Wood Floor Sanding Wood Floor Restoration Wood Floor Scratch Repair Squeaky Wood Floor Repair Parquet Floor Sanding Parquet Floor Restoration Commercial Floor Sanding Church Floor Sanding Community Centre Floor Sanding School Floor Sanding Gap Filling Gap Filling with ResinCopyright © Mr Sander®
Privacy & Cookies Terms & Conditions Complaints Procedure Cancellation Rights Sitemap

Get An Instant Price Estimate Before You Go…
Simply enter the rooms you need sanded and we’ll provide you with a price estimate instantly! Try our price calculator now.
Get a Price Estimate NowLocal Floor Sanding Experts
Over 500 5-Star Reviews
Safe, Dust Free Sanding
Operating Since 1994