London:
Nationwide:
Expert Wood Floor Sanding Tips: Restore Your Hardwood Floors to Perfection
Posted on May 6, 2023
Floor Sanding Articles
Master the Art of Wood Floor Sanding: Revive Your Hardwood Floors Like a Pro
Wooden floors have an innate charm and elegance that can transform a space, making them a timeless choice for homeowners. However, over time, they can become dull, damaged, and lose their appeal. One way to restore their natural beauty is by sanding and refinishing them. This comprehensive guide will provide you with wood floor sanding tips and tricks to help you achieve professional results at home.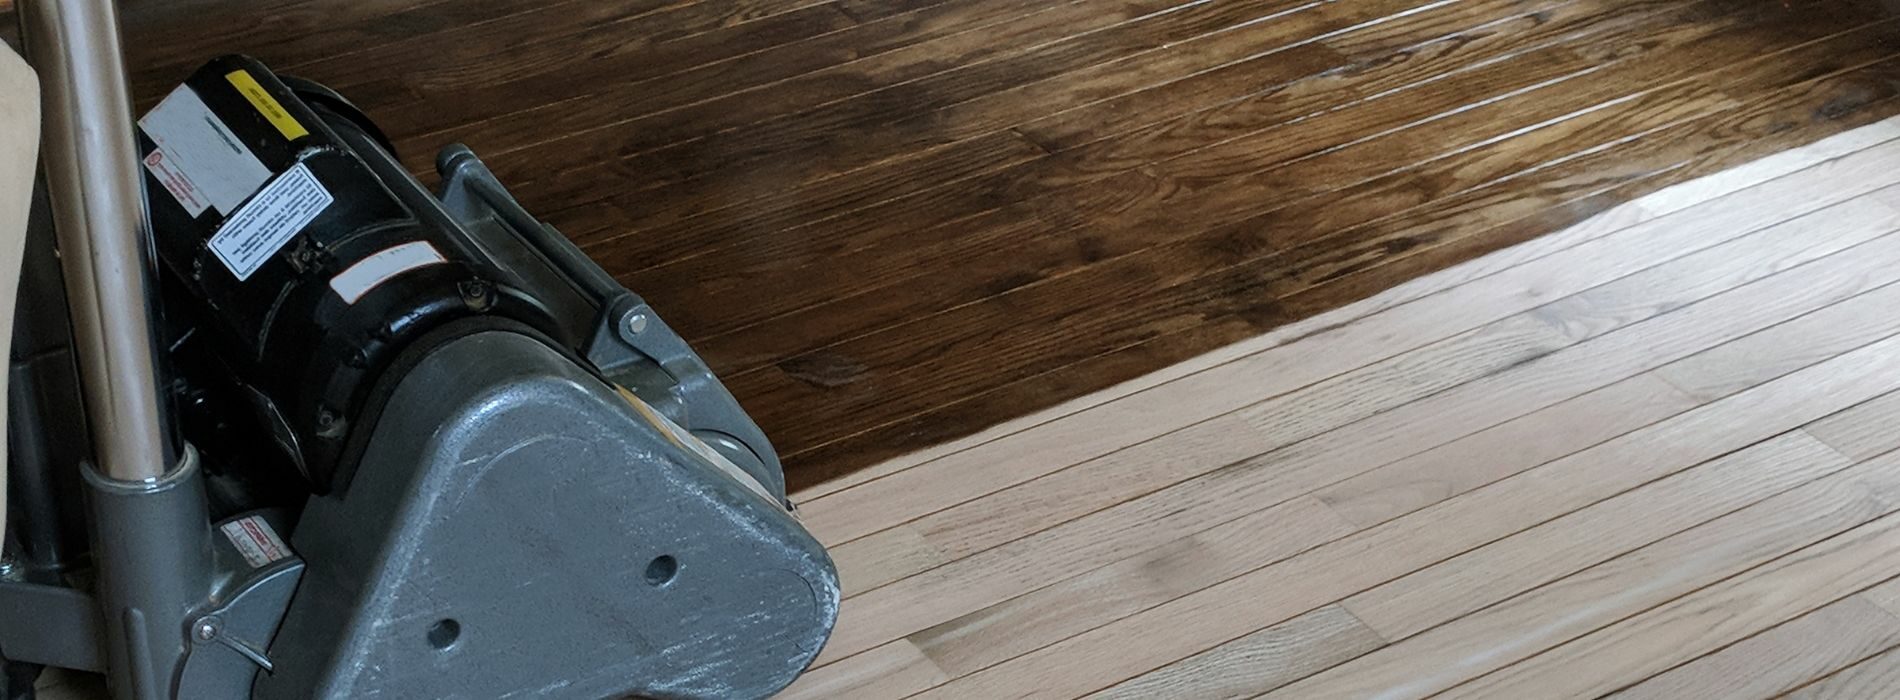
1. Assess the condition of your floor.
Before you start sanding your wooden floor, it is essential to assess its condition. Look for any damaged boards, deep scratches, dents, or stains that may require repair or replacement. If the damage is beyond repair, consider hiring a professional to restore your floor properly.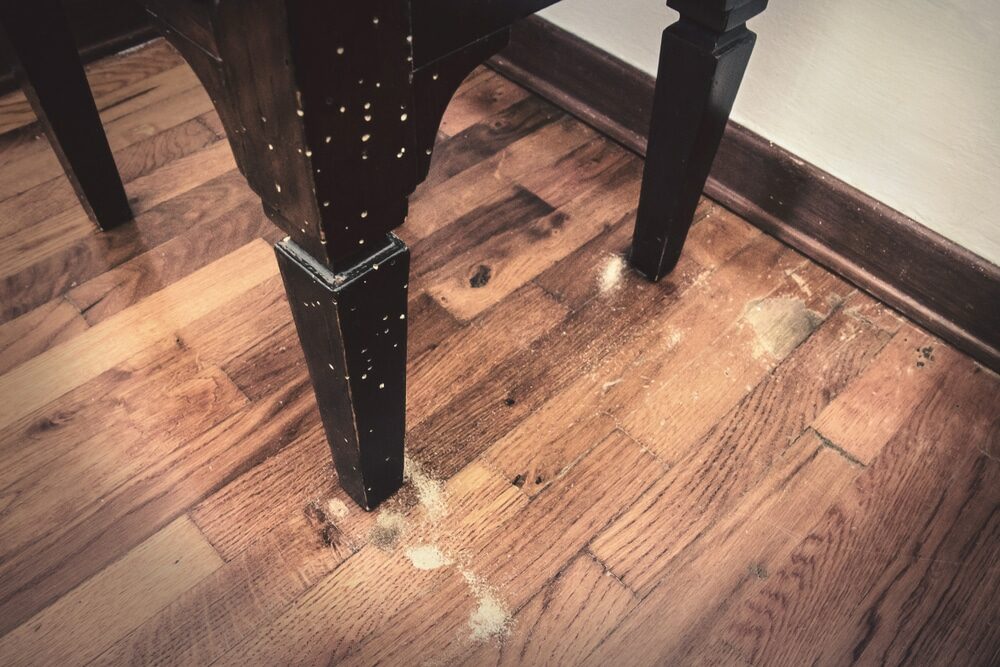
2. Choose the right tools and equipment.
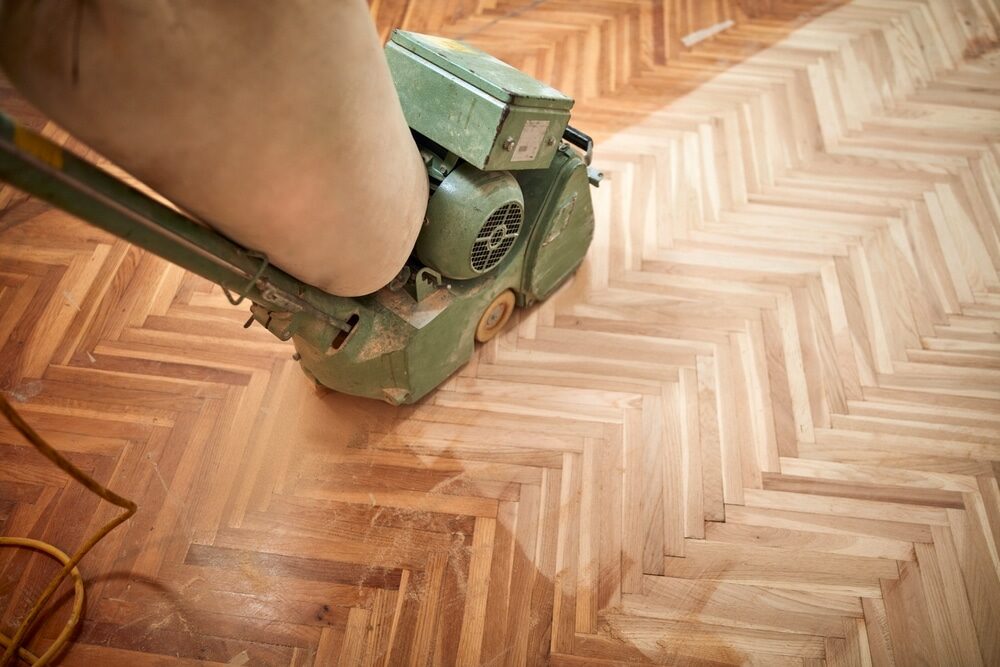
To sand your wooden floor effectively, you will need the following tools and equipment:- drum sander or orbital sander
- Edger
- Hand scraper
- Vacuum cleaner
- Sanding discs or belts
- Safety gear (dust mask, goggles, ear protection)



3. Prepare your space.
Preparing your space is critical to ensuring a smooth sanding process. Remove all furniture, rugs, and decorations from the room. Cover any vents, electrical outlets, and light fixtures with plastic or masking tape to prevent dust from entering. Additionally, seal the room by covering doorways with plastic sheeting to minimise the spread of dust throughout your home.
4. Select the Right Grit Sequence
Choosing the correct grit sequence is crucial to achieving a smooth, even finish. Start with a coarse grit (36 or 40 grit) to remove old finishes and level the floor. Move on to a medium grit (60 or 80 grit) to smooth out the surface, and finish with a fine grit (100 or 120 grit) to refine the wood’s texture.5. Sanding Techniques
- Begin sanding with the drum sander, moving it in the direction of the wood grain. To avoid creating marks or dents, keep the sander moving at all times and apply even pressure.
- Sand the edges of the room with the edger, ensuring that it overlaps the drum sander’s path by about an inch. Use the hand scraper to reach any corners or tight spaces that the edger cannot reach.
- Repeat the sanding process using the medium and fine grits, ensuring that you vacuum the floor between each grit change to remove any dust or debris.
- Once you’ve finished sanding, thoroughly vacuum the entire room and wipe down the walls and baseboards to remove any remaining dust.
6. Buffing and Blending
After sanding your wooden floor, it’s essential to buff and blend the surfaces to achieve a seamless finish. Use a floor buffer with a fine-grit screen or pad to smooth any ridges or scratches left by the sanding equipment. This step also helps to create a uniform surface, preparing it for the staining and finishing processes.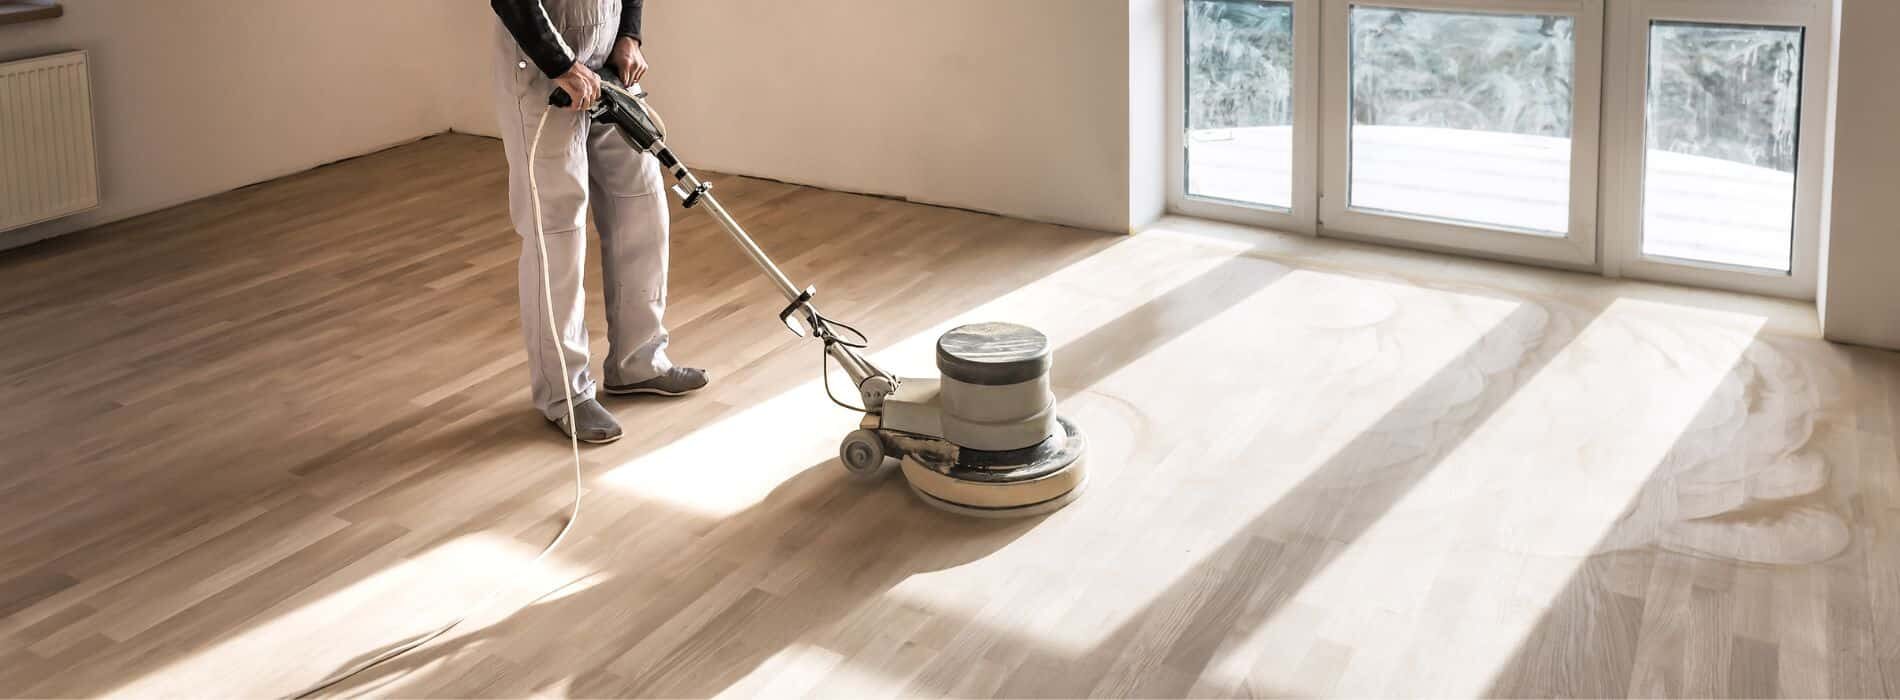
7. Staining and Finishing
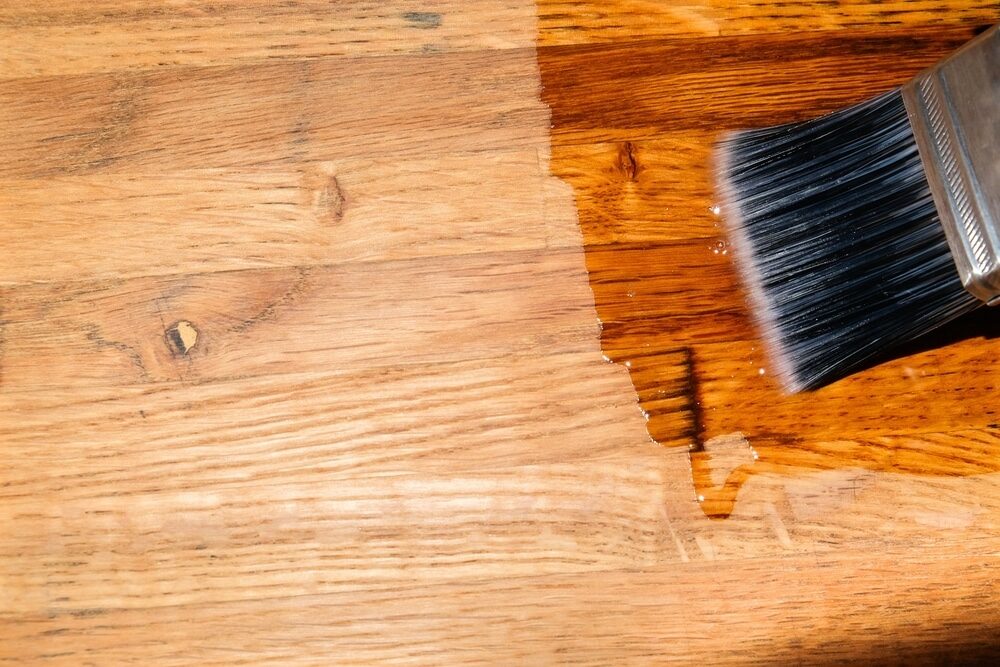
Once your floor is sanded and buffed, you can apply a stain to enhance the wood’s natural colour or change its appearance. Always test the stain on a hidden area of the floor or a scrap piece of wood to ensure it achieves the desired colour. Apply the stain using a brush or rag, working in the direction of the wood grain. Allow the stain to dry according to the manufacturer’s instructions before applying a protective finish. There are several types of finishes available, such as water-based polyurethane, oil-based polyurethane, or natural oil finishes like tung oil or linseed oil. Select a finish that best suits your needs and preferences, and follow the manufacturer’s instructions for application and drying times.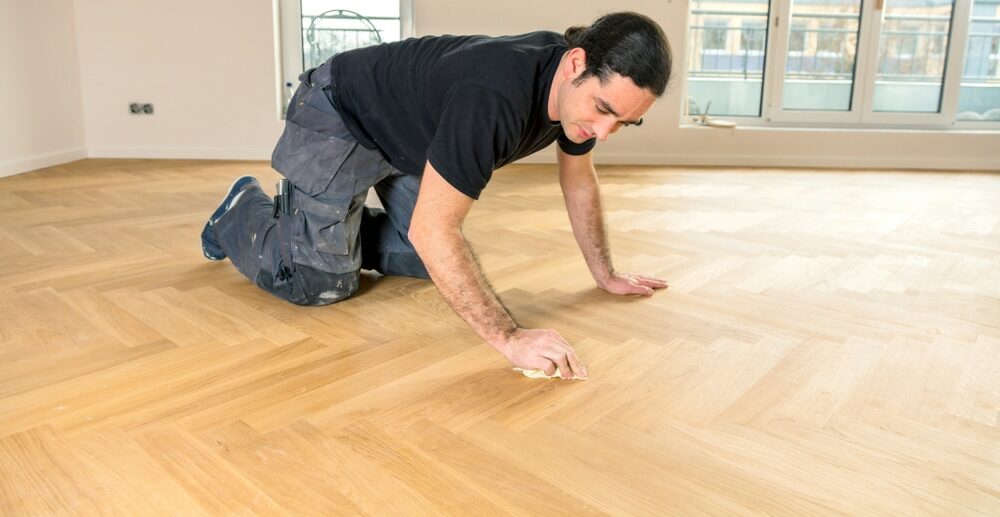
8. Maintaining your newly refinished floor
After completing the sanding, staining, and finishing process, you’ll want to maintain your newly refinished floor to keep it looking fresh and beautiful. Follow these simple steps to ensure your wooden floor’s longevity:- Sweep or vacuum regularly to remove dust, dirt, and debris.
- Use a damp mop with a cleaner specifically designed for wood floors to clean up spills and stains.
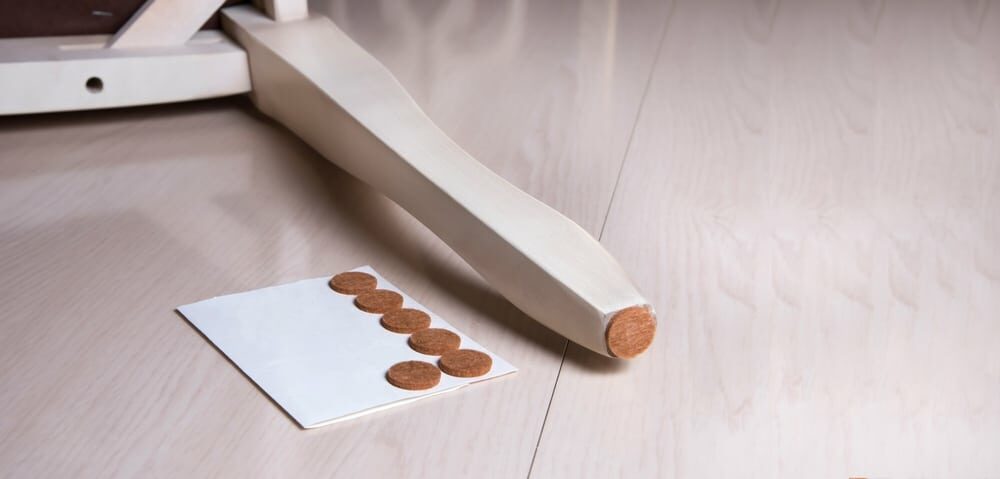
- Place protective pads under furniture legs to prevent scratching or denting the floor.
- Use area rugs or runners in high-traffic areas to minimise wear and tear.
- Avoid walking on the floor with high heels or hard-soled shoes.
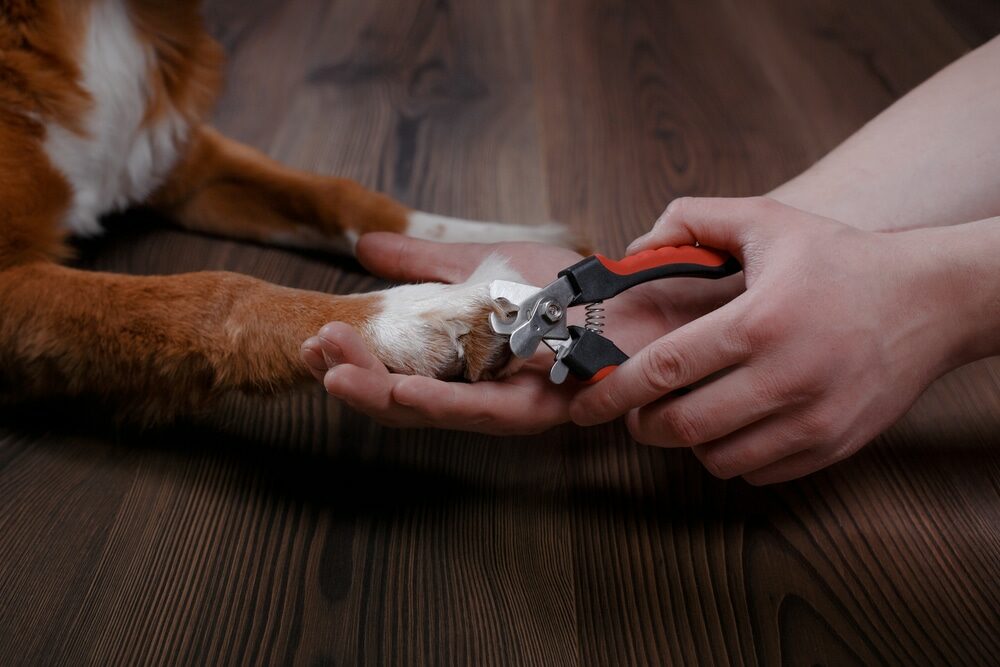
- Keep your pets’ nails trimmed to prevent scratches.
- Use window coverings to protect your floor from direct sunlight, which can cause fading or discoloration.
9. Common Mistakes to Avoid
As you embark on your wood floor sanding project, avoid these common mistakes to ensure professional results:- Not preparing the room properly: Failing to remove furniture, decorations, or seal off the room can lead to damage or an uneven finish.
- Skipping grits: Using the correct grit sequence is crucial for a smooth, even finish. Skipping grits can result in an uneven surface or visible scratches.
- Sanding against the wood grain: Sanding in the direction of the wood grain helps to avoid cross-grain scratches and ensures a uniform finish.
- Not allowing enough drying time: Rushing the drying process between staining and finishing can lead to a blotchy or uneven appearance. Always follow the manufacturer’s recommended drying times.
Some Useful Links:
Conclusion
Sanding and refinishing your wooden floor can be a rewarding DIY project that significantly improves the appearance and value of your home. By following these wood floor sanding tips and avoiding common mistakes, you can achieve professional results and restore your hardwood floors to their original beauty. Remember to always prioritise safety, use the proper tools and techniques, and maintain your newly refinished floor to ensure its longevity and appeal.More from our Blog:
What is Parquet Flooring? Timeless Elegance and Durability Can a New Wooden Floor Enhance Your Business? Experts Guide What Type of Wood Flooring is Right for You? The Expert Guide Hardwood Flooring Pros and Cons: A Complete Guide to Make an Informed Choice Unveiling the Art of Hand-Distressed Hardwood Floors
Sanding
We provide virtually dust-free sanding with our continuous belt machinery with mobile extraction units, giving you a safer environment for your family.
Oiling
This organic finish not only adds beauty to your home but also has exceptional water-repellent characteristics, making it easier to clean and maintain.
Waxing
This natural floor finish offers the softest and most mellow appearance – and leaves your floor able to breath.
Buffing
Using soft buffing machines (and hand-polishing where required) will bring a wonderful sheen to your newly-finished floor.
Repairs
We offer a full assessment of your wooden floors to determine what repairs are needed to provide the perfect working surface for the later stages of sanding, staining and sealing.
Restoration
We offer a comprehensive restoration process designed to address floors that are improperly fitted or damaged over time through wear and tear.
Request a fixed price quote for your wood floor restoration now
Simply enter your postcode below to get started.
Services
Wood Floor Sanding Wood Floor Restoration Wood Floor Scratch Repair Squeaky Wood Floor Repair Parquet Floor Sanding Parquet Floor Restoration Commercial Floor Sanding Church Floor Sanding Community Centre Floor Sanding School Floor Sanding Gap Filling Gap Filling with ResinCopyright © Mr Sander®
Privacy & Cookies Terms & Conditions Complaints Procedure Cancellation Rights Sitemap