London:
Nationwide:
25,000+
Floors Restored
27 Years Experience
Wood Flooring Association Certified
Orbital Sanding Techniques for Pine Floors
Posted on August 27, 2023
Floor sanding techniques
Revitalising Pine Floors: The Art of Orbital Sanding
There’s a nostalgic elegance that accompanies a beautifully finished pine floor. These floors, with their characteristic amber hue and distinct knots, remind us of heritage homes and the echoing laughter of generations that have walked upon them. Over time, like the memories held within their planks, these floors become worn. That’s where the magic of orbital sanding comes in, allowing us to rejuvenate these lovely surfaces and breathe new life into them.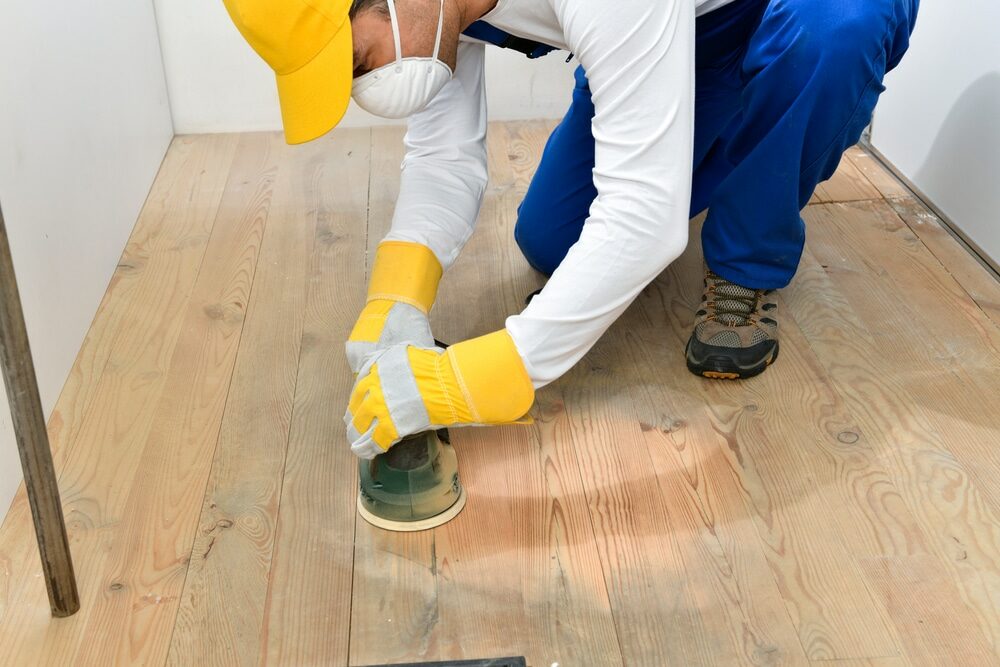
The Charm of Pine
Before delving into the intricacies of orbital sanding, let us briefly meander through the charm of pine. Pine, with its warm tones, soft grains, and historical footprint in British homes, is a wood of choice for those seeking a balance between charm and affordability. However, this softwood is susceptible to dings, dents, and the occasional scuff—the imperfections that tell stories of lively households. While the tales they recount are delightful, a little facelift wouldn’t go amiss. This facelift is where our friend, the orbital sander, comes into play.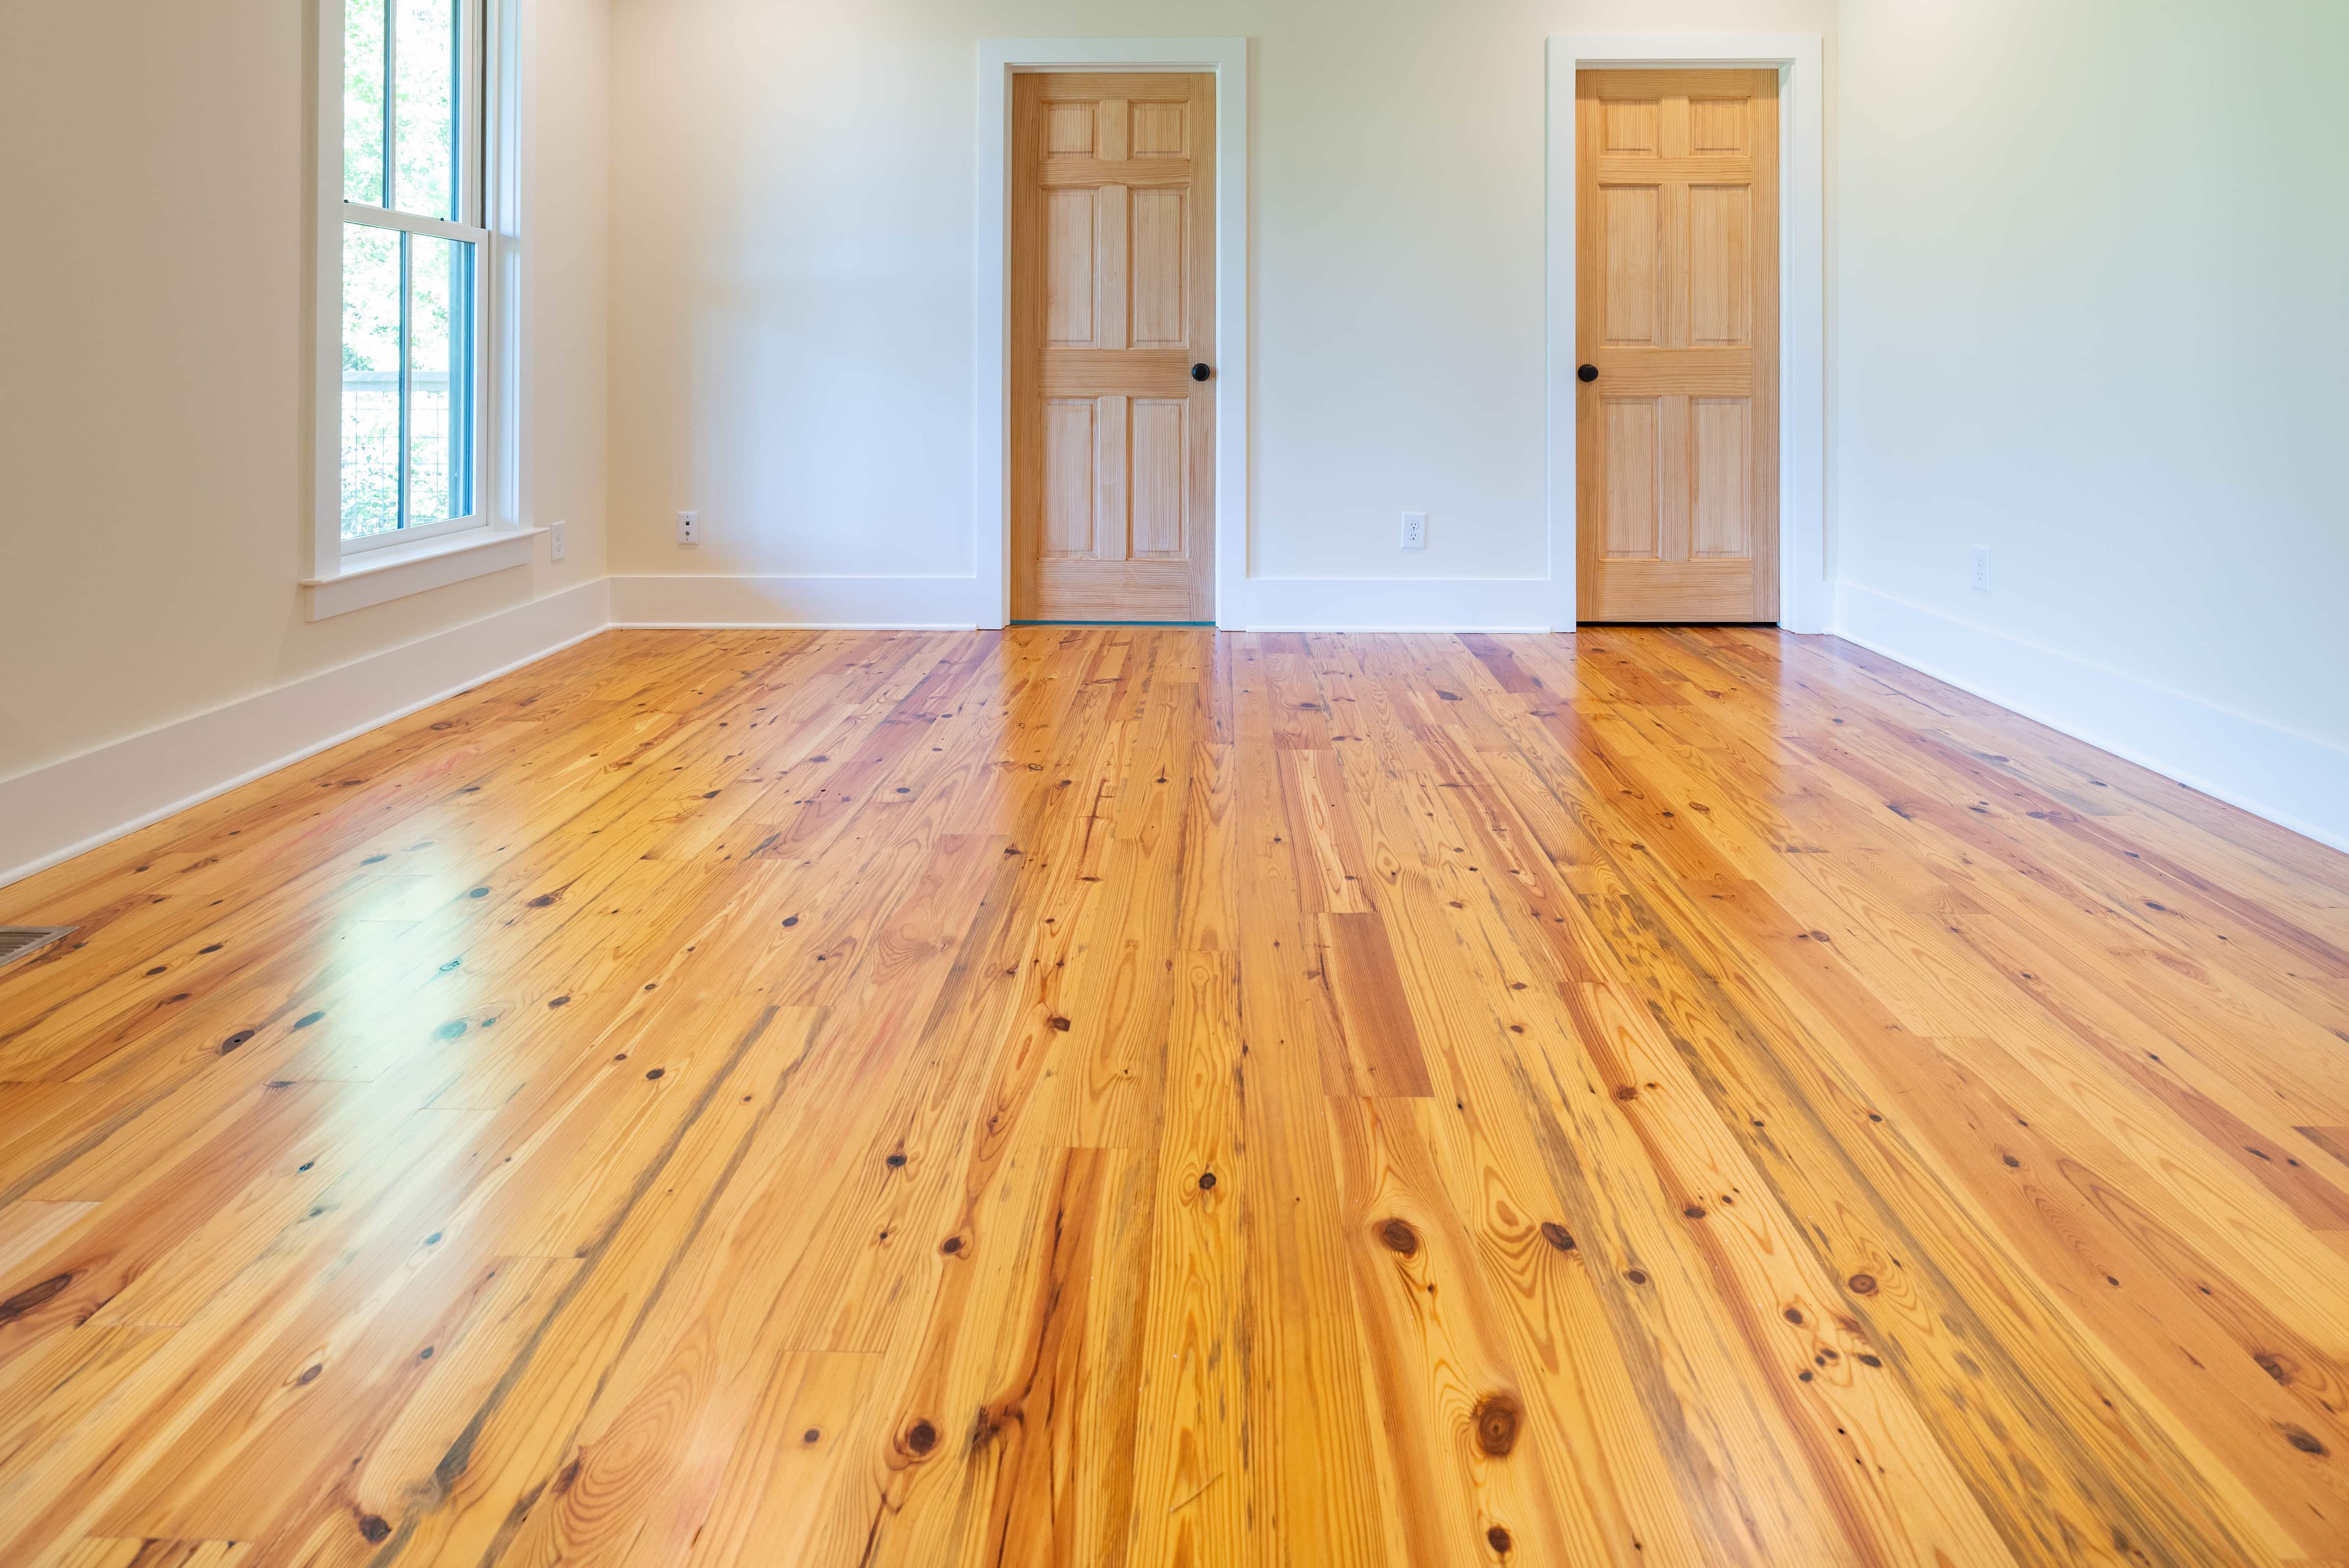
Orbital Sanding: A Primer
For those unfamiliar with the term, an orbital sander is a hand-held device that sands surfaces in a random orbit or circular motion. This eccentric movement ensures that the sanding is not unidirectional, thus minimising the chances of creating unwanted scratches or gouges.1. Selecting the Right Grit
For our noble endeavour with pine flooring, we shall begin with selecting the right sandpaper grit. Start with a coarser grade (like 60 or 80 grit) to efface any stubborn old finishes or deeper scratches. As you progress, you’ll graduate to finer grits, perhaps a 120 and then a 220, to achieve that silky-smooth finish reminiscent of pine’s original allure.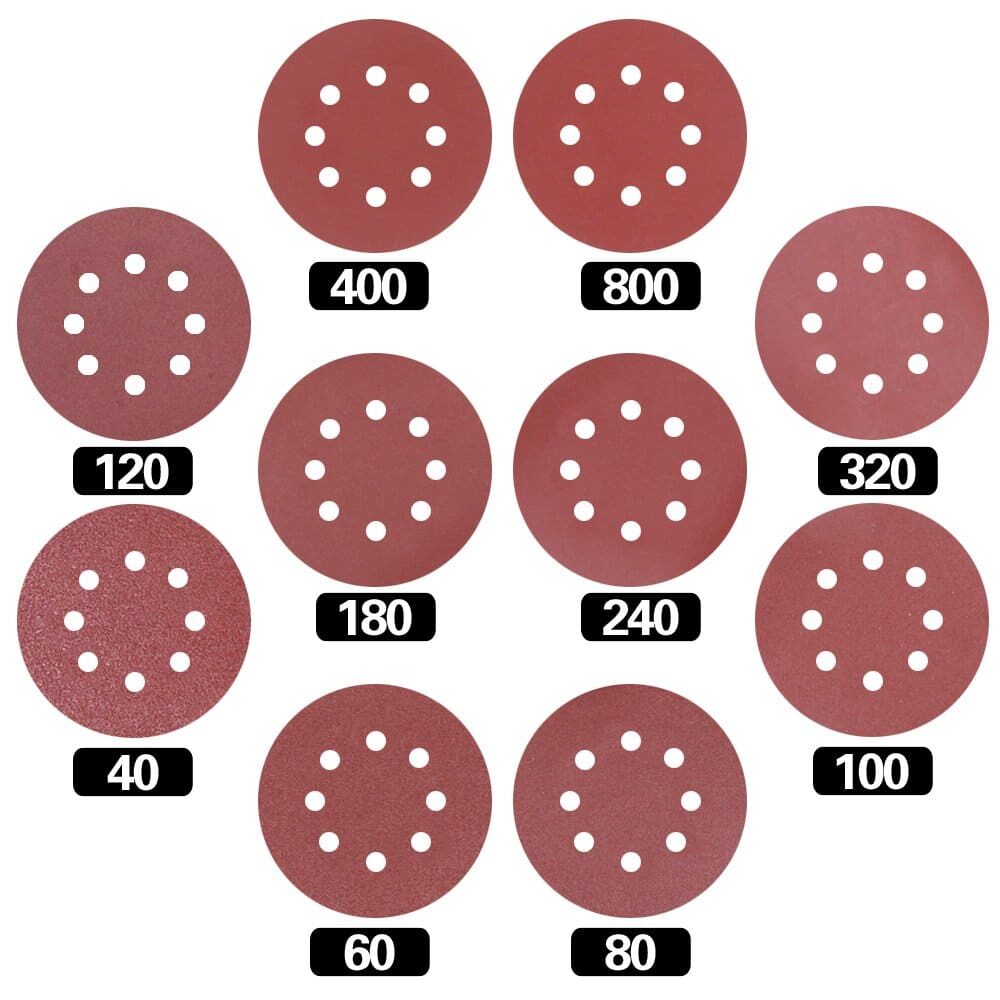
2. Preparation is key.
Before setting your orbital sander in motion, ensure that the floor is clean. Sweep away any loose dirt and debris. Any nails or screws that are proud of the surface should be set below the level of the wood. We wouldn’t want our dear Sander to encounter such obstacles mid-dance!3. Let the sander glide.
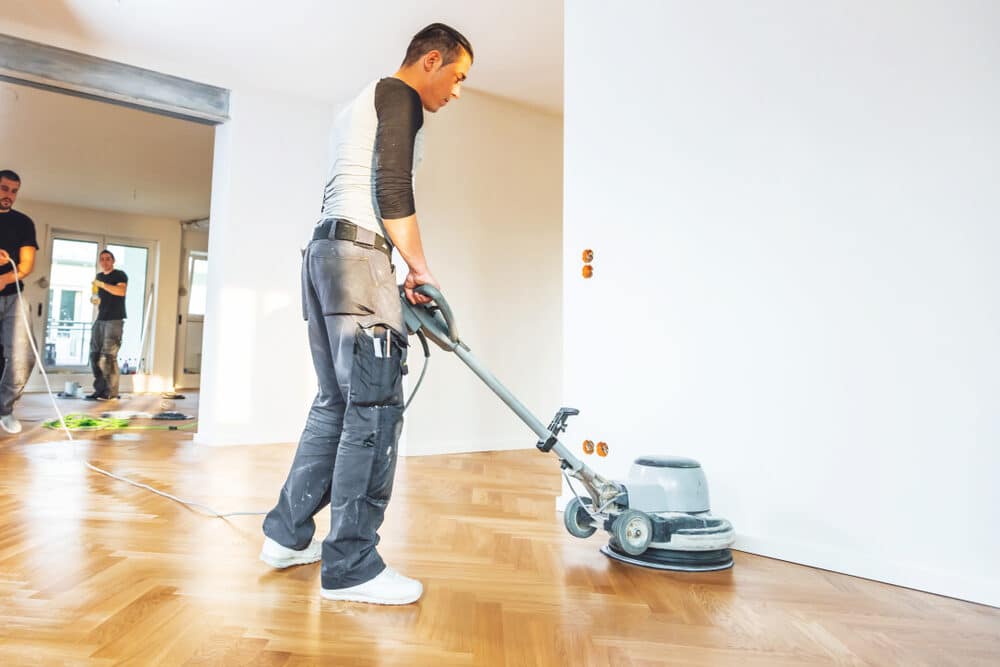
Holding the sander firmly, allow it to glide over the surface without applying too much downward pressure. Let its natural weight do the work. Begin at one end of the room, methodically working your way across, overlapping each pass slightly to ensure thorough coverage. Remember, pine is soft, so take care not to linger in one spot for too long to avoid undue depression.
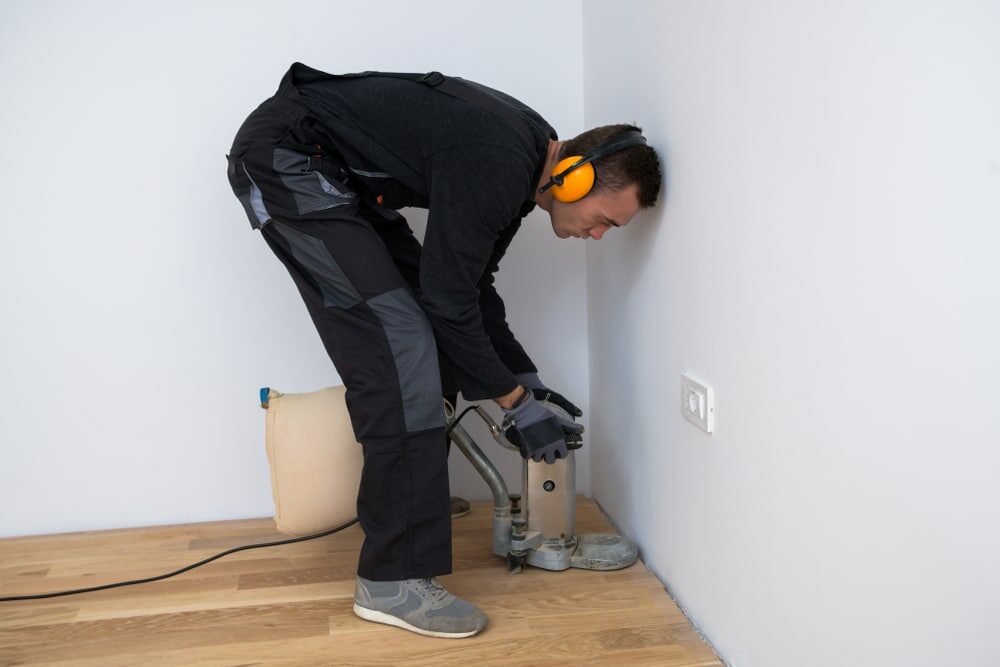
4. Corner and Edge Mastery
The orbital sander is somewhat averse to tight corners and edges. For these tricky bits, consider using a small detail or palm sander, or even hand sanding with the grain for precision. It requires a touch of patience but is wholly worth the effort.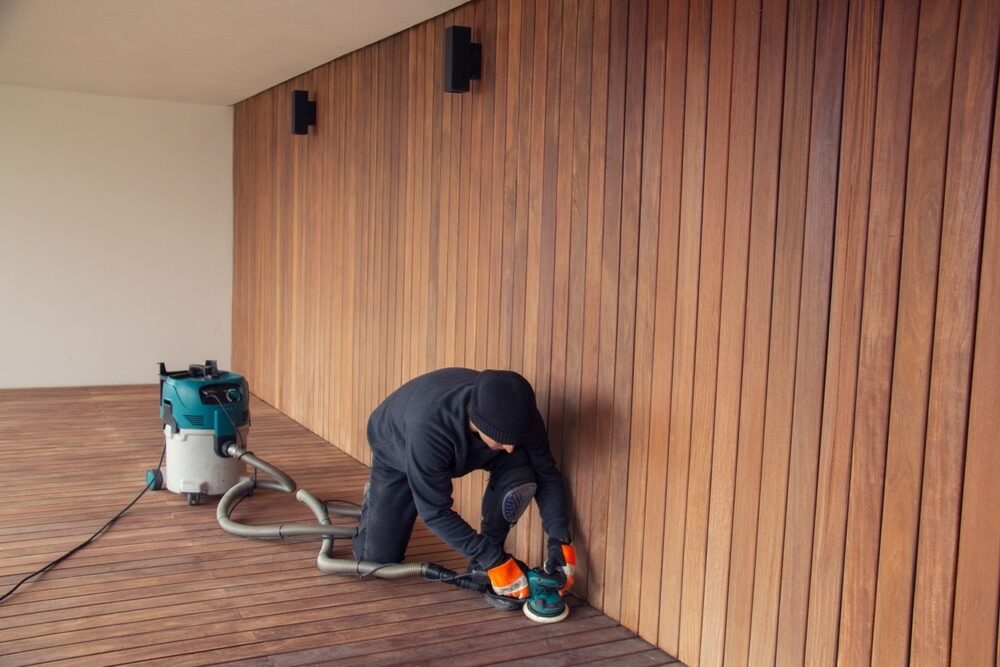
5. Clean and repeat
After your first pass with the coarser grit, vacuum or wipe away the resultant dust. Now, it’s time to switch to a finer grit for the subsequent sanding. Repeat the process until you’ve used the finest grit in your repertoire.Finishing Touches
Post-sanding, your pine floor is like a canvas – primed and ready for the final artistry. You can opt for wood stains to enrich the colour, or simply use a clear sealant or varnish to highlight pine’s natural beauty. Remember, the choice of finish can affect the longevity and appearance of your floor, so choose wisely.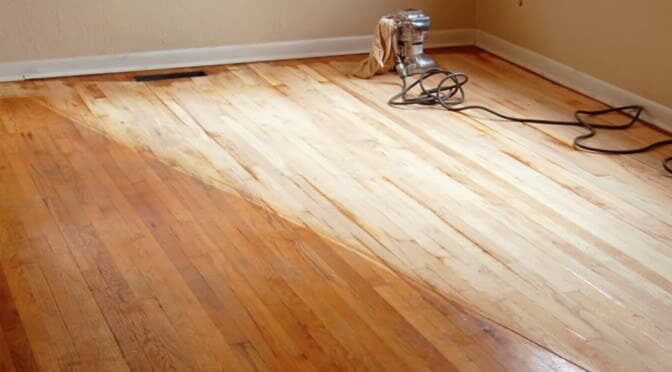
The Nuances of Pine’s Grain
The allure of pine lies in its detailed grain, offering a canvas of swirling patterns and signature knots. As you walk, take a moment to appreciate these details. Pine’s grain is straight with an even texture but can be knotty, which provides that rustic appeal so many homeowners desire. It’s this grain that makes pine distinctive, and with orbital sanding, you can truly bring it to the fore.Caring for your orbital sander
An artist is only as good as his tools. To ensure that your orbital sander gives you its best performance, maintain it diligently:- Dust Bag: Regularly empty the dust bag. A full dust bag can impede the sander’s effectiveness.
- Pad Check: Check the sanding pad for wear. Over time, the pad might need replacing.
- Smooth Movements: Always move the sander smoothly. Jerky movements can result in uneven sanding and could reduce the lifespan of your sander.
Dust Management
When working with an orbital sander, particularly on pine, which is a softer wood, there will be a significant amount of sawdust. This isn’t just about cleanliness; it’s about health. Always wear a mask and ensure the room is well ventilated. Moreover, dust can settle in crevices or under mouldings, so a thorough post-sanding cleanup is imperative for both aesthetics and to prepare for staining or sealing.The Merit of Hand Sanding
It might seem a tad old-fashioned, but there’s merit in sometimes resorting to hand sanding, especially for those hard-to-reach places or delicate edges. Hand sanding provides a tactile connection to the wood, allowing you to feel every imperfection and smooth it out with precision. When transitioning from machine to manual, always sand with the grain to maintain consistency in the finish.Pitfalls to Avoid
- Over-sanding: Pine is soft. Be cautious not to sand away more than necessary, lest you find yourself with a divot or an unintentionally distressed look.
- Ignoring the grain: Always sand with the grain, especially during the finishing touches. This enhances the wood’s natural patterns rather than marring them.
- Skimping on Safety: Beyond dust masks, consider ear protection. Prolonged exposure to the sander’s hum can be harmful.
In Conclusion
Orbital sanding is an art, a dance of restoration that requires both technique and soul. When done with diligence and care, it transforms weary pine floors into radiant surfaces that gleam with stories both old and new. In the wise words of Julian Koenig, “Restoration is not just about bringing back the old but celebrating the journey of the in-between. So, as you tread on your newly sanded pine floor, remember to not just admire its renewed beauty but also to cherish the tales it tells and the ones yet to be written.Some Useful Links:
- Stairs Sanding & Refinishing
- Floor Sanding Services
- School Floor Sanding
- Wood Floor Restorations
- Wood Floor Repairs
- Wood Floor Polishing
More from our Blog:
How to Achieve a Matte Finish with Orbital Sanding The Differences Between Orbital and Drum Sanding for Floors How to Prep Your Space for Orbital Sanding Advanced Techniques for Orbital Sanding on Wood Floors The Science Behind Orbital Sanding for Floor Restoration Orbital Sanding for Hardwood Floors: Techniques and Tips Orbital Sanding vs. Other Floor Sanding Techniques: Which is Best? Common Mistakes to Avoid in Orbital Sanding for Floors

Sanding
We provide virtually dust-free sanding with our continuous belt machinery with mobile extraction units, giving you a safer environment for your family.
Oiling
This organic finish not only adds beauty to your home but also has exceptional water-repellent characteristics, making it easier to clean and maintain.
Waxing
This natural floor finish offers the softest and most mellow appearance – and leaves your floor able to breath.
Buffing
Using soft buffing machines (and hand-polishing where required) will bring a wonderful sheen to your newly-finished floor.
Repairs
We offer a full assessment of your wooden floors to determine what repairs are needed to provide the perfect working surface for the later stages of sanding, staining and sealing.
Restoration
We offer a comprehensive restoration process designed to address floors that are improperly fitted or damaged over time through wear and tear.
Request a fixed price quote for your wood floor restoration now
Simply enter your postcode below to get started.
Services
Wood Floor Sanding Wood Floor Restoration Wood Floor Scratch Repair Squeaky Wood Floor Repair Parquet Floor Sanding Parquet Floor Restoration Commercial Floor Sanding Church Floor Sanding Community Centre Floor Sanding School Floor Sanding Gap Filling Gap Filling with ResinCopyright © Mr Sander®
Privacy & Cookies Terms & Conditions Complaints Procedure Cancellation Rights Sitemap

Get An Instant Price Estimate Before You Go…
Simply enter the rooms you need sanded and we’ll provide you with a price estimate instantly! Try our price calculator now.
Get a Price Estimate NowLocal Floor Sanding Experts
Over 500 5-Star Reviews
Safe, Dust Free Sanding
Operating Since 1994