London:
Nationwide:
25,000+
Floors Restored
27 Years Experience
Wood Flooring Association Certified
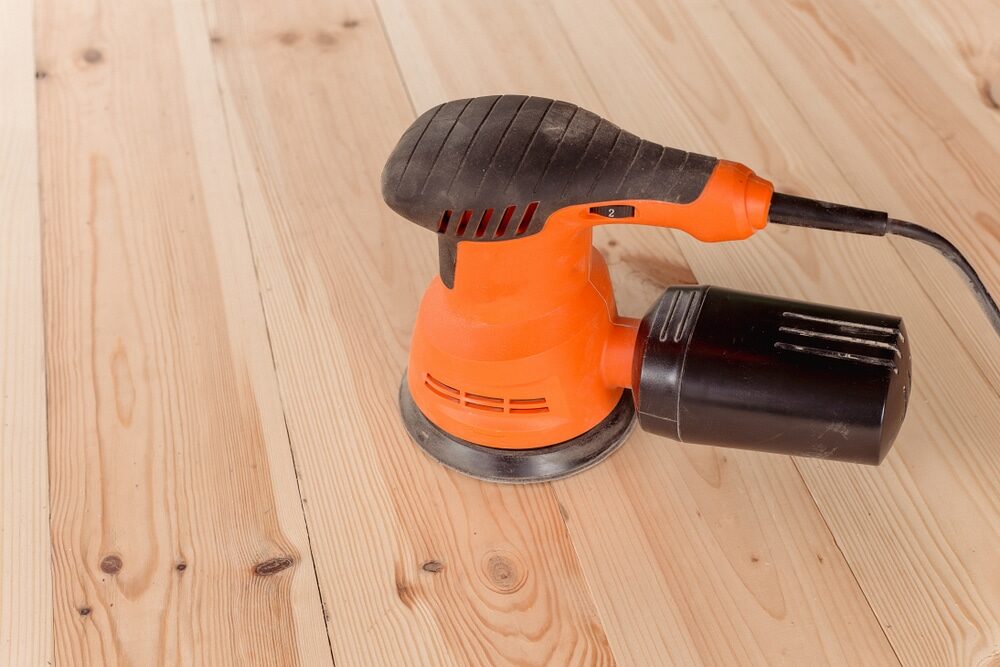
How to Use Hand Sanding Blocks for Floor Sanding
Posted on January 9, 2024
Floor sanding techniques
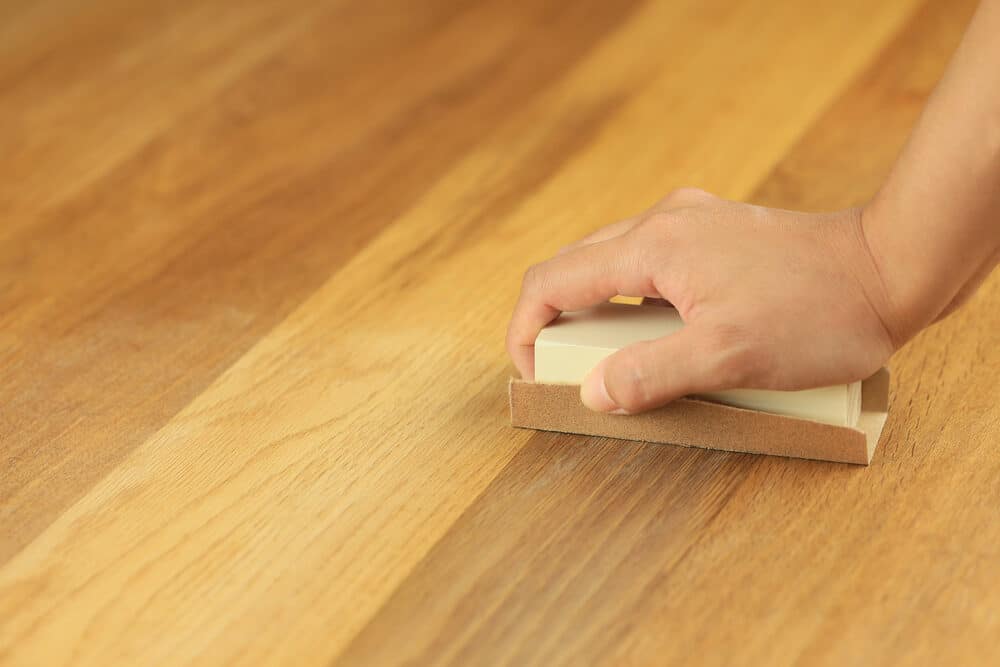
Mastering Floor Sanding with Hand Sanding Blocks: An In-Depth Detail
In the realm of DIY and home renovation, the restoration of wooden floors stands as a testament to both skill and patience. The art of floor sanding, particularly with hand sanding blocks, is a craft that harks back to a time when meticulous attention to detail was the cornerstone of quality workmanship. This guide aims to resurrect these traditional methods, offering a comprehensive approach to using hand sanding blocks for wood floor sanding.
The allure of hand sanding lies in its ability to provide a level of control and finesse that mechanical sanders often fail to match. Whether you’re tackling a grand Victorian hall or a modest dining room, the technique remains a timeless skill, promising results that boast both character and quality.
We’ll navigate through the benefits of hand sanding blocks, the selection of appropriate tools, a detailed walkthrough of the sanding process, essential tips for achieving a flawless finish, and the pivotal aspects of safety and aftercare. This journey is not just about restoring a floor but about reviving a piece of your home’s history, imbued with the warmth of a personal touch.
As we embark on this journey, it’s important to remember that hand sanding is more than a mere task; it’s an expression of care for your home. Each pass of the sanding block over the wooden floor is a step towards revitalising a space that holds memories and moments. It’s about embracing a slower, more thoughtful approach in our fast-paced world, one that rewards patience and meticulous attention to detail.
This guide is designed not only to instruct but also to inspire. For those new to the craft, it offers a gentle introduction to the tools and techniques of hand sanding. For the experienced, it’s a reminder of the satisfaction found in manual work and the beauty of a task completed with one’s own hands. So, whether you’re looking to restore a family heirloom or simply to bring new life to a tired room, hand sanding offers a path filled with discovery and accomplishment.
Let’s roll up our sleeves and delve into the world of hand-sanding blocks, where every stroke brings us closer to unveiling the hidden beauty of wooden floors.
Benefits of Using Hand Sanding Blocks
Venturing into the task of floor sanding with hand sanding blocks, one might wonder about the advantages of this seemingly labour-intensive method. Yet, it’s precisely in these efforts that the true benefits emerge, painting a picture of craftsmanship and quality that modern methods struggle to replicate.
Enhanced Control and Precision
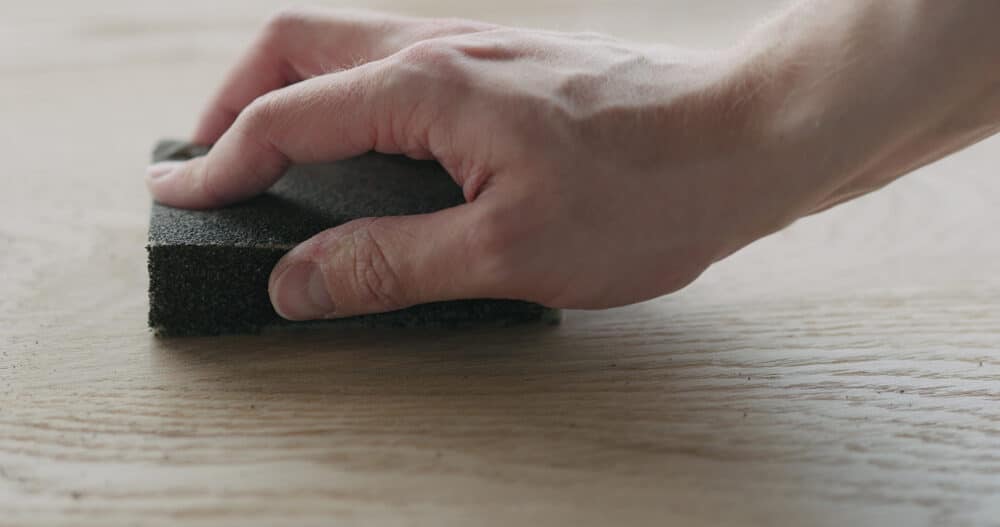
The foremost advantage of using wood floor hand sanding blocks is the unparalleled control they offer. This control is pivotal, particularly when working on delicate surfaces or edges where precision is key. Hand sanding allows for gentle, gradual removal of the surface layer, minimising the risk of damaging the wood.
Uniform Sanding
Hand-sanding blocks promote an even, uniform sanding process. Unlike mechanical sanders, which can create uneven surfaces due to their aggressive nature, hand sanding ensures a consistent grain pattern and depth. This is especially beneficial for antique or intricately patterned floors where preserving the character is essential.
Accessibility and manoeuvrability
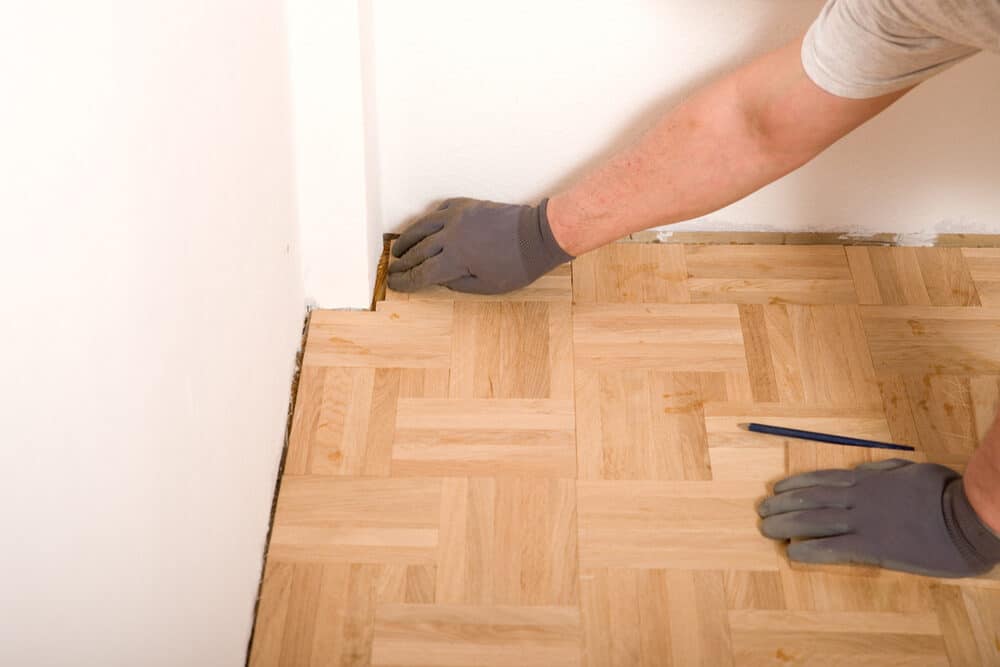
Hand-sanding blocks are incredibly accessible and easy to maneuver. They can reach corners, edges, and small spaces that larger, mechanical sanders cannot, ensuring comprehensive and even sanding across the entire floor area.
Reduced Dust and Noise
Another significant benefit is the reduction in dust and noise. Hand sanding generates far less dust compared to mechanical sanding, making it a healthier option, particularly in enclosed spaces. The process is also quieter, which is a consideration for those in shared living spaces or with noise sensitivities.
A Sense of Achievement
Lastly, hand-sanding offers a unique sense of personal achievement. There is a certain satisfaction in manually restoring a floor, piece by piece. It’s a labour of love that imbues the floor with a story—a personal touch that no machine can replicate.
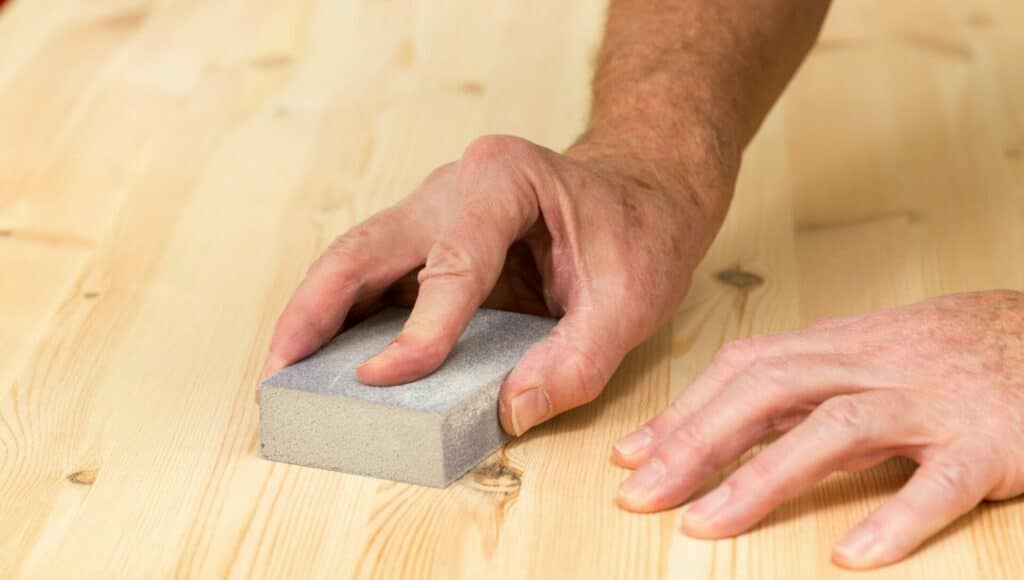
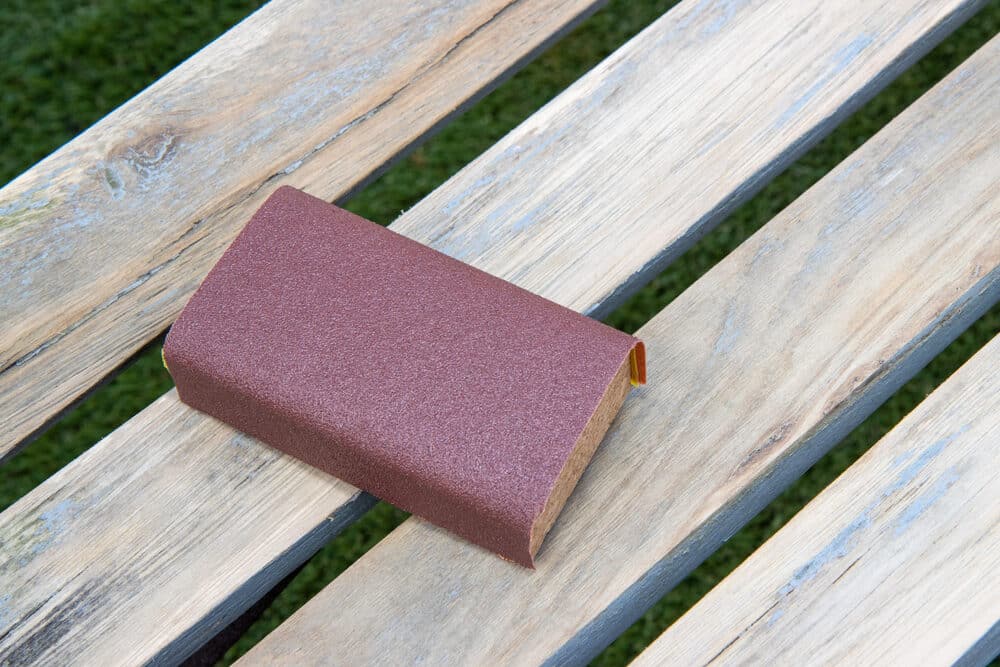
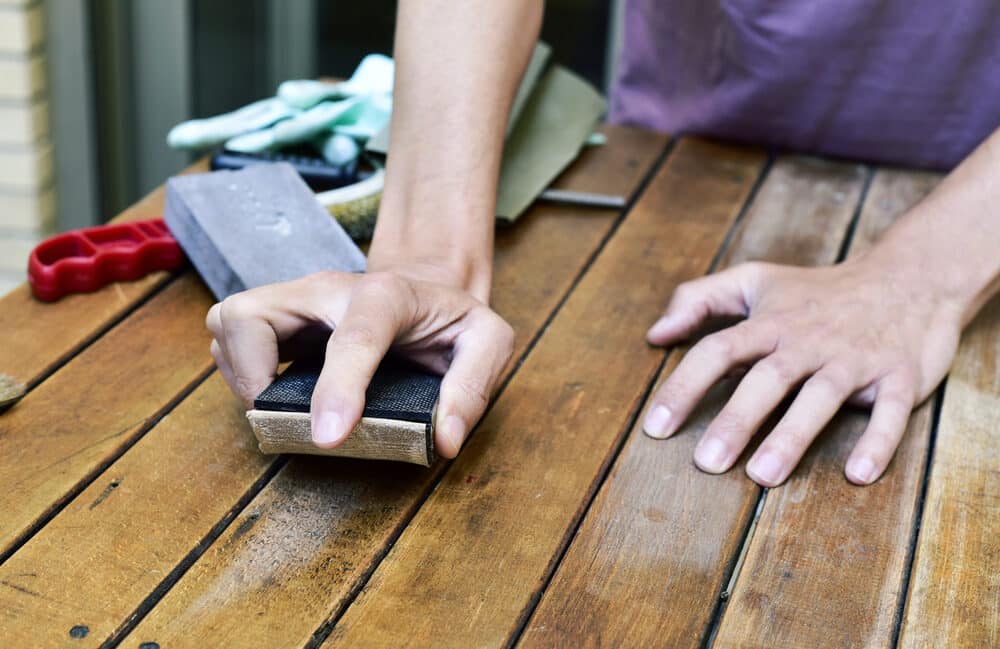
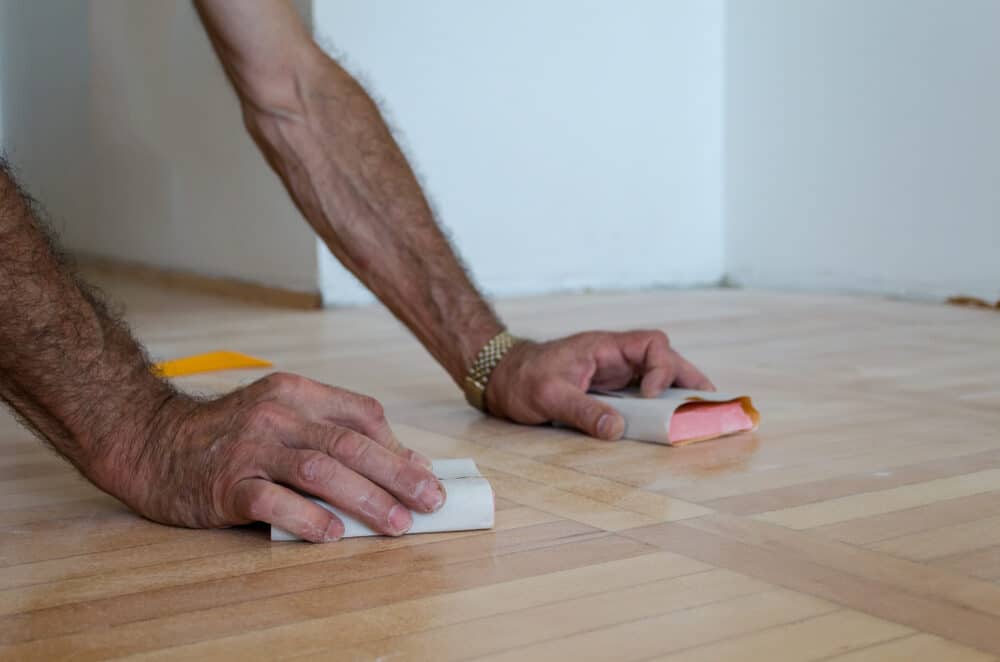
Choosing the Right Sanding Block
Selecting the appropriate hand sanding block is a crucial step in the wood floor sanding process. It’s not merely about picking a tool, but rather choosing a partner that will work with you to achieve the desired finish. Here are some key considerations to guide you in making the right choice:
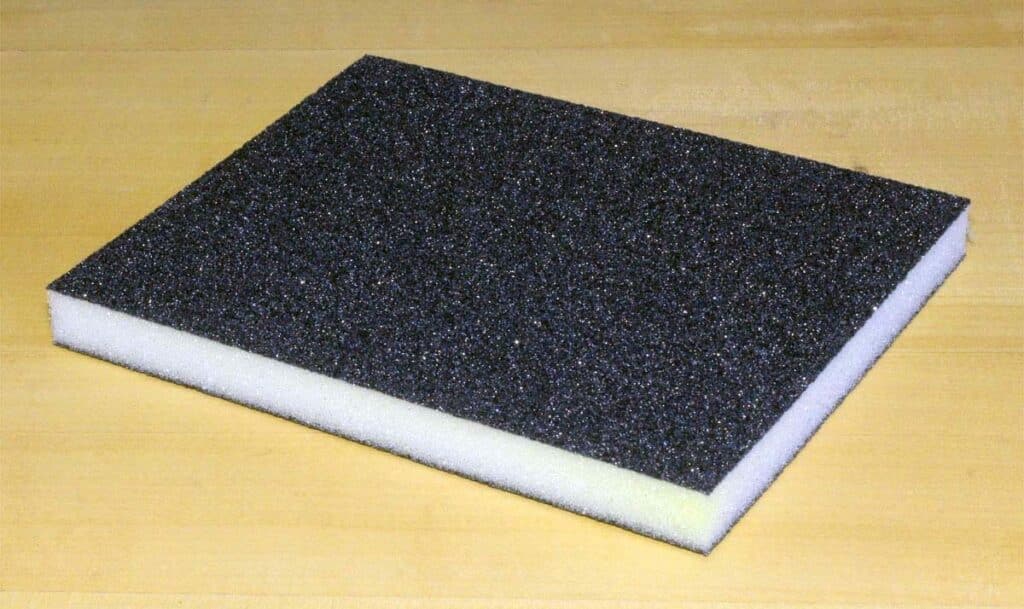
Material of the Sanding Block
- Wooden Blocks: Traditional and sturdy, wooden floor sanding blocks offer great durability and a comfortable grip, making them ideal for longer sanding sessions.
- Rubber or foam blocks: These are more flexible than wooden blocks, allowing for better contouring to the floor’s surface, especially useful for uneven or intricate areas.
Size and Shape
- Size: Consider the size of the sanding block in relation to the area you’ll be working on. Larger blocks cover more area but may be cumbersome in smaller, intricate spaces.
- Shape: Blocks come in various shapes—rectangular, square, or even contoured designs. The shape should complement the area you are sanding, with contoured blocks being beneficial for edges and corners.
Grit of the Sandpaper
- Coarse Grit (40–60): Start with a coarse grit for removing old finishes and smoothing out rough surfaces.
- Medium Grit (80–120): Progress to a medium grit for refining the surface.
- Fine Grit (150–220): Finish with a fine grit for a smooth, ready-to-finish surface.

Compatibility with Sandpaper
Ensure that the sanding block you choose is compatible with standard sandpaper sizes. This makes it easier to find and attach the sandpaper, as well as to replace it when needed.

Ergonomics
Consider the comfort of the sanding block in your hand. Ergonomic designs can reduce fatigue and improve efficiency, especially important for larger projects that require extended periods of sanding.
Durability and quality
Choose a sanding block that is well-made and durable. A high-quality block will not only last longer but will also provide consistent performance throughout its use.
In essence, the right sanding block should feel like an extension of your own hand—comfortable, efficient, and effective. It’s worth investing time in selecting the best block for your project, as it will significantly influence the ease of the task and the quality of the final result.
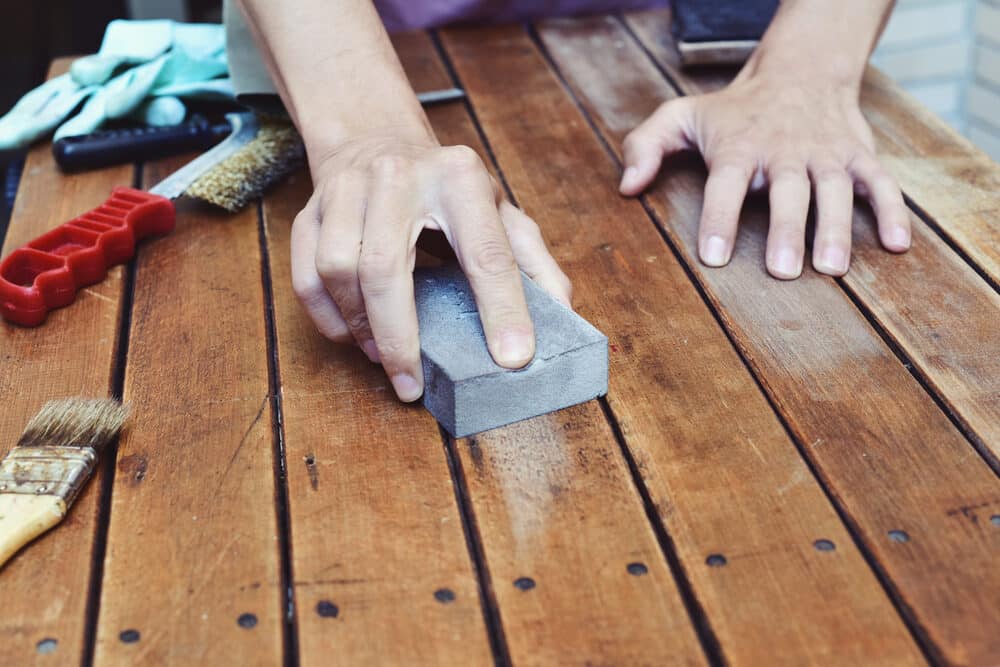
Step-by-Step Guide to Floor Sanding
Wood Floor sanding with hand-sanding blocks, while demanding patience and effort, can be deeply rewarding. Here’s a comprehensive guide to help you achieve a beautifully sanded floor.
Preparation
- Clear the Room: Remove furniture and any fixtures that might obstruct the sanding process.
- Clean the Floor: Sweep and clean the floor to remove dust, debris, and any protruding nails or screws.
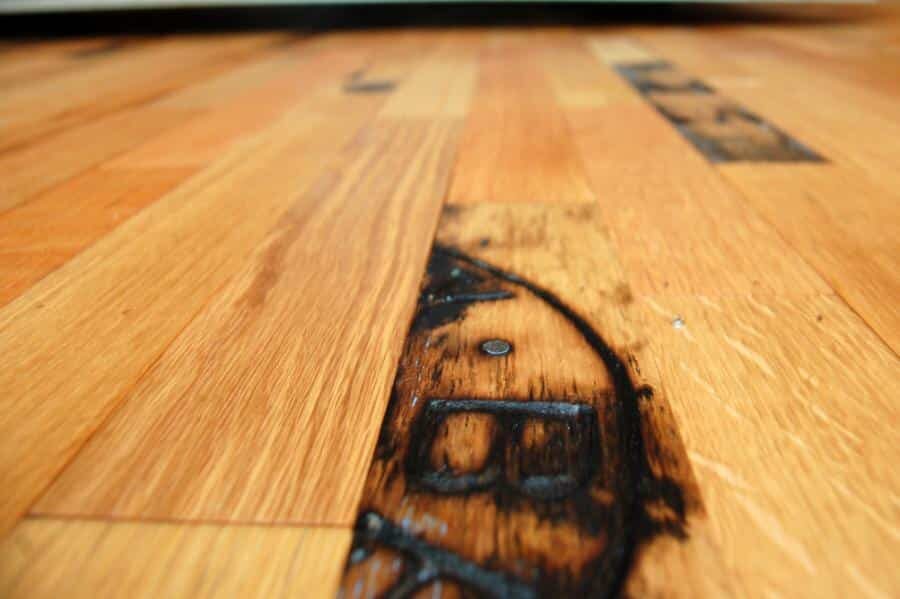
- Check Floor Condition: Inspect the floor for any damaged areas or planks that may need repair before sanding.
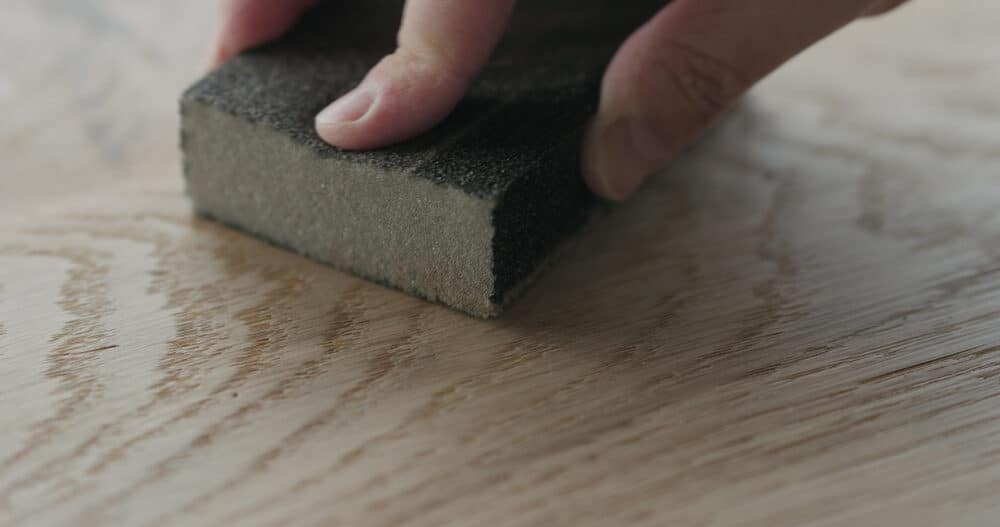
Sanding Technique
- Start with Coarse Grit: Begin with coarse-grit sandpaper (40–60 grit) to remove old finish and level the floor.
- Sand Along the Grain: Always sand in the direction of the wood grain to avoid scratches.
- Even Pressure: Apply consistent pressure but avoid pressing too hard, which can create uneven surfaces.
- Change Sandpaper Regularly: Replace the sandpaper once it becomes clogged or less effective.
Working with Different Floor Types
- Hardwood Floors: Require a gentle approach; start with a medium grit if the floor is in good condition.
- Softwood Floors: More susceptible to damage; use finer-grit sandpaper and a lighter touch.
- Parquet Floors: Sand at a 45-degree angle to the grain, given the varied direction of the wood blocks.
Refined Sanding
- Move to Medium Grit: Once the major imperfections are removed, switch to medium grit (80–120) to refine the surface.
- Final Sand with Fine Grit: Finish with a fine grit (150–220) for a smooth surface, preparing it for finishing.
Clean-Up
- Remove Dust: Thoroughly clean the floor to remove all sanding dust, using a vacuum and a tack cloth.
- Final Inspection: Check for any missed spots or uneven areas that might need additional sanding.
Tips for a Perfect Finish
- Sand with Patience: Take your time; rushing can lead to mistakes and uneven finishes.
- Lighting: Use good lighting to spot any imperfections or missed areas.
- Dust Management: Regularly clean the area to keep the workspace dust-free for the best finish.
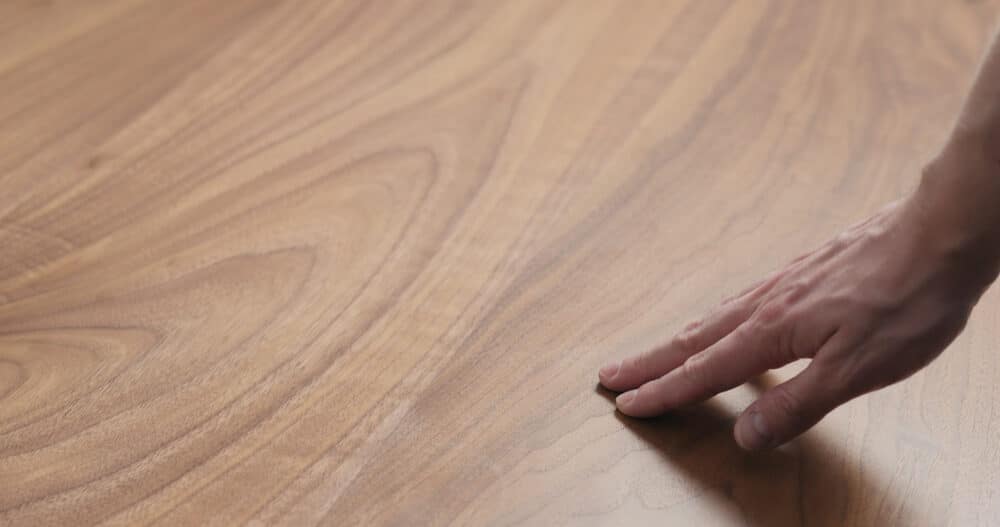
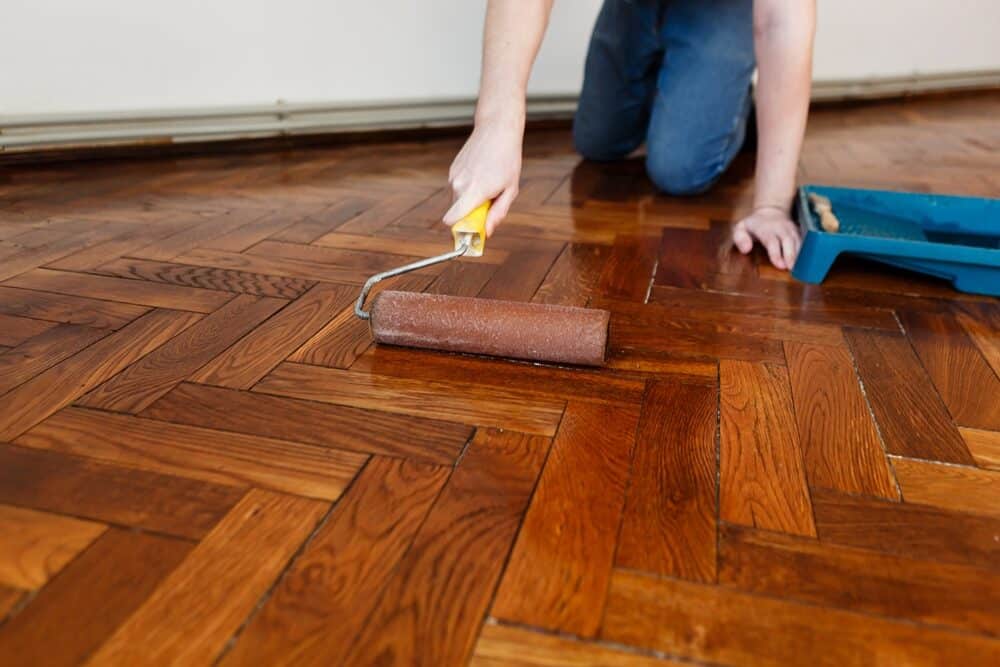
Aftercare of Sanded Floors
- Seal or varnish: Once sanded, seal or varnish the floor to protect it and enhance its appearance.
- Regular Maintenance: Keep the floor clean and check periodically for any required touch-ups.
Tips for a Perfect Finish
Achieving a perfect finish in floor sanding is akin to crafting a masterpiece; it requires skill, patience, and a touch of finesse. Here are some essential tips to help you ensure your floor sanding project culminates in a flawless result.
1. Gradual Progression in Grit
- Start Coarse, Finish Fine: Begin with a coarse grit to remove the old finish and imperfections, then progressively move to finer grits. This step-by-step approach ensures a smooth, even surface.
2. Consistent Sanding Pressure
- Even Strokes: Apply consistent pressure with each stroke to avoid gouges and uneven surfaces. Remember, the goal is to gently abrade the floor, not aggressively remove material.
3. Sanding with the Grain
- Go with the grain: Always sand in the direction of the wood grain. This not only enhances the appearance but also prevents scratches that are visible against the grain.
4. Regular Sandpaper Changes
- Fresh Paper, Better Results: Don’t hesitate to change the sandpaper once it shows signs of wear. Dull paper can lead to inefficient sanding and an uneven finish.
5. Dust Management
- Keep It Clean: Regularly remove dust from your work area. This not only provides a clearer view of your progress but also prevents the sanding blocks from clogging.
6. Lighting is key.
- Bright Light: Good lighting is essential to spot any missed patches or imperfections. Often, what seems perfect in dim light can reveal flaws under brighter conditions.
7. Patience is a virtue.
- Take Your Time: Rushing through the sanding process can lead to mistakes. Take breaks when needed, and approach the task with patience.
8. Final Inspection
- Eye for Detail: After the final sanding, inspect the floor meticulously. Look for any uneven areas or missed spots that might need a touch-up.
9. Proper Finishing Techniques
- Seal and Protect: Once satisfied with the sanding, choose the right sealant or varnish. Apply it evenly, following the manufacturer’s instructions, to protect the wood and enhance its natural beauty.
10. Aftercare
- Maintenance Matters: After the floor is sanded and finished, regular maintenance is crucial. Gentle cleaning and periodic checks will help maintain the beauty and longevity of the floor.
By adhering to these tips, your hand-sanded floor will not only look splendid but will also stand as a testament to the care and effort invested in its restoration.
Safety Considerations
When embarking on a floors sanding project, prioritising safety is as important as achieving a perfect finish. Here are key safety considerations to keep in mind:
1. Personal Protective Equipment (PPE)
- Dust Masks: Sanding can generate a significant amount of dust. Wear a high-quality dust mask to avoid inhaling particles.
- Safety Goggles: Protect your eyes from dust and debris with safety goggles.
- Hearing Protection: If you’re using any power tools in conjunction with hand sanding, use ear protection to safeguard against noise.
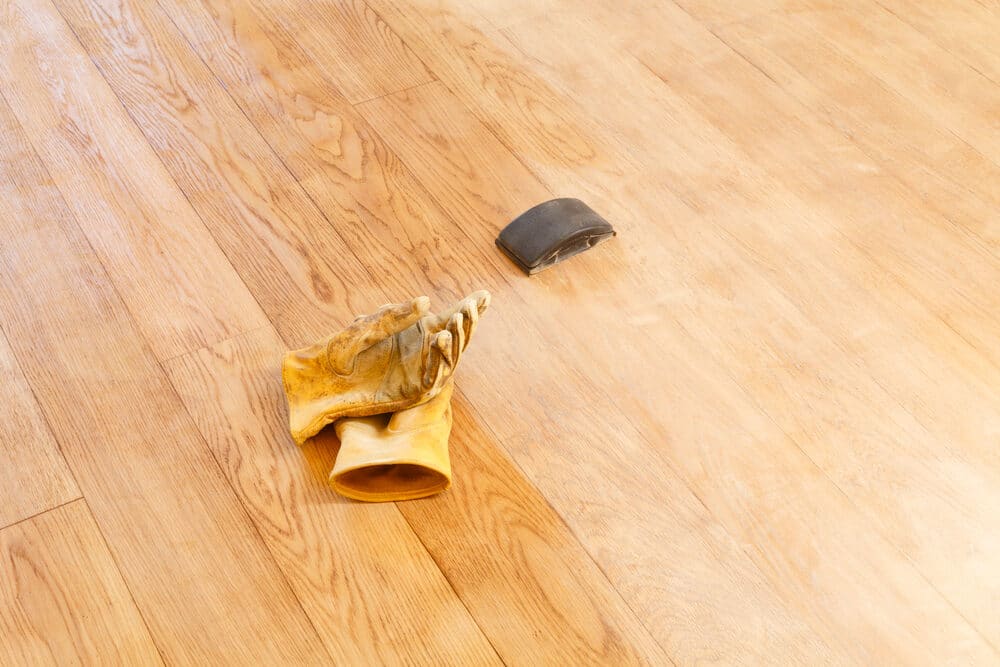
- Gloves: Wear gloves to protect your hands from splinters and abrasions.

2. Dust Management
- Minimise Dust: Regularly clean the area of dust and debris to maintain a healthy working environment.
- Good Ventilation: Ensure the room is well-ventilated. Open windows and use fans to disperse dust and provide fresh air.
3. Correct posture and movement
- Ergonomics: Maintain a comfortable posture to avoid strains and injuries. Use knee pads if you are working on the floor for extended periods.
- Avoid Overreaching: Move around the room instead of overreaching from one position, which can lead to back strain and uneven sanding.
4. Safe Use of Tools
- Proper Handling: Use the sanding blocks correctly, applying even pressure and avoiding forceful motions that could lead to injury or damage to the floor.
- Inspect Tools: Before use, check the sanding blocks and other tools for any damage or wear that might pose a risk.
5. Electrical safety
- If you are using any power tools or extension cords, ensure they are in good condition and safely positioned to avoid tripping hazards.
6. Handling Chemicals
- If your project involves the use of varnishes or sealants, handle them with care. Use in well-ventilated areas, and follow all safety instructions on the labels.
7. Children and Pet Safety
- Keep children and pets away from the work area to prevent accidents and exposure to dust and chemicals.
8. First Aid
- Have a basic first aid kit accessible in case of minor injuries like cuts or abrasions.
By adhering to these safety considerations, you can ensure that your floor sanding project is not only successful but also conducted in a safe and healthy environment.
Aftercare of Sanded Floors
Post-sanding care is critical to maintaining the beauty and longevity of your newly sanded floors. Here are some guidelines to help you preserve the pristine condition of your floors:
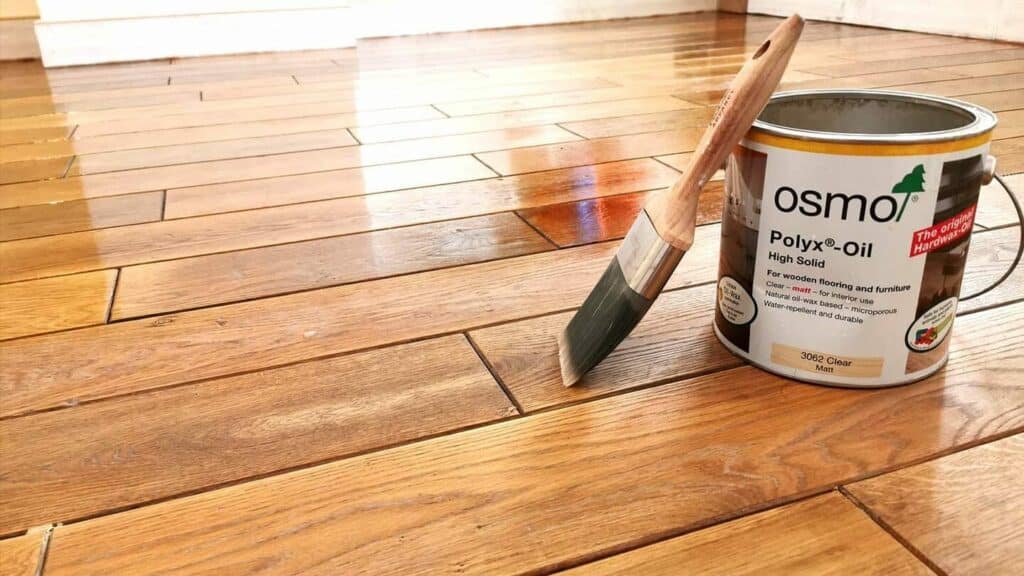
1. Sealing the floor
- Choose the Right Finish: Select a suitable sealant or varnish for your floor type. Options include polyurethane, varnish, oil, or wax.
- Even Application: Apply the chosen finish evenly according to the manufacturer’s instructions. This will protect the wood and enhance its natural beauty.
2. Curing Time
- Allow Adequate Drying: Give the finish enough time to dry and cure completely. Avoid walking on the floor or placing furniture during this period.
3. Regular cleaning
- Gentle Cleaning: Use a soft broom or a vacuum with a hardwood floor attachment to clean the floor. Avoid harsh chemicals or abrasive cleaners.
- Prompt Spill Management: Clean spills immediately to prevent staining or damage to the finish.
4. Avoid scratches and damage.
- Felt Pads: Place felt pads under furniture legs to prevent scratches.
- Rugs and Mats: Use rugs or mats in high-traffic areas to minimise wear.
- High Heels and Pet Claws: Avoid walking on the floor with high heels, and keep pet claws trimmed to prevent scratches.
5. Sunlight Protection
- UV Protection: Use curtains or blinds to protect the floor from direct sunlight, which can cause fading and discoloration over time.
6. Maintenance Coats
- Periodic Re-coating: Depending on the level of traffic, consider applying maintenance coats every few years to refresh the finish and protect the wood.
7. Humidity Control
- Maintain Stable Humidity: Excessive humidity can cause wood to expand, while too little can lead to shrinkage. Try to maintain a stable indoor humidity level.
8. Professional Inspection
- Regular Check-ups: Have your floors inspected by a professional every few years to assess their condition and determine if any professional maintenance is required.
By following these aftercare tips, your wood sanded floors will continue to look splendid and remain a cherished part of your home for many years to come.

Conclusion
The journey of wood floor sanding with hand-sanding blocks is one of patience, precision, and attention to detail. It’s a testament to the value of traditional methods and personal involvement in home renovation projects. This guide has traversed the various facets of using hand sanding blocks, from choosing the right tools to the meticulous process of sanding and the crucial aspects of safety and aftercare.
This approach to wood floor sanding isn’t merely about achieving a smooth surface; it’s about engaging in a process that connects you with the very essence of your home. Each stroke of the sanding block, each careful choice of grit, and each layer of finish adds not just to the aesthetic appeal of your floors but also to the story they tell.
The benefits of using hand sanding blocks—control, precision, and the personal satisfaction that comes with a job well done—are unmatched by mechanical means. The quiet, meditative process of hand sanding offers a chance to truly connect with the material and to imbue your floors with a sense of care and history.

Get more floor restoration advice…
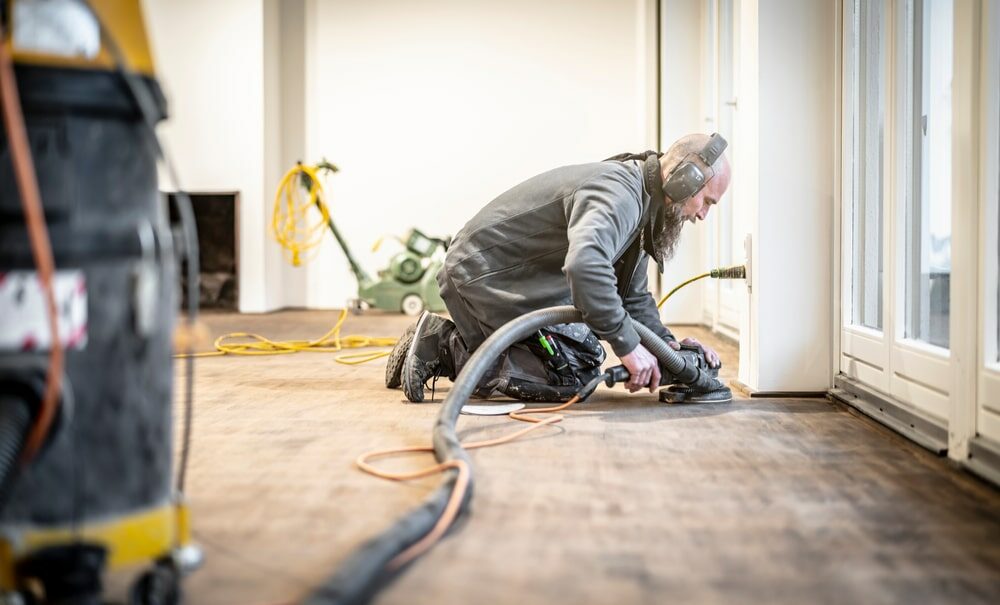
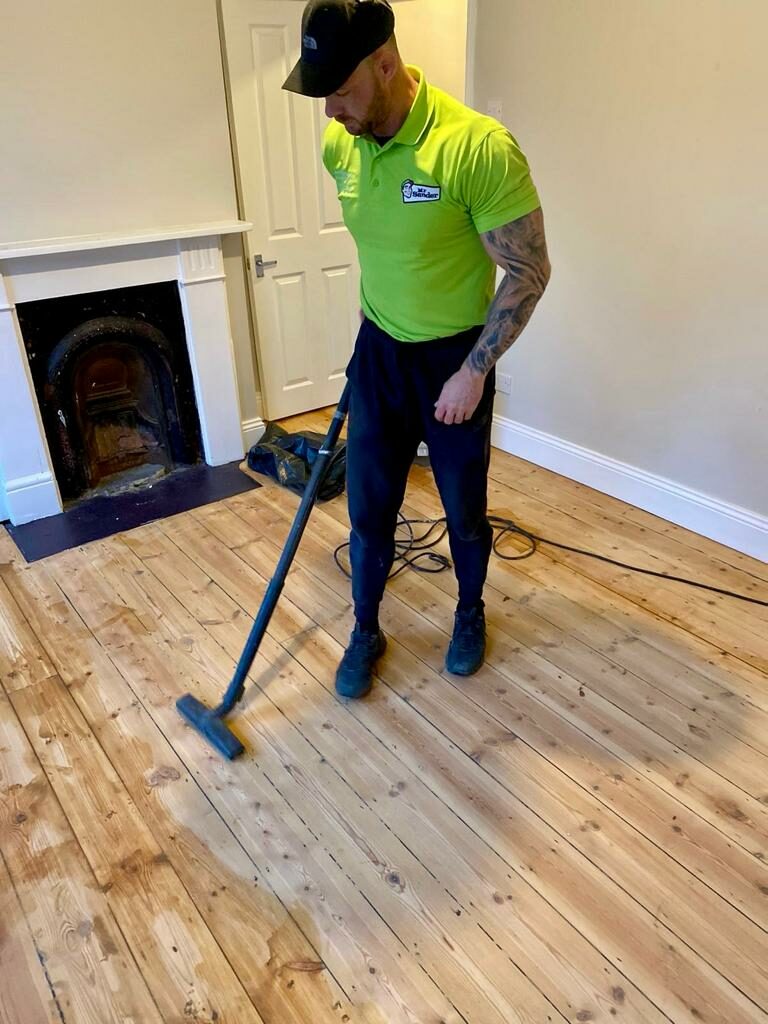
Sanding
We provide virtually dust-free sanding with our continuous belt machinery with mobile extraction units, giving you a safer environment for your family.
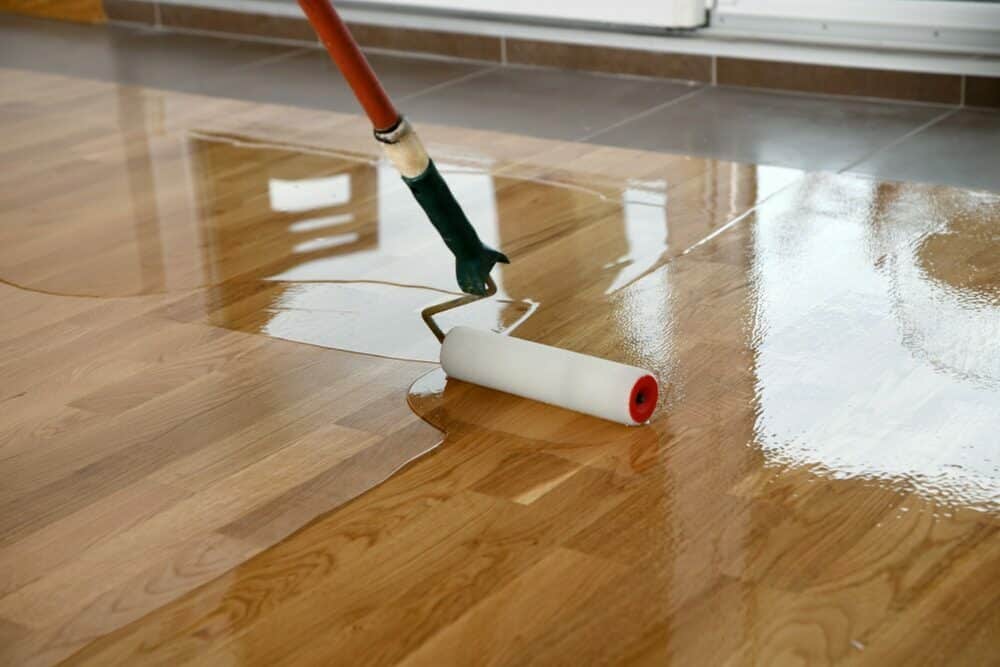
Oiling
This organic finish not only adds beauty to your home but also has exceptional water-repellent characteristics, making it easier to clean and maintain.
Waxing
This natural floor finish offers the softest and most mellow appearance – and leaves your floor able to breath.
Buffing
Using soft buffing machines (and hand-polishing where required) will bring a wonderful sheen to your newly-finished floor.
Repairs
We offer a full assessment of your wooden floors to determine what repairs are needed to provide the perfect working surface for the later stages of sanding, staining and sealing.
Restoration
We offer a comprehensive restoration process designed to address floors that are improperly fitted or damaged over time through wear and tear.
Request a fixed price quote for your wood floor restoration now
Simply enter your postcode below to get started.
Services
Wood Floor Sanding Wood Floor Restoration Wood Floor Scratch Repair Squeaky Wood Floor Repair Parquet Floor Sanding Parquet Floor Restoration Commercial Floor Sanding Church Floor Sanding Community Centre Floor Sanding School Floor Sanding Gap Filling Gap Filling with ResinCopyright © Mr Sander®
Privacy & Cookies Terms & Conditions Complaints Procedure Cancellation Rights Sitemap

Get An Instant Price Estimate Before You Go…
Simply enter the rooms you need sanded and we’ll provide you with a price estimate instantly! Try our price calculator now.
Get a Price Estimate NowLocal Floor Sanding Experts
Over 500 5-Star Reviews
Safe, Dust Free Sanding
Operating Since 1994