London:
Nationwide:
25,000+
Floors Restored
27 Years Experience
Wood Flooring Association Certified
How to Sand Tight Spaces with an Orbital Sander
Posted on August 27, 2023
Floor sanding techniques
Mastering Tight Spaces: Sanding with an Orbital Sander
You know the saying: It’s not just about the tool, but the hand that wields it. Indeed, when it comes to DIY endeavours, a seasoned craftsman learns not just to master their tool but to understand its nuances and temperament. The orbital sander is a case in point. Yet, when faced with tight spaces, even the most experienced woodworker may find themselves slightly at odds. It’s here that the dance of finesse meets the rhythm of technique. And so, my fellow artisans, here lies the tale of how to court those tight corners and impossible nooks with an orbital sander.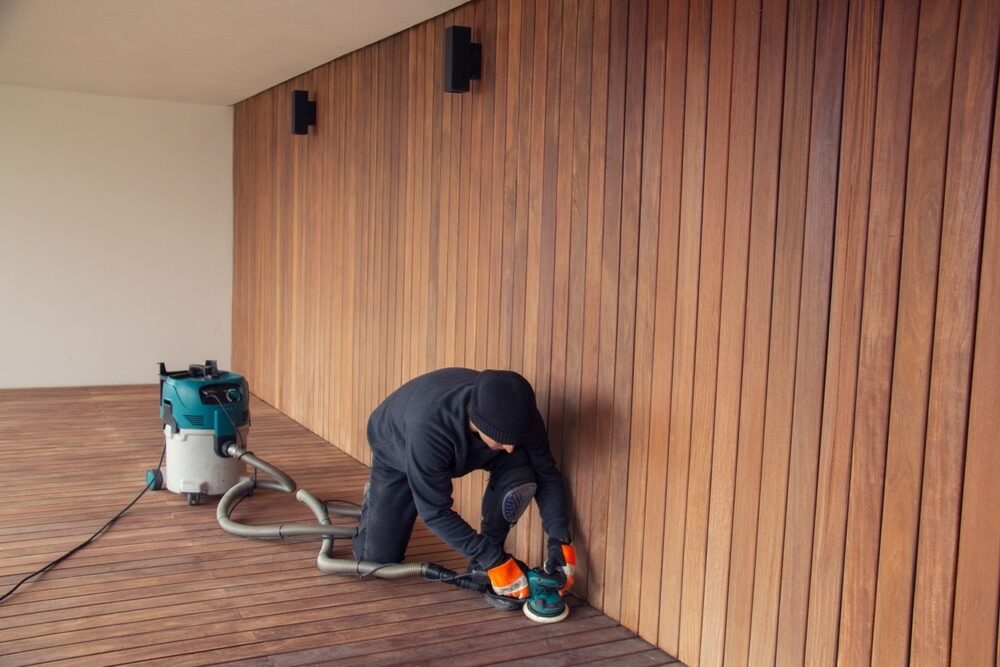
I. First, Acquaint Yourself
At the outset, it’s crucial to understand what you’re working with. Unlike its belt-driven cousin or the manual sandpaper, an orbital sander is unique. It oscillates in small circles, or orbits if you will, allowing for a fine and smooth finish. The Limitations: Orbital sanders are nifty, but they are broad, with rounded edges. They’re not naturally cut out for tight spaces. However, this can be circumvented in the hands of a craftsman who knows a trick or two.II. Pre-Sand Rituals
Before you even think about tackling those tight spots, it’s wise to prep your space.- Clear Debris: Dust and detritus are your enemies. They can get caught under your sander and scratch the surface. A quick brush or blow, and you’ve got a cleaner canvas.
- Pick Your Grit: Depending on the condition of your wood and your desired finish, the grit of the sandpaper is paramount. Start coarse if there’s a lot to remove, then move to finer grains for a polished finish.
III. The Dance with Tight Corners
Now, to the bit you’ve been waiting for:- Angle the Sander: One does not need to have the whole sander base on the surface. Use a slight angle, allowing just a part of the sanding disc to make contact with the tight corner. It’s less about power and more about precision.
- Gentle Pressure: While in tighter spots, exert only gentle pressure. You’re not wrestling the wood; you’re merely courting it.
- Keep it moving: Don’t let the sander dwell too long in one spot. It can lead to uneven finishes. Think of it as a waltz—graceful, flowing, consistent.

IV. Hand Sanding: The Secret Weapon
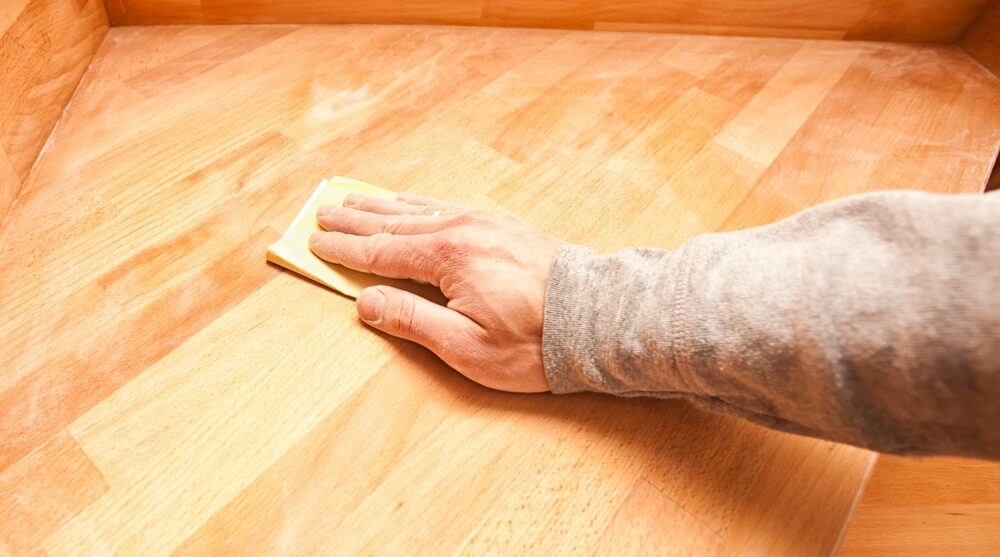
There’s no shame in admitting that sometimes even the mightiest of tools needs a human touch. For those incredibly tight spaces where even the best orbital manoeuvres fail:- Sandpaper Strips: Cut thin strips of sandpaper. Hold with your fingers or wrap around a flat stick. Use this to reach the tightest spots.
- Folding the Sandpaper: For edges and corners, a folded piece of sandpaper can work wonders. It gives you more control and a sharp edge to work with.
- Mimic the Orbital Motion: Even when hand sanding, try to replicate the circular motion of the orbital sander. It ensures consistency in the texture of the sanded surface.
V. Finishing Touches
After you’ve navigated the labyrinth of tight spaces and nooks, it’s wise to give your work a once-over.- Wipe Down: Use a damp cloth to wipe away any residual sawdust.
- Inspect: Take a moment. Let your fingers glide over the surface. Feel for any rough spots or inconsistencies. If necessary, give those spots another go.
- Seal or stain: Depending on your project, you might want to seal, paint, or stain the wood. This is the final flourish, the encore, in your woodworking concert.

VI. Embracing Adaptations: Advanced Techniques
In the ever-evolving world of woodwork and design, sometimes the most ingenious methods emerge from the need to overcome the challenges that tools present.- Attachment Adoptions: Market research can be a boon. Some manufacturers offer specialised attachments for orbital sanders designed to get into tighter spaces. If you find yourself frequently wrestling with compact areas, it might be worth the investment.
- Masking Boundaries: When working near edges or delicate areas, using masking tape can help delineate your working area. It serves as a physical barrier, ensuring the sander doesn’t stray and damage parts you don’t want sanded.
- Variable Speed Settings: Many modern orbital sanders come with variable speed settings. When dealing with tight spaces, using a slower speed can offer greater control. However, once you get the hang of it, increasing the speed can expedite the process.
- The Light’s Embrace: It might sound obvious, but good lighting is essential. Especially in tight spots, shadows can play tricks on your eyes. Use portable lights or work lamps to illuminate your workspace and highlight areas that might still need attention.
- The Value of Breaks: Sanding, especially in intricate spots, requires immense concentration. Taking short breaks can reduce fatigue and ensure your work remains top-notch throughout the process.
VII. The Philosophy of Woodworking
It’s crucial to remember that woodworking isn’t just a physical task but an emotional journey. Each piece of wood has its own character, its quirks, and its challenges. Embracing these can transform your approach. It’s less about imposing your will on the wood and more about understanding its nature and working in harmony. When faced with tight spaces, instead of viewing them as obstacles, see them as opportunities—opportunities to hone your skill, to innovate, and to produce a piece of work that truly stands out. Every groove, every grain, and every tight nook is a chapter in your project’s story. How you choose to navigate and shape these chapters can make all the difference. With these additional techniques and a shift in perspective, even the most intricate projects become not just doable, but enjoyable. Remember, it’s often the challenges we face in our craft that lead to the most rewarding outcomes.Conclusion: The Satisfying Afterglow
As with any skill, the mastery of sanding tight spaces with an orbital sander requires patience, practice, and a pinch of ingenuity. The reward, however, is a testament to the beauty of craftsmanship—a seamlessly smooth finish that stands as a testament to one’s dedication and effort. So, the next time you find yourself daunted by those tight spaces and impossible corners, remember this: with the right technique, even the broadest of tools can find their way into the heart of the narrowest spaces. Embrace the challenge, and let your work shine.Some Useful Links:
- Stairs Sanding & Refinishing
- Floor Sanding Services
- School Floor Sanding
- Wood Floor Restorations
- Wood Floor Repairs
- Wood Floor Polishing
More from our Blog:
How to Use an Orbital Sander on Stairs The Pros and Cons of DIY Orbital Sanding for Floor Restoration How to Refinish Parquet Floors with Orbital Sanding Orbital Sanding Techniques for Pine Floors How to Achieve a Matte Finish with Orbital Sanding The Differences Between Orbital and Drum Sanding for Floors How to Prep Your Space for Orbital Sanding Advanced Techniques for Orbital Sanding on Wood Floors The Science Behind Orbital Sanding for Floor Restoration Orbital Sanding for Hardwood Floors: Techniques and Tips
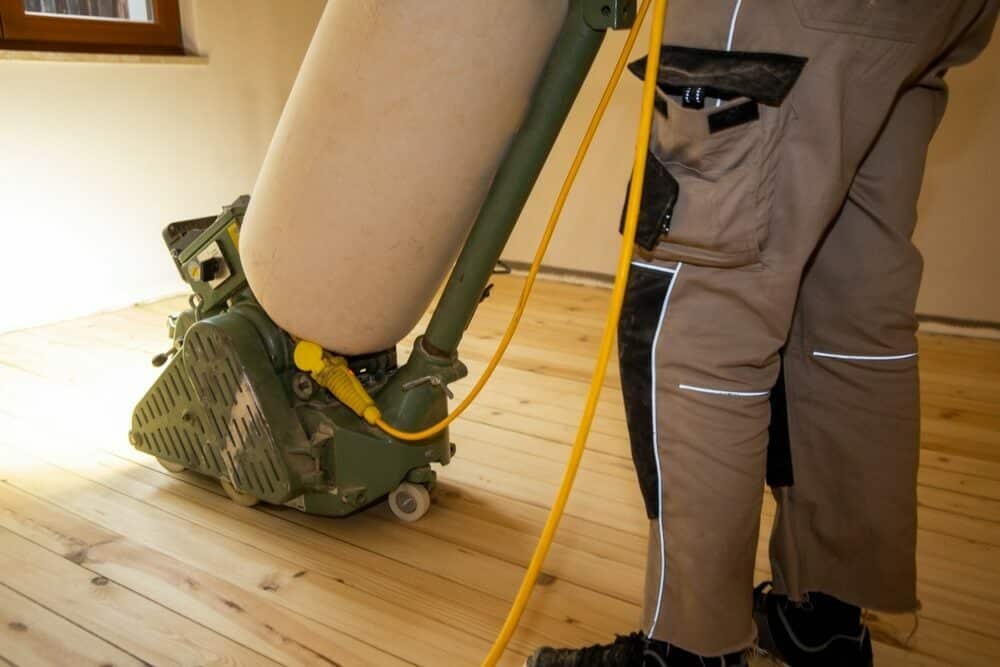
Sanding
We provide virtually dust-free sanding with our continuous belt machinery with mobile extraction units, giving you a safer environment for your family.
Oiling
This organic finish not only adds beauty to your home but also has exceptional water-repellent characteristics, making it easier to clean and maintain.
Waxing
This natural floor finish offers the softest and most mellow appearance – and leaves your floor able to breath.
Buffing
Using soft buffing machines (and hand-polishing where required) will bring a wonderful sheen to your newly-finished floor.
Repairs
We offer a full assessment of your wooden floors to determine what repairs are needed to provide the perfect working surface for the later stages of sanding, staining and sealing.
Restoration
We offer a comprehensive restoration process designed to address floors that are improperly fitted or damaged over time through wear and tear.
Request a fixed price quote for your wood floor restoration now
Simply enter your postcode below to get started.
Services
Wood Floor Sanding Wood Floor Restoration Wood Floor Scratch Repair Squeaky Wood Floor Repair Parquet Floor Sanding Parquet Floor Restoration Commercial Floor Sanding Church Floor Sanding Community Centre Floor Sanding School Floor Sanding Gap Filling Gap Filling with ResinCopyright © Mr Sander®
Privacy & Cookies Terms & Conditions Complaints Procedure Cancellation Rights Sitemap

Get An Instant Price Estimate Before You Go…
Simply enter the rooms you need sanded and we’ll provide you with a price estimate instantly! Try our price calculator now.
Get a Price Estimate NowLocal Floor Sanding Experts
Over 500 5-Star Reviews
Safe, Dust Free Sanding
Operating Since 1994