London:
Nationwide:
25,000+
Floors Restored
27 Years Experience
Wood Flooring Association Certified
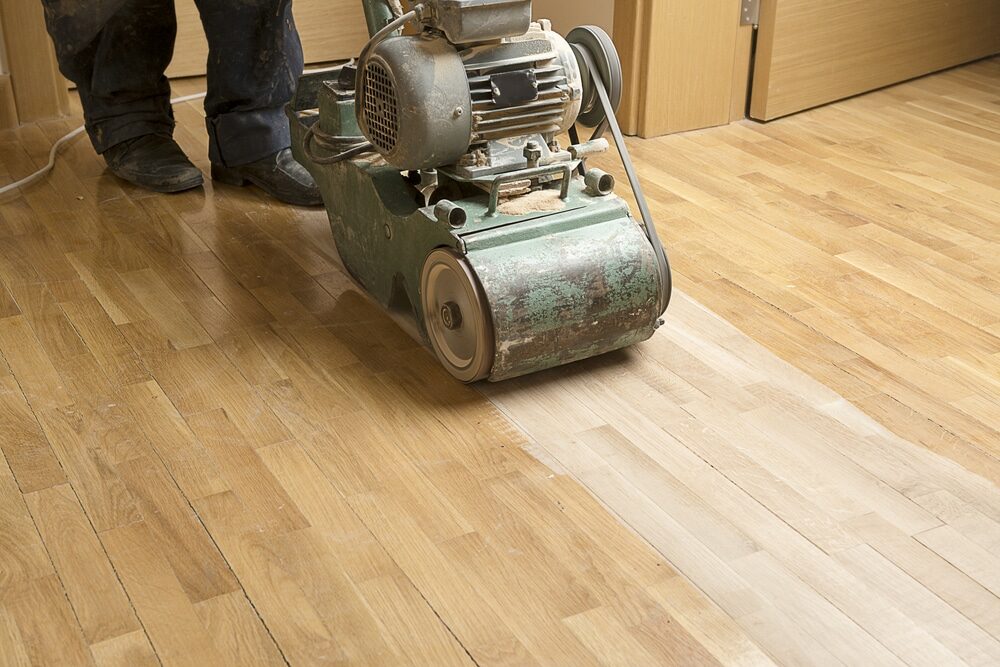
How to Sand and Refinish Wooden Floors with a Drum Sander
Posted on August 22, 2023
Drum sanding
Mastering the Art of Sanding & Refinishing Wooden Floors
Wooden floors are the very bones of our homes. Each plank tells a story: a whisper of footsteps from yesteryear, the hearty laughs of loved ones echoing in their fibres, the myriad shadows of changing seasons. Alas, as time progresses, even the finest wood gets worn. And thus, the act of sanding and refinishing becomes not just a process but a rebirth. One might surmise that reviving such a space is beyond the remit of the ordinary, but with a steady hand, a discerning eye, and the heart of an artist, one can transform a tattered canvas into a work of timeless beauty. The drum sander is our instrument in this symphony of renewal, and here’s how we, together, shall orchestrate the revival.
1. Preparation is key.
Before a single grain of sand meets the surface, one must prepare. Remove all furnishings and protect yourself with safety goggles and a mask. The dance of the drum sander is beautiful but generates copious dust. Inspect the floor with care. Remove any protruding nails or staples, and fill larger gouges with wood filler. Your canvas must be primed for the touch of the sander.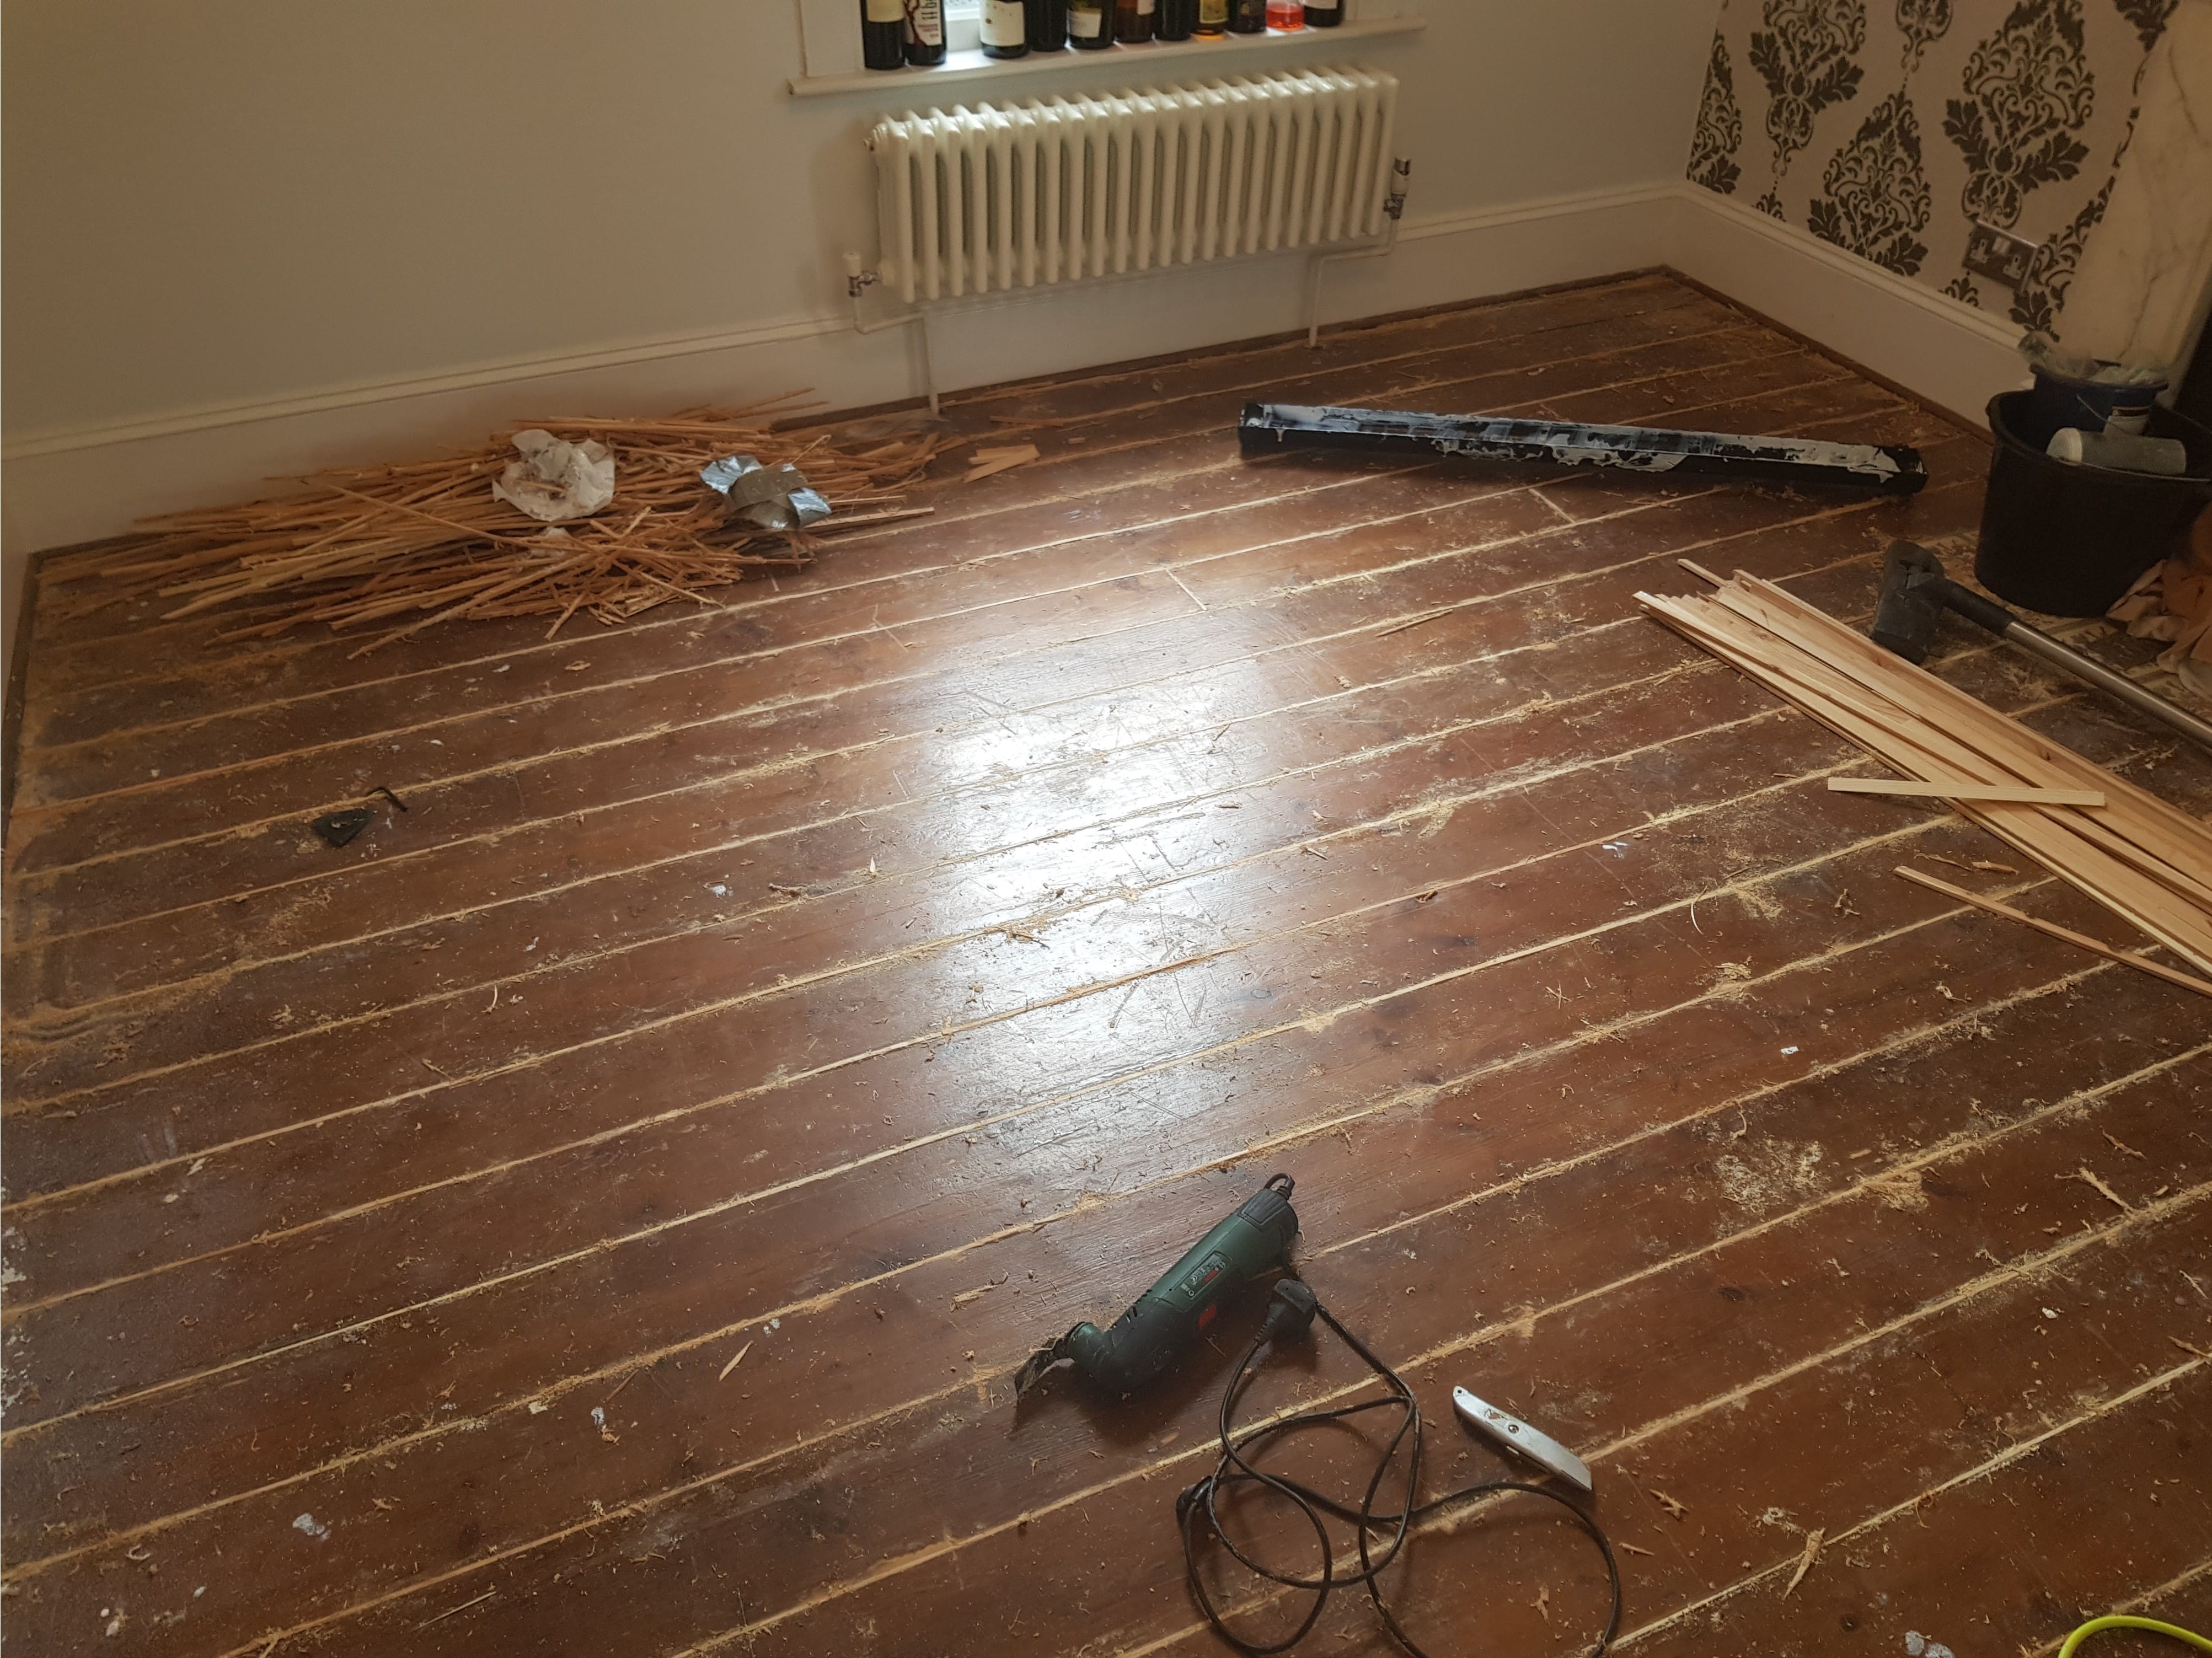
2. Choosing the Right Sandpaper
As a painter selects brushes, so too must one choose the grit of sandpaper. For floors that are rough and have deep imperfections, start with a coarse 36-grit. For floors with fewer blemishes, a 60-grit is more appropriate. Eventually, you will transition to finer grits, such as 80 and then 120, to achieve that seamless finish.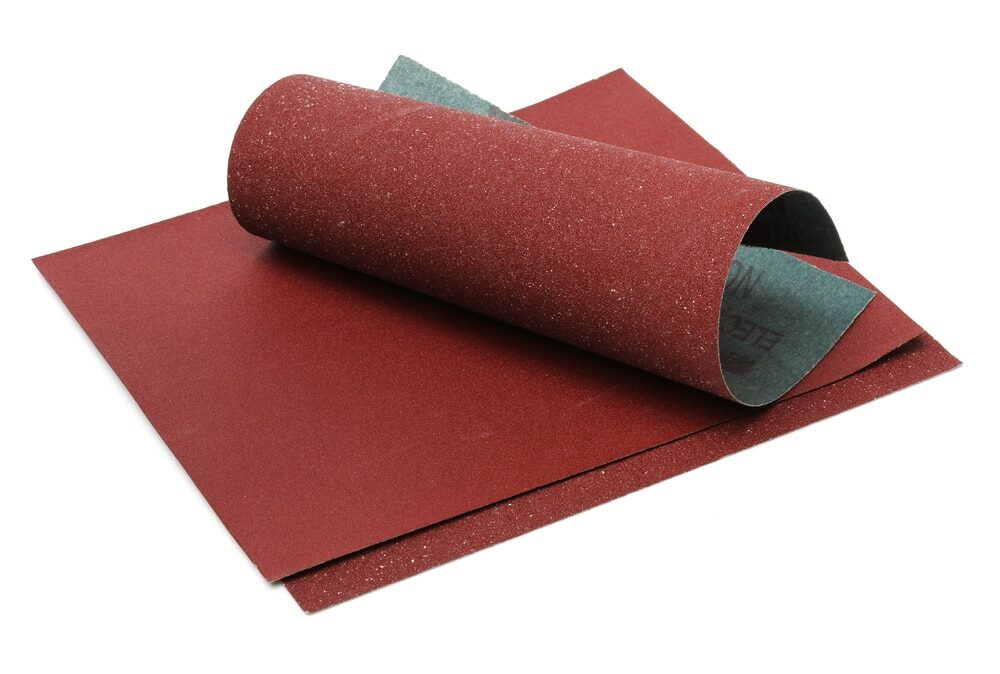
3. The First Dance: Rough Sanding
With your drum sander loaded, approach the floor with respect and intention. Starting at one end of the room, move the sander forward, always going with the grain of the wood. Hold the handles with an assertive yet gentle grip. Allow the machine to glide without forcing or rushing its movements. At the end of each pass, lift the drum, turn the machine, and overlap your next pass slightly with the previous one. Continue in this fashion, progressing through the room. The floor will gradually shed its imperfections, revealing a smoother underbelly.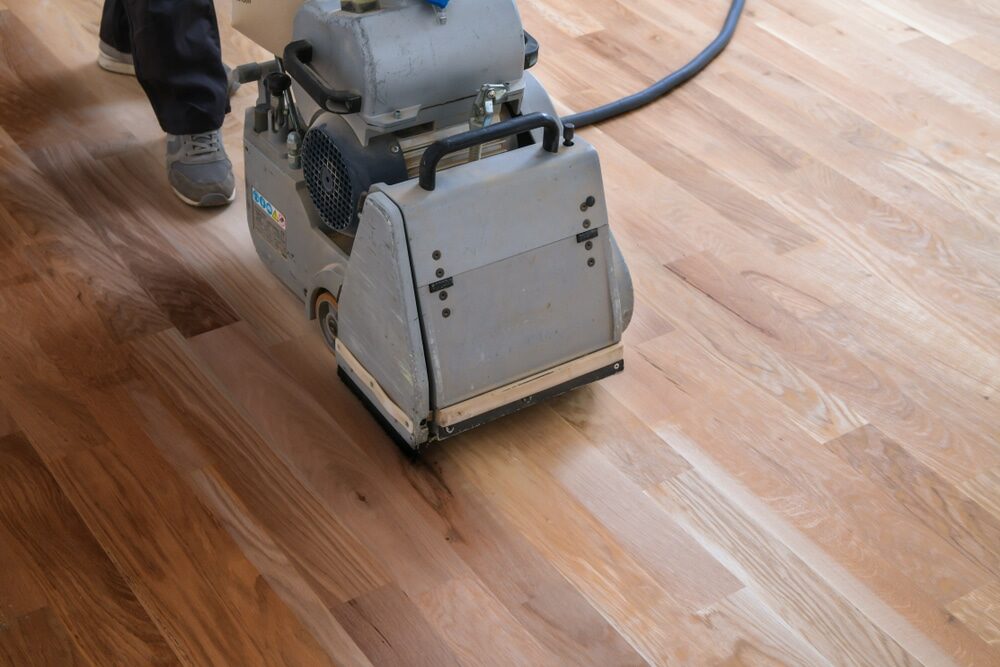
4. Edges and Corners
Our trusty drum sander, though masterful, cannot reach every nook and cranny. For this, employ an edge sander or hand sander, ensuring that all areas, even the most reticent corners, are unified in their smoothness.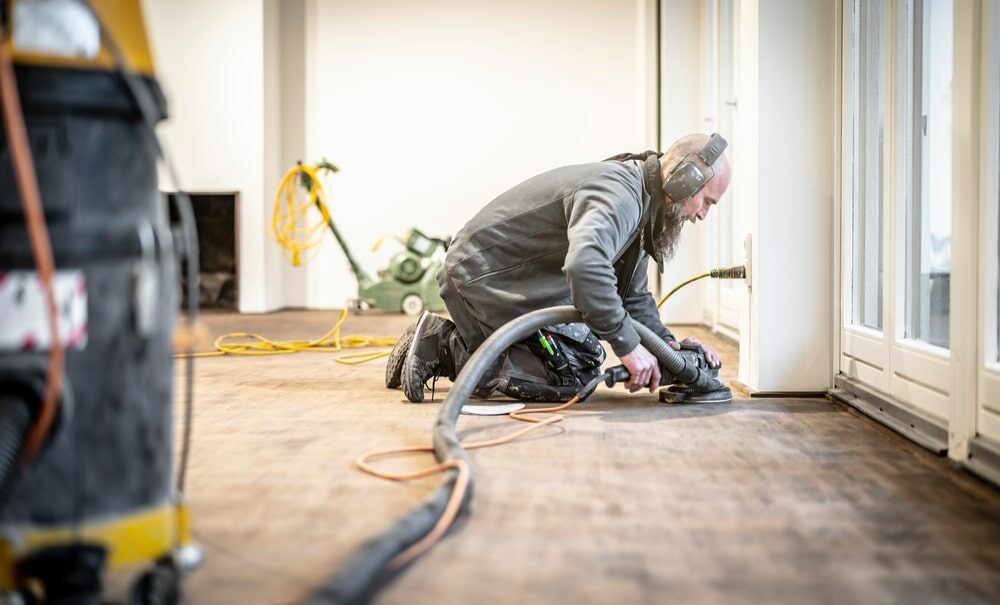
5. The Subsequent Dances: Fine Sanding
Replace the coarse sandpaper on your drum sander with the next grade. Repeat the process, refining and polishing the wood further. Progress to the finest grit, ensuring a finish as smooth as the surface of a tranquil lake.6. Clearing the Dust
In this act of creation, dust is an inevitable byproduct. Vacuum the floor, making certain that all remnants of dust are gone. A tack cloth, lightly dampened, can be employed to wipe the floor and capture any lingering particles.7. The Finishing Touch
Here, we bless the wood with a new lease on life. Opt for an oil-based or water-based polyurethane. Using a high-quality brush or floor applicator, apply the finish with the grain. Allow it to dry and set as per the manufacturer’s recommendations. A second coat, or even a third, may be applied for enhanced durability, ensuring ample drying time between each.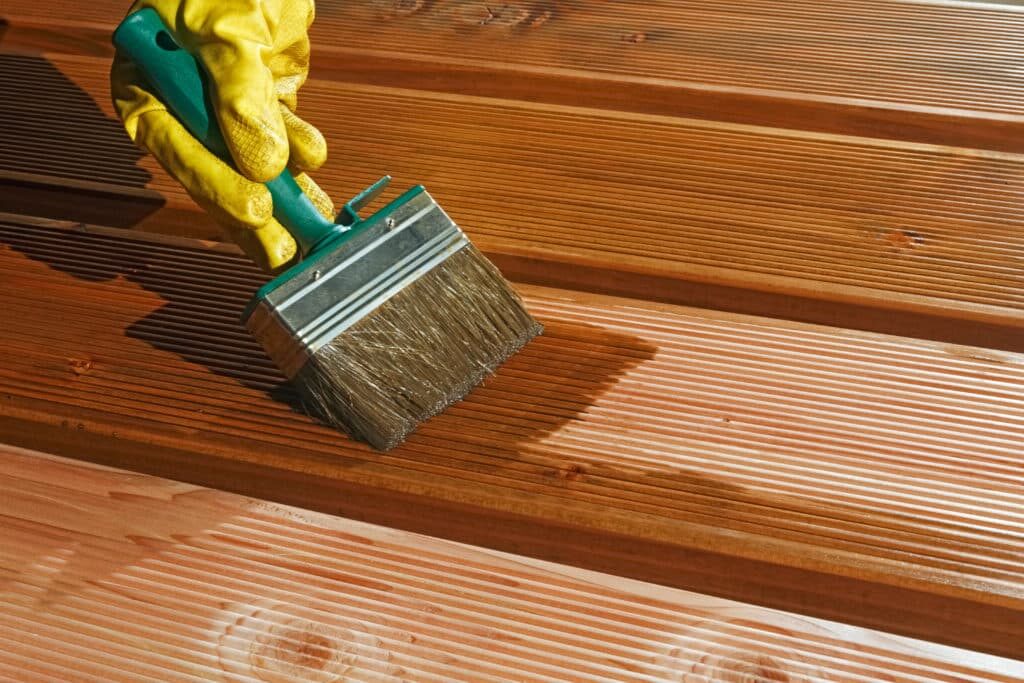
8. Admiration and aftercare
Once your floor is refinished, treat it with reverence. Avoid walking on it for at least 24 hours, and abstain from placing heavy furniture on it for several days.9. The Art of Maintenance
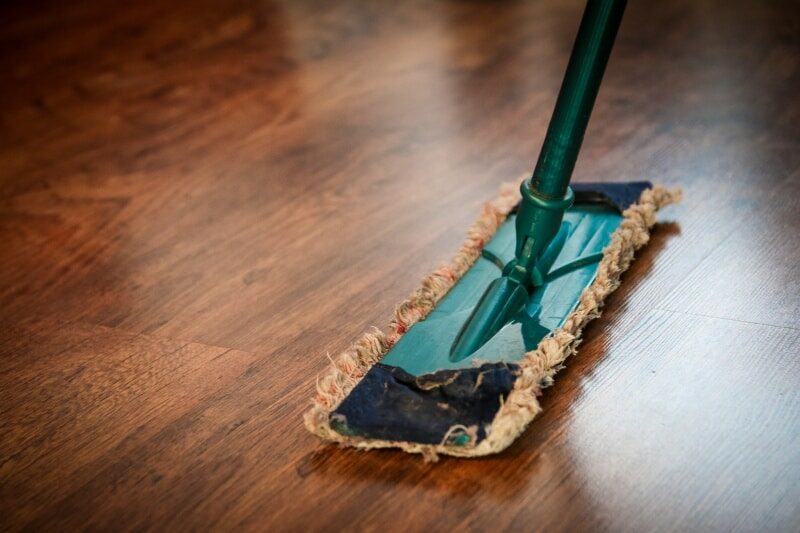
Now that you’ve resurrected the beauty lying dormant within your wooden floors, the journey doesn’t end. No, it is a continuous dance of care and affection.- Regular Cleaning: Sweep or vacuum your floor regularly, ensuring dust and dirt don’t scratch your newfound finish. If you choose to mop, make sure it’s damp, not wet. Water is wood’s arch-nemesis, and excess moisture can mar your masterpiece.
- Protect Against Scratches: Place protective pads beneath furniture legs. As they say, it is better to prevent a scar than to mend one. Also, if you’re in the habit of wearing high heels or shoes indoors, consider designating a no-shoe policy. The beauty of the wood deserves the gentle touch of bare feet or soft slippers.
- Renew When Needed: Over time, even the most well-cared-for floor may lose some of its lustre. Before this deterioration goes too deep, consider lightly sanding and applying a fresh coat of finish. It’s much like refreshing one’s soul with a weekend retreat.
10. Embracing Imperfections
While our endeavour is to achieve perfection, remember that each mark, each tiny blemish, has a story to tell. Instead of bemoaning a tiny scratch or dent that appears over time, embrace it. It’s these imperfections that lend character and history.Concluding Thoughts
Refinishing a wooden floor is not merely a task; it’s a poetic journey, a dance of rejuvenation. In every grain and groove lies a memory, a testament to time’s passage. Our role, with the drum sander as our partner, is to ensure that this chronicle remains vibrant and vivid. As you walk on this newly finished surface, let each step be a celebration, a thanksgiving. And as the years roll on, know that with care and love, your wooden floor will remain a living, breathing testament to your home’s soul. With these reflections, I urge you to look down, not just with your eyes but with your heart. For beneath your feet lies not just wood but history, memories, and tales waiting to be written. Cherish it, for it is an art that holds the very essence of home.Some Useful Links:
- Stairs Sanding & Refinishing
- Floor Sanding Services
- School Floor Sanding
- Wood Floor Restorations
- Wood Floor Repairs
- Wood Floor Polishing
More from our Blog:
Drum Sanding Techniques for Removing Old Stains and Finishes The Most Common Mistakes in Drum Sanding Wooden Floors The Best Drum Sander Brands for Professional Floor Sanding The Pros and Cons of Drum Sanding versus Orbital Sanding DIY Tips for Successful Drum Sanding of Wooden Floors How to Choose the Right Drum Sander for Floor Sanding


Sanding
We provide virtually dust-free sanding with our continuous belt machinery with mobile extraction units, giving you a safer environment for your family.
Oiling
This organic finish not only adds beauty to your home but also has exceptional water-repellent characteristics, making it easier to clean and maintain.
Waxing
This natural floor finish offers the softest and most mellow appearance – and leaves your floor able to breath.
Buffing
Using soft buffing machines (and hand-polishing where required) will bring a wonderful sheen to your newly-finished floor.
Repairs
We offer a full assessment of your wooden floors to determine what repairs are needed to provide the perfect working surface for the later stages of sanding, staining and sealing.
Restoration
We offer a comprehensive restoration process designed to address floors that are improperly fitted or damaged over time through wear and tear.
Request a fixed price quote for your wood floor restoration now
Simply enter your postcode below to get started.
Services
Wood Floor Sanding Wood Floor Restoration Wood Floor Scratch Repair Squeaky Wood Floor Repair Parquet Floor Sanding Parquet Floor Restoration Commercial Floor Sanding Church Floor Sanding Community Centre Floor Sanding School Floor Sanding Gap Filling Gap Filling with ResinCopyright © Mr Sander®
Privacy & Cookies Terms & Conditions Complaints Procedure Cancellation Rights Sitemap

Get An Instant Price Estimate Before You Go…
Simply enter the rooms you need sanded and we’ll provide you with a price estimate instantly! Try our price calculator now.
Get a Price Estimate NowLocal Floor Sanding Experts
Over 500 5-Star Reviews
Safe, Dust Free Sanding
Operating Since 1994