London:
Nationwide:
25,000+
Floors Restored
27 Years Experience
Wood Flooring Association Certified
How to Prep Your Space for Orbital Sanding
Posted on August 27, 2023
Floor sanding techniques
Mastering Orbital Sanding: The Ultimate Room Preparation Guide
When it comes to orbital sanding, preparation is not merely a task; it’s an art. You, dear reader, stand on the precipice of woodworking prowess, where mere seconds of carelessness can spell disaster for your floor or furniture piece. So, let us embark on a journey—one that meanders through the byways of impeccable preparation for that inevitable waltz with the orbital sander.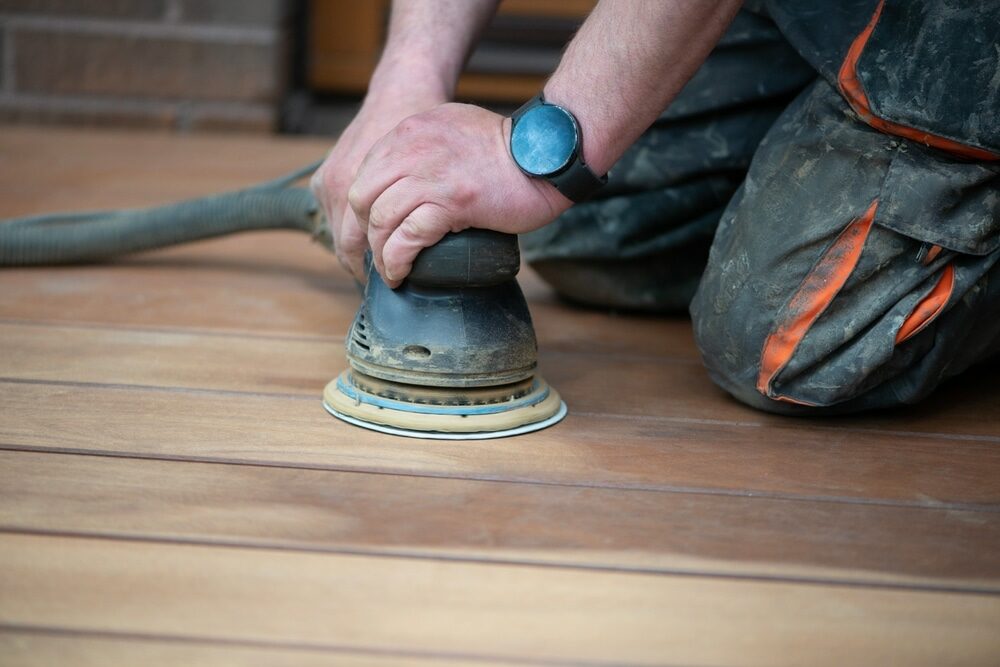
1. Understand Thy Enemy
Before delving into the nitty-gritty of room prep, familiarise yourself with the beast you’re about to unleash. The orbital sander, my friend, is not a trinket to be trifled with. Its rotating and vibrating mechanisms allow it to remove material in a jiffy. In the hands of an amateur without due preparation, chaos will undoubtedly ensue.
2. Eject the delicate and the priceless.
From porcelain figurines to your cherished family portraits, rid your workspace of them! There’s more airborne dust in a sanding session than at a desert music festival, and you wouldn’t want Aunt Mabel’s 100-year-old vase to become a casualty.3. Drop Cloths Are Your Best Mates
Ever been to a good British picnic? Just as you’d lay out a blanket for your sandwiches, lay out a drop cloth for your room. Invest in heavy-duty canvas cloths. They’re less slippery than plastic and sturdier, and you won’t end up doing a slapstick skit with your sander in tow.4. Gag the vents
If your room boasts vents or air conditioning units, it’s imperative you cover them. A simple masking tape and plastic sheet ensemble will do the trick. Remember, dust is like that gossiping neighbour—it gets everywhere, and fast!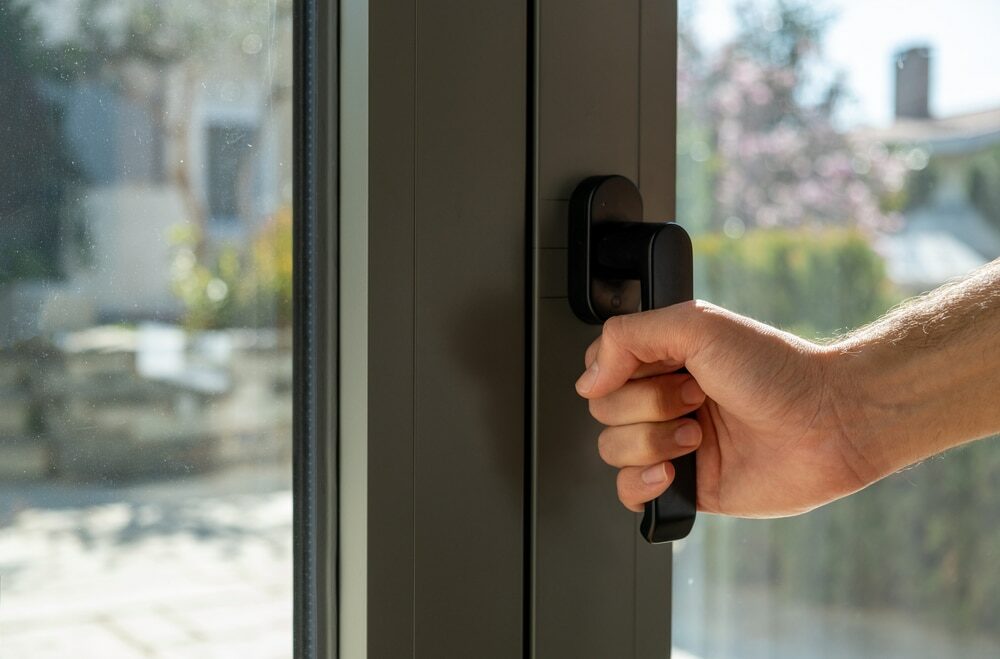
5. Illuminate Your Realm
Orbital sanding is not the time for mood lighting. Equip yourself with strong, movable lighting. Being able to spot imperfections or missed patches is crucial. As the British say, “It’s no use shutting the stable door after the horse has bolted.”6. Safety First, Then Tea
Safety goggles, ear protectors, and a quality dust mask are non-negotiable. And, while a cuppa is undeniably the British solution to every predicament, ensure it’s enjoyed away from the sandy war zone.
7. A Preliminary Clean
Before you even think about powering up that sander, give your floor or furniture a thorough cleaning. Remove any nails, staples, or splinters. A simple brush-down can prevent scratches or gouges that might have you rueing the day you took on this endeavour.8. Barrier Building
Partition the sanding area if possible. It’s about minimising the impact. Hang plastic sheets from the ceiling to the floor, creating a makeshift sanding chamber. This will keep the dust confined, ensuring the rest of your dwelling remains as clean as a whistle.9. Your Tools of the Trade
It’s not enough to have your orbital sander at the ready. Keep sandpaper in various grits close by, a vacuum cleaner for interim cleans, and tack cloths to wipe down surfaces post-sanding.10. Tact and Technique
Preparation isn’t just about the space; it’s about the sander-wielder too. Before engaging with your project, practice on scrap wood. Understand the pressure needed, get a feel for the machine, and ensure you’re moving it in the right direction. There’s wisdom in the old adage, “Measure twice, cut once. Or in this case, “practice twice, sand once.”
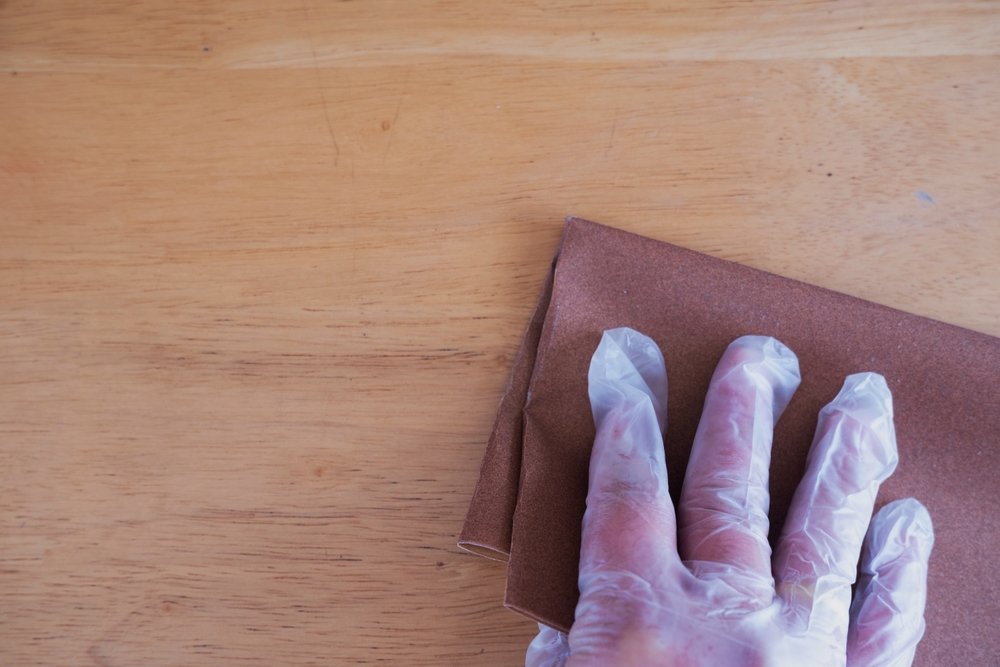
The Nuances of the Right Sandpaper
Before you plunge into the depths of sanding, ponder for a moment your choice of sandpaper. As varied as our beloved British weather, sandpaper comes in a vast array of grits. Starting with a coarser grit lets you remove imperfections with ease, while subsequent finer grits give your workpiece the finish it deserves.- 60–80 grit: This is your starter, much like a good English breakfast. It’s for heavy stock removal, be it old finishes or deep scratches.
- 100–150 grit: Think of this as your midday sandwich. It’s the in-between, perfect for smoothing surfaces after the coarse onslaught.
- 180–220 Grit: Ah, the afternoon tea of grits. It’s your finishing touch, ensuring surfaces are smooth as a scone with clotted cream.
Anticipate and prepare for the dust storm.
Beyond the physical artefacts in your space, mentally prepare for the storm—the dust storm, that is. Orbital sanding generates a remarkable volume of dust.- Ventilation: Though we’re sealing off vents to avoid external contamination, ensure there’s still a means for fresh air to get in. Without decent ventilation, it’s not just the airborne sawdust; it’s also the potential for harmful fumes to become an issue, especially if you’re working with treated wood.
- Dust Collection Systems: If your sander has a dust collector, brilliant! If not, consider investing in an external one. Reducing airborne particles not only aids in the cleanup but also helps in getting a smoother finish, as you can better see what you’re doing.
- Dress for the Occasion: Wearing the appropriate attire isn’t just about safety goggles and dust masks. Don old clothing; you won’t mind getting covered in wood particles. Remember, sanding is a messy affair, much like a British pie-eating contest.
Pacing: The Art of Taking Your Time
In our fast-paced world, it’s tempting to rush through tasks. However, orbital sanding isn’t one to be hurried. Maintaining a steady, unhurried pace ensures uniformity. Rushing could lead to uneven removal or, worse still, gouges in your precious workpiece. After all, Rome wasn’t built in a day, and neither was the Tower of London.A Spot of Aftercare
Once you’ve whizzed your way through sanding, a little bit of aftercare goes a long way.- Vacuuming: Post-sanding, there’s bound to be residual dust. Give the area a good hoovering, ensuring you get into all those nooks and crannies.
- Tack Cloths: These are your unsung heroes. A swift wipe down with these sticky cloths will remove any lingering particles, preparing your surface splendidly for finishing.
In Conclusion
To wrap it up with a neat, British bow, orbital sanding can seem like a Herculean task. However, with judicious prep, you can ensure the process is smoother than a cup of Yorkshire tea. Put in the groundwork, respect the power of the sander, and you’ll have a finished product that would make even Her Majesty proud. And now, if you’ve followed these steps to the letter, I believe you’ve earned that cuppa. Cheers!Some Useful Links:
- Stairs Sanding & Refinishing
- Floor Sanding Services
- School Floor Sanding
- Wood Floor Restorations
- Wood Floor Repairs
- Wood Floor Polishing
More from our Blog:
Advanced Techniques for Orbital Sanding on Wood Floors The Science Behind Orbital Sanding for Floor Restoration Orbital Sanding for Hardwood Floors: Techniques and Tips Orbital Sanding vs. Other Floor Sanding Techniques: Which is Best? Common Mistakes to Avoid in Orbital Sanding for Floors Tips for Achieving Smooth Finishes with Orbital Sanding The Importance of Dust Extraction in Orbital Sanding The Role of Sandpaper in Orbital Sanding for Floors

Sanding
We provide virtually dust-free sanding with our continuous belt machinery with mobile extraction units, giving you a safer environment for your family.
Oiling
This organic finish not only adds beauty to your home but also has exceptional water-repellent characteristics, making it easier to clean and maintain.
Waxing
This natural floor finish offers the softest and most mellow appearance – and leaves your floor able to breath.
Buffing
Using soft buffing machines (and hand-polishing where required) will bring a wonderful sheen to your newly-finished floor.
Repairs
We offer a full assessment of your wooden floors to determine what repairs are needed to provide the perfect working surface for the later stages of sanding, staining and sealing.
Restoration
We offer a comprehensive restoration process designed to address floors that are improperly fitted or damaged over time through wear and tear.
Request a fixed price quote for your wood floor restoration now
Simply enter your postcode below to get started.
Services
Wood Floor Sanding Wood Floor Restoration Wood Floor Scratch Repair Squeaky Wood Floor Repair Parquet Floor Sanding Parquet Floor Restoration Commercial Floor Sanding Church Floor Sanding Community Centre Floor Sanding School Floor Sanding Gap Filling Gap Filling with ResinCopyright © Mr Sander®
Privacy & Cookies Terms & Conditions Complaints Procedure Cancellation Rights Sitemap

Get An Instant Price Estimate Before You Go…
Simply enter the rooms you need sanded and we’ll provide you with a price estimate instantly! Try our price calculator now.
Get a Price Estimate NowLocal Floor Sanding Experts
Over 500 5-Star Reviews
Safe, Dust Free Sanding
Operating Since 1994