London:
Nationwide:
25,000+
Floors Restored
27 Years Experience
Wood Flooring Association Certified
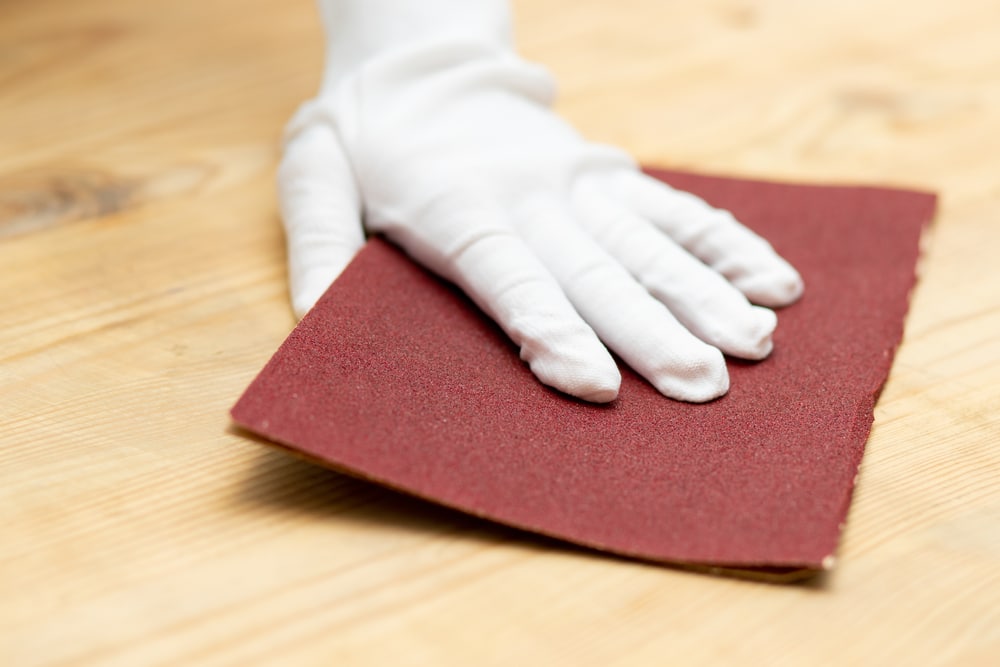
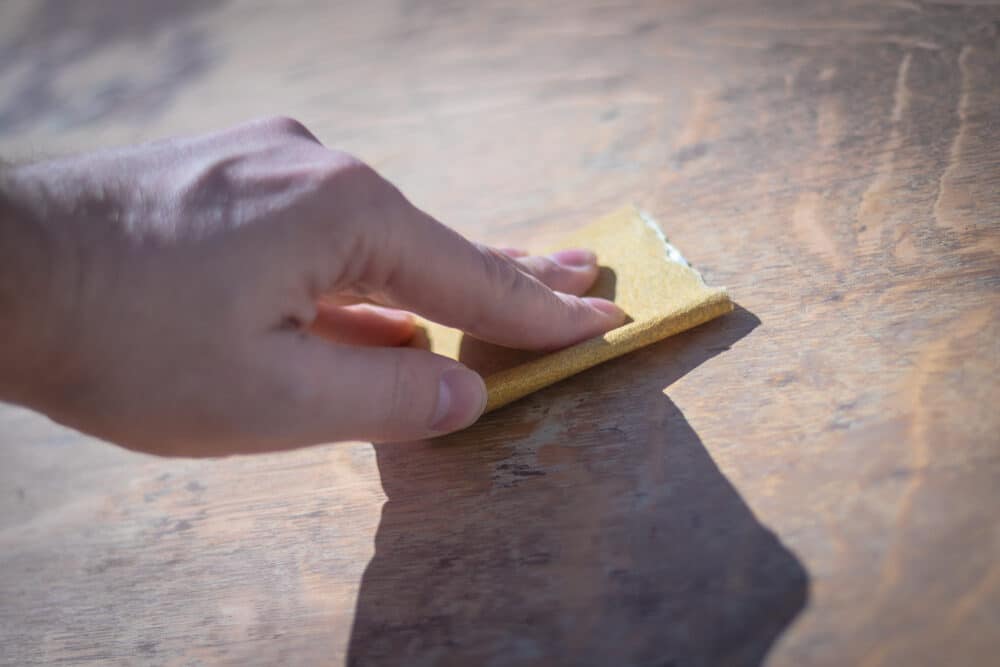
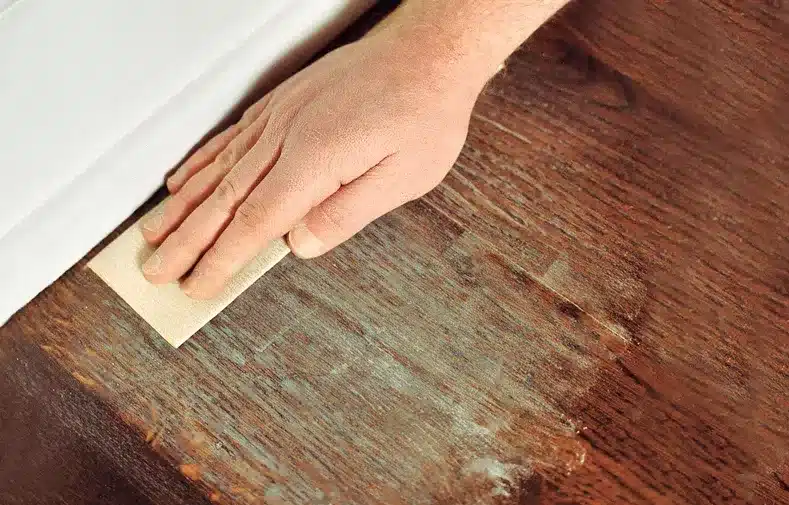
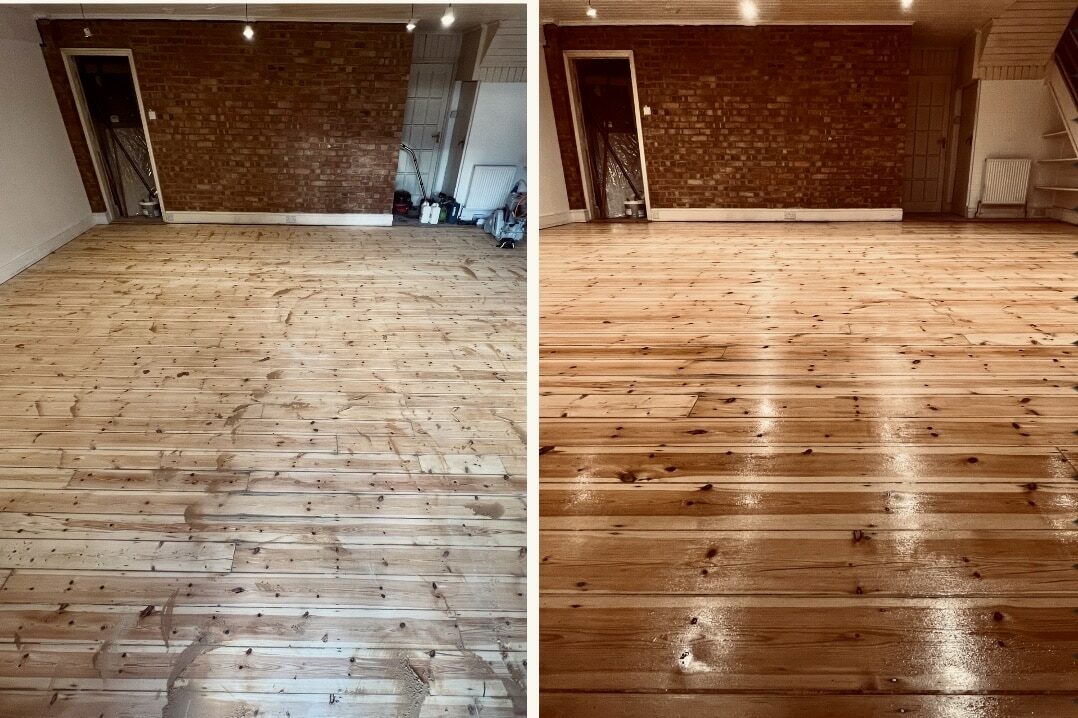
Hand Sanding for a Vintage Look on Wood Floors
Posted on January 23, 2024
Floor sanding techniques
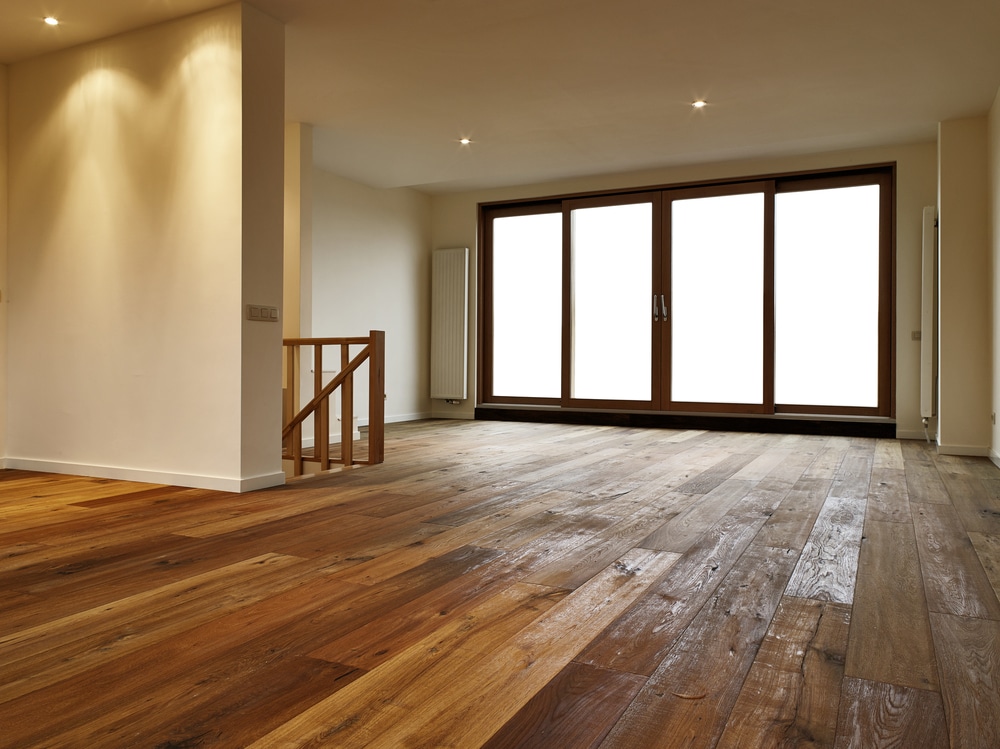
Mastering the Art of Hand Sanding for Vintage Wood Floors
When one embarks on a journey to rejuvenate the character of wooden floors, hand sanding stands as a testament to traditional craftsmanship and meticulous attention to detail. Unlike its mechanical counterparts, Wood Floor hand sanding is not just a method; it’s an art form, one that calls for patience, skill, and a deep understanding of the material at hand.
At the heart of this process lies the pursuit of a singular aesthetic—the vintage look. This style is not merely about creating a surface that appears aged; it’s about imbuing the wood with a story, a history that speaks through every grain and imperfection. In a world where the new is often celebrated, choosing to hand sand your wooden floors is a homage to the time-honoured, the enduring, and the classic.
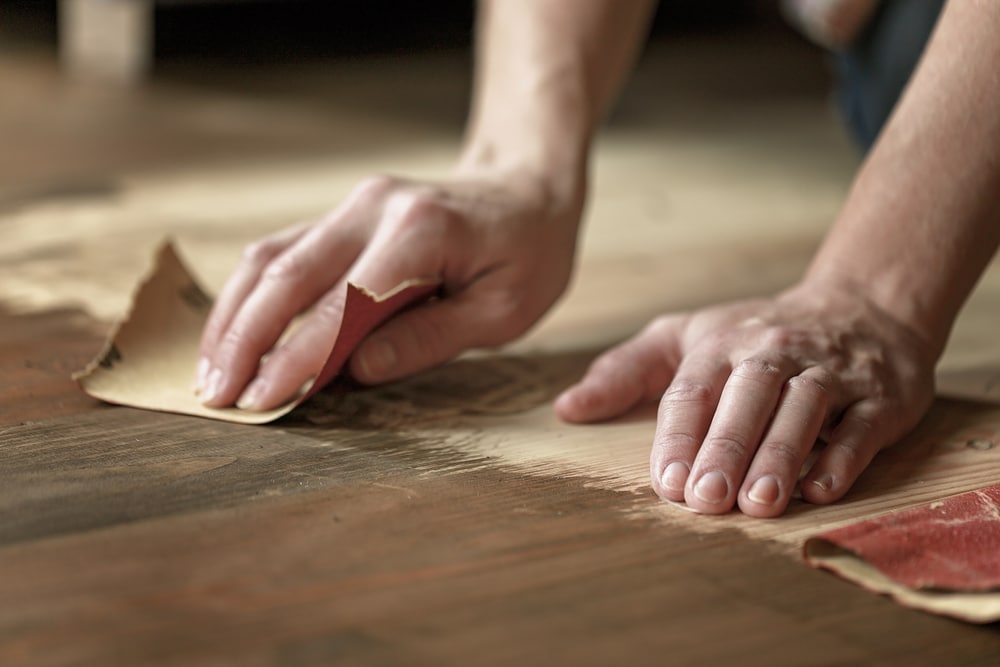
The act of hand-sanding is both meditative and physical. As you move rhythmically across the floor, there’s a connection that forms between you and the wood. Each stroke of the sandpaper removes a small part of the present, slowly uncovering the rich, hidden past of the timber. It’s a process that demands not just physical effort but also an appreciation of the subtleties of wood grain, the way light plays across the surface, and how each small imperfection contributes to the overall character of the floor.
This introduction aims to guide you through the journey of hand-sanding your wood floors. It’s not just a guide to technique, but an invitation to engage with your space on a deeper level. Whether you are a seasoned professional or a determined DIY enthusiast, the following chapters will provide you with the knowledge and inspiration you need to transform your wooden floors into a beautifully aged masterpiece, a testament to the timeless beauty of hand craftsmanship.
In the following sections, we will delve into why hand sanding is particularly suited for achieving a vintage look, the tools and materials you’ll need, a detailed guide to the process itself, and tips to ensure a flawless finish. We’ll also explore how to maintain your vintage wood floor, ensuring its character and charm endure for years to come.
The Vintage Appeal: Why Choose Hand Sanding?
In an era where speed and efficiency often take precedence, the choice to hand sand wood floors for a vintage look is a deliberate step back into a time where craftsmanship and detail were paramount. This section delves into the myriad reasons why hand sanding is the preferred method for those seeking to imbue their wooden floors with a sense of history and character.
Unparalleled Authenticity:
Hand sanding is not just a technique; it’s a gateway to authenticity. The vintage appeal is all about capturing a sense of history, and hand sanding does this beautifully. Each stroke of sandpaper is guided by the hand and eye, allowing for a level of control and attention to detail that machines simply cannot replicate. This process naturally creates a more nuanced, varied texture, giving the wood a genuinely aged appearance.
Tailored for Perfection:
Every wooden floor is unique, with its own quirks and patterns. Hand sanding allows for a bespoke approach, where the amount of pressure, direction of sanding, and even the grit of the sandpaper can be tailored to the specific characteristics of your floor. This customisation ensures that the best features of the wood are highlighted, accentuating its natural beauty and creating a one-of-a-kind look.
Gentle on the Wood:
Hand sanding is a much gentler process compared to mechanical sanding. This gentleness is particularly important when dealing with older, more delicate wood floors that could be damaged by the aggressive nature of power sanders. By hand-sanding, you preserve the integrity of the wood while still achieving the desired vintage aesthetic.
The Joy of Craftsmanship:
There is an undeniable satisfaction that comes from working with your hands. Hand-sanding connects you to your space in a way that mechanical methods cannot. It’s a labour of love, requiring time and effort, but the reward is a floor that’s not just a surface to walk on but a piece of art that tells a story.
Eco-Friendly Approach:
In today’s world, where environmental concerns are increasingly at the forefront, hand sanding emerges as an eco-friendlier option. It eliminates the need for electricity and reduces the amount of dust created in the process, making it a more sustainable choice for those conscious about their environmental footprint.
A Quieter, More Peaceful Process:
Unlike the noise and disruption caused by power sanders, hand sanding is a relatively quiet process. This aspect is particularly beneficial in residential areas or when working in spaces where noise pollution is a concern.
Materials and Tools You Will Need
Embarking on the journey of hand-sanding your wood floors to achieve that coveted vintage look requires not just skill and patience but also the right set of tools and materials. Below is a comprehensive list of what you’ll need to ensure you are well-equipped for this meticulous task.
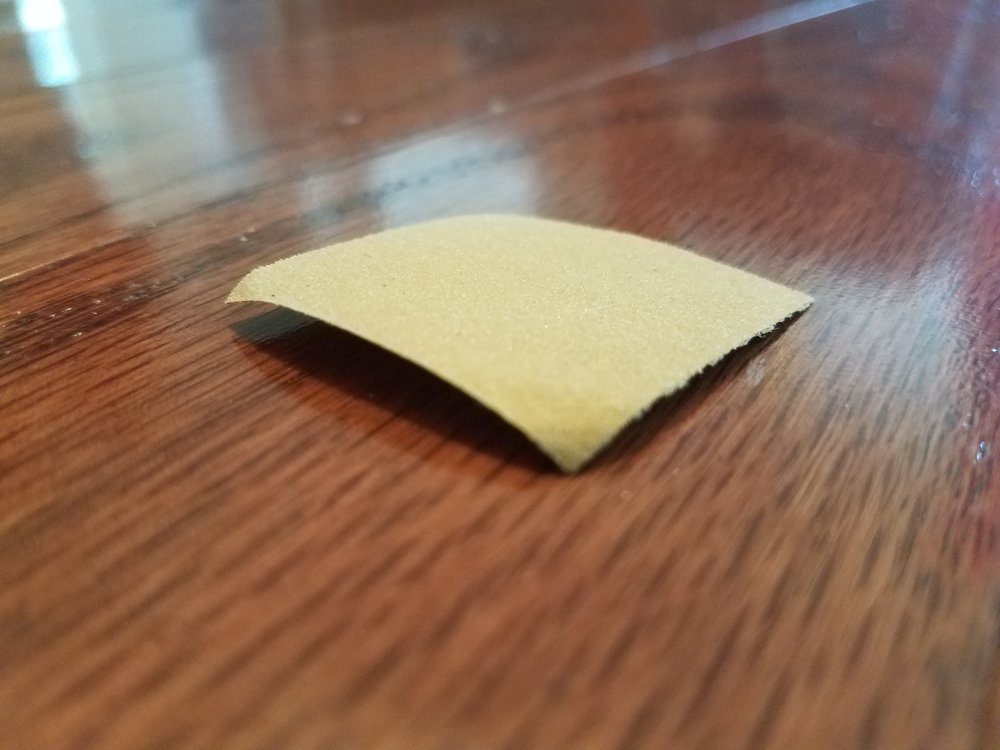
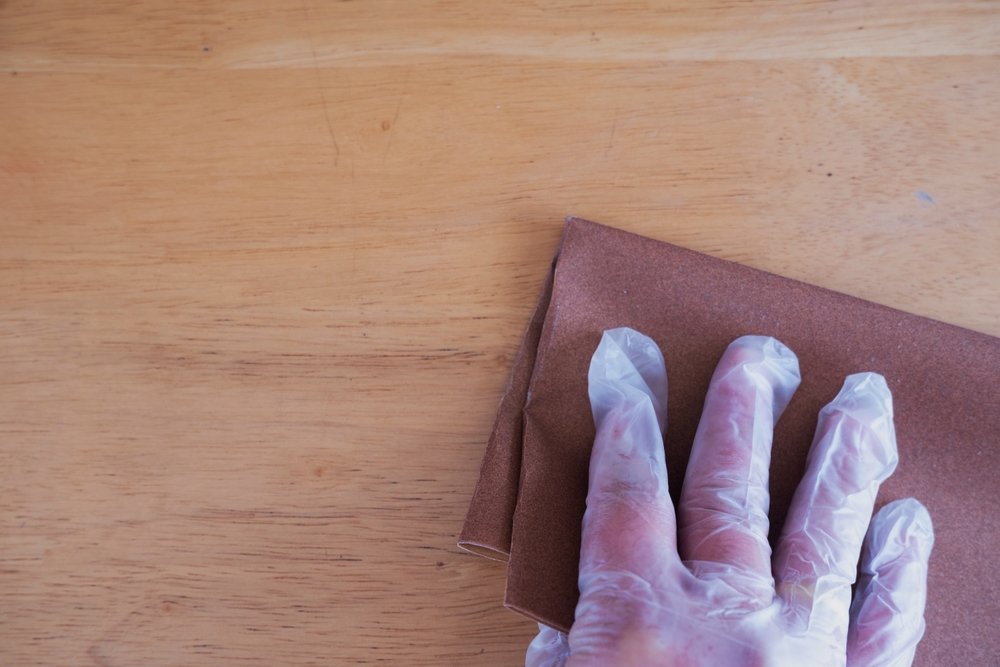
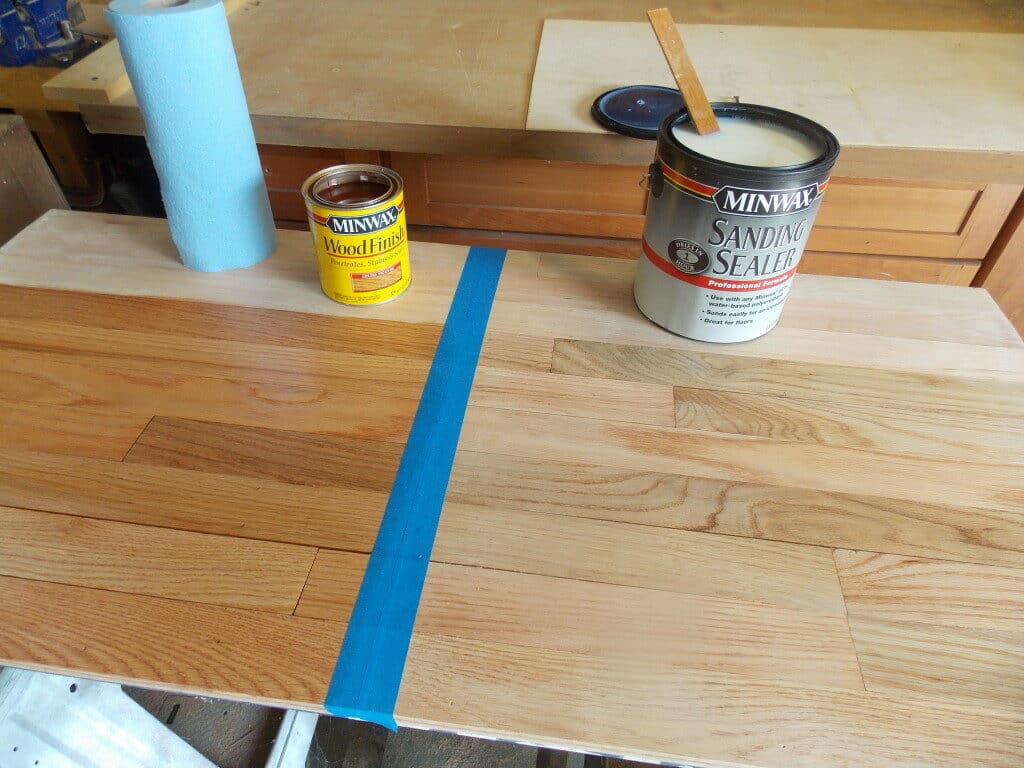
Sandpaper:
The cornerstone of your hand sanding project, sandpaper comes in various grits. You’ll need a range, starting from coarse (around 60-grit) for initial sanding, to medium (100-120 grit) for smoothing, and fine (150-220 grit) for finishing touches.
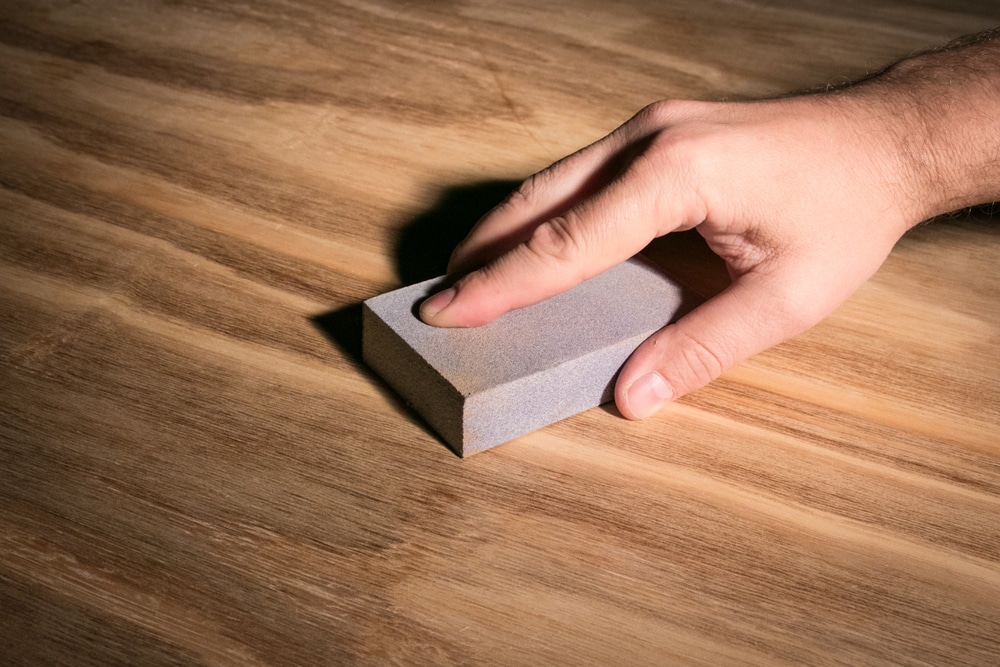
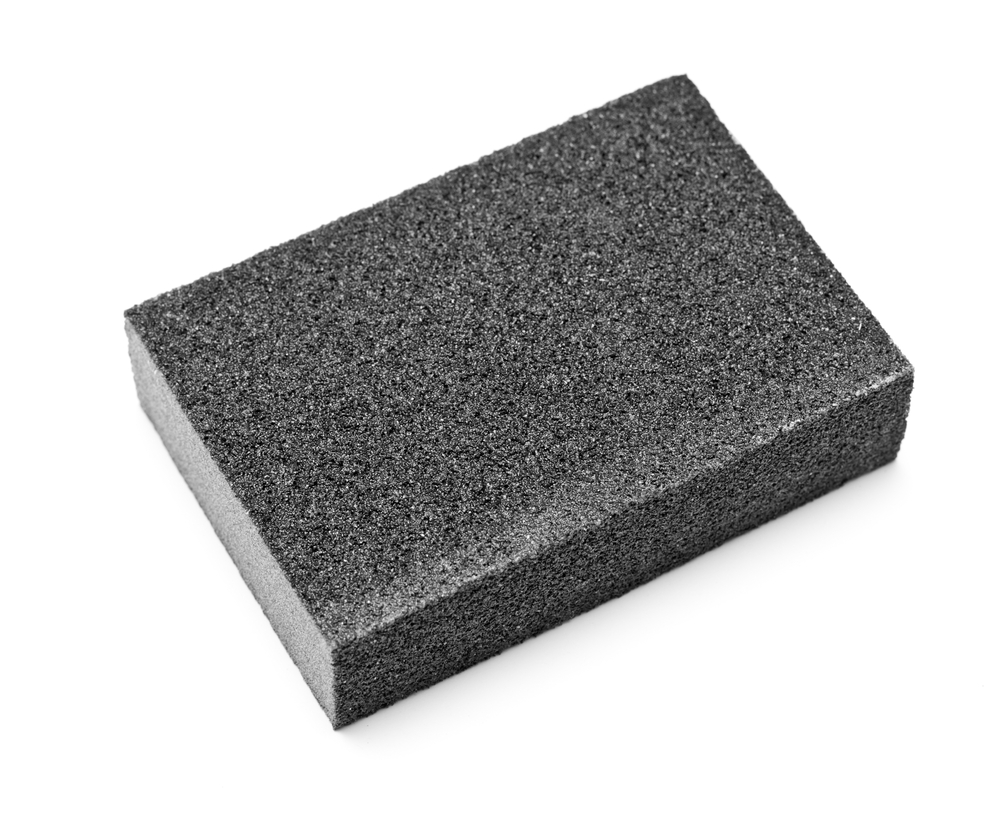
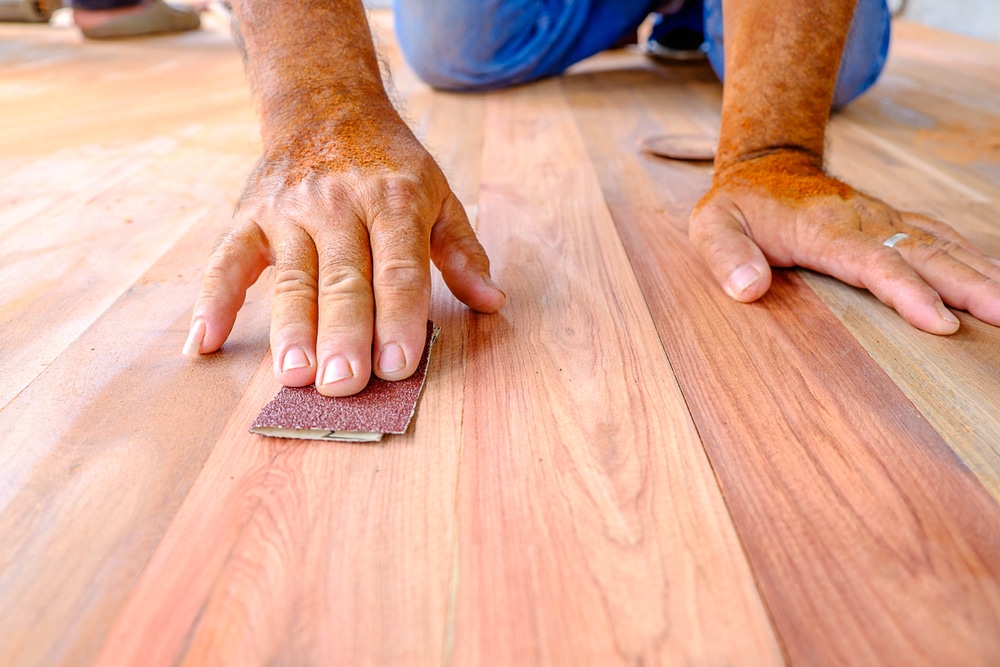
Sanding Block:
This tool provides a firm backing for your sandpaper, allowing for more consistent pressure and control. It’s especially useful for preventing the ‘waviness’ that can come from hand sanding without a block.
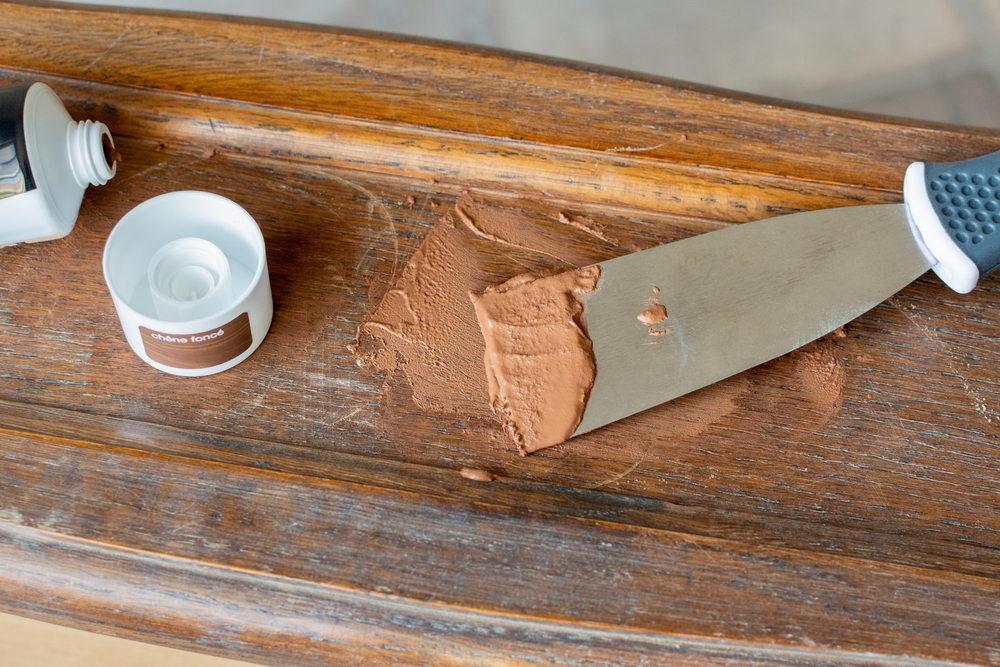
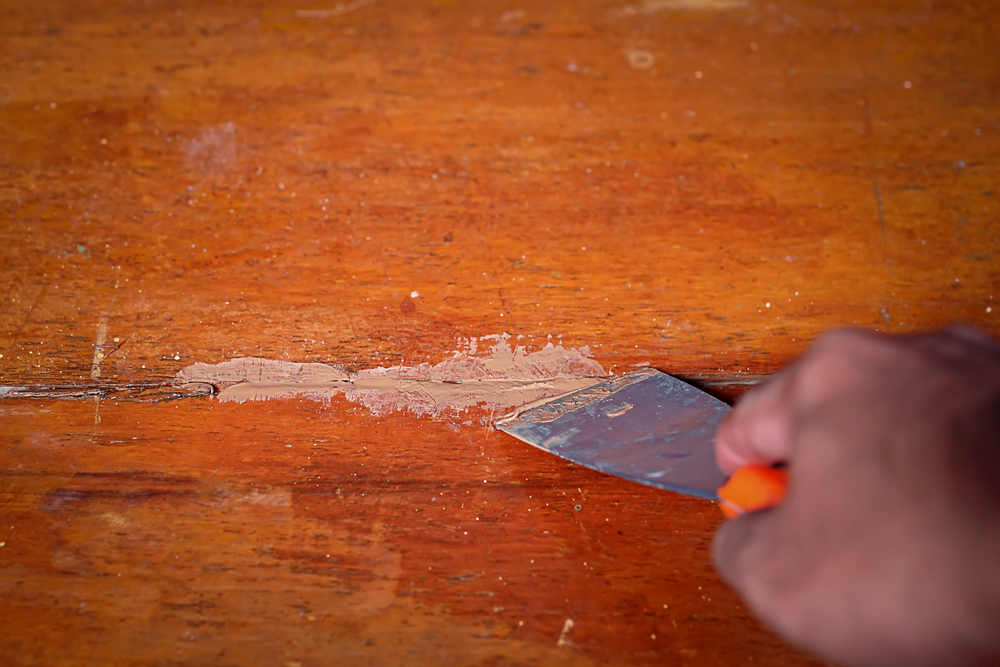
Wood Filler & Putty Knife:
To address any gaps or imperfections in the wood, a good-quality wood filler is essential. Choose one that’s compatible with your wood type and floor finish.
A putty knife is used for applying wood filler. It helps in spreading the filler evenly and smoothing out the surface.
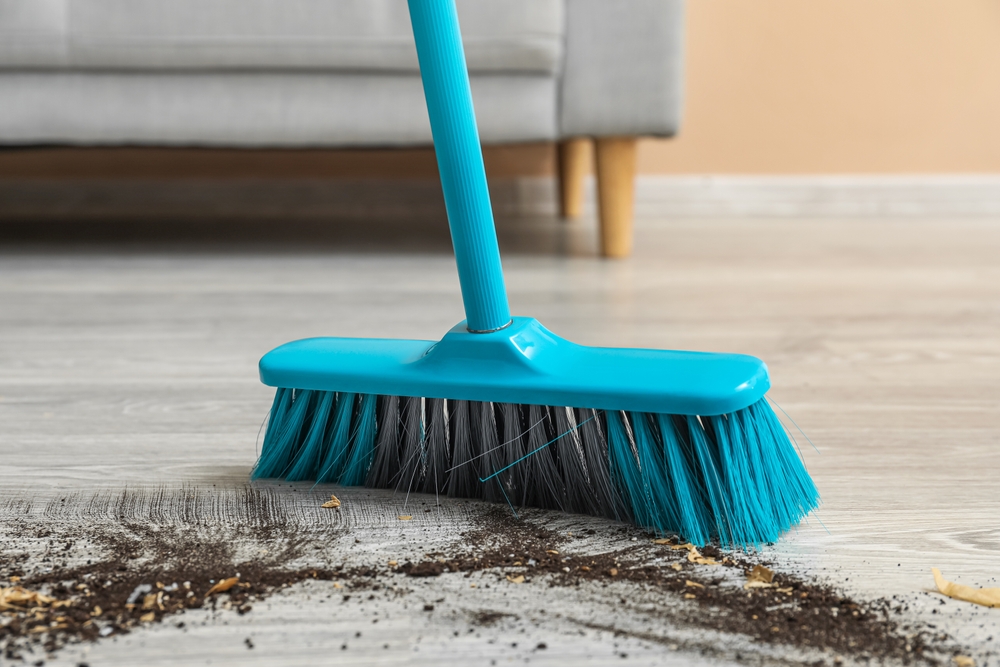
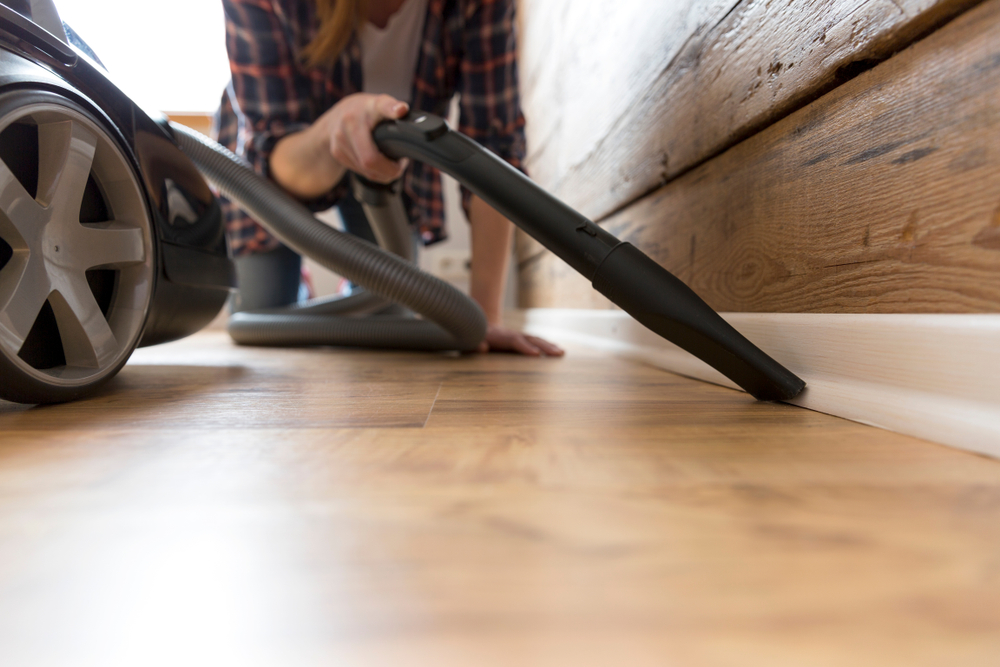
Vacuum Cleaner and Broom:
After each sanding session, you’ll need to clean up the dust. A vacuum cleaner is ideal for this, but a broom can also be effective, especially for larger debris.
Tack Cloth:
This sticky cloth is perfect for picking up the finer dust particles left after vacuuming, ensuring a clean surface before applying any finish.
Protective Gear:
Safety is paramount. Ensure you have a dust mask to avoid inhaling wood dust, safety goggles to protect your eyes, and gloves to protect your hands.

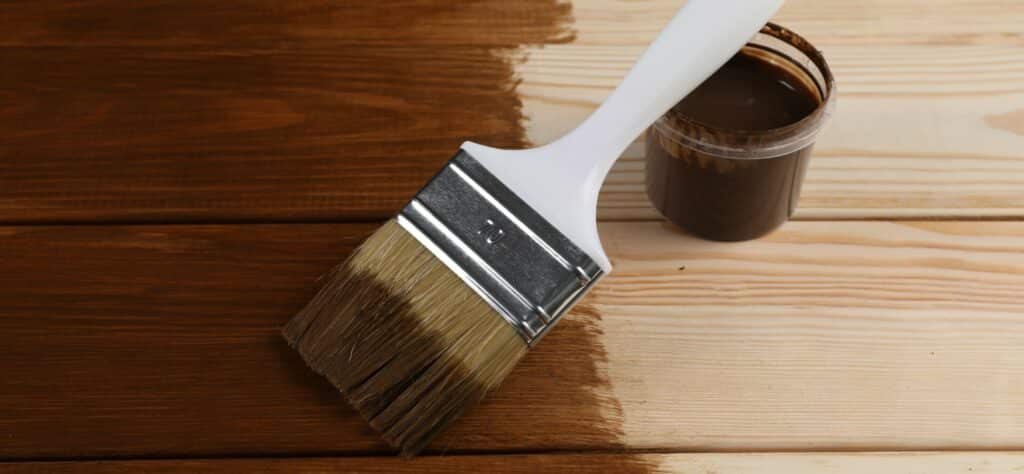
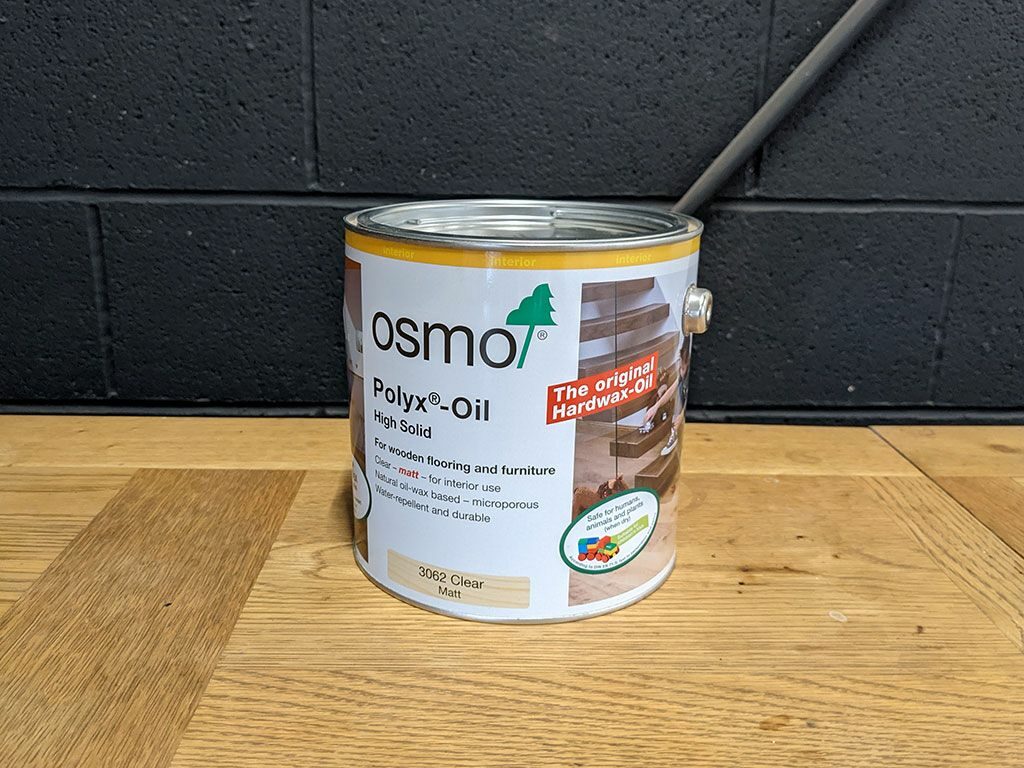
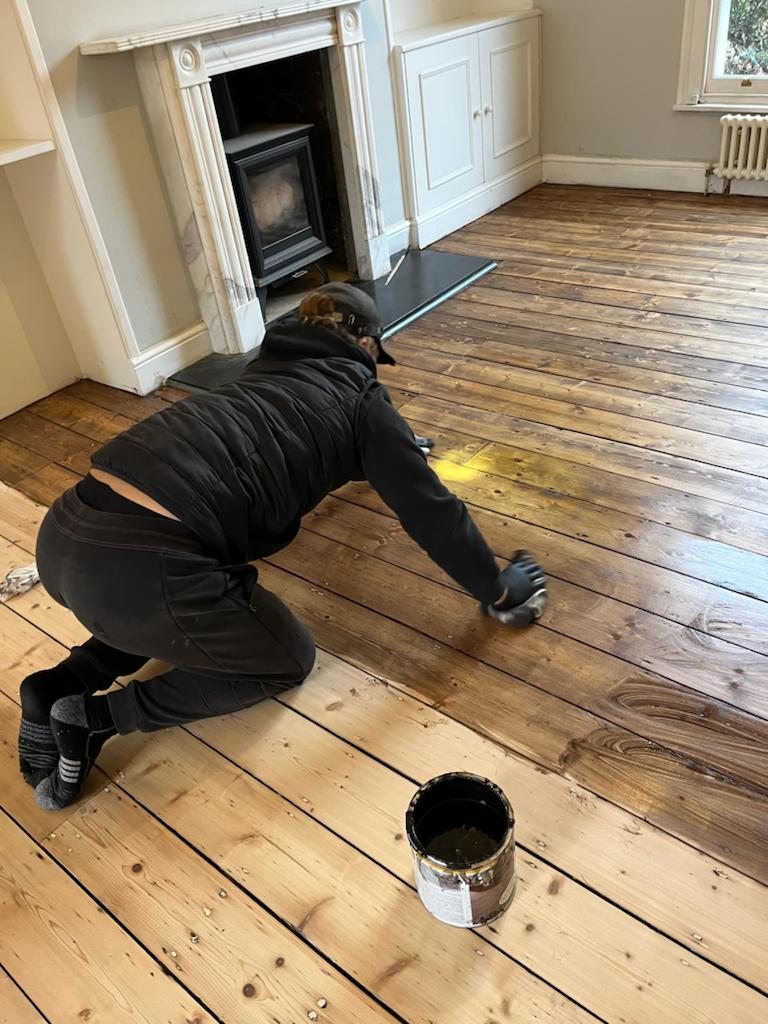
Varnish or Wood Stain:
Depending on the desired finish, you’ll need either varnish or wood stain. These not only protect the wood but also enhance its vintage appeal.

Brushes or Rags:
For applying varnish or stain, use high-quality brushes or clean, lint-free rags. The choice depends on the type of finish you’re using and the effect you want to achieve.
Knee Pads:
Hand sanding can be tough on your knees, especially for larger projects. A good pair of knee pads can make the process more comfortable.

Step-by-Step Guide to Hand Sanding
Hand-sanding your wood floors to achieve a vintage look is a meticulous process that requires careful planning and execution. Here is a detailed guide that walks you through each step of this rewarding journey.
Step 1: Preparing Your Wood Floor
- Clear the room. Begin by removing all furniture and fittings from the room. Ensure that the floor is completely accessible.
- Clean the Surface: Sweep and vacuum the floor to remove dust, dirt, and debris. A clean surface is crucial for effective sanding.
- Inspect and Repair: Look for any damaged areas, loose boards, or protruding nails. Repair these issues to ensure a uniform surface for sanding.
- Fill gaps: Use wood filler to fill any gaps or imperfections in the wood. Allow it to dry according to the manufacturer’s instructions before proceeding.
Step 2: The Sanding Process
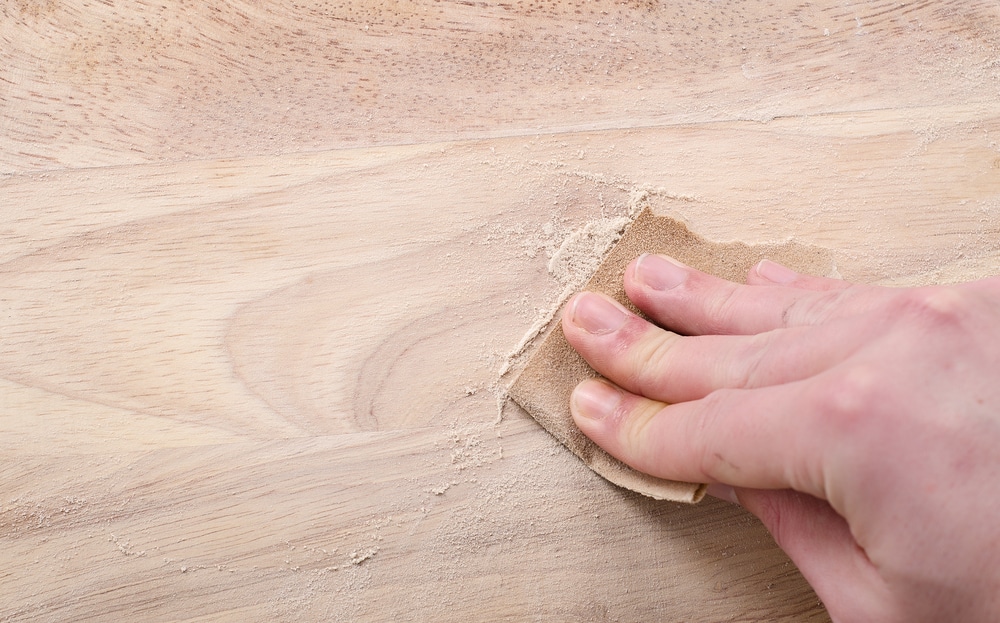
- Start with Coarse Grit: Begin with a coarse-grit sandpaper (around 60-grit) to remove the old finish and level the surface. Sand in the direction of the wood grain to avoid scratches.
- Progress to Medium Grit: Switch to a medium-grit sandpaper (100–120 grit) to smooth out the roughness left by the coarse grit. This step starts to refine the surface.
- Finish with Fine Grit: Finally, use a fine-grit sandpaper (150–220 grit) to achieve a smooth finish. This step is crucial for preparing the wood for staining or varnishing.
Step 3: Achieving the Vintage Look
- Distressing the Wood (Optional): If desired, you can distress the wood to enhance the vintage effect. Techniques include using a wire brush, hammering lightly, or creating small indentations.
- Cleaning Up: Thoroughly clean the floor after sanding. Vacuum, and then use a tack cloth to remove all dust.
- Applying Stain or Varnish: Choose a stain or varnish that complements the vintage aesthetic. Apply it evenly using a brush or rag, following the manufacturer’s instructions.
Step 4: Tips for a Flawless Finish
- Work in Small Sections: This ensures that you maintain control and consistency throughout the process.
- Regularly Check Your Progress: Use good lighting to inspect your work regularly. This helps in identifying any missed spots or uneven areas.
- Change Sandpaper Often: Don’t hesitate to change your sandpaper when it wears out. Dull sandpaper is less effective and can damage the wood.
Step 5: Maintaining Your Vintage Wood Floor
- Regular Cleaning: Keep the floor clean and free of debris to maintain its appearance and prevent scratches.
- Protect from sunlight: Prolonged exposure to sunlight can fade the stain or varnish. Use curtains or blinds to protect the floor.
- Reapply Finish as Needed: Over time, you may need to reapply the finish to keep the floor looking its best.
Tips for a Flawless Finish
Achieving a flawless finish when hand sanding wood floors, especially when aiming for a vintage look, requires a blend of technique, patience, and attention to detail. Here are some essential tips to help you achieve that perfect, timeless finish.
Sand with the Grain:
Always sand in the direction of the wood grain. Sanding against the grain can create scratches and damage the natural pattern of the wood, detracting from its final appearance.
Gradual Grit Progression:
Never skip grits. Progress through sandpaper grits gradually (from coarse to fine). This ensures that each stage effectively removes the scratches from the previous one, leading to a smoother finish.
Keep Sandpaper Clean:
Frequently shake out or replace sandpaper to prevent clogging with dust. Clogged sandpaper is less effective and can create an uneven finish.
Consistent Pressure:
Apply even pressure while sanding. Inconsistent pressure can lead to uneven removal of the wood surface, resulting in dips or waves in the floor.
Check Your Work with a Light:
Use a handheld light at a low angle to highlight any remaining imperfections or missed spots. This technique helps in identifying areas that need more work.
Dust Thoroughly Between Grits:
After sanding with each grit, remove all the dust before moving on to the next. Vacuuming and wiping with a tack cloth are effective for ensuring a clean surface.
Use High-Quality Finishing Products:
Invest in high-quality stains, varnishes, or oils. The quality of these products significantly impacts the durability and appearance of the finish.
Test Stains and Finishes:
Before applying the finish to the entire floor, test it on a small, inconspicuous area or a spare piece of wood. This helps in ensuring the colour and finish meet your expectations.
Apply Finish in Thin, Even Coats:
Thick coats of finish can lead to drips, bubbles, and uneven drying. Even thin coats produce a smoother, more professional look.
Allow Adequate Drying Time:
Be patient and allow each coat of stain or varnish to dry thoroughly before applying the next. Rushing this process can ruin an otherwise perfect finish.
Light Sanding Between Finish Coats:
Lightly sanding between coats of finish (using a very fine grit) can enhance adhesion and smoothness. Remember to clean the dust off thoroughly after this step.
Protect the Finished Floor:
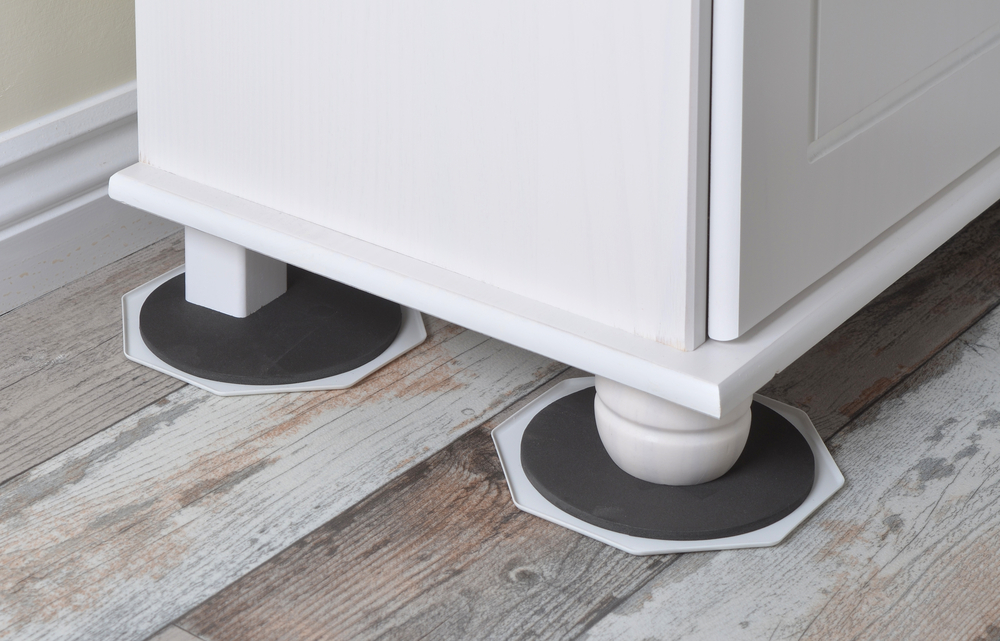
Once your floor is finished, protect it from furniture scratches and other wear and tear with felt pads, rugs, and regular maintenance.
By adhering to these tips, you will significantly enhance the quality of your hand-sanded vintage wood floor. The result will be not only visually appealing but also a testament to the care and effort invested in preserving the beauty and integrity of the wood.
Maintaining Your Vintage Wood Floor
After investing time and effort in hand-sanding your wood floors to achieve that sought-after vintage look, it’s essential to maintain them properly to ensure their longevity and continued beauty. Here are key tips for maintaining your vintage wood floor:

Regular Cleaning:
Regularly sweep or vacuum the floor to remove dust and dirt. Avoid using excessive water or harsh cleaning agents, as they can damage the wood and the finish. A dry or slightly damp mop is ideal for cleaning.
Immediate Spill Cleanup:
Attend to spills immediately. Allowing liquids to sit on the floor can cause staining or damage to the finish. Use a soft, absorbent cloth to blot spills gently.
Use the Right Cleaning Products:
Use cleaning products specifically designed for wood floors. Avoid using all-purpose cleaners or products with harsh chemicals, as they can strip the finish or damage the wood.
Avoid Excessive Water Exposure:
Water can be detrimental to wood floors, especially vintage ones. When mopping, use as little water as possible and ensure the floor dries quickly.
Protect from Scratches:
Place felt pads under furniture legs to prevent scratches. Avoid dragging furniture across the floor. If you have pets, keep their nails trimmed to avoid scratches.
Control Sunlight Exposure:
Prolonged exposure to direct sunlight can fade the colour of the wood and finish. Use curtains, blinds, or UV-protective window films to minimise sun damage.
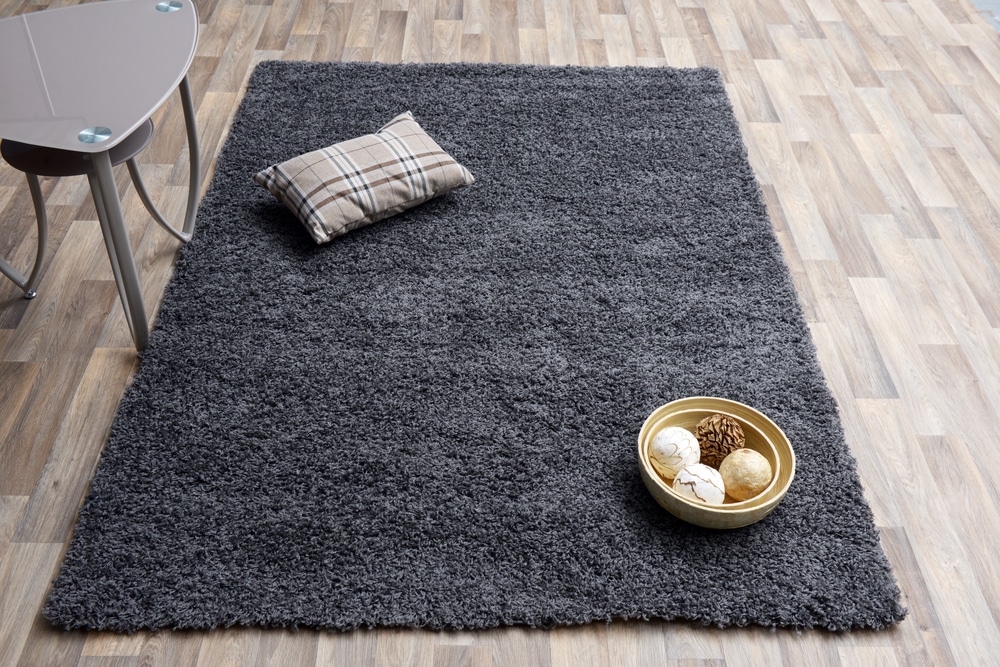
Use Rugs and Mats:
Place rugs or mats in high-traffic areas to reduce wear on the floor. Ensure that the rugs are made of breathable material to prevent moisture accumulation.
Maintain a Stable Environment:
Wood floors can be affected by changes in humidity and temperature. Try to maintain a stable indoor environment to prevent the wood from expanding, contracting, or warping.
Periodic Refinishing:
Depending on the level of wear and tear, consider refinishing the floor every few years to renew its protective layer and restore its beauty.
Embrace Imperfections:
Remember that part of the charm of a vintage wood floor lies in its imperfections. Small dents, scratches, and signs of wear can contribute to the authentic vintage appeal.
Professional Inspection:
If you’re unsure about the condition of your floor or how to deal with specific issues, consult a professional. They can provide advice on maintenance and repairs.

Conclusion
The journey of hand-sanding wood floors for a vintage look is much more than a mere home improvement task; it is an art form that connects us to the rich history and timeless beauty of traditional woodworking. This meticulous process, though demanding in terms of time and effort, rewards us with a floor that embodies character, warmth, and a narrative of its own.
In embracing hand sanding, we choose to step away from the rapid pace of modern life, opting instead for a method that requires patience, precision, and a deep appreciation for the material we work with. The result is a floor that not only enhances the aesthetic appeal of our homes but also serves as a testament to the enduring quality of manual craftsmanship.
The tips and techniques outlined in this guide are designed to assist you in this fulfilling endeavour. From selecting the right materials and tools to executing the sanding process and applying the perfect finish, each step contributes to creating a floor that is not just a surface to walk on but a piece of art to be admired.
Furthermore, the maintenance of your vintage wood floor is crucial. It ensures that the effort put into achieving that beautiful, aged look is preserved for years to come, allowing the floor to age gracefully while maintaining its charm and integrity.
In conclusion, hand sanding for a vintage look on wood floors is an investment in both time and beauty. It is a choice that reflects a preference for quality, tradition, and the unique appeal of handcrafted work. As you stand back and look upon your finished floor, it’s not just the wood that has been transformed, but also a part of your home, now rich with a story, a history, and a soul that only the touch of the human hand can impart.

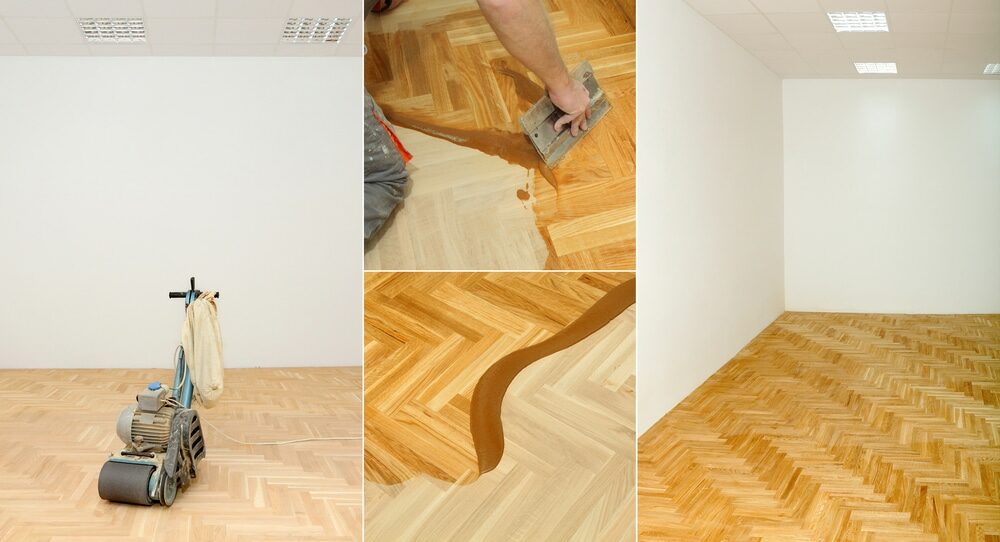
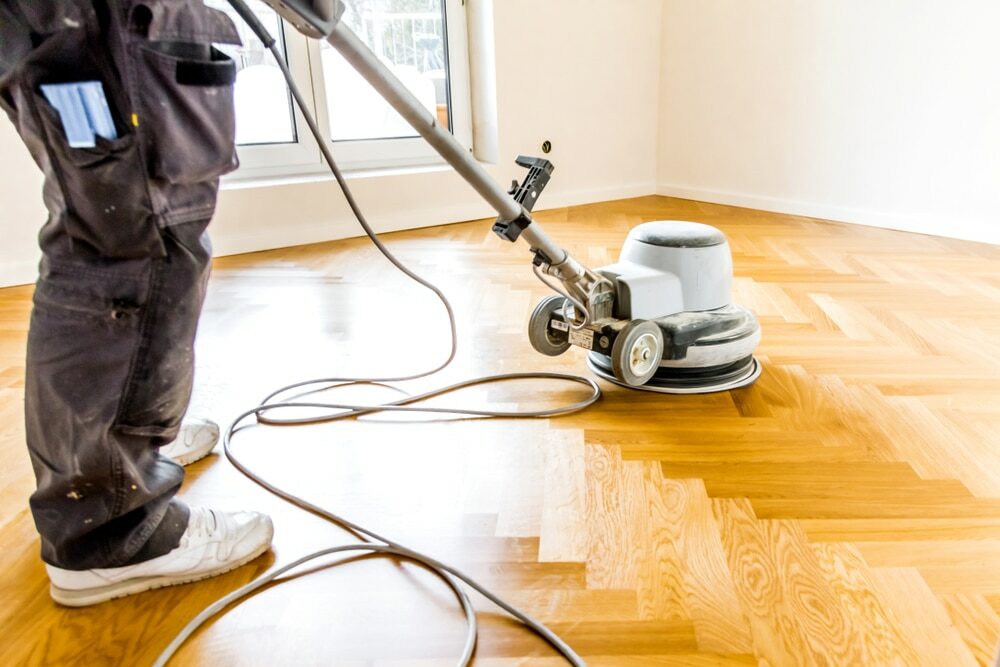
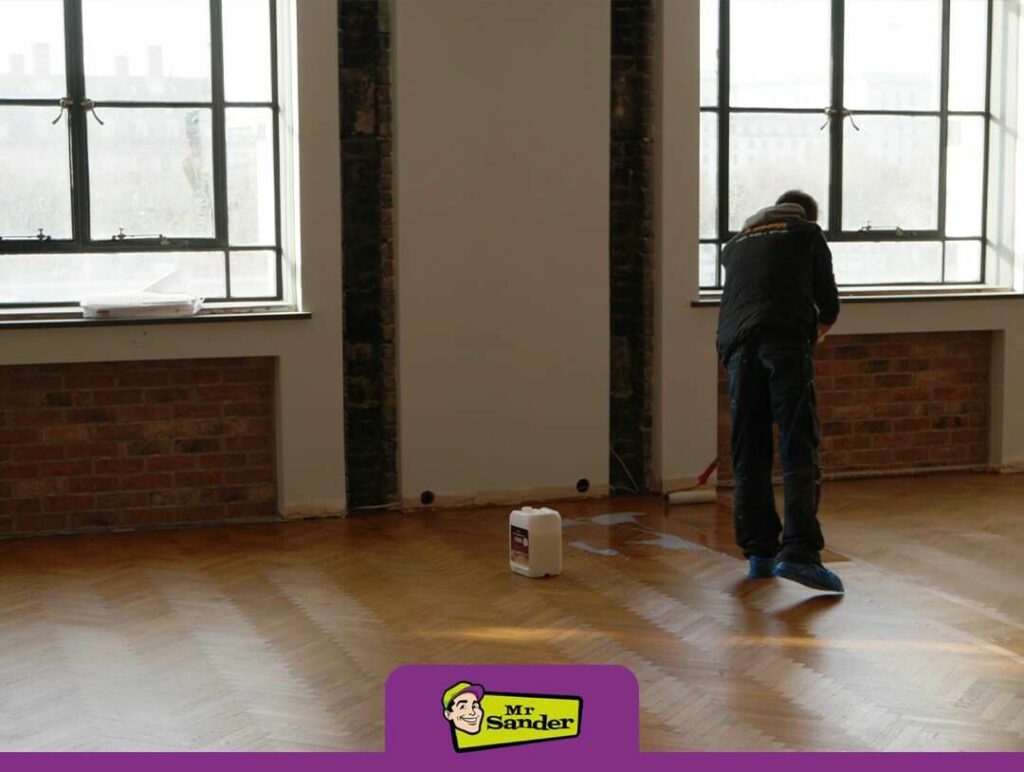
Sanding
We provide virtually dust-free sanding with our continuous belt machinery with mobile extraction units, giving you a safer environment for your family.
Oiling
This organic finish not only adds beauty to your home but also has exceptional water-repellent characteristics, making it easier to clean and maintain.
Waxing
This natural floor finish offers the softest and most mellow appearance – and leaves your floor able to breath.
Buffing
Using soft buffing machines (and hand-polishing where required) will bring a wonderful sheen to your newly-finished floor.
Repairs
We offer a full assessment of your wooden floors to determine what repairs are needed to provide the perfect working surface for the later stages of sanding, staining and sealing.
Restoration
We offer a comprehensive restoration process designed to address floors that are improperly fitted or damaged over time through wear and tear.
Request a fixed price quote for your wood floor restoration now
Simply enter your postcode below to get started.
Services
Wood Floor Sanding Wood Floor Restoration Wood Floor Scratch Repair Squeaky Wood Floor Repair Parquet Floor Sanding Parquet Floor Restoration Commercial Floor Sanding Church Floor Sanding Community Centre Floor Sanding School Floor Sanding Gap Filling Gap Filling with ResinCopyright © Mr Sander®
Privacy & Cookies Terms & Conditions Complaints Procedure Cancellation Rights Sitemap

Get An Instant Price Estimate Before You Go…
Simply enter the rooms you need sanded and we’ll provide you with a price estimate instantly! Try our price calculator now.
Get a Price Estimate NowLocal Floor Sanding Experts
Over 500 5-Star Reviews
Safe, Dust Free Sanding
Operating Since 1994