London:
Nationwide:
25,000+
Floors Restored
27 Years Experience
Wood Flooring Association Certified
How to Achieve a Matte Finish with Orbital Sanding
Posted on August 27, 2023
Floor sanding techniques
How to Achieve a Matte Finish with Orbital Sanding: A Modern Craftsman’s Guide
When it comes to imparting a signature finish to wooden artefacts, flooring, or furniture, a matte finish exudes a sophisticated charm. While there are myriad ways to achieve this desired look, the technique that stands out amidst them is orbital sanding. Popularised by design icons such as Helmut Krone, this method ensures not only perfection but also an exquisite tactile experience. Herein, we’ll embark upon an odyssey to master the art of achieving a matte finish using orbital sanding, a nod to the golden age of craftsmanship.
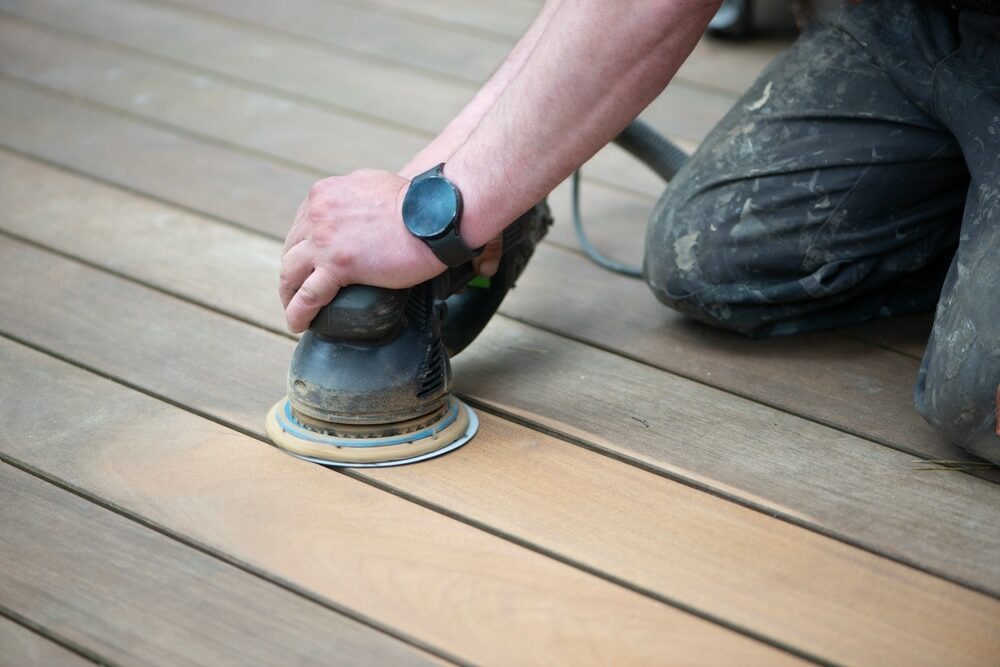
The Orbital Sander: An Overview
Before we dive into the nuances of this process, it’s crucial to familiarise ourselves with the tool that makes it all possible: the orbital sander. Unlike its more aggressive cousin, the belt sander, an orbital sander moves in small circles. This ensures a smoother, more consistent finish, ideal for our matte ambitions.Essential Supplies:
- Orbital sander: the primary tool
- Sanding Discs: Multiple grits ranging from 80 (coarse) to 320 (super-fine).
- Tack cloth: to remove the residual dust
- Soft Cloth or Sponge: For the final touch
- Matte Finish: The protector of your hard work Could be a wood sealant or paint.
The Step-by-Step Guide to a Matte Finish with Orbital Sanding
1. Prepare the wood:
All great projects begin with a clean slate. Thus, ensure that the wood you wish to work on is free from previous coatings or paint. A preliminary round with a coarser grit (like 80-grit) can be handy here. It is not about achieving the finish but merely preparing the canvas.2. Begin with a coarse grit:
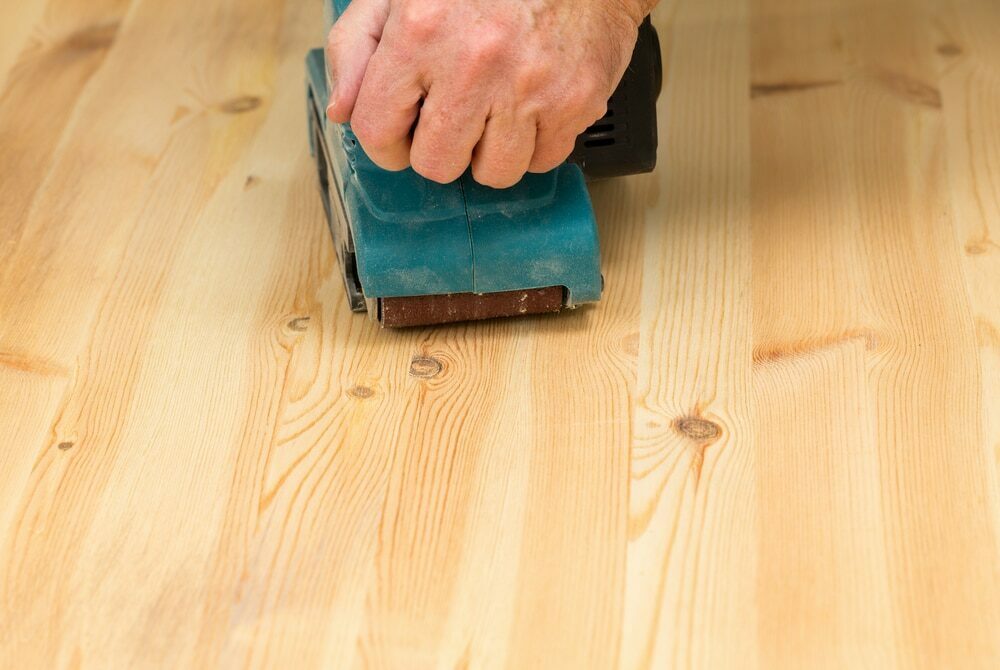
With the surface prepared, commence the actual sanding with a relatively coarser grit, say 100 or 120. This grit level helps to remove the majority of surface irregularities. Remember, always sand in the direction of the wood grain to avoid scratches or patterns that might mar the eventual finish.3. Transition to Finer Grits:
Gradually shift to finer grits. Progressing in this manner ensures that each finer grit removes the scratches made by its predecessor. Typically, a progression might look like this: 120 -> 150 -> 180 -> 220 -> 320. The exact sequence might vary based on your wood type and desired level of smoothness.4. Dusting Off:
After each grit transition, use the tack cloth to remove the sawdust. This ensures that the next round of sanding is not hindered by leftover particles.5. The Finer Nuances:
When you reach the super-fine grits, you’re essentially polishing the wood. This is the zenith of your sanding journey, setting the stage for a truly matte finish. By now, the wood should feel notably smooth to the touch.6. Application of the Matte Finish:
Post-sanding, the wood is ready to be sealed. Employ a soft cloth or sponge to apply your chosen matte finish. Ensure an even coat, and let it dry per the manufacturer’s instructions. Once dry, the wood is not only visually captivating but also protected from external elements.Tips for the Perfect Matte Finish
- Consistent Pressure: While sanding, apply uniform pressure. Over-pressuring might lead to unwanted grooves.
- Keep the Sander Moving: Don’t let the sander stay in one spot for too long. It’s all about maintaining a rhythm.
- Always Sand in the Grain’s Direction: This is fundamental. Sanding across the grain could introduce scratches difficult to rectify.
- Cleanliness: Ensure both your workspace and wood are clean. Sawdust is the nemesis of a pristine finish.
The Science Behind Orbital Sanding and Matte Finishes
Before concluding, it’s intriguing to delve a bit into the science behind why orbital sanding is a preferred choice for matte finishes. Understanding this can deepen one’s appreciation for the process and ensure that each step is performed with a clear intention.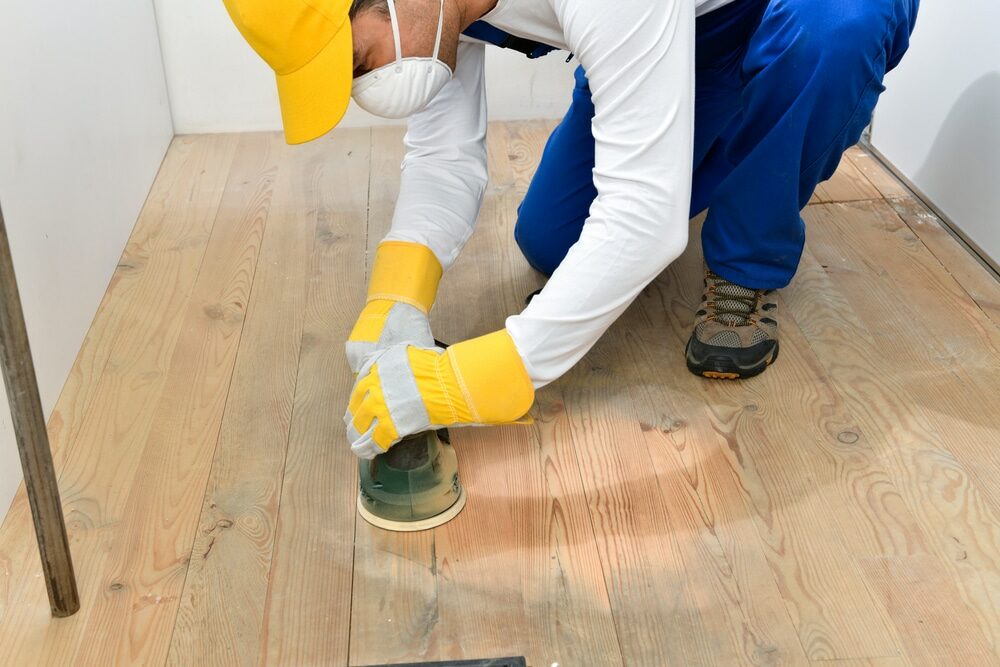
1. The Orbital Motion:
Orbital sanders, as the name implies, move in an ‘orbital’ fashion, creating a random pattern on the surface. This random sanding pattern ensures that there are no straight-line scratches, which can be more noticeable, especially when light hits the surface. This leads to an even, non-reflective surface—the essence of a matte finish.2. Finer Grits and Their Magic:
When we discuss grits, especially the super-fine ones, we’re delving into the realm of microabrasions. These tiny scratches scatter light in various directions as opposed to allowing it to reflect uniformly. The scattered light is what gives wood its matte, non-glossy appearance.3. Importance of Dust Removal:
Dust particles can act as a barrier. When trapped between the sanding disc and the wood, these particles can create inconsistencies on the surface. This is why dusting off after each grit is not just about cleanliness but also about maintaining the evenness of the surface.4. Sealants and Their Role:
A matte-finish sealant, when applied correctly, doesn’t merely sit atop the wood. It penetrates slightly, bonding with the wood fibres and filling microgaps. This further aids in the light scattering process, enhancing the matte appearance. The choice of sealant, therefore, is not just aesthetic but also scientific.5. Patience and precision:
Like any art form rooted in science, the key to mastering the matte finish through orbital sanding lies in patience and precision. Each pass, each grit change, and each wipe-down serve a purpose in altering the wood’s surface at a microscopic level.Conclusion
Orbital sanding, when executed with finesse, can yield a matte finish that resonates with the timeless elegance of bygone eras. Helmut Krone once remarked on the essence of simplicity in design. In much the same vein, the matte finish achieved via orbital sanding is all about capturing the essence of the wood—its natural beauty, free from the shackles of shine. Embrace the process, and let every piece you work on be a testament to modern craftsmanship, tinged with a nod to the greats of yesteryear.Some Useful Links:
- Stairs Sanding & Refinishing
- Floor Sanding Services
- School Floor Sanding
- Wood Floor Restorations
- Wood Floor Repairs
- Wood Floor Polishing
More from our Blog:
The Differences Between Orbital and Drum Sanding for Floors How to Prep Your Space for Orbital Sanding Advanced Techniques for Orbital Sanding on Wood Floors The Science Behind Orbital Sanding for Floor Restoration Orbital Sanding for Hardwood Floors: Techniques and Tips Orbital Sanding vs. Other Floor Sanding Techniques: Which is Best? Common Mistakes to Avoid in Orbital Sanding for Floors Tips for Achieving Smooth Finishes with Orbital Sanding

Sanding
We provide virtually dust-free sanding with our continuous belt machinery with mobile extraction units, giving you a safer environment for your family.
Oiling
This organic finish not only adds beauty to your home but also has exceptional water-repellent characteristics, making it easier to clean and maintain.
Waxing
This natural floor finish offers the softest and most mellow appearance – and leaves your floor able to breath.
Buffing
Using soft buffing machines (and hand-polishing where required) will bring a wonderful sheen to your newly-finished floor.
Repairs
We offer a full assessment of your wooden floors to determine what repairs are needed to provide the perfect working surface for the later stages of sanding, staining and sealing.
Restoration
We offer a comprehensive restoration process designed to address floors that are improperly fitted or damaged over time through wear and tear.
Request a fixed price quote for your wood floor restoration now
Simply enter your postcode below to get started.
Services
Wood Floor Sanding Wood Floor Restoration Wood Floor Scratch Repair Squeaky Wood Floor Repair Parquet Floor Sanding Parquet Floor Restoration Commercial Floor Sanding Church Floor Sanding Community Centre Floor Sanding School Floor Sanding Gap Filling Gap Filling with ResinCopyright © Mr Sander®
Privacy & Cookies Terms & Conditions Complaints Procedure Cancellation Rights Sitemap

Get An Instant Price Estimate Before You Go…
Simply enter the rooms you need sanded and we’ll provide you with a price estimate instantly! Try our price calculator now.
Get a Price Estimate NowLocal Floor Sanding Experts
Over 500 5-Star Reviews
Safe, Dust Free Sanding
Operating Since 1994