London:
Nationwide:
25,000+
Floors Restored
27 Years Experience
Wood Flooring Association Certified
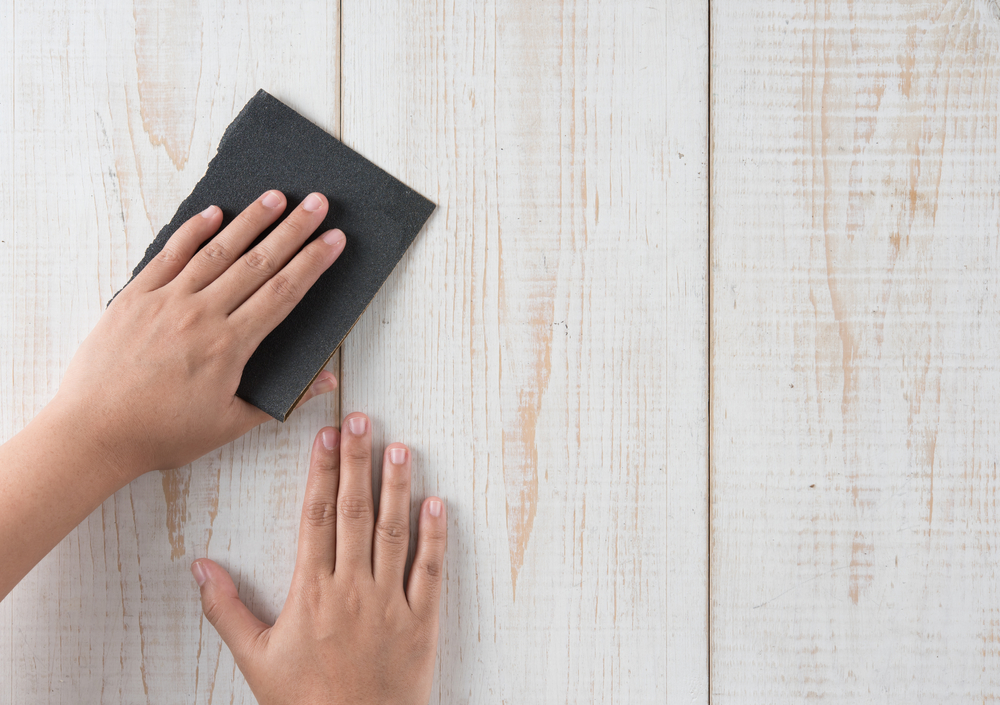
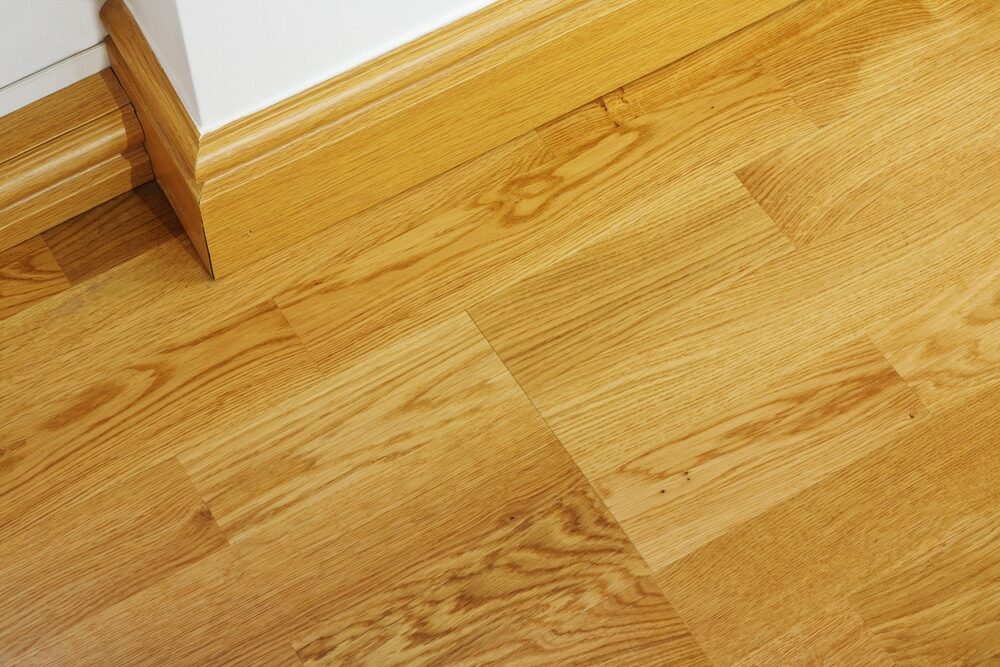
Hand Sanding Techniques for Removing Paint from Floors
Posted on January 18, 2024
Floor sanding techniques
Mastering Hand Sanding: A Comprehensive Guide to Removing Paint from Floors
Embarking on a journey of hand sanding to remove paint from floors, one finds themselves engaging in a process steeped in tradition and meticulous detail. This method, favoured for its precision and gentle approach, stands in stark contrast to the robust aggression of power sanding. Hand sanding is not merely a task; it’s an art form that respects the wood’s integrity and history, treating it with the care it deserves.
The essence of hand-sanding lies in its ability to offer unparalleled control. When working with delicate surfaces or intricate wood grains, a nuanced approach is frequently necessary because the artisan’s hand guides each stroke of sandpaper. This method is especially beneficial for floors that have weathered over time and hold historical value. In these instances, preserving the original character of the wood is as important as the removal of the unwanted paint.
Moreover, hand-sanding connects us to the material in a way that power tools cannot. There is a certain rhythm and patience required in the manual sanding process that encourages a deeper understanding and appreciation of the wood. As one sands, the transformation is not just of the floor but also of the sander, who develops a more intimate relationship with the craft.
In a world increasingly dominated by machines and speed, hand-sanding remains a testament to the virtues of craftsmanship and attention to detail. It is a reminder that sometimes the best results are achieved not by the fastest means but with careful, thoughtful work. As we delve further into the techniques and tools required for this venerable skill, let us keep in mind the value of patience and the beauty that lies in a job done with dedication and precision.
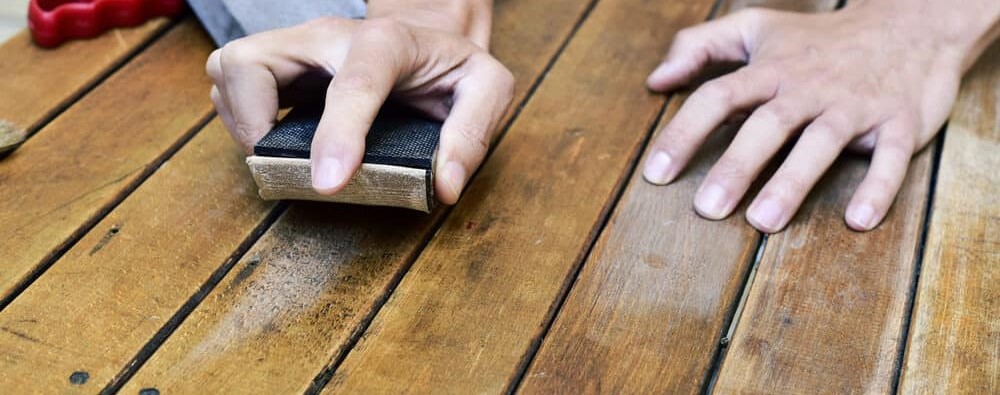
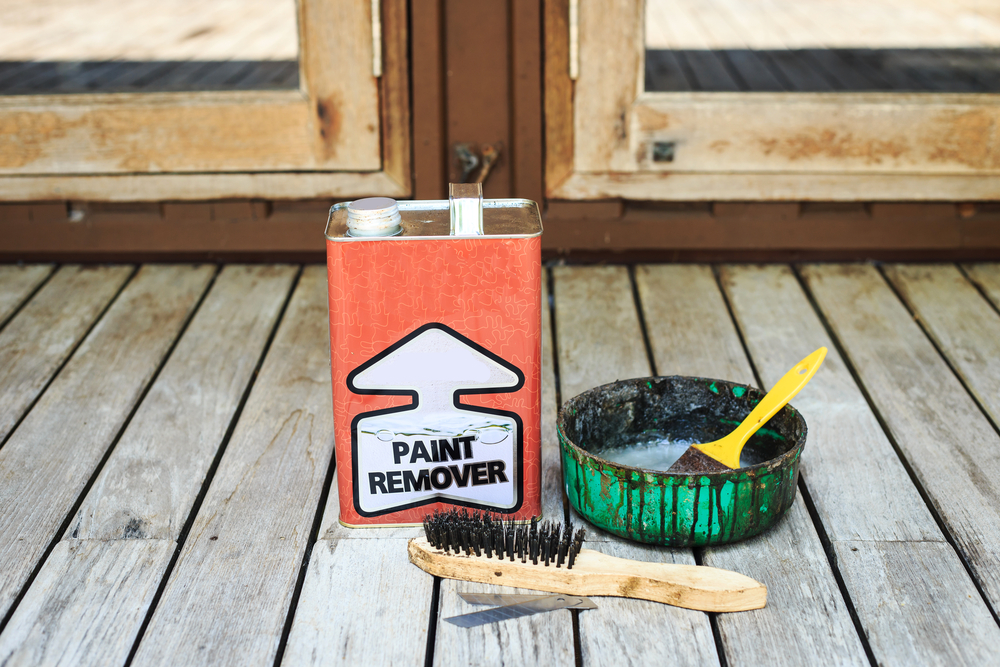
Essential Tools for Hand Sanding
Embarking on the task of hand sanding, particularly for removing paint from floors, necessitates a well-considered selection of tools. These tools are not just implements of the task but partners in the craft, each playing a vital role in achieving the desired finish. Let’s explore the essential toolkit for hand sanding:
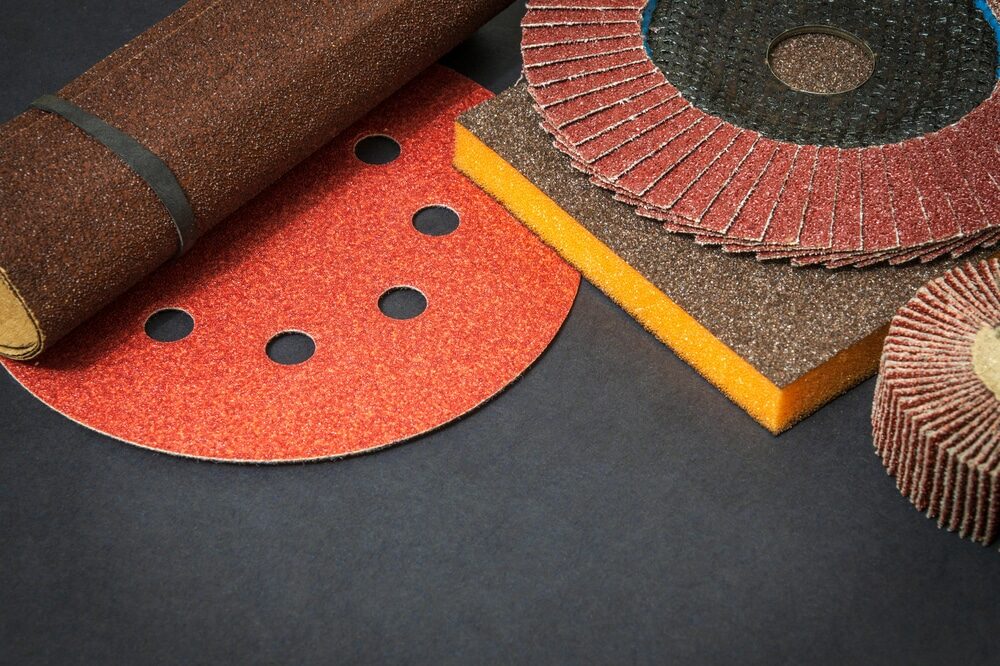
Variety of Sandpaper Grits:
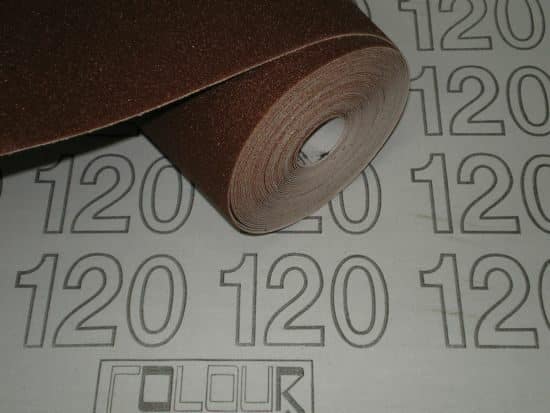
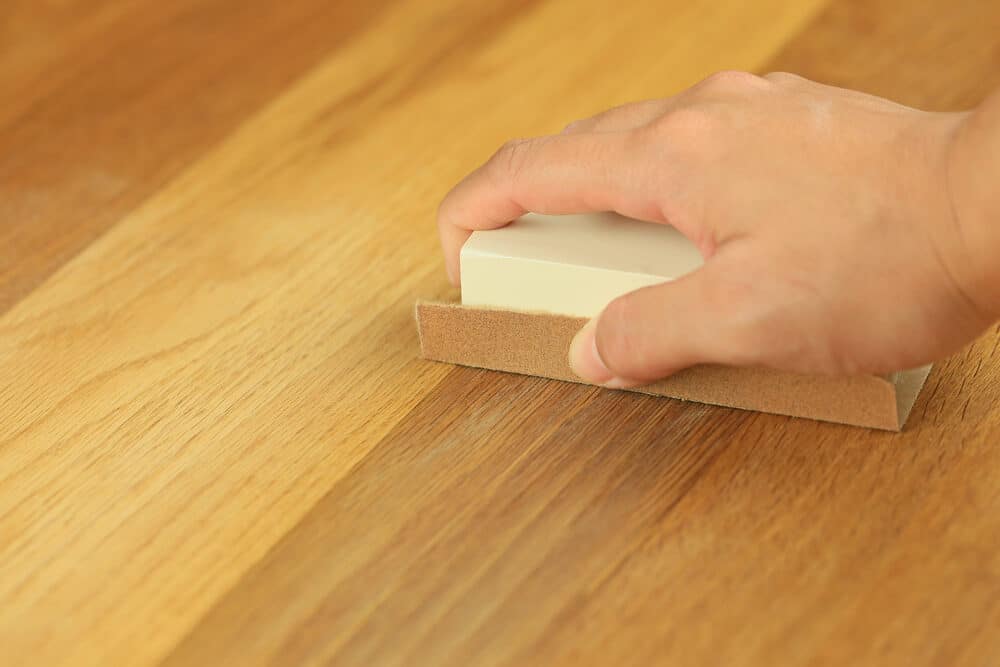
The cornerstone of any sanding project is the sandpaper itself. For a task such as removing paint, you will need a range of grits. Start with coarser grits, like 60 or 80, for removing the bulk of the paint. Progress to finer grits, such as 120 or 150, for smoothing the surface. Having a variety of grits at hand ensures that you can adapt to the needs of the floor as you proceed.
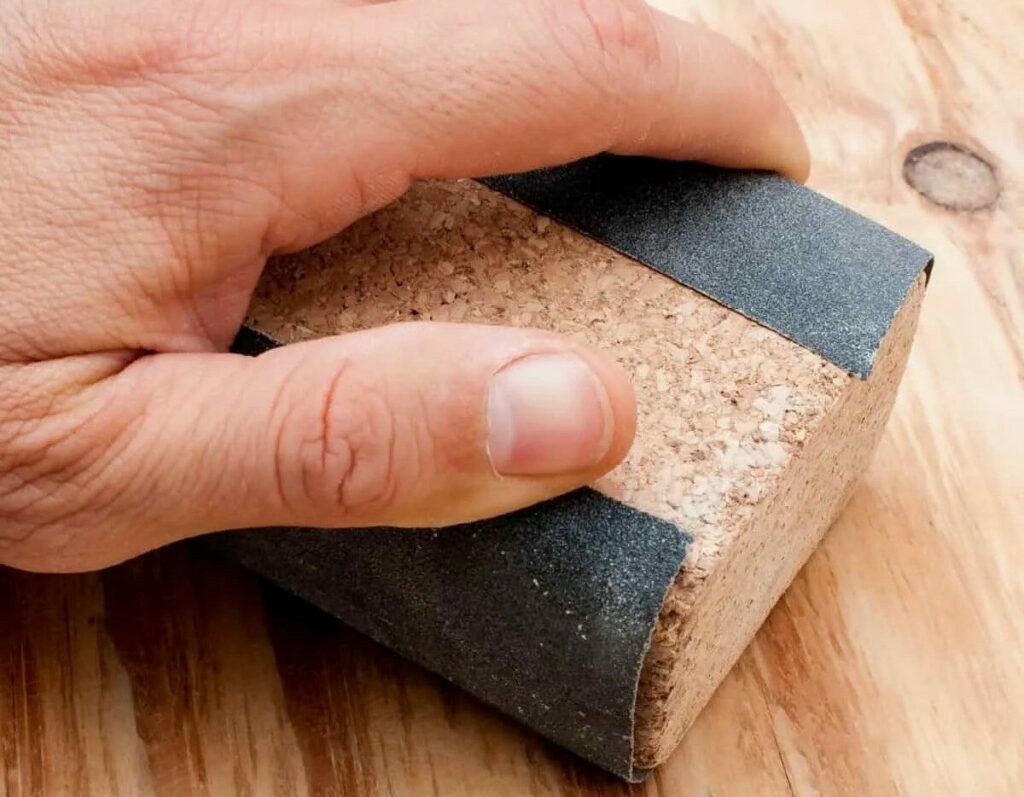
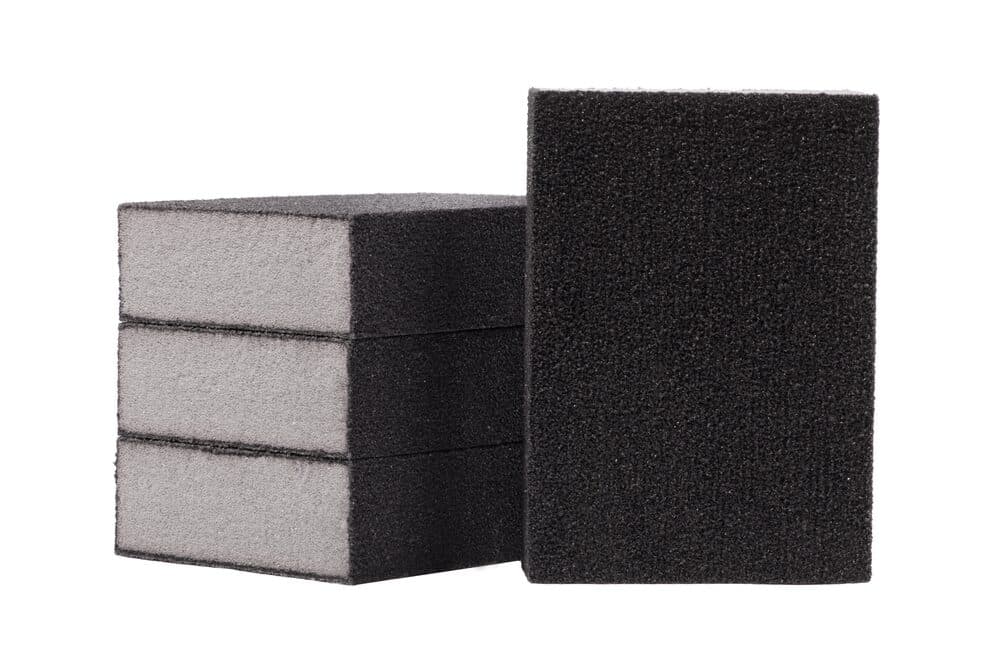
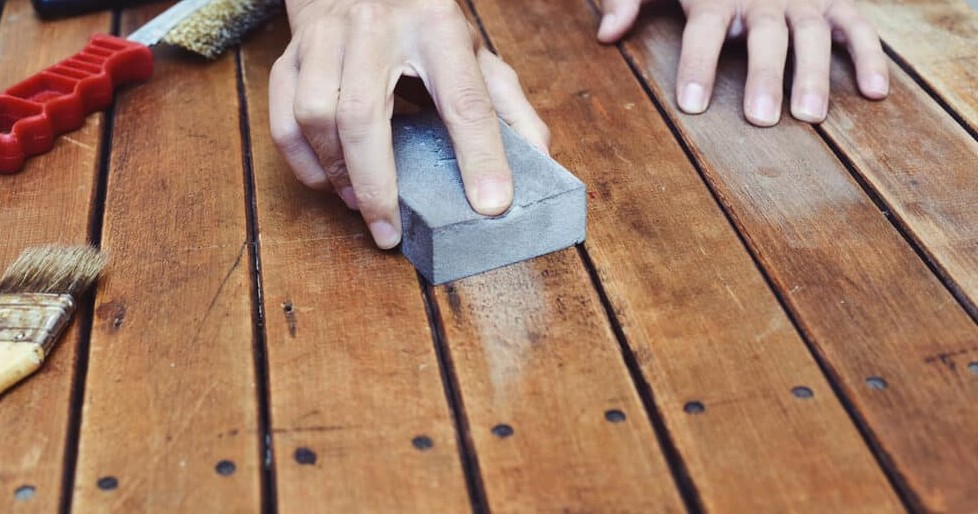
Sanding Block:
While sandpaper can be used alone, a sanding block is invaluable for even pressure distribution. It allows for a more uniform sanding process and helps reduce hand fatigue. Sanding blocks come in various sizes and materials; choosing one that fits comfortably in your hand is key.
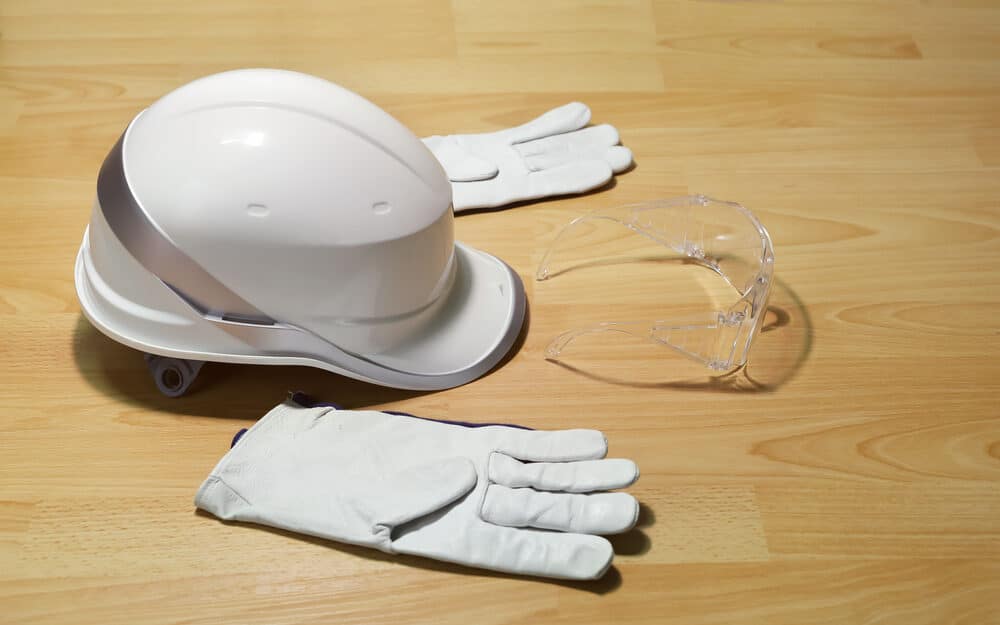
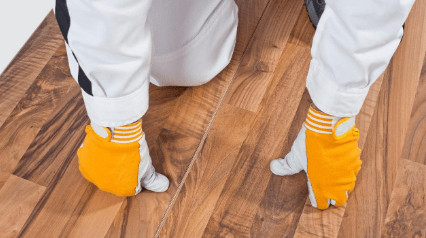
Protective Gear:
Safety should never be an afterthought. Dust masks and safety goggles are essential to protect your lungs and eyes from fine dust particles. Gloves are also advisable to prevent splinters and abrasions.
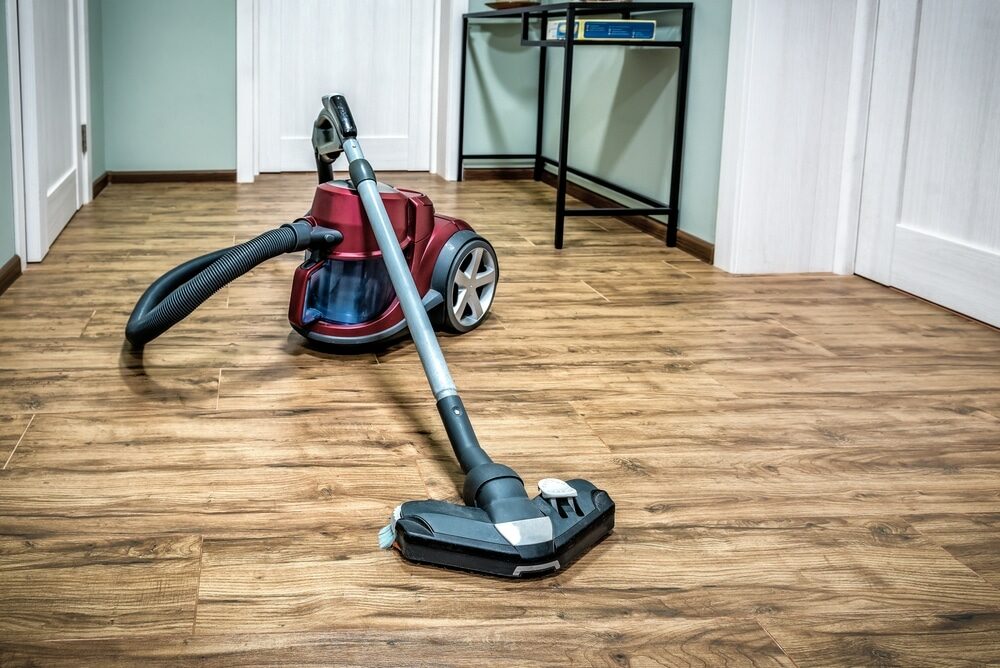
Brushes and a Vacuum Cleaner:
Keeping your work area clean is crucial. Soft brushes and a vacuum cleaner are needed to regularly remove dust and debris from the floor. This not only provides a clearer view of your progress but also prevents the sandpaper from clogging.
Tack Cloth:
After sanding, a tack cloth is useful for picking up residual dust. This step is crucial before moving on to any finishing treatments, as it ensures a clean, smooth surface.
Knee pads or cushioning:
Hand-sanding floors can be physically demanding, especially on your knees. Using knee pads or cushioning can provide comfort and protection during prolonged periods of work.

Lighting:
Good lighting is essential. It helps in accurately assessing the progress of your work and in spotting areas that may need more attention.
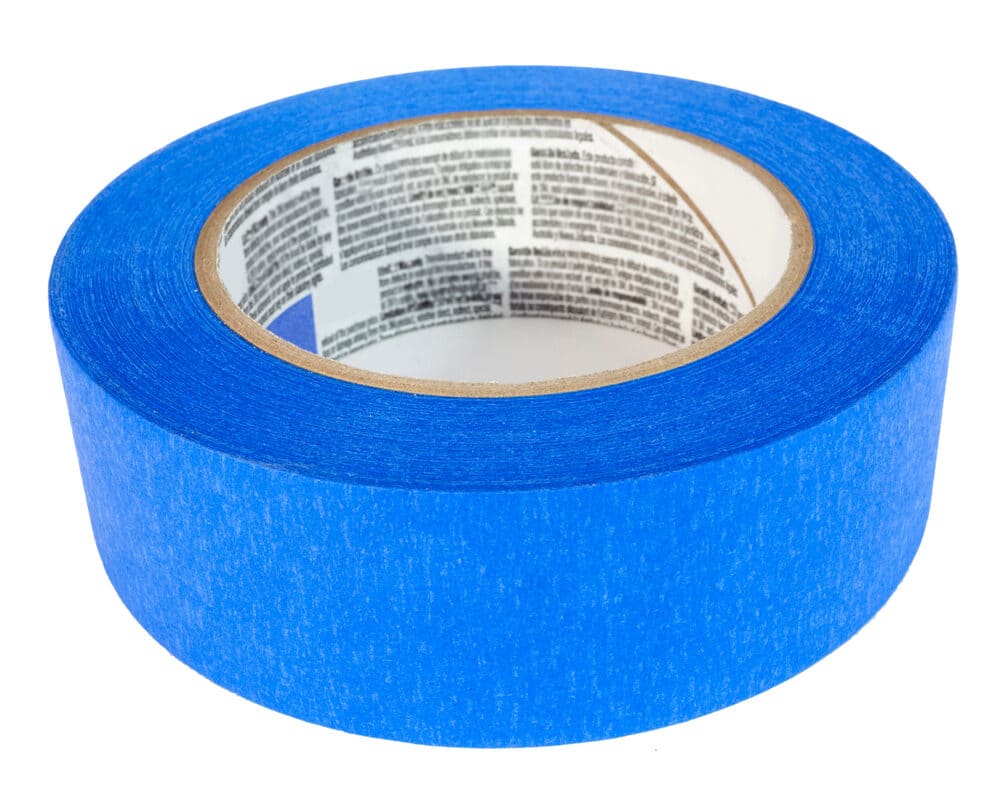
Painter’s Tape:
If you’re working on a section of the floor, painter’s tape can be used to protect the surrounding areas from accidental scuffing.
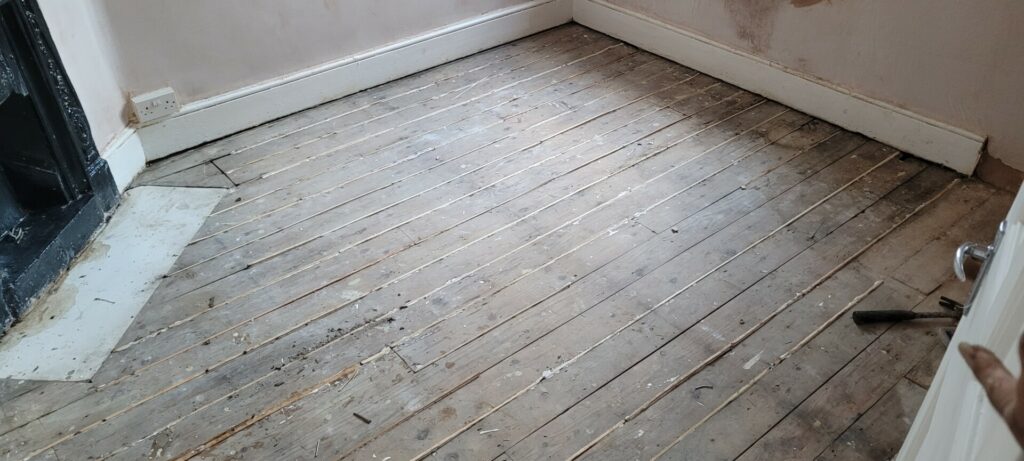
Preparing the Floor for Sanding
The success of a hand-sanding project, particularly when removing paint from floors, is significantly influenced by the quality of the preparation. Proper preparation not only makes the sanding process more efficient but also helps in achieving a superior finish. Here’s a comprehensive guide to preparing your floor for sanding:
Cleaning the floor:
Begin by thoroughly cleaning the floor. Remove all furniture, rugs, and any other items from the area. Sweep or vacuum the floor to eliminate dust, dirt, and small debris. This initial cleaning ensures that you have a clear workspace and prevents any particles from interfering with the sanding process.
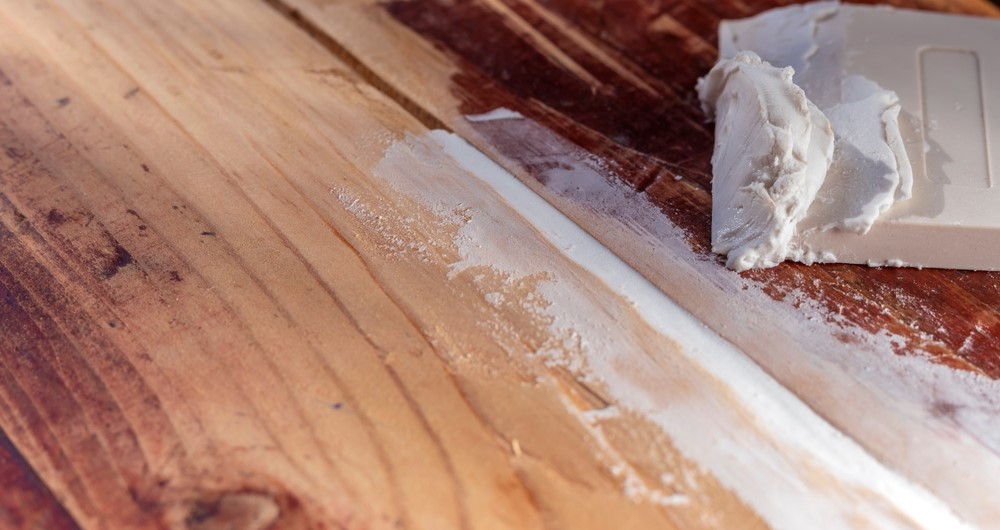
Repairing Damages:
Inspect the floor for any damages such as cracks, splits, or loose boards. Repair these imperfections before sanding. This might involve filling cracks with wood filler, securing loose boards, or even replacing damaged sections of the floor. Ensuring the floor is in good repair is crucial for a uniform finish after sanding.
Testing for Lead Paint:
If the building is old, there’s a possibility that the paint contains lead. It’s important to test for lead paint, as sanding lead-based paint can release harmful lead dust into the air. If lead paint is present, you may need to take additional safety precautions or consider hiring a professional for paint removal.
Removing Baseboards and Trim:
If possible, remove baseboards and trim around the floor. This allows for a more thorough sanding job and prevents damage to these elements. If removal isn’t possible, use painter’s tape to cover and protect them.
Surface Assessment:
Assess the surface of the paint. If the paint is peeling or flaking, you may need to scrape off loose paint before sanding. Use a paint scraper or putty knife for this task, being careful not to gouge the wood.
Creating a Sanding Plan:
Plan your approach. Decide where to start and finish, keeping in mind the grain direction of the wood. It’s typically best to sand in the direction of the grain to avoid scratches that are difficult to remove.
Ventilation and Dust Control:
Ensure good ventilation in the room. Open windows and use fans if necessary. Dust control is important for your health and to keep the workspace clean. Consider using dust sheets to cover areas you want to keep dust-free.
Gathering Your Tools:
Finally, gather all your sanding tools and safety gear. Organise them within easy reach to streamline your workflow once you begin.
Preparation is as integral to the process as the sanding itself. A well-prepared floor not only eases the task at hand but also lays the foundation for a beautifully restored surface. Remember, patience and thoroughness in these initial stages can significantly enhance the overall outcome of your hand sanding project.
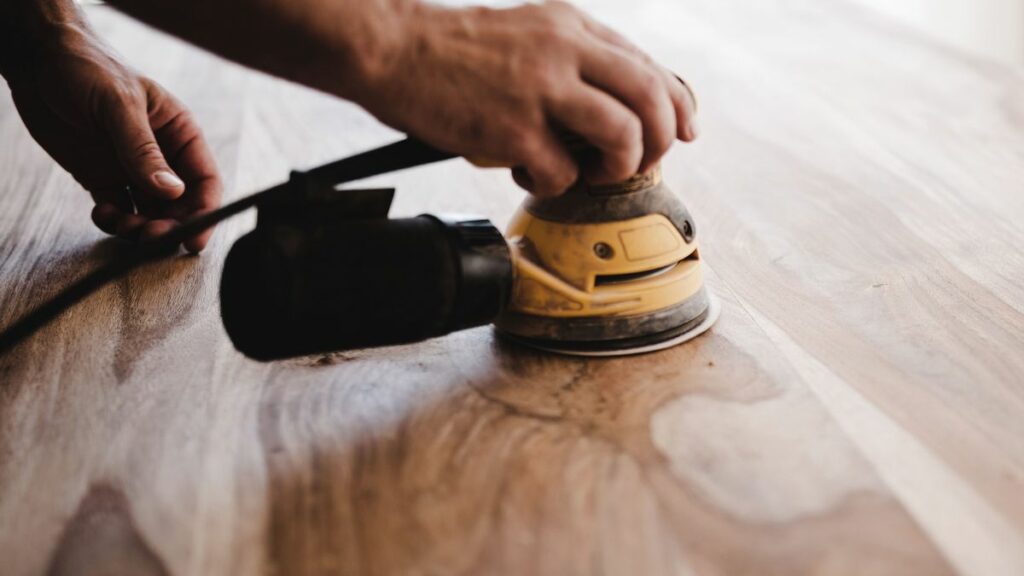
Step-by-Step Guide to Hand Sanding
Hand sanding, especially for the purpose of removing paint from floors, is a task that demands precision and patience. By following a methodical approach, one can ensure effective paint removal while preserving the floor’s integrity. Here’s a step-by-step guide to hand-sanding your floor:
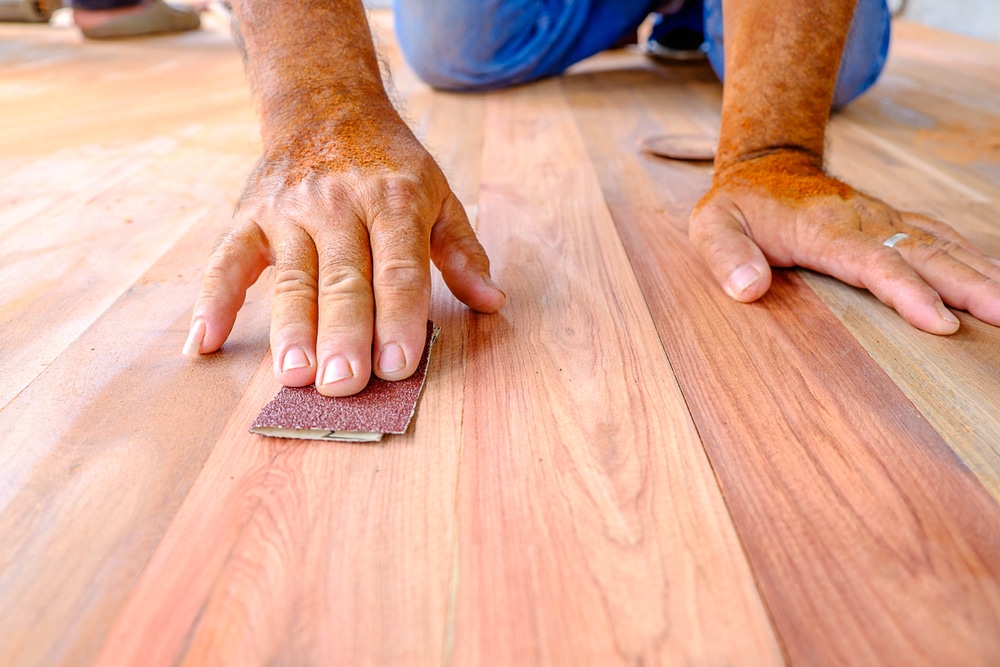
1. Starting with coarse-grit sandpaper
- Begin with a coarse-grit sandpaper, such as 60 or 80 grit. This will effectively remove the bulk of the paint.
- Attach the sandpaper to your sanding block for even pressure.
- Sand in the direction of the wood grain to avoid scratching the wood. Use long, even strokes.
2. Assessing Your Progress
- Periodically wipe away dust with a brush or vacuum to check your progress.
- Look for any remaining paint or uneven areas.
- If the sandpaper becomes clogged with paint, replace it with a fresh sheet to maintain its effectiveness.
3. Switching to Medium-Grit Sandpaper
- Once the majority of the paint is removed, switch to a medium-grit sandpaper, like 120 grit.
- Continue sanding the entire floor, focusing on smoothing out any rough areas and removing the last bits of paint.
4. Fine sanding
- After removing all the paint, switch to a finer-grit sandpaper, such as 150 or 180 grit.
- This stage is about refining the surface, ensuring it is smooth and ready for finishing.
- Sand gently, taking care not to damage the wood.
5. Final Inspection and Touch-Ups
- Inspect the floor closely for any missed spots or uneven areas.
- Use the appropriate grit sandpaper to touch up as needed.
- The goal is to achieve a uniformly smooth surface without any traces of paint.
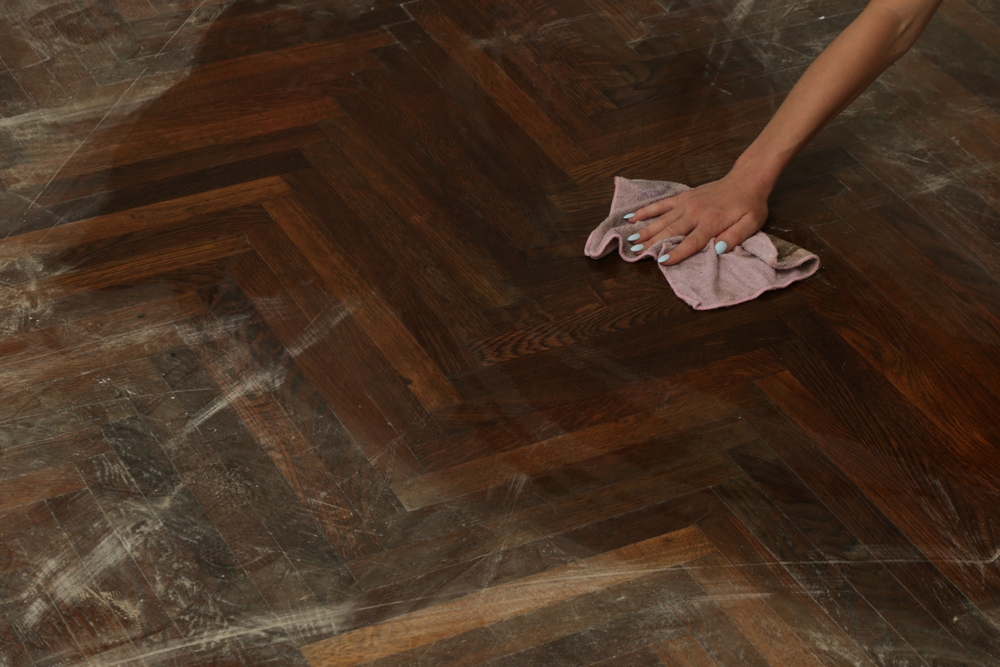
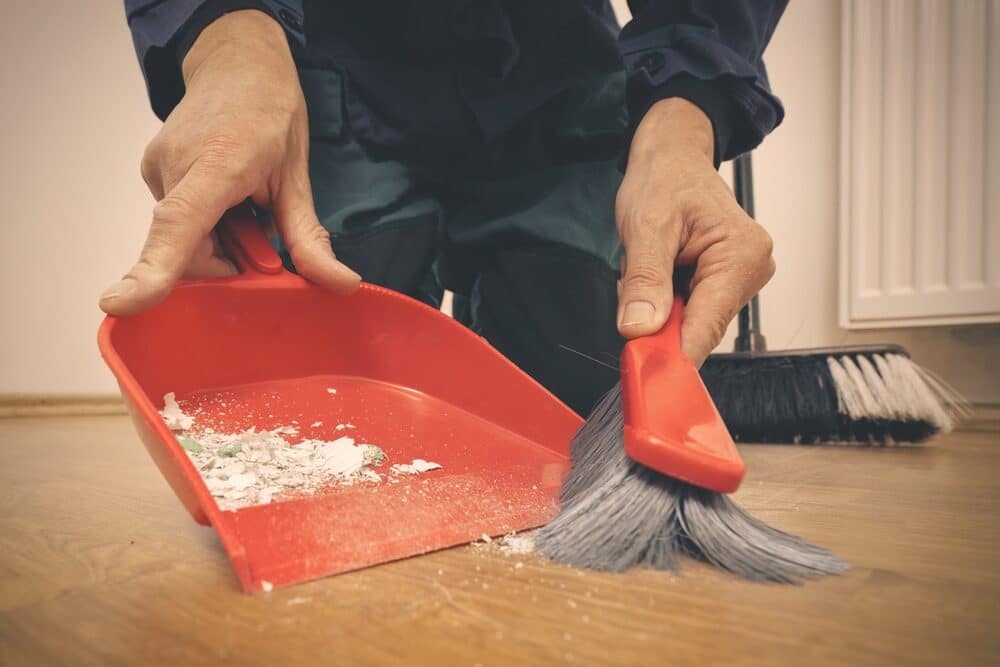
6. Cleaning Up
- Thoroughly clean the floor to remove all dust and debris.
- Use a vacuum cleaner followed by a tack cloth to ensure all sanding dust is removed.
- A clean surface is crucial for any finish or treatment you plan to apply next.
7. Assessing the Need for Further Sanding
- Depending on the condition of the wood and the desired finish, you may need to repeat the sanding process with even finer grits.
- This is especially important if you’re planning to apply a clear finish or stain.
8. Final Preparation for Finishing
- Once you are satisfied with the smoothness of the floor, prepare it for finishing.
- Make sure the room is dust-free and well-ventilated before applying any finishes.

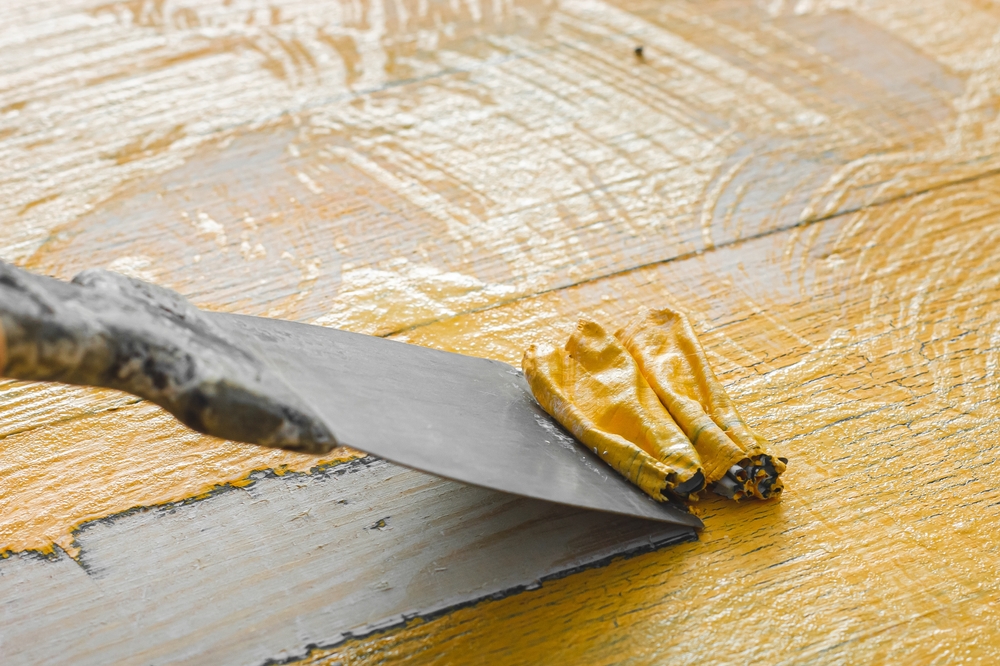
Dealing with Stubborn Paint Spots
Removing paint from floors often involves encountering stubborn paint spots that refuse to yield to regular sanding. These spots require special attention and techniques to effectively remove them without damaging the wood beneath. Here’s a guide to tackling these challenging areas:
1. Identifying Stubborn Paint Spots
- After the initial rounds of sanding, you’ll likely notice areas where the paint remains firmly attached.
- These spots often occur in crevices, along edges, or in areas where the paint has been applied thickly.
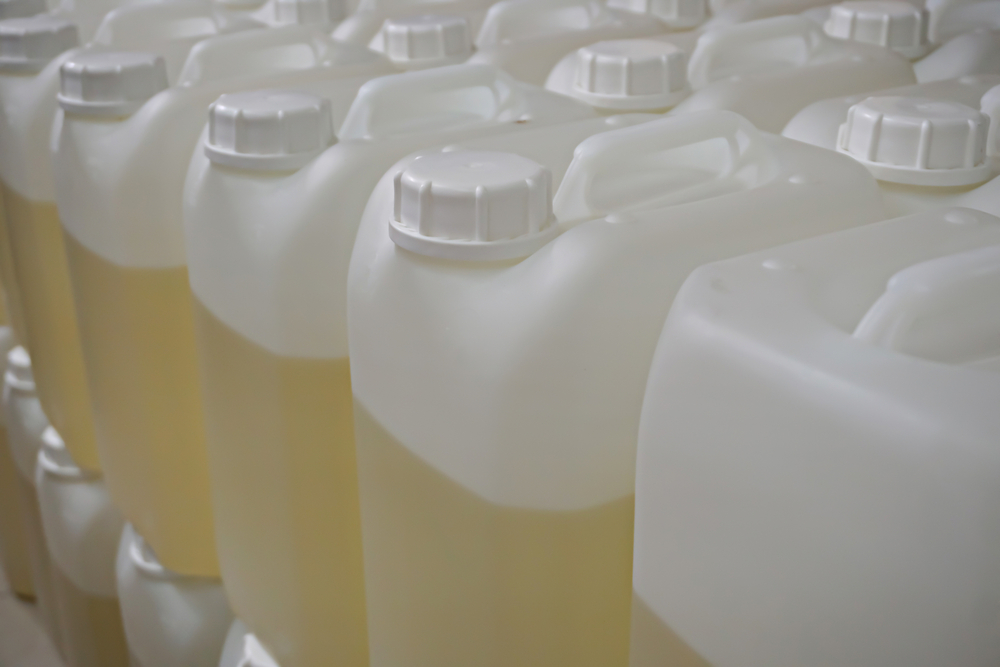
2. Using Chemical Paint Strippers
- For particularly stubborn paint, consider using a chemical paint stripper.
- Choose a product that is suitable for the type of paint and floor you are working with.
- Apply the stripper according to the manufacturer’s instructions, usually by brushing it on and leaving it to work for a specified time.
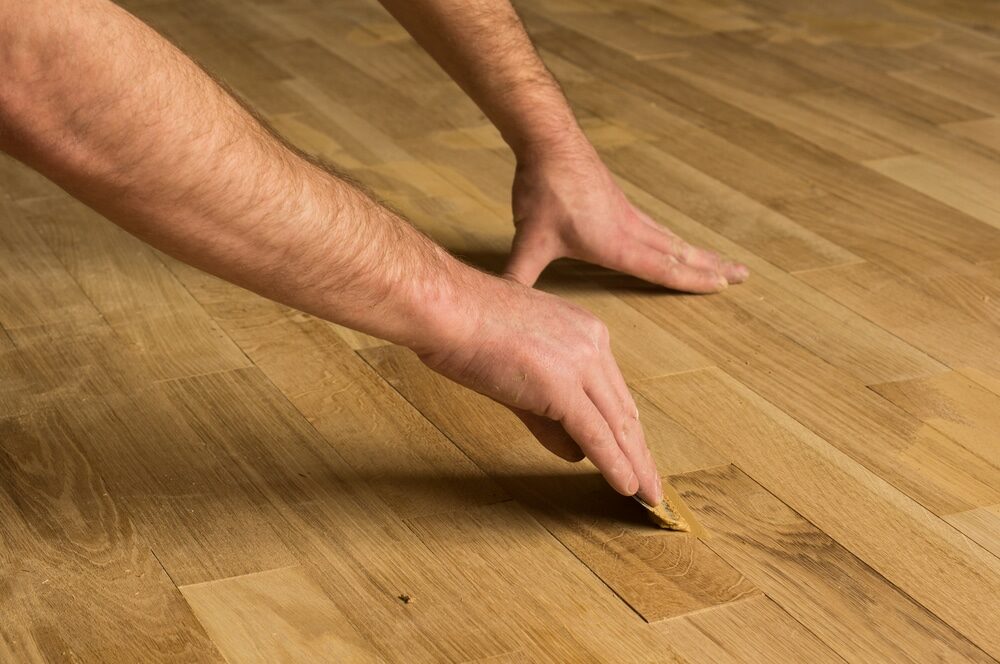
3. Scraping after Chemical Treatment
- After the paint stripper has had time to work, use a paint scraper or putty knife to gently scrape away the softened paint.
- Be careful not to gouge the wood; use light, controlled strokes.
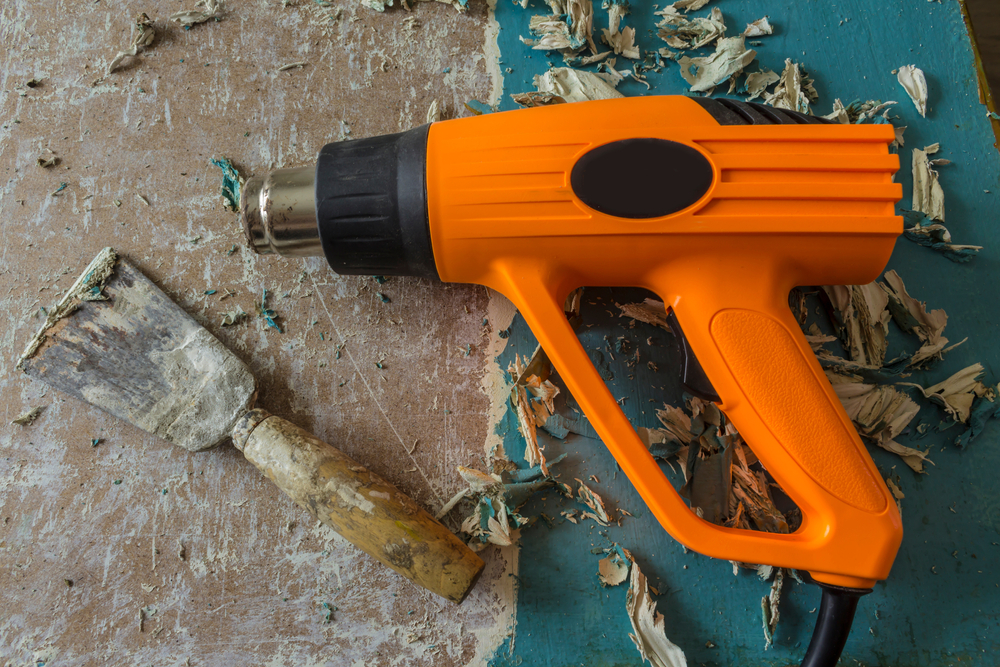
4. Heat Gun Method
- Another effective method is to use a heat gun. The heat helps to loosen the paint’s grip on the wood.
- Aim the heat gun at the paint spot, moving it back and forth slightly but not too close to avoid scorching the wood.
- Once the paint bubbles up, gently scrape it off.
5. Sanding After Paint Removal
- Once the stubborn paint has been removed, sand the area again.
- Start with a medium grit and finish with a fine grit to smooth out the surface.
- Ensure the transition between the treated spot and the rest of the floor is seamless.
6. Cleaning the area
- After removing the stubborn spots and sanding, clean the area thoroughly.
- Vacuum up the debris and wipe with a tack cloth to remove any residual dust.
7. Patch testing
- If you’re using chemical strippers or a heat gun, always perform a patch test in an inconspicuous area first.
- This helps to ensure that the method won’t damage the wood or the finish.
Dealing with stubborn paint spots is a task that requires extra care and patience. The key is to work gently and methodically, ensuring that the wood is not damaged in the process. By combining different techniques like chemical stripping, heat application, and careful sanding, you can effectively remove even the most persistent paint spots, revealing the natural beauty of your wood floor.
Sanding Safety Tips
When undertaking a project like hand sanding, especially for tasks as demanding as removing paint from floors, safety should be at the forefront of your considerations. Sanding can pose various risks, including dust inhalation, physical strain, and even chemical exposure. Here are essential safety tips to ensure your sanding project is not only successful but also safe:

1. Wear protective gear.
- Dust masks or respirators: Sanding can produce a significant amount of dust. Wear a dust mask or a respirator to prevent inhaling fine particles. For lead-based paint removal, a respirator is essential.
- Safety Goggles: Protect your eyes from dust and debris with safety goggles.
- Gloves: Wear gloves to protect your hands from splinters and abrasions, and from chemicals if you’re using paint strippers.
- Hearing Protection: If using power tools for any part of the project, use ear protection to safeguard your hearing.

2. Ensure proper ventilation.
- Open windows and doors to ensure good airflow in your working area.
- Use fans to help circulate air and reduce dust accumulation.
- If working with chemical strippers, ventilation is crucial to avoid inhaling toxic fumes.
3. Keep your workspace clean.
- Regularly clean the area where you are working. Vacuum dust and debris to minimise airborne particles.
- A clean workspace is not only safer but also allows you to see your progress more clearly.
4. Correct posture and breaks
- Maintain a comfortable posture while sanding. Adjust your stance or use a stool if necessary to avoid strain.
- Take regular breaks to prevent fatigue. Prolonged sanding can be demanding on your body, especially your hands, arms, and back.
5. Safe Handling of Tools and Chemicals
- Read and follow the instructions for any tools or chemicals you use.
- Store and dispose of chemicals safely, and keep them out of reach of children and pets.
- Be cautious with heat guns or other electrical tools to prevent burns or fire hazards.
6. Avoiding Fire Hazards
- Be aware of fire hazards, especially if you are using solvents or heat guns.
- Keep a fire extinguisher nearby and ensure you know how to use it.

7. Prepare for Emergencies
- Have a first-aid kit accessible in case of minor injuries.
- Know the procedure for seeking medical assistance in cases of exposure to harmful substances or serious injuries.

8. Educate yourself
- If you’re unfamiliar with any aspect of the sanding process, educate yourself beforehand. Understanding the risks and proper techniques can significantly reduce the chance of accidents.
Finishing Touches After Sanding
After the rigorous task of hand sanding to remove paint from a floor, the final touches are crucial in transforming your hard work into a beautifully finished surface. These finishing steps are not just about aesthetics; they also protect the wood and enhance its longevity. Here’s how to proceed:
1. Thorough cleaning
- Begin with a meticulous cleaning of the floor. Vacuum up all the dust and debris.
- Follow up with a tack cloth to ensure all fine particles are removed. This step is vital for a smooth finish.

2. Inspecting the Wood
- Carefully inspect the wood for any missed spots, scratches, or uneven areas.
- If necessary, perform light spot-sanding to correct any imperfections.
3. Applying wood filler (if needed)
- If there are gaps or small holes in the wood, now is the time to fill them.
- Use a wood filler that matches the colour of your wood. Apply it according to the manufacturer’s instructions and allow it to dry completely.
4. Final sanding
- Once the filler is dry, do a final light sanding over the entire floor.
- Use a fine-grit sandpaper (like 220 grit) to achieve a smooth, even surface.
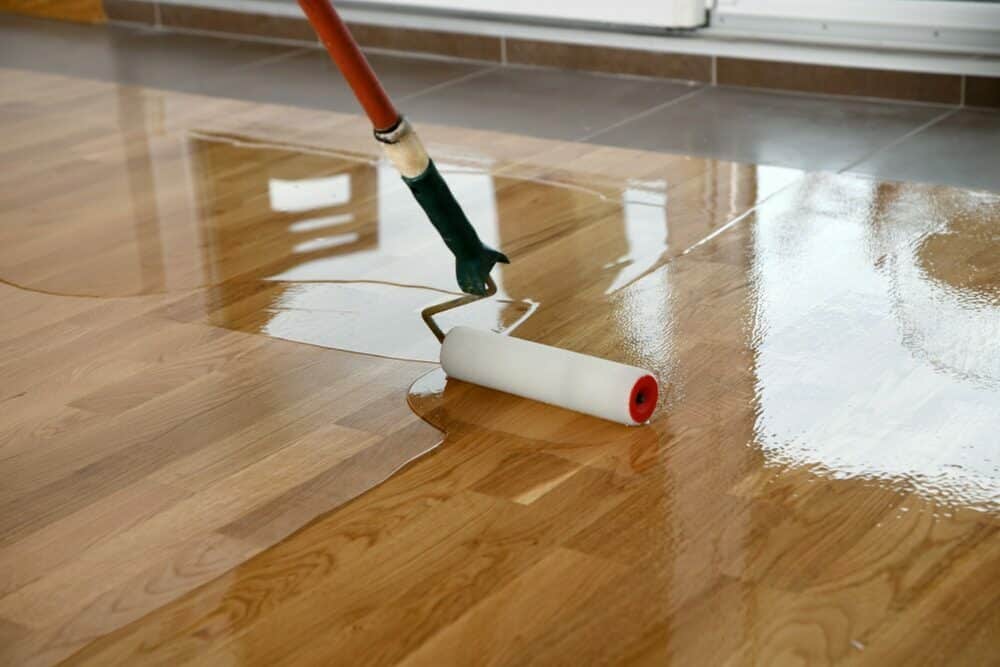
5. Choosing the Right Finish
- Select a finish that suits your preferences and the type of wood. Common options include polyurethane, varnish, or oil finishes.
- Consider the room’s usage, desired sheen, and maintenance requirements when selecting your finish.
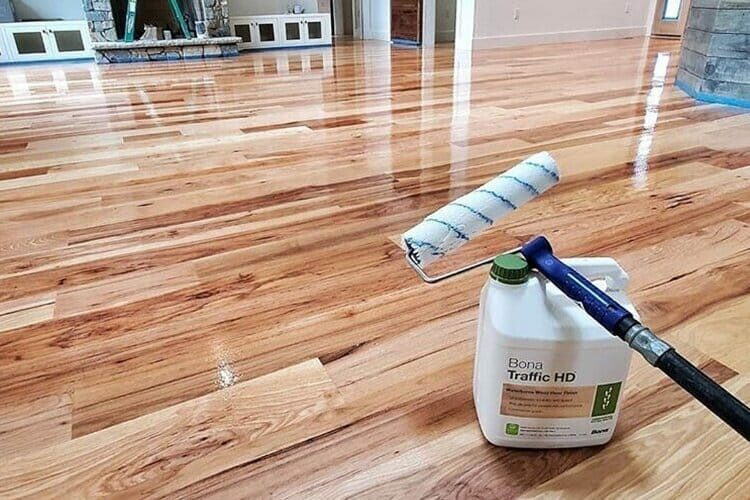
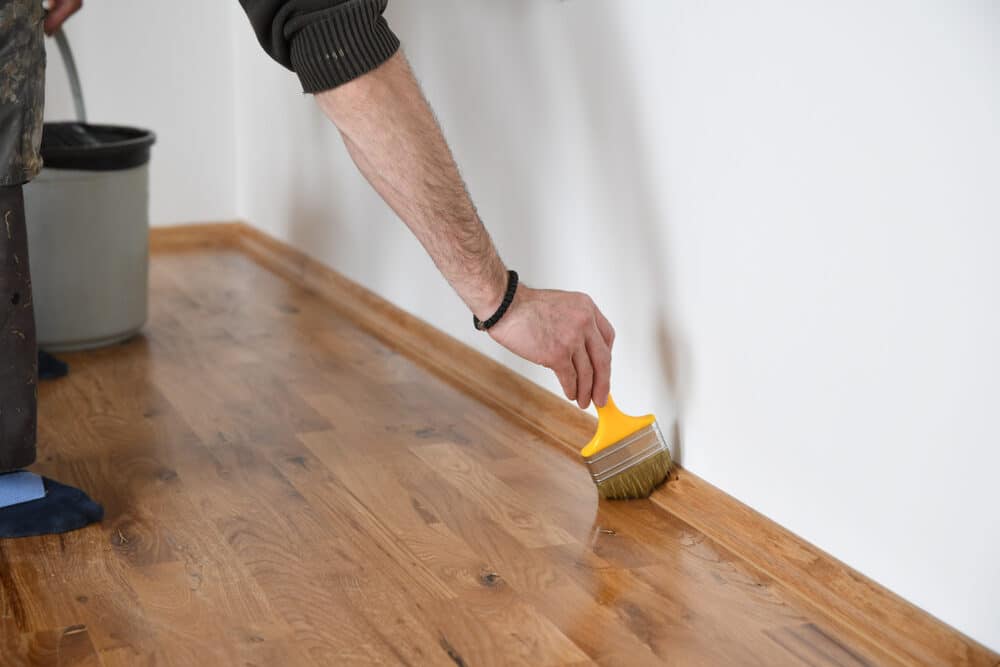
6. Applying the Finish
- Apply the finish according to the manufacturer’s instructions.
- Use a clean brush or applicator and work in the direction of the wood grain.
- Apply the finish evenly and avoid over-application to prevent drips or uneven coating.
7. Allowing Adequate Drying Time
- Allow the first coat to dry as per the suggested time. This can vary based on the type of finish and environmental conditions.
- Avoid walking on the floor or placing anything on it during this time.
8. Light sanding between coats
- If applying multiple coats, lightly sand the floor between each coat once it’s dry.
- This helps in achieving better adhesion and a smoother finish. Wipe away all the dust before applying the next coat.
9. Final coat and curing
- Apply the final coat of finish.
- Allow ample time for the floor to cure completely, which may take several days depending on the product used.
10. Post-Finishing Care
- After the floor has fully cured, you can return furniture to the room.
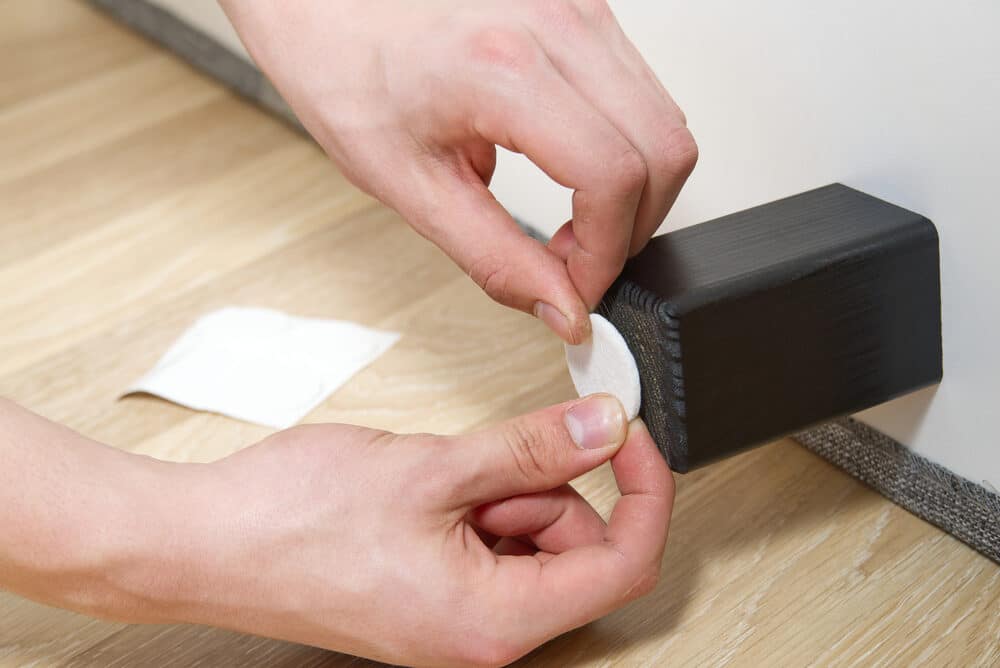
- Use felt pads under furniture legs to prevent scratches.
- Follow proper care and maintenance guidelines to preserve the finish and extend the life of your floor.
Conclusion
Hand sanding to remove paint from floors is a task that requires skill, patience, and attention to detail. This guide has navigated you through the various stages of the process, from the initial preparation to the finishing touches, emphasising the importance of each step in achieving a beautifully restored floor.
The journey of hand-sanding is more than just a means to an end. It is an exercise in craftsmanship, a testament to the value of manual labour, and a nod to the traditions of woodworking. By choosing hand sanding, you engage in a process that respects the material, offers precision, and ultimately leads to a deeply satisfying result.
Through the removal of old paint, not only is the wood’s natural beauty unveiled, but a piece of history is also preserved and given new life. The process, albeit laborious, is immensely rewarding, providing a sense of accomplishment and a tangible connection to the work.
Safety, as highlighted, is paramount in such endeavours. Adherence to safety guidelines ensures that this fulfilling task is not marred by preventable accidents or health risks. Remember, the best results are achieved not in haste but with careful, thoughtful work.
As you apply these techniques and tips to your own projects, may you find joy in the process and pride in the outcomes. The finished floor, smooth and revived, stands not just as a surface to walk upon but as a symbol of dedication and artisanship. Whether for practical purposes or for the sheer love of restoration, the art of hand-sanding floors is a skill worth cherishing and passing on.


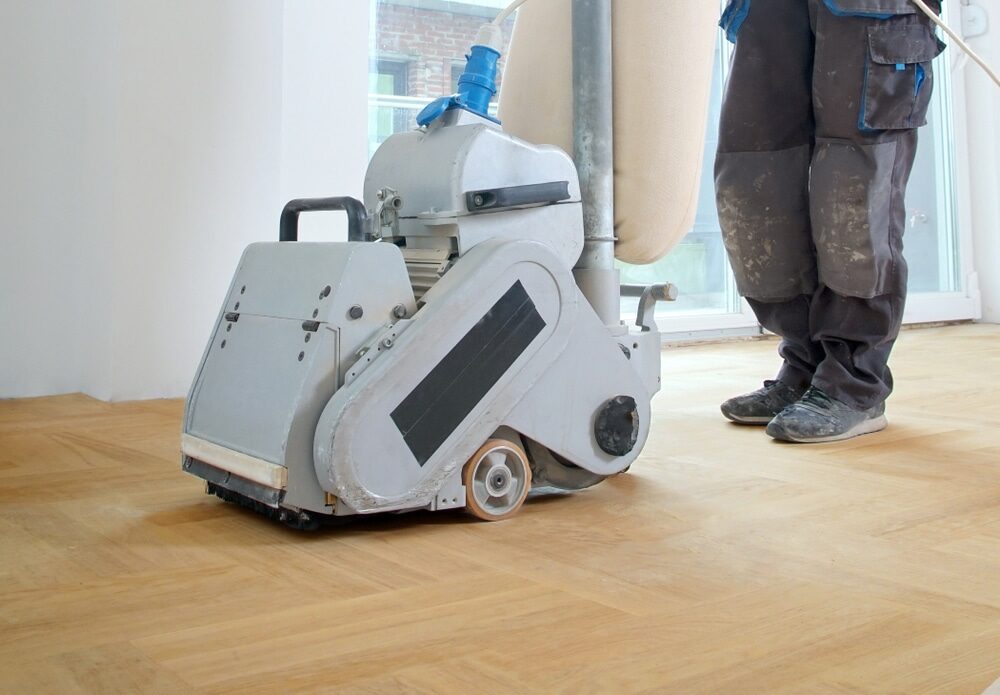
Sanding
We provide virtually dust-free sanding with our continuous belt machinery with mobile extraction units, giving you a safer environment for your family.
Oiling
This organic finish not only adds beauty to your home but also has exceptional water-repellent characteristics, making it easier to clean and maintain.
Waxing
This natural floor finish offers the softest and most mellow appearance – and leaves your floor able to breath.
Buffing
Using soft buffing machines (and hand-polishing where required) will bring a wonderful sheen to your newly-finished floor.
Repairs
We offer a full assessment of your wooden floors to determine what repairs are needed to provide the perfect working surface for the later stages of sanding, staining and sealing.
Restoration
We offer a comprehensive restoration process designed to address floors that are improperly fitted or damaged over time through wear and tear.
Request a fixed price quote for your wood floor restoration now
Simply enter your postcode below to get started.
Services
Wood Floor Sanding Wood Floor Restoration Wood Floor Scratch Repair Squeaky Wood Floor Repair Parquet Floor Sanding Parquet Floor Restoration Commercial Floor Sanding Church Floor Sanding Community Centre Floor Sanding School Floor Sanding Gap Filling Gap Filling with ResinCopyright © Mr Sander®
Privacy & Cookies Terms & Conditions Complaints Procedure Cancellation Rights Sitemap

Get An Instant Price Estimate Before You Go…
Simply enter the rooms you need sanded and we’ll provide you with a price estimate instantly! Try our price calculator now.
Get a Price Estimate NowLocal Floor Sanding Experts
Over 500 5-Star Reviews
Safe, Dust Free Sanding
Operating Since 1994