London:
Nationwide:
25,000+
Floors Restored
27 Years Experience
Wood Flooring Association Certified
Mastering DIY Hardwood Floor Installation: Essential Tips
Posted on May 14, 2023
Blog
Ultimate Guide to DIY Hardwood Floor Installation
If you’re looking to add a touch of sophistication and durability to your home, hardwood flooring is an excellent choice. However, as with any DIY project, the success lies in the preparation. In this comprehensive guide, we’ll walk you through all the necessary steps to ensure a flawless finish to your hardwood floor installation project.
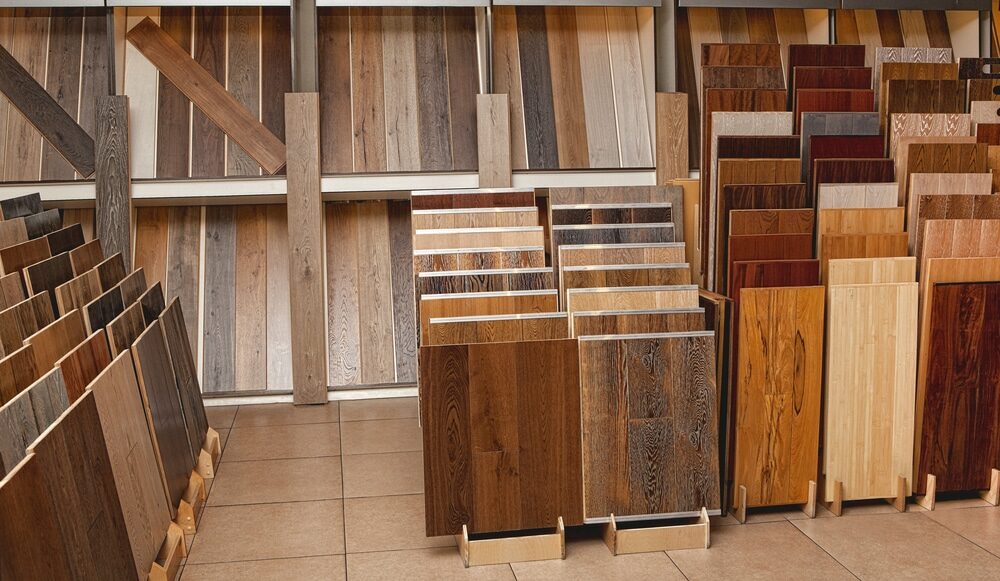
Choosing the Right Wood for Your Floor
The first step in your hardwood floor installation journey is selecting the appropriate wood. Factors such as the room’s use, your budget, and your aesthetic preferences play a crucial role in this decision. You have a wide range of options, from finished and unfinished wood to distressed wood, parquet, solid, or engineered flooring. Each type offers different aesthetics and durability, so choose wisely.
Preparation is key.
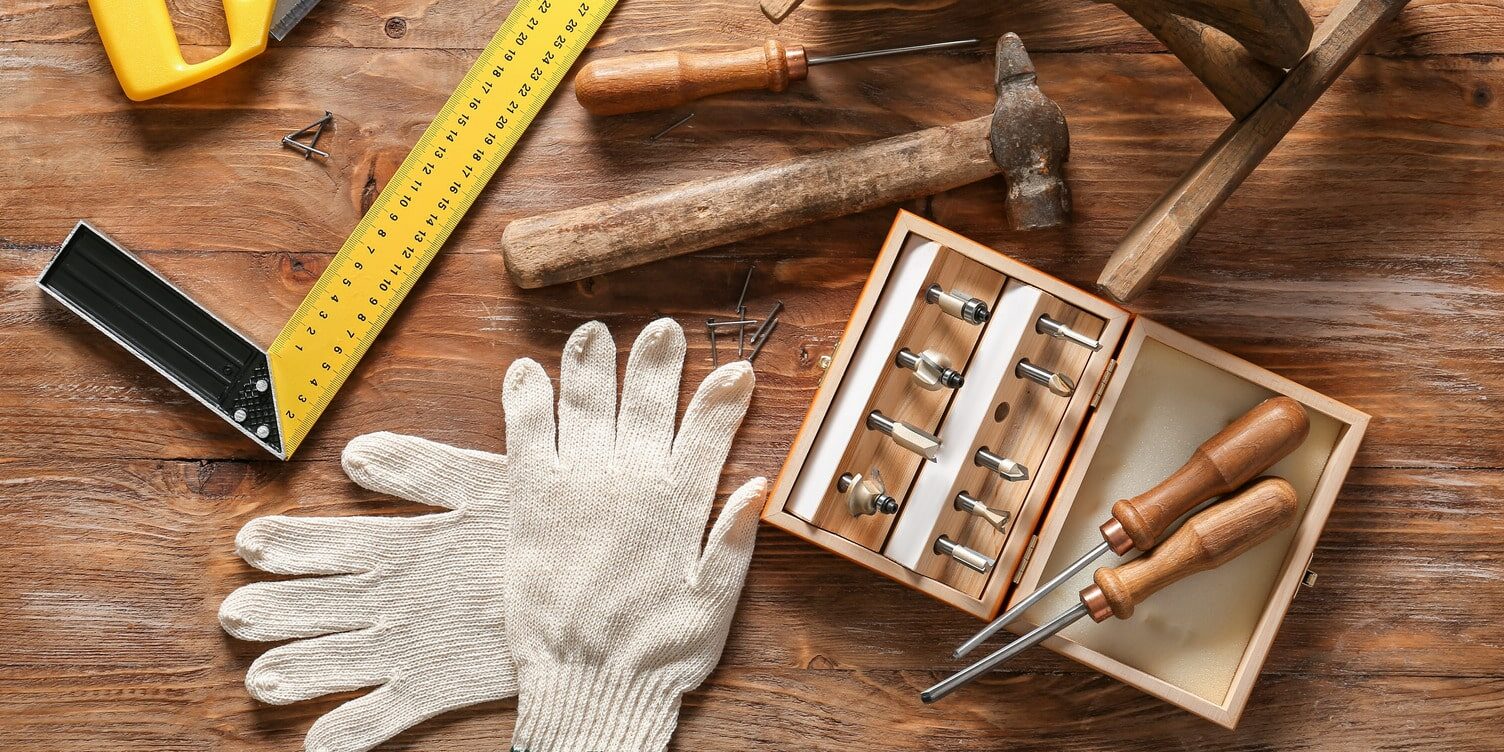
Once you’ve decided on the type of wood, the next step is setting aside some prep time. Proper preparation at the start of the job can mean the difference between a beautiful wood floor and a heart breakingly spoiled job. Here are the key steps to consider:
Understanding Your Sub-Floor
Before purchasing the wood, it’s advisable to note the direction of the joists in the sub-floor. Professionally laid real wood flooring is always laid in the opposite direction of the joists. This approach adds stability and helps prevent warping or bowing of the wood over time.
Assess your carpentry knowledge.
Installing a hardwood floor requires a basic understanding of carpentry. If you’re unsure about your skills, consider enlisting the help of a knowledgeable friend. Remember, laying floors may not be rocket science, but it does require skill and know-how.
Avoid Complexity
If you’re a wood floor rookie, steer clear of complex designs like decorative middle pieces, diagonals, and border edging. Start with a simple, straightforward design that you can handle confidently. With time and experience, you can progress to more intricate designs.
Getting Started with Installation
With the wood chosen and preparations complete, you’re ready to start the installation process. However, before you even think about nailing down a floorboard, there are a few more steps to complete:
Remove old floor coverings.
Ensure any previous carpeting, complete with tacks, staples, and nails, is completely removed. You may also wish to remove the vertical pieces of any door frames to make the installation process smoother.
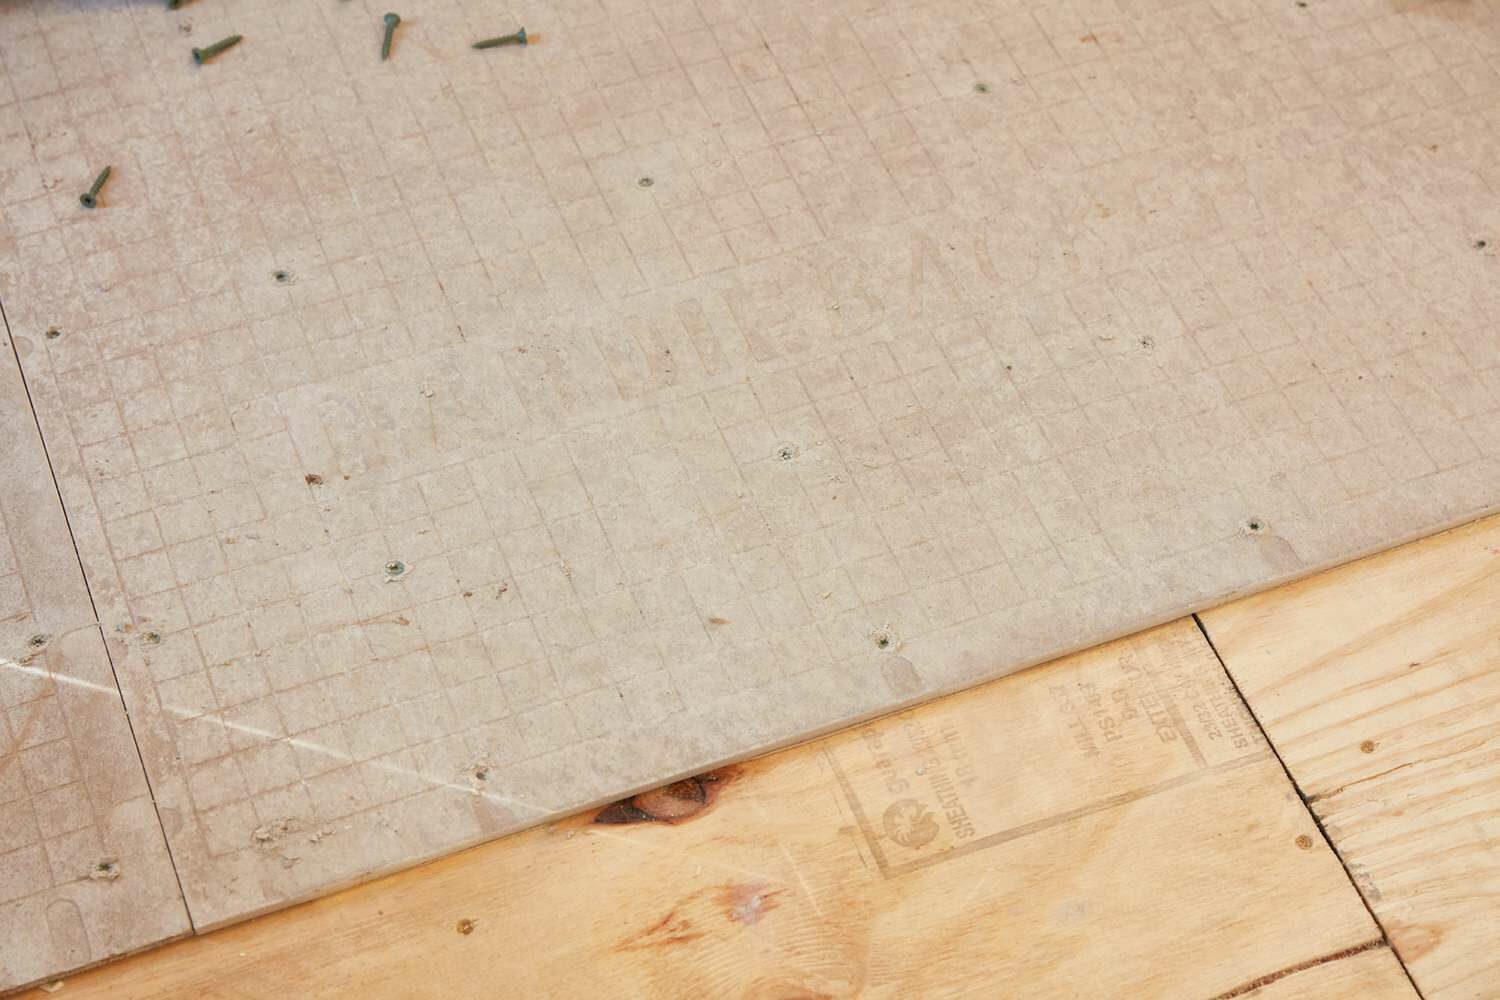
Prepare the Subfloor
If your existing floor is concrete-based or if there are significant gaps in the original wood floor, you may need to lay a subfloor first. Neglecting this step can lead to an uneven finish, so it’s critical to address these preliminaries before laying the new floor.
Lay the Rosin Paper
Red rosin paper is a sheathing paper used for floors and roofing. It serves as a guide and a protective barrier against draughts and moisture. Staple the rosin paper directly onto the subfloor, marking base points on the paper. Then, connect the points together via a straight edge, allowing about 9½ mm from the base for the expansion of the boards during warmer weather.
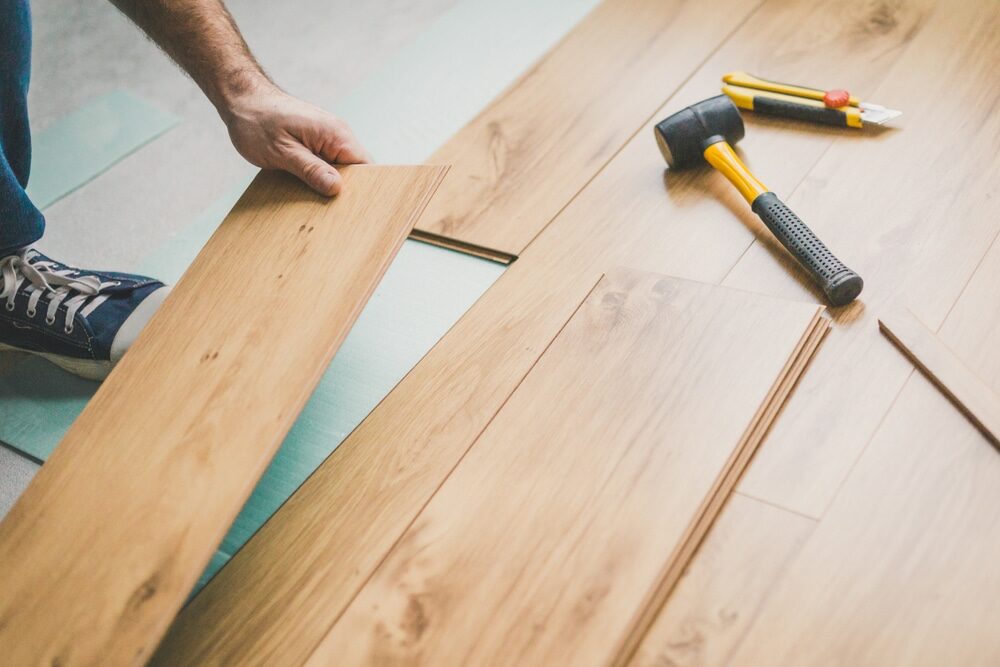
Laying the Hardwood Floor
Now you’re ready to lay your hardwood floor. Here are step-by-step instructions to guide you:
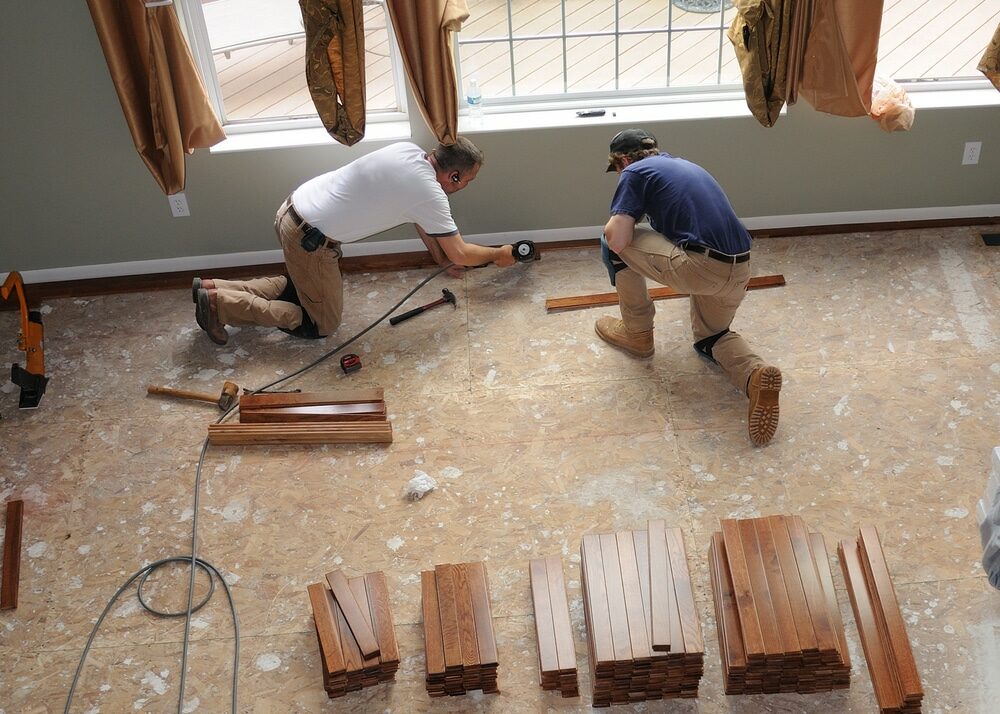
1. Start Laying: Begin by laying your floor against the longest wall in the room. Place the end of the first board at the base mark you’ve drawn, fixing it in place with a hammer and a single nail.
2. Staple the Boards: Opt for a pneumatic staple gun to fix each board to the subfloor. However, be cautious with the gun’s setting to prevent damaging the wood fibres.
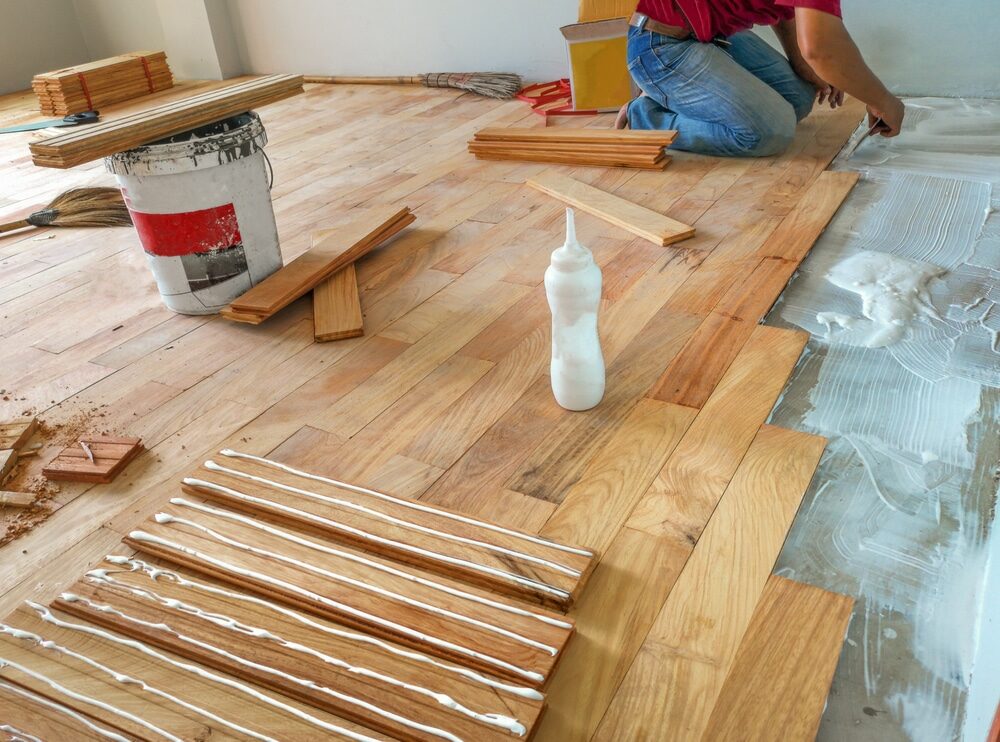
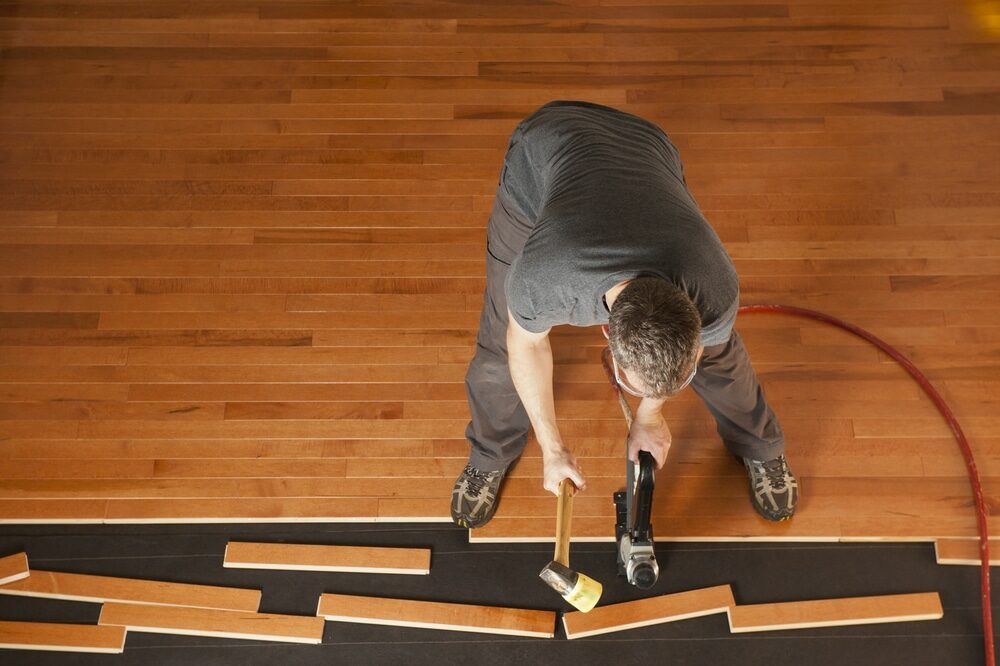
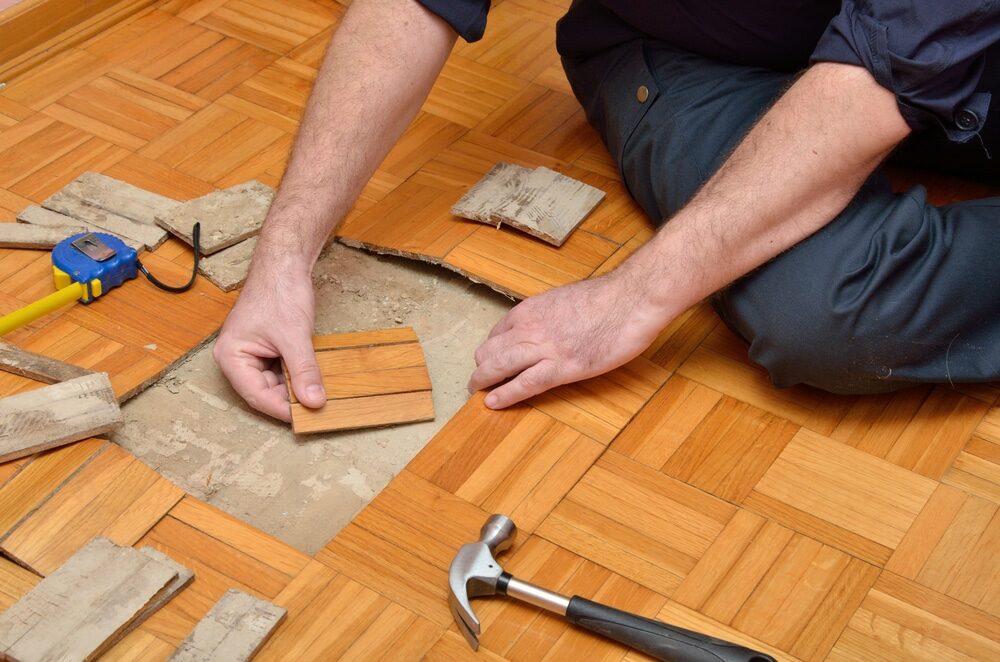
3. Join the Boards**: Lay the next board end-to-end with the first one. Use a mallet to gently tap the two pieces together, ensuring they fit snugly. Remember, tight fitting is crucial for the floor to look good and last for years.
4. Proceed Methodically: Carry on methodically, carefully attaching each board. Be patient and meticulous, as rushing can lead to mistakes and imperfections.
5. Fit the Last Board: When the floor is almost complete, the last piece of board will likely need to be cut to fit. Recall the old carpenter’s adage – measure twice, cut once! Use a special carpentry crayon to accurately mark where you will make the cut. If you have access to a circular saw, it will provide a fine, professional finish to your floor.
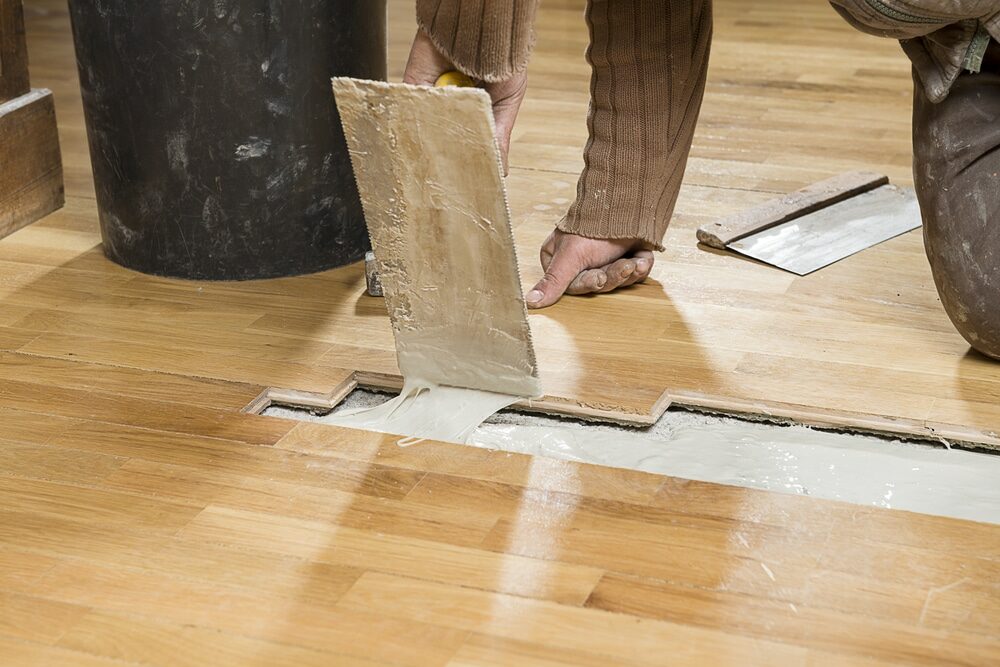
Finishing Touches
Once your hardwood floor is installed, the final step is to add the finishing touches. This includes adding baseboards and transitions, filling any gaps with wood filler, and applying a sealant or finish, if necessary.
If you’ve chosen prefinished wood, your work is done once the floor is laid. However, if you’ve opted for unfinished wood, you’ll need to sand the floor to smooth out any imperfections and then apply a finish to protect the wood and enhance its natural beauty.
Conclusion
Installing a hardwood floor is a significant DIY project, but with careful preparation and a patient, methodical approach, you can achieve a beautiful, professional-looking result. Remember, preparation is the key to success in any DIY task. So, take the time to understand the process, gather your materials, and prepare your workspace before starting.
Whether you’re a seasoned DIYer or a woodworking novice, this guide should equip you with the knowledge and confidence to install a hardwood floor that will stand the test of time, enhance your home’s aesthetic appeal, and increase its value. Happy DIY-ing!
Some Useful Links:
- Wood Floor Restorations
- Wood Floor Repairs
- Wood Floor Polishing
- Floor Sanding Services
- School Floor Sanding
More from our Blog:
Hardwood Floor: A Floor for All Seasons
Essential Winter Care for Hardwood Flooring | Preserve Your Floors Through Winter
How to Clean Laminate Wooden Flooring: A Comprehensive Guide
How to Stain a Wood Floor: A Comprehensive Step-by-Step Guide
Laminate Wood Flooring vs Engineered Wood Flooring: A Comprehensive Guide
Comparing Top 7 Flooring Options: An In-depth Analysis


Sanding
We provide virtually dust-free sanding with our continuous belt machinery with mobile extraction units, giving you a safer environment for your family.
Oiling
This organic finish not only adds beauty to your home but also has exceptional water-repellent characteristics, making it easier to clean and maintain.
Waxing
This natural floor finish offers the softest and most mellow appearance – and leaves your floor able to breath.
Buffing
Using soft buffing machines (and hand-polishing where required) will bring a wonderful sheen to your newly-finished floor.
Repairs
We offer a full assessment of your wooden floors to determine what repairs are needed to provide the perfect working surface for the later stages of sanding, staining and sealing.
Restoration
We offer a comprehensive restoration process designed to address floors that are improperly fitted or damaged over time through wear and tear.
Request a fixed price quote for your wood floor restoration now
Simply enter your postcode below to get started.
Services
Wood Floor Sanding Wood Floor Restoration Wood Floor Scratch Repair Squeaky Wood Floor Repair Parquet Floor Sanding Parquet Floor Restoration Commercial Floor Sanding Church Floor Sanding Community Centre Floor Sanding School Floor Sanding Gap Filling Gap Filling with ResinCopyright © Mr Sander®
Privacy & Cookies Terms & Conditions Complaints Procedure Cancellation Rights Sitemap

Get An Instant Price Estimate Before You Go…
Simply enter the rooms you need sanded and we’ll provide you with a price estimate instantly! Try our price calculator now.
Get a Price Estimate NowLocal Floor Sanding Experts
Over 500 5-Star Reviews
Safe, Dust Free Sanding
Operating Since 1994