London:
Nationwide:
25,000+
Floors Restored
27 Years Experience
Wood Flooring Association Certified
A Handy Guide to Efficiently Manage Your Floor Sanding and Polishing Project
Posted on June 10, 2023
Blog
Quick and Easy Ways to Keep Your Floor Sanding and Polishing Project Under Control
Floor sanding and polishing is a daunting task that can transform the look of your home. It’s not just about improving aesthetics; it also involves protecting your floors for years to come. This post aims to guide you on how to manage and control your floor sanding and polishing project effectively and efficiently.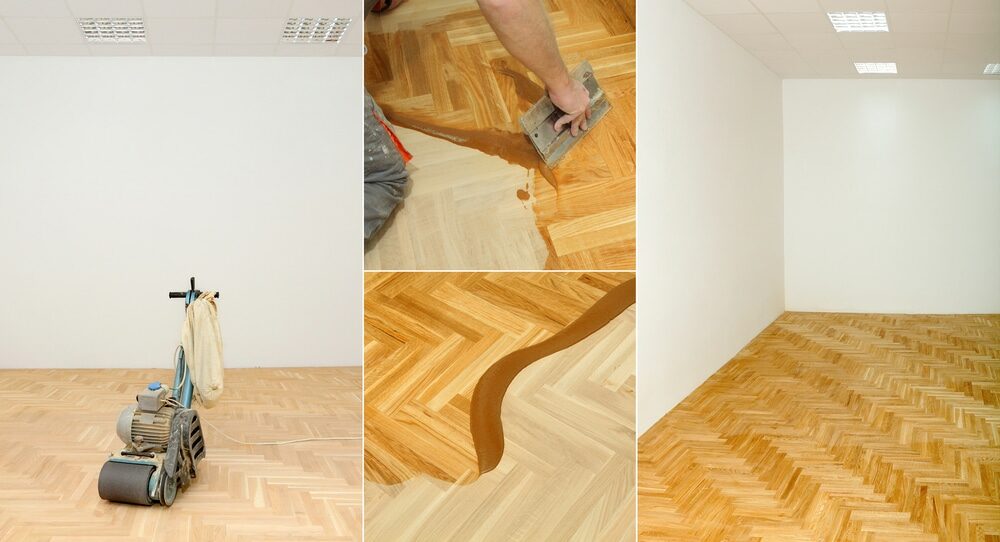
Part I: Understanding Floor Sanding and Polishing
What is floor sanding and polishing?
Floor sanding is the process of removing the top surface of a wooden floor using abrasive materials, often sandpaper. This is usually done to remove scratches or prepare the floor for a new finish. Polishing, on the other hand, involves applying a protective coating to the floor, which gives it a glossy, attractive finish. It also protects the wood from damage.Part II: Planning Your Floor Sanding and Polishing Project
Assemble your tools and materials.
Ensure you have all the necessary tools and materials ready. These may include a drum or orbital sander, an edge sander, sandpaper of various grits, a vacuum cleaner, safety gear, a polishing machine, and floor polish or sealant.Consider the project size and timeframe.
Account for the size of your floor and how much time you can dedicate to the project. Sanding and polishing might take several days, depending on the size of the room and the condition of the floor.Part III: Quick Steps to Managing Your Floor Sanding and Polishing Project
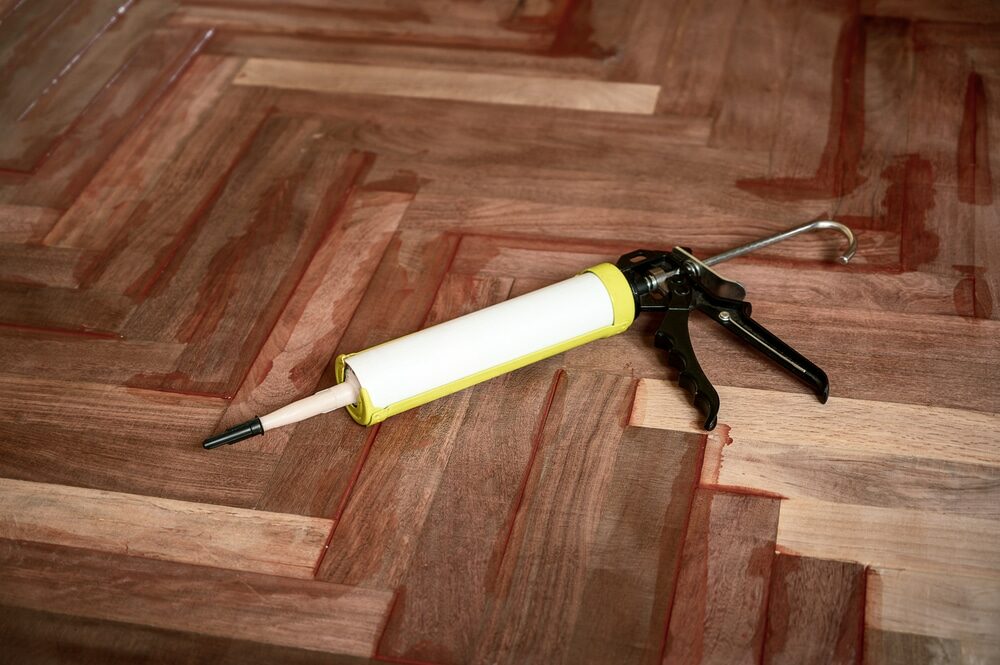
Step 1: Prepare Your Space
Clear the room, removing all furniture and loose items. Inspect the floor for protruding nails or screws, and fix them. Fill any gaps or cracks with a suitable filler.
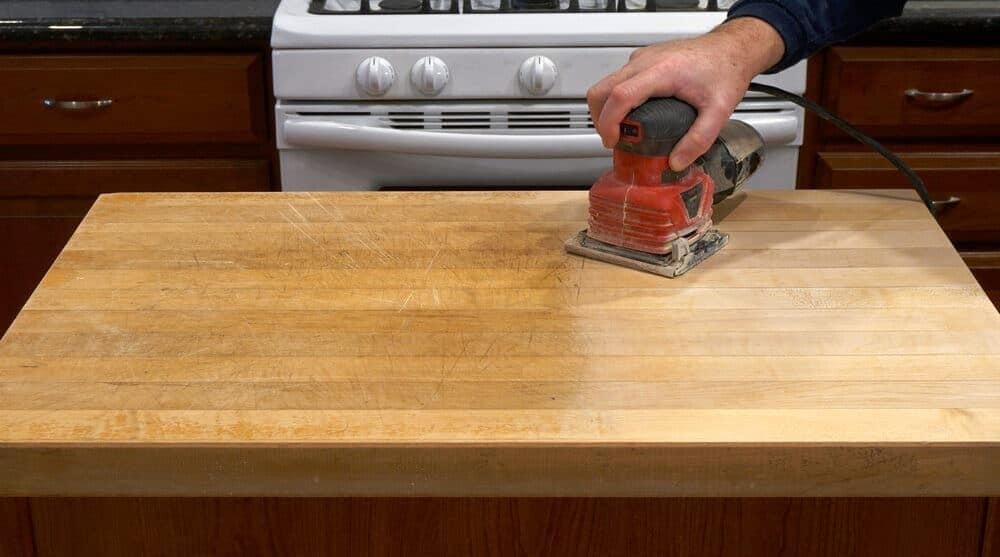
Step 2: Start sanding
Start with coarse-grit sandpaper for the initial sanding process. Remember to sand along the grain of the wood, not against it, to avoid damaging the floor.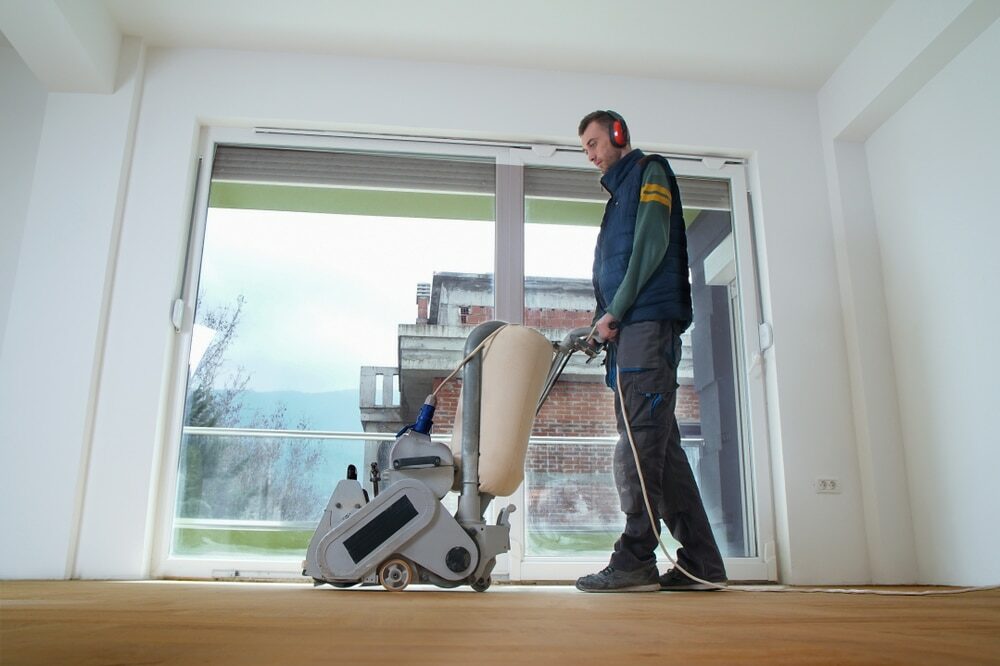
Step 3: Edge Sanding
Use the edge sander for the areas near the walls where the drum sander can’t reach. Maintain the same sanding direction as with the drum sander.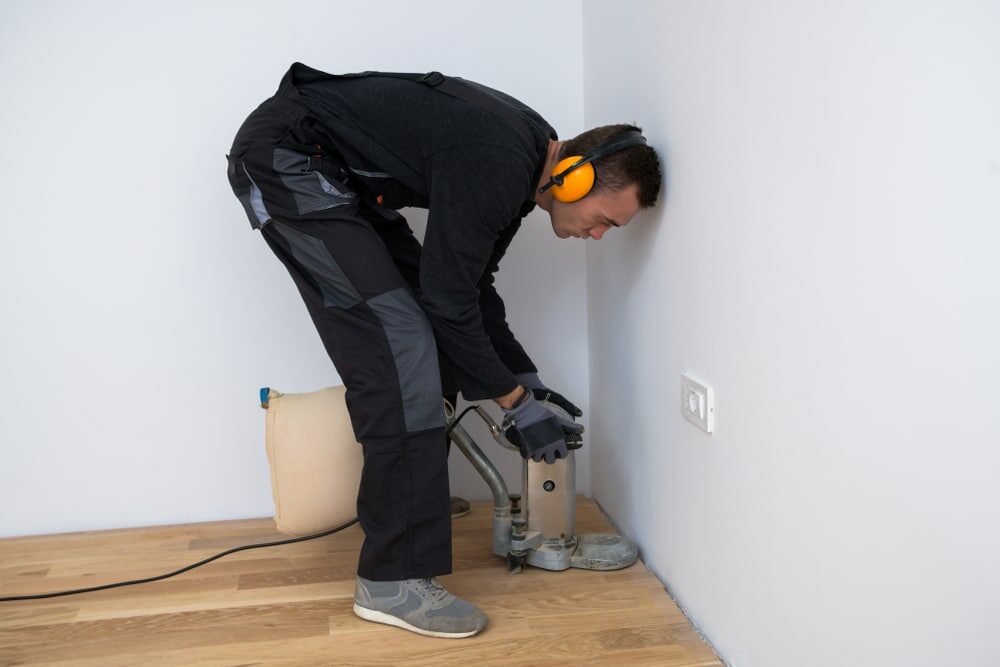
Step 4: Final sanding
Repeat the sanding process with finer grits of sandpaper. This will smooth the surface and prepare it for polishing.
Step 5: Clean the area
Thoroughly clean the floor, removing any dust and debris with a vacuum cleaner. This ensures a clean surface for the polish to adhere to.Step 6: Apply the Polish
Using a polishing machine or a roller, apply the floor polish or sealant evenly across the floor. Allow it to dry as per the manufacturer’s instructions before applying another coat.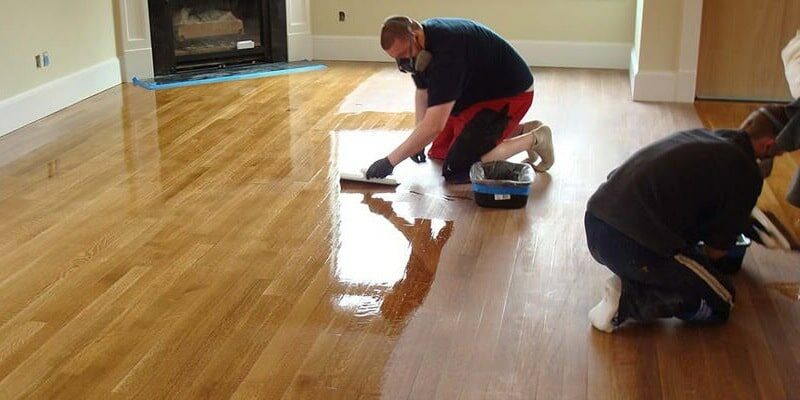
Part IV: Top Tips for a Controlled Sanding and Polishing Project
Maintain your machines.
Make sure your sanding and polishing machines are in good working condition. Regularly check for worn-out parts or clogs, and clean the machines after each use.Work Systematically
Work in small, manageable sections. This not only makes the task less overwhelming but also ensures that each part of the floor gets the attention it requires.Follow safety measures.
Always wear the appropriate safety gear, including a dust mask, goggles, and ear protection.Part V: Post-Project Care for Your Floors
After your floor sanding and polishing project, it’s essential to know how to maintain your freshly refinished floors. Regular cleaning, using furniture pads, and recoating every few years will keep your floors looking their best.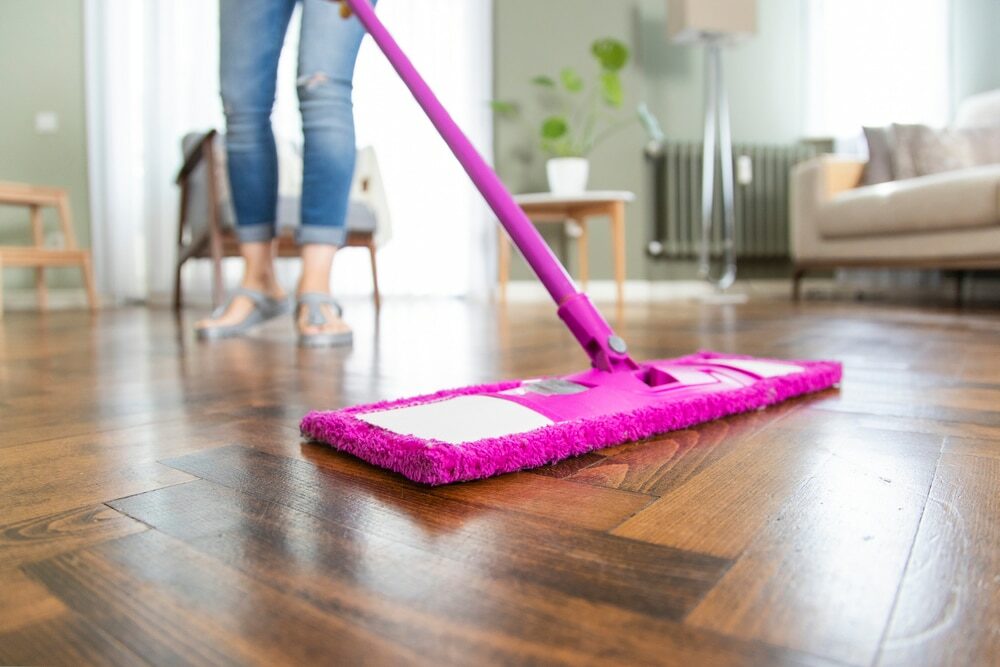
Conclusion
Floor sanding and polishing is a considerable project, but it can be made manageable with careful planning and attention to detail. The tips and guidelines provided here will help you keep your project under control, leading to beautiful, well-protected floors that you can enjoy for years to come.Some Useful Links:
- Floor Sanding Services
- School Floor Sanding
- Wood Floor Restorations
- Wood Floor Repairs
- Wood Floor Polishing
More from our Blog:
Revitalize Your Home with Wood Floor Sanding: DIY Guide The Perils of DIY Floor Refinishing: Why It Might Not Be Your Best Choice Useful Information about the latest Dustless Floor Sanding Machines How to Choose the Best Floor Sanding Machines: An In-depth Guide Revamping Homes with Efficient Wood Floor Sanding Techniques Wood Floor Restoration: Effective Floor Sanding and Refinishing Techniques

Sanding
We provide virtually dust-free sanding with our continuous belt machinery with mobile extraction units, giving you a safer environment for your family.
Oiling
This organic finish not only adds beauty to your home but also has exceptional water-repellent characteristics, making it easier to clean and maintain.
Waxing
This natural floor finish offers the softest and most mellow appearance – and leaves your floor able to breath.
Buffing
Using soft buffing machines (and hand-polishing where required) will bring a wonderful sheen to your newly-finished floor.
Repairs
We offer a full assessment of your wooden floors to determine what repairs are needed to provide the perfect working surface for the later stages of sanding, staining and sealing.
Restoration
We offer a comprehensive restoration process designed to address floors that are improperly fitted or damaged over time through wear and tear.
Request a fixed price quote for your wood floor restoration now
Simply enter your postcode below to get started.
Services
Wood Floor Sanding Wood Floor Restoration Wood Floor Scratch Repair Squeaky Wood Floor Repair Parquet Floor Sanding Parquet Floor Restoration Commercial Floor Sanding Church Floor Sanding Community Centre Floor Sanding School Floor Sanding Gap Filling Gap Filling with ResinCopyright © Mr Sander®
Privacy & Cookies Terms & Conditions Complaints Procedure Cancellation Rights Sitemap

Get An Instant Price Estimate Before You Go…
Simply enter the rooms you need sanded and we’ll provide you with a price estimate instantly! Try our price calculator now.
Get a Price Estimate NowLocal Floor Sanding Experts
Over 500 5-Star Reviews
Safe, Dust Free Sanding
Operating Since 1994