London:
Nationwide:
25,000+
Floors Restored
27 Years Experience
Wood Flooring Association Certified
Prepping for an Oiling Job: Should You Sand Your Old Kitchen Worktop First?
Posted on January 15, 2024
Kitchen Worktop Oiling
Preparing for an Oil Application: Is Sanding Your Old Kitchen Worktop Necessary?
Your kitchen worktop is more than just a functional surface; it’s the heart of your culinary domain, the stage for countless family meals, and the canvas for your culinary creations. Over time, though, even the most durable worktops can show signs of wear and tear, with nicks, scratches, and blemishes marring their once-pristine appearance.
To restore your kitchen worktop’s former glory and protect it from future damage, you might be considering an oiling job. Applying a suitable oil can not only rejuvenate the aesthetics but also safeguard the wood from moisture, stains, and daily wear. However, a question looms large: should you sand your old kitchen worktop before the oiling process?
In this comprehensive guide, we’ll dive deep into the world of kitchen worktop maintenance. We’ll explore the reasons why oiling is crucial for your worktop’s longevity and aesthetic appeal. But our focus will be on the decision-making process: should you take the extra step of sanding your old worktop before oiling it?
Join us as we unravel the mysteries of kitchen worktop care, the benefits of sanding, and the steps involved in achieving a stunning, durable, and functional worktop that you’ll love for years to come. Let’s embark on this journey to discover whether sanding your old kitchen worktop is the key to a kitchen transformation.

Why Oiling Your Kitchen Worktop is Necessary
Your kitchen worktop is subjected to a daily onslaught of activities—chopping, slicing, dicing, spills, and more. Over time, this wear and tear can take a toll on the wood’s appearance and structural integrity. This is where the practice of oiling your kitchen worktop comes into play, offering several compelling reasons for its necessity.
1. Protection against Moisture:
- Wood is naturally porous and can absorb moisture. This can lead to swelling, warping, and the growth of mould and mildew. Oiling creates a protective barrier that repels water, preventing these issues.
2. Enhanced Durability:
- Oiling not only adds a layer of protection but also strengthens the wood fibers. This makes your worktop more resistant to scratches, impacts, and other forms of damage.

3. Improved Aesthetics:
- Oiling brings out the natural beauty of the wood, enhancing its colour and grain patterns. It gives your worktop a rich, lustrous appearance that can make your kitchen feel warm and inviting.
4. Stain Prevention:
- Oiled surfaces are less likely to absorb stains from food, beverages, or other kitchen-related substances. This makes it easier to clean and maintain the worktop’s appearance.
5. Food Safety:
- If you use your kitchen worktop for food preparation, the right type of food-grade oil can provide a safe and hygienic surface. It prevents the growth of bacteria and makes cleaning up spills easier.

6. Longevity and Cost Savings:
- By regularly oiling your kitchen worktop, you can significantly extend its lifespan. This can save you the expense and hassle of having to replace the worktop prematurely.
7. Environmental Benefits:
- Properly maintained worktops are less likely to end up in landfills. By preserving and caring for your existing worktop, you contribute to a more sustainable kitchen environment.

When to Consider Sanding Your Old Kitchen Worktop
The decision to sand your old kitchen worktop is not one to be taken lightly. Sanding is an extra step in the maintenance process and should be considered under certain circumstances. Here are some key indicators that signal it might be time to consider sanding your worktop:
1. Visible Surface Damage:
- If your worktop has visible scratches, gouges, or deep stains that cannot be removed through regular cleaning or sanding, it may be time for more extensive surface restoration.
2. Unevenness or warping:
- Worktops that have developed uneven surfaces or have started to warp due to exposure to moisture may benefit from sanding to level the surface and restore its flatness.
3. Dull or Worn Appearance:
- Over time, worktops can lose their lustre and natural sheen. If your worktop looks tired, dull, or worn, sanding can help to rejuvenate its appearance.
4. Previous Oiling Neglect:
- If your worktop has been neglected for an extended period and has not been regularly oiled, it may have suffered more damage. Sanding can help prepare the surface for a fresh oil application.
5. Change in Worktop Finish:
- If you want to change the finish of your worktop, such as going from a glossy finish to a matte one or vice versa, sanding is often necessary to create a suitable surface for the new finish.
6. Deep Stains or Discoloration:
- Stubborn stains or discoloration that won’t fade away with cleaning may require sanding to remove the affected layers of wood and reveal a clean surface.
7. Enhanced Oil Absorption:
- Sanding the worktop can create a slightly rougher surface that allows the oil to penetrate more effectively, resulting in better protection and a more even finish.
8. Personal preference:
- Some individuals prefer the look and feel of a finely sanded worktop, even if there isn’t significant damage. If you desire a smoother and more polished surface, sanding can help achieve this.
Before deciding to sand your old kitchen worktop, carefully assess its condition and your goals for maintenance. In some cases, simply reapplying oil may suffice. However, when significant damage or wear is evident, sanding can be a valuable step to restore your worktop to its former glory and ensure the best possible results from your oiling job.
The benefits of sanding
Sanding your old kitchen worktop may seem like an additional task in the maintenance process, but it offers several significant benefits that can make a noticeable difference in the long-term health and appearance of your work surface. Here are some of the key advantages of sanding:
1. Surface smoothing:
- One of the primary benefits of sanding is that it smooths out imperfections on the worktop’s surface. Over time, your worktop may develop nicks, scratches, and uneven areas. Sanding helps level these imperfections, creating a sleek and even surface.
2. Enhanced Oil Absorption:
- A finely sanded surface allows the oil to penetrate more effectively into the wood. This deep penetration provides better protection against moisture, stains, and daily wear and tear.
3. Improved Adherence of Oil:
- Sanding creates a slightly rougher texture on the worktop, which helps the oil adhere better. This results in a more uniform and long-lasting finish when you apply the oil.
4. Uniform Appearance:
- Sanding ensures that the worktop has a consistent appearance by removing surface blemishes and discoloration. It can also help to even out any colour variations in the wood.
5. Enhanced Worktop Longevity:
- By addressing surface damage through sanding, you can extend the overall lifespan of your worktop. This can save you both time and money in the long run, as you won’t need to replace it as frequently.
6. Preventative Maintenance:
- Sanding allows you to identify and address potential issues early. By removing surface damage and preparing the worktop for oiling, you can prevent further deterioration.
7. Customisation Possibilities:
- Sanding gives you the opportunity to customise the finish of your worktop. Depending on the grit of the sandpaper used, you can achieve a matte or glossy finish that suits your aesthetic preferences.
8. Smoother Workspace:
- A finely sanded worktop provides a smoother and more comfortable workspace for food preparation and other kitchen tasks.
9. Increased Worktop Value:
- Well-maintained worktops with a smooth, polished appearance can enhance the overall value of your kitchen and home.

The sanding process
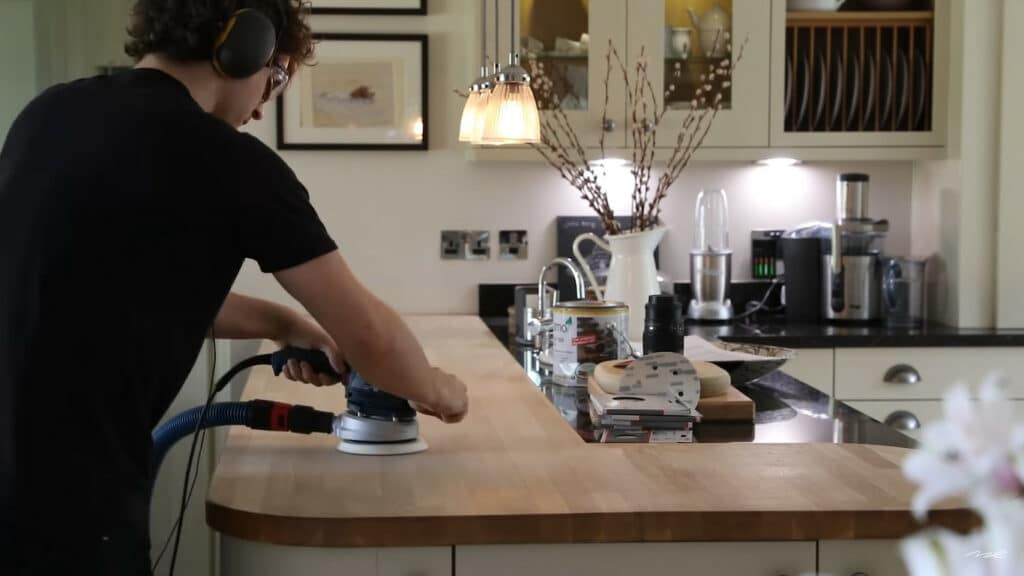
Sanding your old kitchen worktop is a crucial step in preparing it for an oiling job. It’s a process that requires patience, precision, and the right tools. Follow these steps to sand your worktop effectively:
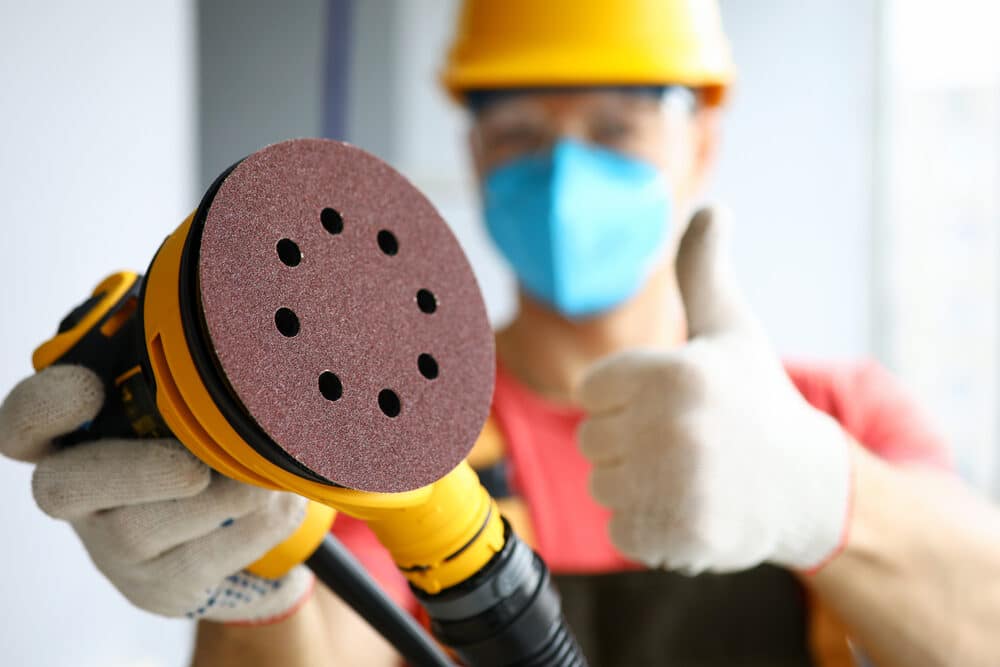
1. Gather your tools and materials:
- Before you begin, make sure you have the necessary tools and materials, including sandpaper (various grits), a sanding block or orbital sander, safety goggles, a dust mask, and a clean, dry cloth.

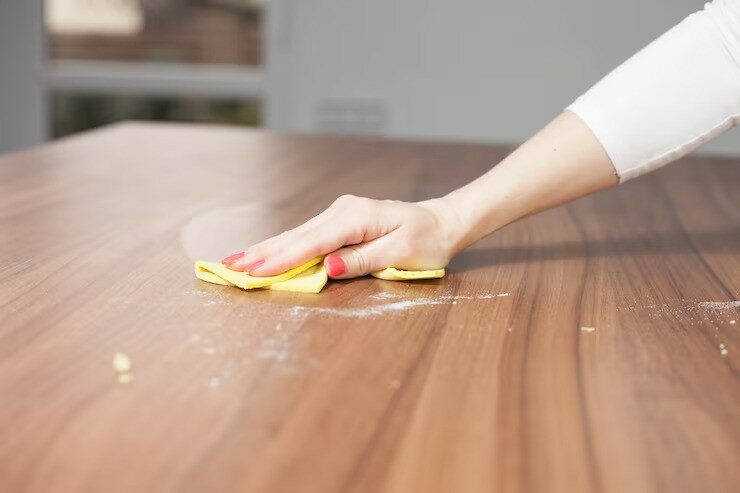
2. Clear and clean the worktop:
- Remove all items from the worktop and ensure it is clean and free of any debris, grease, or residue. Cleaning the surface thoroughly will prevent these substances from being ground into the wood during sanding.
3. Select the Right Sandpaper Grit:
- Choose the appropriate grit of sandpaper to start with. For rough surface imperfections or deep scratches, start with a lower grit (around 80–100). For finer sanding and smoothing, progressively move to higher grits (120, 180, and 220).
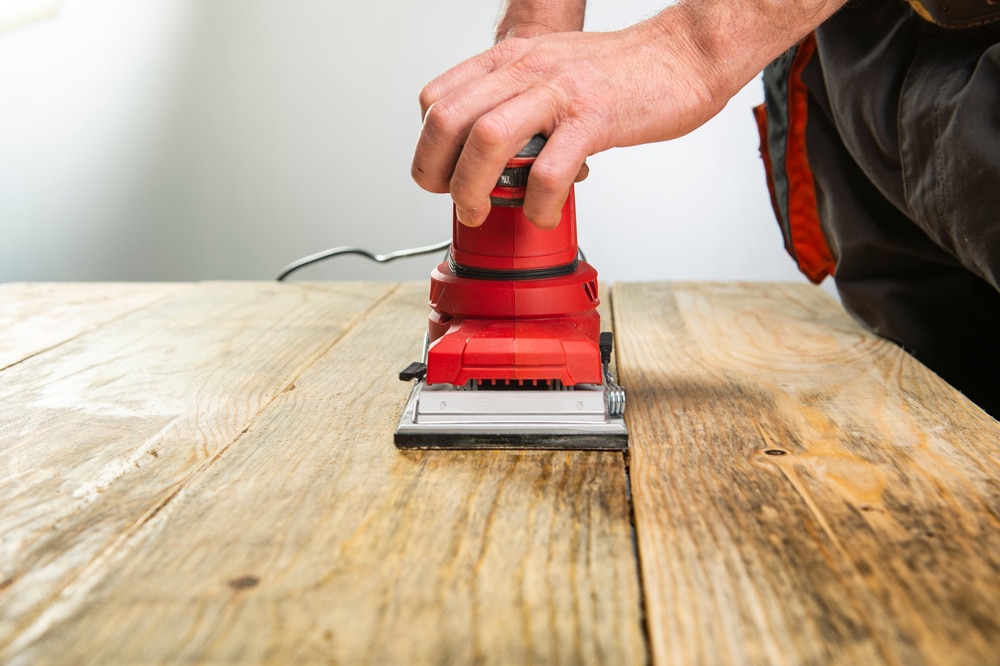
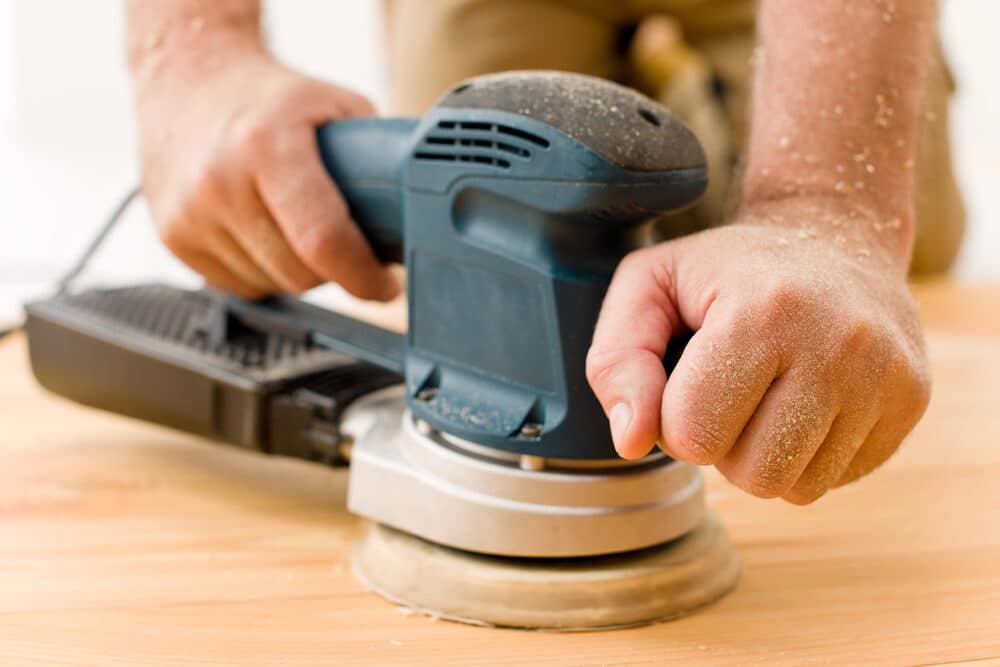
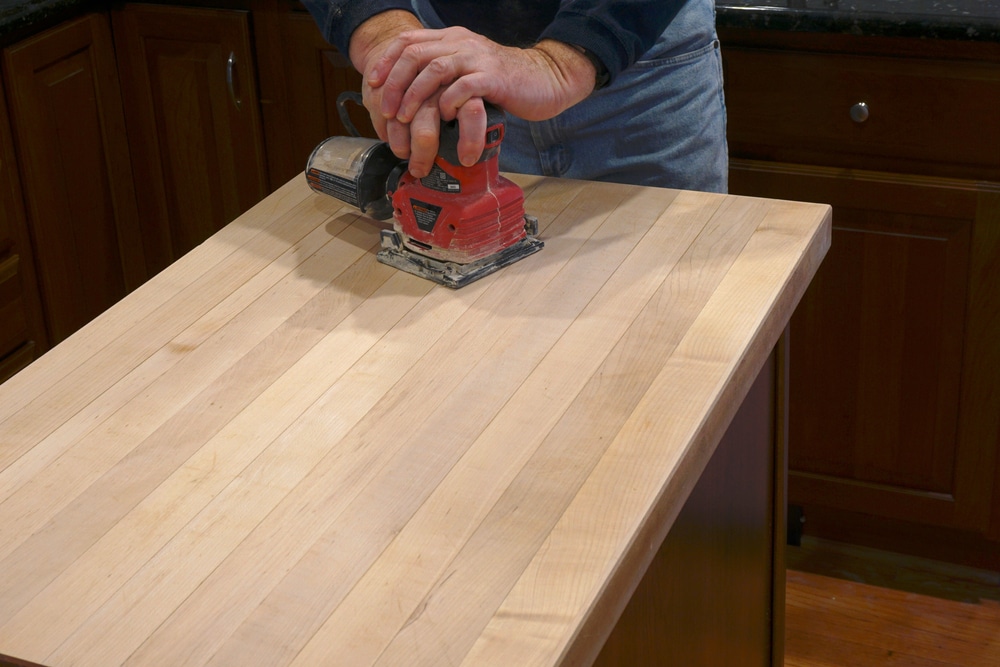
4. Begin Sanding:
- Attach the selected sandpaper to your sanding block or orbital sander. Start sanding in the direction of the wood grain. Apply even pressure, but don’t press too hard, as you don’t want to remove too much wood.
- Start with the lower-grit sandpaper and work your way up to finer grits as you go along. This helps to progressively smooth the surface.
5. Check Your Progress:
- Periodically stop and wipe the worktop with a clean, dry cloth to remove dust and check your progress. Look for areas that still show imperfections, and focus on those spots.
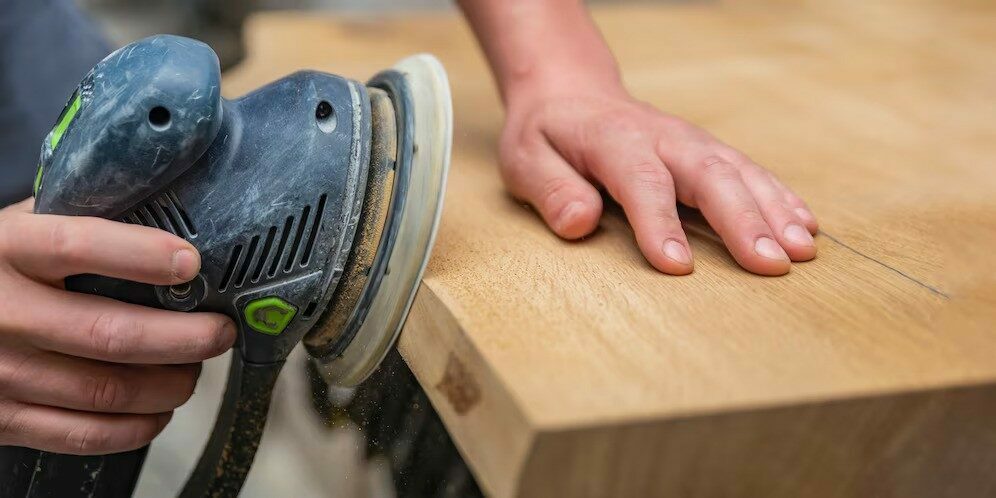
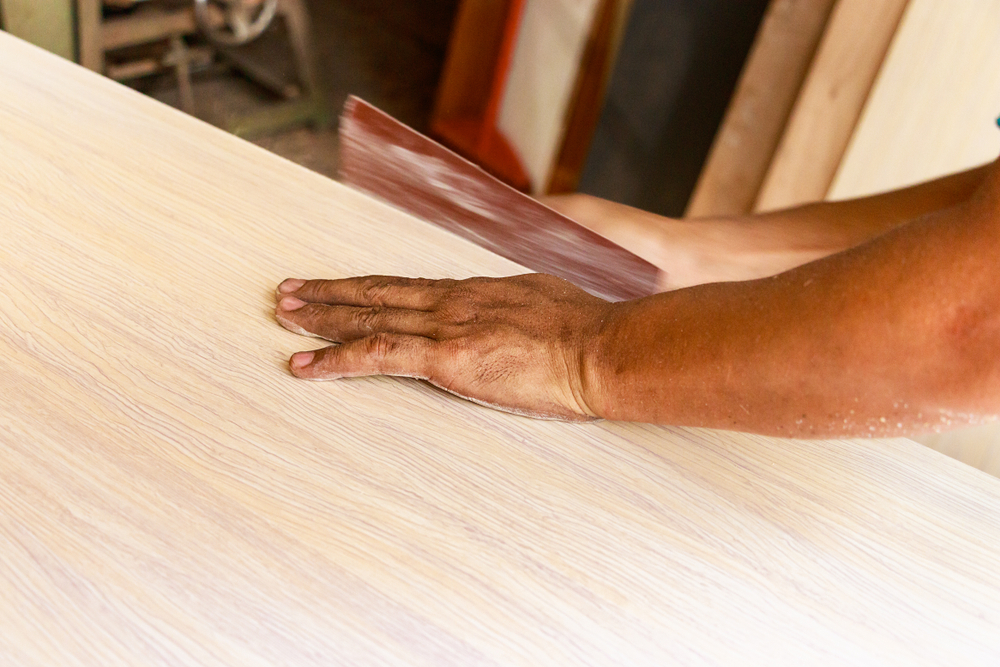
6. Smooth the edges and corners:
- Use a sanding block or sandpaper to carefully sand the edges and corners of the worktop. Be mindful not to round the corners excessively; you want to maintain a clean, defined edge.
7. Finish with fine-grit sandpaper.
- Once you are satisfied with the smoothness of the worktop, finish by sanding it with the finest grit sandpaper (e.g., 220) to achieve a polished surface.
8. Remove dust:
- After sanding, thoroughly clean the worktop to remove all dust and debris. Use a vacuum cleaner and a tack cloth to ensure the surface is dust-free.
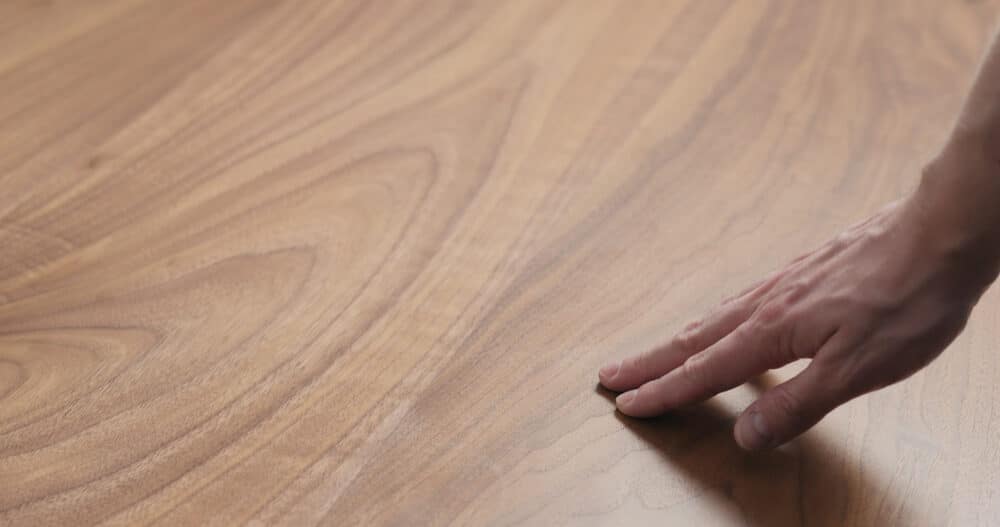
9. Inspect the surface:
- Examine the worktop carefully to ensure that it is smooth, even, and free of visible imperfections. Make any necessary touch-ups as needed.
10. Proceed with oiling.
- With your worktop now finely sanded and prepared, it’s ready for the oiling process. Refer to the manufacturer’s instructions on the oil product you’ve chosen to ensure proper application.
Sanding your old kitchen worktop can be a labour-intensive process, but the results are well worth the effort. It creates a surface that not only looks fantastic but also provides optimal adherence for the protective oil. By taking the time to sand your worktop properly, you’ll be well on your way to achieving a stunning and long-lasting kitchen centrepiece.
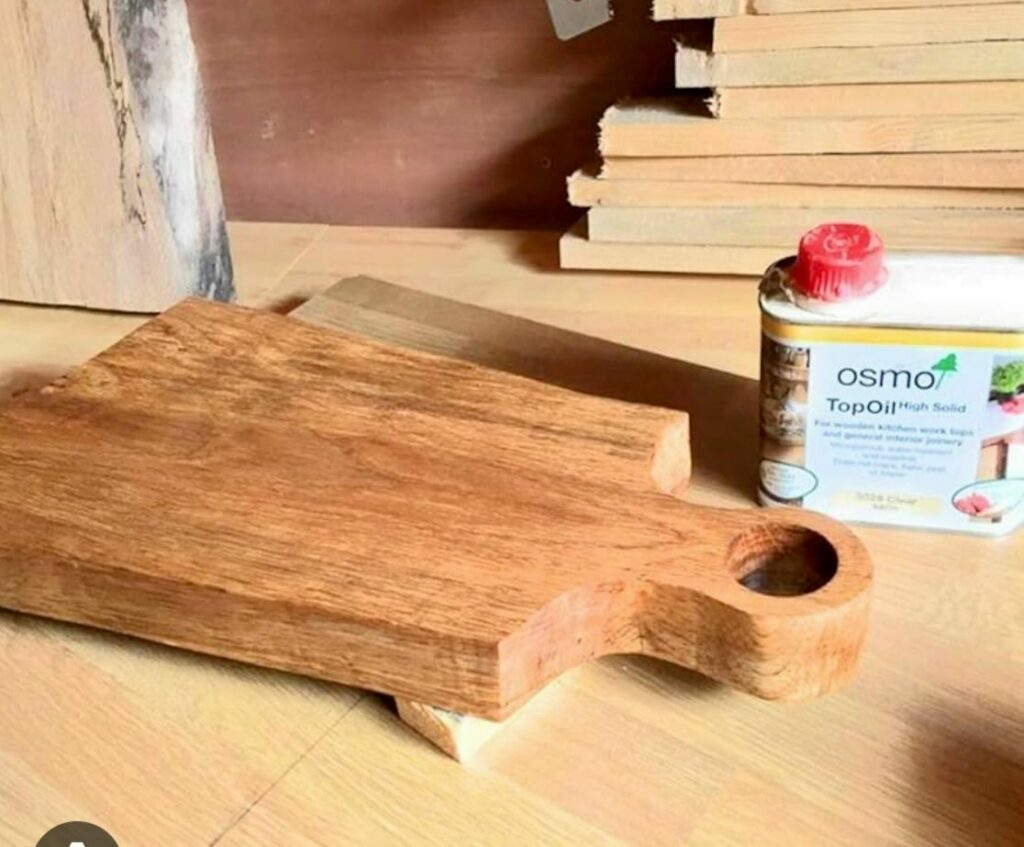
Choosing the Right Oil
Selecting the right oil for your kitchen worktop is a crucial decision, as it directly impacts both the appearance and protection of the wood. There are several types of oils available, each with its own unique characteristics and advantages. Here’s a guide to help you make an informed choice:
1. Mineral Oil:
- Mineral oil is a food-grade oil that is safe for use on kitchen worktops. It is a popular choice because it is odourless, tasteless, and colourless, which means it won’t alter the natural appearance of the wood. Mineral oil is effective in sealing the wood against moisture and stains.
2. Tung Oil:
- Tung oil is derived from the seeds of the tung tree and is known for its durability and water-resistant properties. It provides a rich, warm finish to the wood and enhances its natural colour and grain patterns. Tung oil can take longer to dry, but it offers excellent protection.

3. Linseed Oil:
- Linseed oil is another natural oil that is often used for woodwork. It penetrates deep into the wood and enhances its natural beauty. It is available in both raw and boiled forms, with boiled linseed oil being the quicker drying option.
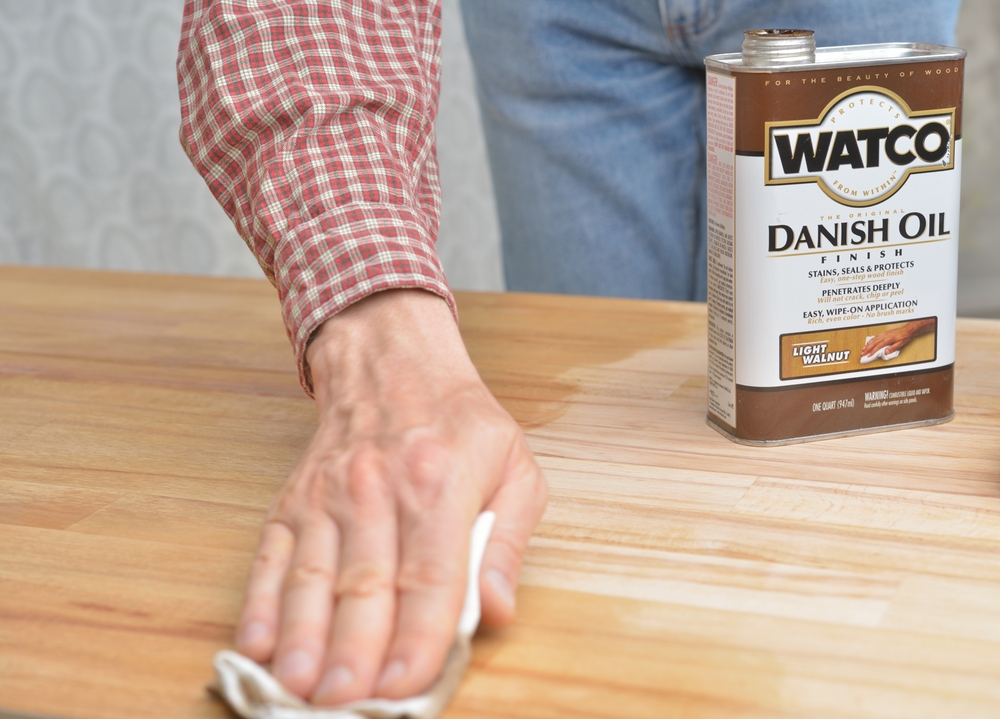
4. Danish Oil:
- Danish oil is a blend of various oils and varnishes, designed to provide a durable and attractive finish. It typically contains linseed oil, tung oil, and varnish. Danish oil is known for its ease of application and fast drying time.
5. Teak Oil:
- Teak oil is specifically formulated for hardwoods like teak, but it can also be used on other wood types. It offers protection against moisture, UV rays, and stains while enhancing the wood’s natural colour.
6. Polyurethane:
- Polyurethane is a synthetic finish that forms a durable, water-resistant coating on the wood surface. It provides a glossy or satin finish and is easy to clean. However, it may not be as easy to repair if it gets damaged.
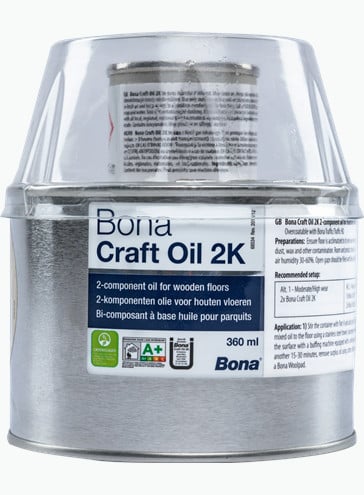
7. Water-Based Oils:
- Water-based oils are environmentally friendly and have a low odor. They provide good protection against moisture and stains while allowing the wood’s natural characteristics to shine through.
8. UV Protection Oils:
- If your kitchen worktop is exposed to a lot of sunlight, consider an oil that offers UV protection. These oils help prevent the wood from fading and deteriorating due to UV rays.
9. Natural vs. Synthetic:
- Consider whether you prefer a natural oil, which highlights the wood’s organic beauty, or a synthetic one, which may provide more durability and protection.
10. Manufacturer Recommendations:
- Always follow the manufacturer’s recommendations and instructions for the oil product you choose. Different oils may have specific application and maintenance guidelines.
Before applying the chosen oil to your kitchen worktop, it’s essential to ensure that the surface is clean and finely sanded, as discussed in previous sections. Additionally, perform a small test area to assess how the oil will affect the appearance of your worktop.
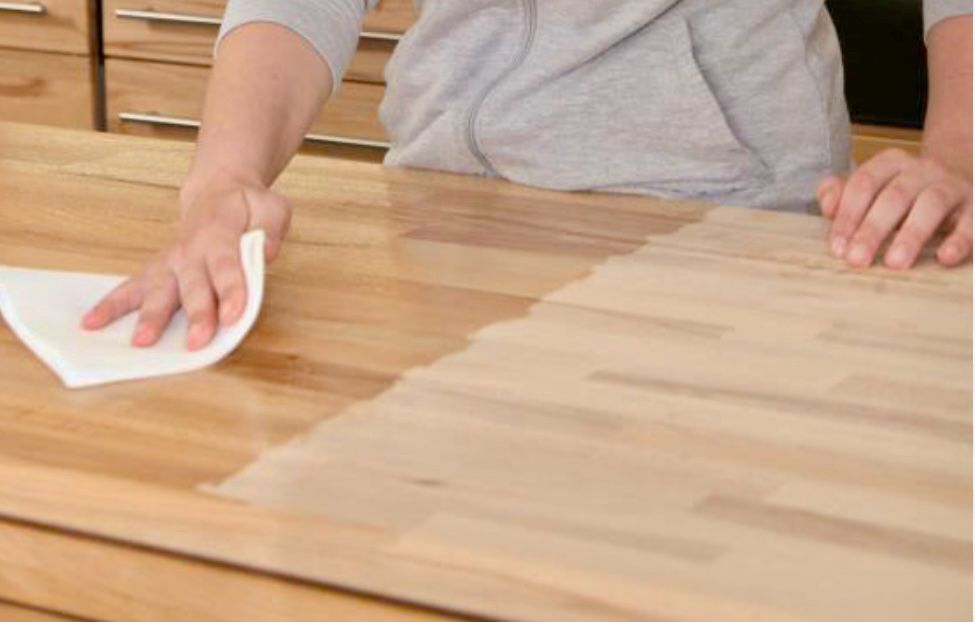
Applying Oil to Your Worktop
Once you’ve chosen the right oil for your kitchen worktop and have prepared the surface through cleaning and sanding, the next step is the application of the oil. Proper application ensures that the wood is adequately protected and its natural beauty enhanced. Here’s a step-by-step guide on how to apply oil to your worktop effectively:
1. Gather Your Materials:
- Before you start, make sure you have the necessary materials, including the selected oil, a clean, lint-free cloth or applicator, gloves, and protective eyewear.
2. Ventilation and Safety:
- Ensure that the area is well-ventilated. Some oil products may emit fumes, so consider wearing a dust mask or respirator if needed. Put on gloves to protect your hands.
3. Stir the oil:
- If your chosen oil requires stirring, do so according to the manufacturer’s instructions. Some oils may have settled in the container, and stirring ensures a consistent application.
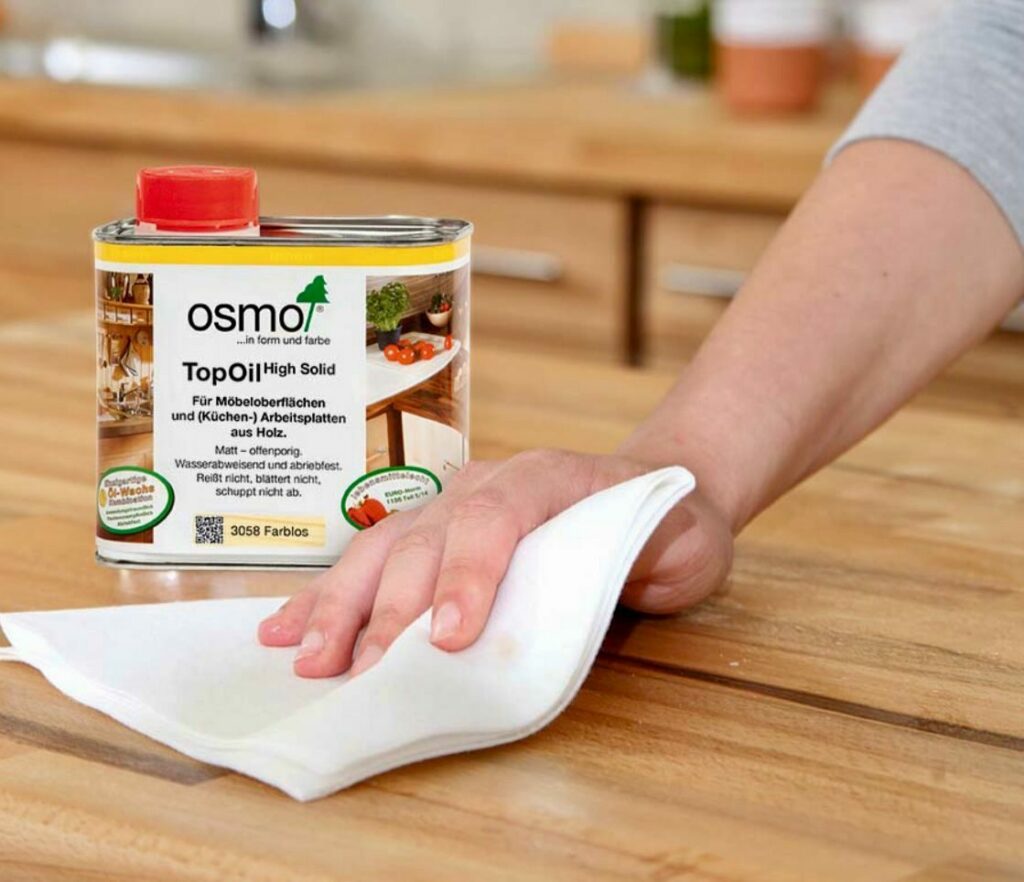
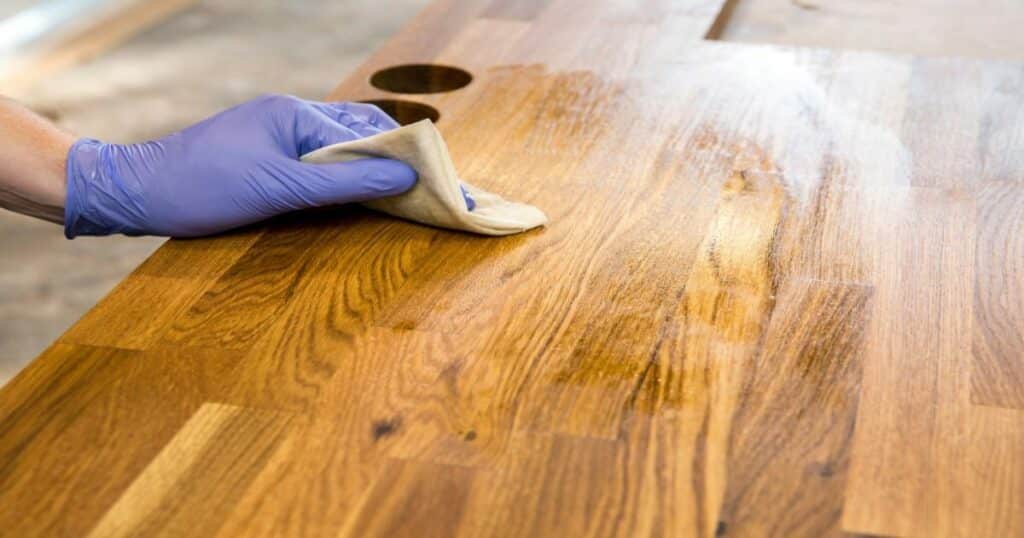
4. Apply the First Coat:
- Pour a small amount of oil onto the worktop surface. Begin spreading the oil evenly across the wood grain using a clean cloth or applicator. Work in the direction of the grain for a uniform finish.

5. Work in Sections:
- To avoid the oil drying before you can evenly distribute it, work on small sections of the worktop at a time. Ensure that each section is evenly coated before moving on.
6. Allow for Absorption:
- After applying the first coat of oil, allow it to sit on the worktop for the recommended time specified by the oil manufacturer. This allows the wood to absorb the oil effectively.
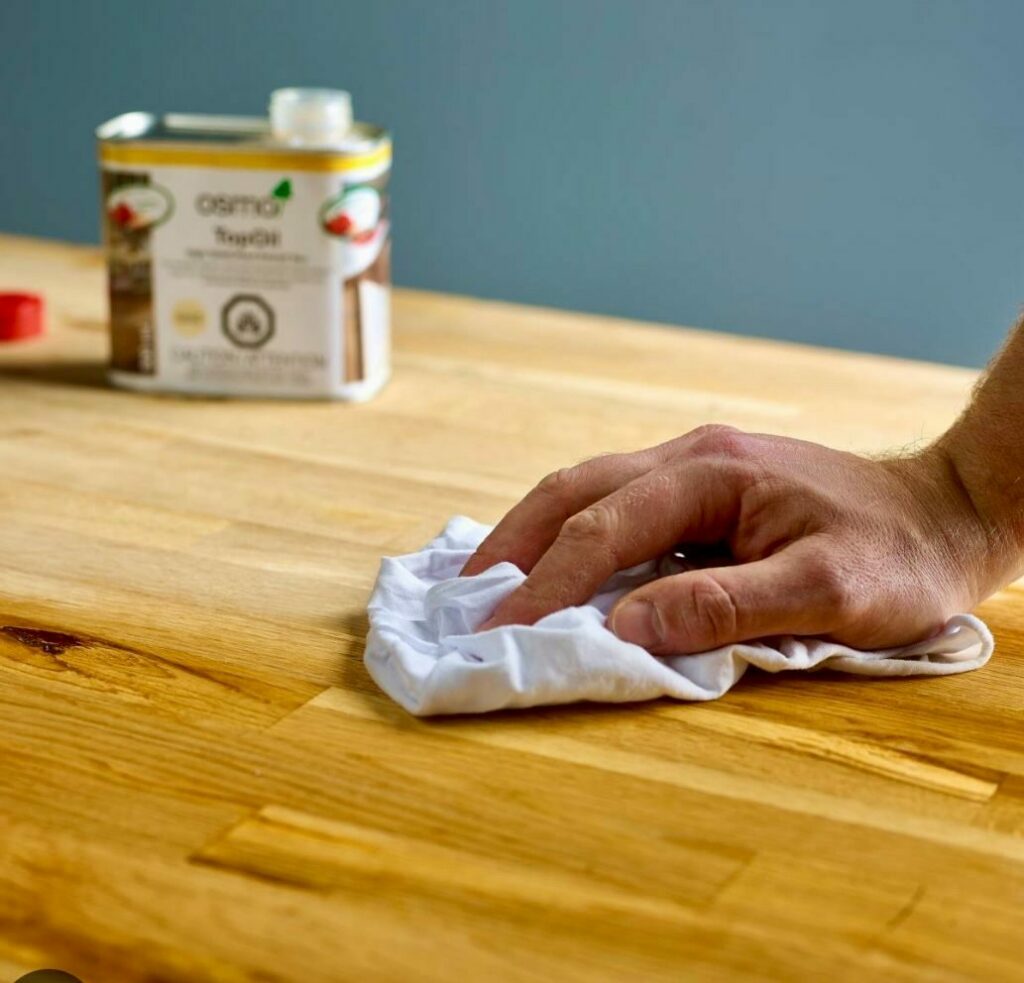
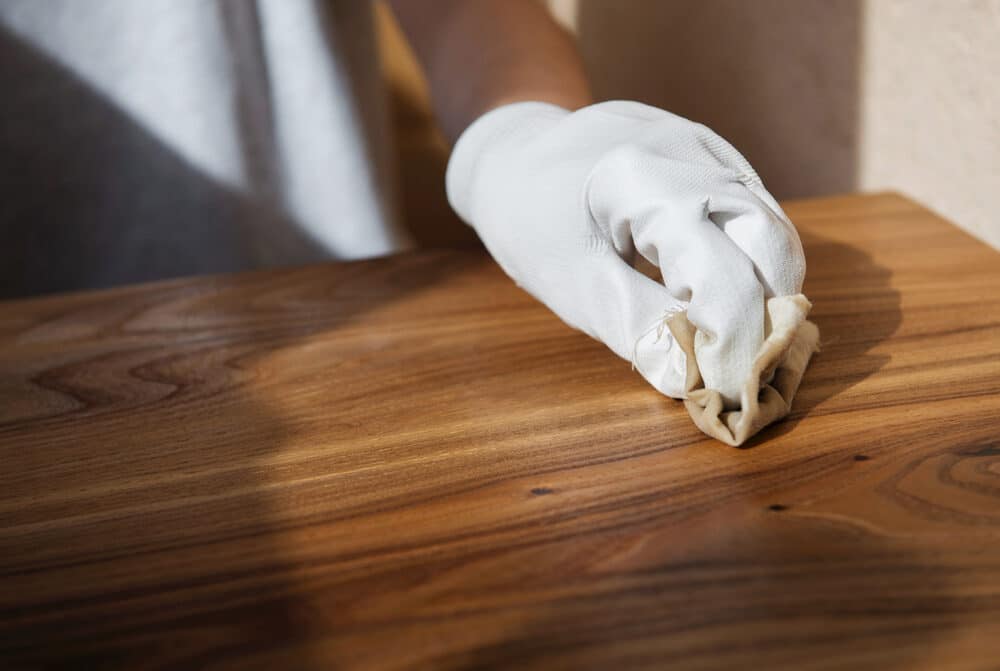
7. Wipe Off Excess:
- Use a clean, dry cloth to wipe off any excess oil that has not been absorbed by the wood. This step prevents the formation of sticky or tacky residues.
8. Repeat for additional coats:
- Depending on the type of oil and the manufacturer’s recommendations, you may need to apply multiple coats. Follow the same process, allowing each coat to absorb and wiping off excess before applying the next.
9. Drying Time:
- After the final coat, let the worktop dry for the specified drying time. This can vary from a few hours to a day or more, depending on the oil type.
10. Buff the Surface:
- Once the oil has dried, lightly buff the worktop with a clean, dry cloth to bring out its natural sheen. Your worktop should now have a beautifully rejuvenated appearance.
Maintaining Your Oiled Worktop
Congratulations on successfully oiling your kitchen worktop! To keep it looking its best and maintain its protective qualities, regular maintenance is essential. Here are some guidelines and tips for effectively maintaining your oiled worktop:
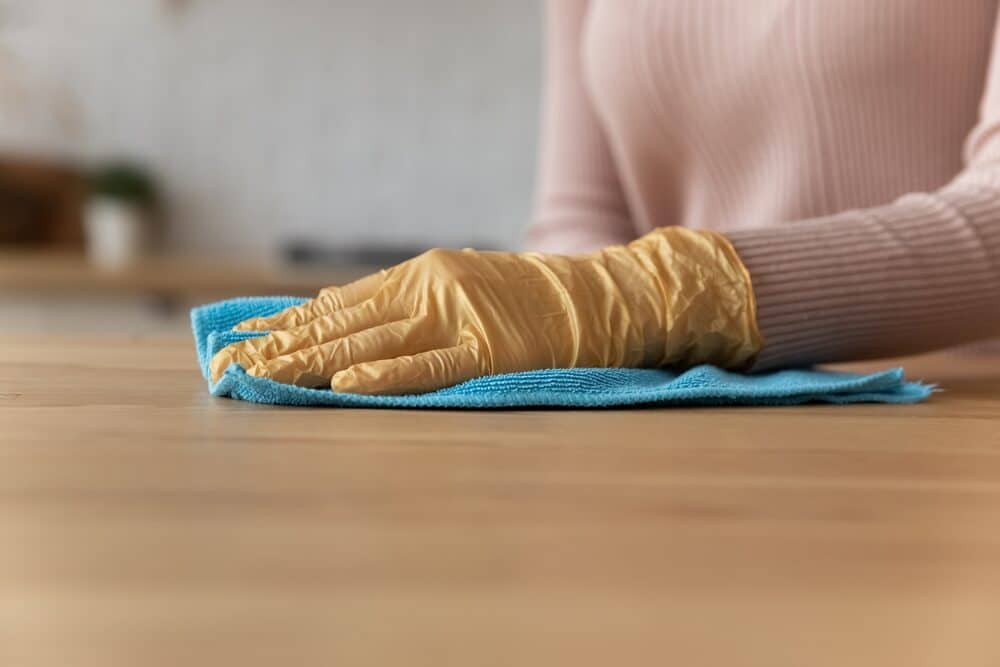
1. Routine Cleaning:
- Wipe down the worktop with a damp, non-abrasive cloth or sponge after each use to remove spills, crumbs, and debris. Avoid using harsh chemical cleaners, as they can strip the oil finish.
2. Use cutting boards and trivets:
- To prevent scratches, stains, and heat damage, always use cutting boards for food preparation and trivets or hot pads for placing hot cookware on the worktop.
3. Avoid standing water:
- Prolonged exposure to standing water can damage the wood and its protective oil finish. Wipe up spills promptly to prevent water from seeping into the wood grain.
4. Reapply oil as needed:
- Monitor the appearance of your worktop. When it starts to look dry or less lustrous, it’s time to reapply a maintenance coat of oil. Follow the manufacturer’s instructions for the specific oil product you used.
5. Deep cleaning:
- Periodically, you may need to perform a deeper cleaning to remove grease and grime buildup. Use a mild dish soap and warm water solution to clean the surface, then rinse thoroughly and dry. Reapply oil as needed after deep cleaning.
6. Avoid harsh scrubbing:
- When cleaning, avoid abrasive scouring pads or harsh scrubbing, as they can scratch the surface and remove the protective oil.
7. Regular Inspection:
- Regularly inspect the worktop for any signs of wear, damage, or areas where the oil may have worn off. Address any issues promptly to prevent further damage.
8. Prevent Sunlight Exposure:
- If your kitchen receives a lot of direct sunlight, consider using window treatments or blinds to protect the worktop from UV rays, which can cause fading and drying of the wood.
9. Re-sand and re-oil as necessary:
- Over time, especially in high-use areas, you may find it necessary to sand and re-oil your worktop to rejuvenate its appearance and protective qualities. Follow the sanding and oiling process as previously discussed.

Conclusion
In the world of kitchen maintenance, the choice of whether to sand your old kitchen worktop before oiling it is an important one. Your kitchen worktop is not just a functional surface; it’s a focal point of your culinary space, and its condition greatly influences the overall aesthetics and functionality of your kitchen. As we’ve explored in this guide, the decision to sand or not to sand depends on various factors.
Ultimately, the choice comes down to the current state of your kitchen worktop and your goals for restoration. Sanding can be a valuable step in the process of rejuvenating your worktop, providing a smooth and even surface that enhances the effects of oiling. However, it’s not always necessary, and alternative methods can yield satisfactory results while preserving more of the wood’s natural characteristics.
Whether you choose to sand or explore other options, what remains constant is the importance of regular maintenance and proper oiling to protect and beautify your worktop. With the right care and attention, your kitchen worktop can continue to be a centrepiece of your culinary space, providing both aesthetic appeal and functionality for years to come.
Thank you for joining us on this journey to explore the intricacies of worktop restoration. We hope this guide has empowered you to make an informed decision that suits your specific needs, allowing you to enjoy a stunning and long-lasting kitchen worktop.
If you have any more questions or need further guidance on kitchen worktop maintenance, feel free to explore our additional resources or reach out for assistance. Happy cooking, and enjoy your beautifully restored kitchen worktop!

Sanding
We provide virtually dust-free sanding with our continuous belt machinery with mobile extraction units, giving you a safer environment for your family.
Oiling
This organic finish not only adds beauty to your home but also has exceptional water-repellent characteristics, making it easier to clean and maintain.
Waxing
This natural floor finish offers the softest and most mellow appearance – and leaves your floor able to breath.
Buffing
Using soft buffing machines (and hand-polishing where required) will bring a wonderful sheen to your newly-finished floor.
Repairs
We offer a full assessment of your wooden floors to determine what repairs are needed to provide the perfect working surface for the later stages of sanding, staining and sealing.
Restoration
We offer a comprehensive restoration process designed to address floors that are improperly fitted or damaged over time through wear and tear.
Request a fixed price quote for your wood floor restoration now
Simply enter your postcode below to get started.
Services
Wood Floor Sanding Wood Floor Restoration Wood Floor Scratch Repair Squeaky Wood Floor Repair Parquet Floor Sanding Parquet Floor Restoration Commercial Floor Sanding Church Floor Sanding Community Centre Floor Sanding School Floor Sanding Gap Filling Gap Filling with ResinCopyright © Mr Sander®
Privacy & Cookies Terms & Conditions Complaints Procedure Cancellation Rights Sitemap

Get An Instant Price Estimate Before You Go…
Simply enter the rooms you need sanded and we’ll provide you with a price estimate instantly! Try our price calculator now.
Get a Price Estimate NowLocal Floor Sanding Experts
Over 500 5-Star Reviews
Safe, Dust Free Sanding
Operating Since 1994