London:
Nationwide:


25,000+
Floors Restored

27 Years Experience

Wood Flooring Association Certified
DIY Dustless Wood Floor Sanding: A Comprehensive Guide
Posted on April 30, 2023
Blog
The Ultimate DIY Guide to Dustless Wood Floor Sanding and Refinishing Without Professional Assistance
When it comes to wood floor refinishing, one of the most significant concerns for homeowners is the dust generated during the sanding process. Traditional sanding methods can create a large amount of dust, which can be harmful to the environment and the health of the residents. In recent years, dustless wood floor sanding has emerged as a cleaner and more efficient alternative. In this blog post, we will discuss how you can achieve dustless wood floor sanding without professional help, allowing you to save money and maintain control over the process. With a little patience and the right tools, you can have your floors looking brand new in no time.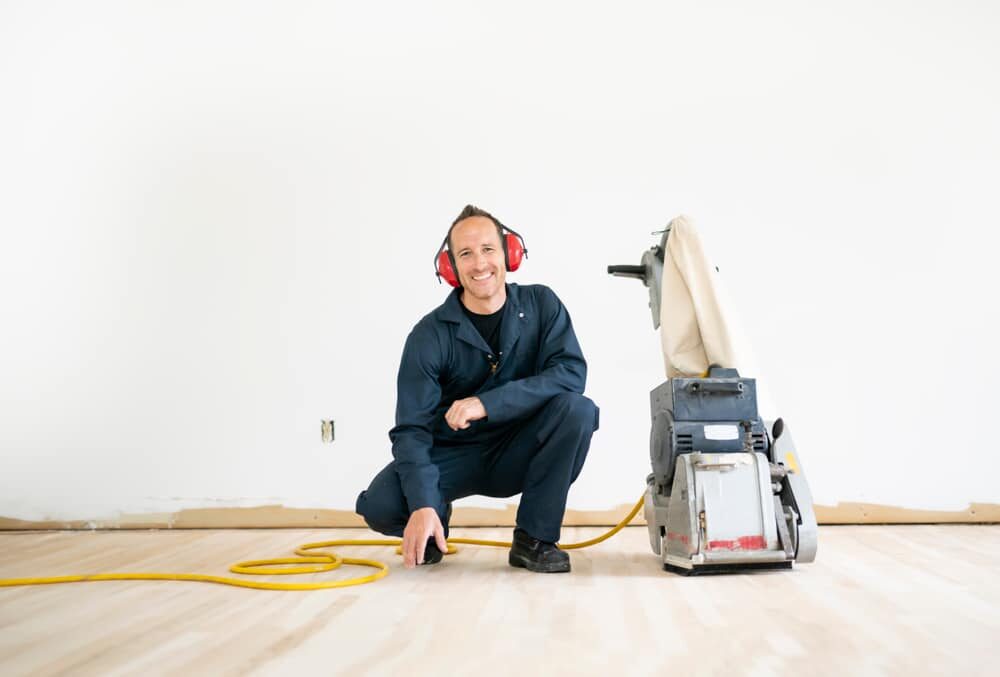
What is dustless wood floor sanding?
Dustless wood floor sanding is a method of refinishing hardwood floors without generating a significant amount of dust. It involves using specialised equipment that captures the dust particles as they are produced during the sanding process. This not only helps to keep your home clean but also reduces the health risks associated with airborne dust particles. Dustless sanding is an excellent option for those who suffer from allergies, asthma, or other respiratory issues.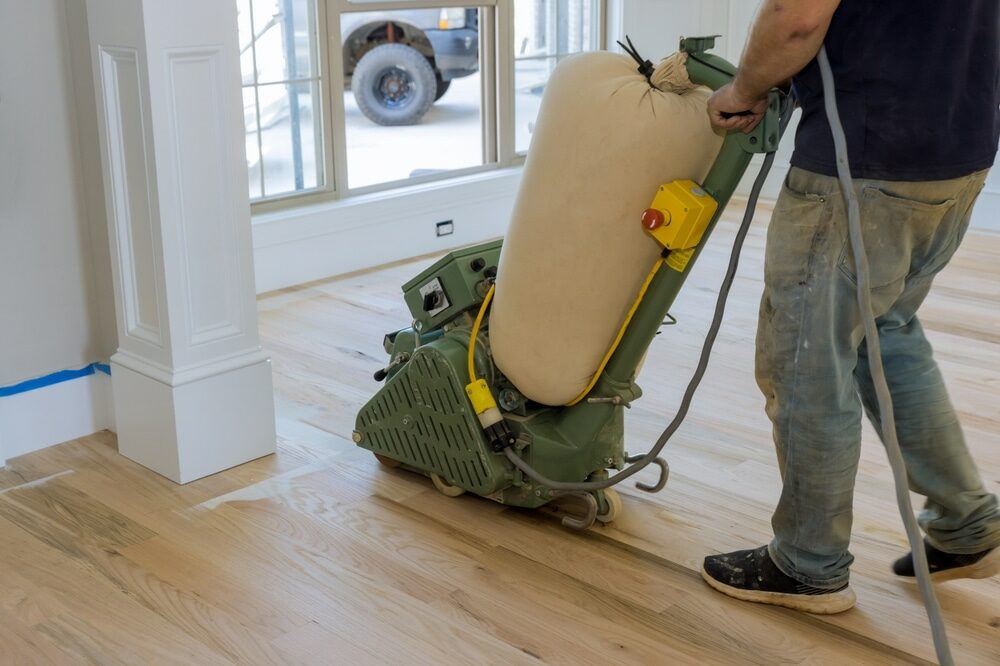
Benefits of Dustless Wood Floor Sanding
- Improved Indoor Air Quality: Traditional sanding methods can release a large amount of dust into the air, which can negatively affect your home’s indoor air quality. Dustless sanding helps maintain a healthier living environment by reducing the amount of dust produced.
- Faster Cleanup: Since dustless sanding captures most of the dust generated during the process, cleanup is much faster and more straightforward than with traditional sanding methods.
- Better Results: Dustless sanding allows for a more thorough and even sanding, resulting in a smoother and more uniform finish.
- Cost-Effective: By performing dustless sanding on your own, you can save a significant amount of money that would otherwise be spent on hiring professional help.

Steps to Achieve Dustless Wood Floor Sanding Without Professional Help
-
Preparation
-
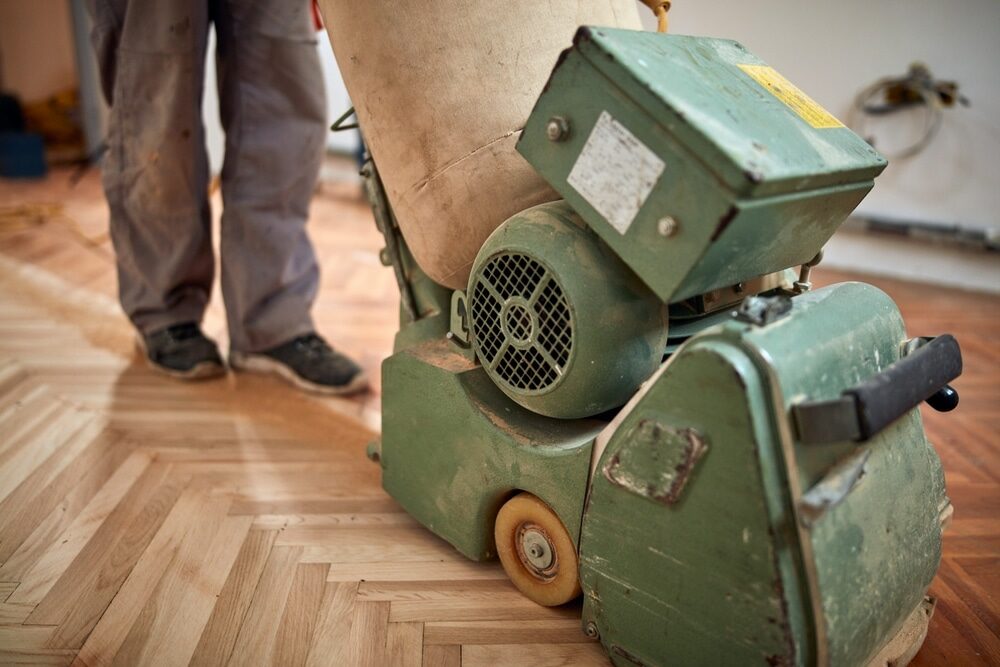
Gather the necessary tools and equipment.
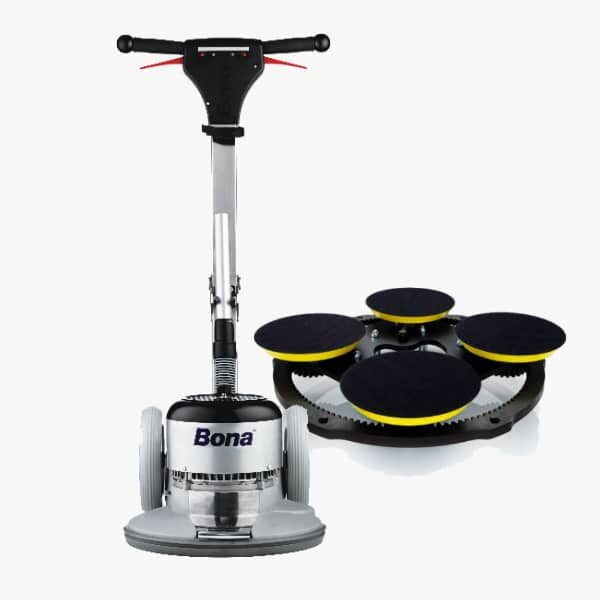
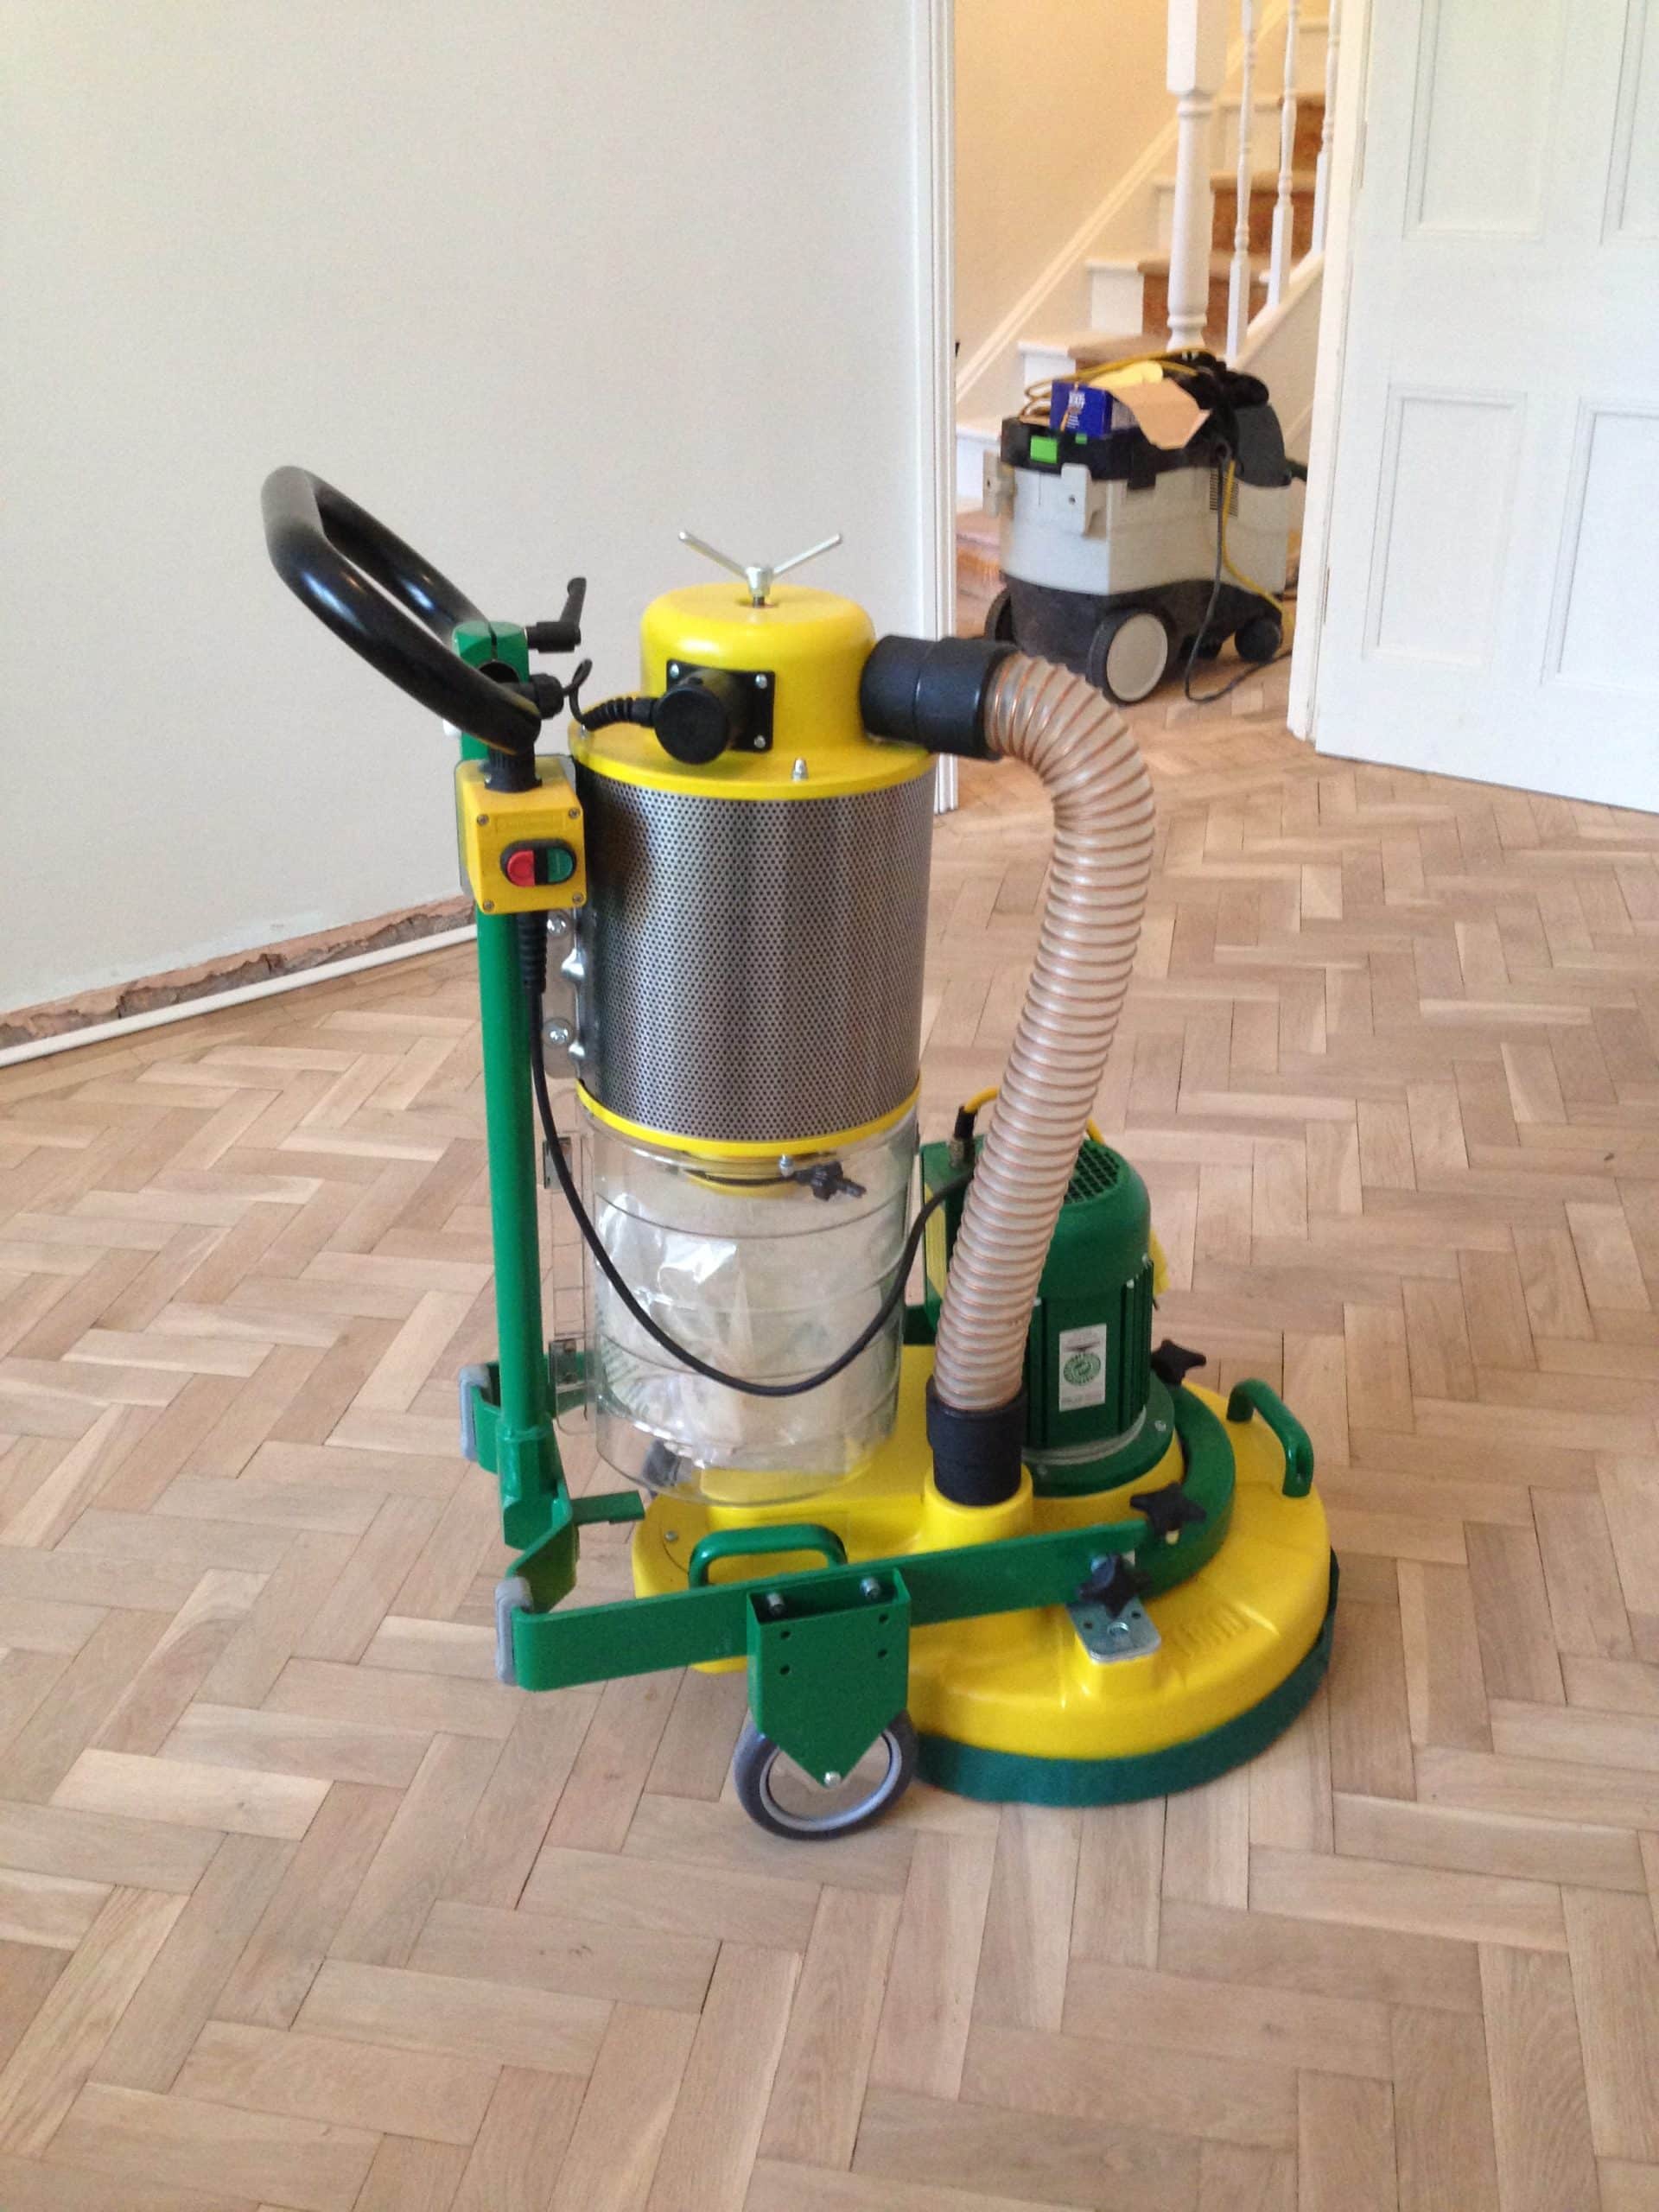
- Dustless floor sander (available for rent at most home improvement stores)
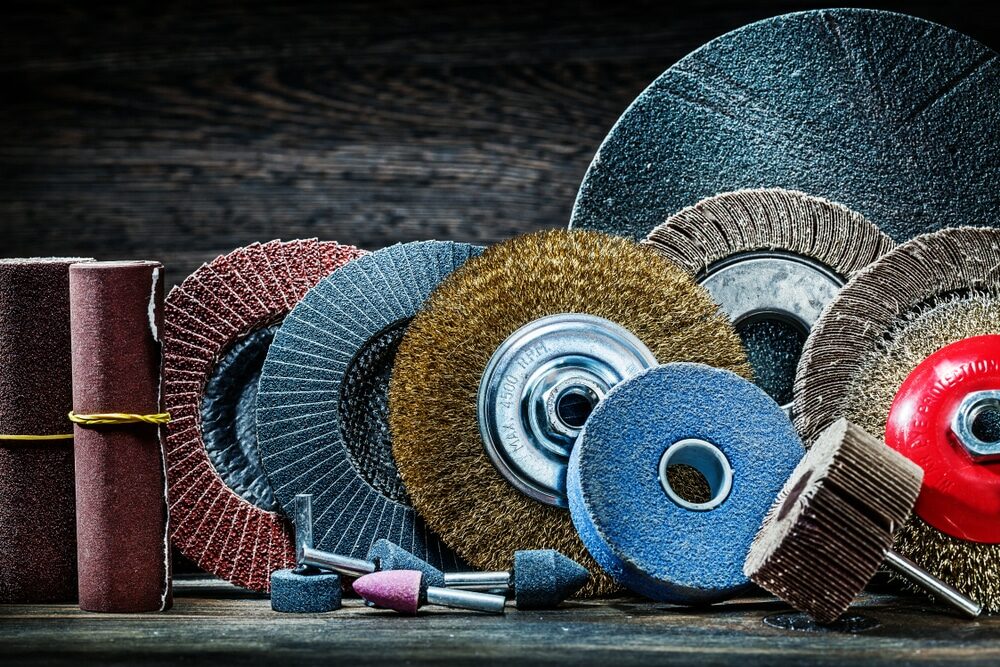
- Sanding discs (coarse, medium, and fine grits)
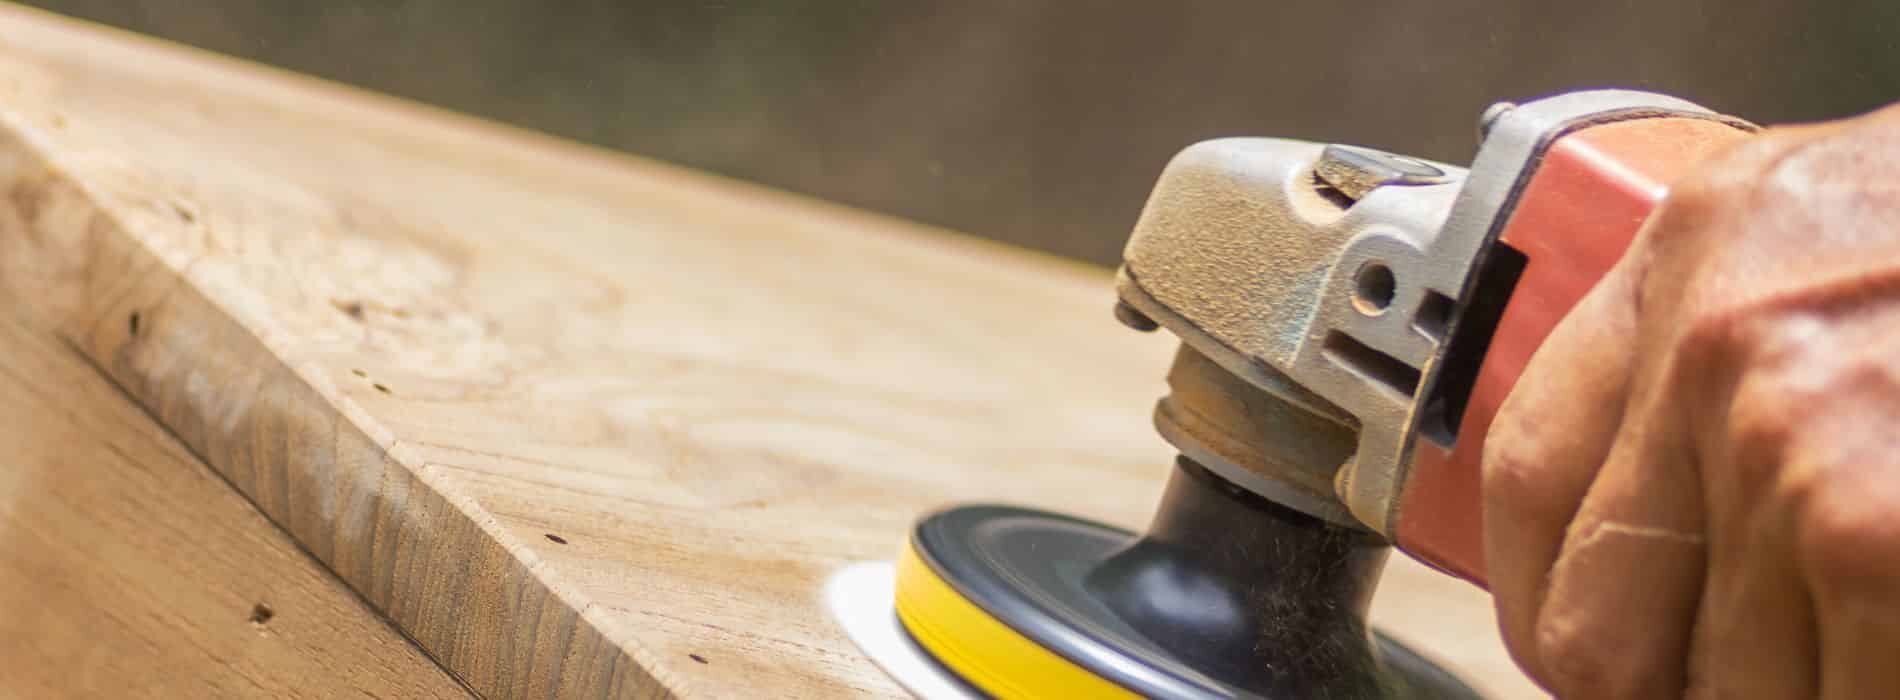
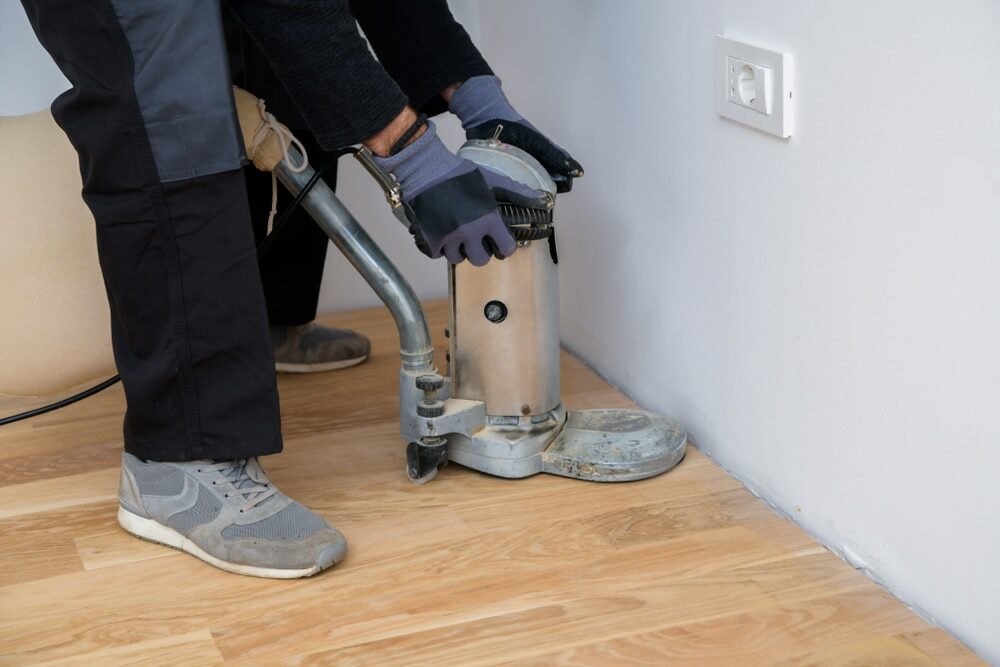
- Dustless orbital sander or buffer (for edges and corners)
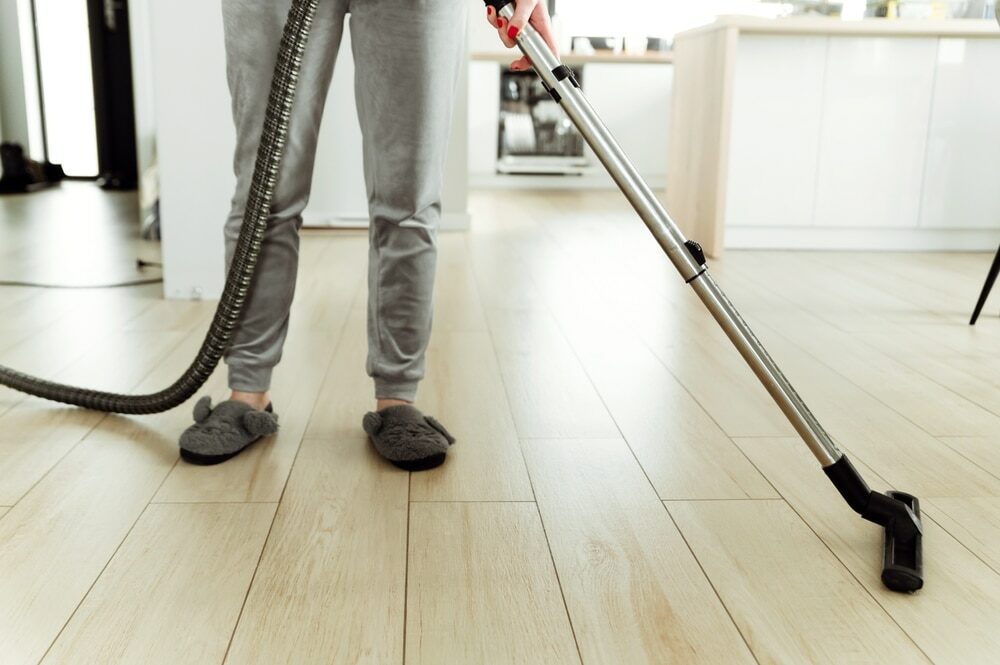
- Vacuum with a HEPA filter.
- Tack cloth or microfiber cloth
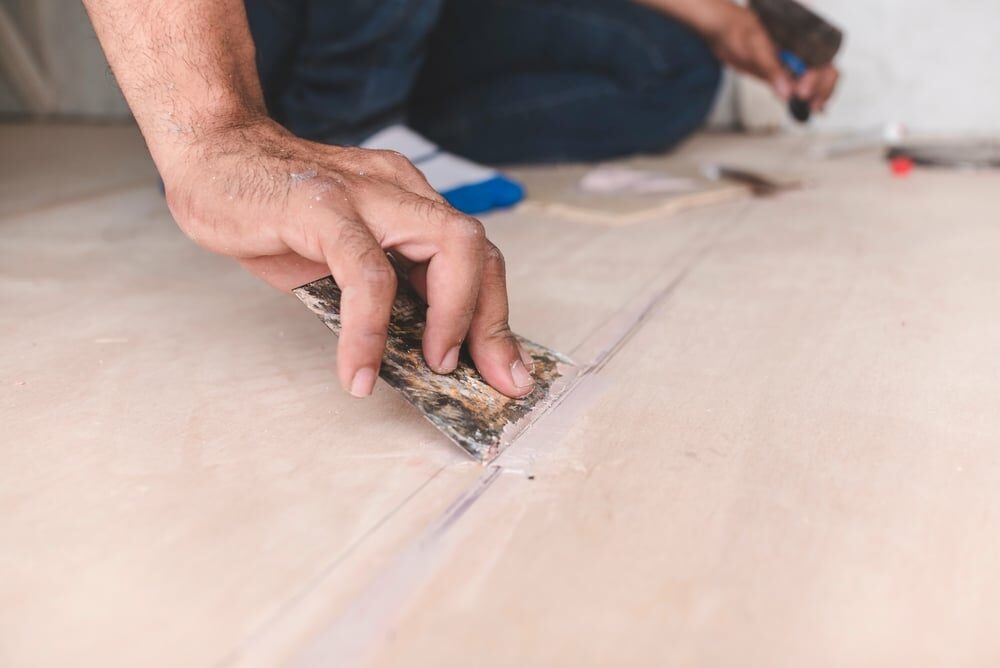
- Wood filler (if necessary)
-
Sanding the floor
-
Sanding edges and corners
-
Filling gaps and holes
-
Final Cleanup and Inspection
-
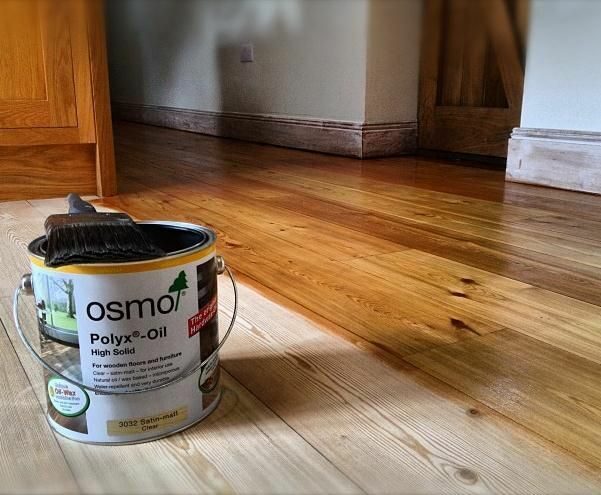
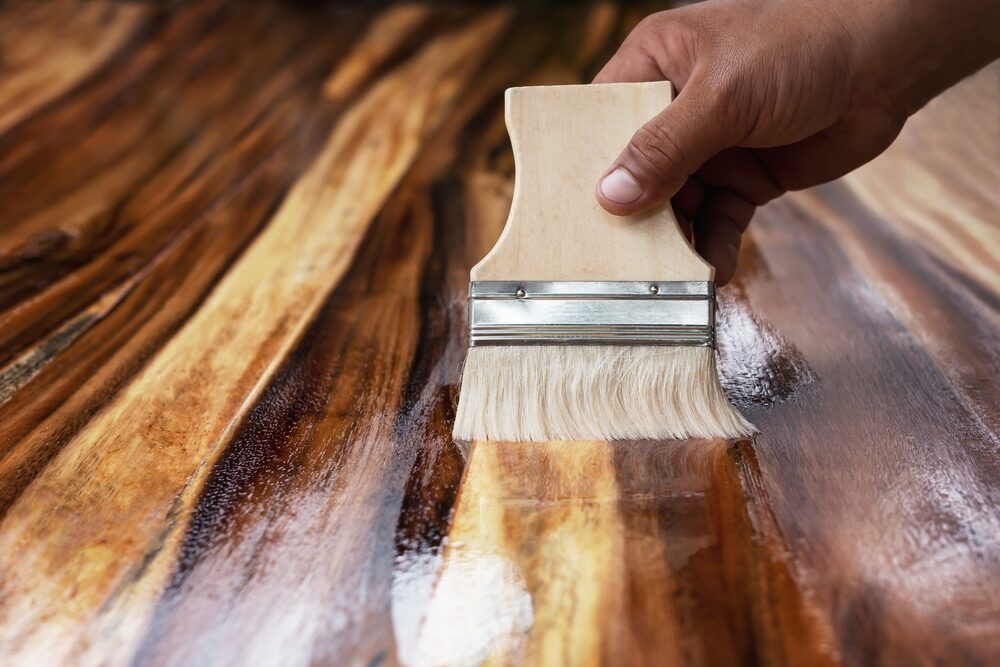
Applying the finish
-
Reinstalling furniture and rugs

Some Useful Links:
Conclusion
Dustless wood floor sanding is a cleaner, healthier, and more efficient alternative to traditional sanding methods. By following the steps outlined in this blog post, you can achieve professional-looking results without the need for professional help. With the right tools, patience, and a little effort, you can breathe new life into your hardwood floors while maintaining a clean and healthy living environment.More from our Blog:
Helpful Tips For Wood Floor Sanding to get Impeccable Results The Ultimate Guide to Sanding and Restoring Parquet Floors Top 12 Rules to Find the Perfect Wood Floor Sanding Company Top Wooden Floor Restoration Techniques | Revitalize Your Floors


Sanding
We provide virtually dust-free sanding with our continuous belt machinery with mobile extraction units, giving you a safer environment for your family.

Oiling
This organic finish not only adds beauty to your home but also has exceptional water-repellent characteristics, making it easier to clean and maintain.

Waxing
This natural floor finish offers the softest and most mellow appearance – and leaves your floor able to breath.

Buffing
Using soft buffing machines (and hand-polishing where required) will bring a wonderful sheen to your newly-finished floor.

Repairs
We offer a full assessment of your wooden floors to determine what repairs are needed to provide the perfect working surface for the later stages of sanding, staining and sealing.

Restoration
We offer a comprehensive restoration process designed to address floors that are improperly fitted or damaged over time through wear and tear.
Request a fixed price quote for your wood floor restoration now
Simply enter your postcode below to get started.






Services
Wood Floor Sanding Wood Floor Restoration Wood Floor Scratch Repair Squeaky Wood Floor Repair Parquet Floor Sanding Parquet Floor Restoration Commercial Floor Sanding Church Floor Sanding Community Centre Floor Sanding School Floor Sanding Gap Filling Gap Filling with ResinCopyright © Mr Sander®
Privacy & Cookies Terms & Conditions Complaints Procedure Cancellation Rights Sitemap

Get An Instant Price Estimate Before You Go…
Simply enter the rooms you need sanded and we’ll provide you with a price estimate instantly! Try our price calculator now.
Get a Price Estimate NowLocal Floor Sanding Experts
Over 500 5-Star Reviews
Safe, Dust Free Sanding
Operating Since 1994