London:
Nationwide:
25,000+
Floors Restored
27 Years Experience
Wood Flooring Association Certified
The Role of Screening in Removing Old Floor Finishes
Posted on January 16, 2024
Floor sanding techniques
The Crucial Role of Screening in Eliminating Old Floor Finishes
In the realm of home improvement and maintenance, few things can breathe new life into a living space quite like the restoration of old, tired floors. As we walk through the chapters of this exploration, we embark on a journey through the fascinating world of floor finishes and the integral role that floor screening plays in their rejuvenation.
Picture, if you will, the worn-out elegance of a hardwood floor that has stood the test of time, its once-gleaming surface now marred by scratches, stains, and the wear and tear of daily life. It’s a scene familiar to many homeowners, and it poses a dilemma: how to restore that lost lustre and bring back the floor’s original beauty?
This blog post delves deep into the art of floor maintenance, uncovering the secrets of screening, an essential technique that can revive even the most deteriorated floor finishes. We will explore the science behind screening, understand the preparation required, and take a step-by-step journey through the process itself. Along the way, we’ll address common challenges and offer valuable tips to ensure your floors shine brilliantly once again.
So, join us on this enlightening odyssey as we embark on a mission to transform old, lacklustre floors into timeless showcases of beauty and craftsmanship. Discover the transformative power of screening and embark on a quest to restore the splendour of your living space, one floorboard at a time.
Understanding Screening
In our quest to rejuvenate ageing floor finishes, it is essential to begin by comprehending the core concept of “screening.” This section aims to illuminate the subject, unravel its intricacies, and explain why it is the chosen method for restoring old floors.
What is screening?
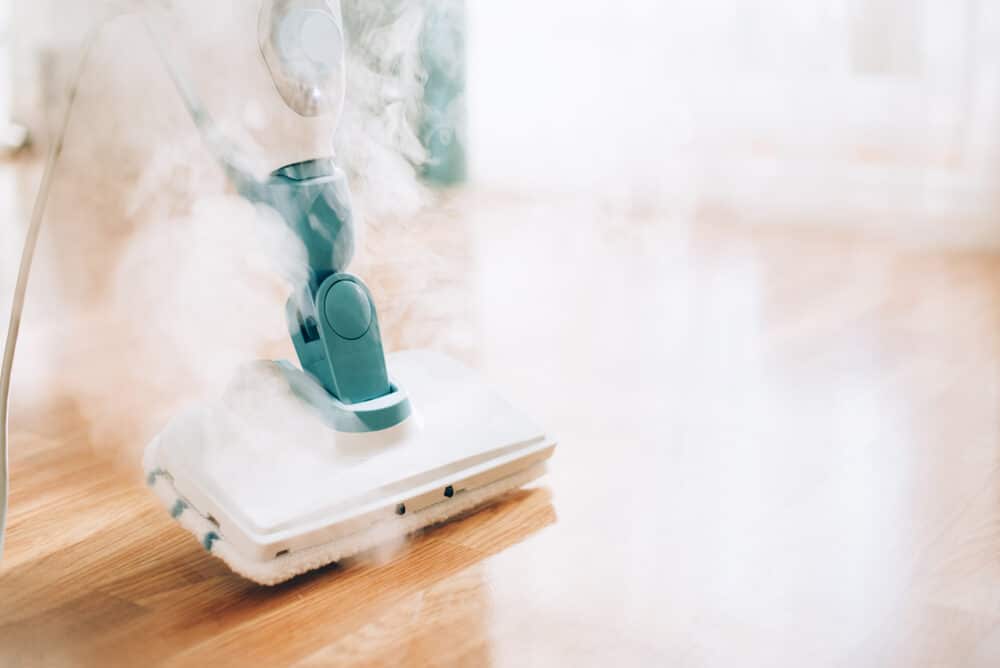
Screening, in the context of floor maintenance, is a method employed to remove the top layer of an existing floor finish without entirely sanding it down to the bare wood beneath. It is akin to a gentle exfoliation for your floors, where the goal is to eliminate surface imperfections and renew the finish rather than stripping it entirely.
The Science Behind It: Abrasive Grits and Methods
To grasp the essence of floor screening, one must delve into the science of abrasive grits and methods. Unlike aggressive sanding, which uses coarse abrasives to remove significant layers of wood and finish, screening employs finer grits of sandpaper or abrasive screens. These finer abrasives delicately abrade the existing finish, erasing minor imperfections, scratches, and wear without compromising the integrity of the wood beneath.
The Benefits of Screening: Why Choose This Method?
The advantages of opting for screening are numerous. Firstly, it is a less invasive process compared to full sanding, making it an excellent choice for maintaining the thickness of the wood floor. This method also generates less dust, making the cleanup process more manageable. Furthermore, by avoiding the removal of excessive layers, screening extends the lifespan of your floor, ensuring its beauty endures for years to come.
Preparation is key
As we continue our journey into the world of floor maintenance and the art of screening, it becomes evident that proper preparation is the cornerstone of a successful restoration project. Without a well-laid foundation, our efforts to rejuvenate ageing floor finishes may fall short of the desired outcome. In this section, we explore the crucial steps and considerations that underscore the importance of preparation.
Gathering Your Tools and Materials
Before embarking on a screening project, it is imperative to assemble the necessary tools and materials. A comprehensive list may include:
Screening Equipment:
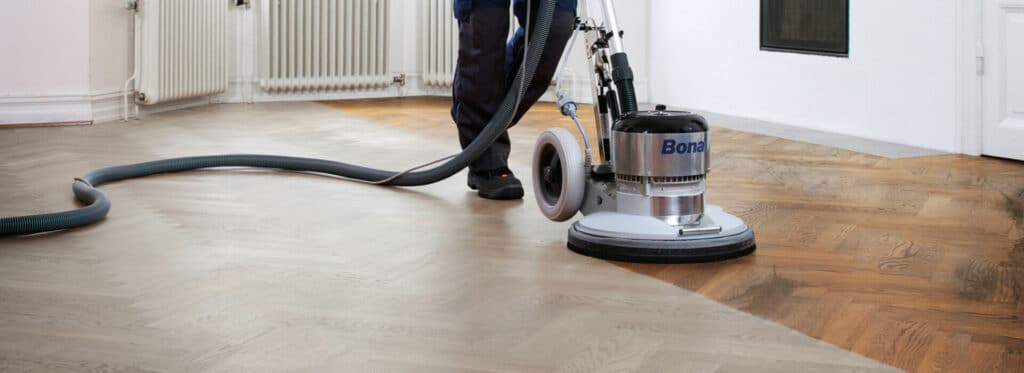
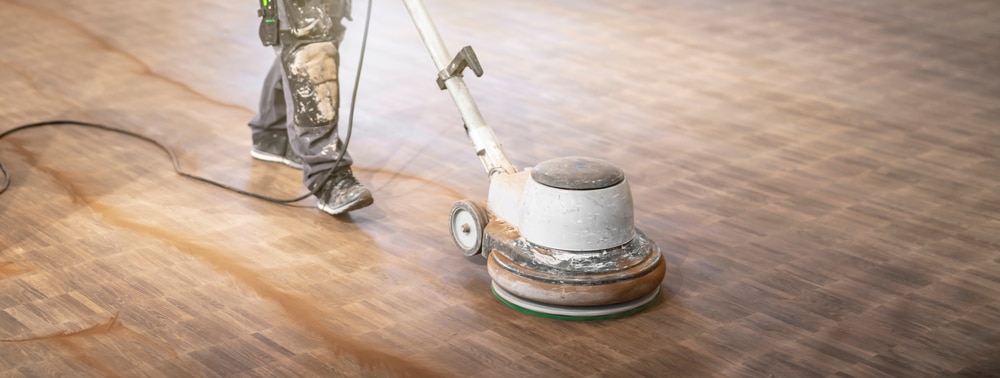
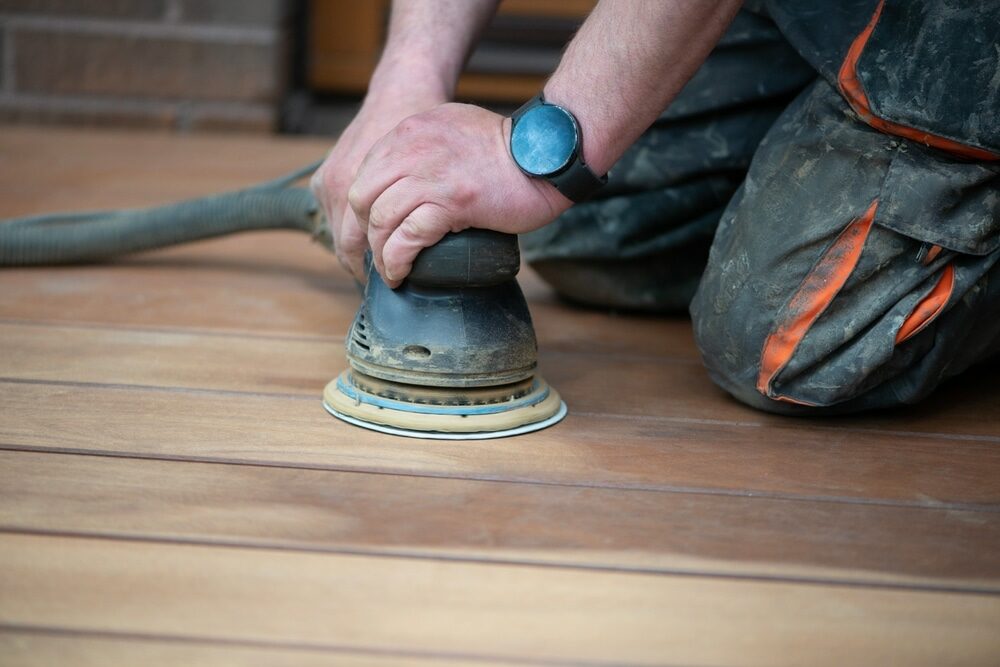
Ensure you have the appropriate screening machine, which may be a floor buffer or a random orbital sander, depending on the size of the project.
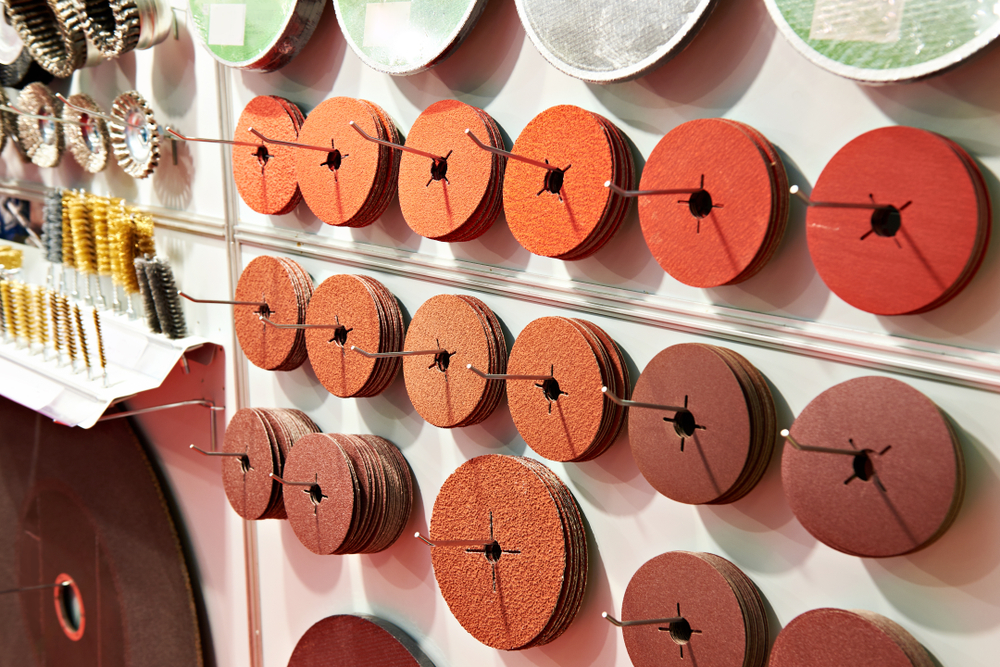
Abrasives:
Select the right abrasive screens or sandpaper with the appropriate grits. This choice will depend on the condition of your floor and the finish you intend to apply.
Safety Gear:
Prioritise your safety with dust masks, safety goggles, hearing protection, and knee pads, as these will be essential throughout the process.

Cleaning Supplies:
Have cleaning agents, a vacuum cleaner with a HEPA filter, and clean cloths ready for dust control and cleanup.
Floor Finish:
Choose a high-quality floor finish suitable for your wood type and intended use.
Safety First: Necessary Precautions
Before commencing work, safety should be paramount in your considerations. Screening can generate dust, which poses potential health hazards. To mitigate these risks:
- Ventilation: Ensure the work area is well-ventilated. Open windows and doors to allow fresh air to circulate.
- Dust Control: Use a vacuum cleaner with a HEPA filter to capture airborne dust particles effectively.
- Personal Protective Equipment (PPE): Always wear the necessary PPE, including a dust mask, safety goggles, hearing protection, and knee pads.
- Fire Safety: Be cautious when working with wood dust, as it can be flammable. Remove potential sources of ignition and have a fire extinguisher on hand.
The Importance of Surface Inspection
Before diving into the screening process itself, take the time to inspect the surface of your floor thoroughly. Identify any deep scratches, stains, or imperfections that may require special attention. This inspection will inform your approach and help you determine the appropriate grit of the abrasive to begin with.
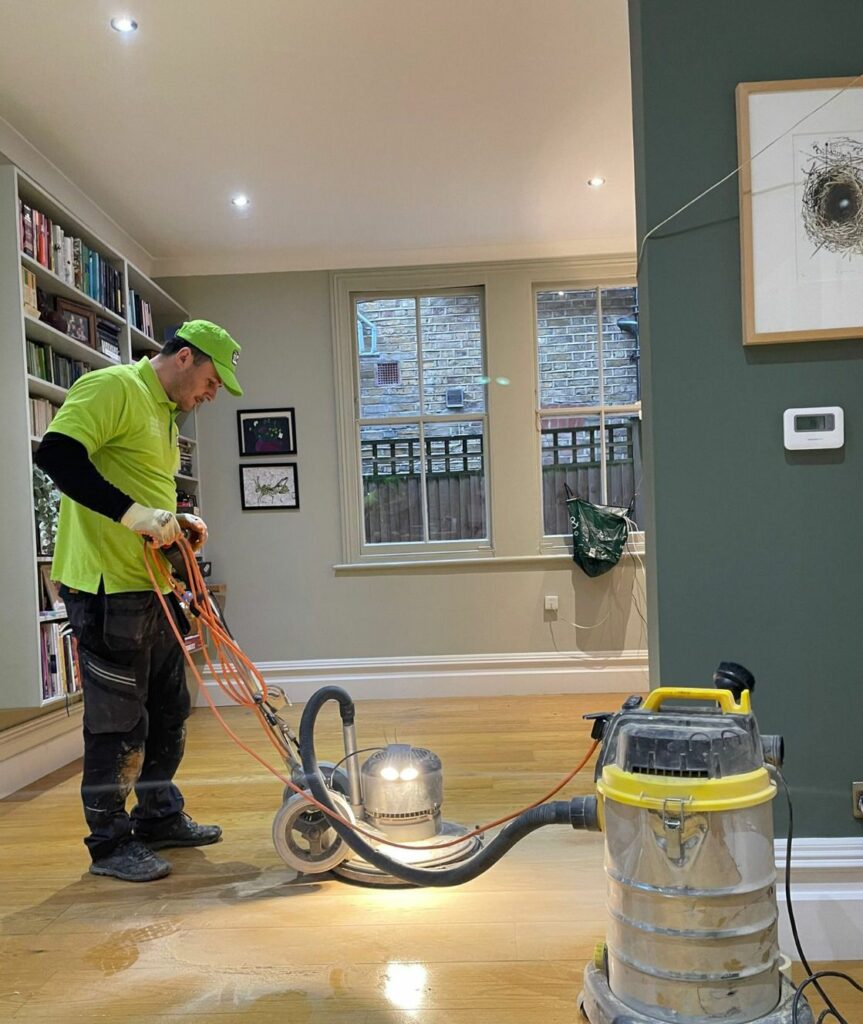
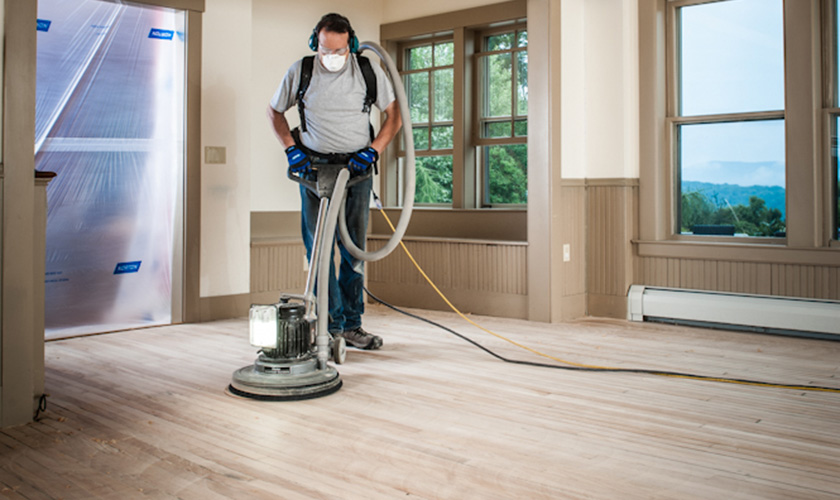
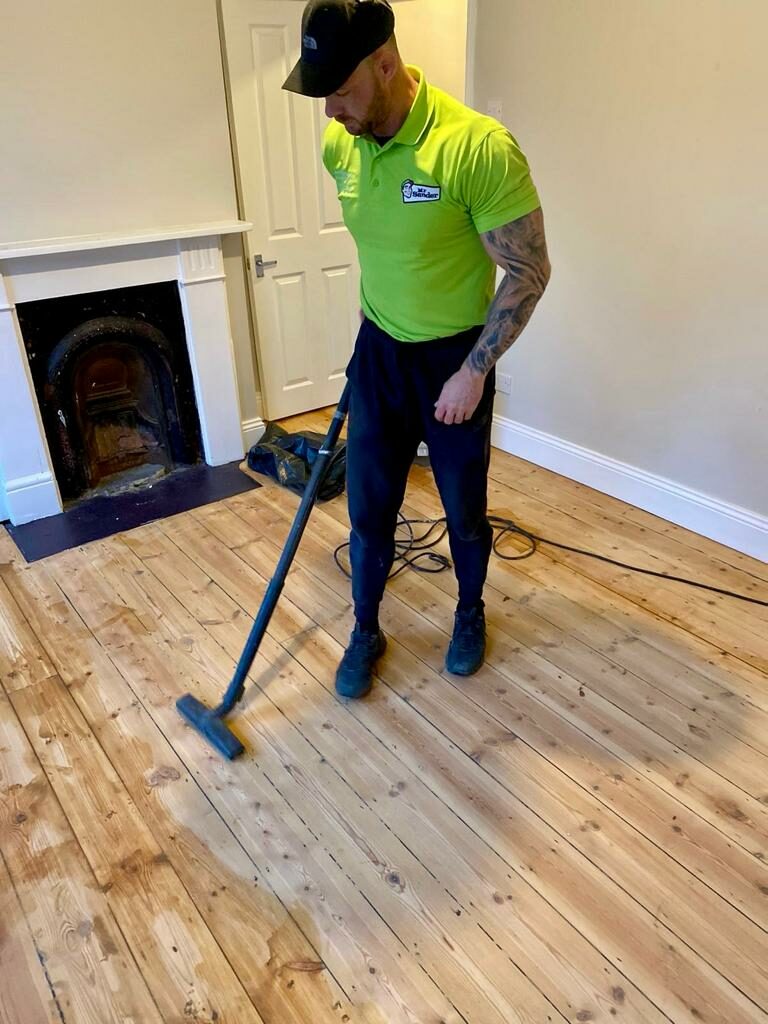
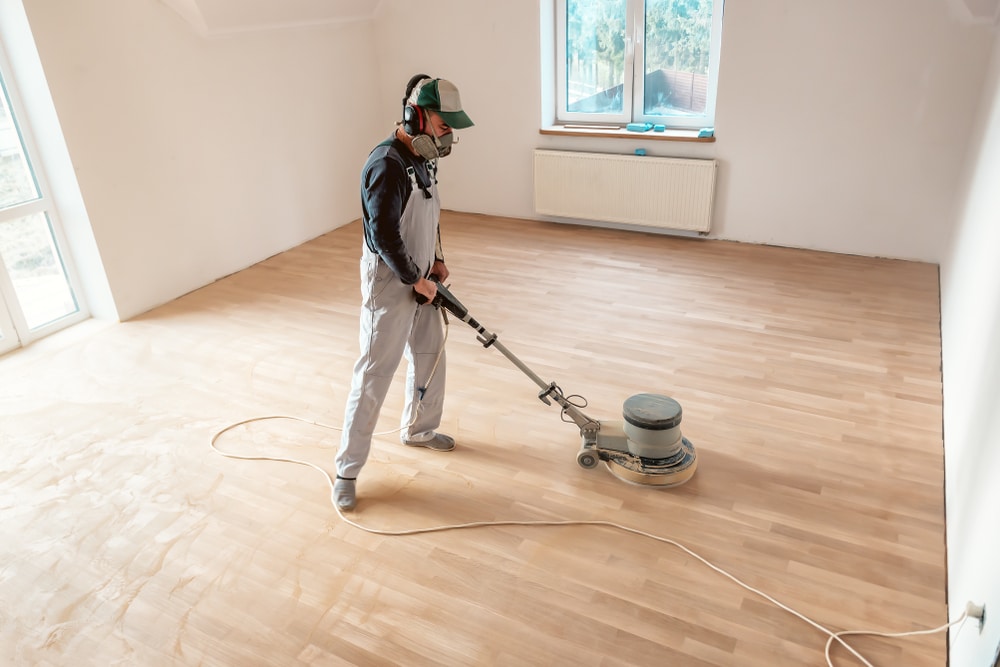
The Screening Process, Step-by-Step
With our preparations complete, we now stand ready to delve into the heart of the matter: the screening process itself. Step by step, we will guide you through the intricacies of this technique, allowing you to witness the transformation of your ageing floor finishes.
Step 1: Clear the area
Begin by removing all furniture and obstacles from the room or area you intend to screen. A clean, unobstructed workspace is essential for efficient and thorough screening. Take care to protect adjacent surfaces and furnishings from dust and potential damage.
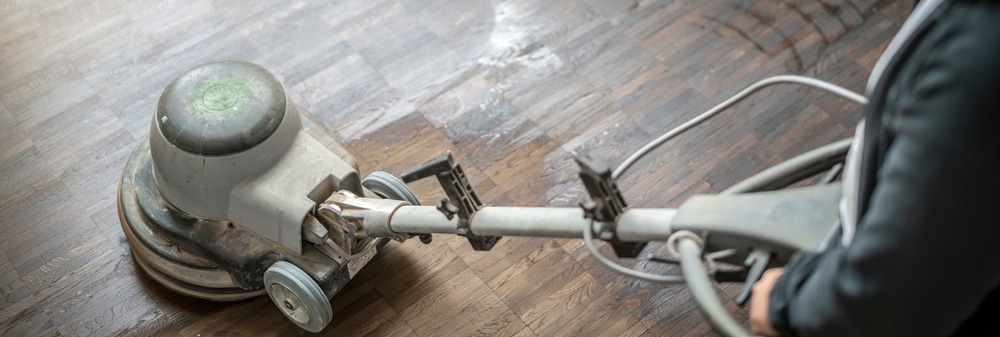
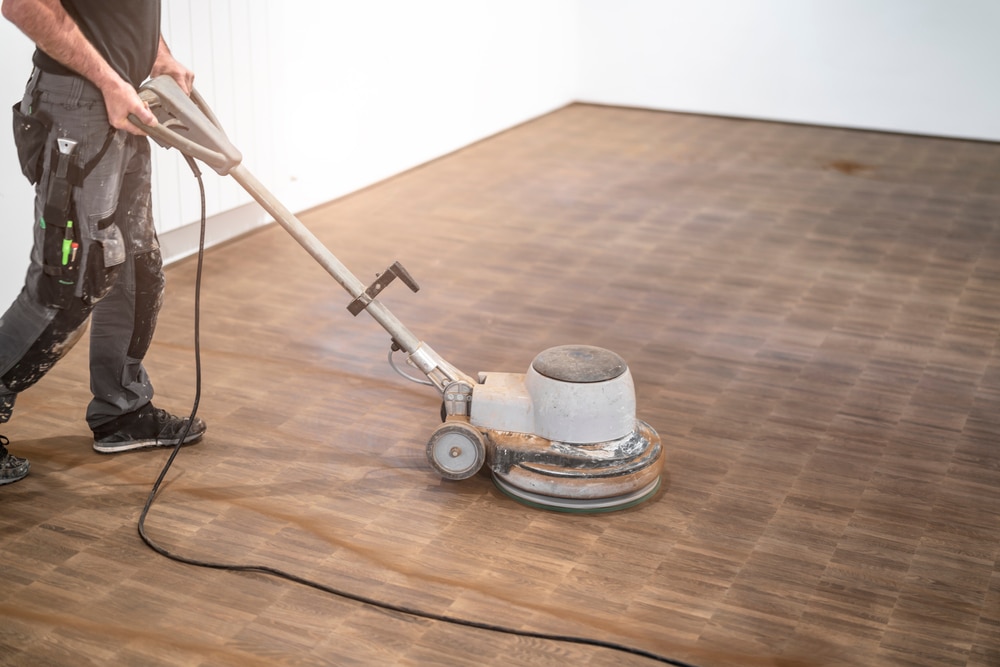
Step 2: Sanding and Screening

Choose the Initial Grit:
Based on your surface inspection, select the appropriate grit for your abrasive screens or sandpaper. Coarser grits (around 80–100) are suitable for addressing deeper imperfections, while finer grits (120–150) are ideal for general screening.
Attach the abrasive:
Secure the chosen abrasive to your screening machine, be it a floor buffer or a random orbital sander. Ensure it’s firmly in place and aligned properly.
Start screening:
Begin in one corner of the room and work your way systematically across the floor, moving in the direction of the wood grain. Use gentle, overlapping passes to ensure even coverage. Remember that the goal is to remove the top layer of finish, not the wood itself.
Monitor Progress:
Regularly inspect your work to gauge the results. Adjust your approach or grit if necessary to address specific issues. Be patient, as screening may require several passes for optimal results.
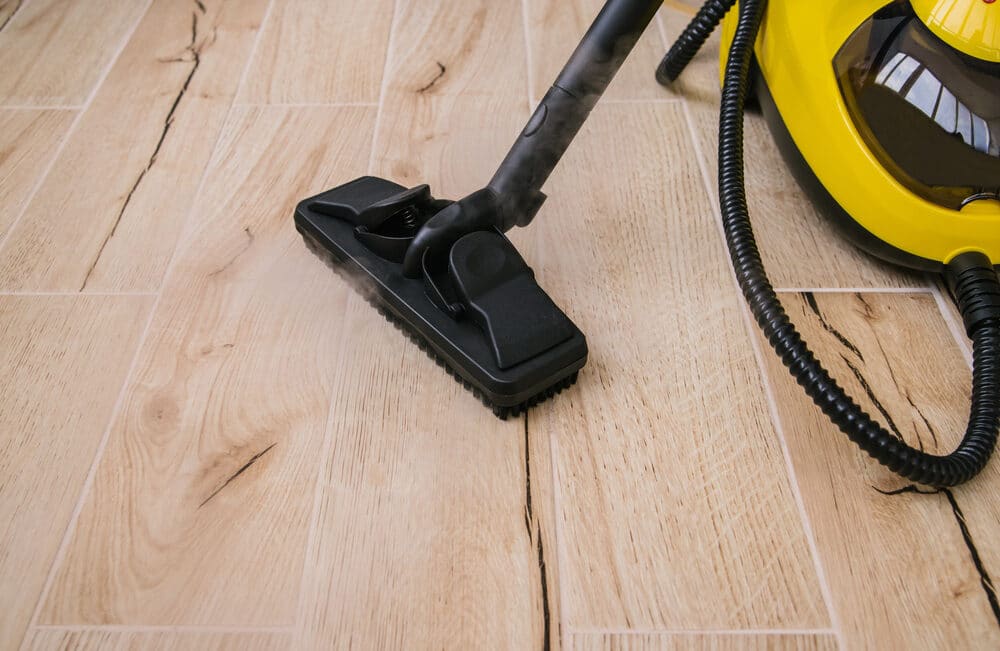
Step 3: Dust Collection and Cleanup
- Dust Control: As you screen, dust will be generated. Use a vacuum cleaner with a HEPA filter to capture as much dust as possible. This not only promotes a healthier environment but also enhances the quality of your finished application.
- Thorough Cleanup: Once screening is complete, thoroughly clean the entire area. Sweep or vacuum the floor to remove any remaining dust and debris. Follow up with a damp mop to ensure a pristine surface.
Step 4: Inspecting the Results
With the screening process concluded and your workspace immaculately clean, take a moment to assess the results. You should now have a refreshed floor surface, free from minor imperfections, and ready for the next step in the restoration journey: applying a new floor finish.
In our upcoming sections, we will explore the nuances of selecting the right finish, the application techniques to ensure a flawless coat, and the ongoing care needed to maintain your rejuvenated floor. Stay tuned as we continue our quest to revitalise your living space, one step at a time.
Common Challenges and Troubleshooting
As we navigate the path of rejuvenating your floors through the screening process, it’s important to acknowledge that challenges may arise along the way. In this section, we’ll explore some common challenges you might encounter and provide troubleshooting tips to help you overcome them effectively.
Challenge 1: Deep Scratches and Stains
Troubleshooting: For deep scratches and stubborn stains that resist standard screening, consider these options:
- Spot Sanding: Isolate the problem areas and use a finer-grit abrasive to sand them manually. Blend the sanded spots with the surrounding area for a seamless finish.
- Wood Putty: For minor gouges or holes, fill them with wood putty that matches the wood’s colour. Once dry, sand the patched areas before continuing with screening.
Challenge 2: Uneven Surfaces
Troubleshooting: If your floor exhibits unevenness after screening, take these steps:
- Inspect and Re-Screen: Carefully inspect the floor’s surface for areas that require additional attention. Rescreen these areas with the appropriate grit to level the surface.
- Feathering Technique: When transitioning from screened to unscreened areas, employ a feathering technique to blend the two sections smoothly. This involves gradually reducing the pressure on the screening machine as you approach the edge of the screened area.
Challenge 3: Dust Buildup
Troubleshooting: Dust can accumulate quickly during the screening process. To manage it effectively:
- Frequent Dust Removal: Pause periodically to clean the abrasive screen or sandpaper. This prevents dust buildup, ensuring consistent performance.
- Dust Collection: Make sure your vacuum cleaner with a HEPA filter is functioning optimally to capture airborne dust.
Challenge 4: Excessive Wear on Abrasives
Troubleshooting: Abrasives wear down over time, affecting the screening process. To address this:
- Monitor Abrasive Condition: Regularly check the condition of your abrasive screens or sandpaper. Replace them as needed to maintain optimal performance.
- Use Multiple Abrasives: Progress from coarser to finer grits as you screen. Starting with a coarser grit can extend the life of the abrasive and ensure thorough removal of imperfections.

Challenge 5: Inadequate Surface Preparation
Troubleshooting: If you notice that the finish isn’t adhering properly or appears uneven, the issue may stem from inadequate preparation. To rectify this:
- Revisit Preparation Steps: Ensure you’ve meticulously cleared the area, chosen the right abrasives, and inspected the surface for imperfections before screening.
- Re-screen if necessary: If the finish doesn’t adhere well, you might need to re-screen the surface with a finer grit to create a better bond.
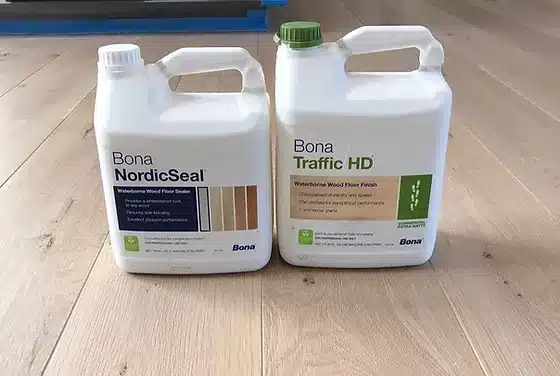
The Finish Line: Applying a New Floor Finish
Having overcome the challenges of screening and breathed new life into your ageing floor finishes, the journey now leads us to the culmination of your efforts: applying a fresh coat of floor finish. In this section, we’ll explore the key considerations and techniques for achieving a flawless finish.

Selecting the Right Finish
Before you embark on the application process, it’s crucial to choose the right finish for your specific needs. Consider factors such as:
- Wood Type: Different wood species may require specific types of finishes. Ensure compatibility with your floor’s wood.
- Gloss Level: Choose a gloss level (e.g., satin, semi-gloss, or high-gloss) that suits your aesthetic preferences.
- Durability: Depending on the room’s usage and traffic, opt for a finish that offers the desired level of durability.
- Application Method: Some finishes are best applied with a brush, while others work well with a roller or pad. Confirm the recommended application method.
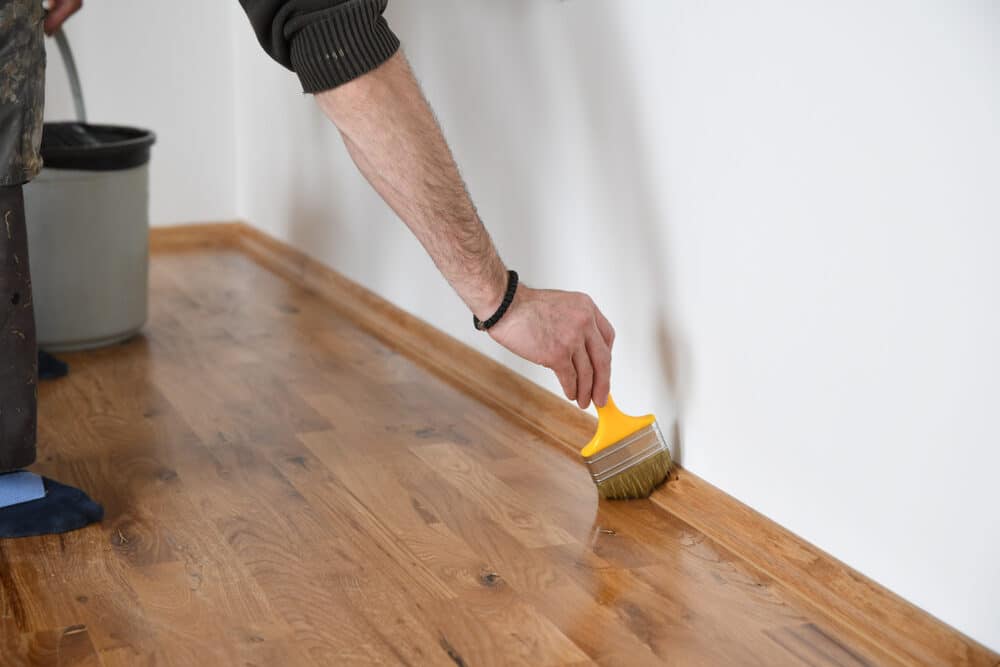
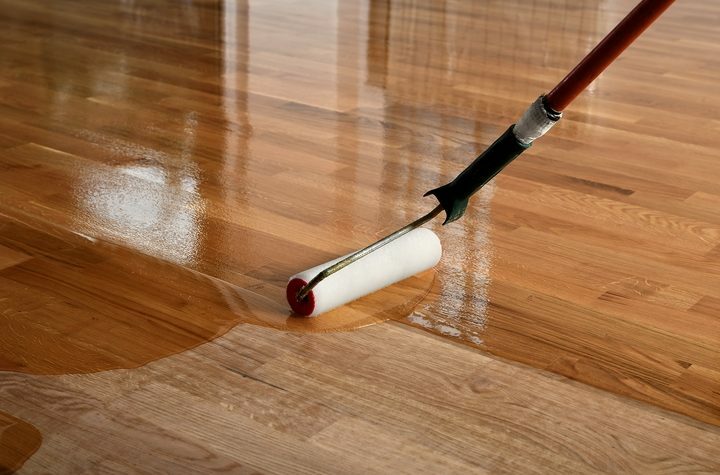
Application Techniques and Tips
Now that you’ve selected the right finish, it’s time to apply it with finesse.
Prepare the Finish:
Thoroughly stir or shake the finish to ensure an even consistency. Avoid aggressive shaking, which can introduce air bubbles.
Start in a Corner:
Begin in a corner of the room and work your way towards the exit to avoid trapping yourself. This ensures a smooth, continuous application.
Maintain a Wet Edge:
Always keep a “wet edge” as you apply the finish. This means overlapping each pass slightly with the previous one to prevent visible lap marks.
Use the right tools:
Employ the recommended application tool for your chosen finish (brush, roller, or pad). Follow the manufacturer’s guidelines for the type of applicator.

Thin Coats:
Apply thin, even coats of finish rather than thick layers. Multiple thin coats dry faster and are less likely to form imperfections.
Allow for Drying Time:
Between coats, follow the manufacturer’s recommended drying time. It’s typically a few hours to overnight. Sand lightly between coats for a smooth surface.
Ventilation:
Ensure good ventilation while applying the finish to aid in the drying process and reduce fumes. Open windows and doors if possible.
Clean Equipment Promptly:
After finishing, clean your brushes or applicators promptly with the appropriate cleaning agent to maintain their effectiveness.
Caring for Your Newly Finished Floor
Congratulations! You’ve now applied a fresh, rejuvenating finish to your floor. To keep it looking pristine for years to come:
Wait for Full Cure:
Allow the finish to cure completely before placing furniture or rugs on the floor. This typically takes a few days to a week, depending on the product.
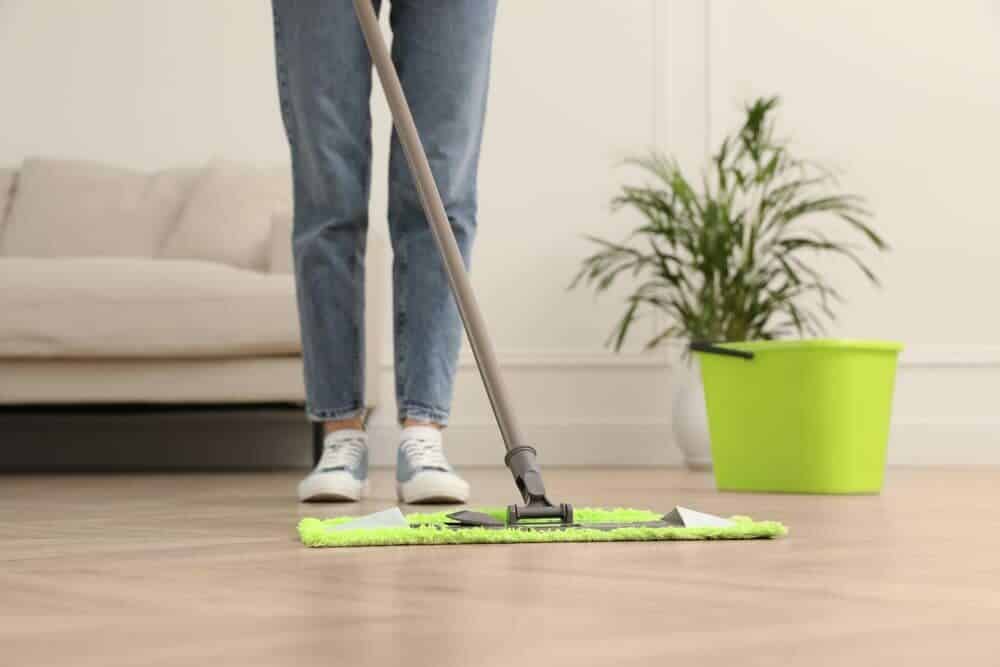
Regular Cleaning:
Implement a regular cleaning routine using a hardwood floor cleaner recommended for your finish type. Avoid harsh chemicals that could damage the finish.
Use Protective Pads:
Place felt pads under furniture legs to prevent scratching the finish when moving items.
Avoid Excess Moisture:
Minimise exposure to excessive moisture, as it can damage the finish and wood over time.
Reapply Finish as Needed:
Keep an eye on the condition of your floor finish. If it begins to show signs of wear, consider reapplying a maintenance coat to protect and refresh the surface.
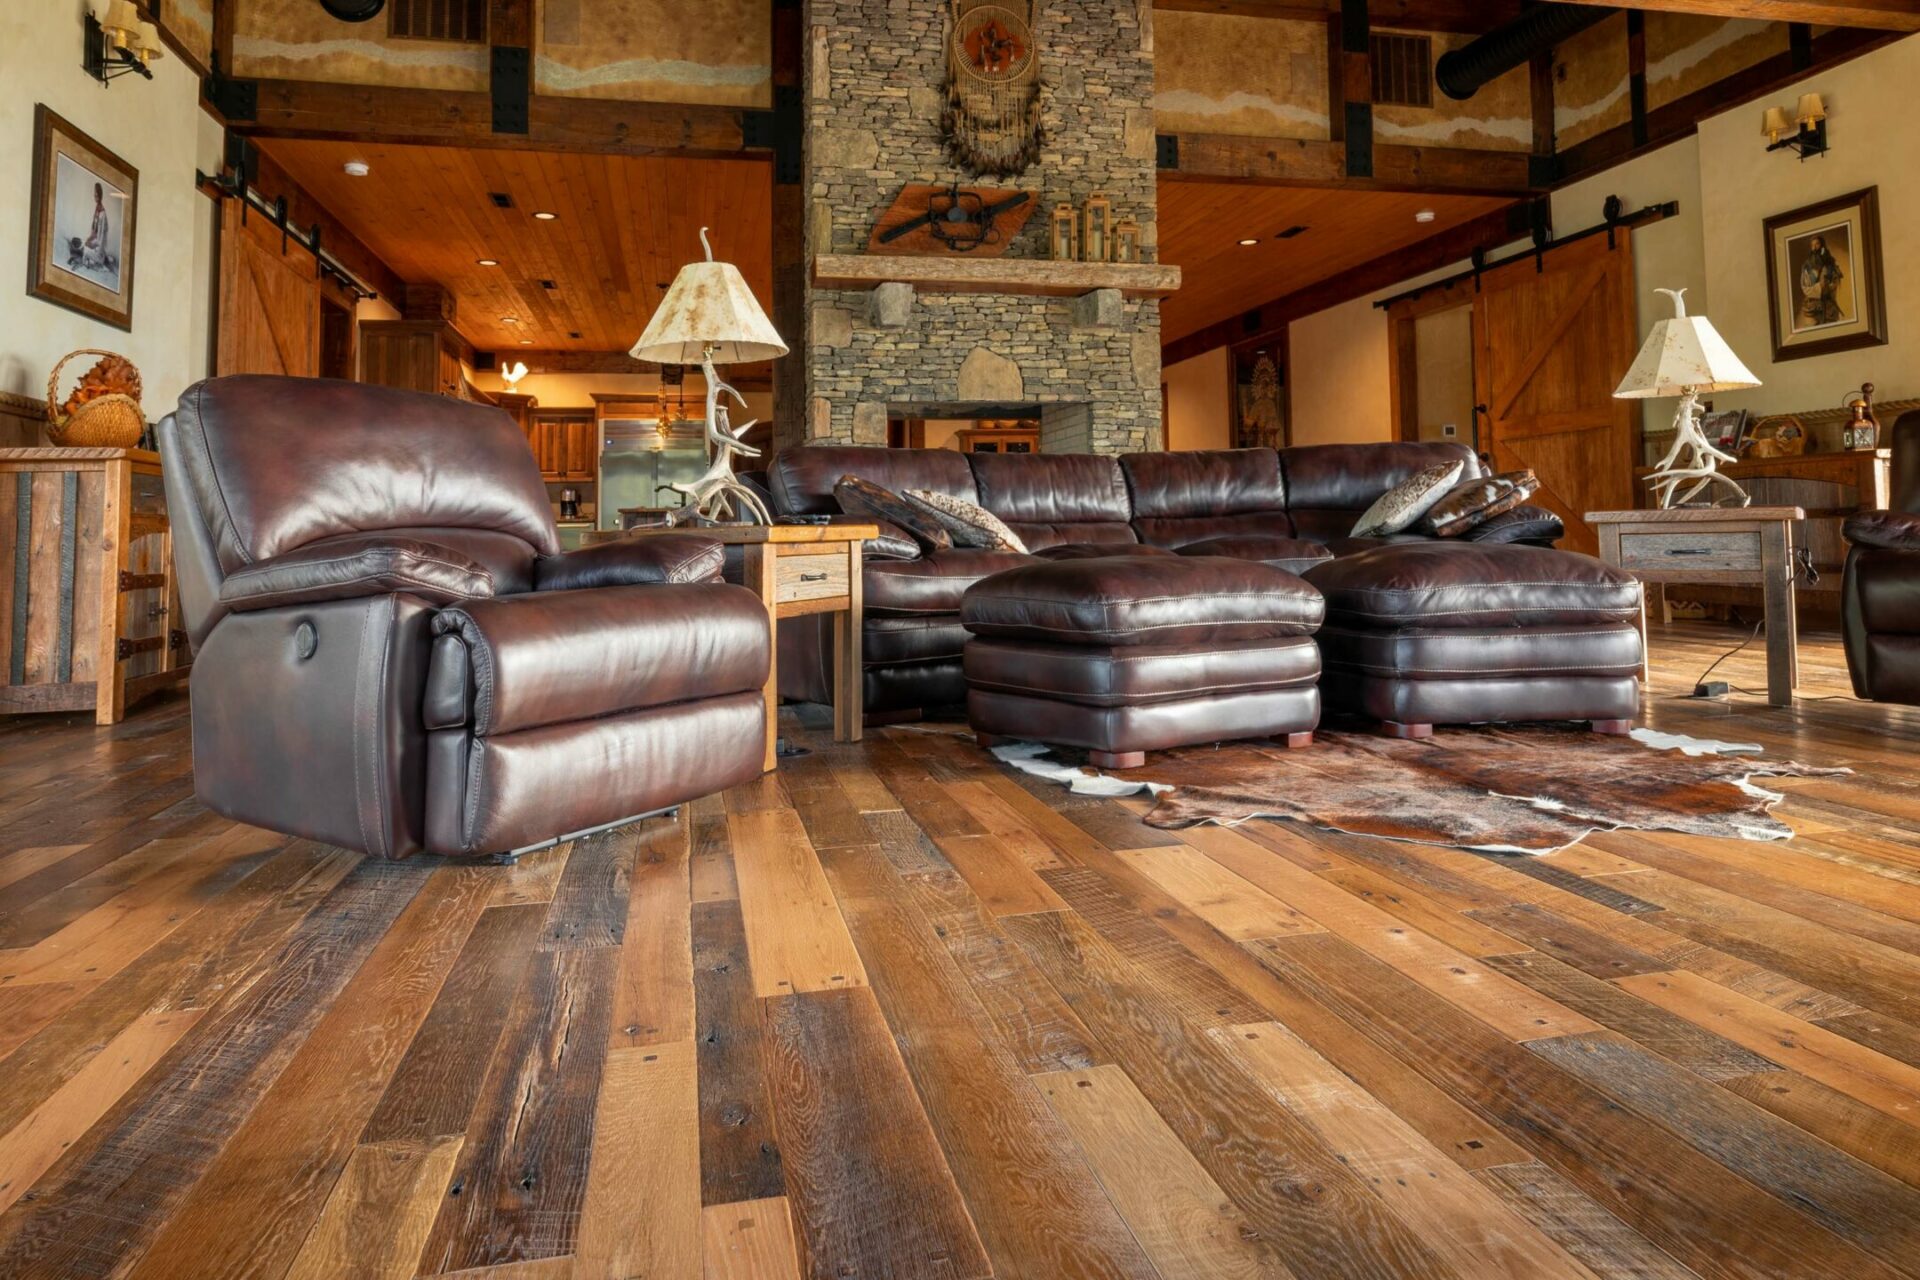
Conclusion
As we draw the curtains on our exploration of the intricate world of floor finishes and the transformative power of screening, it’s time to reflect on the journey we’ve undertaken. From the initial dilemma of ageing floor finishes to the meticulous preparations and the artful application of a fresh coat of finish, we’ve uncovered the secrets to breathing new life into your living space.
In our quest to rejuvenate your floors, we’ve highlighted the essential role that floor screening plays in this process. This gentle yet effective technique allows for the removal of surface imperfections and wear without compromising the integrity of the underlying wood. We’ve navigated through the science behind screening, the importance of meticulous preparation, and the nuances of troubleshooting common challenges.
With patience, attention to detail, and the right tools at your disposal, you now possess the knowledge and skills to embark on your own wood floor restoration journey. Your ageing floor finishes need not be a source of dismay but an opportunity for renewal and transformation.
As you stand on the threshold of a freshly finished floor, remember that the beauty and longevity of your revitalised space depend not only on the techniques you’ve learned but also on ongoing care and maintenance. Regular cleaning, protective measures, and timely touch-ups will ensure that your floors continue to shine brilliantly.
We hope this journey has empowered you to take on the challenge of reviving your floors with confidence and enthusiasm. May your living space radiate with the timeless elegance and warmth that only well-maintained floors can provide. Thank you for accompanying us on this voyage of restoration, and may your home be a testament to the craftsmanship and care you’ve invested in it.

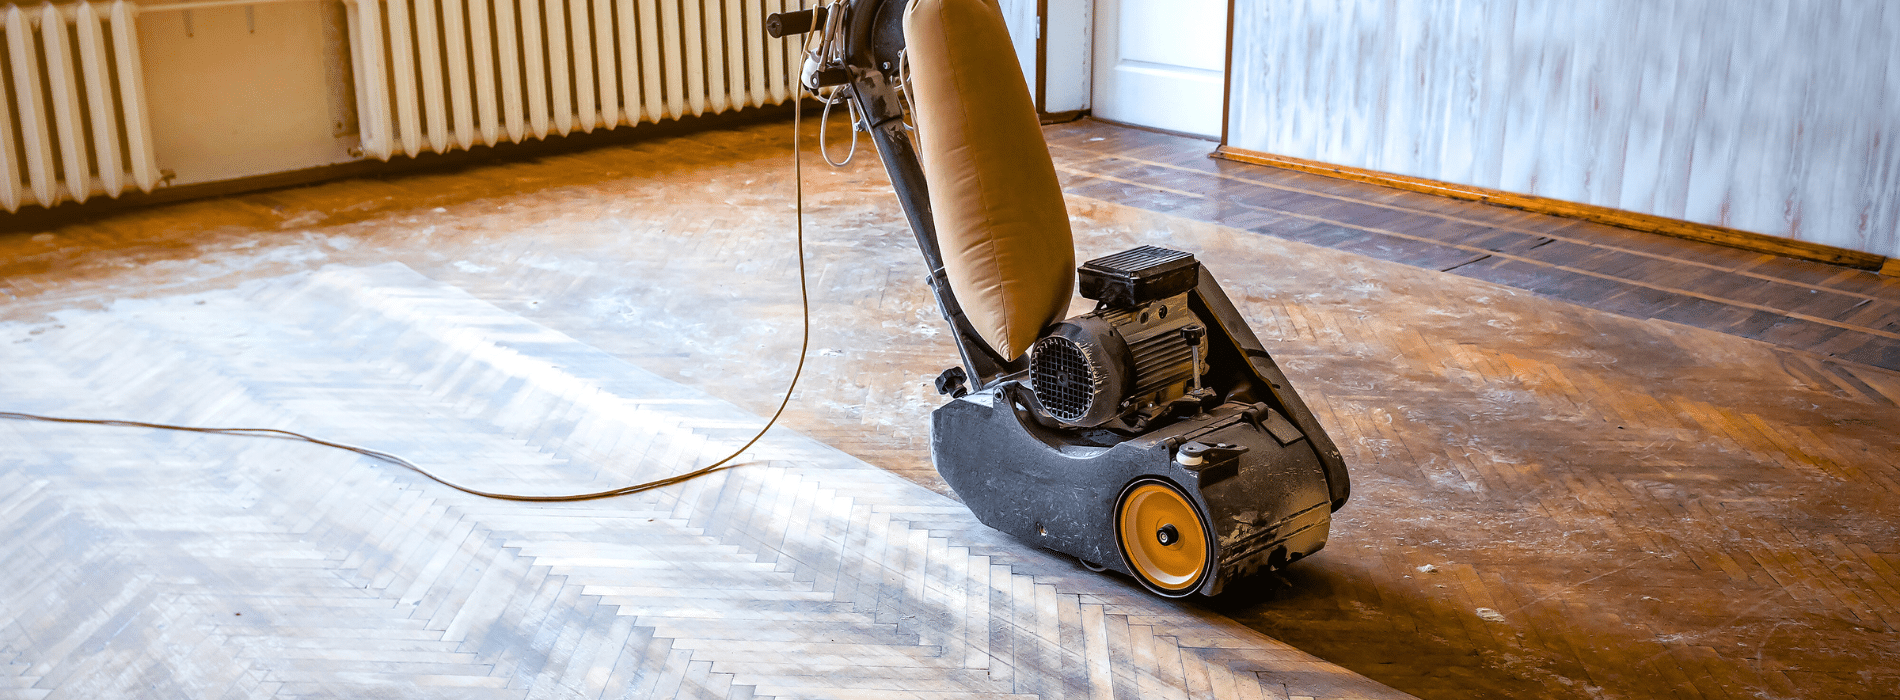
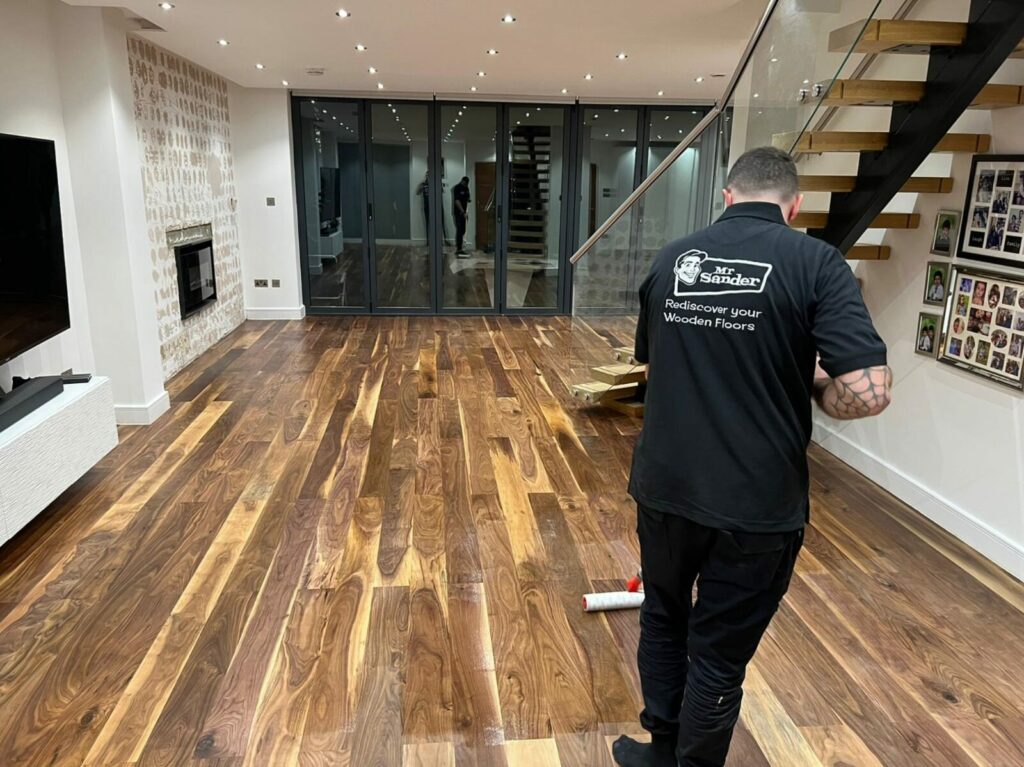
Sanding
We provide virtually dust-free sanding with our continuous belt machinery with mobile extraction units, giving you a safer environment for your family.
Oiling
This organic finish not only adds beauty to your home but also has exceptional water-repellent characteristics, making it easier to clean and maintain.
Waxing
This natural floor finish offers the softest and most mellow appearance – and leaves your floor able to breath.
Buffing
Using soft buffing machines (and hand-polishing where required) will bring a wonderful sheen to your newly-finished floor.
Repairs
We offer a full assessment of your wooden floors to determine what repairs are needed to provide the perfect working surface for the later stages of sanding, staining and sealing.
Restoration
We offer a comprehensive restoration process designed to address floors that are improperly fitted or damaged over time through wear and tear.
Request a fixed price quote for your wood floor restoration now
Simply enter your postcode below to get started.
Services
Wood Floor Sanding Wood Floor Restoration Wood Floor Scratch Repair Squeaky Wood Floor Repair Parquet Floor Sanding Parquet Floor Restoration Commercial Floor Sanding Church Floor Sanding Community Centre Floor Sanding School Floor Sanding Gap Filling Gap Filling with ResinCopyright © Mr Sander®
Privacy & Cookies Terms & Conditions Complaints Procedure Cancellation Rights Sitemap

Get An Instant Price Estimate Before You Go…
Simply enter the rooms you need sanded and we’ll provide you with a price estimate instantly! Try our price calculator now.
Get a Price Estimate NowLocal Floor Sanding Experts
Over 500 5-Star Reviews
Safe, Dust Free Sanding
Operating Since 1994