London:
Nationwide:
25,000+
Floors Restored
27 Years Experience
Wood Flooring Association Certified
Wood Floor Sanding: Step-by-Step tuition from Wood Floor Sanding Company
Posted on June 11, 2023
Blog
Ultimate Wood Floor Sanding Guide: Tips from Experts
If you’re wondering how to sand your wood floor like a pro, look no further. This comprehensive guide offers step-by-step instructions straight from a well-reputed floor sanding company. Floor sanding is a common procedure to revitalize the look of your wood floors. A well-sanded wood floor not only looks appealing but also adds to the durability of your flooring. However, floor sanding is not a process to be taken lightly. It requires careful planning, preparation, and the right equipment to achieve optimal results.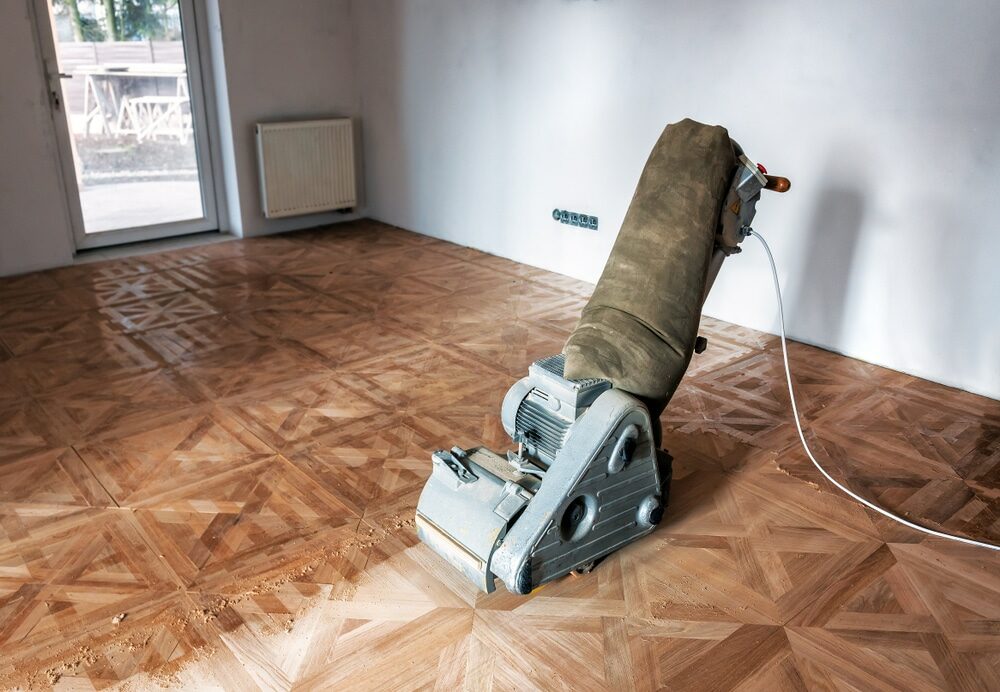
Preparation before floor sanding
Clearing and cleaning the room
The first step in floor sanding is preparing the room. Start by clearing out all the furniture, decorations, and other items that can get in the way. Once the room is cleared, vacuum it thoroughly. This will remove all dust and debris and prepare the surface for sanding.
Repairing the floor
Once the room is clean, inspect the floor for any damages. Look out for floorboards that require repair or replacement. Damaged floorboards may impact the result of the sanding process and can even damage your equipment.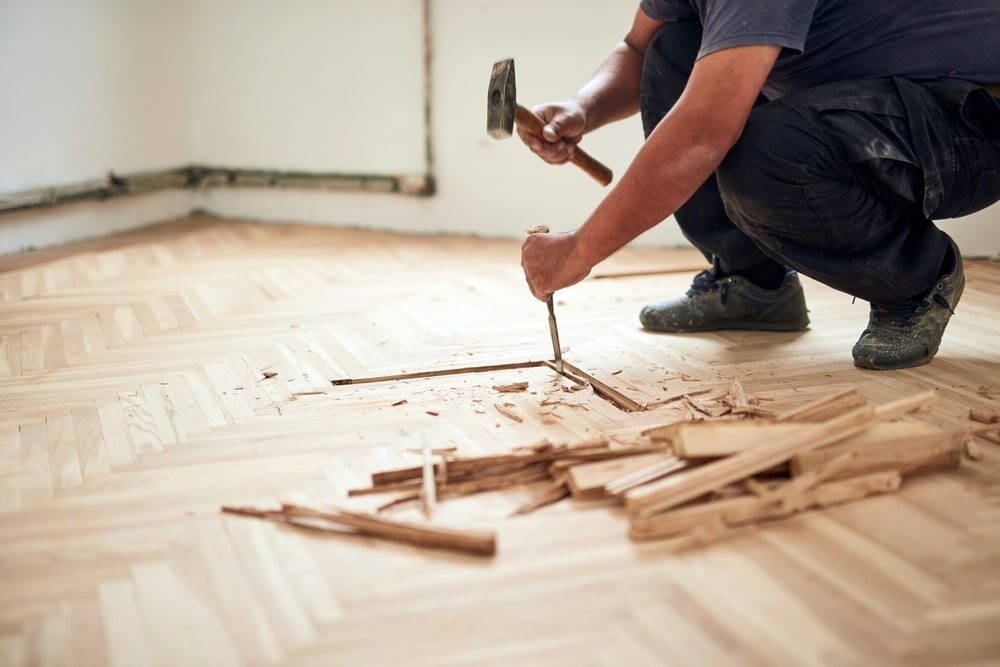
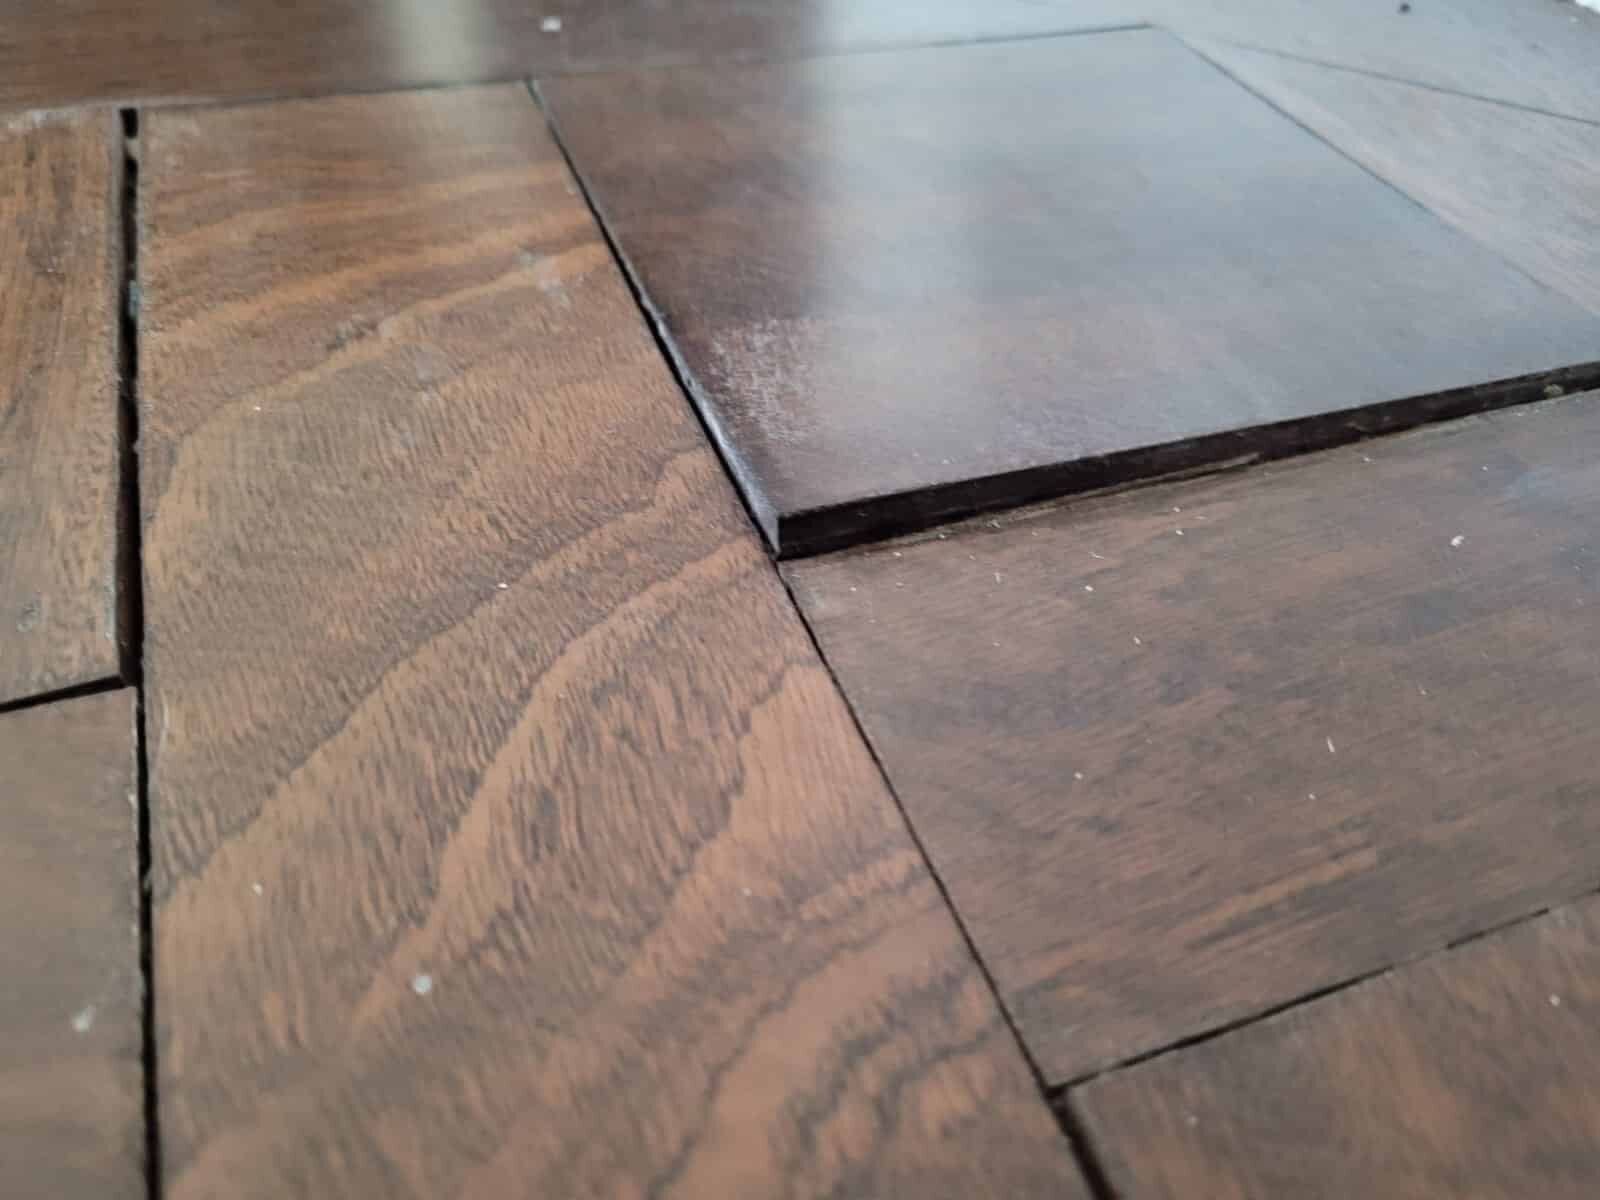
Filling Gaps
Floorboards often have gaps due to natural wear and tear. Before you start sanding, it is crucial to fill these gaps with resin or strips of the same wood as the floorboard. This creates a uniform surface that is easier to sand and results in a more polished look.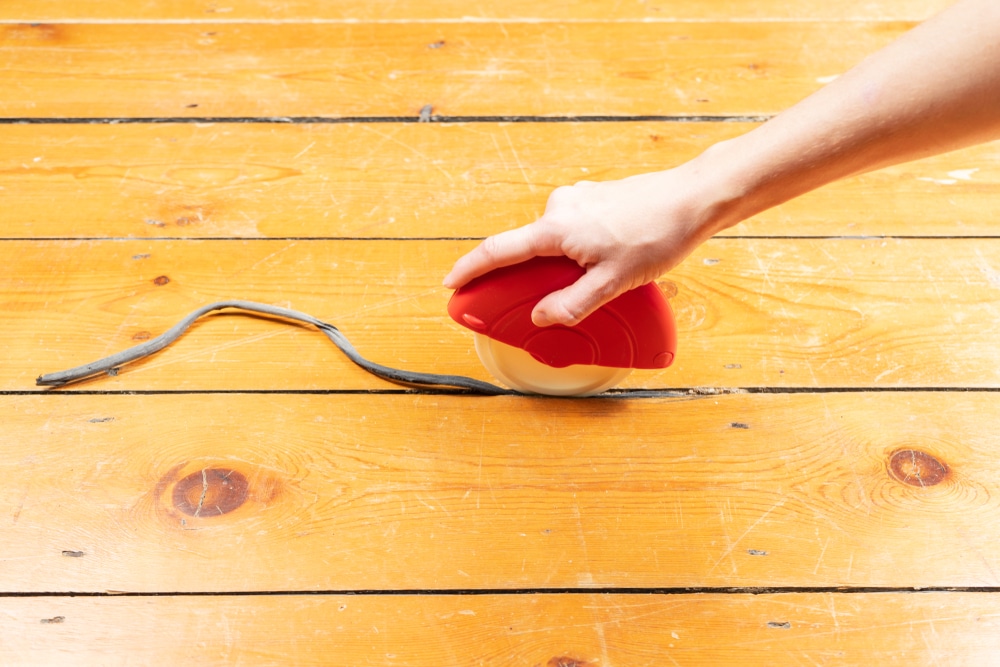
The sanding process
The First Sanding: Rough Sanding
Once the floor is prepped, you can start the sanding process. The first sanding should be rough, using heavy-grit sandpaper. This initial sanding removes the old finish and any surface-level scratches or dents.The Second Sanding: Medium Sanding
The second sanding should be done using medium-grit sandpaper. This stage is about smoothing the floor further and preparing it for the final sanding.The third sanding: fine sanding
The third and final sanding should be performed with extremely fine-grit sandpaper. This step polishes the floor, making it smooth and ready for the final finish.Choosing the right equipment
Types of Floor Sanding Machines
The market is flooded with various types of floor sanding machines. Choosing the right one is crucial for an effective sanding process. Belt sanders, orbital sanders, and drum sanders are a few of the options available. It’s highly recommended to consult with a specialist when choosing your sanding machine. They can guide you based on your floor type, the level of damage, and the finish you desire.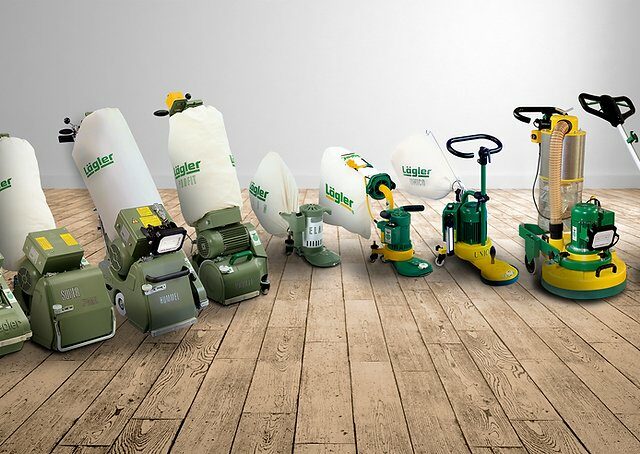
Dust-Free Operation
Ensure the machine you choose has dust-free operation. This is essential not just for your health but also for achieving a smooth and clean finish.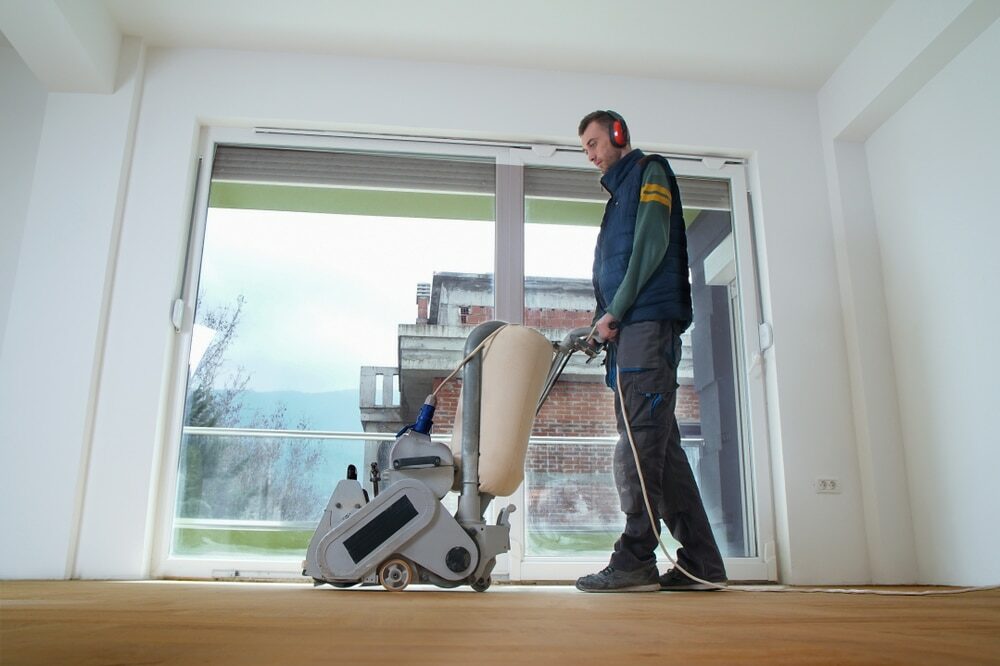
Hiring a Floor Sanding Specialist
While it’s possible to sand your floor yourself, it’s also highly recommended to consider hiring a specialist for floor sanding. This is especially true if you’re a beginner or if your floor is significantly damaged. A specialist has the experience and expertise to sand your floor without causing further damage. They also know how to work efficiently and achieve a finish that meets your expectations.
Conclusion
Floor sanding is an effective way to restore the beauty of your wooden floor. With careful preparation, the right equipment, and a bit of patience, you can bring your floor back to life. However, if you’re unsure or don’t want to risk damaging your floor, hiring a professional floor sanding company can be a worthwhile investment. This guide aims to give you the information and confidence you need to embark on your floor sanding journey.Some Useful Links:
- Floor Sanding Services
- School Floor Sanding
- Wood Floor Restorations
- Wood Floor Repairs
- Wood Floor Polishing
More from our Blog:
Water: The Biggest Threat to Hardwood Floors Choosing the Best Local Wood Floor Sanding Specialist: Mr Sander® DIY Guide to Refinishing Hardwood Floors | Mr Sander® Underfloor Heating System: Revolutionizing Wood Flooring Heating Solutions Hardwood vs. Laminate: Insights into the Best Flooring Choice for Your Home


Sanding
We provide virtually dust-free sanding with our continuous belt machinery with mobile extraction units, giving you a safer environment for your family.
Oiling
This organic finish not only adds beauty to your home but also has exceptional water-repellent characteristics, making it easier to clean and maintain.
Waxing
This natural floor finish offers the softest and most mellow appearance – and leaves your floor able to breath.
Buffing
Using soft buffing machines (and hand-polishing where required) will bring a wonderful sheen to your newly-finished floor.
Repairs
We offer a full assessment of your wooden floors to determine what repairs are needed to provide the perfect working surface for the later stages of sanding, staining and sealing.
Restoration
We offer a comprehensive restoration process designed to address floors that are improperly fitted or damaged over time through wear and tear.
Request a fixed price quote for your wood floor restoration now
Simply enter your postcode below to get started.
Services
Wood Floor Sanding Wood Floor Restoration Wood Floor Scratch Repair Squeaky Wood Floor Repair Parquet Floor Sanding Parquet Floor Restoration Commercial Floor Sanding Church Floor Sanding Community Centre Floor Sanding School Floor Sanding Gap Filling Gap Filling with ResinCopyright © Mr Sander®
Privacy & Cookies Terms & Conditions Complaints Procedure Cancellation Rights Sitemap

Get An Instant Price Estimate Before You Go…
Simply enter the rooms you need sanded and we’ll provide you with a price estimate instantly! Try our price calculator now.
Get a Price Estimate NowLocal Floor Sanding Experts
Over 500 5-Star Reviews
Safe, Dust Free Sanding
Operating Since 1994