London:
Nationwide:
25,000+
Floors Restored
27 Years Experience
Wood Flooring Association Certified
Timing is Everything: When to Sand After Power Washing Your Deck
Posted on December 8, 2023
Wood Floor Sanding
Identifying the Ideal Time to Sand Your Deck After Power Washing
Welcome to “Timing is Everything: When to Sand deck https://mrsander.co.uk/service/floor-sanding-services/After Power Washing Your”Deck”—your comprehensive guide to mastering the art of deck maintenance. A deck is not just an extension of your home; it’s a space for relaxation, entertainment, and creating lasting memories. But like any valued part of your home, it requires care and maintenance to stay in top condition. Among the most crucial tasks in deck upkeep are power washing and sanding, two processes that go hand-in-hand in preserving the beauty and longevity of your deck.
In this post, we’ll dive deep into the pivotal relationship between power washing and deck sanding. Power washing cleans and preps the surface, stripping away dirt, grime, and old finishes, revealing the raw beauty of the wood beneath. However, this is only half the battle. Sanding is the next critical step, smoothing the surface and preparing it for sealing or staining. But here’s where many homeowners face a dilemma: When is the perfect time to sand after power washing?
Timing is not just a minor detail; it’s a significant factor that can influence the quality and durability of your deck maintenance efforts. Sand too soon, and you might damage the wood; wait too long, and you may miss the ideal window for achieving the best finish. In this blog post, we’ll guide you through the intricacies of this process, helping you understand the why, when, and how of sanding your deck after power washing, ensuring that your deck not only looks stunning but also stands the test of time.
Stay with us as we explore everything, from selecting the right equipment to understanding the signs that indicate your deck is ready for sanding. By the end of this guide, you’ll be equipped with all the knowledge you need to make informed decisions about your deck maintenance, ensuring that your outdoor space remains a source of pride and joy for years to come.
Preparing for power washing
Embarking on the journey of power washing your deck is not just about turning on a machine and spraying water. Adequate preparation is key to ensuring the process is both effective and safe for your deck. In this section, we will walk you through the essential steps and considerations to prepare your deck for power washing, laying the groundwork for a successful and efficient cleaning experience.
1. Inspect your deck
- Before anything else, conduct a thorough inspection of your deck. Look for any signs of damage, like loose boards, protruding nails, or areas that need repair. Addressing these issues beforehand can prevent further damage during the power washing process.
2. Choose the right power washer and settings
- Selecting an appropriate power washer is crucial. For most wooden decks, a pressure washer with 1200–1500 psi (pounds per square inch) is sufficient. Anything stronger might damage the wood.
- Familiarise yourself with the power washer settings. Using the right nozzle and pressure setting is important to avoid damaging the wood.
3. Clear and clean the deck surface
- Remove all furniture, grills, planters, and any other items from the deck. This not only makes power washing easier but also protects your items from water damage.
- Sweep the deck thoroughly to remove loose debris, dirt, and leaves. This step ensures a clean, unobstructed surface for power washing.
4. Protect Surrounding Areas
- Cover any nearby plants, shrubs, or areas that might be affected by the water spray or cleaning solutions. Use plastic sheeting or tarps for protection.
- Close windows and doors leading to the deck, and cover any electrical outlets or fixtures to prevent water damage.
5. Selecting the Right Cleaning Solution
- If your deck is heavily soiled or has residual paint or stain, consider using a cleaning solution formulated for decks. Ensure it’s suitable for use with a power washer and safe for the type of wood your deck is made of.
- Test the cleaning solution on a small, inconspicuous area of your deck to ensure it does not discolour or damage the wood.
6. Safety First
- Wear appropriate safety gear, including goggles, gloves, and non-slip shoes. Power washing can be a messy and potentially hazardous task, so personal protection is essential.
- Ensure you’re familiar with the safety features of your power washer. Never point the power washer nozzle at people, pets, or delicate surfaces.
7. Prepare yourself mentally and physically.
- Power washing can be physically demanding. Ensure you are comfortable with the weight and operation of the power washer.
- Plan your approach. Start from one end of the deck and methodically move across to ensure even cleaning. Consider the direction of the water flow to avoid splashing against the house or into areas you want to keep dry.
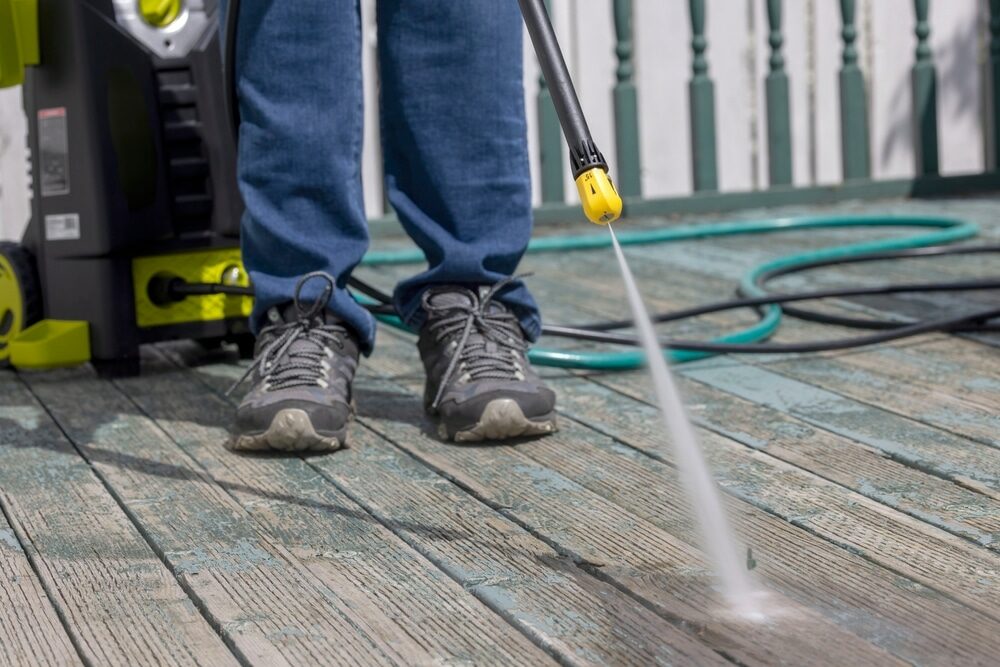
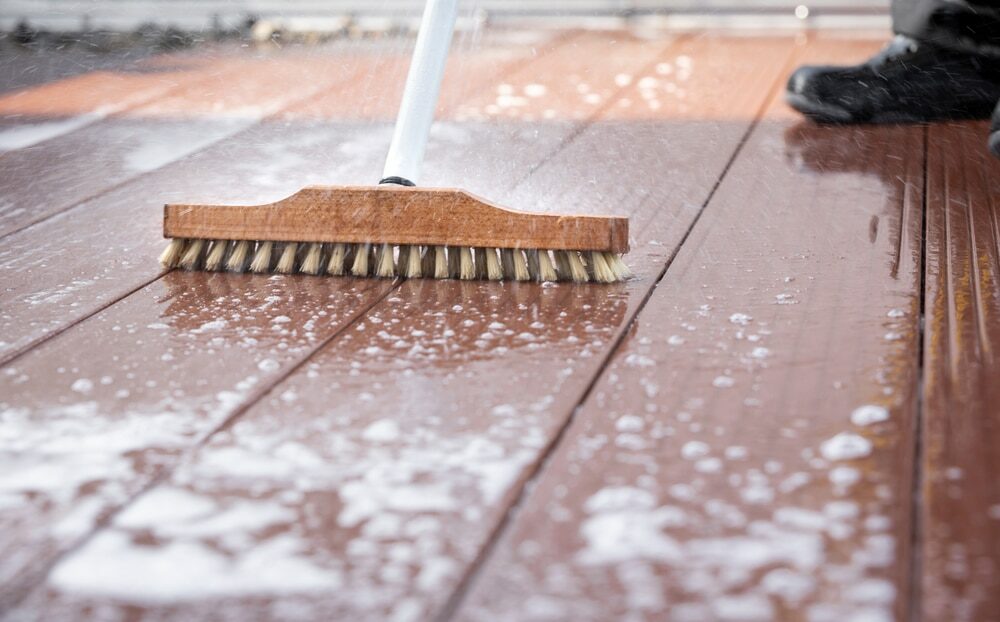
Power Washing Your Deck
Now that your deck is thoroughly prepared, it’s time to embark on the power washing process. Power washing, when done correctly, can rejuvenate your deck, making it look fresh and new. However, it’s important to approach this task with care to avoid damaging the wood. Here’s a step-by-step guide to effectively and safely power washing your deck.
1. Setting Up Your Power Washer
- Connect your power washer to a water source and ensure all connections are secure. If you’re using a cleaning solution, make sure it’s properly mixed and loaded into the washer.
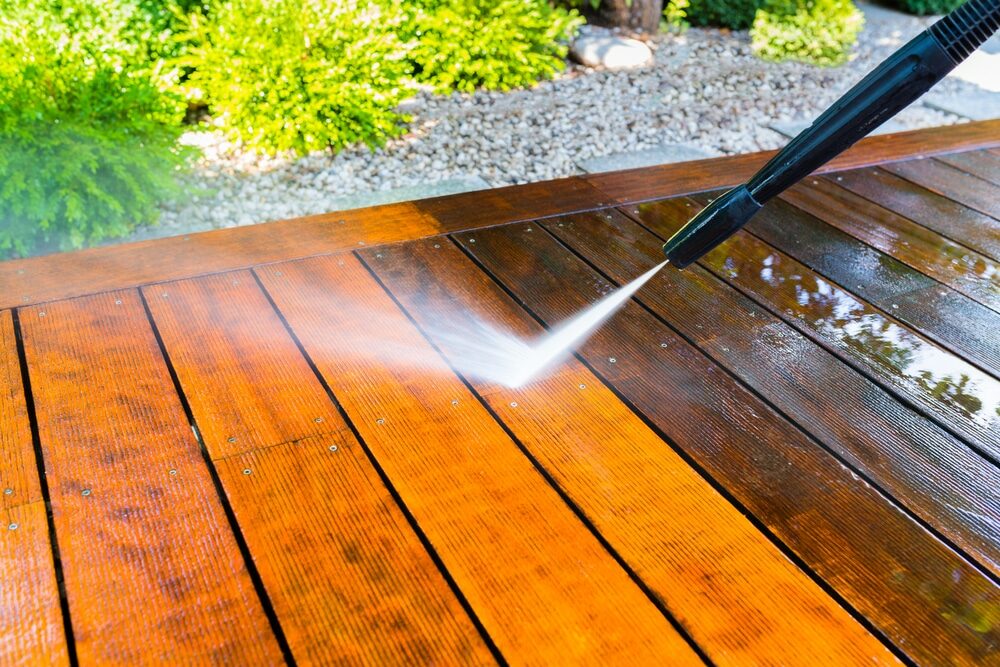
- Select the appropriate nozzle. For deck cleaning, a fan-tip nozzle is often recommended, as it spreads the pressure over a wider area, reducing the risk of damaging the wood.
2. Test the pressure washer.
- Before starting on the deck, test the pressure washer on a small, inconspicuous area to get a feel for its power and to ensure the setting is appropriate for your deck’s wood.
3. Begin power washing.
- Start at one end of the deck and methodically move along the boards. Keep the nozzle about 6–8 inches away from the deck surface. This distance is ideal for effective cleaning without causing damage.
- Maintain a consistent, sweeping motion. Long, even strokes will help to avoid streaks and ensure a uniform clean. Overlap each stroke slightly to avoid missing spots.
4. Cleaning Technique
- Clean along the grain of the wood. This technique helps to achieve a more thorough clean and minimises the risk of leaving marks on the wood.
- Be cautious around corners and edges, as these areas can be more susceptible to damage from high pressure.
5. Dealing with Stubborn Stains
- For tough stains or areas with old paint or sealant, you may need to go over the area multiple times. Be patient and avoid using excessive pressure, which can gouge the wood.
- If necessary, apply a deck cleaning solution to help break down tough stains. Follow the manufacturer’s instructions for application and rinsing.
6. Rinsing the Deck
- Once you’ve thoroughly cleaned the deck, switch to a lower pressure setting or a different nozzle for rinsing. Remove all soap and residue from the deck’s surface.
- Rinse any surrounding areas that may have gotten splashed with dirty water or cleaning solution.
7. Post-power washing inspection
- After finishing, inspect the deck for any missed spots or areas that might need a touch-up.
- Check for any signs of damage that might need to be addressed before moving on to the sanding phase.
8. Allow the deck to dry.
- This is a crucial step. Allow the deck to dry completely before proceeding to sanding. The time required can vary depending on weather conditions, but generally, it takes at least 24-48 hours.
Power washing your deck is a vital step in its maintenance and sets the stage for sanding and refinishing. By following these steps, you’ll ensure that your deck is not only clean but also in the best condition for the next phase of its rejuvenation. Remember, patience and attention to detail during power washing can significantly impact the final outcome of your deck maintenance project.
Understanding the right timing
One of the most crucial aspects of deck maintenance is understanding the right timing, especially when it comes to the interval between power washing and sanding. This stage is often overlooked, but it plays a pivotal role in the overall success of your deck rejuvenation project. Let’s delve into the factors that influence this timing and how to determine the best moment to proceed with sanding after power washing.
1. The Importance of Proper Drying
- Wood absorbs water during power washing. Before sanding, it’s essential that your deck be completely dry. Sanding a damp deck can lead to uneven surfaces and may even cause more damage to the wood.
- The drying time varies depending on factors like wood type, weather conditions, and humidity. Typically, a deck needs at least 24-48 hours to dry adequately, but in some cases, it may require up to a week.
2. Weather Considerations
- Ideal weather conditions can speed up the drying process. Warm, sunny, and breezy days are perfect for drying your deck.
- Avoid sanding if rain is forecast in the near future. Moisture reabsorbed by the wood can ruin your efforts.
3. Wood Condition
- The age and condition of your deck play a role in how quickly it dries. Older or more weathered decks might absorb more water and take longer to dry.
- Inspect the wood for signs of dryness. The colour of the wood typically becomes lighter as it dries.
4. Moisture Testing
- For a more precise assessment, consider using a moisture meter. This tool can give you an exact moisture reading on your wood.
- The ideal moisture content for sanding and applying finishes is typically between 12% and 15%.
5. Patience is key.
- Rushing into sand can be counterproductive. It’s worth waiting an extra day or two to ensure that the wood is fully prepared for the next step.
- Use this waiting period to plan your sanding strategy, gather materials, and prepare for any repairs or touch-ups that might be needed.
6. Planning Ahead
- Check the weather forecast before starting your deck maintenance project. Plan your power washing and sanding activities around the weather to ensure you have adequate drying time.
- If you’re unsure about the right timing, it’s always better to err on the side of caution and give your deck a bit more time to dry.
When to Sand After Power Washing
Determining the optimal time to sand your deck after power washing is essential for achieving the best results in your deck maintenance routine. This step is not about adhering to a rigid timeline but about understanding and observing the right conditions that indicate your deck is ready for sanding. Here’s how you can decide the best time to sand after power washing:
1. Ensure complete drying.
- The deck must be completely dry before you start sanding. As previously mentioned, this usually takes at least 24-48 hours, but can vary based on weather conditions and wood type.
- The wood should return to its natural colour and feel dry to the touch. If there’s any moisture content, sanding can be uneven and potentially damage the wood.
2. Using a Moisture Metre
- To eliminate guesswork, use a moisture metre to check the wood’s moisture level. The ideal moisture content for sanding is generally between 12% and 15%.
- Test in multiple locations, including shaded and sun-exposed areas, to get an accurate reading of the deck’s overall moisture level.
3. Weather Check
- Ideal sanding conditions are on a dry, mild day. Extreme heat or cold can affect the wood’s condition and the efficiency of your sanding.
- Avoid sanding if rain is expected within 24 hours of your planned project, as the added moisture can complicate the process.
4. Visual Inspection
- Look for signs that the wood grain has been raised or roughened by the washing process. These are indicators that the deck is ready to be sanded.
- Check for any residual debris or dirt. The deck should be clean and free of any materials that could clog up your sandpaper.
5. Consider the deck’s age and condition.
- Older decks might need more time to dry and could require more gentle sanding techniques.
- Newer decks might be less absorbent and could be ready for sanding sooner.
6. Prepare for sanding.
- While waiting for the deck to dry, prepare your sanding tools and materials. Ensure you have the right type of sandpaper and a sanding tool that you’re comfortable using.
- Plan your sanding strategy, including starting from one end of the deck and moving methodically to ensure an even and thorough job.
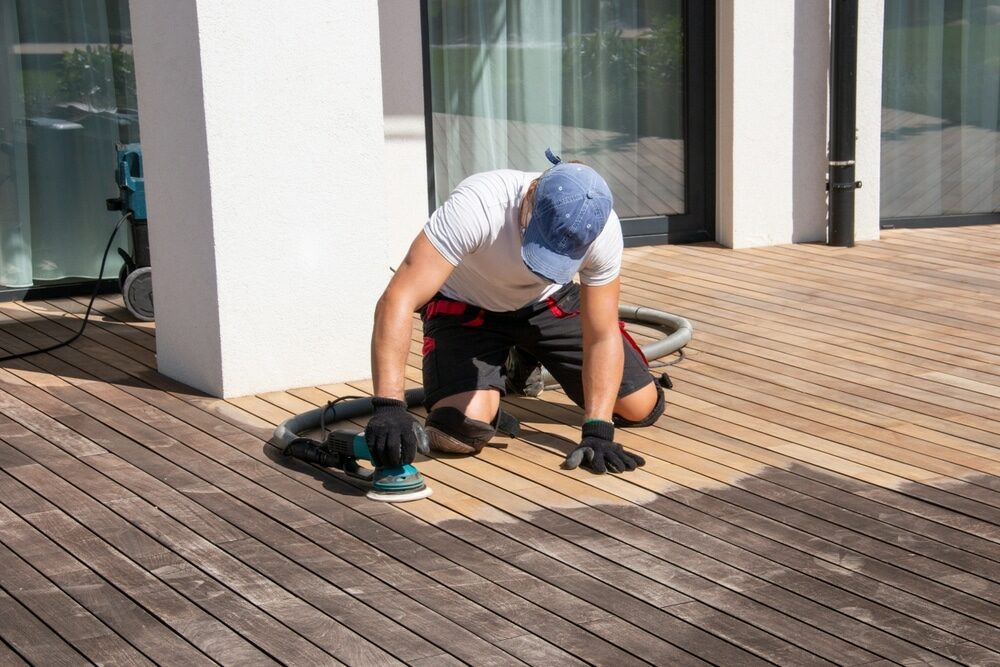
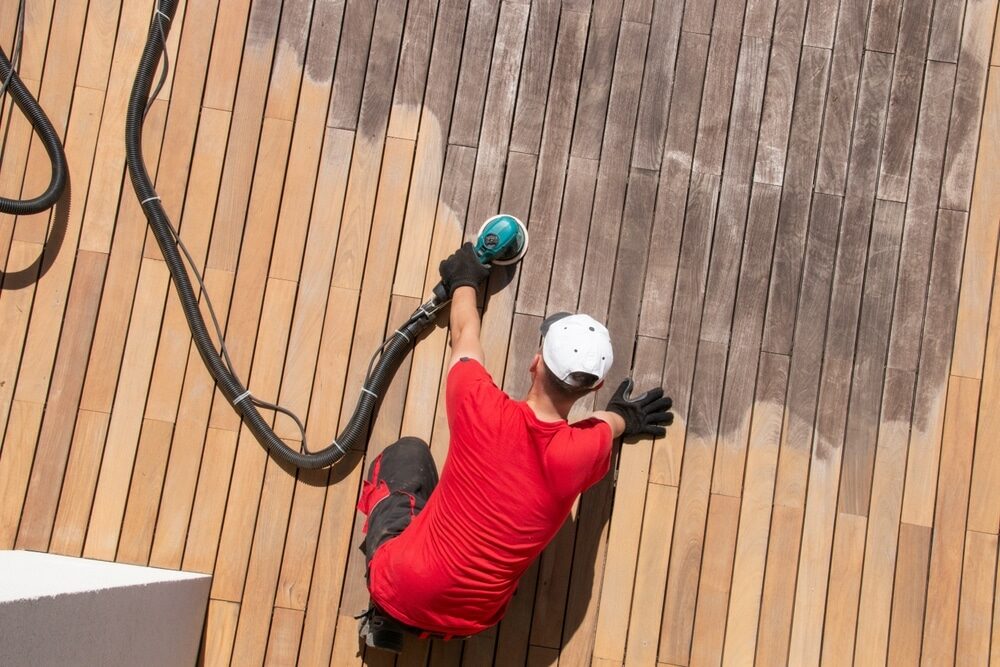
Sanding your deck
After ensuring your deck is thoroughly dried following power washing, the next crucial step in your deck maintenance process is sanding. Sanding smooths your deck’s surface, removes any residual rough spots, and prepares it for sealing or staining. Here’s a comprehensive guide to effectively sanding your deck.
1. Choosing the Right Sandpaper and Tools
- For deck sanding, medium-grit sandpaper (like 60 to 80 grit) is usually ideal. It’s coarse enough to smooth out rough spots without damaging the wood.
- You can use a variety of tools for sanding, from a simple hand-held sanding block for small areas to power sanders for larger decks. An orbital sander is often recommended for its ease of use and efficiency.
2. Safety First
- Always wear safety gear, including a dust mask, safety glasses, and gloves. Sanding produces a lot of dust, which can be harmful if inhaled.
- Ensure your work area is well-ventilated, especially if you’re using a power sander.
3. Sanding Technique
- Sand in the direction of the wood grain. This helps to achieve a smoother finish and reduces the risk of creating scratches that are visible after staining or sealing.
- Start with coarser-grit sandpaper to remove the rougher spots, and then switch to a finer-grit sandpaper for a smooth finish.
4. Methodical Approach
- Begin sanding from one end of the deck and work your way methodically to the other. This ensures you don’t miss any areas and maintains an even finish throughout.
- Use even pressure while sanding. Exerting too much pressure can gouge the wood, while too little can make the process ineffective.
5. Dealing with hard-to-reach areas
- For edges, corners, and tight spots, a hand-held sanding block or a smaller detail sander can be more effective.
- Pay special attention to these areas, as they are often missed and can lead to an uneven finish.
6. Cleaning After Sanding
- Once you’ve finished sanding, thoroughly clean the deck to remove all sawdust and debris. A leaf blower can be effective for this task.
- Wipe down the deck with a damp cloth to pick up any remaining dust. This is important for ensuring a clean surface for staining or sealing.
7. Inspect your work.
- After cleaning, inspect the deck for any missed spots or uneven areas. Touch-up sanding might be required in some spots.
- Ensure the deck is completely smooth and ready for the next step in your maintenance process.
Post-Sanding Considerations
After completing the sanding of your deck, there are several important steps to follow to ensure the best results for your deck’s longevity and appearance. These post-sanding considerations are crucial for preparing the deck for finishing and for maintaining its condition over time.
1. Thorough Cleaning
- After sanding, it’s essential to clean the deck thoroughly to remove all sawdust and debris. Any remaining dust can interfere with the adhesion of stains or sealants.
- Use a leaf blower or broom to clear off the bulk of the sawdust, followed by a thorough wipe-down with a damp cloth or a mild cleaning solution.
2. Deck Inspection
- Conduct a detailed inspection of the deck for any missed rough spots, splinters, or uneven areas. If necessary, perform touch-up sanding on these spots.
- Look for any popped-up nails or screws and hammer or screw them down for a smooth, even surface.
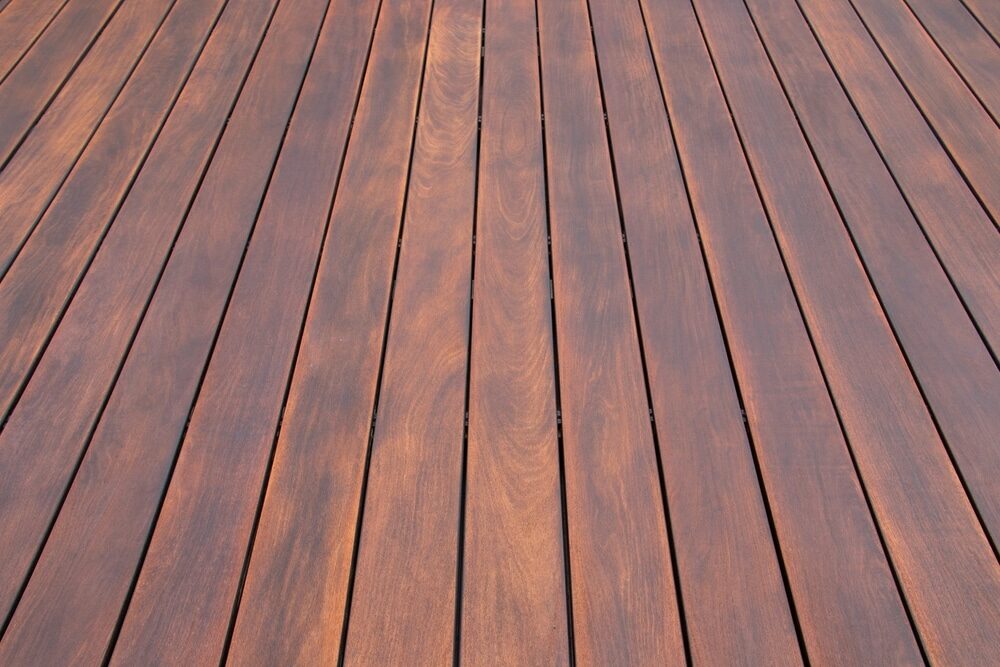
3. Choosing the Right Finish
- Select a finish that suits your deck’s wood type and your aesthetic preferences. Options include clear sealers, toners, semi-transparent stains, and solid stains.
- Consider the deck’s exposure to the sun and weather when selecting a finish. UV-resistant and water-repellent finishes can provide extra protection for your deck.
4. Application of Finish
- Apply the chosen finish according to the manufacturer’s instructions. Use brushes, rollers, or sprayers as recommended for the best results.
- It’s often advisable to apply two thin coats rather than one thick coat for even distribution and better absorption into the wood.
5. Drying and Curing Time
- Allow ample time for the finish to dry and cure. This duration can vary based on the type of finish and environmental conditions.
- Avoid using or placing anything on the deck until the finish is fully cured to prevent marks or damage.
6. Regular Maintenance
- Once the finish is applied and cured, regular maintenance is key to prolonging the life and appearance of your deck.
- Regular cleaning, periodic inspections, and touch-up applications of finish can keep your deck looking great for years.
7. Planning for Future Sanding and Maintenance
- Record the products and methods used for future reference. This can be helpful for maintenance or touch-up work down the line.
- Schedule regular inspections and maintenance activities to keep your deck in top condition.
Maintenance Tips
Maintaining your deck is crucial for preserving its beauty and extending its lifespan. Regular maintenance not only keeps your deck looking great but also prevents costly repairs in the future. Here are some essential maintenance tips to keep your deck in top condition:
1. Regular Cleaning
- Sweep your deck regularly to remove dirt, leaves, and debris. These can trap moisture and lead to wood rot or mould growth.
- Periodically clean the deck with a mild deck cleaner to remove grime and buildup. Avoid harsh chemicals that can damage the wood.
2. Inspect and repair
- Conduct a thorough inspection of your deck at least once a year. Look for loose boards, protruding nails, or signs of wear and tear.
- Promptly repair any damage you find. This might include tightening loose boards, replacing damaged planks, or hammering down raised nails.
3. Moisture Control
- Ensure good drainage around your deck. Standing water can cause wood decay and mould.
- If you have potted plants on your deck, use stands to prevent water from pooling underneath.
4. Sealing and staining
- Reapply a sealant or stain as needed. This is typically every 2–3 years, but the frequency depends on the weather conditions and the type of finish used.
- Before resealing or staining, always clean the deck thoroughly and make necessary repairs.
5. Sun Protection
- If your deck is exposed to a lot of sun, consider using a finish with UV protection to prevent fading and sun damage.
- Alternatively, use outdoor rugs, umbrellas, or a pergola to reduce direct sun exposure.
6. Winter Care
- In regions with harsh winters, remove snow and ice promptly to prevent moisture damage.
- Avoid using metal shovels or harsh chemicals for ice removal, as these can scratch or damage the deck surface.
7. Avoid heavy loads.
- Be cautious of placing excessively heavy objects on your deck, as they can cause strain and potential damage to the structure.
- Rearrange furniture periodically to prevent concentrated wear and tear in specific areas.
8. Mould and mildew prevention
- Keep your deck dry and well-ventilated to prevent mould and mildew growth.
- If mould or mildew is present, clean the affected area with a solution designed for decks, taking care not to damage the wood.
Conclusion
In wrapping up our comprehensive guide, “Timing is Everything: When to Sand deck After Power Washing Your Deck,” we’ve traversed the journey from understanding the importance of timing in deck maintenance to the detailed processes of preparing, power washing, sanding, and caring for your deck. Each step, marked by its own set of best practices and considerations, plays a pivotal role in the overall health and longevity of your outdoor living space.
Key Takeaways:
- The Role of Timing: The emphasis on timing, especially between power washing and sanding, cannot be overstated. It’s a crucial element that impacts the effectiveness of your maintenance efforts and the lasting quality of your deck.
- Thorough Preparation and Execution: From selecting the right tools and techniques for power washing to understanding the nuances of sanding, each step requires meticulous attention to detail. The preparation phase sets the tone for a successful maintenance process.
- Patience and precision: Deck maintenance is not a race. It requires patience, especially when allowing the deck to dry adequately after washing and before sanding. Precision in execution ensures that each step contributes positively to the deck’s aesthetic and structural integrity.
- Regular Maintenance: The journey doesn’t end with sanding and applying finish. Regular cleaning, inspections, and timely repairs are integral to keeping your deck in prime condition. This ongoing care prolongs the life of your deck and enhances your enjoyment of this valuable outdoor space.
Yur deck is more than just a structure; it’s a canvas for family memories, a haven for relaxation, and a testament to your home’s beauty. By following the guidelines outlined in this guide, you’ll not only preserve the structural integrity of your deck but also enhance its beauty and functionality. Remember, in the world of deck maintenance, timing truly is everything, and your efforts today will pave the way for many years of outdoor enjoyment.


Sanding
We provide virtually dust-free sanding with our continuous belt machinery with mobile extraction units, giving you a safer environment for your family.
Oiling
This organic finish not only adds beauty to your home but also has exceptional water-repellent characteristics, making it easier to clean and maintain.
Waxing
This natural floor finish offers the softest and most mellow appearance – and leaves your floor able to breath.
Buffing
Using soft buffing machines (and hand-polishing where required) will bring a wonderful sheen to your newly-finished floor.
Repairs
We offer a full assessment of your wooden floors to determine what repairs are needed to provide the perfect working surface for the later stages of sanding, staining and sealing.
Restoration
We offer a comprehensive restoration process designed to address floors that are improperly fitted or damaged over time through wear and tear.
Request a fixed price quote for your wood floor restoration now
Simply enter your postcode below to get started.
Services
Wood Floor Sanding Wood Floor Restoration Wood Floor Scratch Repair Squeaky Wood Floor Repair Parquet Floor Sanding Parquet Floor Restoration Commercial Floor Sanding Church Floor Sanding Community Centre Floor Sanding School Floor Sanding Gap Filling Gap Filling with ResinCopyright © Mr Sander®
Privacy & Cookies Terms & Conditions Complaints Procedure Cancellation Rights Sitemap

Get An Instant Price Estimate Before You Go…
Simply enter the rooms you need sanded and we’ll provide you with a price estimate instantly! Try our price calculator now.
Get a Price Estimate NowLocal Floor Sanding Experts
Over 500 5-Star Reviews
Safe, Dust Free Sanding
Operating Since 1994