London:
Nationwide:
25,000+
Floors Restored
27 Years Experience
Wood Flooring Association Certified
Comprehensive Guide to Refinishing Parquet Flooring | Restore Your Floors Today
Posted on May 28, 2023
Articles
Mastering the Art of Parquet Flooring Refinishing
Parquet flooring is a timeless choice that adds a unique blend of charm and sophistication to any room. It’s a distinct style of flooring that requires specialized care to keep it looking its best. One such method is refinishing. Today, we will explore in depth how to succeed in refinishing parquet flooring, giving your floor a new lease on life.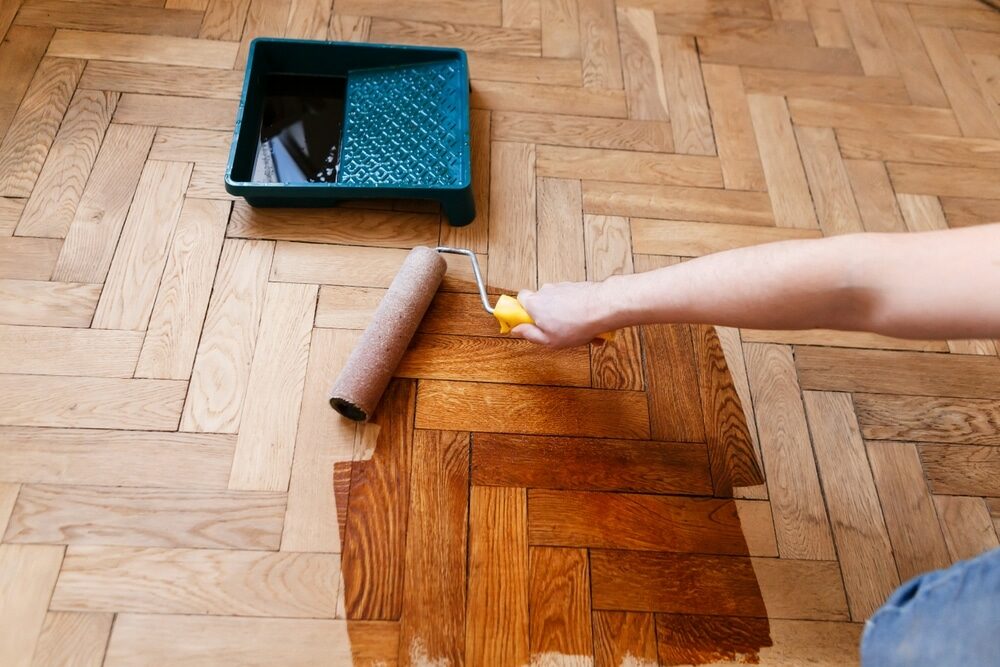
Understanding Parquet Flooring
Parquet flooring consists of wooden blocks arranged in a geometric pattern. This type of flooring is not only aesthetically pleasing but also quite durable. However, like any other wood flooring, parquet can succumb to wear and tear over time. Refinishing is a great way to restore its original beauty.Before Refinishing
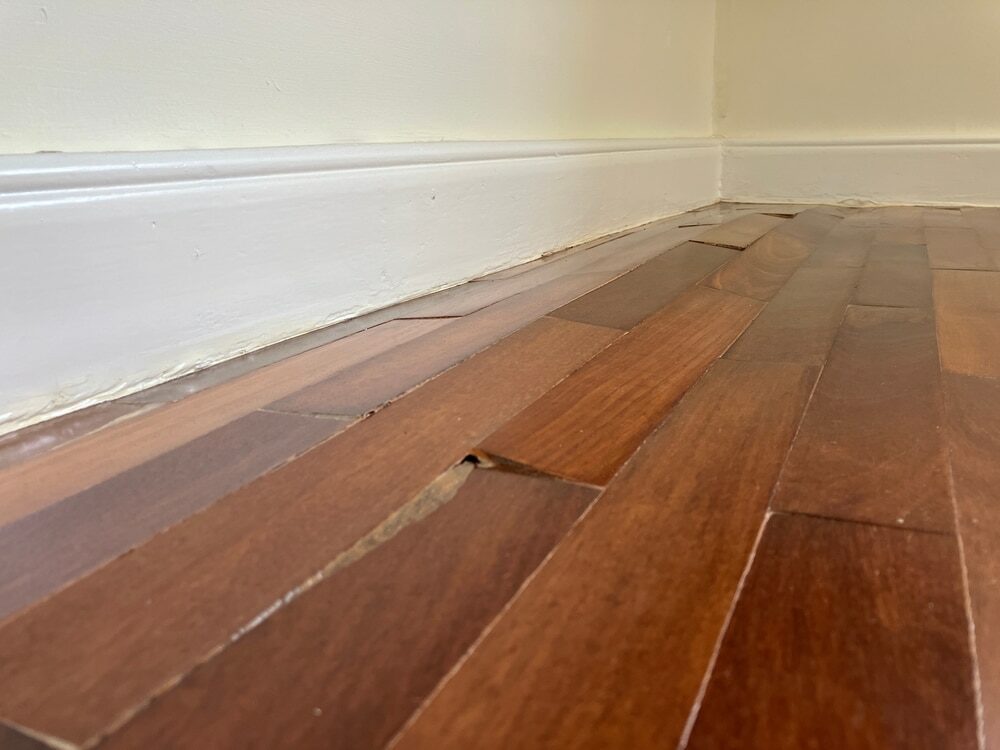
Refinishing should always be preceded by a careful assessment of the floor’s condition. Not every parquet floor requires refinishing. Floors with deep scratches, noticeable wear patterns, discoloration, or damage from prolonged exposure to sunlight are the best candidates. If your parquet flooring just looks a little dull, a deep clean and polish might be all it needs. However, if refinishing is warranted, buckle up as we guide you through this rewarding process.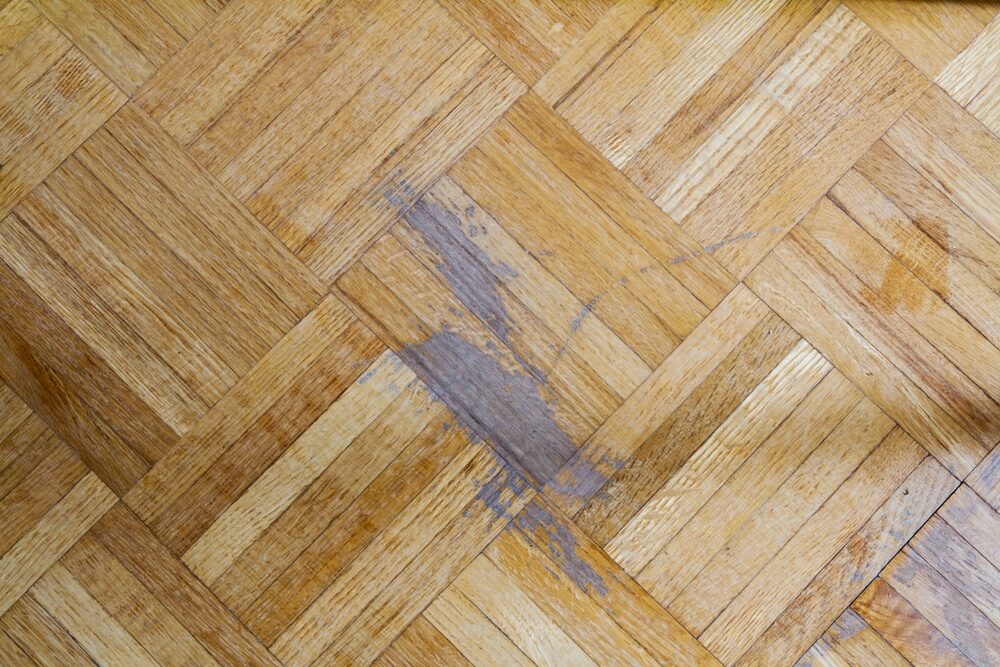
Preparation
Before you begin, ensure all furniture, rugs, and other items are removed from the room. It’s also important to check for any loose or damaged blocks. These should be re-glued or replaced as necessary. Clean the floor thoroughly to remove any dirt or dust that could interfere with the sanding process.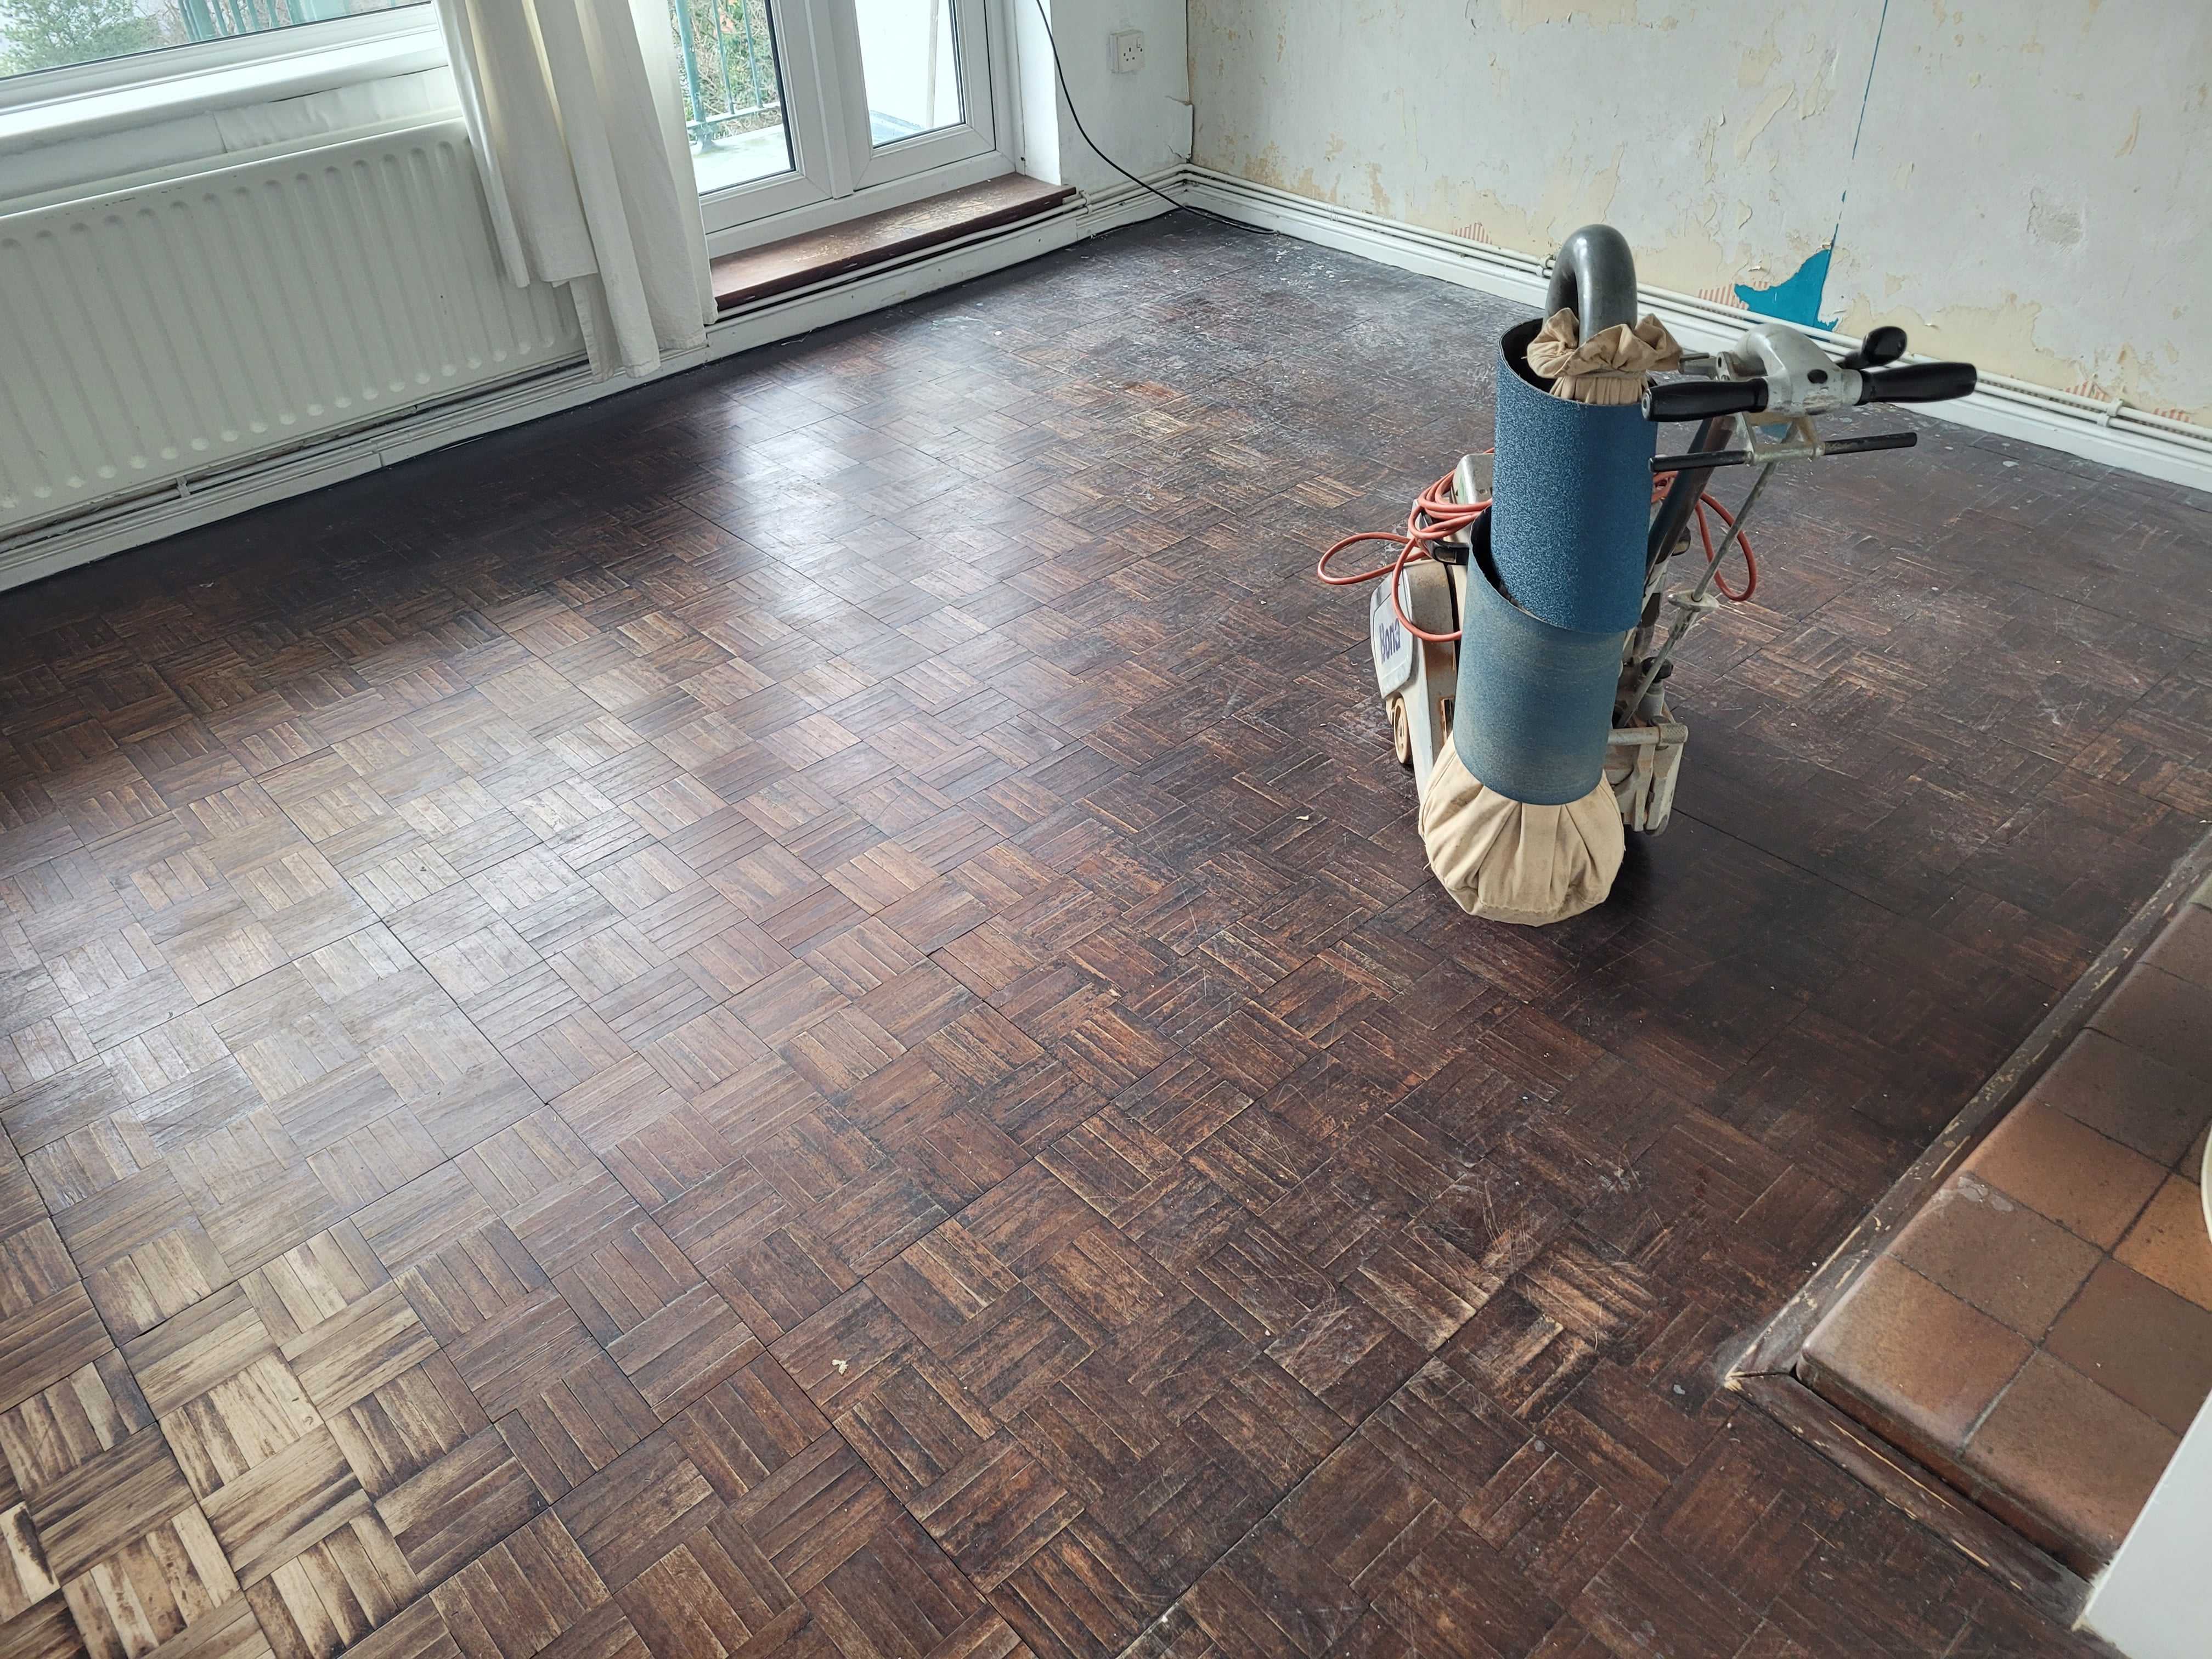
Choosing the right equipment
The key to successful refinishing lies in the quality of your tools. A random orbital sander is recommended for sanding parquet flooring due to its versatility and gentleness on the wood grain. Additionally, you’ll need varying grits of sandpaper, a good-quality wood filler, brushes or rollers for applying the finish, and a vacuum cleaner for cleanup.The sanding process
The sanding process can be quite intricate with parquet flooring due to the varying grain directions in the blocks. Start with coarse-grit sandpaper to remove the old finish and surface imperfections. Remember to sand along the wood grain, not against it. A major part of achieving success in sanding parquet flooring is recognizing the different grain directions and adjusting your sanding strategy accordingly. An orbital sander is quite helpful here, as it sands in all directions. After the initial pass with coarse-grit sandpaper, move to medium-grit and then fine-grit paper. Each pass will smooth the wood further. Be patient and meticulous during this stage.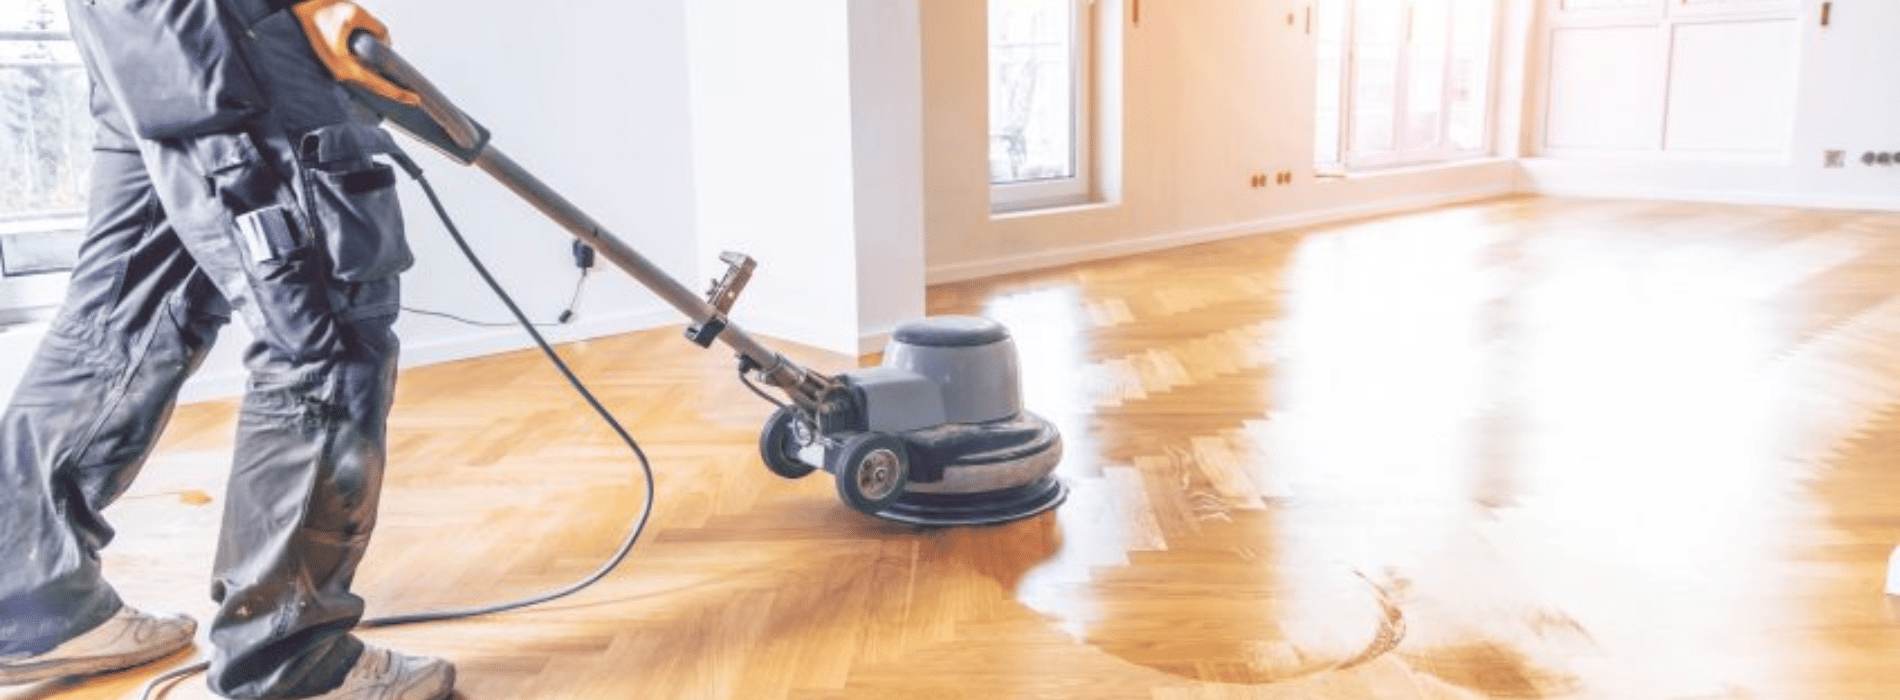
Post-Sanding Procedures
Once you’ve sanded the entire floor, vacuum or sweep up the dust. After this, wipe the floor with a damp cloth to catch any remaining dust. If there are any gaps between the parquet blocks, now is the time to fill them. Use a wood filler that matches your floor color, applying it with a putty knife. Allow it to dry, then lightly sand the filled areas to level them with the rest of the floor.Applying the finish
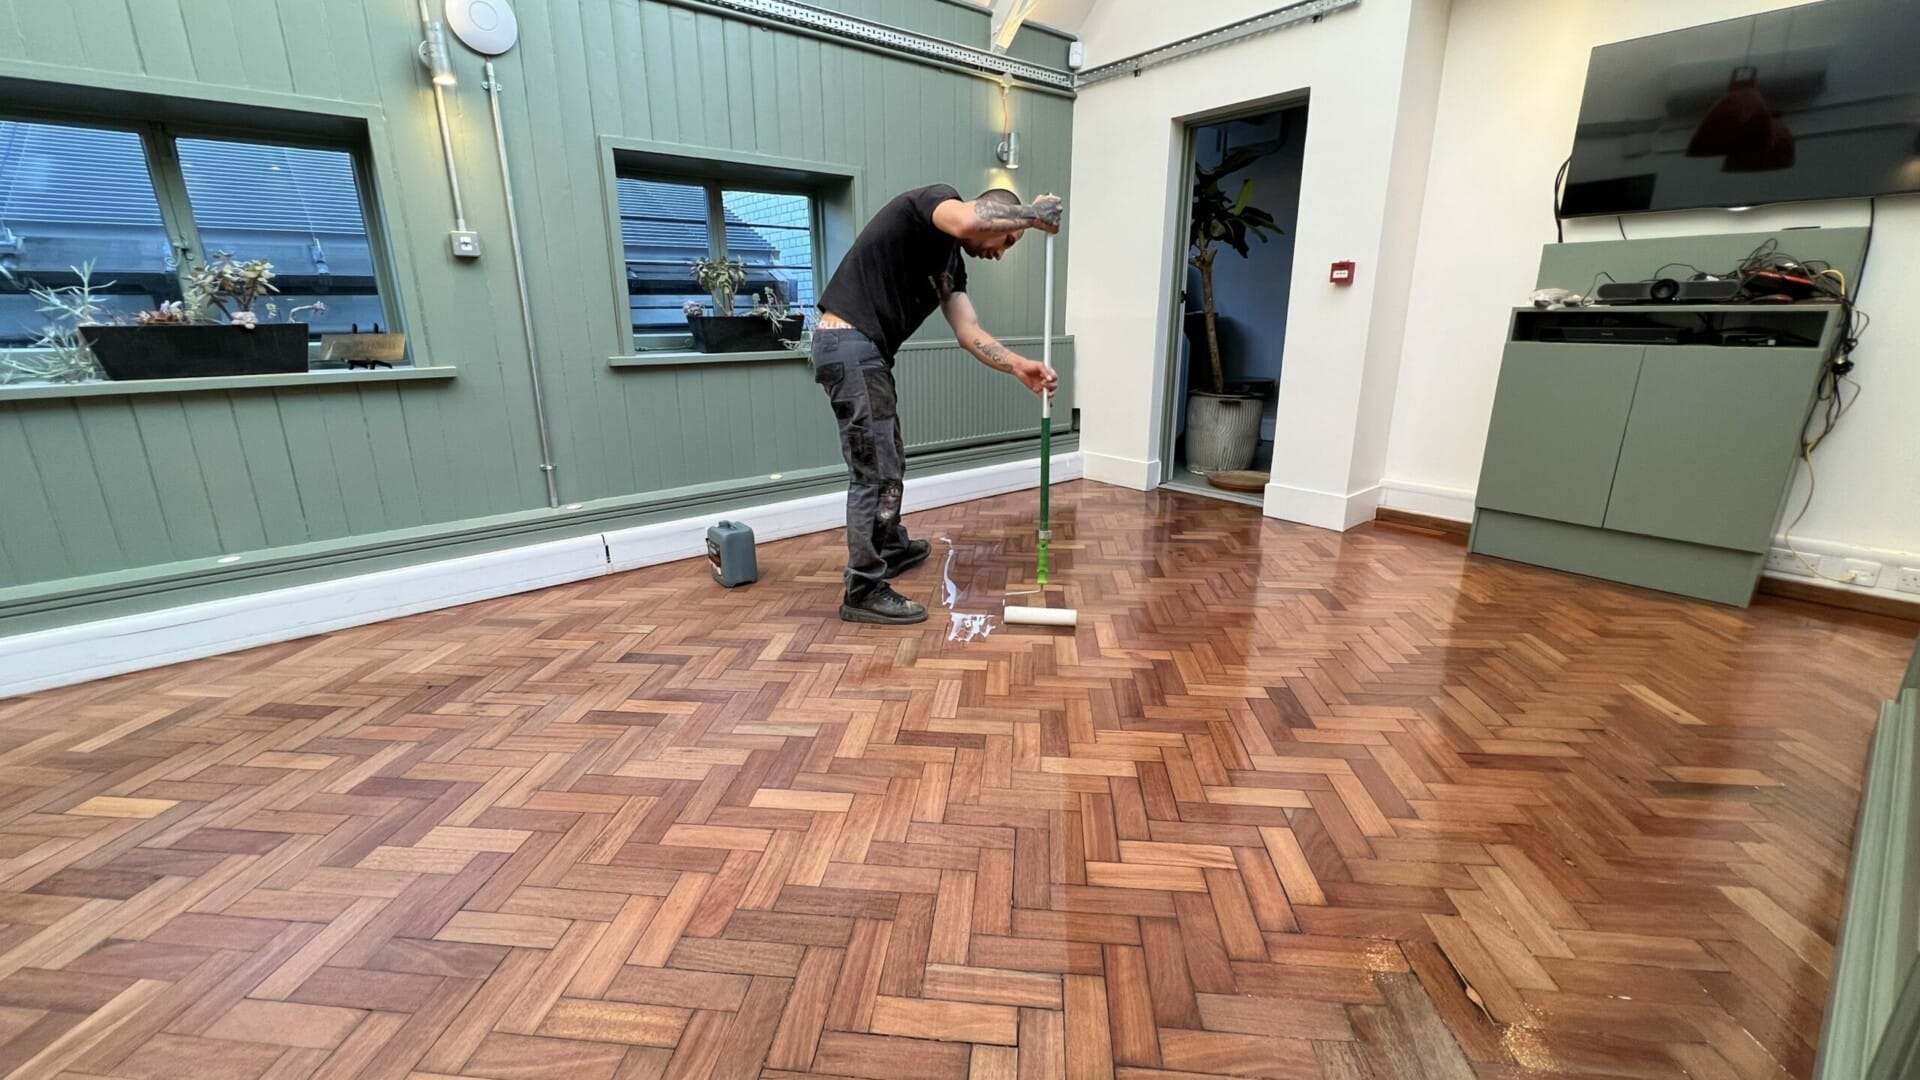
Now it’s time to bring your floor back to life with a fresh finish. The type of finish you choose largely depends on the look you desire. Polyurethane finishes are popular due to their durability and sheen, while oil-based finishes offer a more natural, matte look. Apply the finish in thin, even coats, working with the grain. It’s best to start in a corner and work your way towards the exit to avoid walking on the freshly applied finish. Depending on the finish used, you may need to lightly sand between coats. Always allow each coat to dry completely before applying the next one.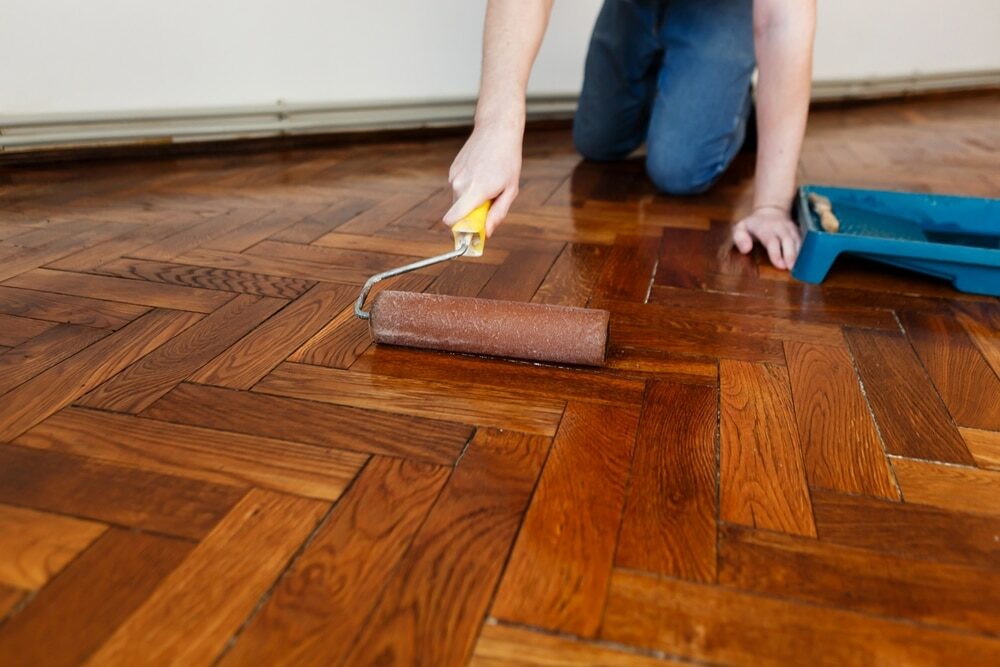
Preserving Your Refinished Parquet Flooring
Once the finish has fully cured, it’s time to consider the maintenance that will preserve the beauty of your newly refinished parquet flooring. Regular cleaning is essential. Use a soft broom or a vacuum cleaner to remove dust and dirt. Avoid using wet mops or steam cleaners, as they can damage the finish and the wood. For deeper cleaning, use products specifically designed for hardwood floors. Be sure to promptly clean up any spills to prevent staining or damage to the wood. Use protective pads on the legs of furniture to avoid scratches, and consider using rugs in high-traffic areas to prevent wear and tear. Additionally, protect your floor from prolonged sunlight exposure, which can lead to discoloration. Restoration and repair of parquet flooring are tasks that may become necessary over time. Loose or damaged blocks should be promptly repaired to avoid further damage to the floor.Conclusion
Refinishing parquet flooring is an involved but rewarding project that can dramatically rejuvenate your floors. It requires patience, attention to detail, and a willingness to put in the necessary work. But once completed, you’ll have a beautiful and durable floor to enjoy for many years to come. While the DIY route can be gratifying, don’t hesitate to hire a professional if the task seems too daunting. They possess the experience and knowledge to ensure the job is done correctly, safeguarding your precious parquet flooring. Whether you opt to refinish your parquet flooring yourself or hire a professional, understanding the process empowers you to make the best decisions for your floors. Here’s to the elegance and charm of beautifully refinished parquet flooring!Some Useful Links:
- Floor Sanding Services
- School Floor Sanding
- Wood Floor Restorations
- Wood Floor Repairs
- Wood Floor Polishing
More from our Blog:
Simple Steps to Restoring a Wood Floor: DIY Guide How to Effectively Remove Dark Water Stains from Hardwood Floors Unraveling the Paradox: Outdated Equipment in London’s Wood Floor Sanders Understanding the Effects of Heating on Wood Floors

Sanding
We provide virtually dust-free sanding with our continuous belt machinery with mobile extraction units, giving you a safer environment for your family.
Oiling
This organic finish not only adds beauty to your home but also has exceptional water-repellent characteristics, making it easier to clean and maintain.
Waxing
This natural floor finish offers the softest and most mellow appearance – and leaves your floor able to breath.
Buffing
Using soft buffing machines (and hand-polishing where required) will bring a wonderful sheen to your newly-finished floor.
Repairs
We offer a full assessment of your wooden floors to determine what repairs are needed to provide the perfect working surface for the later stages of sanding, staining and sealing.
Restoration
We offer a comprehensive restoration process designed to address floors that are improperly fitted or damaged over time through wear and tear.
Request a fixed price quote for your wood floor restoration now
Simply enter your postcode below to get started.
Services
Wood Floor Sanding Wood Floor Restoration Wood Floor Scratch Repair Squeaky Wood Floor Repair Parquet Floor Sanding Parquet Floor Restoration Commercial Floor Sanding Church Floor Sanding Community Centre Floor Sanding School Floor Sanding Gap Filling Gap Filling with ResinCopyright © Mr Sander®
Privacy & Cookies Terms & Conditions Complaints Procedure Cancellation Rights Sitemap

Get An Instant Price Estimate Before You Go…
Simply enter the rooms you need sanded and we’ll provide you with a price estimate instantly! Try our price calculator now.
Get a Price Estimate NowLocal Floor Sanding Experts
Over 500 5-Star Reviews
Safe, Dust Free Sanding
Operating Since 1994