London:
Nationwide:
25,000+
Floors Restored
27 Years Experience
Wood Flooring Association Certified
The Ultimate Guide to DIY Hardwood Flooring Installation
Posted on May 7, 2023
Floor Sanding Services News
DIY Hardwood Flooring: Step-by-Step Installation Guide for Stunning Floors
Hardwood flooring is a timeless and elegant choice for any home. With its warm, natural appearance and durability, it’s no wonder that many homeowners are drawn to this classic flooring option. However, professional installation can be expensive, and this may deter some people from choosing hardwood floors for their home. But don’t let that stop you! With a bit of patience, the right tools, and some guidance, you can take on a DIY hardwood flooring project and transform your space. In this comprehensive guide, we will walk you through every step of the process, from choosing the right materials to installing and finishing your new floors.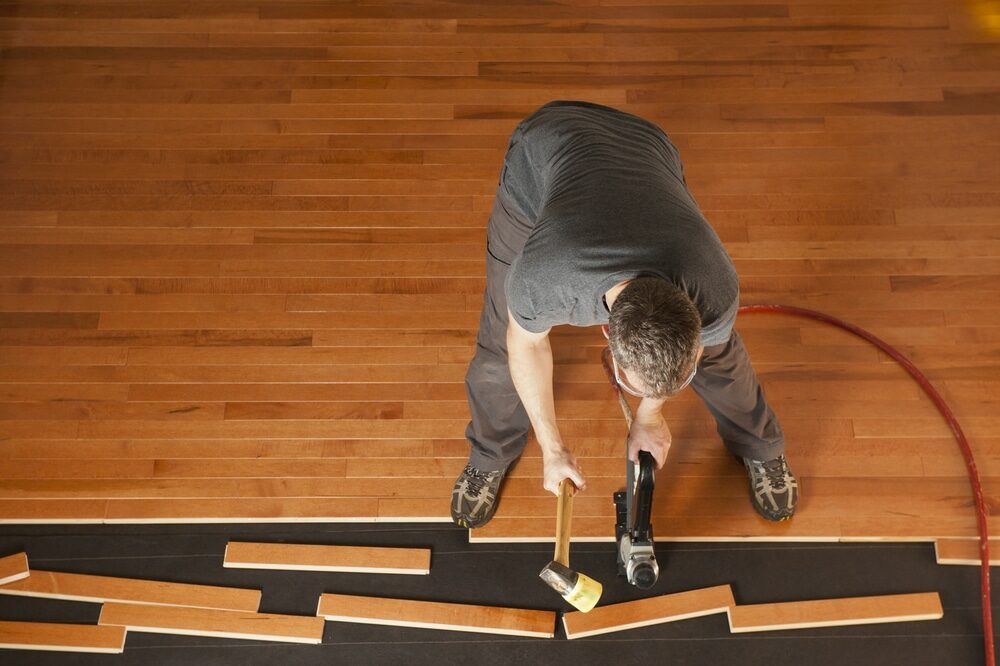
I. Choosing the Right Hardwood Flooring
Types of Hardwood Flooring
There are two main types of hardwood flooring: solid and engineered. Solid hardwood floors are made of a single piece of wood, while engineered hardwood floors consist of multiple layers of wood with a top layer of real hardwood. Engineered hardwood floors tend to be more stable and resistant to moisture, making them a better option for areas with fluctuating temperatures or humidity levels. Solid hardwood floors, on the other hand, can be sanded and refinished multiple times, allowing them to last for decades.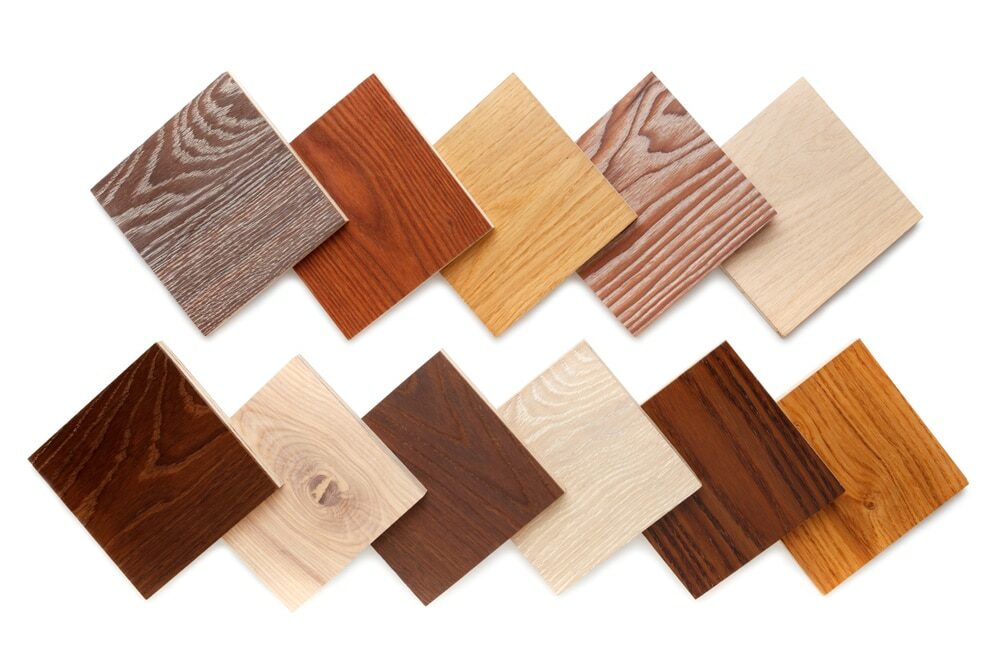
Wood Species
Hardwood flooring comes in a variety of wood species, each with its own unique characteristics. Some popular choices include:- Oak: Known for its durability and classic appearance, oak is a popular choice for traditional or contemporary homes. It’s available in both red and white varieties.
- Maple: This hardwood is lighter in colour with a subtle grain pattern. It’s a popular choice for modern or minimalist designs.
- Hickory: With its striking colour variations and dramatic grain patterns, hickory adds character to any room. It’s also one of the hardest domestic hardwoods available, making it a great choice for high-traffic areas.
- Cherry: This elegant wood has a warm, reddish tone and a fine grain pattern. It darkens over time, adding depth and richness to your flooring.
Wood Grade
When purchasing hardwood flooring, you’ll also need to consider the grade of the wood. The grade refers to the number of knots, colour variations, and other imperfections present in the wood. Higher grades have fewer imperfections, while lower grades have more. The choice will depend on your personal preferences and budget.II. Preparing for Your DIY Hardwood Flooring Project
Measure your space
Before purchasing your hardwood flooring, you’ll need to measure your space to determine the amount of material needed. Measure the length and width of your room, and then multiply these numbers to find the total square footage. It’s a good idea to add an extra 10% to account for cutting and waste.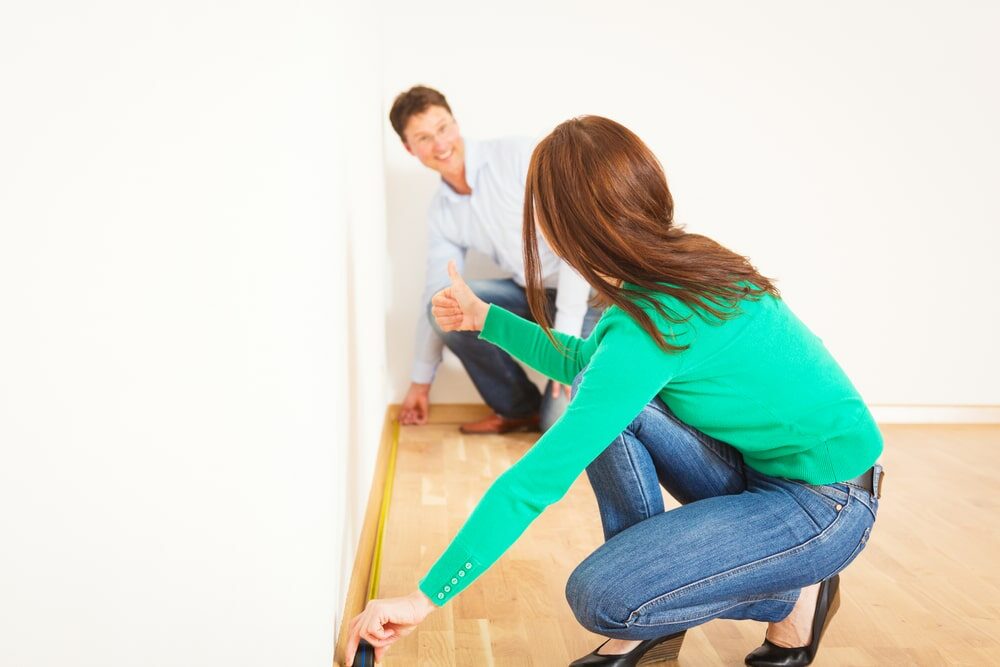
Acclimatise the flooring
Wood expands and contracts in response to changes in temperature and humidity. To minimise the risk of warping or gaps in your flooring, you should acclimatise the hardwood to your home’s environment. Store the flooring in the room where it will be installed for at least 48–72 hours before beginning the installation process.Gather your tools
You’ll need the following tools for your DIY hardwood flooring project:- Measuring tape
- Chalk line
- Circular or mitre saw
- Flooring nailer or stapler
- Rubber mallet
- Pry bar
- Hammer
- Spacers
- Safety goggles and ear protection
III. Installing your hardwood floors
Remove existing flooring and baseboards
Before installing your hardwood floors, you’ll need to remove any existing flooring and baseboards. Be sure to carefully remove the baseboards to avoid damaging them, as they can be reused after your new floors are installed.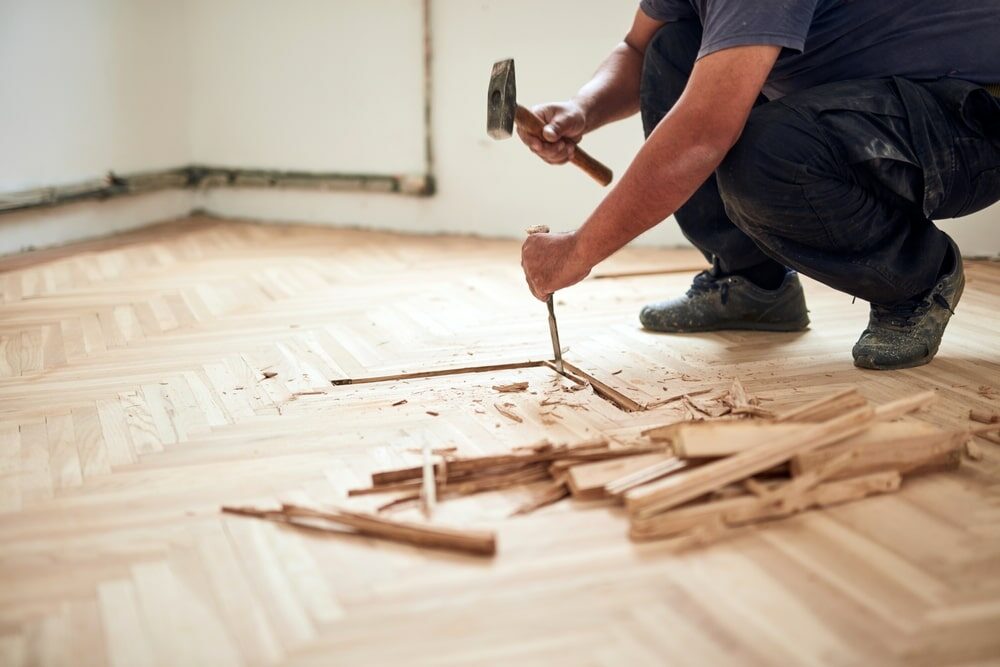
Prepare the subfloor
Once you’ve removed the existing flooring and baseboards, you’ll need to prepare the subfloor. Ensure that the subfloor is clean, dry, and level. If you find any low spots, use a levelling compound to even out the surface. If there are any protruding nails or screws, hammer or screw them down to create a flat surface.Install a moisture barrier
If you’re installing your hardwood flooring over a concrete subfloor, you’ll need to install a moisture barrier to protect the wood from moisture seeping through the concrete. Lay down 6-mil polyethylene sheeting, overlapping the seams by at least 6 inches and extending the sheeting up the walls by a few inches. Secure the sheeting to the walls with painter’s tape.Lay out your flooring
Before you start installing your hardwood flooring, it’s a good idea to lay out the boards to determine the best arrangement. This will help you create a balanced look and avoid having too many short or narrow pieces at the ends of the rows. Arrange the boards so that the end joints are staggered by at least 6 inches.Install the First Row
Starting at one corner of the room, place the first board with the tongue side facing the wall. Use spacers to maintain a 1/2-inch gap between the board and the wall, which allows for expansion. Using a flooring nailer or stapler, secure the board to the subfloor by nailing through the face of the board at a 45-degree angle, approximately 1 inch from the edge. Fill the nail holes with wood filler.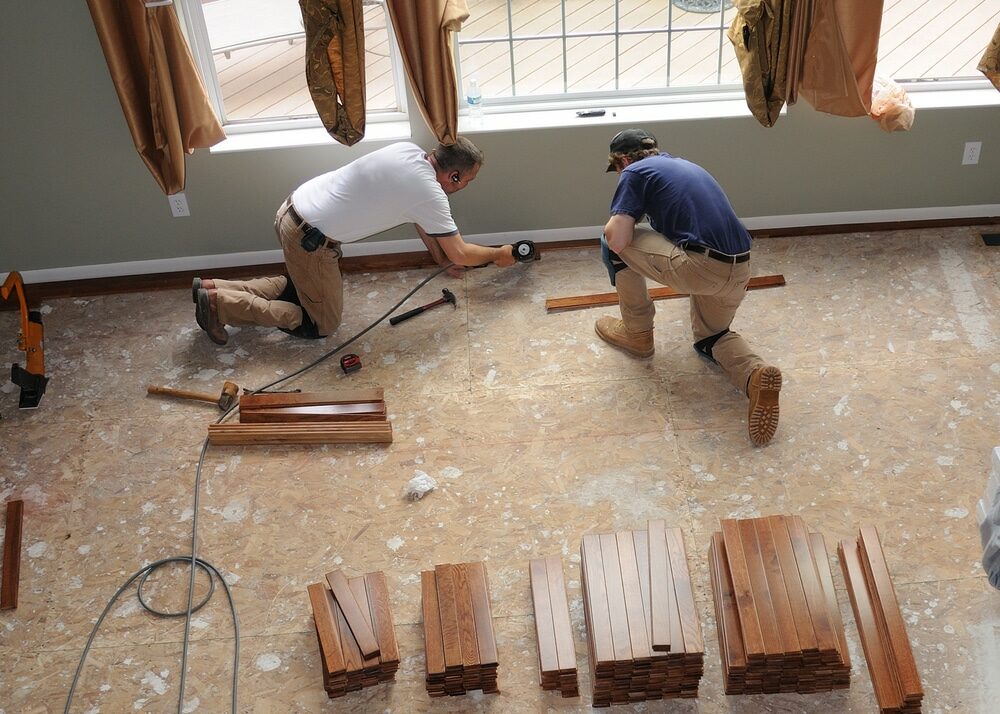
Continue installing the flooring
Continue installing the flooring, one row at a time. Use the flooring nailer or stapler to secure the boards through the tongue, ensuring a tight fit between the boards. Be sure to maintain a 1/2-inch expansion gap around the perimeter of the room. When you reach the last row, you may need to rip the boards lengthwise to fit. Use a circular saw or table saw for this task, and be sure to wear safety goggles and ear protection.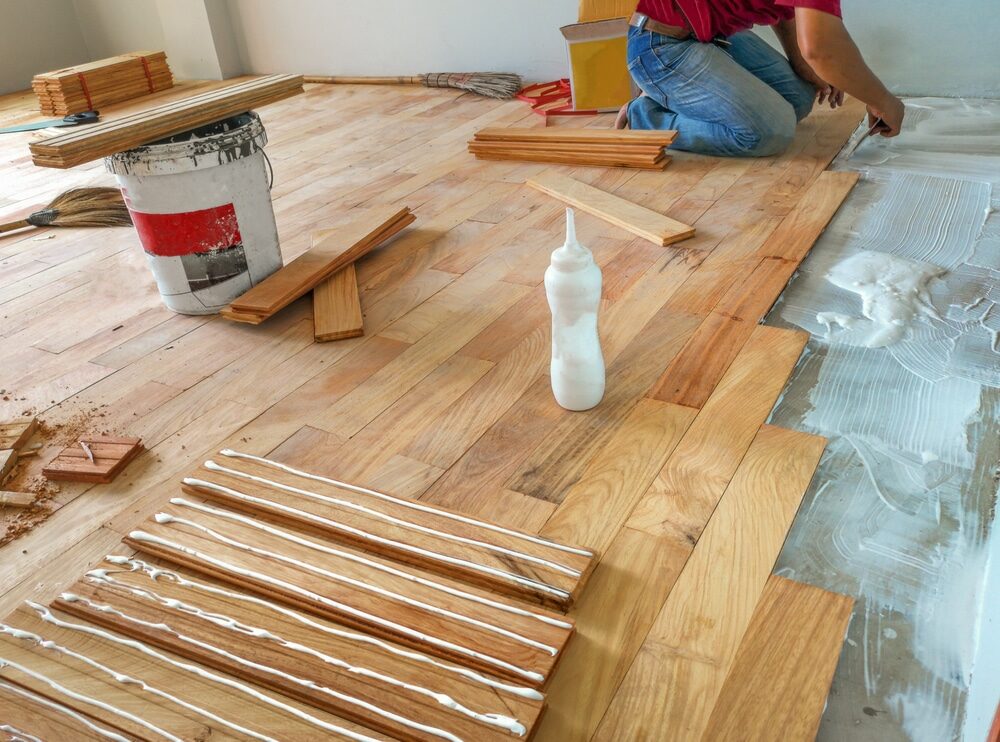
IV. Finishing Your DIY Hardwood Floors
Reinstall Baseboards
After your hardwood flooring is installed, you can reinstall the baseboards. If needed, trim the bottom edge of the baseboards to accommodate the height of your new flooring. Nail the baseboards back in place, being careful not to damage the hardwood floors.Apply a finish
If you’ve chosen prefinished hardwood flooring, you can skip this step. For unfinished hardwood floors, you’ll need to apply a finish to protect the wood and enhance its natural beauty. Choose a finish that complements your wood species and desired level of shine, such as oil-based polyurethane or water-based polyurethane. Follow the manufacturer’s instructions for application and allow the finish to dry completely before moving furniture back into the room.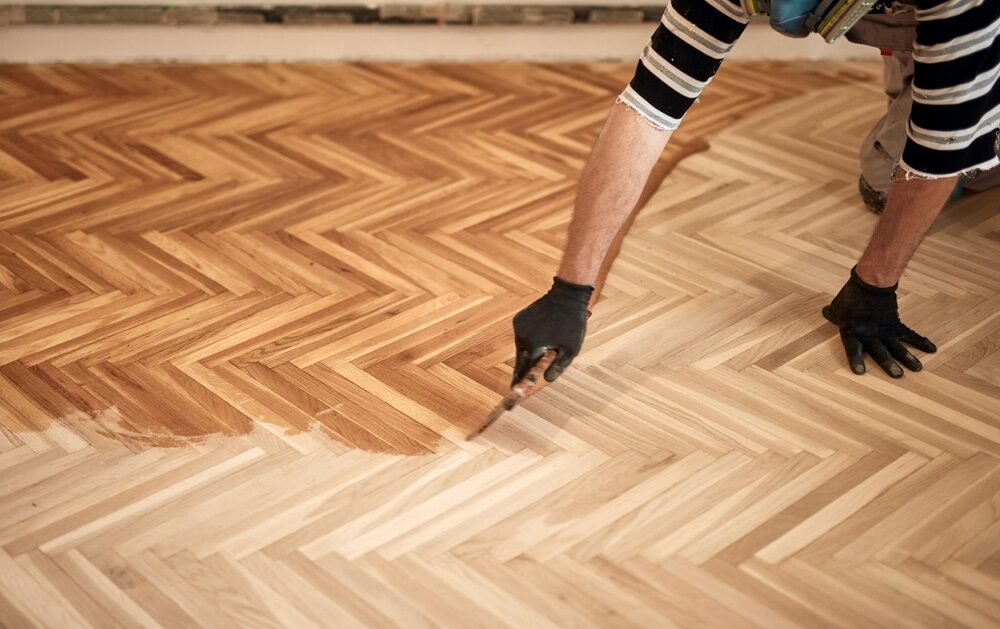
Some Useful Links:
Conclusion
Installing your own hardwood flooring can be a rewarding and cost-effective DIY project. With the right tools, materials, and some patience, you can transform your space with beautiful, durable hardwood floors. Be sure to follow all the steps outlined in this guide, and don’t hesitate to consult an expert if you have any questions or concerns. Happy DIY-ing!More from our Blog:
How to Choose the Perfect Floor Sanding Company for Your Wooden Floors DIY Sanding Floorboards – Expert Advice for a Flawless Wooden Floor Makeover Master Floor Sanding Basics: Step-by-Step Guide to Sanding What is Parquet Flooring? Timeless Elegance and Durability What Type of Wood Flooring is Right for You? The Expert Guide
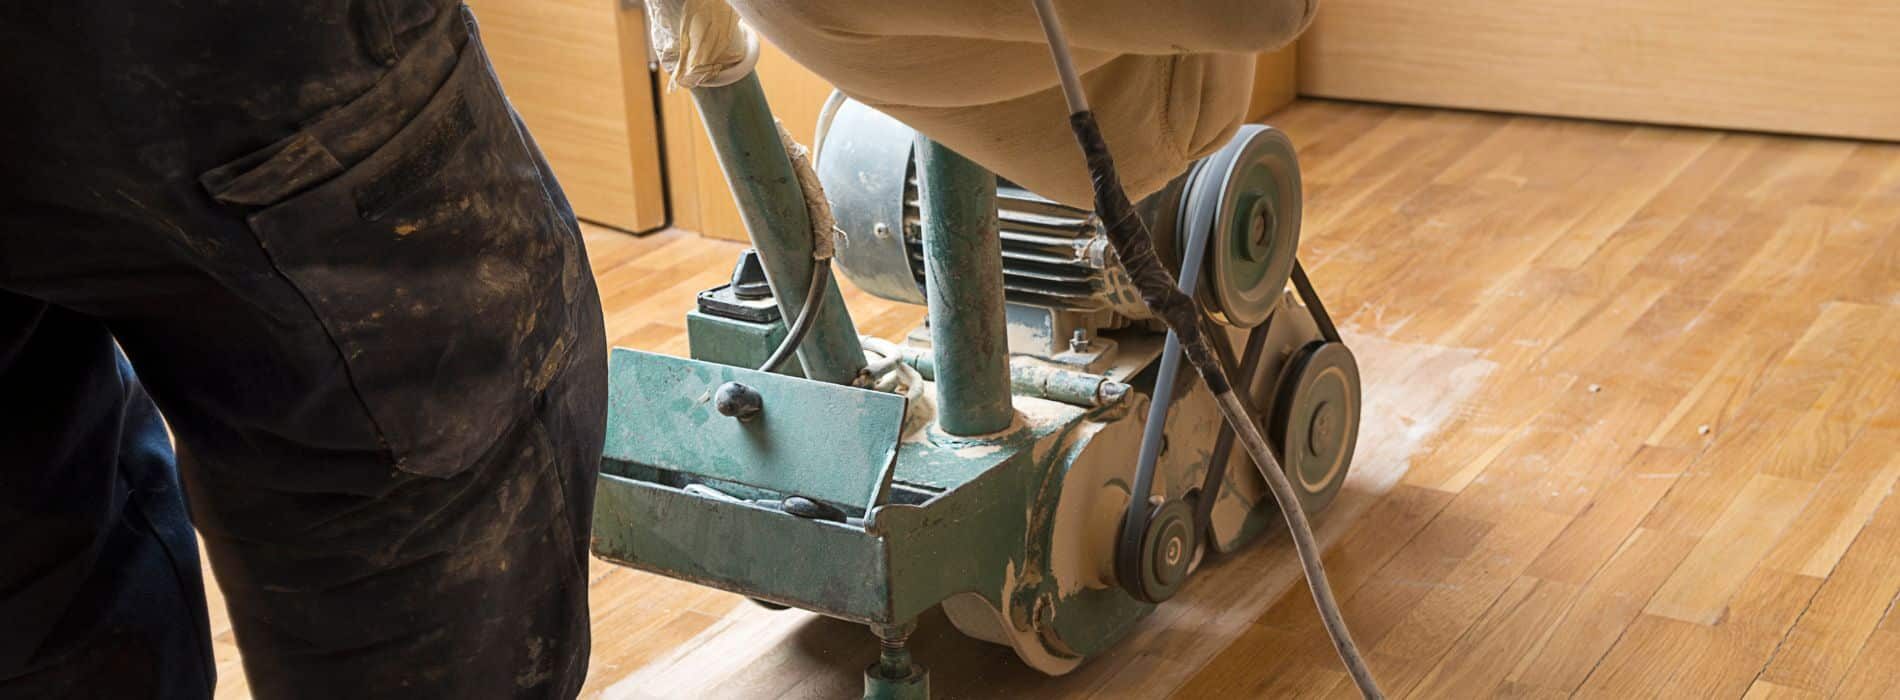

Sanding
We provide virtually dust-free sanding with our continuous belt machinery with mobile extraction units, giving you a safer environment for your family.
Oiling
This organic finish not only adds beauty to your home but also has exceptional water-repellent characteristics, making it easier to clean and maintain.
Waxing
This natural floor finish offers the softest and most mellow appearance – and leaves your floor able to breath.
Buffing
Using soft buffing machines (and hand-polishing where required) will bring a wonderful sheen to your newly-finished floor.
Repairs
We offer a full assessment of your wooden floors to determine what repairs are needed to provide the perfect working surface for the later stages of sanding, staining and sealing.
Restoration
We offer a comprehensive restoration process designed to address floors that are improperly fitted or damaged over time through wear and tear.
Request a fixed price quote for your wood floor restoration now
Simply enter your postcode below to get started.
Services
Wood Floor Sanding Wood Floor Restoration Wood Floor Scratch Repair Squeaky Wood Floor Repair Parquet Floor Sanding Parquet Floor Restoration Commercial Floor Sanding Church Floor Sanding Community Centre Floor Sanding School Floor Sanding Gap Filling Gap Filling with ResinCopyright © Mr Sander®
Privacy & Cookies Terms & Conditions Complaints Procedure Cancellation Rights Sitemap

Get An Instant Price Estimate Before You Go…
Simply enter the rooms you need sanded and we’ll provide you with a price estimate instantly! Try our price calculator now.
Get a Price Estimate NowLocal Floor Sanding Experts
Over 500 5-Star Reviews
Safe, Dust Free Sanding
Operating Since 1994