London:
Nationwide:
25,000+
Floors Restored
27 Years Experience
Wood Flooring Association Certified
DIY Sanding Floorboards – Expert Advice for a Flawless Wooden Floor Makeover
Posted on May 7, 2023
Blog
The Ultimate Guide to DIY Sanding Floorboards for a Stunning Transformation
Sanding floorboards is a rewarding home improvement project that can transform the look and feel of any space. With the right tools, patience, and a bit of elbow grease, you can achieve professional-quality results by following this DIY advice for sanding floorboards. In this comprehensive guide, we’ll cover the entire process, from preparation to finishing touches, so you can bring your wooden floors back to life.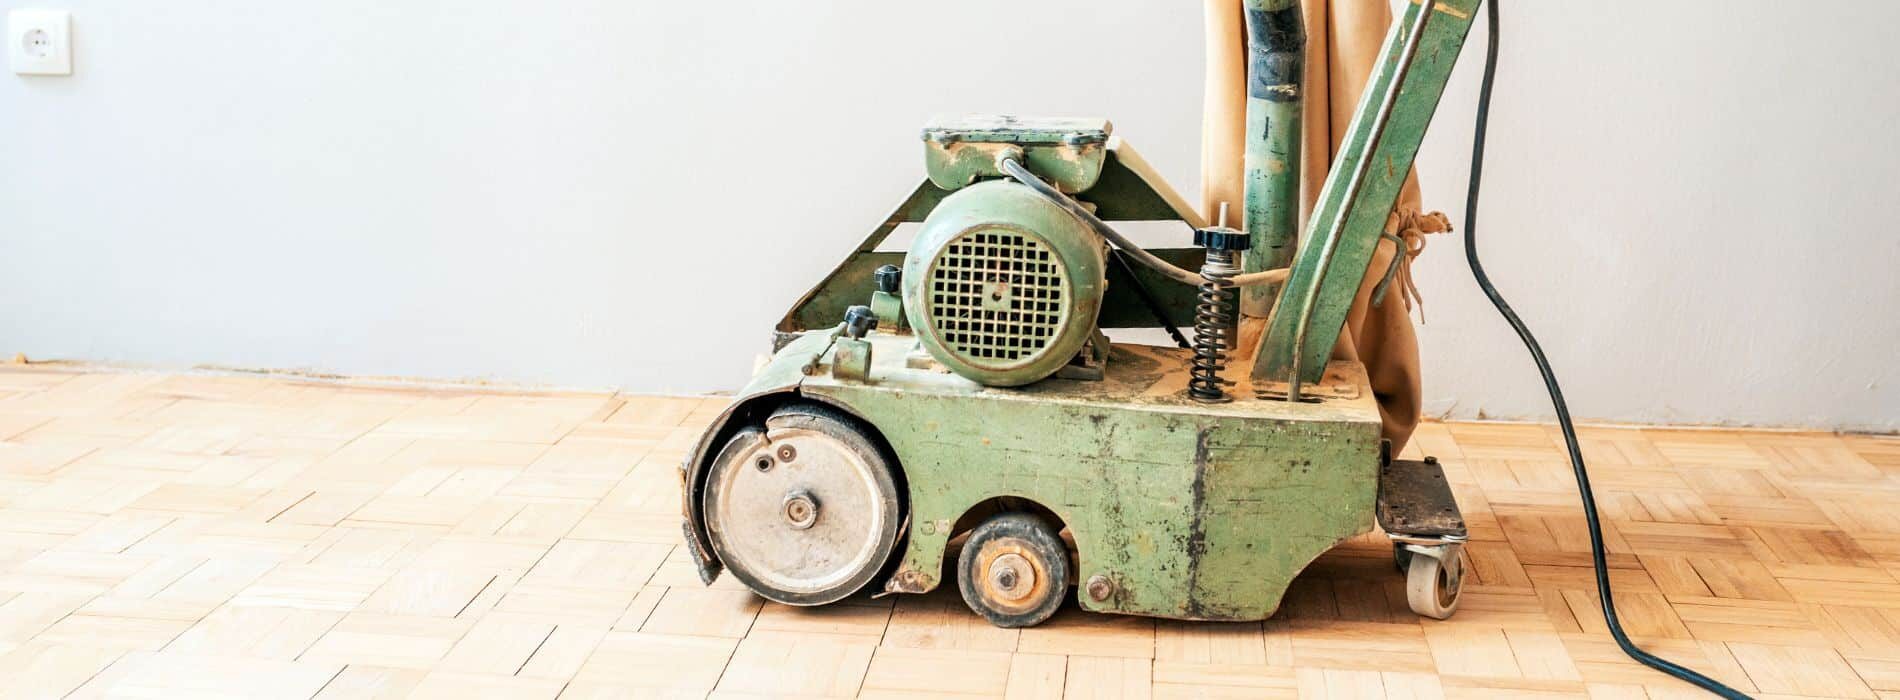
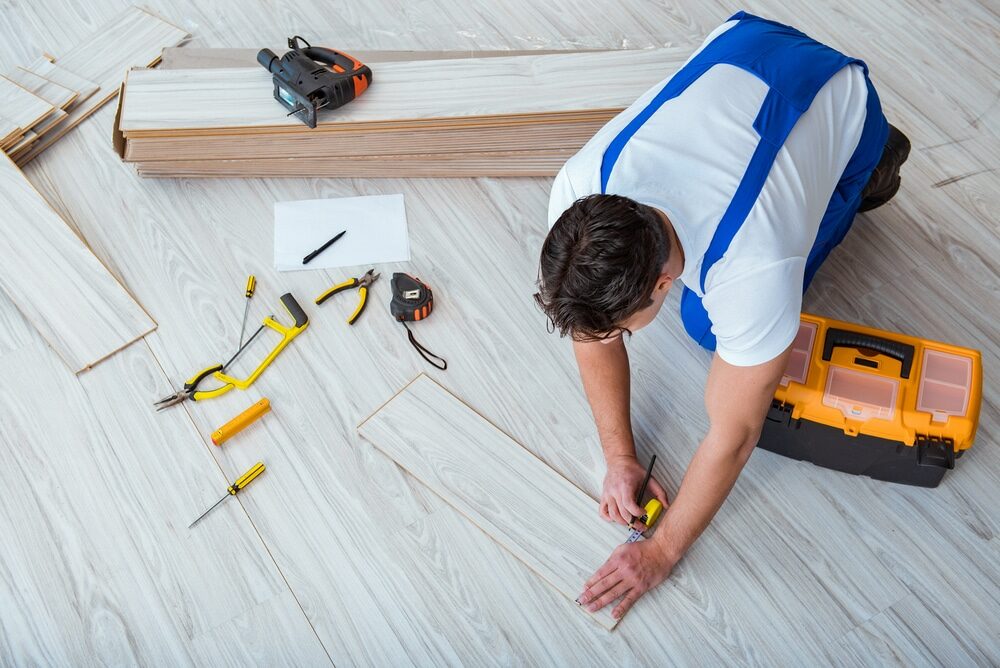
Assess the condition of your floorboards
Before embarking on your sanding project, it’s essential to assess the condition of your floorboards. Check for any loose, damaged, or warped boards that may need repair or replacement. Look for protruding nails or screws, and make sure they’re properly countersunk to avoid damaging your sanding equipment. If you notice any signs of woodworm or rot, it’s crucial to address these issues before proceeding with the sanding process. Consult a professional if you’re unsure of the severity of the problem or how to handle it.Gather your tools and materials
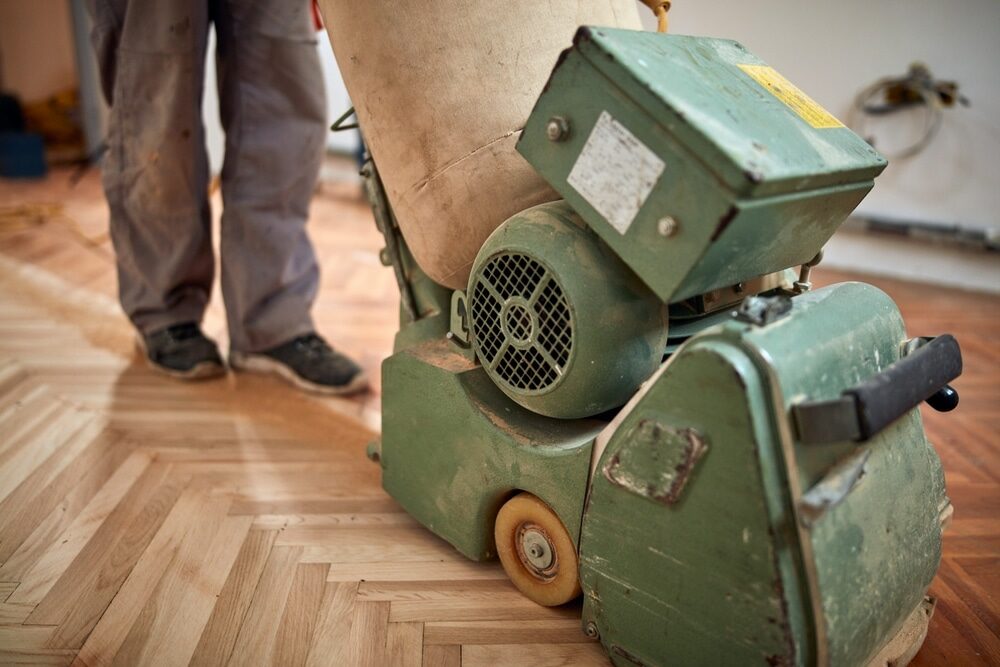
To sand your floorboards effectively, you’ll need the following tools and materials:- drum sander or orbital sander (available for rent at most home improvement stores)
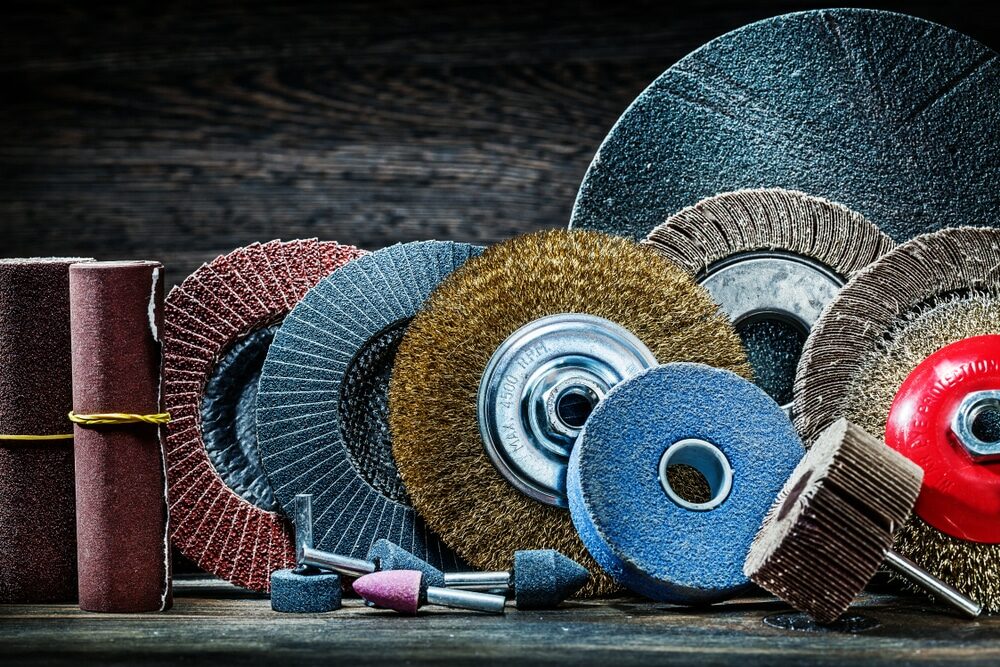
- Sanding discs or belts (in various grits, such as 24, 40, 60, 80, and 120)
- Handheld detail sander or sanding block (for edges and corners)
- Hammer and nail punch (for countersinking nails)
- Vacuum cleaner (for dust removal)
- Safety goggles, a dust mask, and ear protection (for personal safety)
- Wood filler (for filling gaps and imperfections)
- Wood stain or varnish (for finishing)

Prepare the room
Before you start sanding, it’s important to prepare the room for the process. Remove all furniture, curtains, and other items from the space. Cover any remaining items or fixtures with plastic sheeting to protect them from dust. Seal off any doorways with plastic sheeting and painter’s tape to prevent dust from spreading to other parts of your home.Prep your floorboards
Using a hammer and nail punch, countersink any protruding nails or screws. Fill any gaps or imperfections in the floorboards with wood filler, following the manufacturer’s instructions for application and drying time.Start sanding
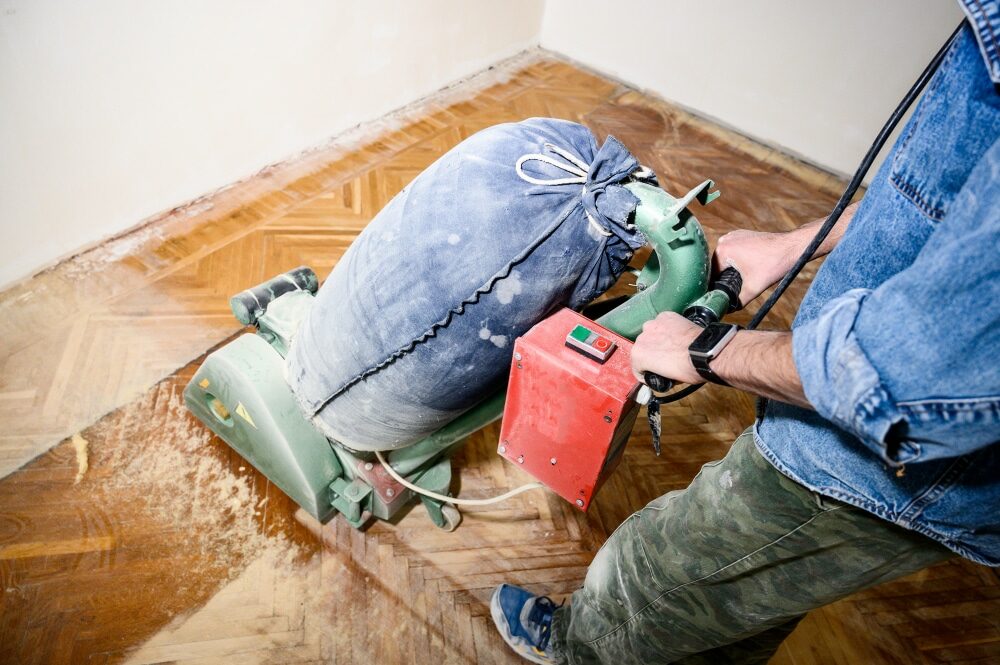
Now it’s time to get sanding! Begin with the coarsest grit sandpaper (typically 24 or 40 grit) to remove any old finish and level the floorboards. Assemble your drum or orbital sander according to the manufacturer’s instructions, and attach the sandpaper. When sanding, it’s crucial to follow the grain of the wood to avoid creating cross-grain scratches. For a drum sander, start in the centre of the room and work your way towards the edges, overlapping each pass slightly to ensure even coverage. For an orbital sander, sand the floor in a systematic, grid-like pattern. Make sure to keep the sander moving at all times to avoid creating dips or gouges in the floor. Don’t press too hard on the sander, as this can cause uneven results.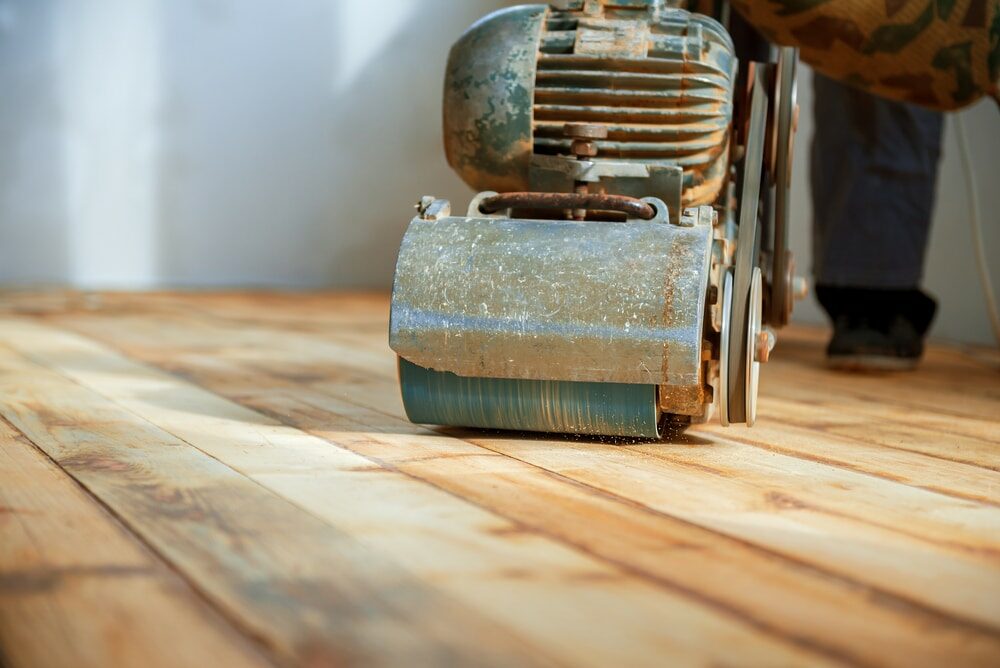
Sand the edges and corners
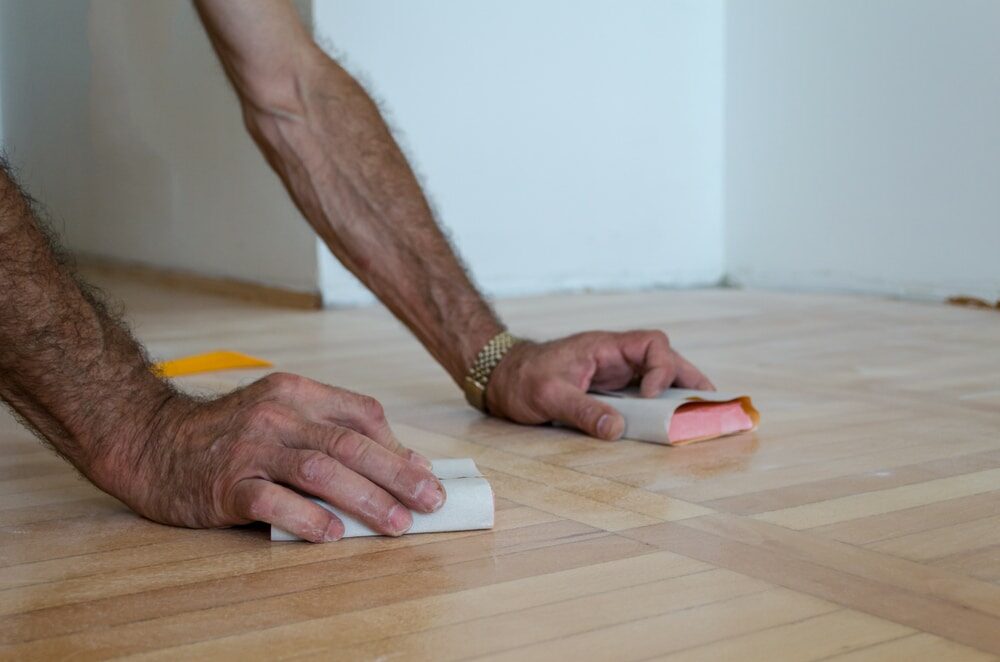
After sanding the main part of the floor, use a handheld detail sander or sanding block to sand the edges and corners. Be careful not to scuff the baseboards or walls as you work.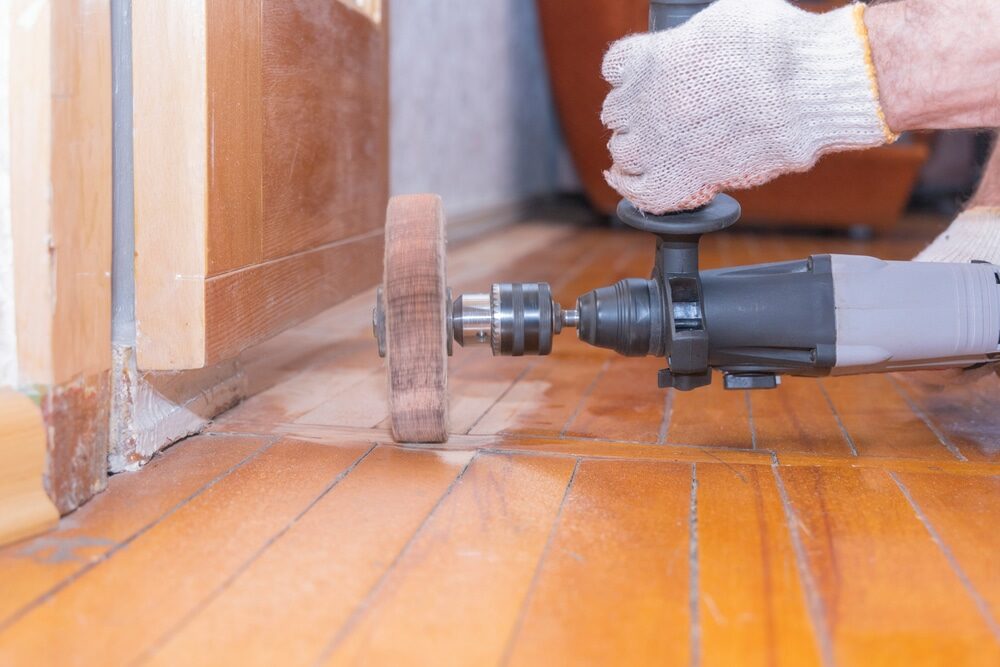
Repeat the process with finer grits
Once you’ve sanded the entire floor with the coarsest grit, repeat the process using progressively finer grits (such as 60, 80, and 120). This will remove any scratches left by the previous grit and create a smooth, even surface for the finishing. Be sure to vacuum the floor thoroughly between each grit to remove any lingering dust and debris.Finishing touches
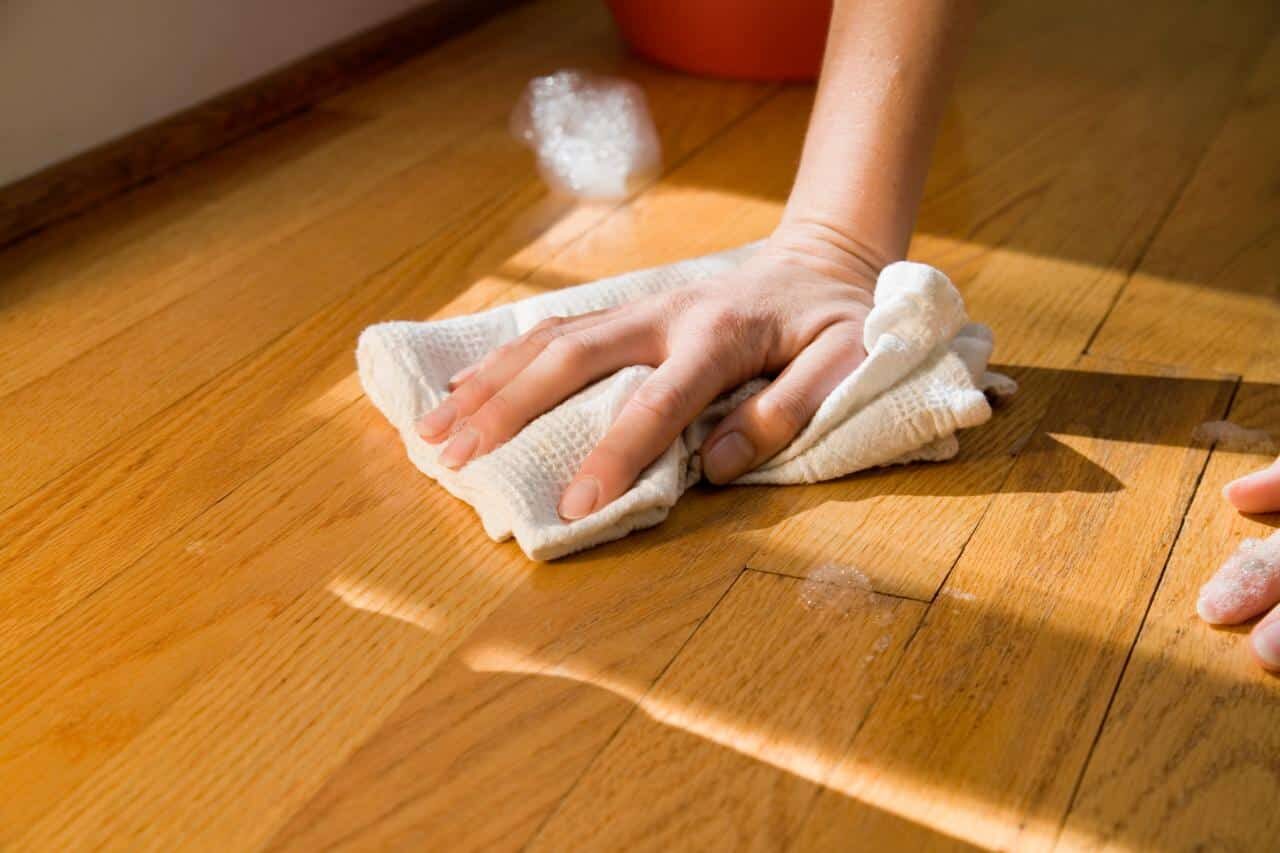
After you’ve sanded the floorboards to your satisfaction, it’s time for the finishing touches. Vacuum the floor one final time, and wipe it down with a microfiber cloth or tack cloth to remove any remaining dust. Allow the floor to settle for at least 24 hours before applying any finish.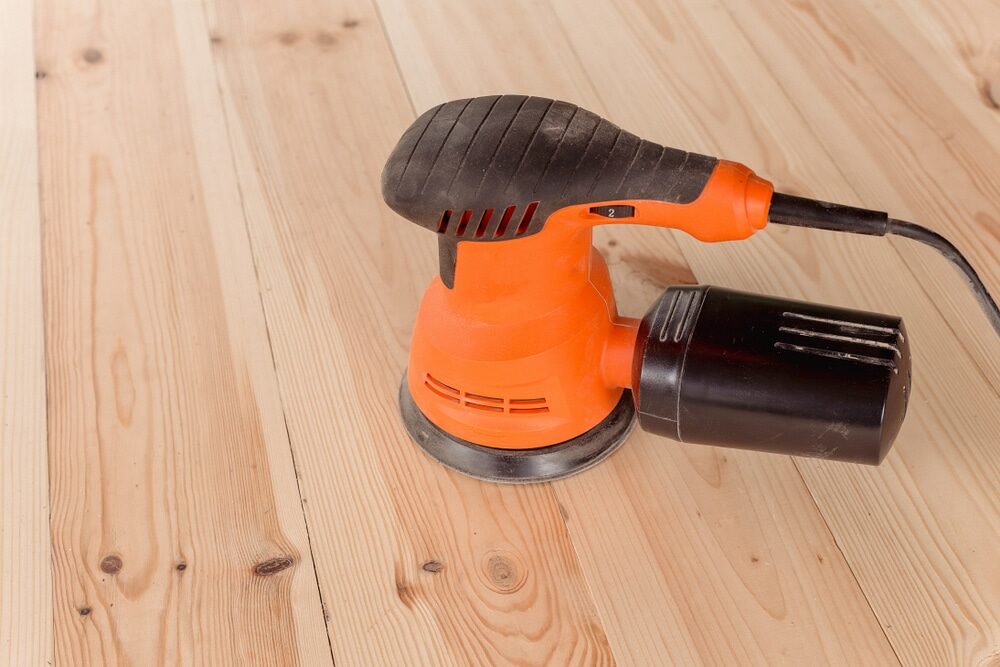
Choose your finish
There are several types of finishes you can choose for your newly sanded floorboards, including oil-based polyurethane, water-based polyurethane, and natural oil finishes. Each type of finish has its own set of advantages and disadvantages, so it’s essential to research your options and choose the one that best suits your needs and preferences.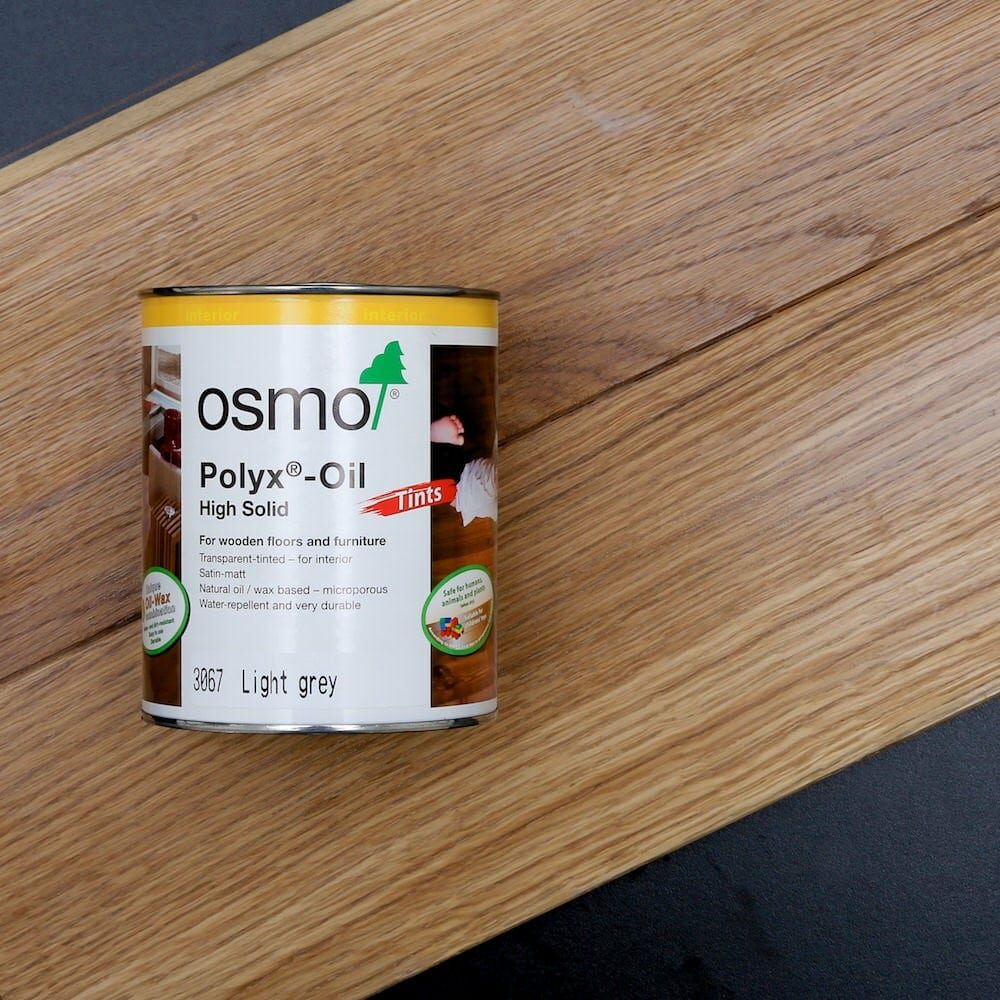
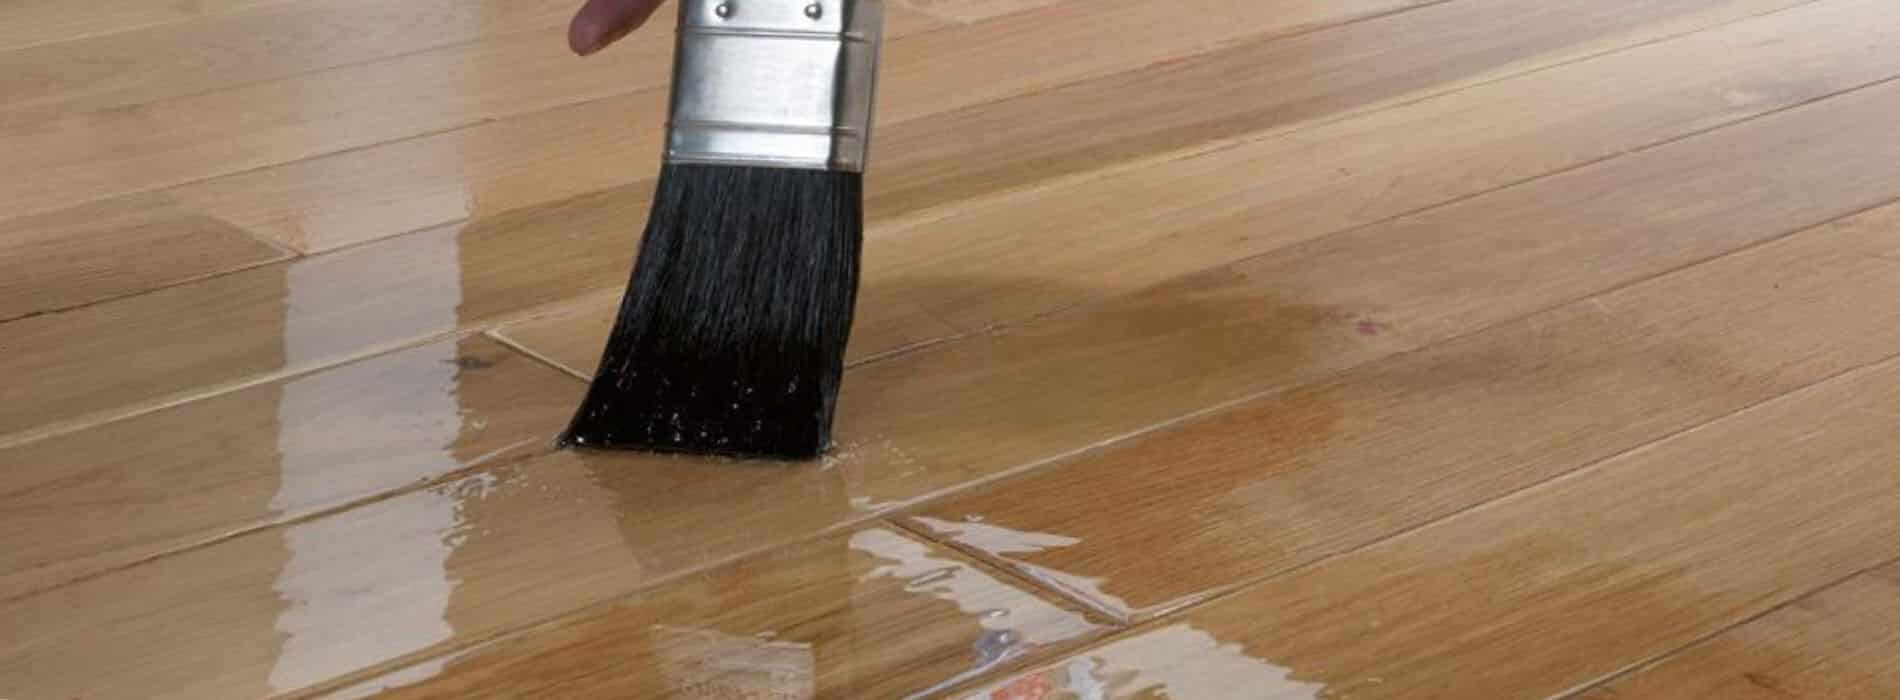
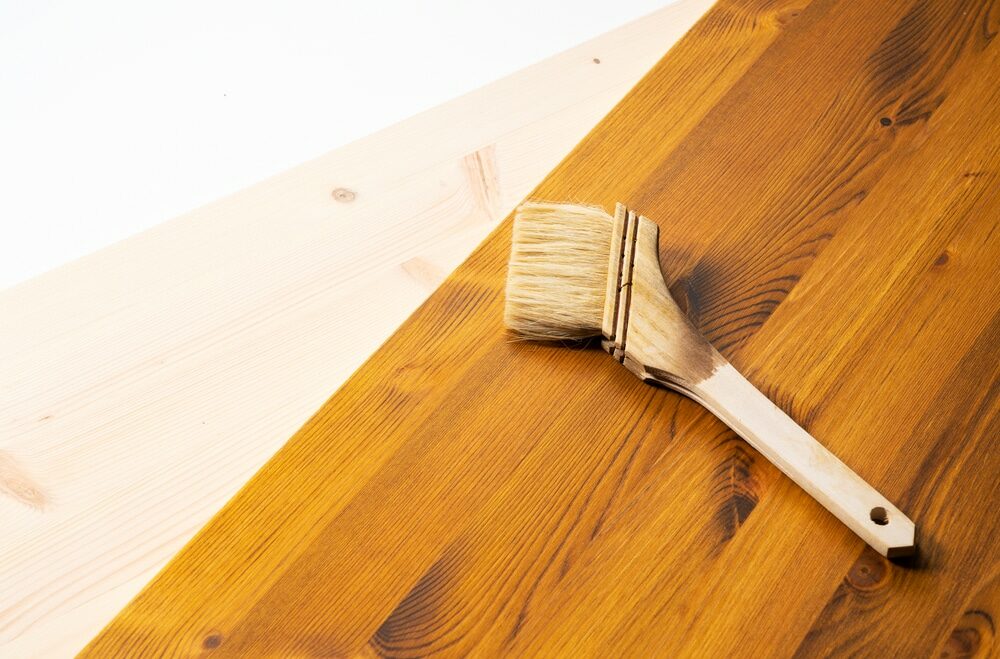
Apply the finish
When you’re ready to apply the finish, carefully follow the manufacturer’s instructions for application and drying times. Most finishes require at least two coats, with sanding and cleaning between each coat. For oil-based polyurethane finishes, use a natural-bristle brush or lambswool applicator to apply the finish in the direction of the wood grain. For water-based finishes, use a synthetic-bristle brush or a foam applicator. If you’re using a natural oil finish, pour a small amount onto the floor and spread it evenly with a floor buffer, a lint-free cloth, or a sponge applicator. Remove any excess oil with a clean cloth.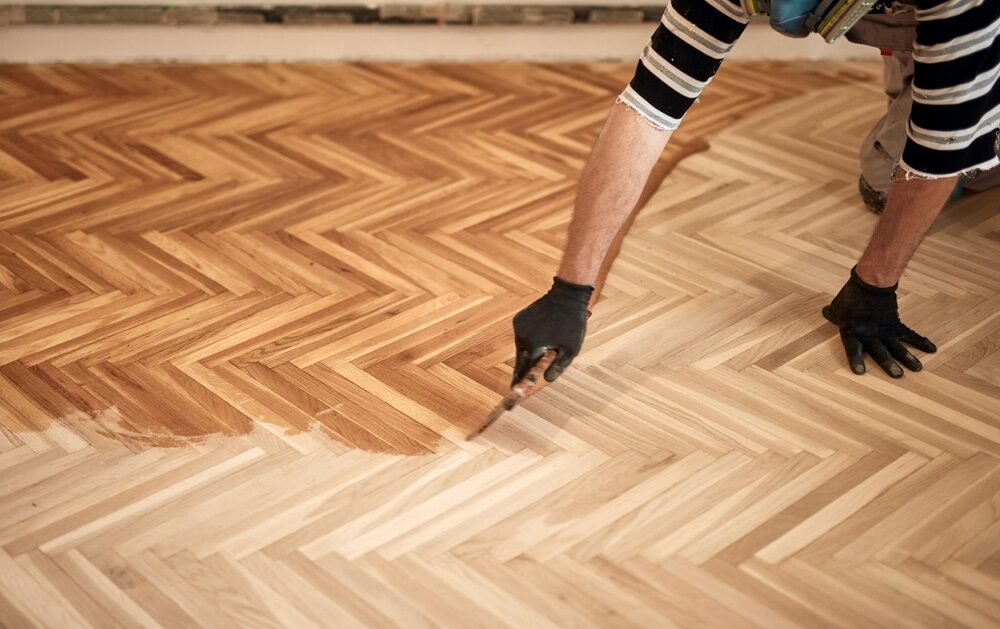
Let the finish cure
Allow the finish to dry and cure according to the manufacturer’s instructions. It’s essential not to walk on the floor or place any furniture on it until the finish has fully cured. This can take anywhere from a few days to several weeks, depending on the type of finish you’ve chosen.Reassemble the room
Once the finish has fully cured, carefully remove the plastic sheeting and tape from doorways and fixtures. Vacuum and clean the room thoroughly to remove any remaining dust. Then, you can start moving your furniture and belongings back into the space, taking care to use felt pads or furniture sliders to avoid scratching your newly refinished floor.Some Useful Links:
Conclusion
Sanding floorboards is a labour-intensive but rewarding project that can greatly enhance the appearance and value of your home. With the right tools, patience, and attention to detail, you can achieve professional-quality results by following this DIY advice for sanding floorboards. Remember to always prioritise safety, and don’t hesitate to consult a professional if you encounter any issues during the process. Happy sanding!More from our Blog:
Master Floor Sanding Basics: Step-by-Step Guide to Sanding What is Parquet Flooring? Timeless Elegance and Durability Can a New Wooden Floor Enhance Your Business? Experts Guide What Type of Wood Flooring is Right for You? The Expert Guide
Sanding
We provide virtually dust-free sanding with our continuous belt machinery with mobile extraction units, giving you a safer environment for your family.
Oiling
This organic finish not only adds beauty to your home but also has exceptional water-repellent characteristics, making it easier to clean and maintain.
Waxing
This natural floor finish offers the softest and most mellow appearance – and leaves your floor able to breath.
Buffing
Using soft buffing machines (and hand-polishing where required) will bring a wonderful sheen to your newly-finished floor.
Repairs
We offer a full assessment of your wooden floors to determine what repairs are needed to provide the perfect working surface for the later stages of sanding, staining and sealing.
Restoration
We offer a comprehensive restoration process designed to address floors that are improperly fitted or damaged over time through wear and tear.
Request a fixed price quote for your wood floor restoration now
Simply enter your postcode below to get started.
Services
Wood Floor Sanding Wood Floor Restoration Wood Floor Scratch Repair Squeaky Wood Floor Repair Parquet Floor Sanding Parquet Floor Restoration Commercial Floor Sanding Church Floor Sanding Community Centre Floor Sanding School Floor Sanding Gap Filling Gap Filling with ResinCopyright © Mr Sander®
Privacy & Cookies Terms & Conditions Complaints Procedure Cancellation Rights Sitemap

Get An Instant Price Estimate Before You Go…
Simply enter the rooms you need sanded and we’ll provide you with a price estimate instantly! Try our price calculator now.
Get a Price Estimate NowLocal Floor Sanding Experts
Over 500 5-Star Reviews
Safe, Dust Free Sanding
Operating Since 1994