London:
Nationwide:
25,000+
Floors Restored
27 Years Experience
Wood Flooring Association Certified
The Pros and Cons of Sanding Your Kitchen Worktop
Posted on December 27, 2023
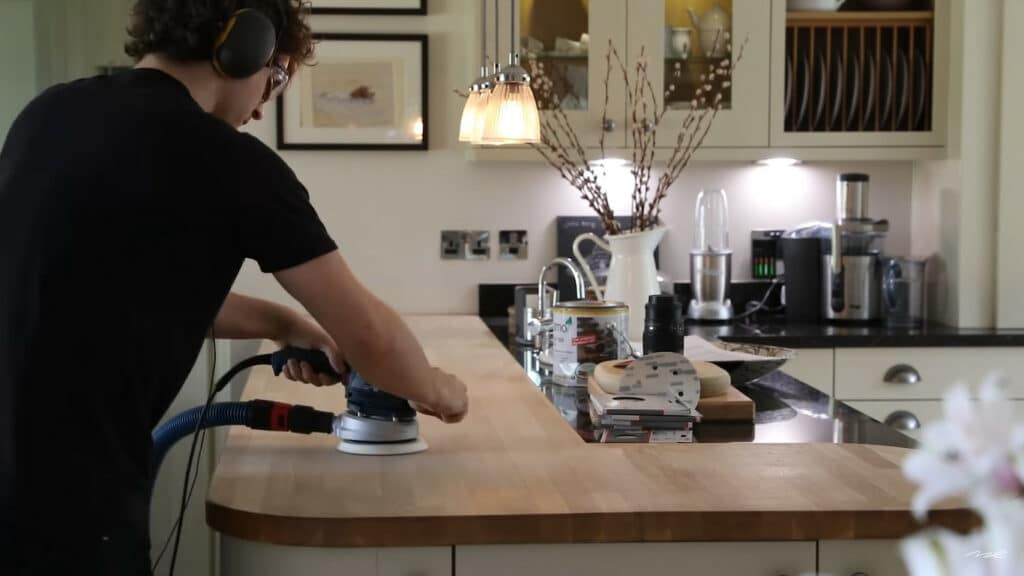
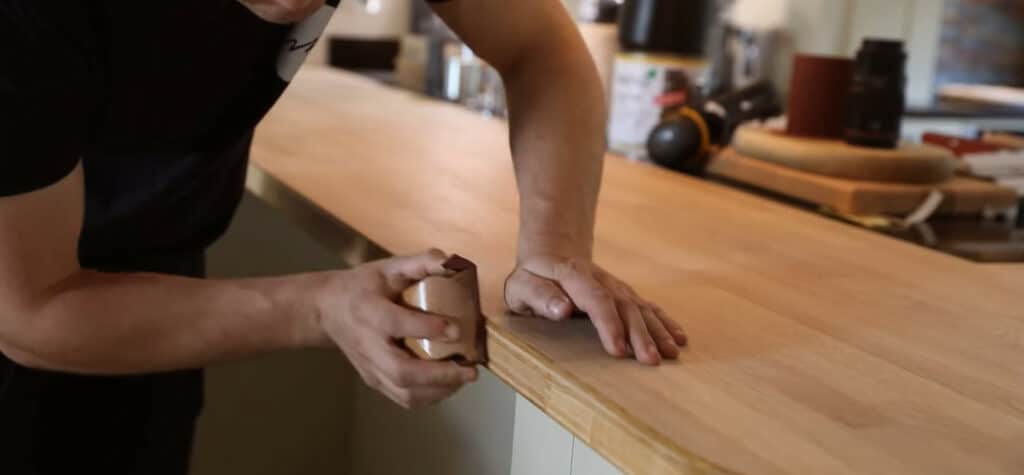
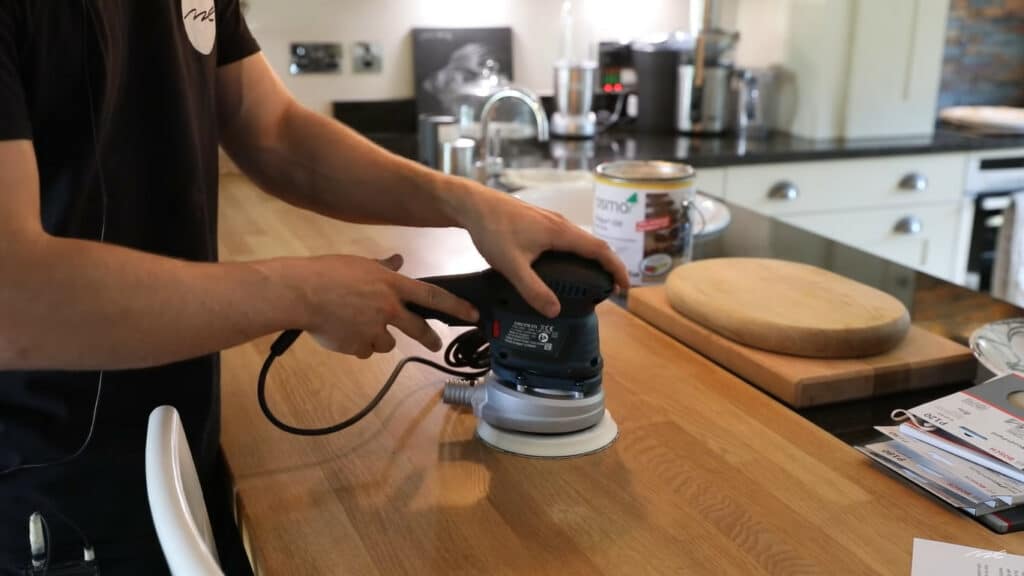
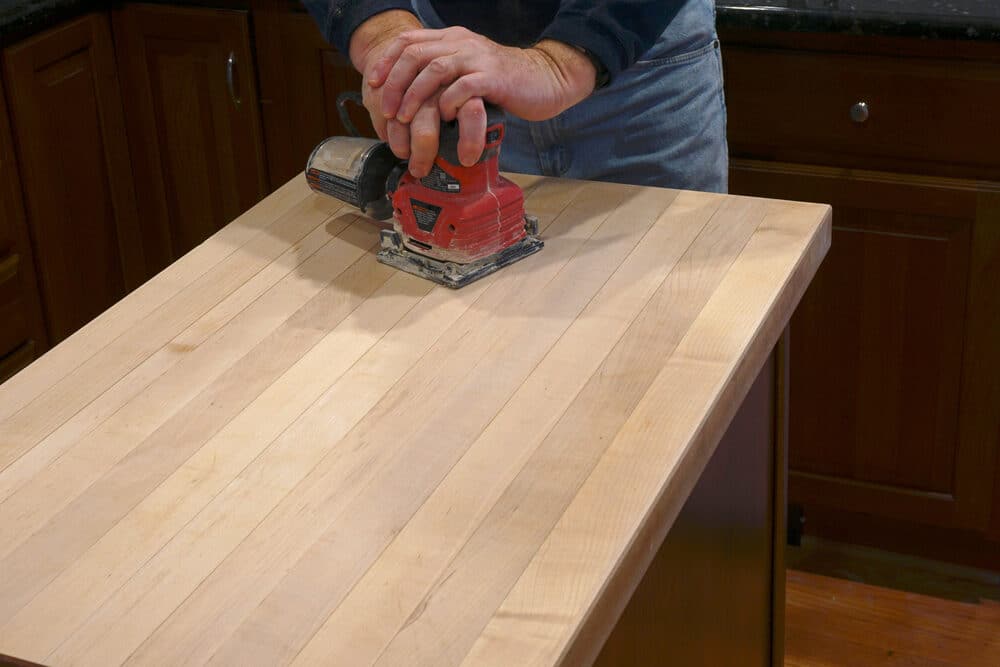
Kitchen Worktop sanding

Exploring the Advantages and Disadvantages of Sanding Your Kitchen Worktop: An In-Depth Guide
Welcome to our in-depth exploration of a key aspect of kitchen maintenance: sanding your kitchen worktop. Kitchen worktops are more than just surfaces where we prepare our meals; they are a central feature of the kitchen’s aesthetic and functionality. Over time, these surfaces can show signs of wear and tear, losing their lustre and smoothness. This is where the role of sanding comes into play.
Sanding, a process often associated with woodworking and refinishing, can breathe new life into an ageing or damaged worktop. It’s a method that promises to restore the surface’s beauty and extend its lifespan. However, like any home improvement task, sanding has its own set of advantages and challenges.
In this post, we will delve into the various pros and cons of sanding your kitchen worktop. Our aim is to provide you with a comprehensive guide, helping you to understand not only the benefits of this process but also the potential pitfalls. Whether you are a seasoned DIY enthusiast or considering sanding for the first time, this article is designed to equip you with the necessary knowledge to make an informed decision about caring for your kitchen worktop.
So, let’s embark on this journey to discover how sanding can transform your kitchen worktop and whether it’s the right choice for you.
The Pros of Sanding Your Kitchen Worktop
Sanding your kitchen worktop can be a transformative process. This seemingly simple task offers numerous benefits, making it a popular choice for those looking to rejuvenate their kitchen’s appearance and functionality. Below are some of the key advantages:
1. Enhanced Aesthetics and Smooth Finish:
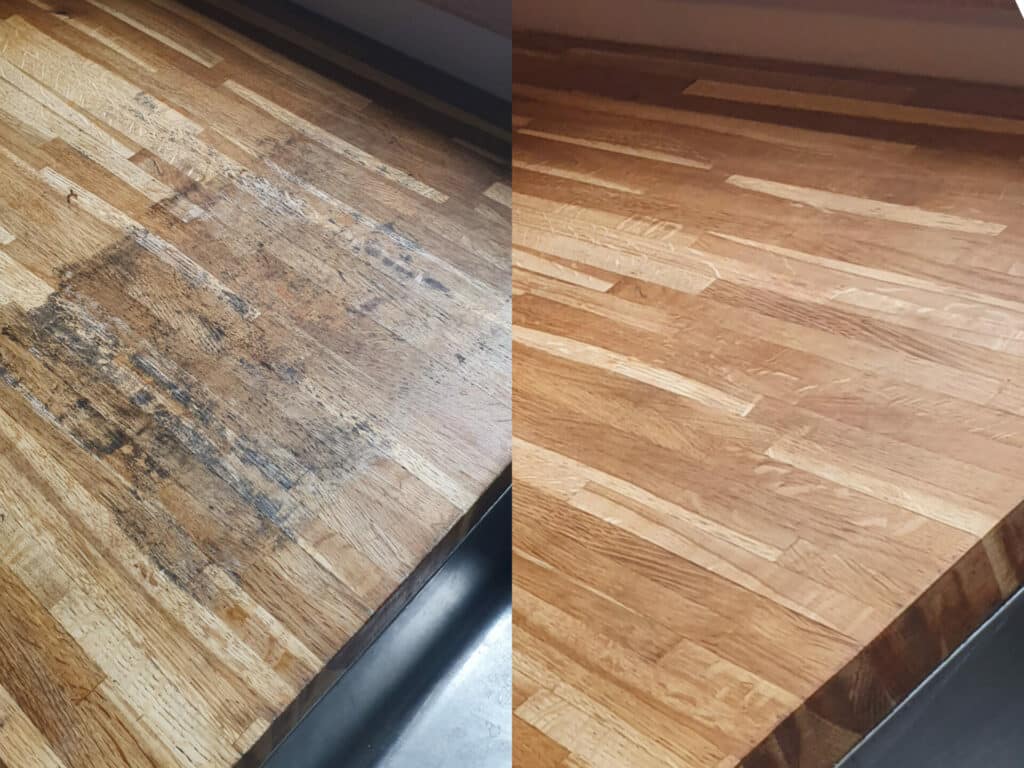
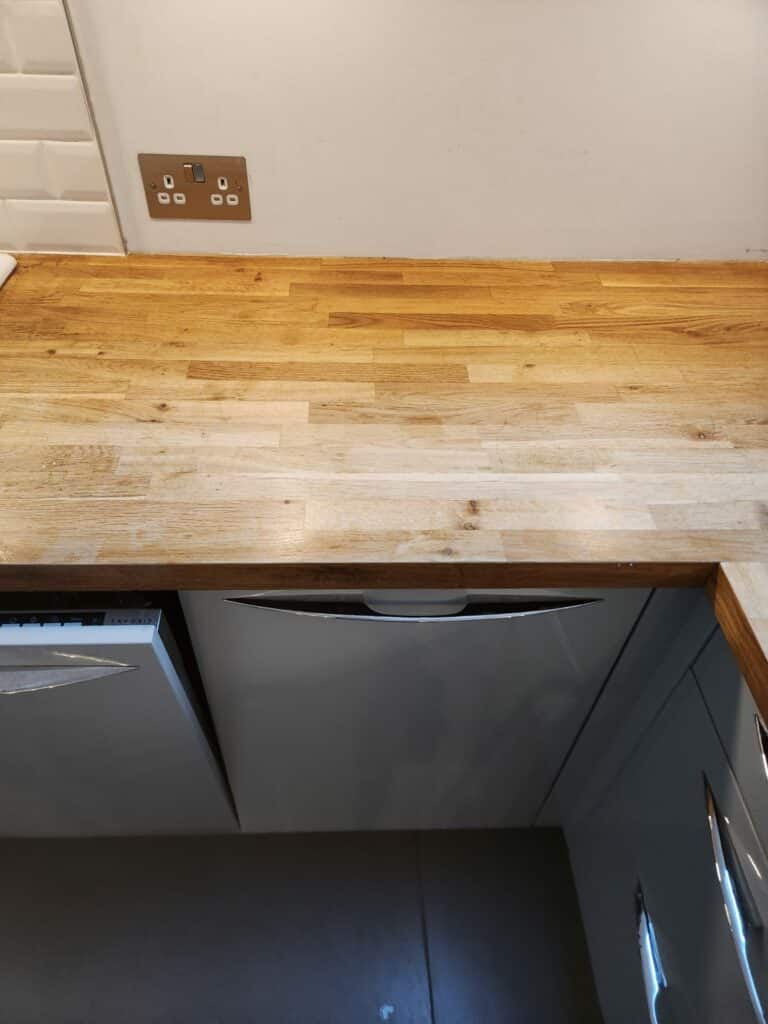
One of the most immediate benefits of sanding your worktop is the improvement in its appearance. Sanding removes the upper layer of the surface, revealing the fresh, untouched wood or material beneath. This process can eliminate unsightly scratches, dings, and faded areas, resulting in a smoother, more uniform surface that enhances the overall look of your kitchen.
2. Removal of Scratches and Stains:
Over time, kitchen worktops can accumulate a variety of blemishes, from knife marks to stains from food and liquid spills. Sanding effectively removes these superficial imperfections, restoring the worktop’s original condition and making it look new again.
3. Improved Longevity and Durability:
By removing the damaged top layer, sanding can actually extend the life of your worktop. This process gets rid of weakened areas that might otherwise develop into more significant damage. A well-sanded and properly sealed worktop can withstand daily kitchen activities better and last longer.
4. Preparation for Refinishing or Sealing:
Sanding is an essential preparatory step if you plan to refinish or seal your worktop. It creates a clean, even surface that is ideal for the application of stains, oils, or sealants. These finishing treatments not only enhance the appearance but also provide an additional layer of protection against wear and tear.
5. Cost-Effective Renovation Option:
Compared to the expense of completely replacing a kitchen worktop, sanding kitchen worktop is a cost-effective way to revitalise your kitchen. With the right tools and techniques, you can achieve professional-looking results without the hefty price tag of a full replacement.
The Cons of Sanding Your Kitchen Worktop
While sanding can offer significant benefits, it’s important to consider the potential drawbacks as well. Understanding these cons can help you make an informed decision and prepare adequately if you choose to proceed. Here are some of the main disadvantages:
1. Risk of Damage to the Surface:
If not done correctly, sanding can cause more harm than good. Aggressive sanding or using incorrect tools can lead to gouges, uneven surfaces, or even permanent damage to the worktop. This is particularly true for materials like laminate or composite, which can be more sensitive than solid wood.
2. Time-Consuming Process:
Sanding a kitchen worktop is not a quick task. It requires patience, especially if you’re aiming for a high-quality finish. Depending on the size of your worktop and the extent of the damage, this project could take several hours or even span over a couple of days.
3. Requirement for Proper Tools and Techniques:
To achieve a desirable outcome, you need the right tools and a good understanding of sanding techniques. This includes knowing the right grit of sandpaper to use, the type of sander that’s best for your material, and the technique to sand evenly without leaving marks.
4. Potential for Uneven Sanding Results:
Achieving a perfectly even surface requires skill and experience. Inexperienced DIYers might find it challenging to sand the worktop uniformly, leading to an uneven finish that can be noticeable and aesthetically unpleasing.
5. Dust and Clean-up:
Sanding can be a messy process, generating a lot of dust. This dust can spread throughout your kitchen and even into other areas of your home. Proper preparation is required to minimise mess, and considerable clean-up may be needed afterward.
6. Health Risks:
The dust generated from sanding can be a health hazard, particularly if you’re working with materials that produce toxic particles. Adequate ventilation and protective gear, such as masks and goggles, are essential to safeguarding your health.
Understanding these drawbacks is crucial for anyone considering sanding their kitchen worktop. It’s not a decision to be taken lightly, and weighing these cons against the pros is key to deciding whether this is the right approach for your kitchen renovation.
Factors to Consider Before Sanding
Sanding your kitchen worktop is a decision that should not be taken lightly. Before embarking on this project, there are several crucial factors you need to consider to ensure the best possible outcome. Here’s a rundown of key considerations:
1. Type of Worktop Material:
Different materials require different sanding approaches. Solid wood worktops are generally the most forgiving, but materials like laminate, granite, or composite have unique requirements and limitations. Understanding the nature of your worktop material is crucial to avoiding damage and achieving the desired results.
2. Condition of the Worktop:
Assess the current condition of your worktop. If it has deep cuts, burns, or severe damage, sanding might not be sufficient to restore it. In some cases, sanding can exacerbate existing issues, so it’s important to realistically evaluate whether sanding is the appropriate solution.
3. Your DIY Skill Level:
Be honest about your DIY skills. Sanding requires a certain level of craftsmanship, especially to achieve a smooth, even finish. If you’re new to this type of work, consider practicing on a less visible piece of wood first or consult with a professional.
4. Tools and Equipment Availability:
Do you have the necessary tools, or are you willing to invest in or rent them? You’ll need a good-quality sander, appropriate sandpaper grits, safety gear, and possibly more, depending on the scope of your project.
5. Time and effort Commitment:
Sanding can be time-consuming. Consider whether you have the time to dedicate to this project and whether you’re prepared for the physical effort involved. Also, think about the time required for the clean-up and refinishing post-sanding.
6. Health and Safety Precautions:
Ensure you have the right safety gear, such as masks, goggles, and gloves. Consider the ventilation in your work area, especially if you’re working with materials that might release harmful particles when sanded.
7. End Goal and Expectations:
Define what you are hoping to achieve with sanding. Are you looking to completely revamp the look, or are you just targeting minor touch-ups? Setting clear expectations will help you gauge whether sanding is the right approach.
Professional vs. DIY sanding
When it comes to sanding your kitchen worktop, you have two main options: hiring a professional or doing it yourself. Each choice comes with its own set of pros and cons, and the decision largely depends on your specific situation, skills, and preferences. Let’s compare both options:
Professional Sanding
Advantages:
- Expertise and Experience: Professionals bring a wealth of experience and know-how. They can tackle different materials effectively and are adept at handling unexpected issues.
- Quality of Work: With their skills and specialised tools, professionals can achieve a high-quality finish that might be challenging for DIY enthusiasts.
- Time-Efficiency: A professional can complete the job much faster than an amateur, minimising the disruption to your daily life.
- Less Effort for You: Hiring a professional means you don’t have to deal with the physical work, the dust, or the stress of potentially making mistakes.
Disadvantages:
- Cost: Professional services can be expensive, especially if your worktop requires extensive sanding or if you have a large kitchen.
- Availability: Finding the right professional and scheduling the work can be time-consuming and may not align with your preferred timeline.

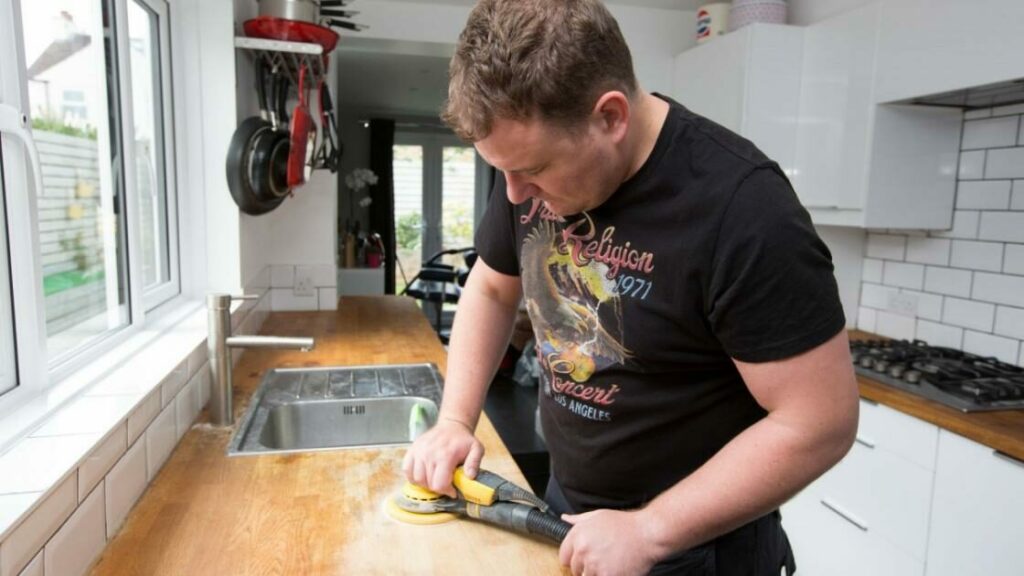
DIY Sanding
Advantages:
- Cost Savings: Doing the work yourself can save money, as you only need to pay for materials and tools (which can often be rented).
- Personal Satisfaction: There’s a sense of accomplishment in completing a home improvement project on your own.
- Control over the Process: DIY allows you to control every aspect of the job, from the choice of materials to the timing and pace of the work.
Disadvantages:
- Risk of Mistakes: Without professional experience, there’s a higher risk of uneven sanding, damaging the worktop, or not achieving the desired finish.
- Time and effort: It’s a time-consuming and physically demanding task that requires a significant investment of your personal time and energy.
- Need for Tools and Skills: You’ll need the right tools and a basic understanding of sanding techniques, which might require some research and practice.
Before making a decision, weigh these factors against your personal circumstances, such as your budget, available time, skill level, and the condition of your kitchen worktop. Whether you choose to hire a professional or take on the task yourself, ensuring that you are well-informed and prepared is key to achieving a successful outcome.
Step-by-Step Guide to Sanding Your Kitchen Worktop
If you’ve decided to take on the task of sanding your kitchen worktop yourself, following a step-by-step guide can ensure a smooth and successful process. Here’s what you need to do:
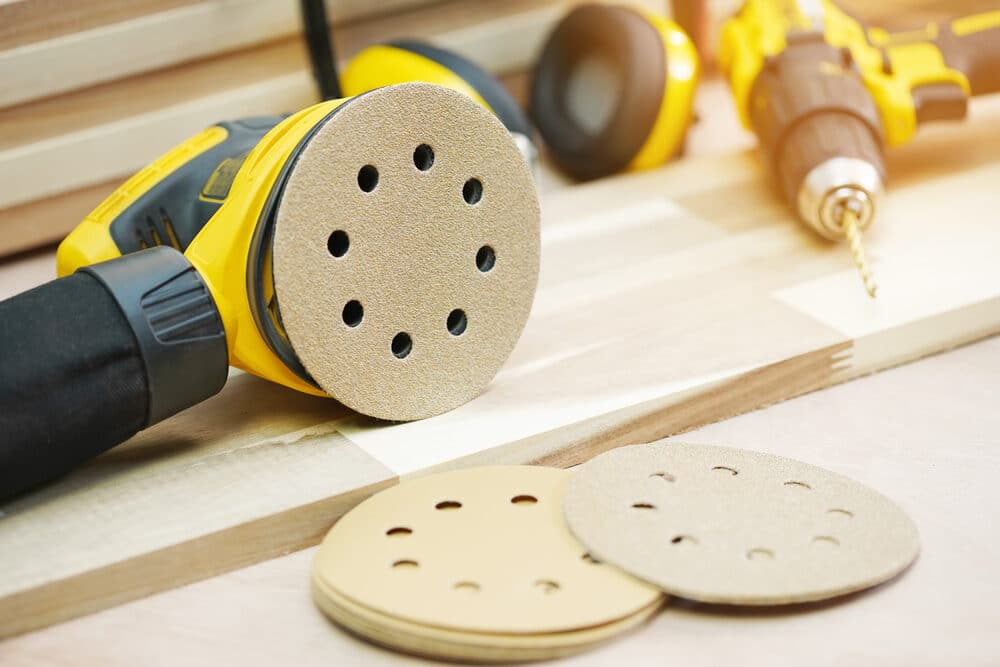
1. Gather the necessary tools and materials.
- Sander (hand sander or power sander, depending on preference and worktop size)
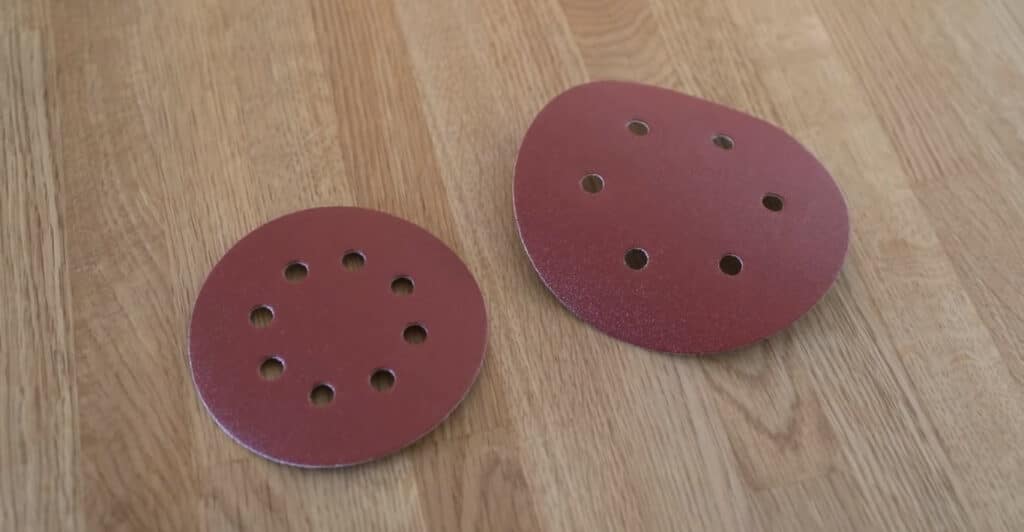
- Sandpaper (various grits ranging from coarse to fine)
- Safety gear (dust mask, safety goggles, gloves)
- Dust sheets or plastic sheeting
- Vacuum cleaner and cleaning materials
- Wood filler (if needed for repairs)
- Finishing product (oil, varnish, or sealant)
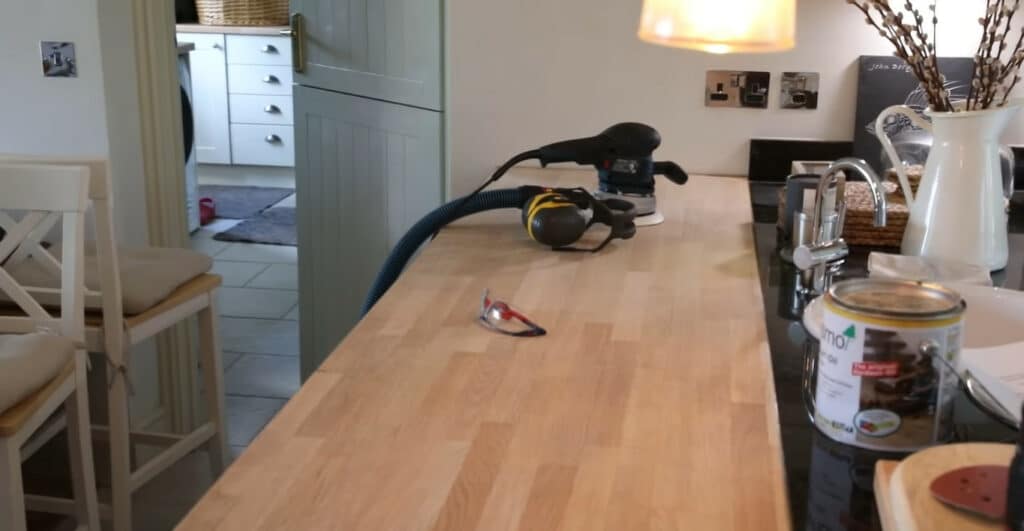
2. Prepare the work area.
- Clear the worktop of all items and appliances.
- Cover nearby areas with dust sheets or plastic to protect against dust.
- Ensure good ventilation in the kitchen.
3. Initial Cleaning
- Clean the worktop thoroughly to remove any dirt, grease, or loose particles.
- If there are any holes or deep scratches, fill them with wood filler and let it dry.
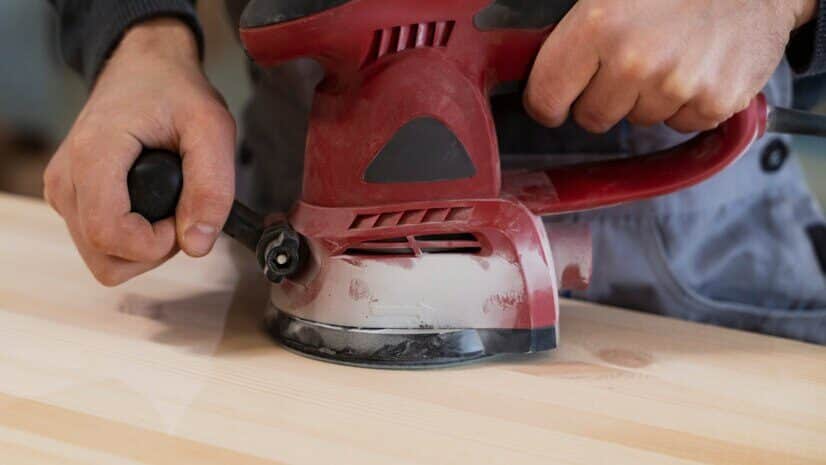
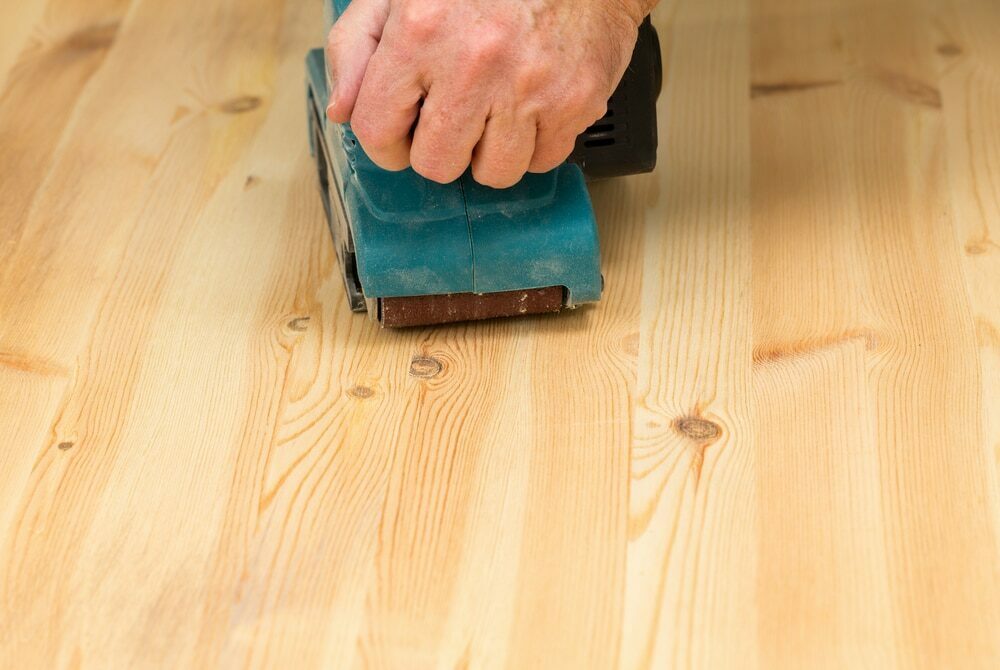
4. Start with coarse sandpaper.
- Begin with a coarse-grit sandpaper (around 60–80 grit) to remove the top layer and any major imperfections.
- Sand evenly across the surface, moving in the direction of the grain.
5. Progress to Finer Grits
- Gradually move to finer-grit sandpapers (120 grit, then 180–220 grit) to smooth out the surface.
- Each step should make the worktop smoother and remove any scratches left by the coarser paper.
6. Final Cleaning
- After the final sanding, clean off all the dust with a vacuum cleaner and a damp cloth.
- Let the surface dry completely before proceeding to the next step.
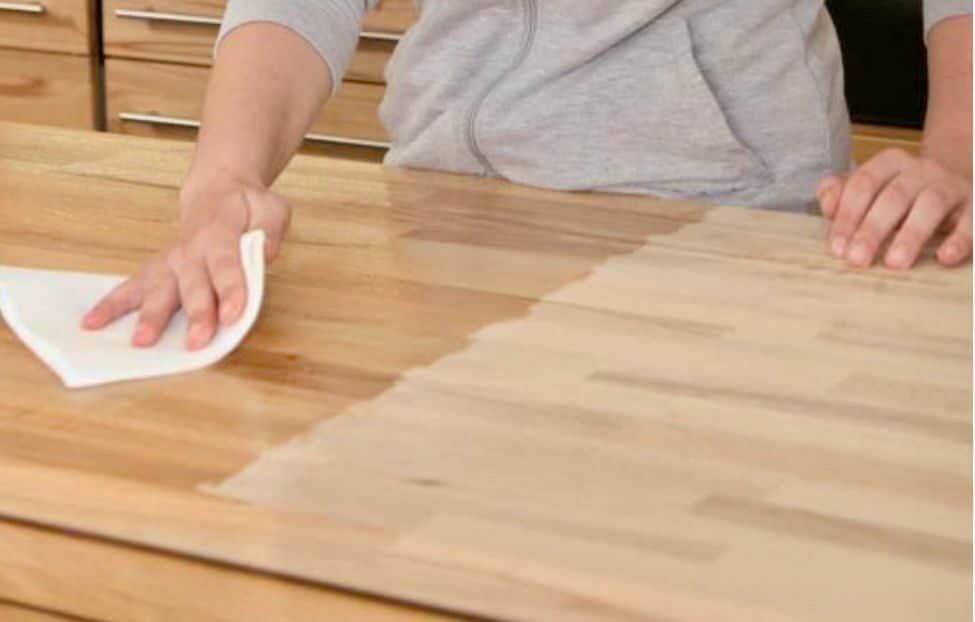
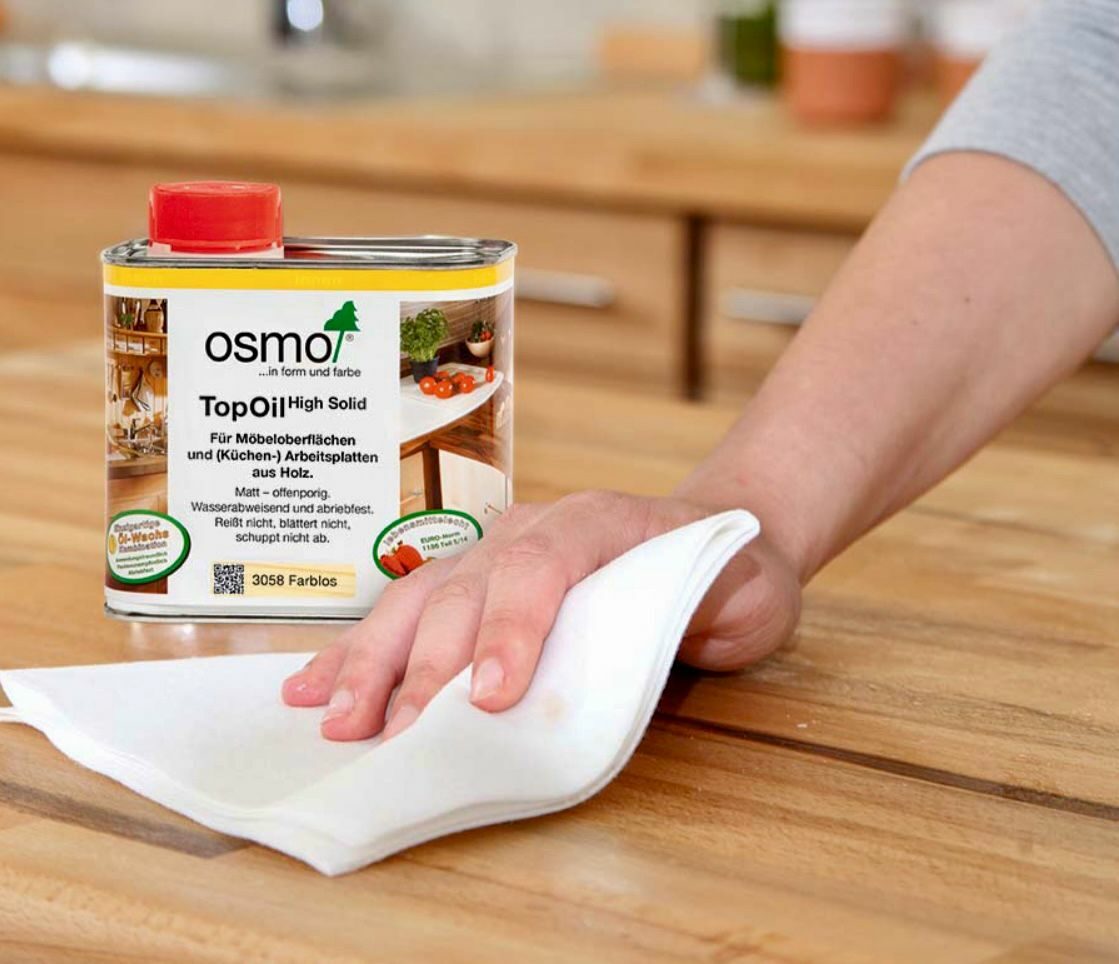
7. Apply the finishing product.
- Choose a finishing product like oil, varnish, or sealant to protect the worktop and enhance its appearance.
- Apply the finish according to the product instructions, ensuring even coverage.
8. Final Touches and Clean-Up
- Let the finish dry completely, following the recommended drying time.
- Remove all protective sheeting and clean up any remaining dust or debris.
9. Regular Maintenance
- To maintain the newly sanded worktop, clean it regularly and reapply the finish as needed.

Aftercare: Protecting Your Sanded Worktop
Congratulations on successfully sanding your kitchen worktop! The next critical step is ensuring proper aftercare to maintain its beauty and prolong its lifespan. Here are essential tips and best practices for protecting your newly sanded worktop:
1. Choosing the Right Sealant or Finish
- Oil-Based Finishes: Ideal for wood, they penetrate deep into the surface, providing protection and enhancing the natural grain. Regular reapplication is necessary.
- Varnishes and lacquers: These create a hard, protective layer on the surface, offering excellent resistance to water and wear. They are less frequent in maintenance but can be more challenging to apply evenly.
- Wax: Provides a natural, soft finish. It requires more frequent reapplication but is easy to touch up and maintain.
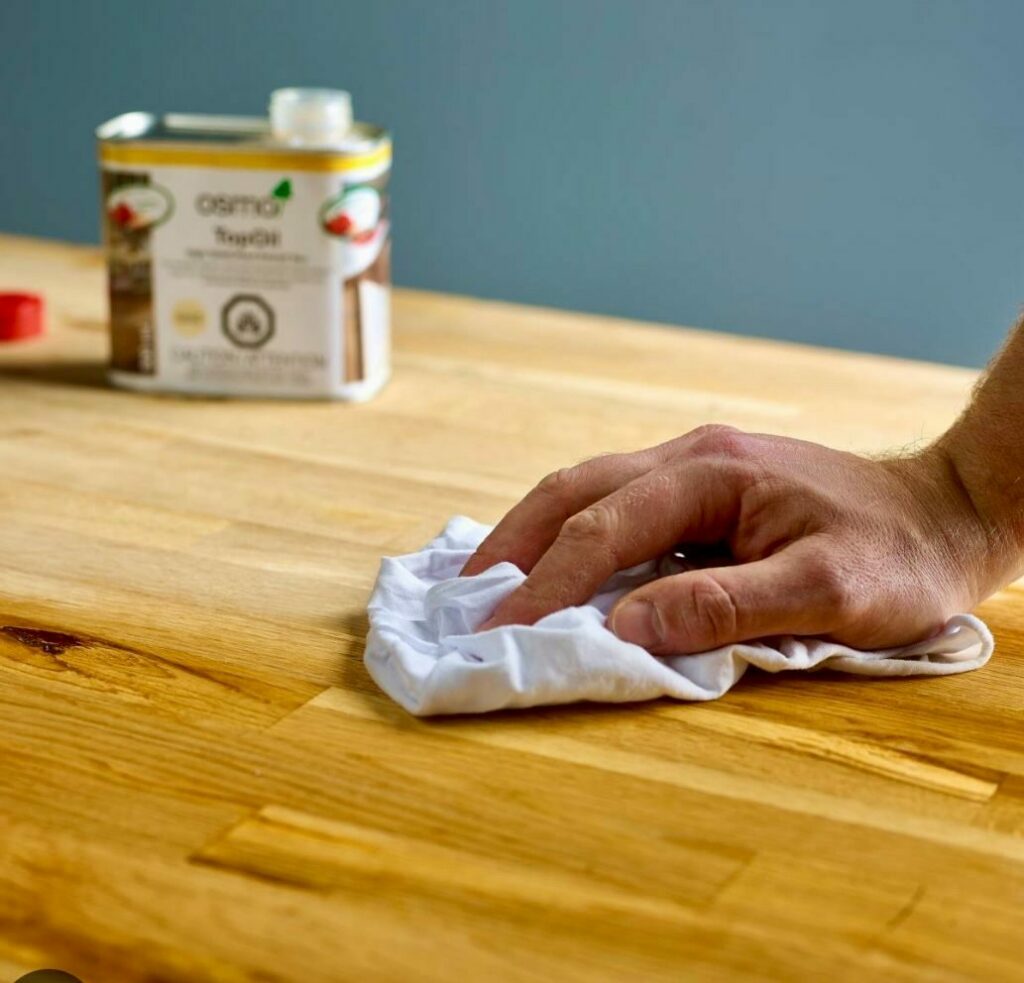
2. Proper Application of Finish
- Follow the manufacturer’s instructions for the best results.
- Apply thin, even coats, and allow adequate drying time between layers.
- For oil and wax, regular reapplication (every 6–12 months) is key to maintaining protection.
3. Daily Maintenance and Cleaning
- Wipe spills immediately to prevent staining.
- Use gentle, non-abrasive cleaners to avoid damaging the finish.
- Avoid placing hot pots or pans directly on the worktop.
4. Avoiding direct sunlight
- Prolonged exposure to direct sunlight can cause discoloration. Use blinds or curtains to protect the worktop from strong sunlight.
5. Regular inspections for damage
- Periodically check for scratches, water damage, or wear.
- Lightly sand and reapply finish to any damaged areas to prevent further deterioration.
6. Dealing with Stains and Burns
- For tough stains, use a paste of baking soda and water and gently rub the area.
- For burns, lightly sand the affected area and reapply the finish.
7. Avoiding Excessive Moisture
- Use coasters under wet items, and wipe dry any water spills immediately.
- Ensure good ventilation, especially around areas frequently exposed to water.

Conclusion
In this comprehensive guide, we’ve explored the intricate process of sanding your kitchen worktop, weighed the pros and cons, and provided detailed steps for those who choose the DIY route. We also delved into the critical aftercare practices to maintain the beauty and functionality of your worktop post-sanding.
Sanding your kitchen worktop can be a rewarding endeavor. It not only rejuvenates the surface but also extends its lifespan, adding character and warmth to your kitchen. However, it’s not without its challenges. The task demands time, effort, and a level of skill to avoid potential pitfalls and achieve a professional-looking finish.
Whether you decide to hire a professional or embark on this project yourself, it’s essential to approach the task with thorough preparation and realistic expectations. Remember, every worktop material is unique and requires a tailored approach. The key lies in understanding the nature of your worktop and the level of care it demands.
Ultimately, the decision to sand your kitchen worktop should be guided by your specific circumstances, including the condition of your worktop, your skill level, and your willingness to invest time and resources into the project. With the right approach, sanding can transform an ageing or worn worktop into a stunning kitchen feature that you can be proud of.
We hope this guide has provided you with valuable insights and the confidence to make the best decision for your kitchen. Whether you rejuvenate your worktop through sanding maintenance methods, the goal is always to create a kitchen space that is both functional and aesthetically pleasing, serving as the heart of your home for many years to come.


Sanding
We provide virtually dust-free sanding with our continuous belt machinery with mobile extraction units, giving you a safer environment for your family.
Oiling
This organic finish not only adds beauty to your home but also has exceptional water-repellent characteristics, making it easier to clean and maintain.
Waxing
This natural floor finish offers the softest and most mellow appearance – and leaves your floor able to breath.
Buffing
Using soft buffing machines (and hand-polishing where required) will bring a wonderful sheen to your newly-finished floor.
Repairs
We offer a full assessment of your wooden floors to determine what repairs are needed to provide the perfect working surface for the later stages of sanding, staining and sealing.
Restoration
We offer a comprehensive restoration process designed to address floors that are improperly fitted or damaged over time through wear and tear.
Request a fixed price quote for your wood floor restoration now
Simply enter your postcode below to get started.
Services
Wood Floor Sanding Wood Floor Restoration Wood Floor Scratch Repair Squeaky Wood Floor Repair Parquet Floor Sanding Parquet Floor Restoration Commercial Floor Sanding Church Floor Sanding Community Centre Floor Sanding School Floor Sanding Gap Filling Gap Filling with ResinCopyright © Mr Sander®
Privacy & Cookies Terms & Conditions Complaints Procedure Cancellation Rights Sitemap

Get An Instant Price Estimate Before You Go…
Simply enter the rooms you need sanded and we’ll provide you with a price estimate instantly! Try our price calculator now.
Get a Price Estimate NowLocal Floor Sanding Experts
Over 500 5-Star Reviews
Safe, Dust Free Sanding
Operating Since 1994