London:
Nationwide:


25,000+
Floors Restored

27 Years Experience

Wood Flooring Association Certified
Floor Sanders: Key Machines for Successful Floor Refinishing
Posted on May 7, 2023
Floor Sanding Articles
A Comprehensive Guide to Floor Sanders: Choosing the Right Machines for Your Floor Refinishing Project
Over time, even the most well-maintained wooden floors will start to show signs of wear and tear. Scratches, dents, and discoloration from years of foot traffic, furniture movement, and sunlight exposure can detract from the overall appearance of your home. Fortunately, refinishing your floors can restore their original beauty and lustre, and with the right tools, it can even be a DIY project. In this blog post, we will explore the basics of floor sanders and the machines you need to refinish your floors successfully.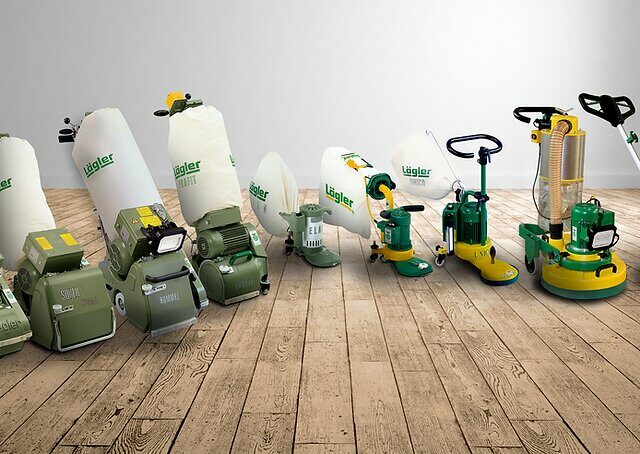
I. Understanding the Floor Sanding Process
Before we dive into the types of sanders available, it’s essential to understand the floor sanding process. Sanding a wooden floor involves removing the old finish, smoothing out any imperfections, and preparing the surface for a new coat of stain or finish. Typically, this process consists of three stages:- Rough sanding: This stage removes the old finish and levels the floor, addressing any significant imperfections.
- Medium sanding: In this phase, the floor is smoothed further, removing any remaining roughness or shallow scratches.
- Fine sanding: This final stage polishes the floor to a smooth, uniform surface, preparing it for the new finish.
II. Types of Floor Sanders
A. Drum Sanders
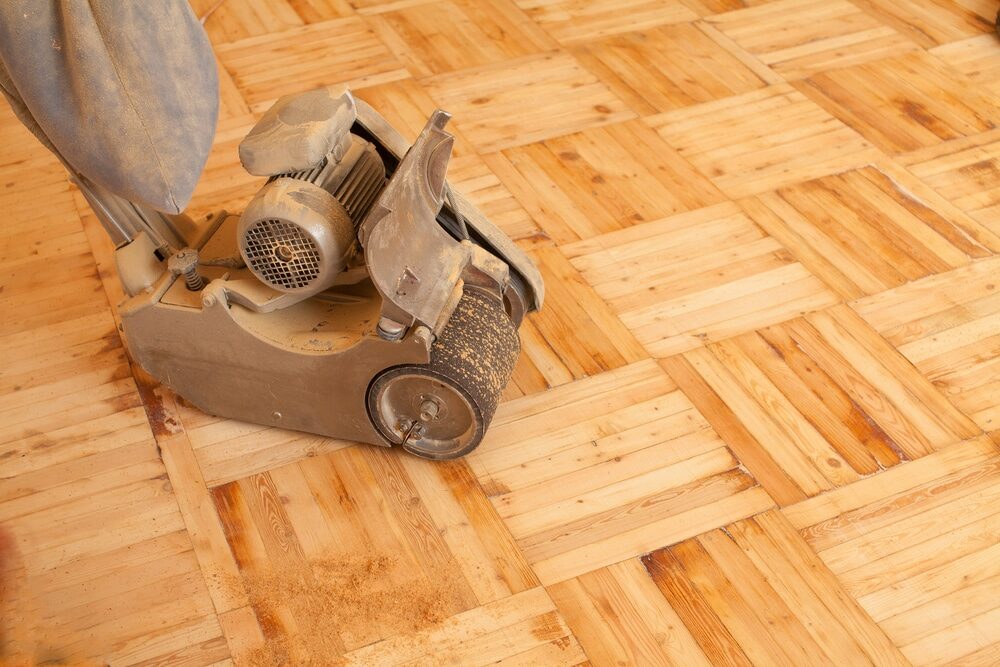
Drum sanders are the workhorses of the floor sanding world. These powerful machines use a rotating drum wrapped with sandpaper to remove old finishes and level the floor. They are particularly well-suited for the rough sanding stage, where the goal is to remove significant amounts of material quickly.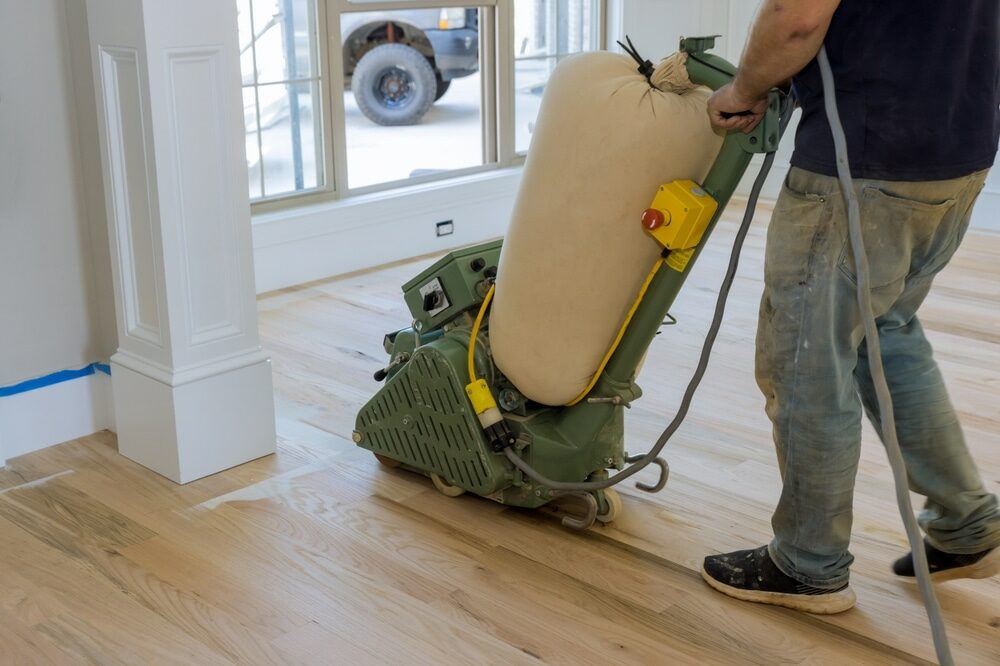 Pros:
Pros:
- fast and efficient
- ideal for large, open spaces
- Can be challenging to control, especially for beginners.
- Not suitable for tight spaces or corners.
B. Orbital Sanders
Orbital sanders use a square or rectangular sanding pad that oscillates in small circles, providing a more controlled sanding experience. These machines are versatile and can be used for all stages of the sanding process. However, they are most commonly used for medium and fine sanding, where precision and smoothness are essential.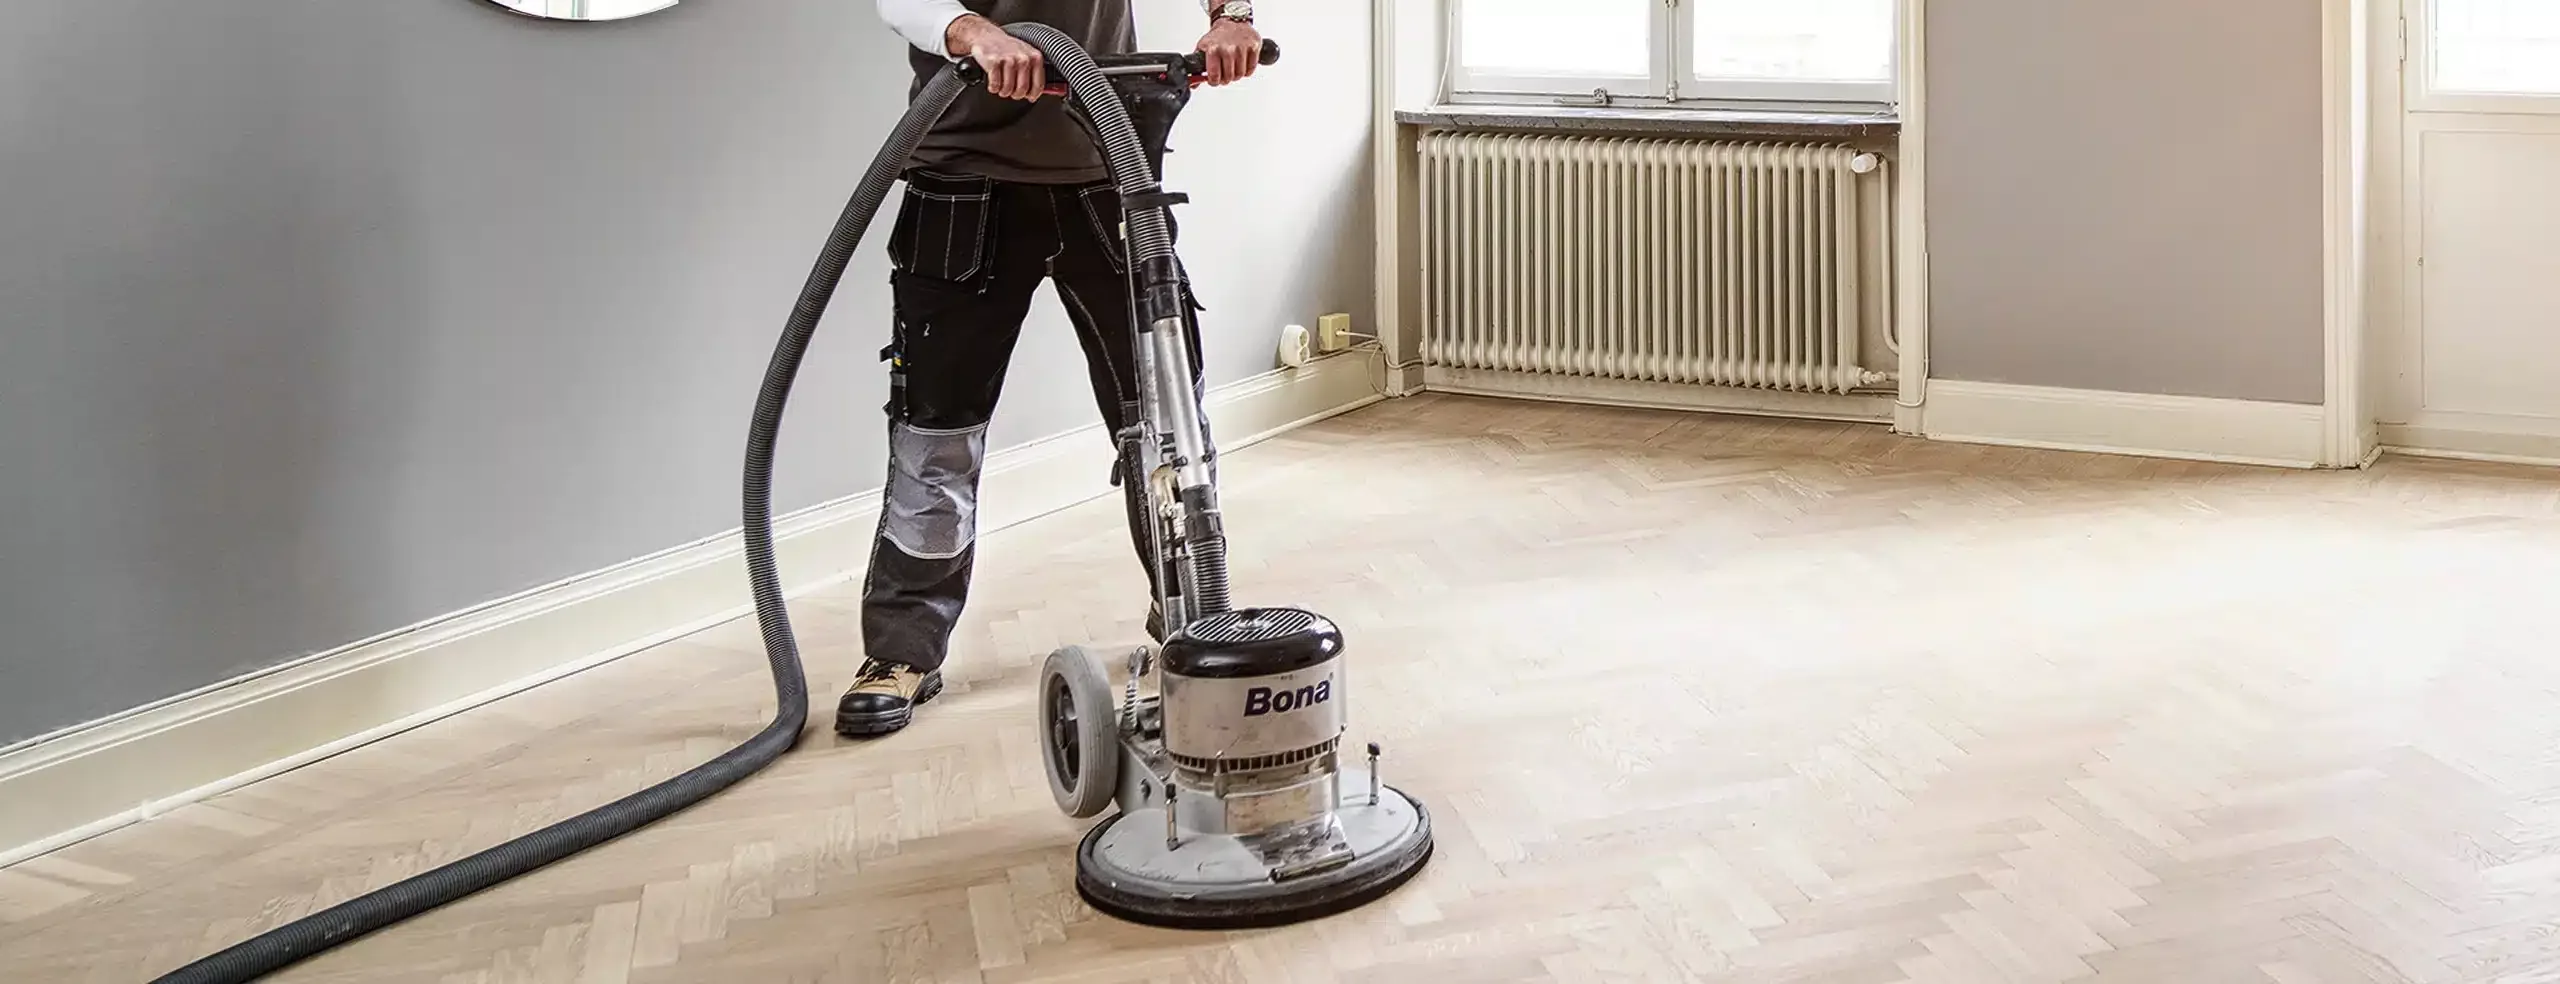 Pros:
Pros:
- easy to control
- Suitable for all stages of the sanding process
- slower than drum sanders
- May require multiple passes to achieve desired results.
C. Edge Sanders
As their name suggests, edge sanders are designed for sanding along the edges and corners of a room. These compact machines typically feature a round or triangular sanding pad, making them ideal for getting into tight spaces that drum and orbital sanders cannot reach.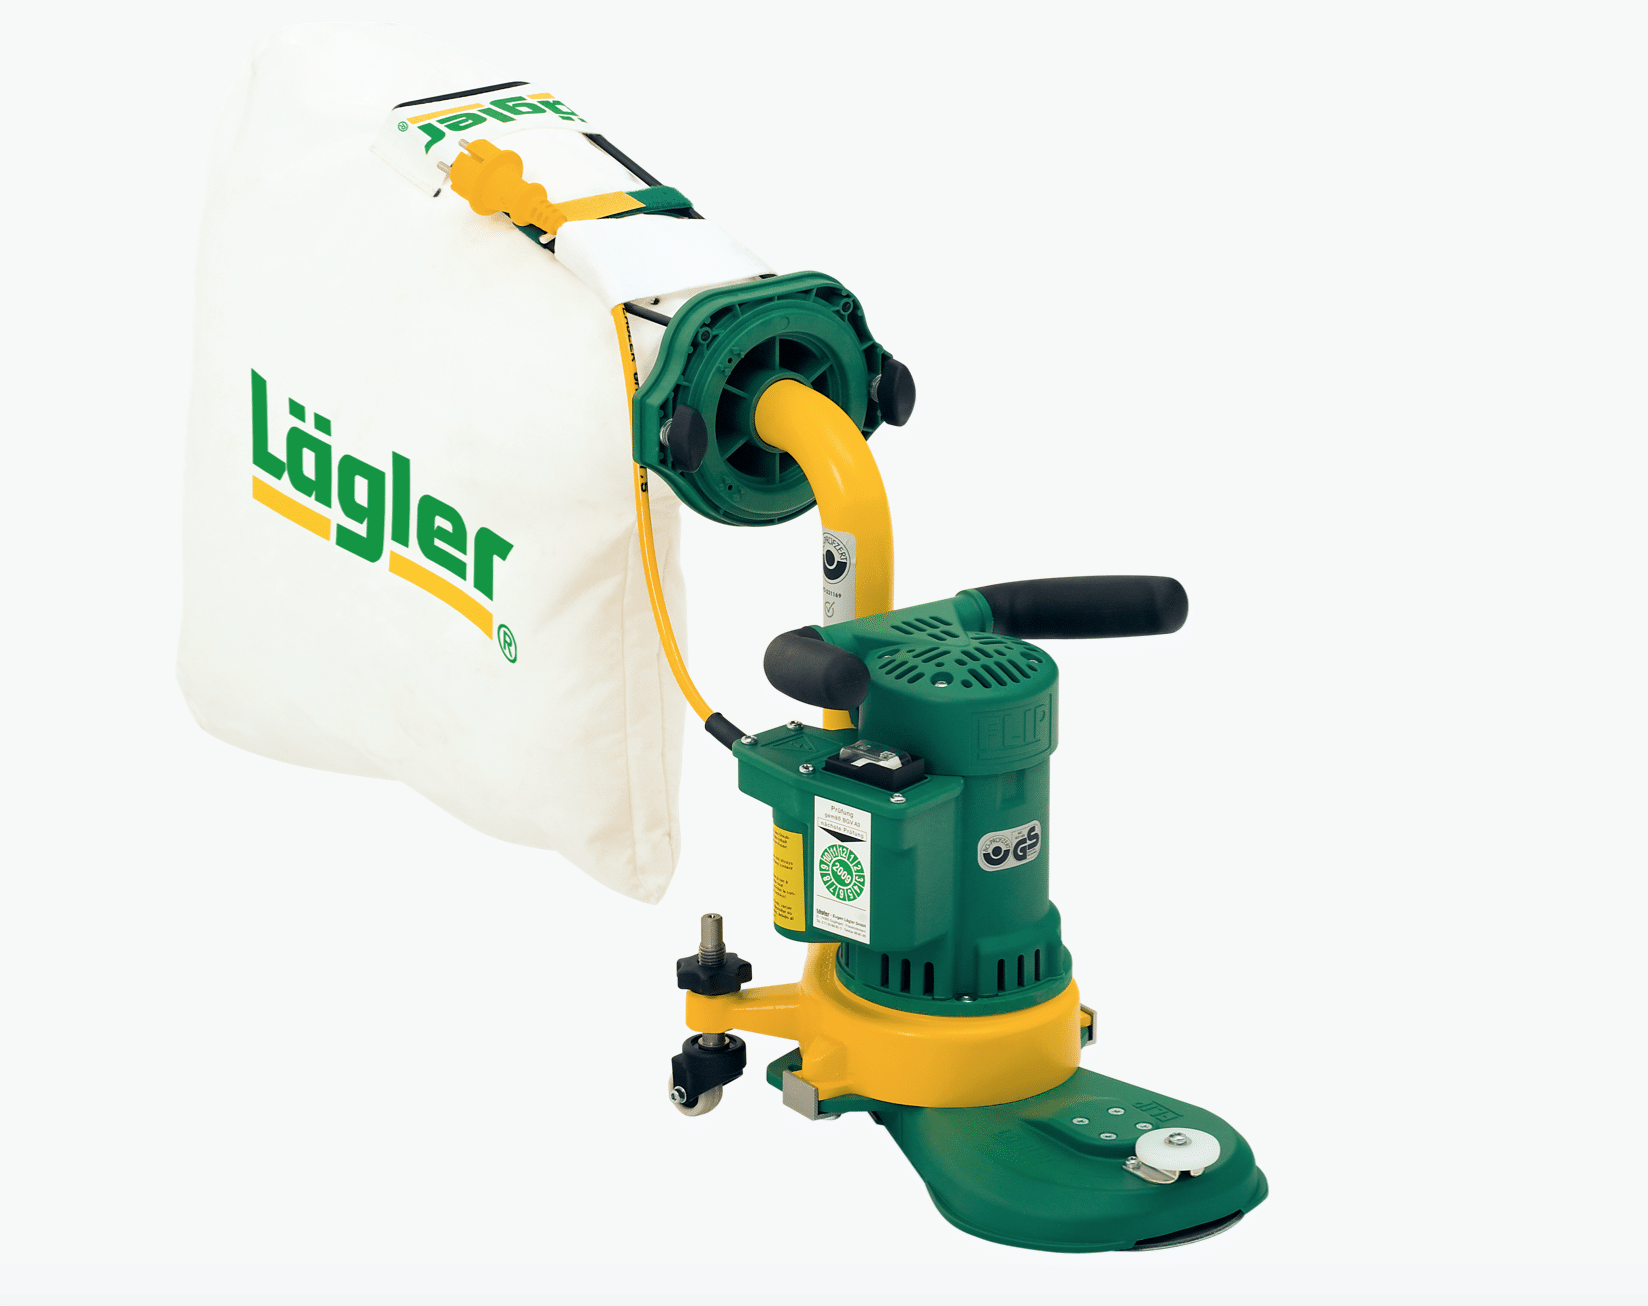 Pros:
Pros:
- perfect for edges and corners
- Compact and easy to manoeuvre.
- not suitable for large, open spaces
- May require multiple passes for heavy material removal.
III. Choosing the Right Sander for Your Project
When selecting a floor sander for your project, consider the following factors:- Size and layout of the space: If you’re working on a large, open area, a drum sander will provide the speed and efficiency you need. However, if your project involves tight spaces, corners, or intricate details, an orbital or edge sander will be more suitable.
- Experience level: Drum sanders can be challenging to control and may cause damage if not used correctly. If you’re new to floor sanding or simply want a more forgiving machine, an orbital sander is a better choice.
- Budget: Drum sanders tend to be more expensive than orbital or edge sanders, both in terms of initial investment and ongoing maintenance costs. If budget is a concern, you may want to opt for a more affordable orbital or edge sander. Keep in mind that while these machines may be less expensive, they may also require more time and effort to achieve the desired results.
- Desired finish quality: If you’re looking for a perfectly smooth, uniform finish, an orbital sander is your best bet. While drum sanders can be incredibly effective at removing material, they can sometimes leave behind an uneven surface that requires additional fine sanding.
IV. Additional Tools and Accessories
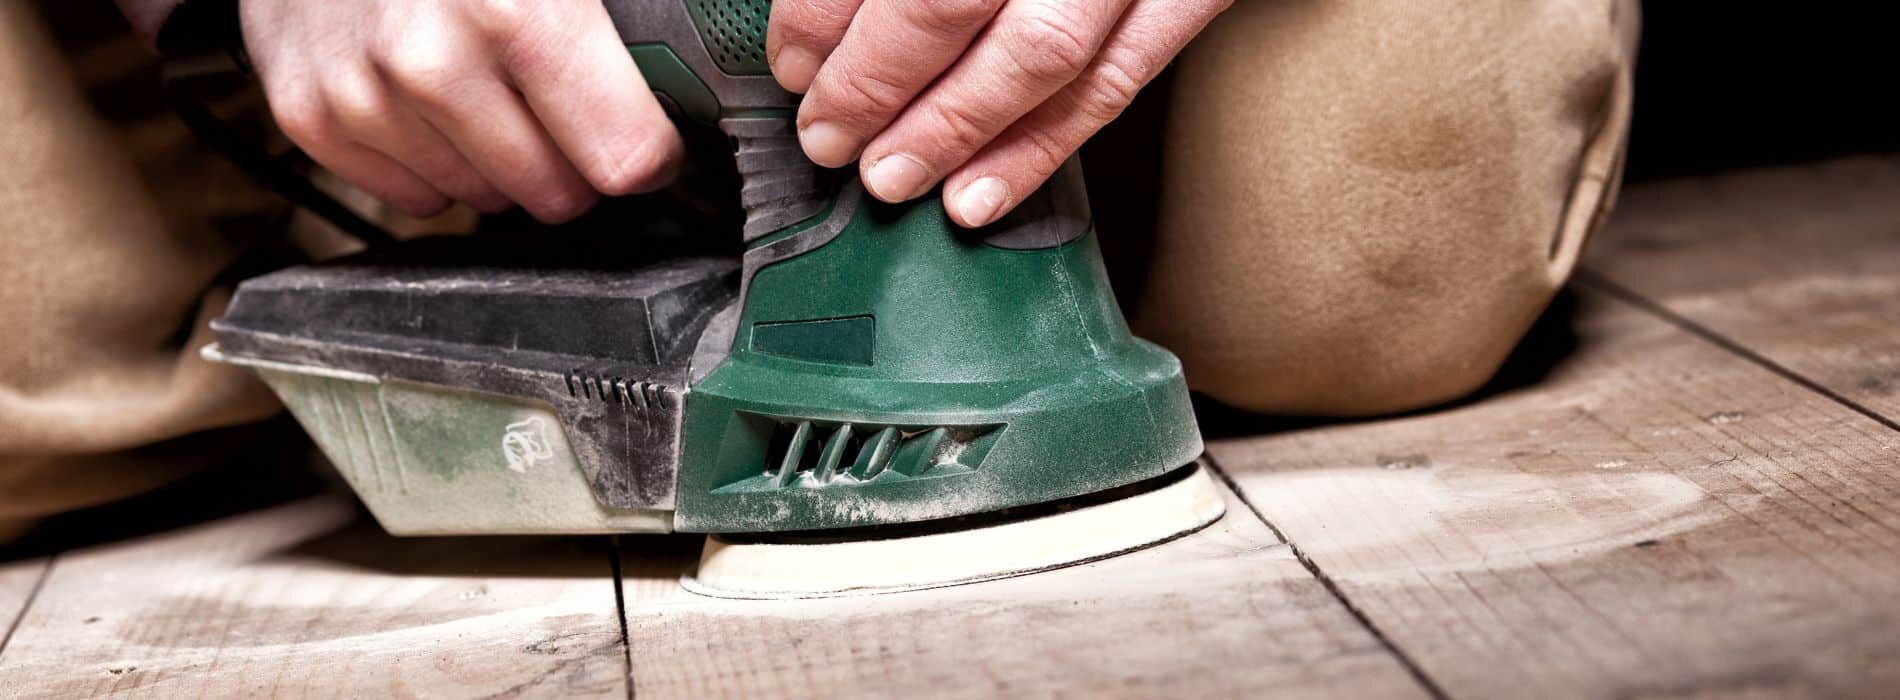
In addition to your floor sander, there are a few other tools and accessories that will make your floor refinishing project more manageable:- Handheld sanders: For detail work and touch-ups, a handheld sander, such as a palm or detail sander, can be invaluable. These small, portable devices allow you to reach tight spaces and ensure a consistent finish across the entire floor.
- Sandpaper: You’ll need a variety of sandpaper grits for the different stages of the sanding process. Start with coarse grits (36–60) for rough sanding, medium grits (80–100) for medium sanding, and fine grits (120–180) for fine sanding. Be sure to have plenty of sandpaper on hand, as you’ll need to change it frequently during the process.
- Vacuum cleaner or dust extraction system: Sanding generates a significant amount of dust, which can be harmful to your health and make it difficult to see your progress. Invest in a vacuum cleaner or dust extraction system designed for use with floor sanders to keep your workspace clean and minimise airborne dust.
- Protective gear: Safety is crucial when working with powerful machines like floor sanders. Wear eye protection, earplugs or earmuffs, and a dust mask to protect yourself from potential hazards.
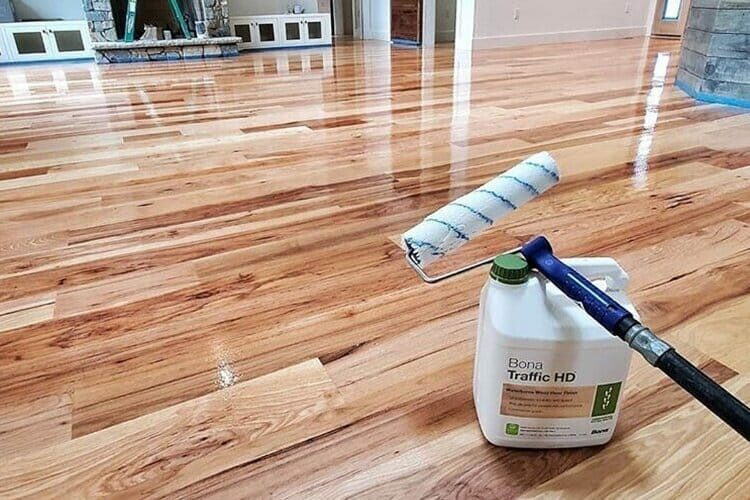
- Stain and finish: Once your floor is sanded to your satisfaction, you’ll need to apply a new stain (if desired) and a protective finish to seal and protect the wood. Be sure to research the various types of stains and finishes available to find the best option for your specific needs and preferences.
Some Useful Links:
Conclusion
Refinishing your wooden floors can be a rewarding DIY project that breathes new life into your home. By understanding the basics of floor sanders and selecting the appropriate machines and tools for your project, you can achieve professional-quality results with minimal investment. Just remember to always follow safety precautions and take your time throughout the process, and you’ll be well on your way to enjoying beautifully restored floors that will last for years to come.More from our Blog:
Advantages of Pre-sanded Hardwood Flooring Explained Laminate Flooring vs. Hardwood: Cost, Durability, Aesthetics How Easy Is To Repair A Hardwood Floor? The Experts Guide Parquet Wood Flooring: The Perfect Choice for Your Home Gym


Sanding
We provide virtually dust-free sanding with our continuous belt machinery with mobile extraction units, giving you a safer environment for your family.

Oiling
This organic finish not only adds beauty to your home but also has exceptional water-repellent characteristics, making it easier to clean and maintain.

Waxing
This natural floor finish offers the softest and most mellow appearance – and leaves your floor able to breath.

Buffing
Using soft buffing machines (and hand-polishing where required) will bring a wonderful sheen to your newly-finished floor.

Repairs
We offer a full assessment of your wooden floors to determine what repairs are needed to provide the perfect working surface for the later stages of sanding, staining and sealing.

Restoration
We offer a comprehensive restoration process designed to address floors that are improperly fitted or damaged over time through wear and tear.
Request a fixed price quote for your wood floor restoration now
Simply enter your postcode below to get started.





Services
Wood Floor Sanding Wood Floor Restoration Wood Floor Scratch Repair Squeaky Wood Floor Repair Parquet Floor Sanding Parquet Floor Restoration Commercial Floor Sanding Church Floor Sanding Community Centre Floor Sanding School Floor Sanding Gap Filling Gap Filling with ResinCopyright © Mr Sander®
Privacy & Cookies Terms & Conditions Complaints Procedure Cancellation Rights Sitemap

Get An Instant Price Estimate Before You Go…
Simply enter the rooms you need sanded and we’ll provide you with a price estimate instantly! Try our price calculator now.
Get a Price Estimate NowLocal Floor Sanding Experts
Over 500 5-Star Reviews
Safe, Dust Free Sanding
Operating Since 1994