London:
Nationwide:
25,000+
Floors Restored
27 Years Experience
Wood Flooring Association Certified
Speedy Kitchen Worktop Restoration: The Quickest Methods
Posted on December 25, 2023
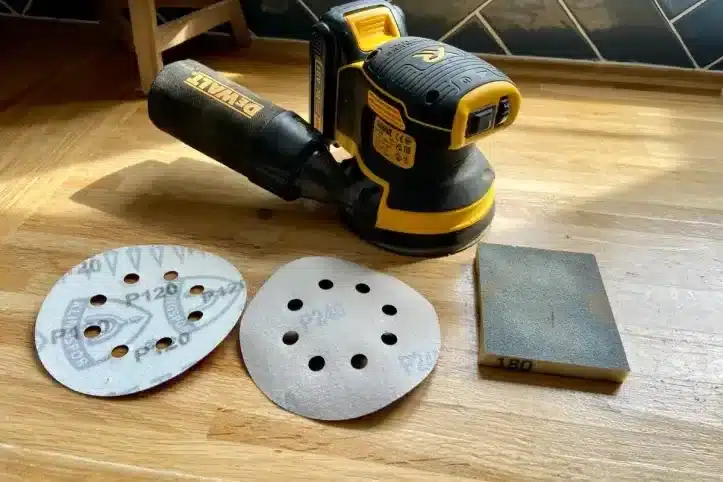
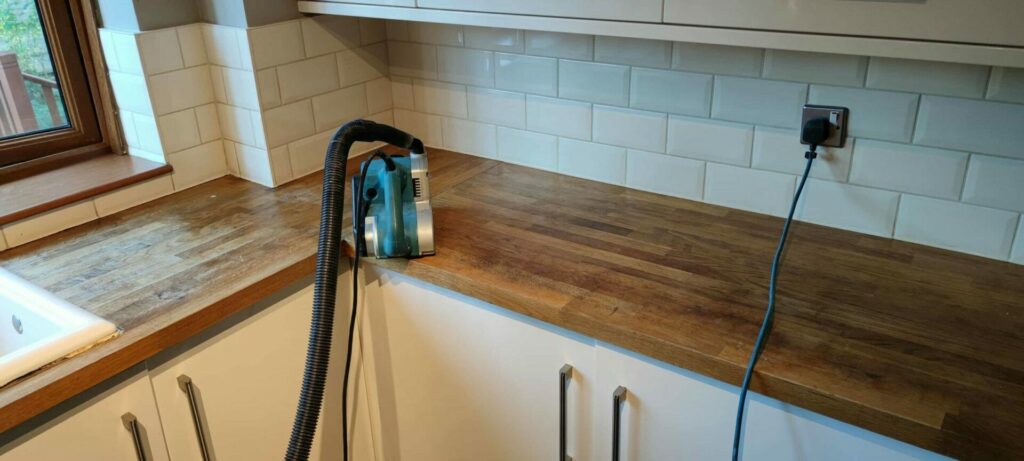
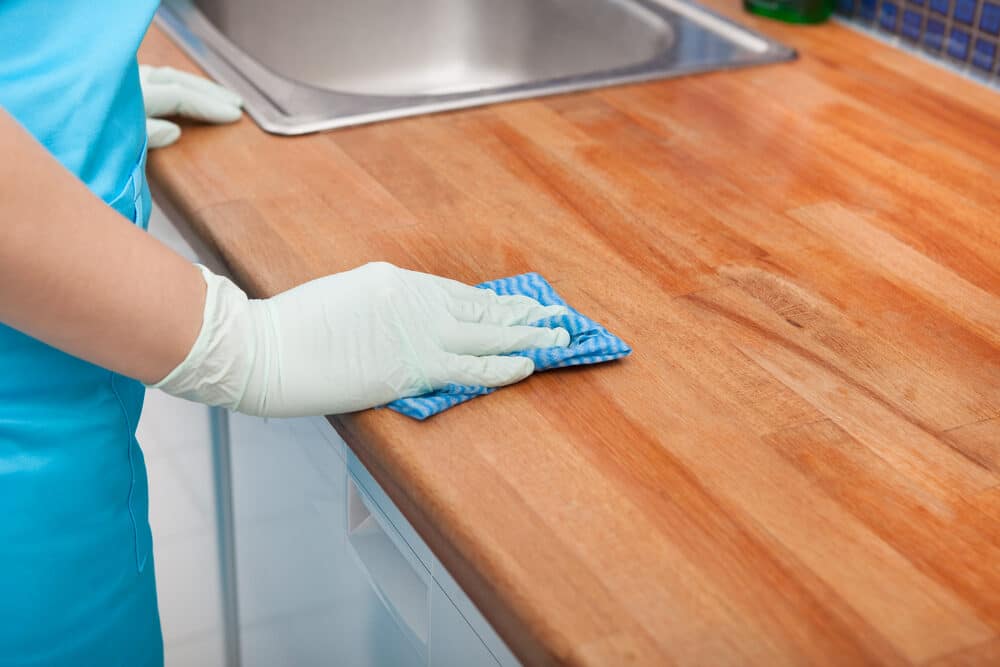
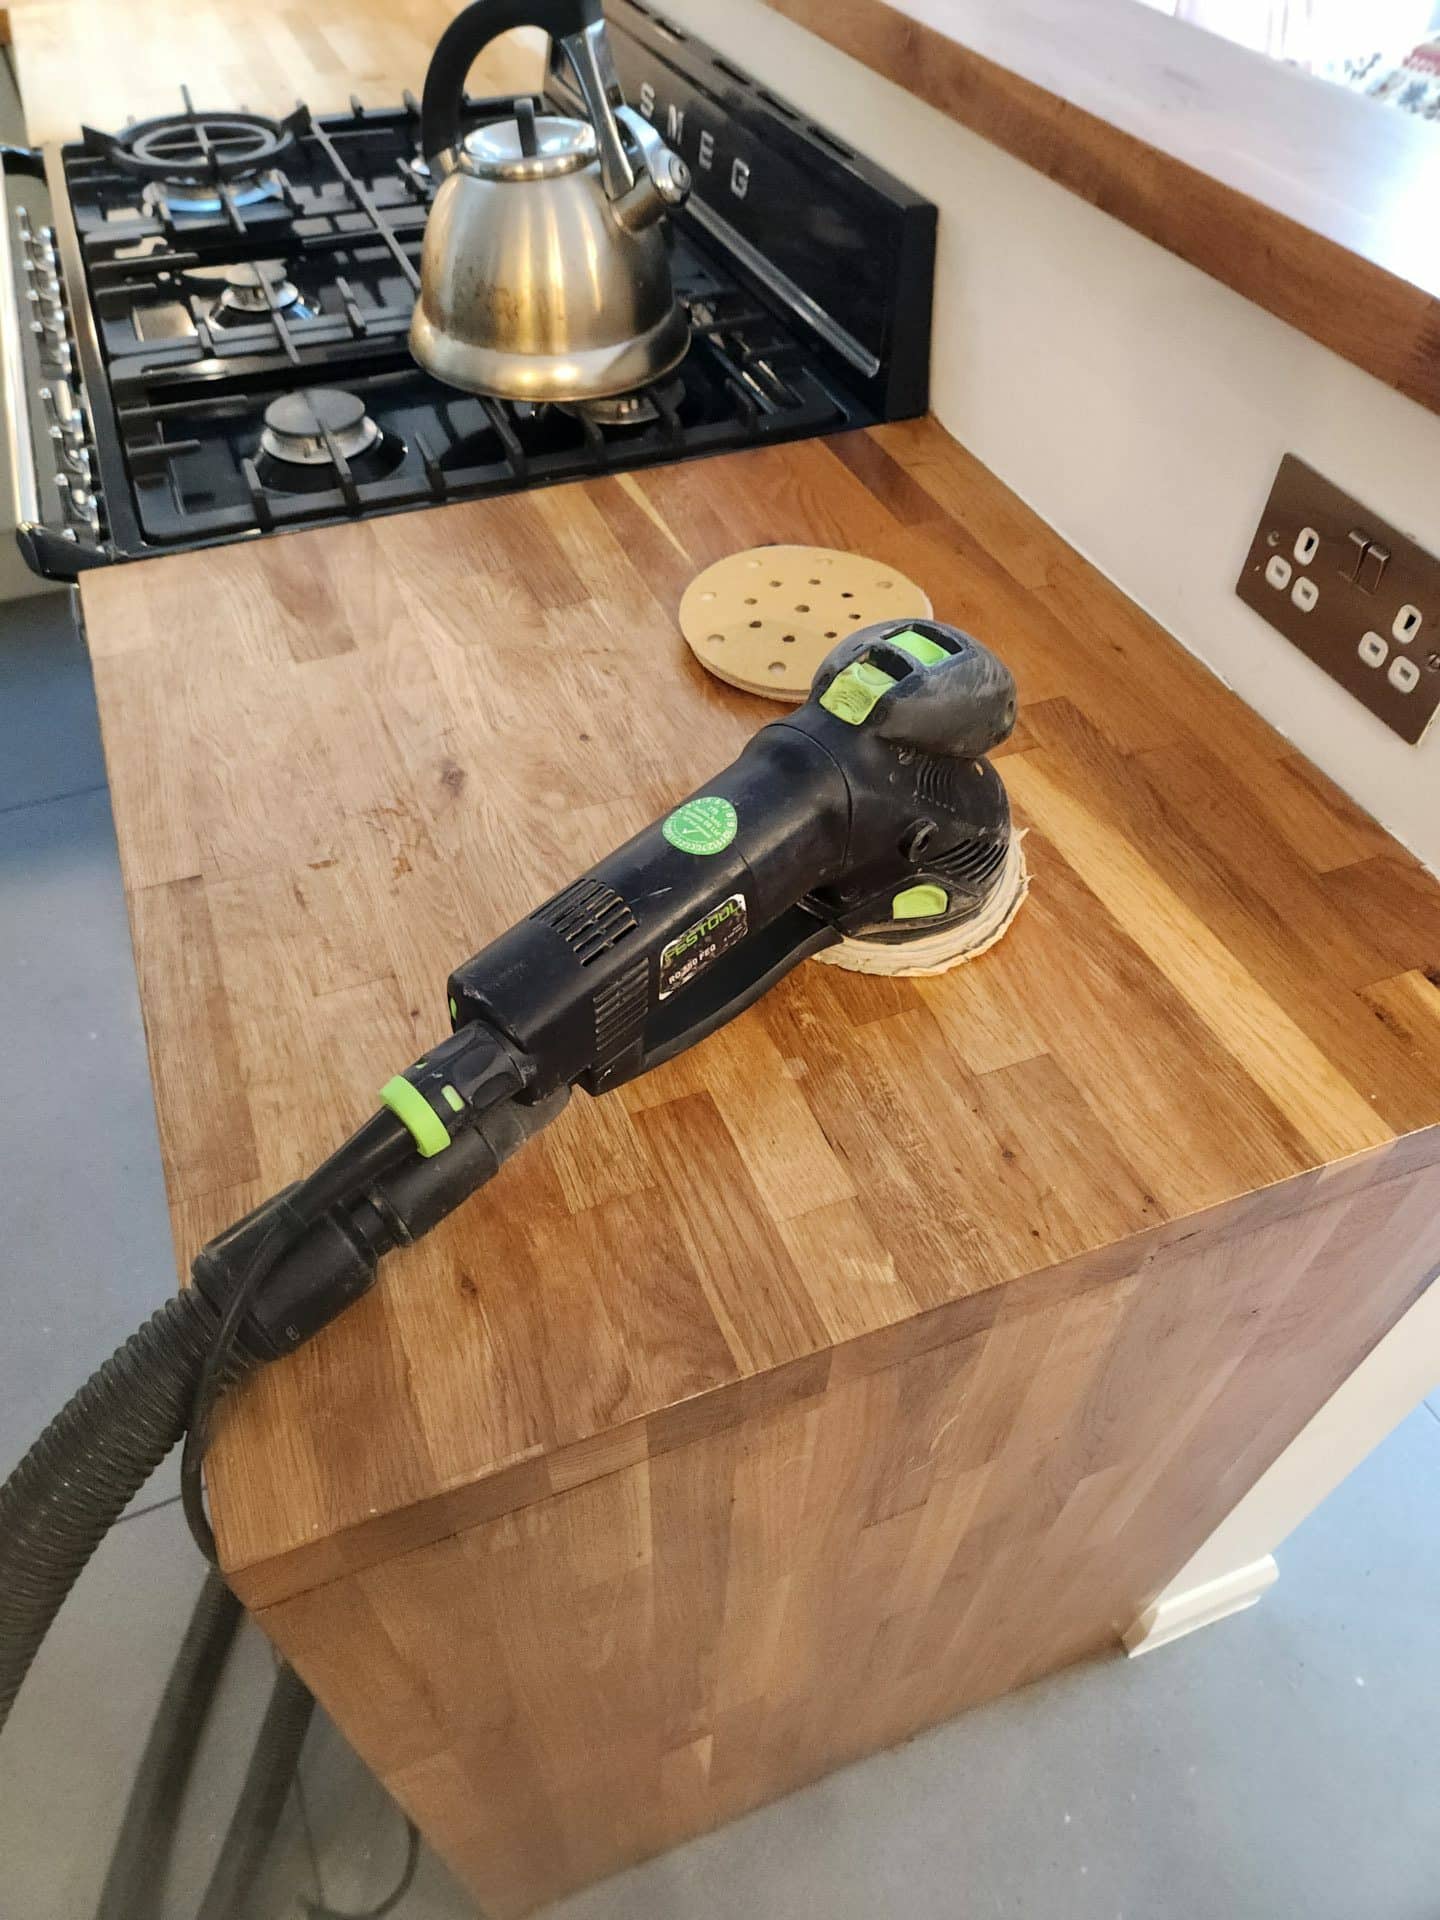
Kitchen Worktop sanding
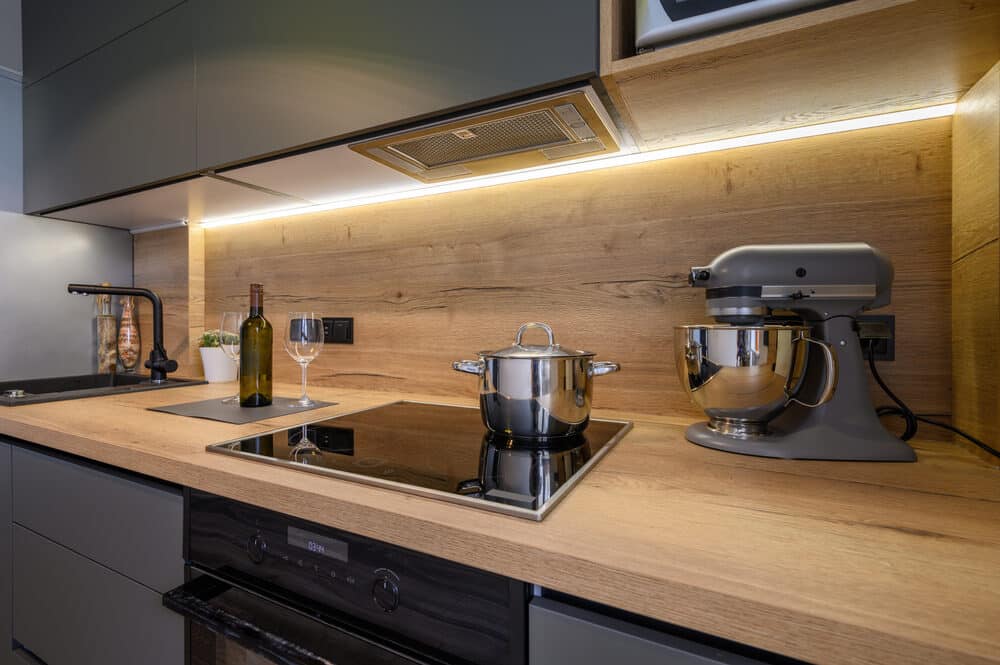
Efficient Restoration Techniques for Kitchen Worktops: Swift Solutions
Welcome to our comprehensive guide to speedy kitchen worktop restoration! The heart of the home, the kitchen, is where we spend a significant amount of our time, and the worktop is arguably one of the most used and abused surfaces in the house. From hot pots and pans to knife scratches, spills, and more, our kitchen worktops withstand a lot and often show the wear and tear of daily use. However, not everyone has the time or resources for a lengthy restoration process.
In this blog post, we will dive into the world of quick and efficient methods to restore your kitchen worktop to its former glory. Whether you’re dealing with scratches, stains, or just a lacklustre surface, our aim is to provide you with the quickest and most effective techniques to bring back the shine and health of your worktop without taking up too much of your precious time.
We understand that kitchen renovations can be costly and time-consuming. That’s why we’ve focused on methods that are not only speedy but also cost-effective and simple enough for anyone to undertake. From DIY tricks to professional tips, this guide is designed to help you navigate the restoration process with ease and confidence.
So, whether you’re a busy parent, a working professional, or just someone looking to spruce up their kitchen quickly, this guide has something for you. Let’s get started on making your kitchen worktop look as good as new in no time!
Understanding Your Worktop Material
Before embarking on the journey of restoring your kitchen worktop, it’s crucial to understand the material you’re working with. Each material has its own unique properties and requires specific care and restoration techniques. This section of the blog will guide you through identifying different types of kitchen worktops and understanding their unique needs.
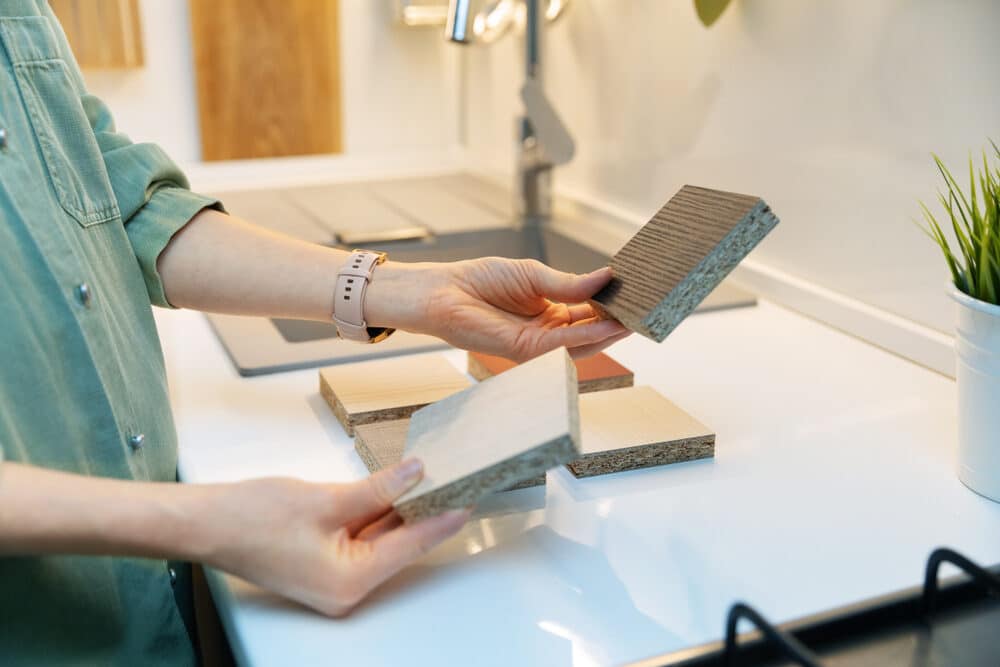
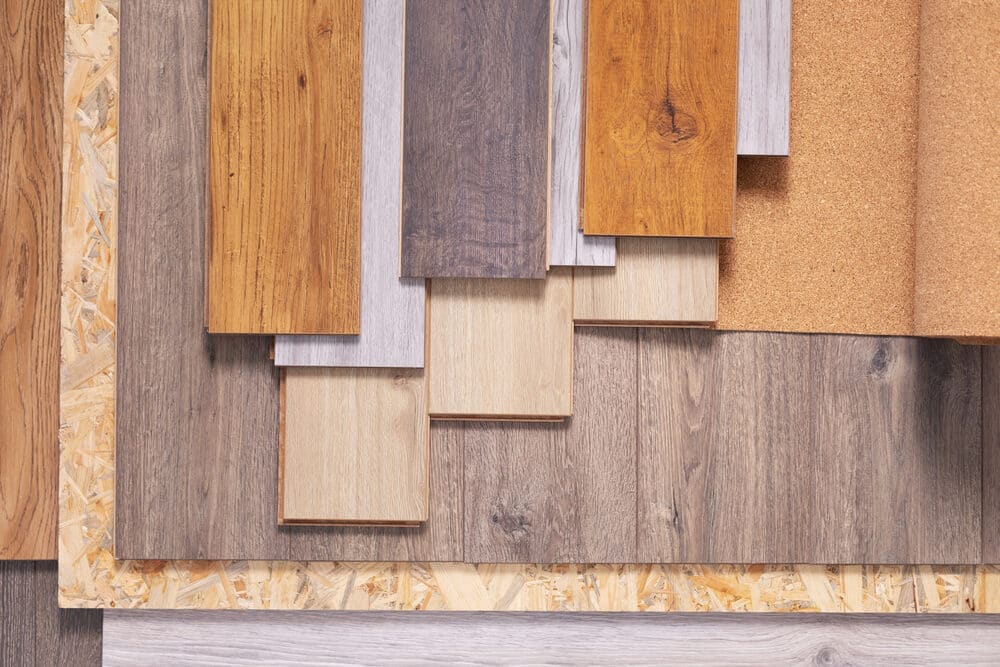
Types of Kitchen Worktop Materials
- Laminate: Affordable and versatile, laminate worktops are popular in many homes. They come in various colours and designs but can be prone to scratches and heat damage.
- Granite: Known for its durability and natural beauty, granite is a premium choice. It’s resistant to heat but can be susceptible to stains if not sealed properly.
- Quartz: This engineered stone offers a balance of beauty and resilience. It’s non-porous, making it stain-resistant, but harsh chemicals can damage its surface.
- Wood: Wooden worktops add warmth and character. They require regular maintenance and are susceptible to heat and water damage.
- Stainless Steel: Common in professional kitchens, stainless steel is hygienic and heat-resistant but can show fingerprints and scratches easily.
- Marble: Marble is a luxurious choice with a unique veining pattern. It’s porous and can be prone to staining and etching.
- Concrete: Growing in popularity, concrete worktops offer an industrial look. They need to be sealed properly and can be prone to cracking.
Understanding Material-Specific Needs
- Laminate: Avoid abrasive cleaners and use a soft cloth for cleaning. Minor scratches can be filled with a laminate repair paste.
- Granite: Regular sealing is essential to prevent staining. Use a pH-neutral cleaner for daily maintenance.
- Quartz: Avoid extreme heat and harsh chemicals. Clean with a soft cloth and mild detergent.
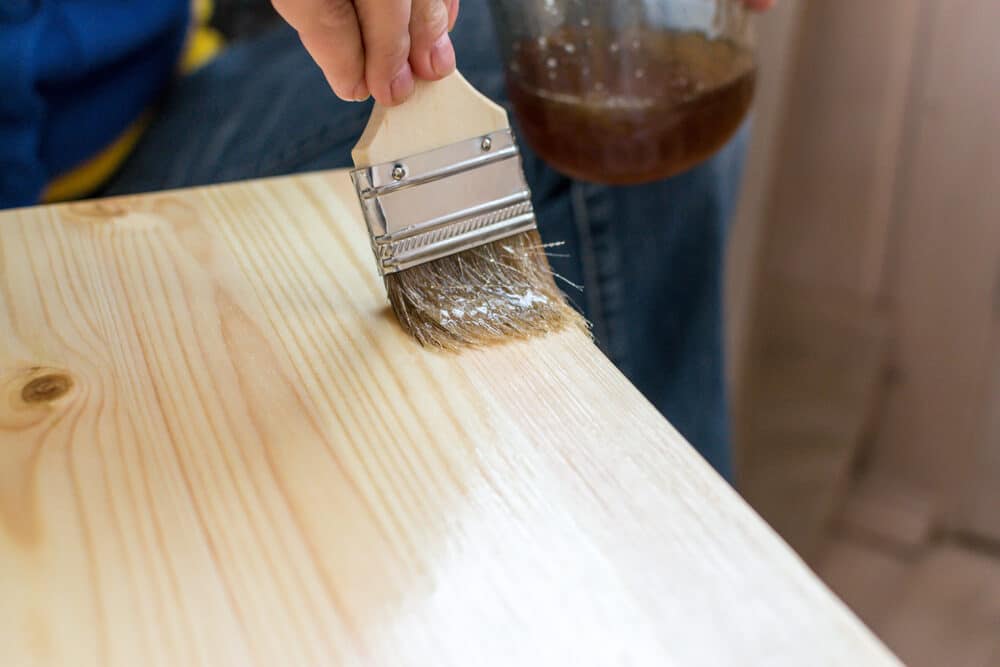
- Wood: Oiling and sanding are key to maintaining its appearance. Protect from direct heat and moisture.
- Stainless steel: Clean with mild detergent and use specific polishes to reduce scratching.
- Marble: Immediate cleaning of spills is crucial. Use a marble-specific sealer and cleaner for routine maintenance.
- Concrete: Regular sealing is required. Avoid acidic cleaners and use a pH-neutral soap for cleaning.
Preparation for Restoration
Proper preparation is key to ensuring a successful and efficient kitchen worktop restoration. This section of the blog will guide you through the essential steps to prepare your workspace and gather the necessary tools and materials for a quick and effective restoration process.
Cleaning and Clearing the Workspace
- Remove Clutter: Start by removing all items from your worktop. This includes small appliances, utensils, and any decorative items.
- Clean the Surface: Give your worktop a thorough cleaning to remove any dirt, grease, or residues. Use a cleaner appropriate for your worktop material. For tougher stains, a more specialised cleaning solution may be required.
- Protect Surrounding Areas: Use painter’s tape to protect edges and backsplashes. Cover nearby appliances and cabinets with plastic sheets or newspapers to prevent damage from cleaning agents or restoration materials.

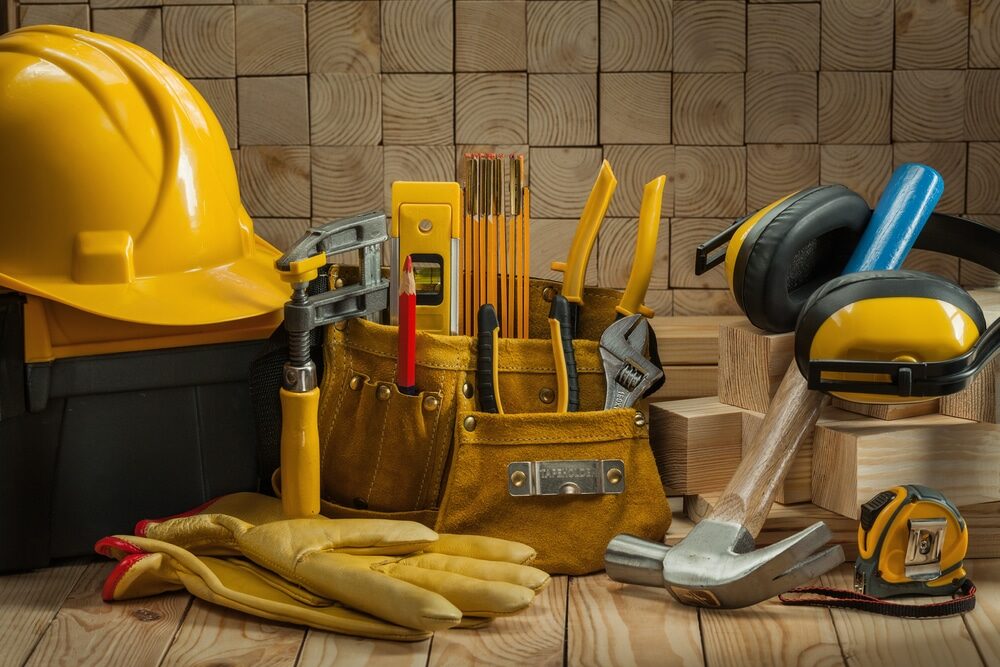
Necessary Tools and Materials
- Basic Tools: Gather basic tools like sponges, soft cloths, a scraper (for laminate or wood), and a brush. Have some rags or paper towels handy for spills.
- Restoration Supplies: Depending on your worktop material, you might need specific restoration supplies. This could include sandpaper (for wood), a stone polish (for granite or marble), a laminate repair kit, or a metal polish (for stainless steel).
- Safety Gear: Ensure you have gloves to protect your hands from cleaning agents and restoration materials. In some cases, wearing a mask or eye protection might be advisable, especially if you’re using strong chemicals or kitchen worktop sanding.
- Repair Kits: If you’re dealing with chips, cracks, or deep scratches, you may need a repair kit designed for your specific worktop material.
- Sealers and finishes: Have the right type of sealer or finish for your worktop material. This is especially important for porous materials like wood, granite, and marble.
Setting Up Your Workspace
- Good Lighting: Ensure you have good lighting in your kitchen. This helps in accurately assessing the condition of your worktop and ensures thorough restoration.
- Ventilation: Make sure your kitchen is well-ventilated, especially if you’re using strong chemicals or products with fumes.
- Organise Your Supplies: Arrange your tools and materials within easy reach. This helps in maintaining a smooth workflow and prevents any unnecessary interruptions.
Quick Fixes for Common Issues
Even the best-maintained kitchen worktops can encounter common issues like scratches, stains, and a lack of luster. This section of the blog will focus on quick and effective solutions to these typical problems, ensuring your worktop looks its best with minimal effort and time.
Dealing with Scratches and Minor Dents
- Laminate Worktops: Use a laminate repair paste or filler to address scratches. Choose a colour that matches your worktop for a seamless fix.
- Wooden Worktops: Light scratches can be buffed out using fine sandpaper, followed by oiling or resealing the surface. For deeper scratches, use wood filler before sanding and finishing.
- Stone Worktops (Granite, Marble, Quartz): Apply a stone-specific polishing powder or cream to buff out minor scratches. For deeper scratches, it might be necessary to call a professional.
Addressing Stains and Discoloration
- General Tips: Act quickly on spills, especially on porous surfaces like wood or marble, to prevent staining.
- Laminate and Solid Surface Worktops: Use a mild bleach solution or baking soda paste for tough stains. Gently rub the area and rinse thoroughly.
- Granite and Marble: Create a poultice of baking soda and water, apply it to the stain, and cover it with plastic wrap for 24 hours before washing it off.
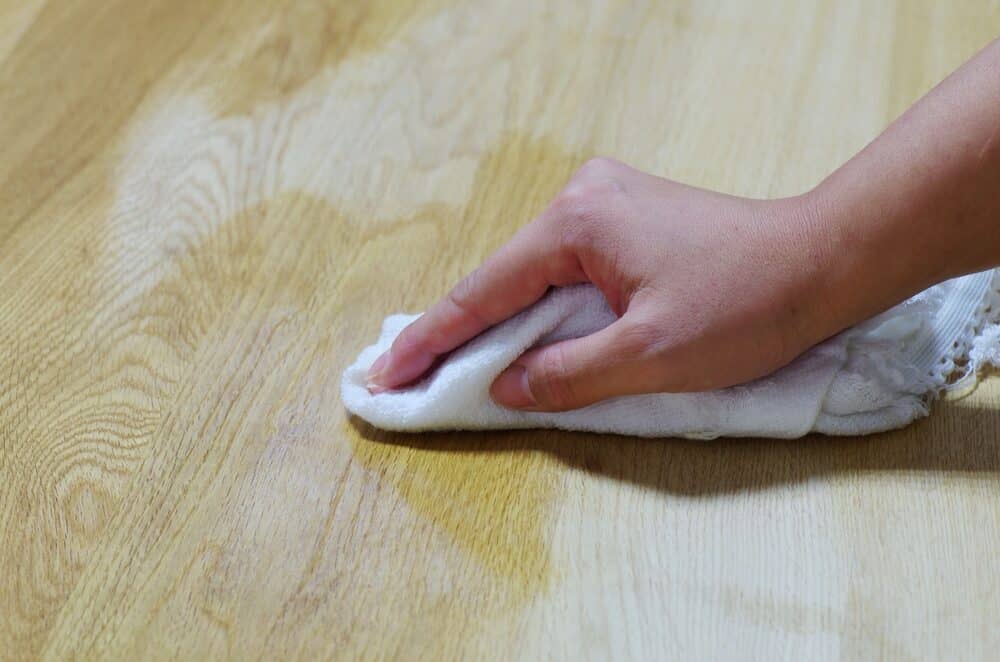
- Wood: For water stains, apply a mixture of vinegar and olive oil and gently rub the area. For tougher stains, sanding might be necessary.
Tips for Quick Shine and Polish
- Stainless Steel Worktops: Use a specialised stainless steel cleaner and a microfiber cloth for polishing. Vinegar can also be effective for removing fingerprints and smudges.
- Stone Worktops: Regularly apply a stone sealer for protection and shine. Use a stone-specific cleaner and a soft cloth for daily maintenance.
- Laminate Worktops: Clean with a mild detergent and water, then use a laminate polish or wax for extra shine.
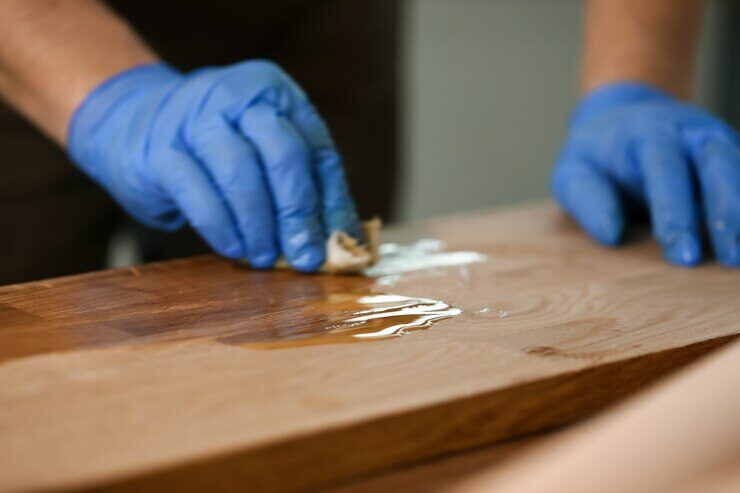
- Wooden Worktops: Oiling the wood can restore its luster. Use products like linseed oil or tung oil for a natural finish.
Additional quick solutions
- Heat Marks: For laminate, gently apply a mix of toothpaste and baking soda. For wood, use a soft cloth and iron over a towel to lift the mark.
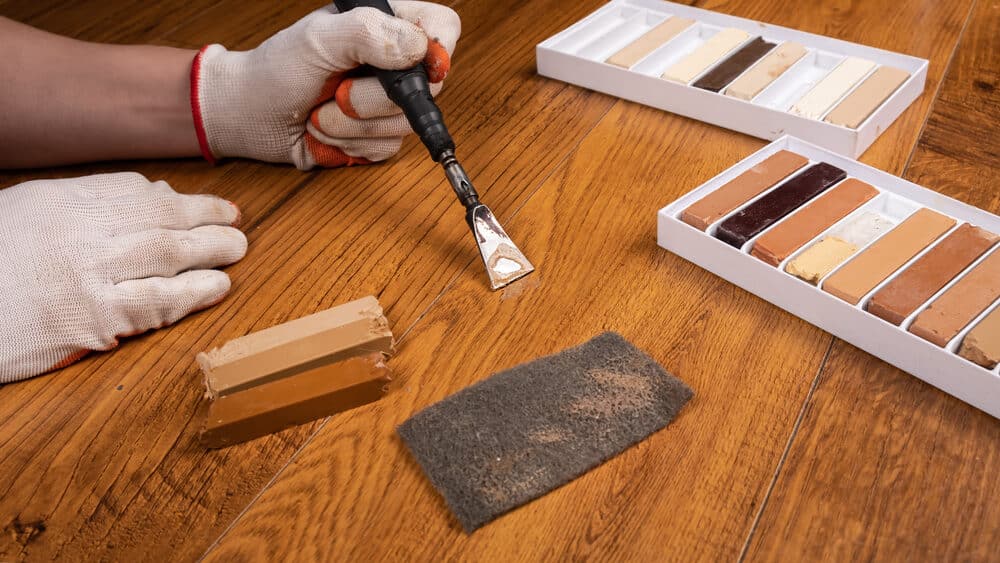
- Chips and cracks: Use a repair kit designed for your specific worktop material. These kits often come with colour-matching options.
DIY restoration techniques
Restoring your kitchen worktop doesn’t always require professional help. Many issues can be effectively handled with a bit of know-how and the right approach. This section will guide you through various do-it-yourself restoration techniques, along with some time-saving tips and hacks to rejuvenate your worktop with ease.
A Step-by-Step Guide for DIY Restoration
- Assess the Damage: Start by thoroughly inspecting your worktop to understand the extent and type of damage, be it scratches, stains, dullness, or chips.
- Gather Materials: Based on your assessment, gather the necessary tools and materials. This may include sandpaper, polish, sealants, repair kits, cleaners, etc.
- Surface Preparation: Clean the worktop surface thoroughly. For wood and stone surfaces, this might involve a light sanding to remove the top layer of damage.
- Scratch and Chip Repair:
- Laminate: Use a laminate repair kit to fill in chips and scratches.
- Wood: Apply wood filler for deeper scratches or chips, then sand smoothly.
- Stone: Use a stone repair kit for chips; for scratches, polishing compounds can be effective.
- Stain Removal:
- Apply the appropriate cleaning solution or homemade paste (like baking soda and water for stone) to the stain. For persistent stains, leaving the paste overnight covered with plastic wrap can help.
- Polishing and sealing:
- After the repair and cleaning, apply a suitable polish or oil (for wood) to bring back the shine.
- Seal the surface if necessary, especially for natural stone or wood, to protect against future damage.
Time-Saving Tricks and Hacks
- Multi-Purpose Products: Use products that serve multiple purposes, such as cleaners that also polish or sealants that fill small scratches.
- Preventative Measures: Regularly oiling wooden worktops or sealing stone surfaces can reduce the frequency of major restorations.
- Homemade Solutions: For mild cleaning, homemade solutions like vinegar and baking soda can be effective and save a trip to the store.
- Quick Fixes: For minor scratches on laminate, a closely matched permanent marker can provide a quick cosmetic fix.
DIY Safety Tips
- Wear protective gear: Always use gloves, and if sanding or using strong chemicals, consider a mask and eye protection.
- Proper Ventilation: Ensure good airflow in your working area, especially when using products with strong fumes.
- Follow Instructions: Whether it’s a DIY hack or a commercial product, always follow the instructions carefully to avoid further damage.
Professional Techniques at Home
Adopting professional restoration techniques for your kitchen worktop can elevate the quality of your DIY efforts, leading to more durable and visually appealing results. This section will explore how you can apply professional-style techniques in your own home to achieve that expert finish.
Adopting Professional Methods for Faster Results
- Deep Cleaning: Professionals often start with a deep clean using high-quality products. Consider investing in professional-grade cleaners that are suitable for your worktop material.
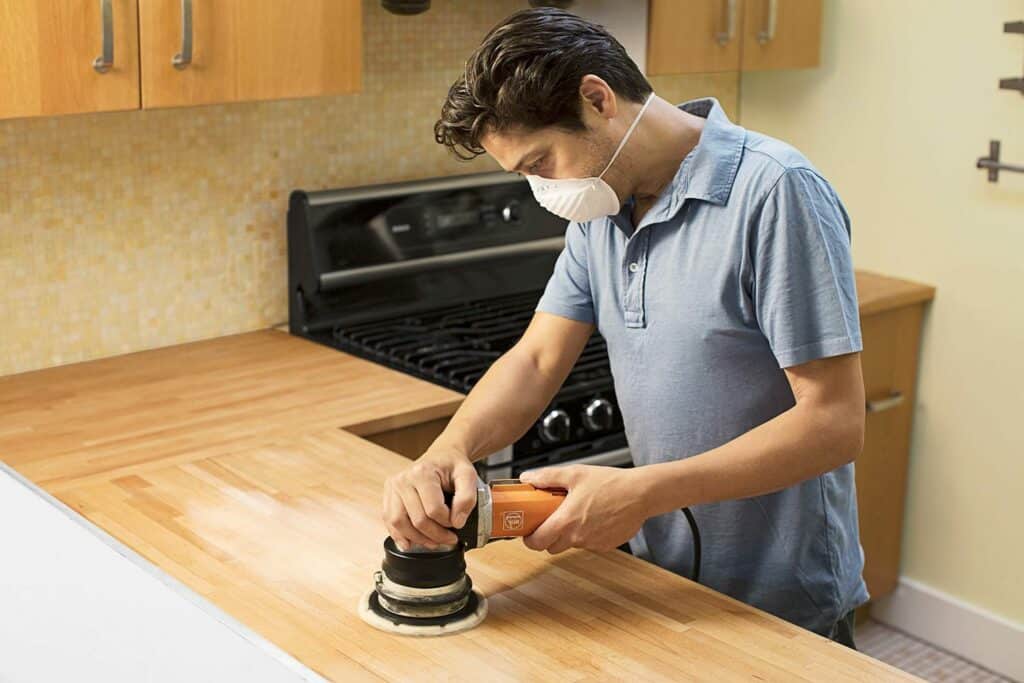
- Precision Sanding: For materials like wood and certain stones, sanding is a crucial step. Use a range of sandpaper grits, starting with a coarser grit and moving to a finer one for a smooth finish.
- Using a Buffer or Polisher: For stone and metal worktops, using a hand-held buffer or polisher can achieve a high-shine, smooth surface, much like professional results.
- Advanced Repair Techniques:
- Colour Matching: When filling in chips or cracks, take the time to precisely match the colour of the filler to your worktop.
- Epoxy Resin for Cracks: For materials like granite or marble, using epoxy resin can provide a durable and almost invisible repair.
- Protective Sealants: Professionals use high-quality sealants to protect worktops. Choose a sealant that’s best suited for your material and apply it carefully for long-lasting protection.
When to Consider Calling in a Professional
- Extensive Damage: If the damage is extensive or the worktop requires large-scale resurfacing, it might be best to call in a professional.
- Specialised Materials: Certain materials, like high-end stone or specific metal finishes, may require specialised techniques and tools that are best handled by a professional.
- Guaranteed Results: For those seeking guaranteed, long-lasting results, especially in cases of expensive worktop materials, professional services might be the safer bet.
Maintenance Tips to Prolong Results
- Regular Cleaning: Keep the worktop clean and address spills immediately to prevent staining and etching.
- Periodic Re-sealing: For natural stone worktops, re-sealing periodically can extend their lifespan and beauty.
- Use of Protective Mats and Boards: Use mats, trivets, and cutting boards to protect the surface from scratches, heat, and stains.
- Avoid Harsh Chemicals: Stick to cleaners recommended for your specific worktop material to avoid damaging the surface.
Maintenance Tips to Avoid Frequent Restorations
Proper maintenance is key to extending the life and beauty of your kitchen worktops. Regular care not only helps in avoiding frequent restorations but also ensures your worktop remains a highlight of your kitchen. This section will provide essential maintenance tips tailored to different types of worktop materials.

Daily and Weekly Maintenance Routines
- Daily Cleaning:
- Wipe down the worktop every day with a soft cloth or sponge and a mild cleaner suitable for your worktop material.
- Avoid letting spills sit, especially on porous materials like wood or marble.
- Weekly Checks:
- Once a week, inspect your worktop for any new scratches, stains, or other issues.
- Use this opportunity to give your worktop a more thorough clean, possibly using specialised cleaners.
Material-Specific Maintenance Tips
- Laminate:
- Avoid placing hot items directly on the surface.
- Use a mild detergent for cleaning and avoid abrasive scrubbers.
- Granite and marble:
- Use coasters under all glasses, especially those containing alcohol or citrus juices.
- Regularly reseal the surface to prevent staining.
- Quartz:
- Although it’s non-porous, avoid harsh chemicals that might damage the surface.
- Use a glass cleaner for a shiny finish.
- Wood:
- Regular oiling or waxing is essential to prevent drying and cracking.
- Immediately dry any water spillage to avoid warping.
- Stainless Steel:
- Frequently wipe with a cleaner designed for stainless steel to maintain shine and prevent fingerprints.
- Use a microfiber cloth to avoid scratches.
- Concrete:
- Regularly apply sealer and wax to prevent stains and scratches.
- Clean spills quickly to avoid absorption.
Preventive Measures to Prolong Worktop Life
- Use protective gear.
- Always use cutting boards, trivets, and hot pads to protect the worktop surface from scratches, heat, and stains.
- Avoid direct sunlight.
- For materials like wood and laminate, protect them from prolonged exposure to direct sunlight to prevent fading.
- Regular Resealing:
- For natural stone worktops, resealing them every 6 to 12 months can help prevent stains and erosion.
- Tackle small problems immediately.
- Address small chips, scratches, or stains promptly before they become bigger issues.
Product Recommendations
Choosing the right products is essential for effectively maintaining and restoring your kitchen worktops. This section will provide recommendations for some of the best products for quick and effective restoration, suitable for various types of worktop materials. These recommendations are based on effectiveness, ease of use, and user reviews.
Best Products for Quick and Effective Restoration
- For laminated worktops:
- Repair Kits: Laminate Fix-All Adhesive or Cramer Ceramic/Enamel Repair Kit for chips and scratches.
- Polish: Rejuvenate Countertop Polish or Weiman Laminate and Stone Countertop Cleaner.
- For granite and marble worktops:
- Cleaners: Granite Gold Daily Cleaner or Method Daily Granite Cleaner.
- Sealers: TriNova Granite Sealer & Protector or StoneTech BulletProof Sealer.
- Polish: Weiman Granite Polish or Supreme Surface Granite, Quartz, and Marble Treatment.
- For Quartz Worktops:
- Cleaners: Quartz Brite or Method Daily Granite Cleaner.
- Polish: Hope’s Perfect Countertop Cleaner and Polish.
- For wooden worktops:
- Oils/Waxes: Howard Butcher Block Conditioner or John Boos Mystery Oil.
- Cleaners: Method Wood for Good Daily Clean or Therapy Wood Cleaner and Polish Kit.
- For stainless steel worktops:
- Cleaners/Polish: Weiman Stainless Steel Cleaner & Polish or Therapy Stainless Steel Cleaner & Polish.
- Microfiber Cloths: For a scratch-free shine.
- For concrete worktops:
- Sealers: Cheng Concrete Countertop Wax or Tuff Duck Concrete Countertop Sealer.
- Cleaners: Rock Doctor Natural Granite Cleaner or StoneTech Revitalizer Cleaner.

Review of Top Restoration Kits and Tools
- General Repair Kits:
- MagicEzy Stone Fix: Great for quick fixes on natural stone surfaces.
- Unika ColorFill Worktop Joint Sealer and Repairer: Ideal for laminate worktops.
- Specialised Tools:
- Miracle Blade III Perfection Series: Excellent for precision cutting during restoration work.
- Worktop Jigsaw Blades: For precise cutting on laminate and wood surfaces.
- Safety Gear:
- 3M Safety Glasses and Nitrile Gloves: Essential for personal protection during restoration.
Safety and Effectiveness
When using these products, always read and follow the manufacturer’s instructions. Test any product on a small, inconspicuous area first to ensure it does not damage the surface. Additionally, wearing appropriate safety gear, like gloves and glasses, is recommended when handling chemicals or performing any cutting or sanding tasks.
Safety Precautions
When undertaking any kind of kitchen worktop restoration, safety should always be a top priority. This section will outline important safety precautions to ensure a secure and harm-free restoration process. Adhering to these guidelines will protect not only you but also the integrity of your kitchen work surfaces.
Ensuring a Safe Restoration Process
- Read and Follow Product Instructions: Always read the labels and instructions of any products or tools you’re using. This includes understanding the correct application methods and any safety warnings.
- Proper Ventilation: Ensure good air circulation in your work area, especially when using products that emit fumes or have strong odors. Open windows or use a fan to dissipate fumes.
- Wear protective gear.
- Gloves: Wear durable gloves to protect your hands from chemicals, sharp objects, and rough surfaces.
- Eye Protection: Use safety goggles or glasses to prevent debris or harmful substances from getting into your eyes.
- Respiratory Protection: If sanding or using volatile substances, wear a mask or respirator to avoid inhaling dust or fumes.
- Safe Handling of Tools and Equipment: Use all tools, especially power tools like sanders or saws, with care. Follow the manufacturer’s guidelines and use any safety guards provided.
Handling Tools and Materials Responsibly
- Secure Materials: Make sure your worktop and any materials you’re working with are stable and securely positioned to prevent slipping or moving unexpectedly.
- Electric Safety: If using electrical tools, check the cords for damage and ensure your hands are dry. Avoid overloading power outlets.
- Chemical Safety: When handling chemicals, such as cleaners or sealants, avoid direct contact with the skin and eyes. Don’t mix chemicals unless explicitly instructed.
- Sharp Object Precautions: When using knives or blades, cut away from your body and keep blades sharp for safer and more efficient cutting.
After Restoration Care
- Proper Disposal: Dispose of any waste materials or chemical containers according to local regulations.
- Clean-up: After completing your restoration, thoroughly clean your workspace to remove any hazardous residues.
- Check Your Work: Ensure all repairs are stable and dry and that there are no sharp edges or hazardous remnants left on the worktop.
Conclusion
As we conclude our journey through the world of “Speedy Kitchen Worktop Restoration: The Quickest Methods,” let’s take a moment to reflect on what we’ve learned. The importance of understanding your worktop material cannot be overstated; each type, be it laminate, granite, wood, or stainless steel, has unique needs and responds differently to restoration techniques. We delved into the essentials of preparation, highlighting the importance of a clean and organised workspace, along with the right tools and materials for the job.
We also explored a variety of quick fixes for common issues such as scratches, stains, and dullness, emphasising the significance of addressing these problems promptly to maintain the worktop’s appearance and longevity. Our guide through DIY restoration techniques illustrated that with the right approach and a bit of elbow grease, you can achieve professional-looking results at home. We also discussed how incorporating professional methods can elevate the quality of your DIY efforts, leading to more durable and visually appealing finishes.
Maintenance was another key topic, where we stressed the importance of regular upkeep to prolong the life and beauty of your worktops, thus minimising the need for frequent restorations. The product recommendations provided aim to assist you in choosing effective solutions for your specific worktop material.
Finally, we underscored the criticality of safety precautions throughout the restoration process. By following these guidelines, you can ensure a safe, effective, and satisfying restoration experience.
In essence, this guide aimed to empower you with the knowledge and skills needed to keep your kitchen worktops in pristine condition. Whether you’re a seasoned DIY enthusiast or a beginner, the tips and techniques shared here should help you confidently tackle worktop restoration, ensuring that your kitchen remains not only a functional space but also a beautiful and inviting centrepiece of your home.

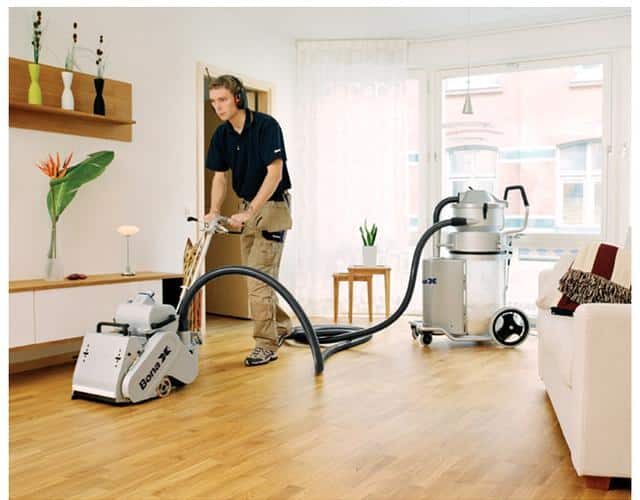
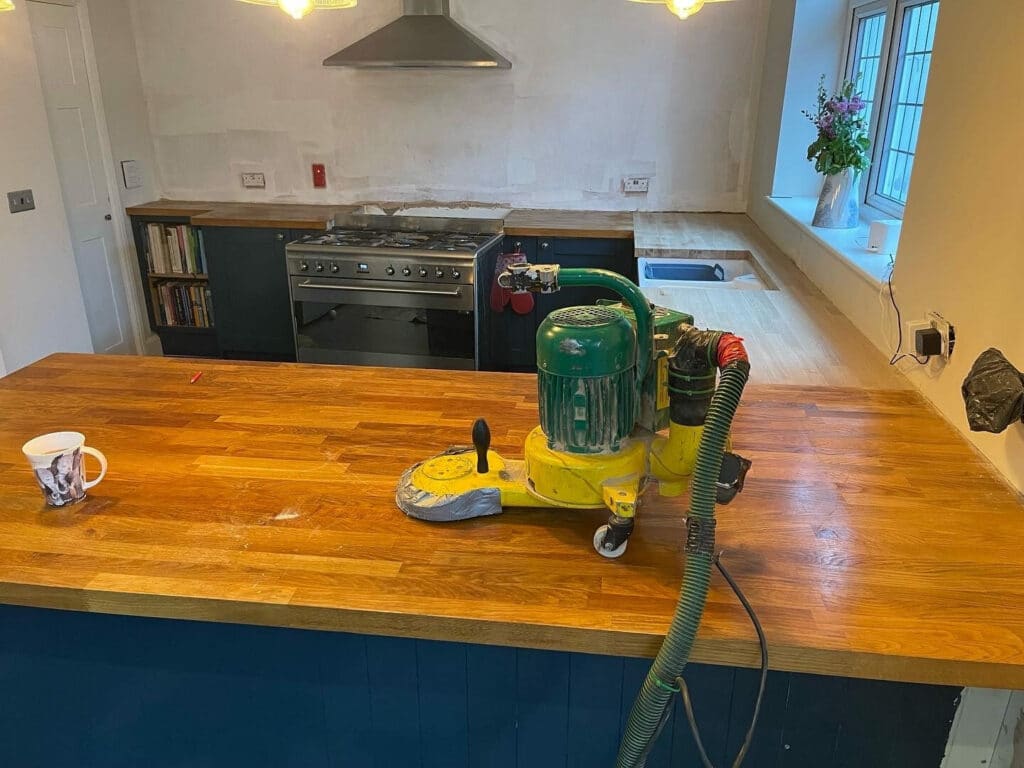
Sanding
We provide virtually dust-free sanding with our continuous belt machinery with mobile extraction units, giving you a safer environment for your family.
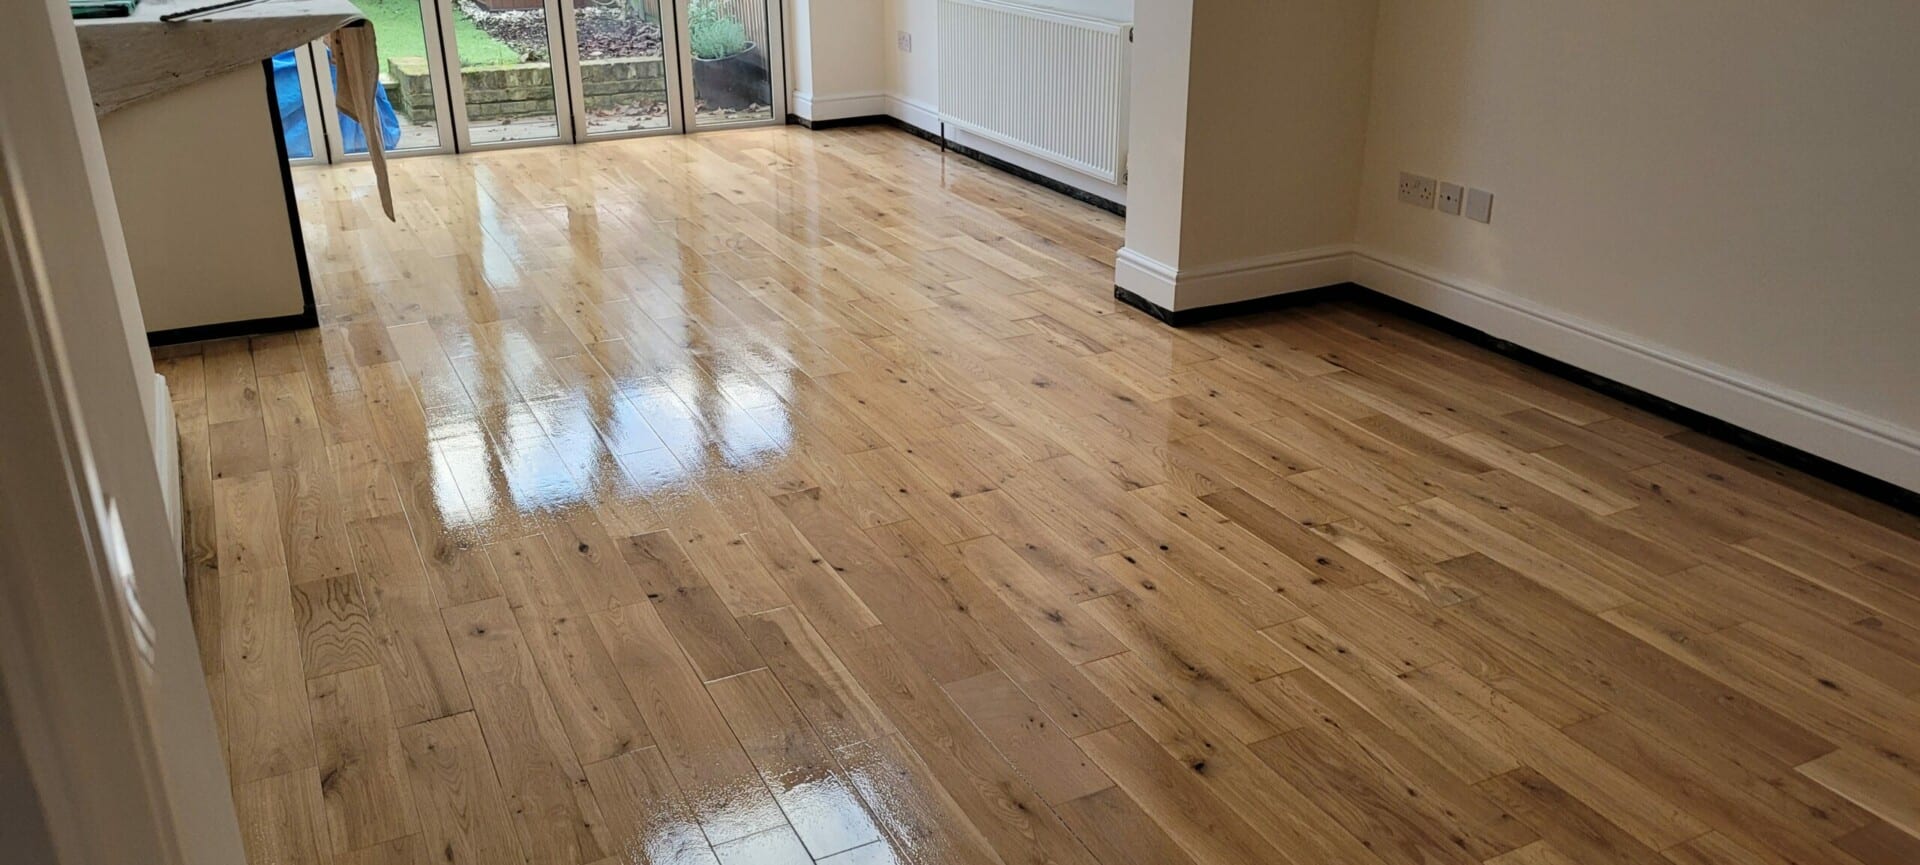
Oiling
This organic finish not only adds beauty to your home but also has exceptional water-repellent characteristics, making it easier to clean and maintain.
Waxing
This natural floor finish offers the softest and most mellow appearance – and leaves your floor able to breath.
Buffing
Using soft buffing machines (and hand-polishing where required) will bring a wonderful sheen to your newly-finished floor.
Repairs
We offer a full assessment of your wooden floors to determine what repairs are needed to provide the perfect working surface for the later stages of sanding, staining and sealing.
Restoration
We offer a comprehensive restoration process designed to address floors that are improperly fitted or damaged over time through wear and tear.
Request a fixed price quote for your wood floor restoration now
Simply enter your postcode below to get started.
Services
Wood Floor Sanding Wood Floor Restoration Wood Floor Scratch Repair Squeaky Wood Floor Repair Parquet Floor Sanding Parquet Floor Restoration Commercial Floor Sanding Church Floor Sanding Community Centre Floor Sanding School Floor Sanding Gap Filling Gap Filling with ResinCopyright © Mr Sander®
Privacy & Cookies Terms & Conditions Complaints Procedure Cancellation Rights Sitemap

Get An Instant Price Estimate Before You Go…
Simply enter the rooms you need sanded and we’ll provide you with a price estimate instantly! Try our price calculator now.
Get a Price Estimate NowLocal Floor Sanding Experts
Over 500 5-Star Reviews
Safe, Dust Free Sanding
Operating Since 1994