London:
Nationwide:
25,000+
Floors Restored
27 Years Experience
Wood Flooring Association Certified
Choosing the Right Sandpaper Grit for Kitchen Worktop Sanding
Posted on December 25, 2023
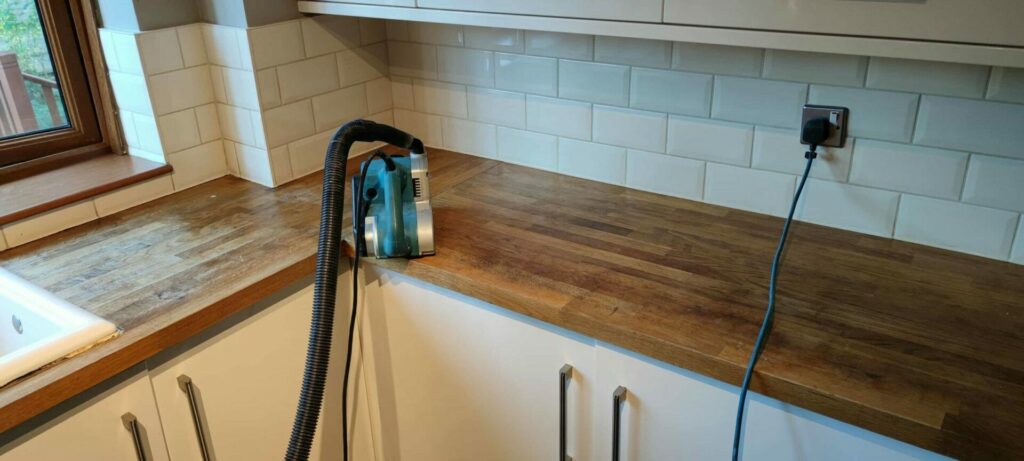
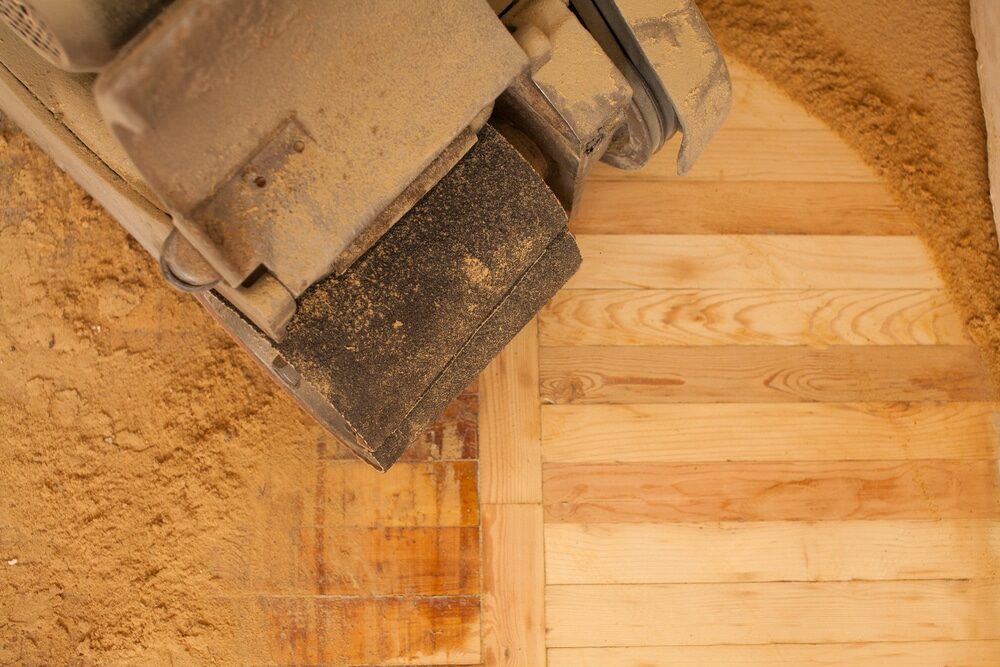
Kitchen Worktop sanding
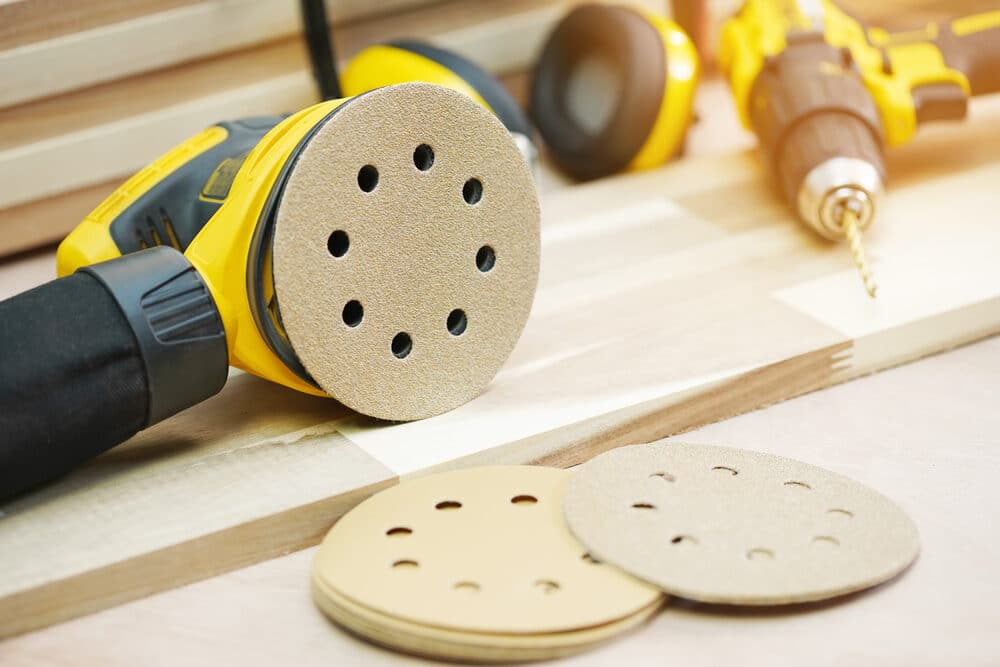
Mastering Kitchen Worktop Sanding: Selecting the Perfect Sandpaper Grit
Welcome to our comprehensive guide on choosing the right sandpaper grit for kitchen worktop sanding. The kitchen is the heart of every home, and its worktops play a crucial role in both functionality and aesthetics. Over time, these surfaces can become worn, scratched, or outdated, necessitating a refresh. This is where the art of sanding comes in, transforming an old worktop into a rejuvenated centrepiece.
Sanding might seem straightforward, but selecting the correct sandpaper grit is pivotal to achieving the desired finish. It’s not just about making the surface smooth; it’s about understanding the nuances of wood grain, the impact of different grit sizes, and the final look you want to achieve. In this guide, we’ll navigate through the complexities of sandpaper grit, helping you make informed decisions for your kitchen worktop sanding project.
Whether you’re a DIY enthusiast tackling a home renovation or someone curious about the intricacies of woodwork, this post will provide you with valuable insights. From understanding grit numbers to learning the step-by-step process of sanding, we’ve got you covered. Let’s embark on this journey to transform your kitchen worktops into stunning, smooth surfaces that enhance the beauty of your kitchen.
Understanding Sandpaper Grit
Sandpaper is an essential tool in any woodworking or refinishing project, and its effectiveness largely depends on its grit. But what exactly is sandpaper grit, and why is it so important, especially when it comes to kitchen worktop sanding? This section will delve into these questions, providing a clear understanding that will guide your selection process.
Definition and Significance of Sandpaper Grit
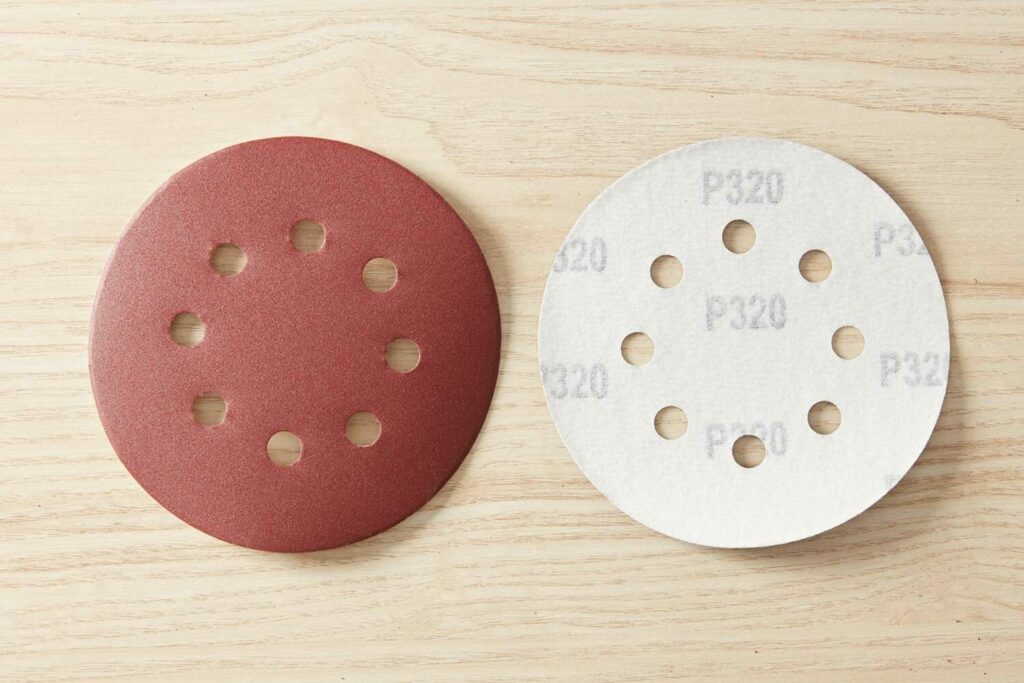
Grit refers to the size of the abrasive particles embedded in the sandpaper. These particles do the actual work of scraping off the surface material, whether it’s wood, paint, or varnish. The number representing the grit size, commonly found on the back of sandpaper sheets, indicates the number of abrasive particles per square inch. Essentially, the lower the number, the coarser the sandpaper, and vice versa. This measurement is crucial because it determines how much material the sandpaper will remove and the smoothness of the surface after sanding.
Grit numbers explained
Sandpaper grit numbers typically range from very coarse (around 40–60 grit) to very fine (up to 1000 grit or more). For kitchen worktops, understanding this range is key.
- Coarse Grit (40–60): These are used for heavy-duty sanding, removing old paint or varnish, and smoothing out rough surfaces. They’re rarely used for finishing work, as they can leave noticeable scratches.
- Medium Grit (80–120): Ideal for initial sanding of moderately rough surfaces. These grits strike a balance between removing material and not leaving overly rough surfaces.
- Fine Grit (150–220): Used for final sanding before applying a finish. Fine grits smooth out the small imperfections left by medium grits and prepare the wood for sealing or painting.
- Extra Fine Grit (240 and above): These are typically used for finishing touches or between coats of paint or varnish. They help achieve a glass-smooth finish.

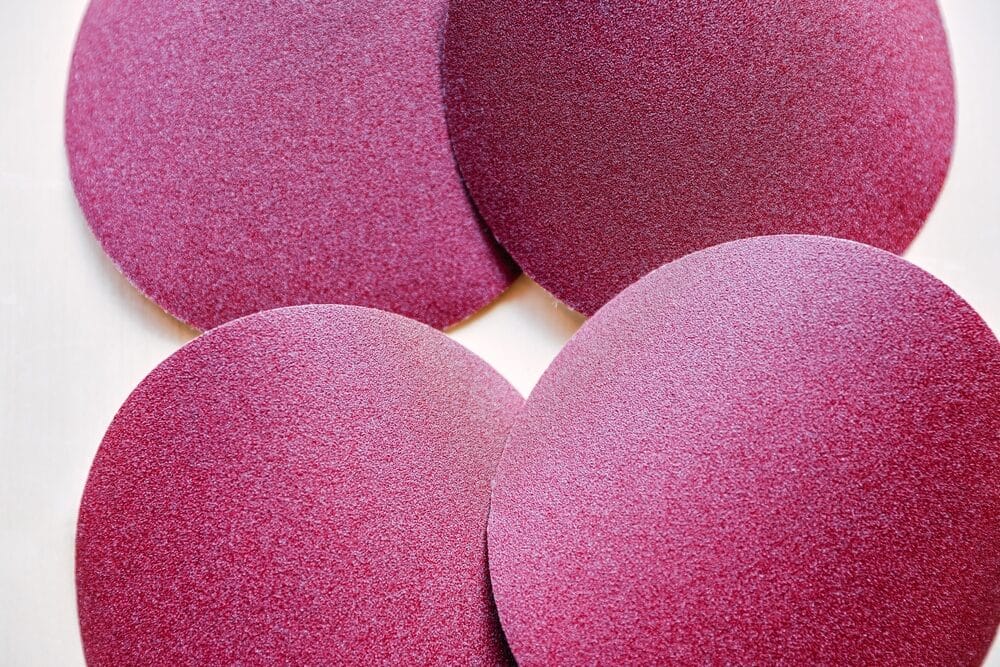
Types of Sandpaper for Kitchen Worktops
When it comes to sanding kitchen worktops, the type of sandpaper you use is just as important as the grit. Different materials and coatings on the sandpaper can impact the efficiency and outcome of your project. Here, we will explore the various types of sandpaper available and discuss their pros and cons, helping you select the best option for your kitchen worktop.
1. Aluminium Oxide Sandpaper
- Description: A synthetic material, aluminium oxide, is durable and well-suited for sanding wood. It’s often used for power-sanding, and its longevity makes it a cost-effective choice for larger projects.
- Pros: long-lasting, doesn’t dull quickly, and suitable for various stages of sanding, from rough to fine.
- Cons: It can be more expensive than other types, and the sharpness of the grit can sometimes leave deeper scratches.

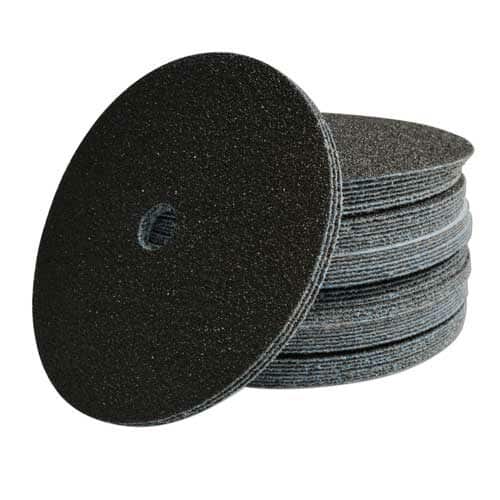
2. Silicon Carbide Sandpaper
- Description: Known for its sharp and hard characteristics, silicon carbide is ideal for smooth finishes. It’s typically used on harder surfaces or materials like stone, but it works well for fine-sanding wood.
- Pros: Excellent for achieving a smooth finish, works well on hardwoods, and is great for wet sanding.
- Cons: It wears out faster than aluminium oxide, making it less ideal for initial, rougher sanding stages.
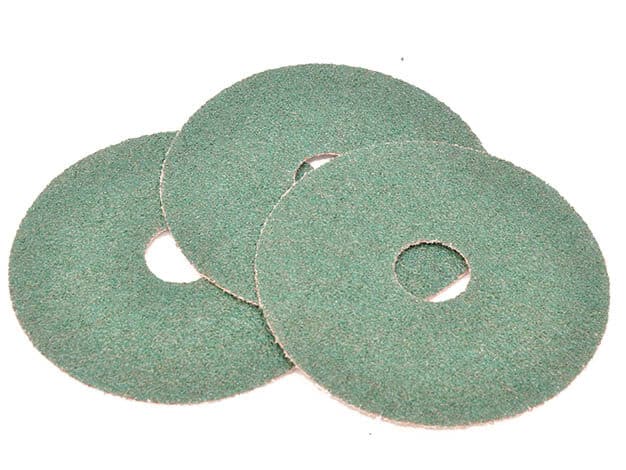
3. Ceramic Sandpaper
- Description: Extremely durable and used primarily in industrial applications, ceramic sandpaper is suitable for heavy-duty sanding.
- Pros: It is extremely long-lasting, retains its grit well, and is excellent for rapid material removal.
- Cons: Often more expensive and may be overkill for typical kitchen worktop projects.
4. Garnet Sandpaper
- Description: Made from natural garnet particles, this type of sandpaper is softer than synthetic types. It’s particularly effective for hand-sanding and gives wood a smoother finish.
- Pros: It produces a finer finish, is ideal for hand sanding, and is eco-friendly.
- Cons: It wears out faster than synthetic options and is not suitable for heavy-duty sanding.
5. Emery Sandpaper
- Description: Often used for metal sanding, emery sandpaper can be used for wood, especially when aiming for a distressed look or working on edges.
- Pros: Good for removing roughness on edges and unique applications.
- Cons: Not the best choice for standard worktop sanding due to its coarseness and primary use for metal.

Assessing Your Kitchen Worktop
Before embarking on the sanding process, it’s crucial to assess the condition and type of your kitchen worktop. This step is essential in determining the appropriate sandpaper grit and type, as well as the sanding technique to use. Here’s how to effectively assess your kitchen worktop:
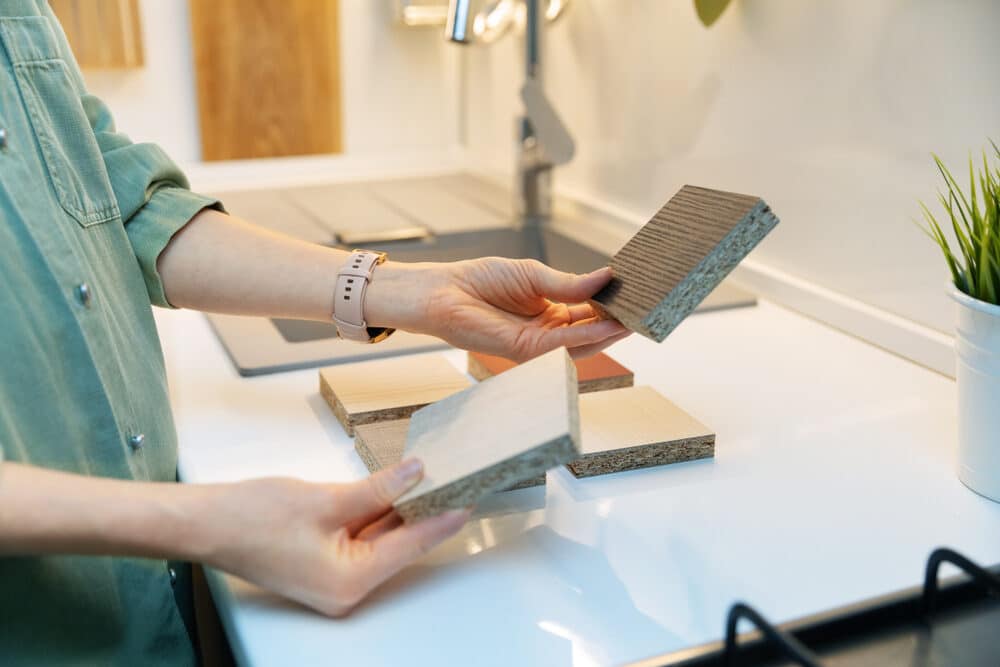
1. Identifying the Worktop Material
- Wood Types: Determine if your worktop is made of softwood, hardwood, or a composite material. Hardwoods like oak and maple require different sanding approaches compared to softwoods like pine.
- Existing Finishes: Look for any existing finishes, such as varnish, paint, or oil. The type of finish will affect how much sanding is needed and the choice of sandpaper.
2. Analysing the worktop’s condition
- Surface Damage: Check for any deep scratches, dents, or water damage. These issues might require more aggressive sanding or even wood filler before sanding.
- Wear and tear: Evaluate the overall wear and tear. A worktop that’s been heavily used may need more extensive sanding compared to one with minimal usage.
3. Pre-Sanding Considerations
- Cleaning the Surface: Ensure the worktop is clean and free of debris. Any residue or particles can affect the sanding process.
- Safety Precautions: Consider safety measures like wearing a dust mask and ensuring good ventilation, especially if the worktop has an old finish that could contain harmful substances.
4. Determining Sanding Goals
- Desired Finish: Decide on the type of finish you want to achieve. Are you looking for a completely smooth surface for a new coat of paint or varnish, or a lightly sanded surface for re-oiling?
- Visual Inspection: A thorough visual inspection can help determine the extent of sanding required. Look for uneven areas, discoloration, or an old finish that needs to be removed.
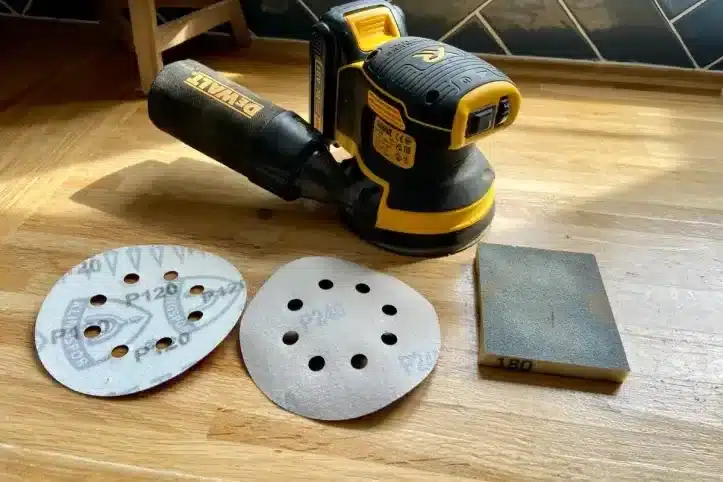
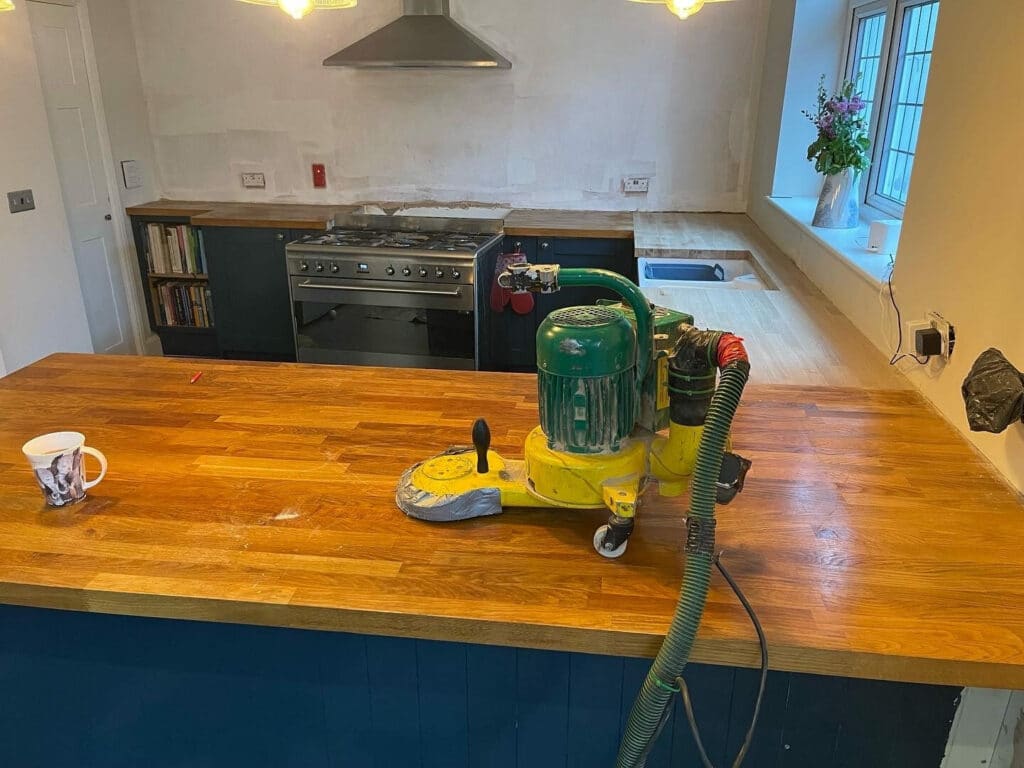
5. Tools and Materials
- Selecting the Right Tools: Depending on the size and condition of the worktop, you may need hand sanding blocks, power sanders, or both.
- Gathering Materials: Alongside sandpaper, have other materials like wood filler, sealants, or stains ready, depending on the worktop’s needs.
Choosing the Right Grit for Your Project
Selecting the appropriate sandpaper grit is critical to the success of your kitchen countertop sanding project. The right grit not only ensures efficient material removal but also contributes to the desired finish. Here’s a guide to help you choose the best grit for your specific needs:
1. For Coarse Sanding: Starting the Process
- Grit Range: 40–60 grit
- Use Cases: Ideal for removing old finishes, heavy stains, or severe damage. This range is best for worktops that require significant material removal.
- Caution: Coarse grit can leave noticeable scratches, so it’s typically used in the initial stages of sanding.
2. Transition to Medium Grit: Smoothing Out
- Grit Range: 80–120 grit
- Use Cases: Once the major flaws are removed, transition to medium grit. This range is great for smoothing out the rough texture that coarse sanding leaves behind.
- Advantage: It helps in preparing the wood for finer grits without causing excessive wear or damage.
3. Fine Grit for Finishing Touches
- Grit Range: 150–220 grit
- Use Cases: Perfect for the final sanding before applying a finish. Fine-grit sandpaper smooths out any minor imperfections and prepares the surface for sealing or painting.
- Result: A smoother, more consistent surface is ideal for final finishes.
4. Extra Fine Grit: The Final Finish
- Grit Range: 240 and above
- Use Cases: Used between coats of paint or varnish, or for achieving an ultra-smooth finish.
- Importance: Extra fine grit is essential for a professional, glass-like finish, especially if the worktop will be varnished or painted.
5. Assessing progress and adjusting accordingly
- Observation: Regularly check the worktop as you sand. Feel the surface with your hands to assess its smoothness and look for any missed spots or uneven areas.
- Adjustment: Be prepared to switch grits if the worktop’s condition changes as you sand. Flexibility is key to achieving the best result.
Step-by-Step Guide to Sanding Kitchen Worktops
Sanding your kitchen worktop is a process that requires care and precision. Here’s a step-by-step guide to help you achieve the best results:
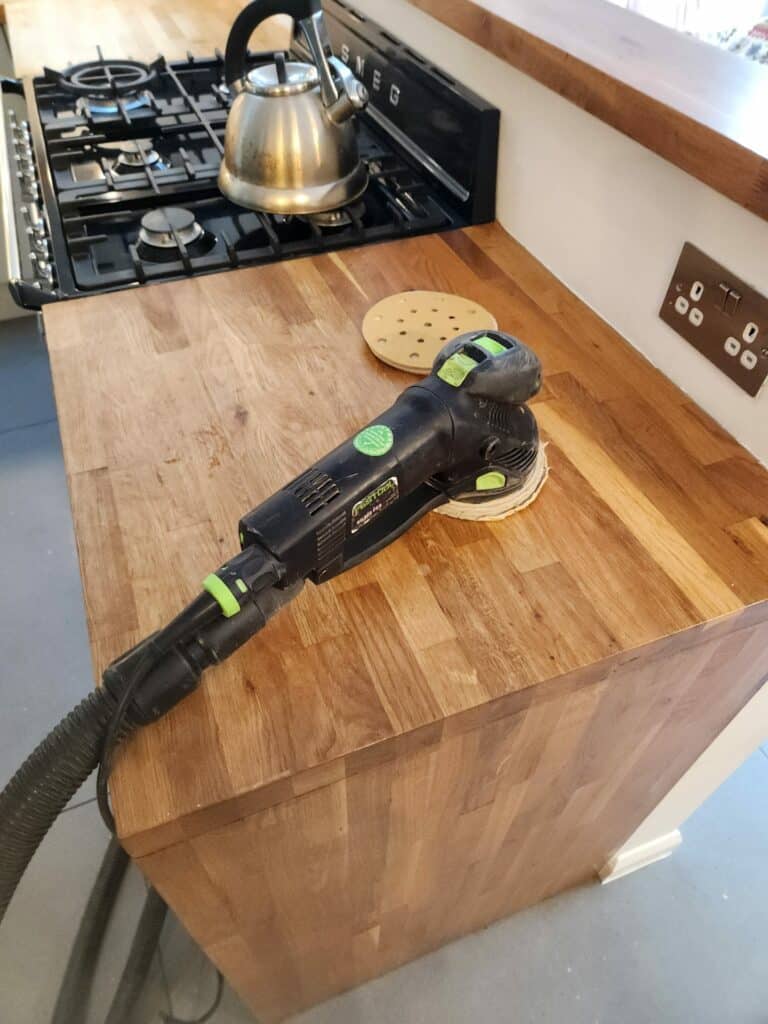
1. Preparation
- Clear the Area: Remove any items from the worktop and surrounding area.
- Clean the Surface: Wipe down the worktop to remove dust, grease, and debris.
- Safety Gear: Wear safety glasses, a dust mask, and gloves for protection.
2. Starting with coarse grit
- Initial Sanding: Begin with a coarse grit (40–60 grit) if the worktop has significant damage or a thick layer of old finish. Sand in the direction of the wood grain to avoid scratches.
- Even Pressure: Apply even pressure and move the sandpaper or sander consistently to avoid gouging the wood.
3. Progressing to Medium Grit
- Switch to Medium Grit (80–120): Once major imperfections are removed, use a medium grit for smoothing the surface. This step is crucial for creating a uniform surface for the final finish.
- Regular Checks: Frequently check the worktop for evenness and smoothness.
4. Fine sanding for finishing
- Fine Grit (150–220): Use fine-grit sandpaper for the final sanding. This will prepare the surface for finishing and ensure a smooth, professional look.
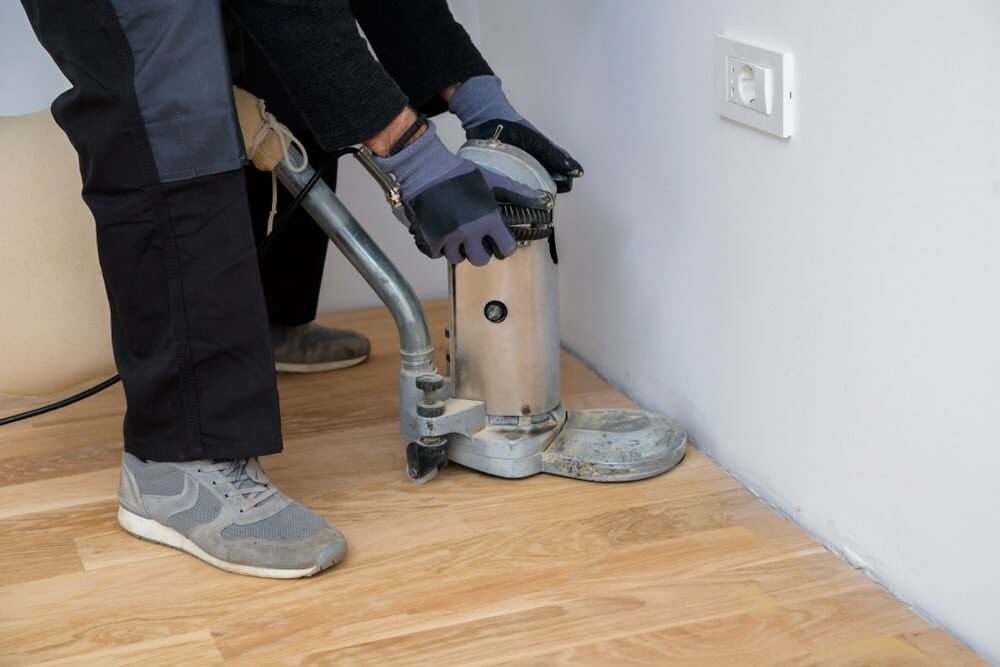
- Detail Work: Pay attention to edges and corners, using hand sanding blocks if necessary for precision.

5. Cleaning Up
- Remove Dust: After the final sanding, thoroughly clean the worktop to remove all sanding dust. A tack cloth or damp rag can be effective.
- Final Inspection: Check for any missed spots or rough areas that may need a light touch-up.
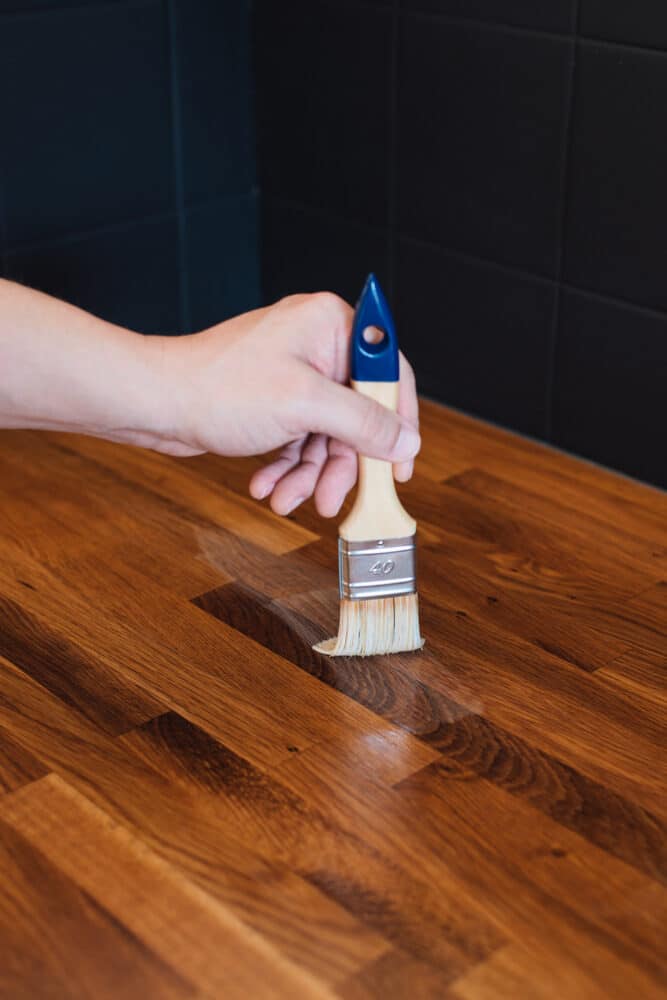
6. Applying Finish
- Choose Your Finish: Depending on your preference, apply a suitable finish like varnish, oil, or paint. Follow the manufacturer’s instructions for the best results.
- Even Application: Apply the finish evenly, working along the grain of the wood. Multiple coats may be necessary, with light sanding between coats for paints or varnishes.
7. Post-Sanding Care
- Regular Maintenance: To maintain the beauty and longevity of your sanded worktop, clean it regularly and reapply the finish as needed.
- Avoiding Damage: Use cutting boards and trivets to protect the surface from scratches and heat.
Post-Sanding Finishing Tips
After sanding your kitchen worktop, the next crucial step is finishing. This stage not only enhances the appearance of your worktop but also protects it from wear and tear. Here are some tips for post-sanding finishing:
1. Thorough Cleaning
- Dust Removal: Ensure that all sanding dust is removed from the worktop. Use a vacuum cleaner, followed by a tack cloth or slightly damp rag, to pick up fine dust particles.
- Surface Inspection: Check for any remaining rough spots or imperfections. Light hand sanding may be necessary if any are found.
2. Choosing the Right Finish
- Consider Usage: For a kitchen worktop, choose a finish that is durable and food-safe. Options include mineral oil, beeswax, polyurethane, or special worktop oils and varnishes.
- Aesthetic Preference: Decide whether you want a natural look, a glossy finish, or something in between. Each type of finish will give a different appearance to the wood.
3. Applying the Finish
- Even Application: Apply the finish evenly with a brush, sponge, or cloth, following the manufacturer’s instructions. Work in the direction of the wood grain.
- Number of coats: Multiple thin coats are often better than a single thick coat. According to the finish manufacturer’s advice, allow enough time for drying between coats.
4. Sanding between coats
- For Paints or Varnishes: If you’re applying paint or varnish, lightly sand the worktop with a fine grit (around 240) between coats. This helps the next coat adhere better and results in a smoother finish.
- Clean Up: Wipe away all dust after sanding before applying the next coat.
5. Final coats and curing
- Final Application: Apply the final coat of finish, ensuring thorough coverage.
- Curing Time: Allow the finish to cure fully. The curing time can vary depending on the type of finish, so refer to the manufacturer’s guidelines.
6. Regular Maintenance
- Routine Care: Regularly clean the worktop with appropriate cleaners to maintain its appearance and longevity.
- Reapplying Finish: Depending on wear and usage, reapply finish as necessary to keep the worktop protected and looking its best.
7. Environmental Considerations
- Ventilation: Ensure good ventilation during and after the application of finishes, especially those with strong fumes.
- Safe Disposal: Dispose of any rags or materials used with oil-based finishes safely, as they can be a fire hazard.

Common Mistakes to Avoid in Worktop Sanding
Sanding a kitchen worktop can be a straightforward process, but certain common mistakes can compromise the quality of the finish. Being aware of these pitfalls can help ensure a successful sanding project.
1. Skipping Grits
- Mistake: Jumping from a very coarse grit to a fine grit without intermediate steps.
- Impact: This can leave deep scratches that are hard to remove and result in an uneven finish.
- Solution: Progress through grits systematically (e.g., from 60 to 80 to 120, etc.).
2. Not sanding enough
- Mistake: Insufficient sanding, especially when trying to remove an old finish or level the surface.
- Impact: Leads to an uneven surface or remnants of an old finish, affecting the new finish’s appearance and adherence.
- Solution: Spend adequate time on each sanding stage, ensuring all old finish is removed and the surface is even.
3. Over-Sanding
- Mistake: Sanding too much, especially with a power sander.
- Impact: Can cause dips or uneven thinning of the worktop, weakening its structure.
- Solution: Use even pressure and constantly move the sander to avoid focusing on one spot.
4. Ignoring dust removal
- Mistake: Failing to remove all dust before applying finish.
- Impact: Dust particles can get trapped in the finish, leading to a rough and unprofessional appearance.
- Solution: Clean thoroughly with a vacuum and tack cloth after sanding.
5. Incorrect sanding direction
- Mistake: Sanding against the grain of the wood.
- Impact: Causes scratches and damages the natural pattern of the wood.
- Solution: Always sand in the direction of the wood grain.
6. Neglecting Edges and Corners
- Mistake: Overlooking the edges and corners of the worktop.
- Impact: Results in uneven finishing and an unpolished overall appearance.
- Solution: Pay attention to edges and corners, hand-sanding them if necessary.
7. Using worn-out sandpaper
- Mistake: Continuing to use sandpaper that has lost its grit.
- Impact: inefficient sanding and potential damage to the worktop surface.
- Solution: Replace sandpaper regularly as soon as it shows signs of wear.
8. Lack of safety precautions
- Mistake: not wearing appropriate safety gear.
- Impact: Potential health risks from dust inhalation and physical injury.
- Solution: Always wear a dust mask, safety goggles, and gloves.
Conclusion
Sanding and refinishing your kitchen worktop is a rewarding DIY project that not only enhances the beauty of your kitchen but also extends the life of one of its most used surfaces. Throughout this guide, we have explored the various aspects of this task, from understanding sandpaper grit and choosing the right type to assessing the condition of your worktop and finally executing the sanding process with care and precision.
The key takeaways include the importance of choosing the correct sandpaper grit and type for your specific project, the necessity of a thorough assessment of your worktop, and following a systematic approach to sanding. Additionally, applying the right finishing touches and being aware of common sanding mistakes can make a significant difference in the outcome of your project.
Remember, patience and attention to detail are crucial to achieving a professional-looking finish. Whether you are a seasoned DIYer or a first-time sanding enthusiast, the satisfaction of revitalising your kitchen worktop is immense. Not only does it improve the aesthetic appeal, but it also offers a sense of accomplishment and pride in enhancing a central element of your home.
We hope this guide has provided you with valuable insights and practical tips for successfully sanding and refinishing your kitchen worktop. With the right tools, techniques, and a bit of effort, your kitchen worktop can be transformed into a stunning and durable surface that adds charm and functionality to your kitchen.

Sanding
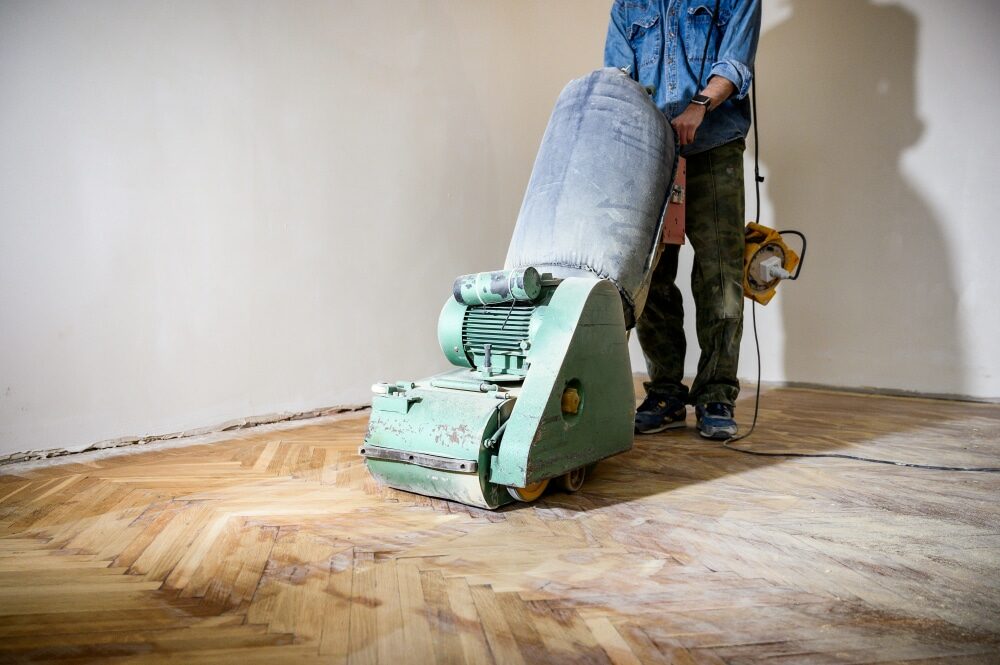
We provide virtually dust-free sanding with our continuous belt machinery with mobile extraction units, giving you a safer environment for your family.
Oiling
This organic finish not only adds beauty to your home but also has exceptional water-repellent characteristics, making it easier to clean and maintain.
Waxing
This natural floor finish offers the softest and most mellow appearance – and leaves your floor able to breath.
Buffing
Using soft buffing machines (and hand-polishing where required) will bring a wonderful sheen to your newly-finished floor.
Repairs
We offer a full assessment of your wooden floors to determine what repairs are needed to provide the perfect working surface for the later stages of sanding, staining and sealing.
Restoration
We offer a comprehensive restoration process designed to address floors that are improperly fitted or damaged over time through wear and tear.
Request a fixed price quote for your wood floor restoration now
Simply enter your postcode below to get started.
Services
Wood Floor Sanding Wood Floor Restoration Wood Floor Scratch Repair Squeaky Wood Floor Repair Parquet Floor Sanding Parquet Floor Restoration Commercial Floor Sanding Church Floor Sanding Community Centre Floor Sanding School Floor Sanding Gap Filling Gap Filling with ResinCopyright © Mr Sander®
Privacy & Cookies Terms & Conditions Complaints Procedure Cancellation Rights Sitemap

Get An Instant Price Estimate Before You Go…
Simply enter the rooms you need sanded and we’ll provide you with a price estimate instantly! Try our price calculator now.
Get a Price Estimate NowLocal Floor Sanding Experts
Over 500 5-Star Reviews
Safe, Dust Free Sanding
Operating Since 1994