London:
Nationwide:
25,000+
Floors Restored
27 Years Experience
Wood Flooring Association Certified
Breaking Down the Cost of Sanding a Kitchen Worktop
Posted on January 17, 2024
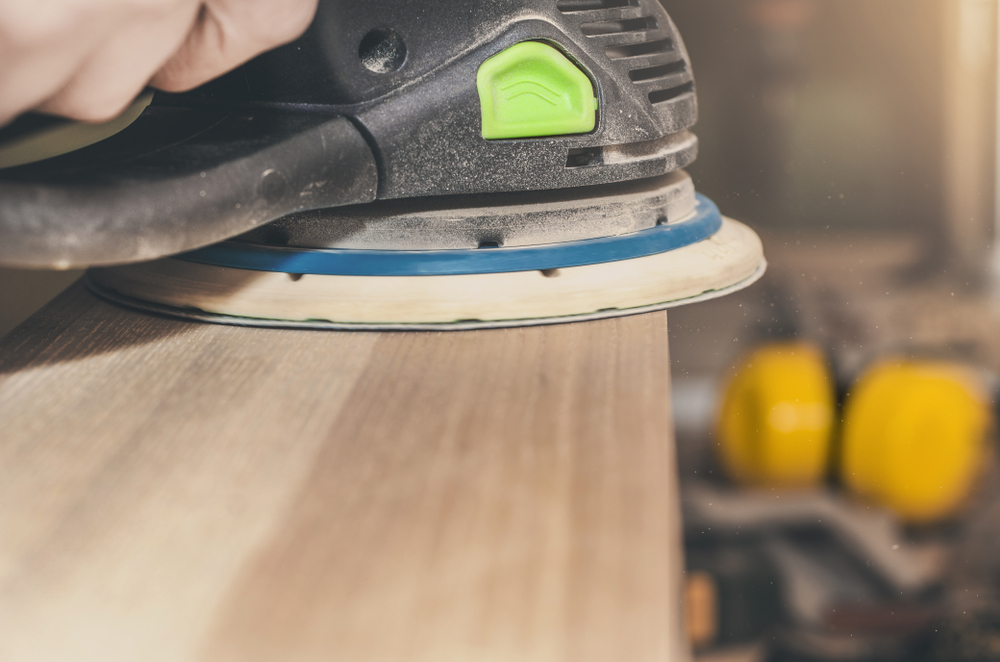
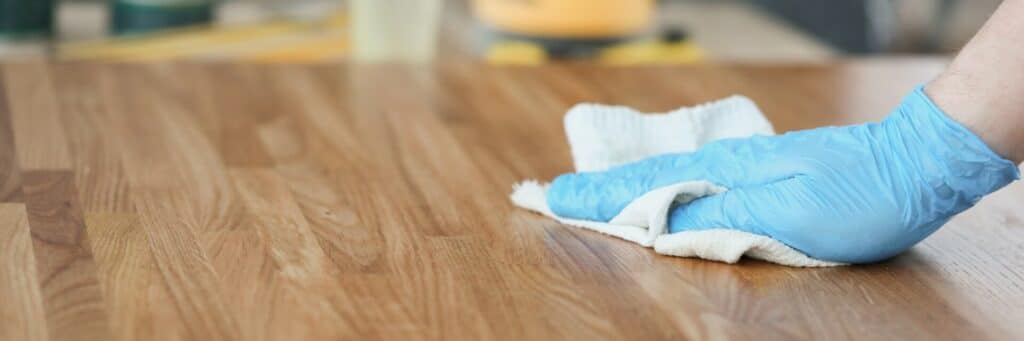
Kitchen Worktop sanding

The Cost of Sanding a Kitchen Worktop: Breaking Down Your Budget
The kitchen is often the heart of the home, a place where families gather, meals are prepared, and memories are made. A well-maintained kitchen worktop not only enhances the aesthetics of your home but also ensures that your culinary haven remains functional and safe. One essential aspect of kitchen worktop maintenance that often goes overlooked is the condition of your kitchen worktop.
Over time, kitchen worktops can show signs of wear and tear, from scratches and dents to stains and fading. Fortunately, sanding your kitchen worktop can breathe new life into this crucial surface, making it look pristine and extending its lifespan. However, before embarking on this home improvement project, it’s vital to understand the intricacies of the process, including the cost breakdown.
In this comprehensive guide, we’ll delve deep into the world of kitchen worktop sanding, breaking down the factors that influence the cost of this project. Whether you’re considering a DIY approach or hiring a professional, being well-informed about the expenses involved will help you make the best decision for your kitchen and your budget.
Join us as we explore the key factors that affect the cost, the materials and tools you’ll need, and the pros and cons of DIY versus professional sanding. By the end of this journey, you’ll have a clear understanding of what it takes to rejuvenate your kitchen worktop and a budgeting plan to make it happen.
Let’s get started by uncovering the factors that can impact the cost of sanding your kitchen worktop and helping you embark on this transformational project with confidence.
Factors Affecting the Cost
Sanding a kitchen worktop is not a one-size-fits-all project, and the cost can vary significantly based on several key factors. Understanding these factors is essential for estimating your project’s expenses accurately. Let’s take a closer look at what influences the cost of sanding a kitchen worktop:
Worktop Material and Type:
- The material of your kitchen worktop plays a significant role in cost determination. Common materials include wood, laminate, granite, quartz, and solid surfaces. Each material may require specific tools, techniques, and time, which can affect the overall cost.
Size and Dimensions of the Worktop:
- The size and dimensions of your kitchen worktop directly impact the cost. Larger worktops will require more time and effort to sand, which can lead to higher labour costs and material expenses.
Extent of Damage and Repair Needed:
- The condition of your worktop is a crucial factor. If your worktop has extensive damage, such as deep scratches or gouges, it may require more intensive sanding and repairs, which can increase the overall cost.
Location and accessibility:
- The location of your kitchen and the accessibility of the worktop can affect costs. If your kitchen is in an area that’s challenging to reach or if the worktop is obstructed by appliances and cabinetry, it may require more effort and time to complete the sanding job.
Professional Labour Costs:
- If you choose to hire a professional to sand your kitchen worktop, labour costs will be a significant portion of your expenses. Labour rates can vary depending on the region, the experience of the professional, and the complexity of the job.
Tools and equipment required:
- The tools and equipment needed for sanding can vary based on the material and condition of your worktop. Different sandpaper grits, power sanders, and protective gear may be necessary, adding to the overall cost.

Materials and tools
Before you begin sanding your kitchen worktop, it’s essential to gather the right materials and tools to ensure a successful and efficient project. Having the appropriate supplies on hand will not only affect the quality of the results but also influence the overall cost. Here’s what you’ll need:
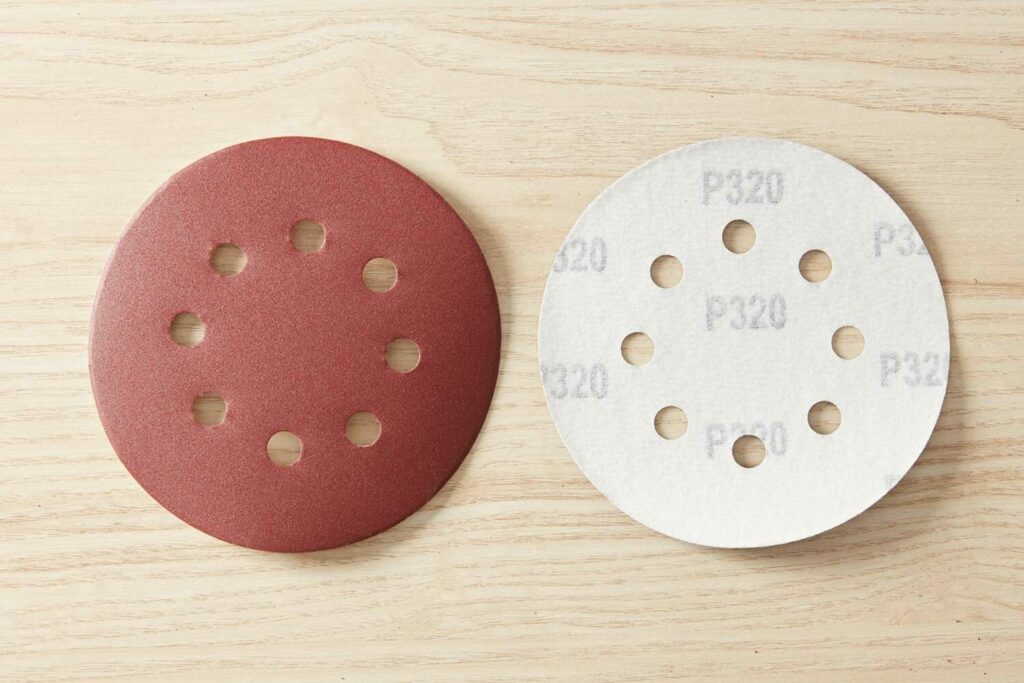
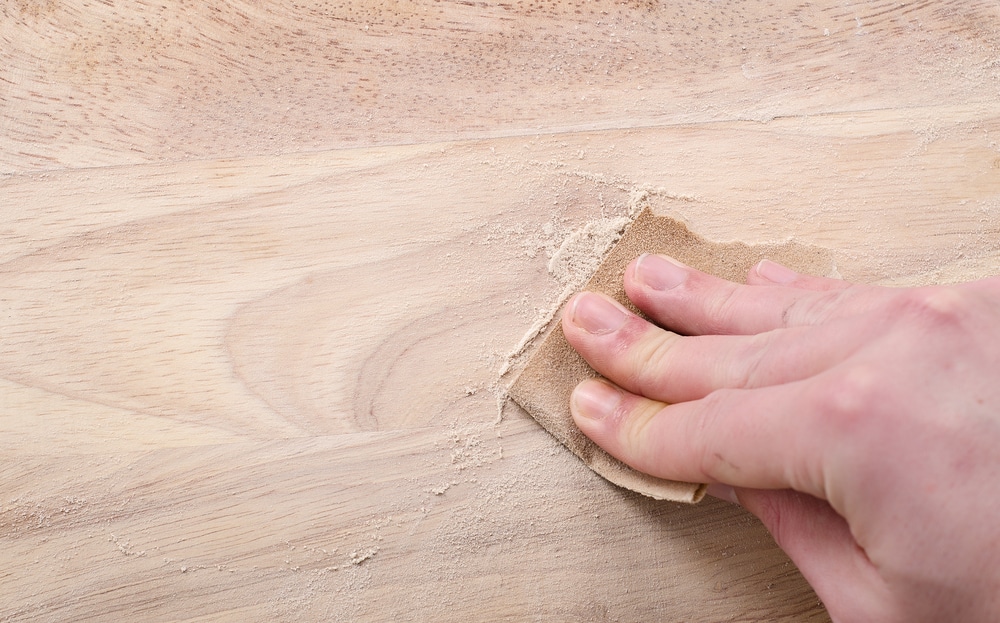
Sandpaper Grits and Types:
- Sandpaper is the primary tool for smoothing and refinishing your work surface. It comes in various grits, ranging from coarse to fine. The choice of grit depends on the material and condition of your worktop. Coarser grits (e.g., 80 to 120) are suitable for removing deep scratches, while finer grits (e.g., 220 to 400) are used for finishing and smoothing. The cost of sandpaper can vary based on the quality and quantity you need.
Protective Gear and Safety Precautions:
- Safety should be a top priority during any DIY project. To protect yourself, you’ll need safety gear such as safety glasses, a dust mask or respirator, and hearing protection. Additionally, disposable gloves can help minimise skin contact with chemicals and debris.

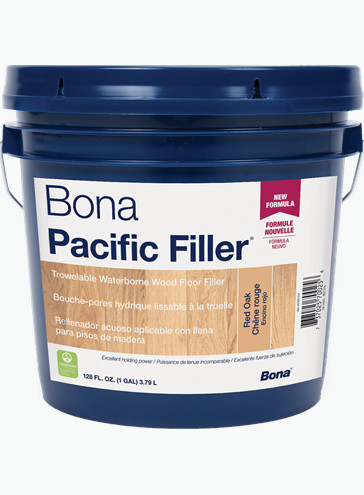
Additional Supplies for Sanding:
- Depending on the type of worktop and the extent of damage, you may need additional supplies such as wood filler, epoxy resin, putty knives, or paintbrushes. These materials can help you repair minor imperfections or fill gaps before sanding.
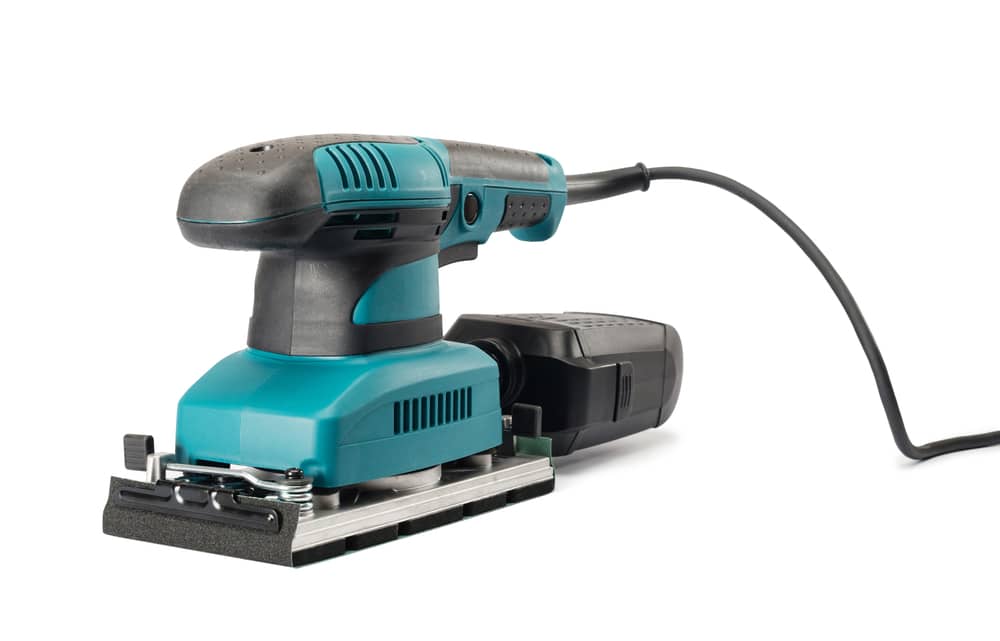
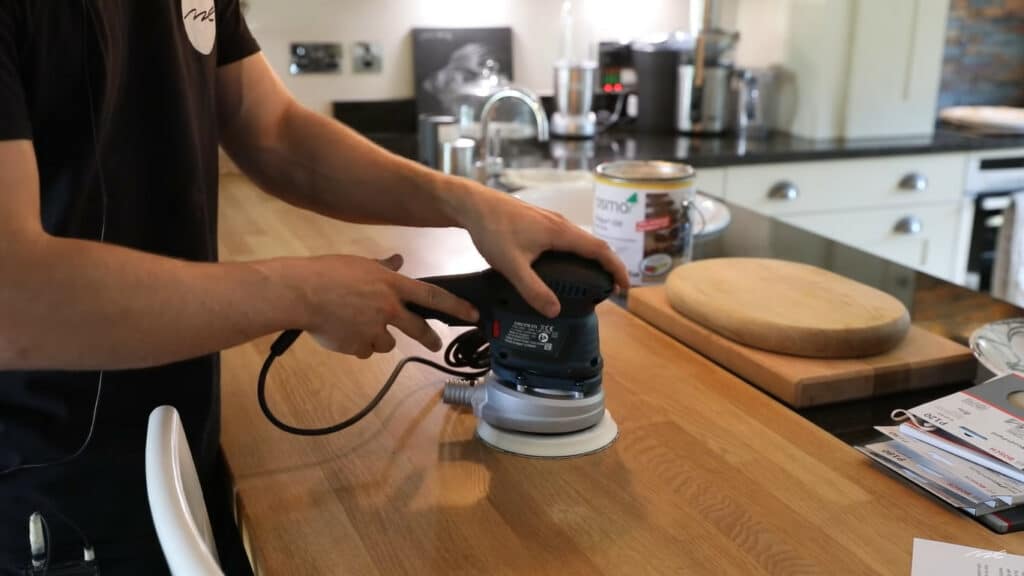
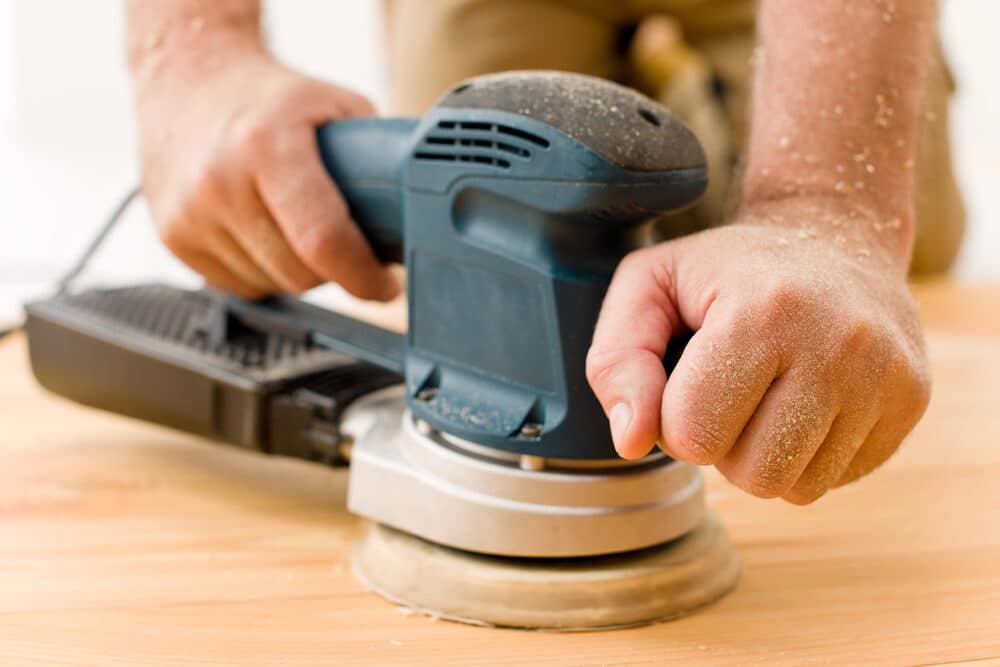
Power Sanders (optional):
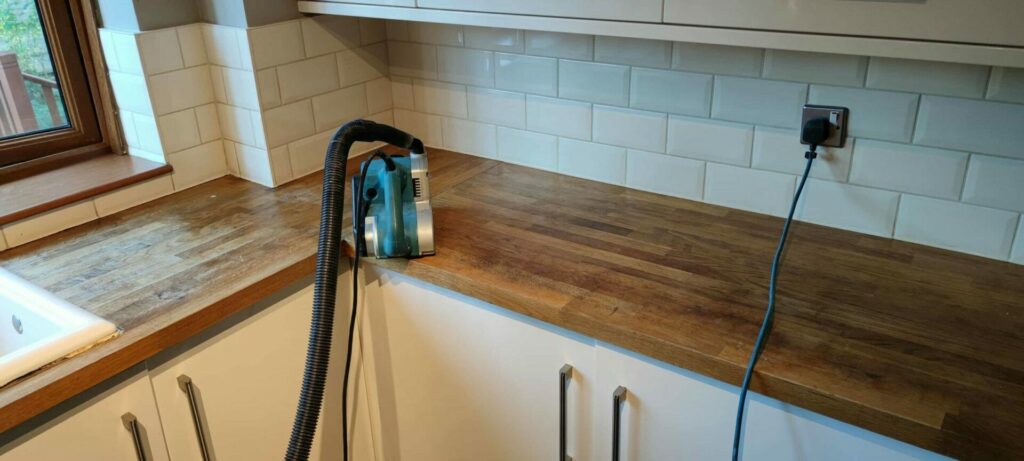
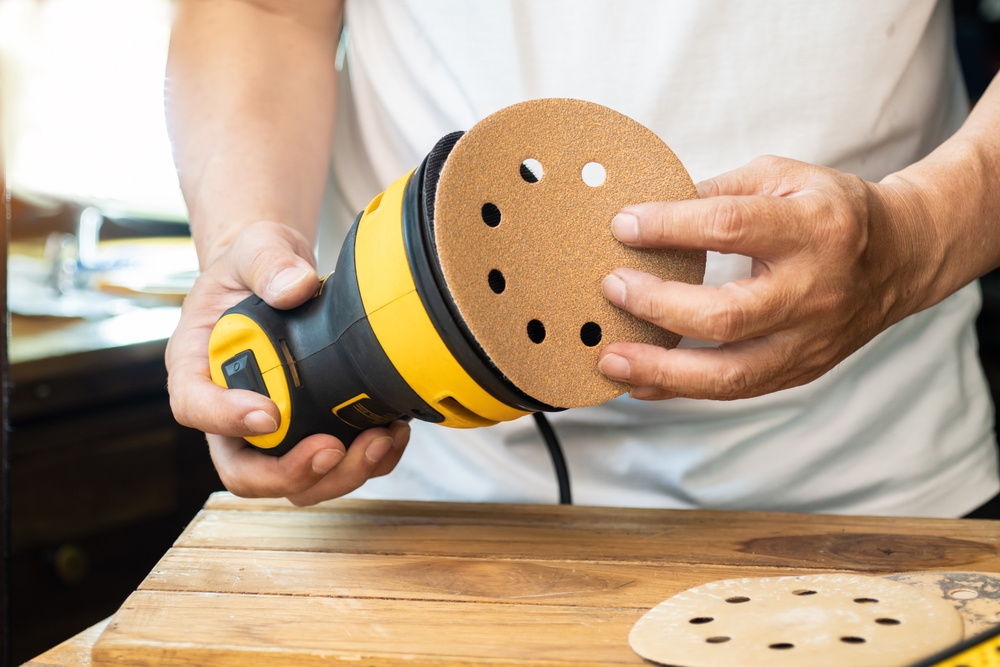
- While sanding by hand is possible, using a power sander can save you a significant amount of time and effort, especially for larger worktops. Belt sanders, orbital sanders, or random orbital sanders are common choices. Keep in mind that purchasing or renting a power sander will add to your overall project cost.
Cleaning Supplies:
- After sanding, thorough cleaning is essential to remove dust and debris. You’ll need cleaning supplies such as a vacuum cleaner with a HEPA filter, damp cloths, and cleaning solutions suitable for your worktop material.

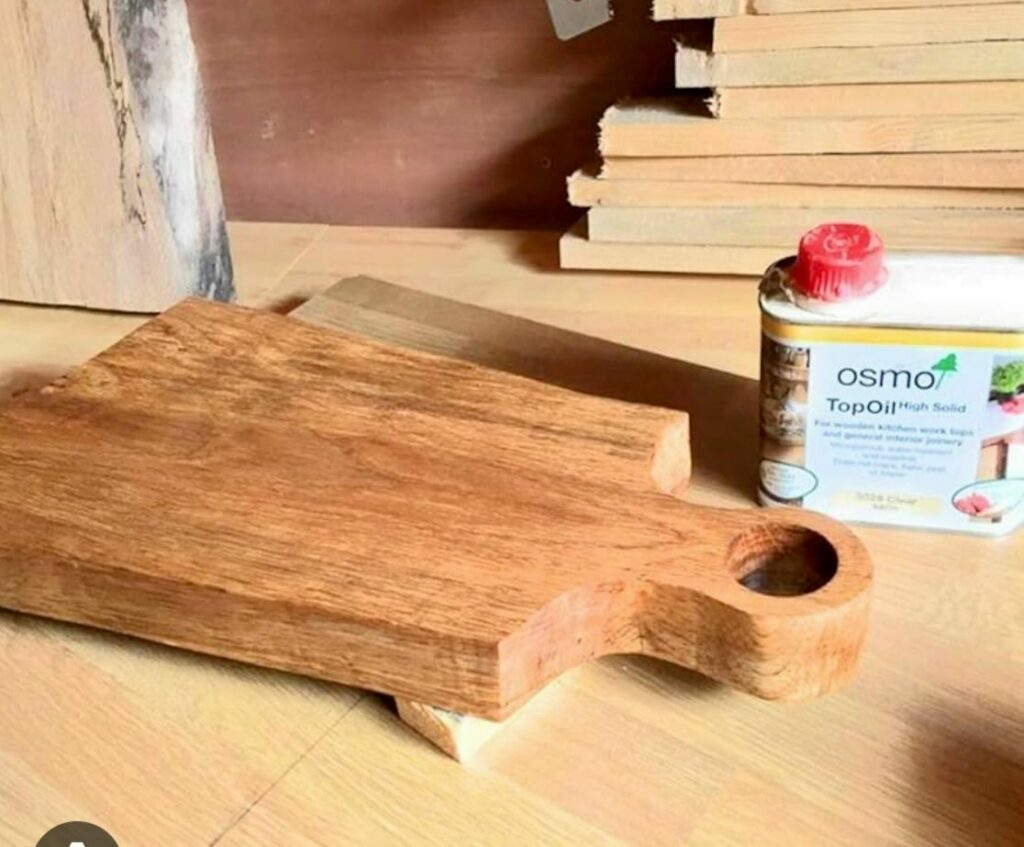
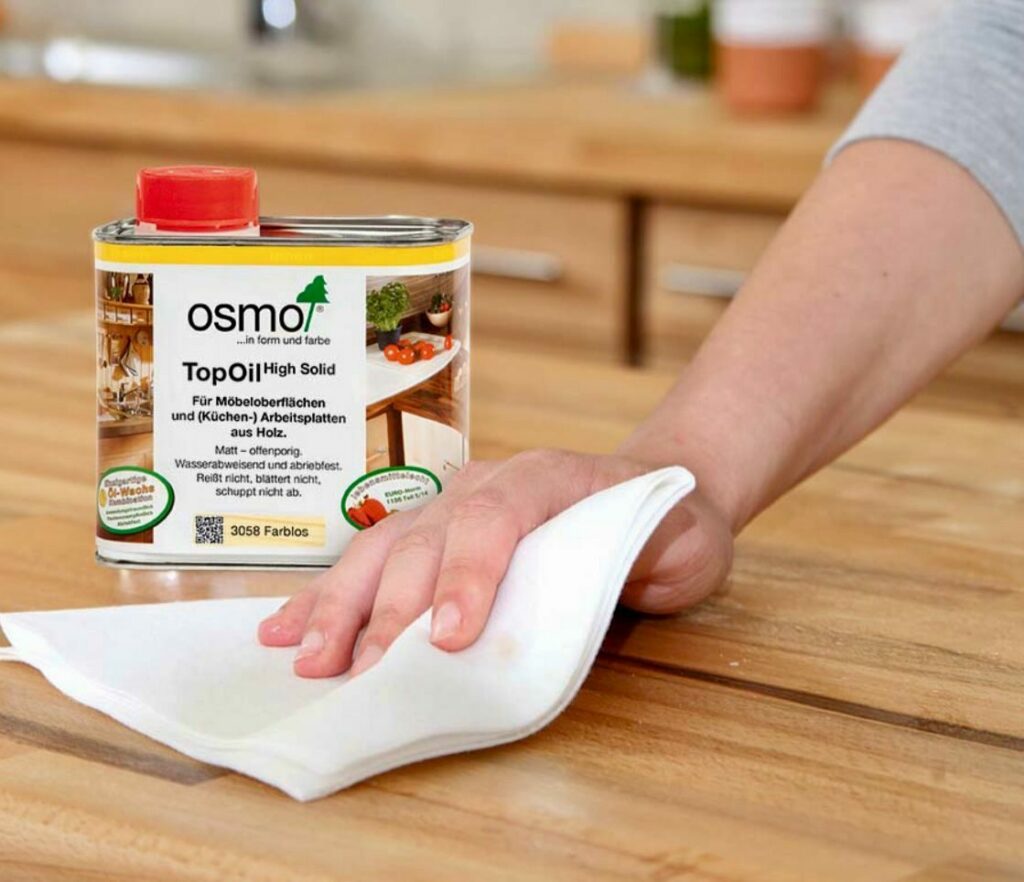
Finishing Products (Optional):
- Depending on your worktop material, you may choose to apply a finish, such as varnish, polyurethane, or oil, to protect and enhance the appearance of the surface. The cost of finishing products can vary based on the type and brand you select.
Before starting your kitchen worktop sanding project, assess your worktop’s material, condition, and size to determine the specific materials and tools required. Additionally, consider whether you’ll be using DIY methods or hiring a professional, as this can influence the availability and cost of tools and equipment.
DIY vs. professional sanding
When it comes to sanding your kitchen worktop, you have two primary options: tackling the project yourself (DIY) or hiring a professional. Each approach comes with its own set of advantages and considerations, including cost implications. Let’s explore the pros and cons of both DIY and professional sanding to help you make an informed decision:
DIY Sanding:

Pros:
- Cost Savings: One of the most significant advantages of DIY sanding is cost savings. You can avoid the labour costs associated with hiring a professional, potentially reducing the overall project expenses.
- Flexibility: You have complete control over the project, from selecting materials and tools to setting your own timeline. This flexibility allows you to work at your own pace and according to your budget.
- Learning Experience: Sanding your kitchen worktop yourself can be a valuable learning experience. It allows you to gain hands-on skills and a deeper understanding of worktop maintenance.
Cons:
- Skill and Experience: Sanding is a skill that requires practice and experience to achieve professional-quality results. Without prior experience, there’s a risk of making mistakes that could lead to costly repairs.
- Time and effort: DIY sanding can be time-consuming and physically demanding, especially for larger or more damaged worktops. You’ll need to invest time and effort in the project.
- Tools and Equipment: If you don’t already own the necessary tools and equipment, you’ll need to purchase or rent them, which can add to the project cost.
Professional Sanding:
Pros:
- Expertise: Professionals have the knowledge and experience to assess the condition of your worktop accurately and use the appropriate techniques to achieve high-quality results.
- Time Efficiency: Hiring a professional can save you time, as they can complete the project more quickly and efficiently than a DIY enthusiast.
- Quality Assurance: Professionals can provide a level of quality assurance, ensuring that the worktop is sanded, repaired, and finished correctly.
Cons:
- Higher Cost: The primary drawback of professional sanding is the cost. Labour fees can significantly increase project expenses, making it a more expensive option compared to DIY.
- Limited Control: When you hire a professional, you may have less control over the project’s details and timeline. You’ll need to coordinate with the contractor’s schedule and preferences.
- Research and Hiring: Finding a reputable professional with the right skills and experience may take time and research. It’s essential to choose a contractor carefully to ensure a successful outcome.
Ultimately, the choice between DIY and professional sanding depends on your budget, skill level, and the specific needs of your kitchen worktop. If you’re confident in your abilities and looking to save money, DIY sanding may be the way to go. However, for those seeking a high-quality finish or lacking the time and expertise, hiring a professional may be a worthwhile investment despite the higher cost.
Steps for Sanding a Kitchen Worktop
Sanding a kitchen worktop is a step-by-step process that, when done correctly, can transform the look and feel of your kitchen. Here are the essential steps to follow for a successful worktop sanding project:
Prepare the work area:
- Start by clearing your kitchen work area of any items, including small appliances, dishes, and utensils. Cover nearby surfaces and appliances with plastic sheets or drop cloths to protect them from dust and debris.
Remove hardware and appliances.
- If possible, remove hardware such as knobs, handles, and faucet fixtures from the worktop to make the sanding process more accessible. You may also need to disconnect and move appliances like stovetops and sinks if they are in the way.
Choose the Right Grit Sandpaper:
- Select the appropriate sandpaper grit for your worktop material and the extent of damage. Start with a coarser grit (e.g., 80 to 120) to remove imperfections, and gradually work your way to finer grits (e.g., 220 to 400) for a smoother finish.

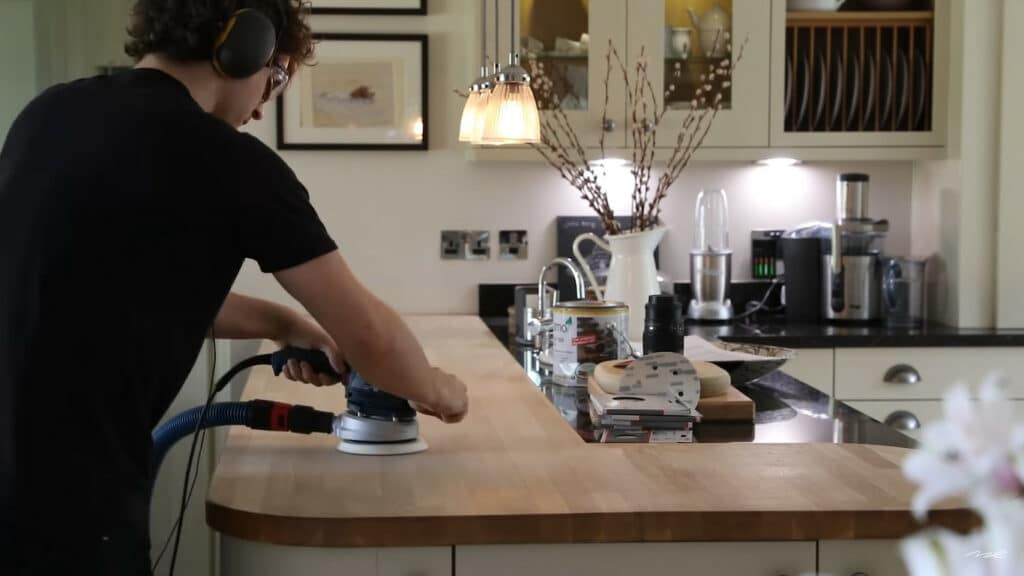
Sand the Worktop Surface:
- Begin sanding the worktop surface using steady, even strokes. Sand in the direction of the wood grain or the manufacturer’s recommended pattern for other materials. Keep the sander or sandpaper flat to avoid creating uneven spots.
Address deep scratches and gouges:
- If your worktop has deep scratches or gouges, use coarser-grit sandpaper to sand these areas more vigorously. You may also need to fill these imperfections with wood filler or epoxy resin and allow it to dry before continuing sanding.
Gradually Progress to Finer Grits:
- As you progress through the sanding process, switch to finer grits to achieve a smoother surface. Make sure to remove any scratches or marks from the previous grit before moving on to the next one.
Dust Removal and Cleaning:
- Regularly stop to clean the worktop surface and surrounding area to remove dust and debris. A vacuum cleaner with a HEPA filter is highly effective at capturing fine dust particles. Use damp cloths to wipe down the surface.
Inspect and make final touches:
- After sanding with the finest grit, inspect the worktop for any remaining imperfections or scratches. Make any final adjustments as needed before moving on to the finishing steps.
Apply Finish (Optional):
- Depending on the type of worktop material, you may choose to apply a finish, such as varnish, polyurethane, or oil, to protect and enhance the appearance of the surface. Follow the manufacturer’s instructions for the chosen finish.
Reassemble Hardware and Appliances:
- Once the finish has dried (if applicable), reattach any hardware and reinstall appliances that were removed earlier.
Clean Up:
- Remove the protective coverings from nearby surfaces and thoroughly clean the kitchen area to eliminate any remaining dust or debris.
Cost Breakdown
Understanding the various expenses involved in sanding a kitchen worktop is crucial for budgeting and planning your project effectively. Let’s break down the costs associated with this endeavour:
Sandpaper and Supplies:
- Sandpaper is a primary expense and comes in various grades. The cost of sandpaper can vary based on the quantity and quality you need. Additionally, consider the cost of other supplies like wood filler, epoxy resin, cleaning solutions, and protective gear.
Labour Costs:
- If you’re hiring a professional to sand your worktop, labour costs will be a significant portion of your expenses. Labour rates can vary depending on factors such as location, the complexity of the job, and the contractor’s experience.
Tools and equipment:
- If you don’t already own the necessary tools and equipment, you’ll need to purchase or rent them. This can include power sanders, safety gear, and cleaning tools. The cost can vary based on the type and quality of the tools.
Additional Materials (e.g., Finish):
- Depending on your project’s requirements, you may need additional materials, such as finishing products (e.g., varnish or polyurethane), to protect and enhance your worktop’s appearance. These materials come at a cost.
Repairs and restorations:
- If your worktop has sustained significant damage, you may need to budget for repair materials such as wood fillers or epoxy resin. The cost will depend on the extent of the repairs needed.
Professional Services (if applicable):
- If you choose to hire a professional, factor in any consultation fees, quotes, or inspection charges. These fees may vary among contractors.
Transportation and disposal (if applicable):
- If you need to transport your worktop to a different location for sanding or if there are disposal fees for materials like old finishes or sanding dust, include these expenses in your budget.
Contingency Fund:
- It’s always a good idea to set aside a small contingency fund in case unexpected expenses arise during the project. This can help you avoid budget overruns.

Conclusion
In the world of home improvement, maintaining your kitchen worktop might not always be at the forefront of your mind, but it’s a critical element that contributes to the overall functionality and aesthetic appeal of your kitchen. Sanding your kitchen worktop can breathe new life into this vital surface, giving it a fresh, rejuvenated look and extending its lifespan. However, as we’ve explored in this comprehensive guide, understanding the cost breakdown of a worktop sanding project is key to making informed decisions.
We began by delving into the factors that affect the cost of sanding, from the worktop material and size to the extent of damage and labour costs. Armed with this knowledge, you can assess your specific project requirements and develop a budget that aligns with your goals.
We then examined the essential materials and tools needed for the job, emphasising the importance of selecting the right grit sandpaper and ensuring you have the necessary protective gear. Whether you choose to tackle the project yourself or hire a professional, having the right supplies at hand is vital.
The decision to embark on a DIY sanding project or hire a professional can significantly impact the overall cost and outcome. We weighed the pros and cons of each approach, highlighting that while DIY can be cost-effective, professional sanding offers expertise and efficiency that may be worth the investment for those seeking top-notch results.
Lastly, we explored the step-by-step process of sanding your kitchen worktop and provided a detailed cost breakdown, complete with example scenarios to illustrate potential expenses. By following our tips for cost savings, you can make the most of your budget while transforming your kitchen worktop.
In closing, maintaining your kitchen worktop is not just about aesthetics; it’s about preserving the heart of your home. Armed with the knowledge gained from this guide, you can confidently take on the task of sanding your kitchen worktop, ensuring it remains a functional and beautiful centrepiece for years to come. Remember, it’s not just an investment in your kitchen; it’s an investment in the heart of your home.

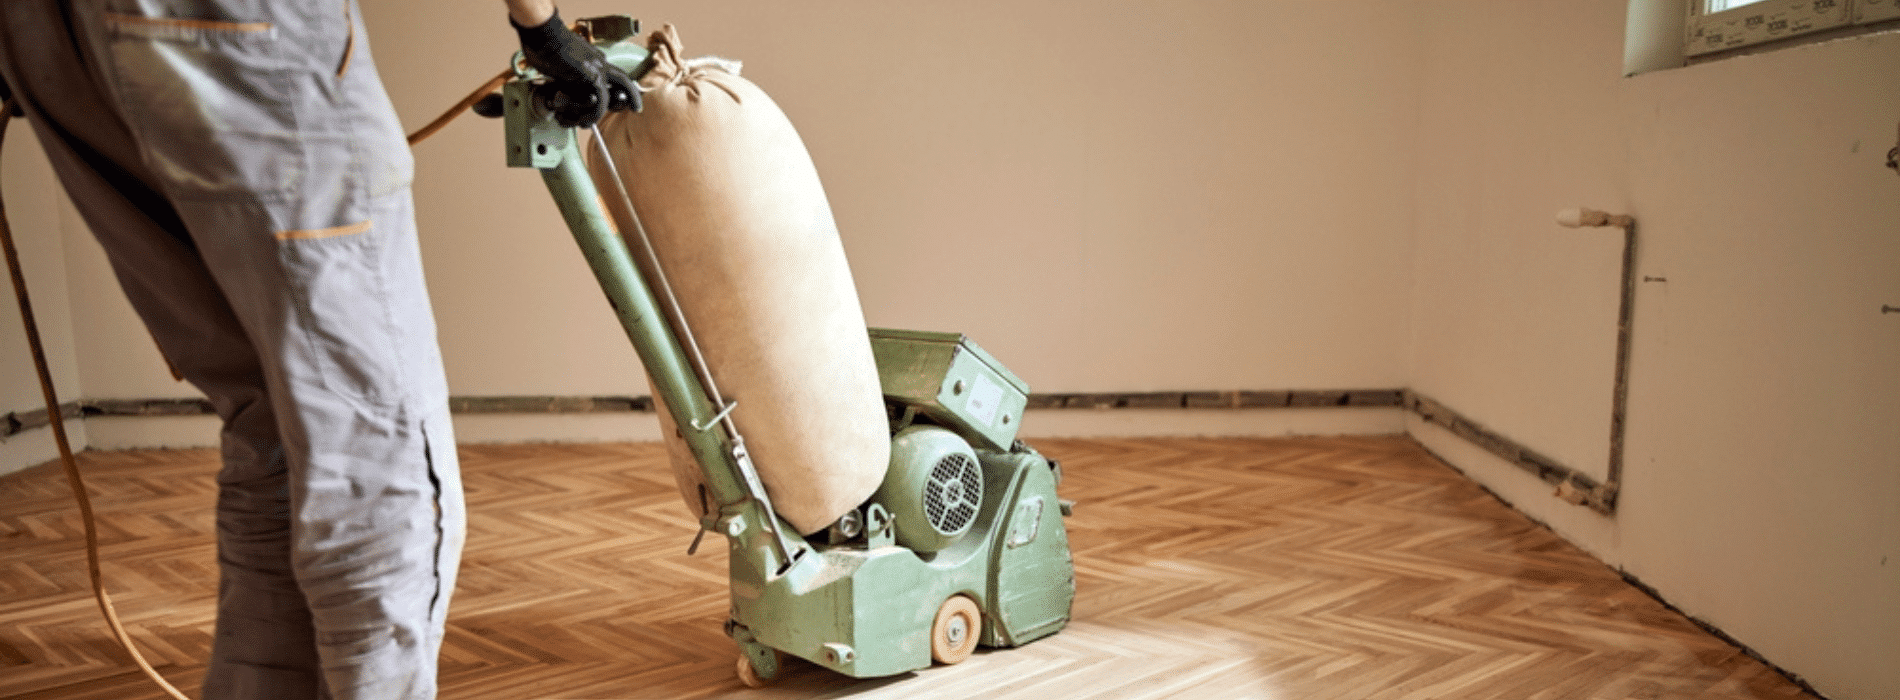
Sanding
We provide virtually dust-free sanding with our continuous belt machinery with mobile extraction units, giving you a safer environment for your family.
Oiling
This organic finish not only adds beauty to your home but also has exceptional water-repellent characteristics, making it easier to clean and maintain.
Waxing
This natural floor finish offers the softest and most mellow appearance – and leaves your floor able to breath.
Buffing
Using soft buffing machines (and hand-polishing where required) will bring a wonderful sheen to your newly-finished floor.
Repairs
We offer a full assessment of your wooden floors to determine what repairs are needed to provide the perfect working surface for the later stages of sanding, staining and sealing.
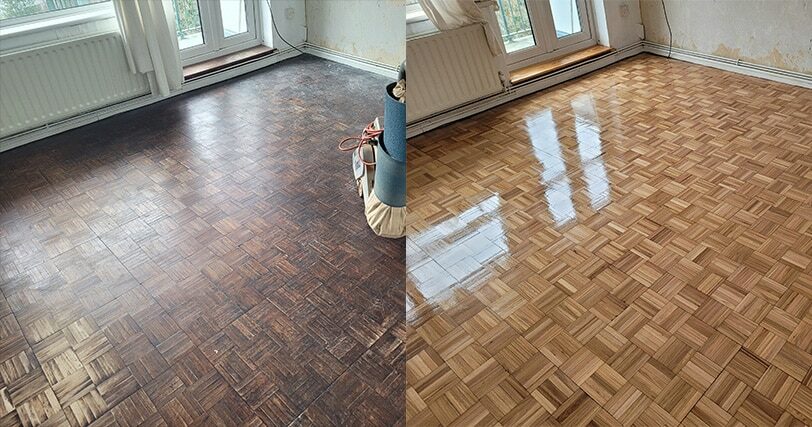
Restoration
We offer a comprehensive restoration process designed to address floors that are improperly fitted or damaged over time through wear and tear.
Request a fixed price quote for your wood floor restoration now
Simply enter your postcode below to get started.
Services
Wood Floor Sanding Wood Floor Restoration Wood Floor Scratch Repair Squeaky Wood Floor Repair Parquet Floor Sanding Parquet Floor Restoration Commercial Floor Sanding Church Floor Sanding Community Centre Floor Sanding School Floor Sanding Gap Filling Gap Filling with ResinCopyright © Mr Sander®
Privacy & Cookies Terms & Conditions Complaints Procedure Cancellation Rights Sitemap

Get An Instant Price Estimate Before You Go…
Simply enter the rooms you need sanded and we’ll provide you with a price estimate instantly! Try our price calculator now.
Get a Price Estimate NowLocal Floor Sanding Experts
Over 500 5-Star Reviews
Safe, Dust Free Sanding
Operating Since 1994