London:
Nationwide:
25,000+
Floors Restored
27 Years Experience
Wood Flooring Association Certified
Can You Paint Over an Old Kitchen Worktop? Here’s What You Need to Know
Posted on January 4, 2024
Kitchen Worktop Maintenance
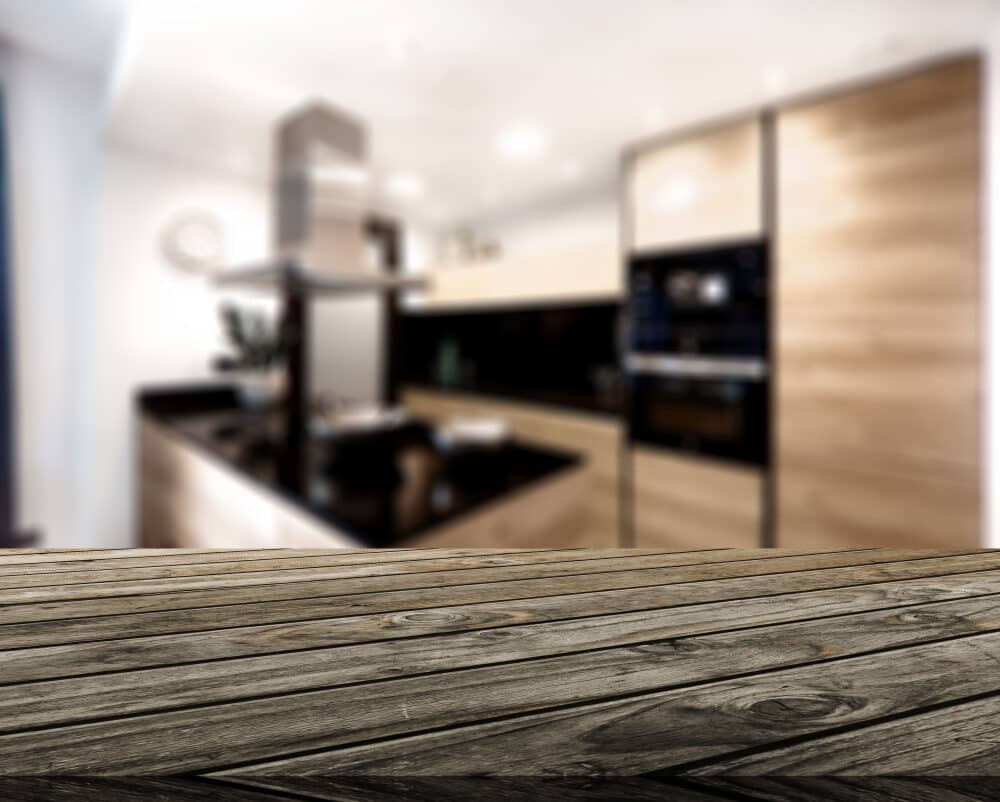
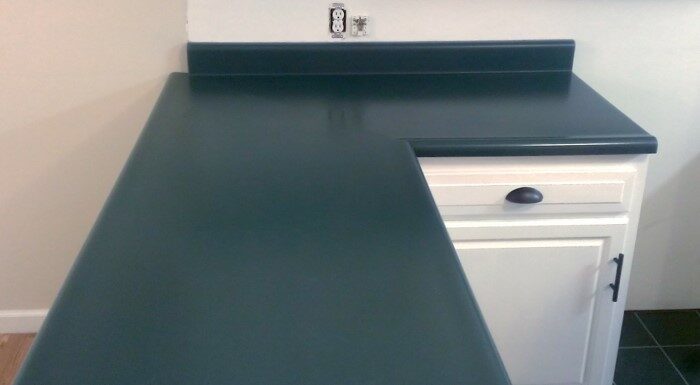
Revitalize Your Kitchen: Painting Over Old Worktops Made Easy
Welcome to our comprehensive guide to giving your kitchen a fresh, new look! If you’re considering a kitchen makeover, one question might be on your mind: Can you paint over an old kitchen worktop? This seemingly simple query opens up a world of possibilities for homeowners looking to revamp their kitchen without breaking the bank.
The kitchen is often referred to as the heart of the home, a place where both meals and memories are made. Over time, however, even the most cherished kitchen worktops can show signs of wear and tear, making them look outdated or worn out. The good news is that, with the right approach, painting your kitchen worktop can breathe new life into your space, offering a fresh look at a fraction of the cost of replacement.
In this post, we’ll explore the various aspects of painting over an old kitchen worktop. From assessing the condition of your current worktop and choosing the right type of paint to step-by-step application techniques and aftercare tips, we’ve got you covered. Whether you’re a seasoned DIY enthusiast or a first-timer looking to tackle a new project, this guide aims to provide you with all the information you need to transform your kitchen worktop into a stunning feature of your home.
So, let’s dive in and discover whether painting your old kitchen worktop is the right move for you!
Assessing Your Worktop’s Condition
Before you embark on the journey of painting your kitchen worktop, the first critical step is to thoroughly assess its current condition. This evaluation is not just about the aesthetics; it’s about ensuring that your worktop is a viable candidate for a paint makeover. Here’s how to go about it:
Identifying Types of Worktop Materials
Different materials react differently to paint and preparation methods. Common worktop materials include laminate, wood, granite, and others. Understanding the type of material you’re dealing with is crucial for determining the feasibility of painting and the kind of preparation required.
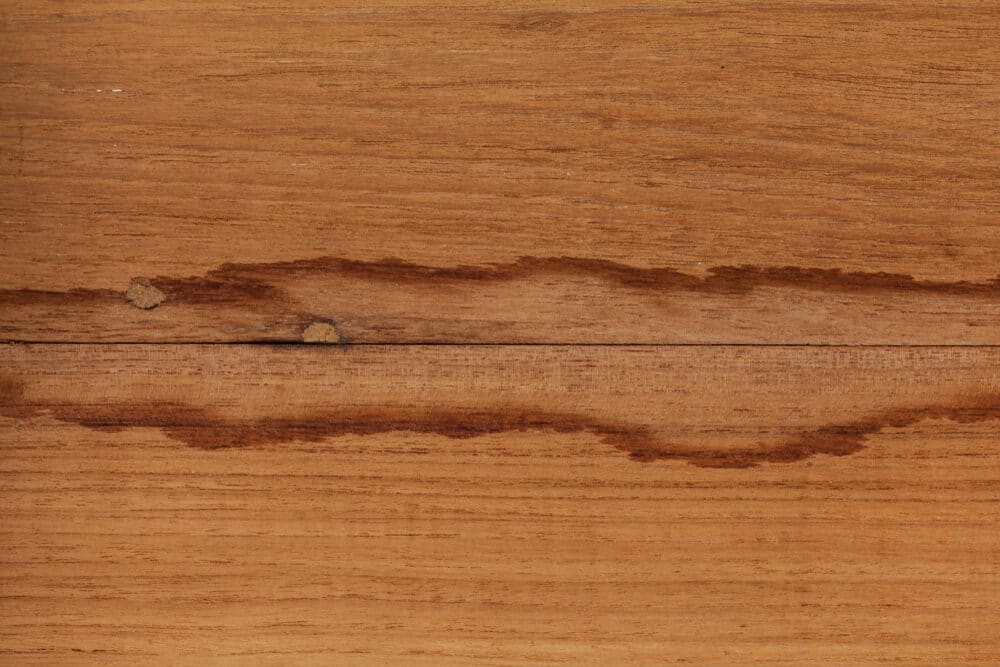
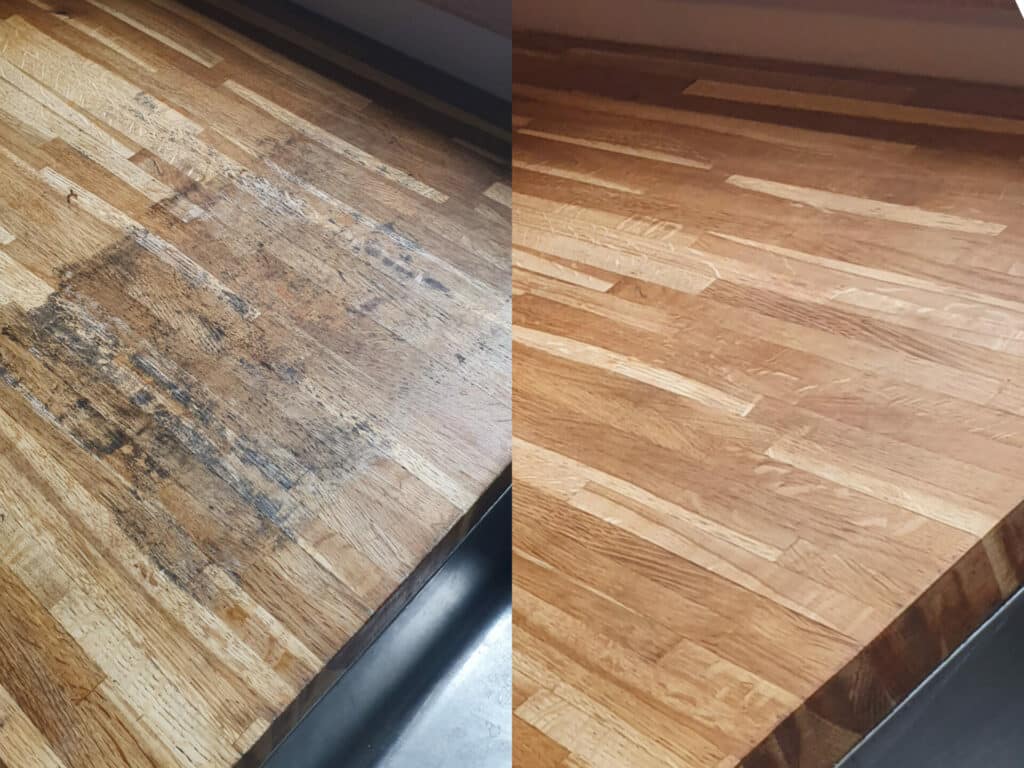
Signs of Wear and Tear to Look For
- Surface Damage: Look for cracks, chips, burns, and deep scratches. Minor imperfections can often be filled and sanded, but extensive damage might go beyond simple fixes.
- Water Damage: Especially on wood worktops, water damage can be a deal-breaker. Swollen or warped areas suggest that the material has been compromised and might not hold paint well.
- Staining and Discoloration: While paint can cover superficial stains, it’s important to address any underlying issues causing these stains, like mould or persistent dampness.
Structural Integrity
A worktop that is structurally sound is a good candidate for painting. If the worktop is loose or unstable, these issues need to be addressed first. Painting over a structurally compromised worktop is like putting a band-aid on a serious wound.
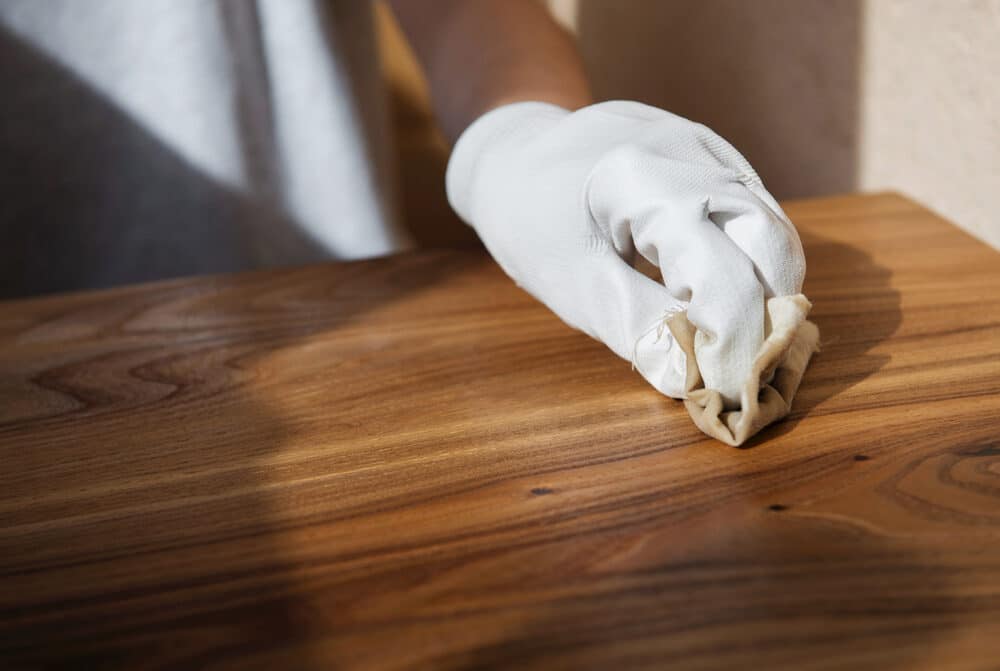
Cleaning and Maintenance History
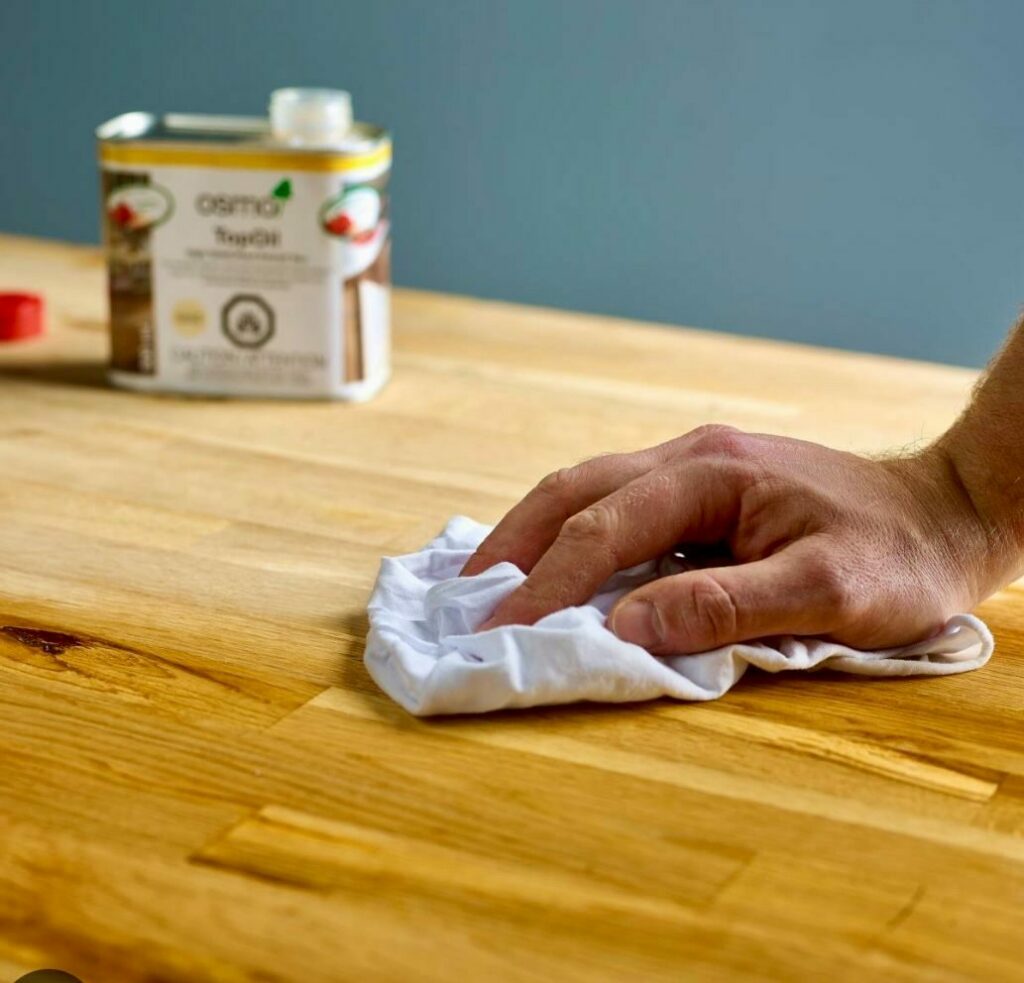
The products previously used on your worktop can affect how paint adheres to the surface. For instance, if your worktop has been frequently treated with oils or wood floor waxes, these can impede paint adhesion, necessitating thorough cleaning and possibly a different approach to priming.
Assessing for a Successful Outcome
If your worktop shows signs of significant wear or damage, it may be more practical to replace it. However, if the assessment points to superficial issues that can be corrected with proper preparation, painting could be an excellent, cost-effective solution for updating your kitchen’s look.
Benefits of Painting Over an Old Worktop
Opting to paint an old kitchen worktop rather than replace it can offer several advantages. This approach not only saves time and money but also allows for creative expression and environmental sustainability. Let’s delve into the key benefits:
Cost-Effectiveness
- Reduced Expenses: Painting your worktop is significantly more affordable than purchasing and installing a new one. This makes it an excellent option for those on a tight budget or for rental properties.
- Avoiding Additional Costs: Replacement often involves hidden costs like removal of the old worktop, potential modifications to cabinets, and installation fees. Painting circumvents these extra expenses.

Customisation Options
- Colour Choices: With painting, you have the freedom to choose from a wide range of colours and finishes. This flexibility allows you to tailor your worktop to match your kitchen’s colour scheme or to create a statement piece.
- Unique Finishes: Specialised paints can mimic the look of materials like granite, marble, or even concrete, offering a high-end look without the associated cost.
Environmental Impact
- Reducing Waste: By painting your existing worktop, you’re extending its life and reducing the amount of waste sent to landfills.
- Sustainable Choice: Reusing and upcycling existing materials is always a more environmentally friendly option than purchasing new ones, especially with the energy and resources involved in manufacturing and transporting new worktops.
Speed and convenience
- Time-saving: The process of painting a worktop can often be completed in a few days, much quicker than the process of selecting, ordering, and installing a new one.
- DIY Friendly: For those who enjoy DIY projects, painting a worktop can be a rewarding weekend project without the need for specialised tools or skills.
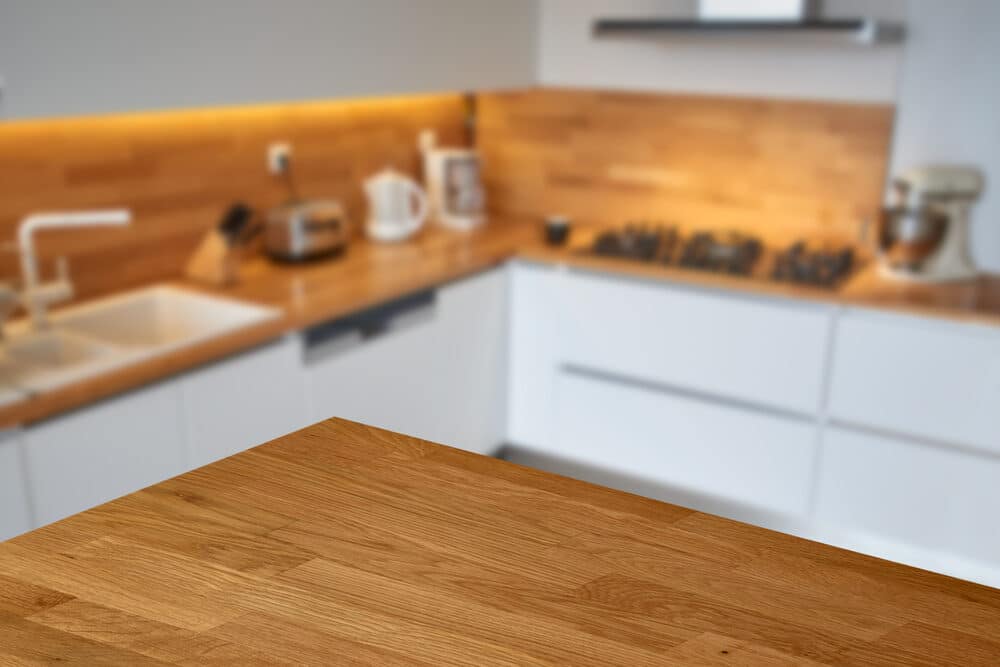
Improved Kitchen Aesthetics
- Refreshed Look: A fresh coat of paint can transform a tired, old worktop, giving your kitchen a refreshed and modern appearance.
- Enhanced Home Value: Even small updates like a newly painted worktop can enhance the overall appeal and value of your home, especially if you’re considering selling or renting.
Challenges and Considerations
While painting an old kitchen worktop offers numerous benefits, it’s essential to be aware of the challenges and considerations involved in this process. Understanding these factors ensures that you are well-prepared and can help guarantee a successful outcome.
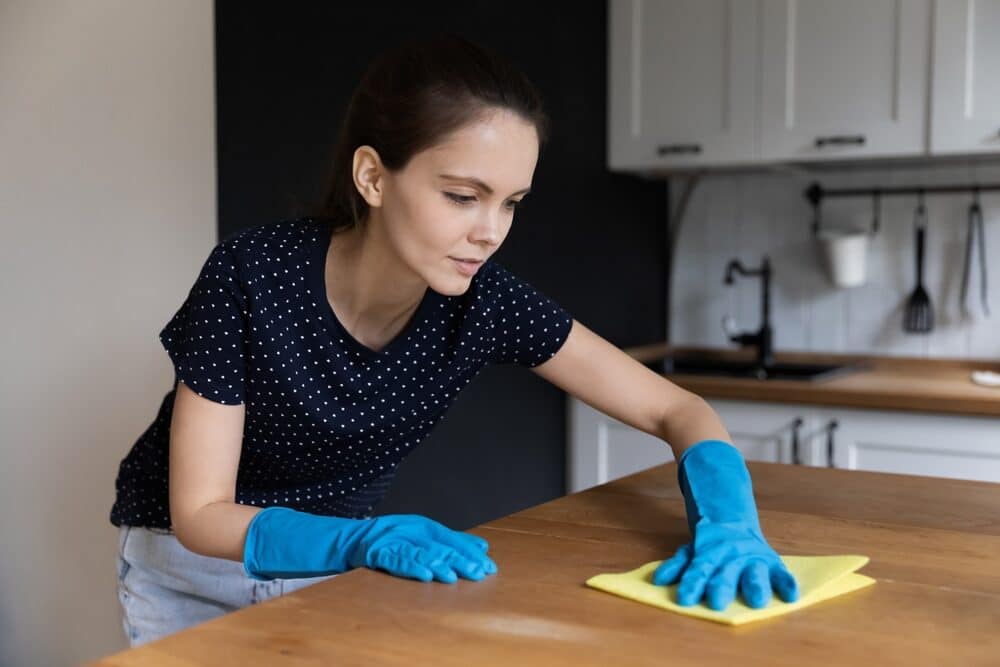
Surface preparation challenges
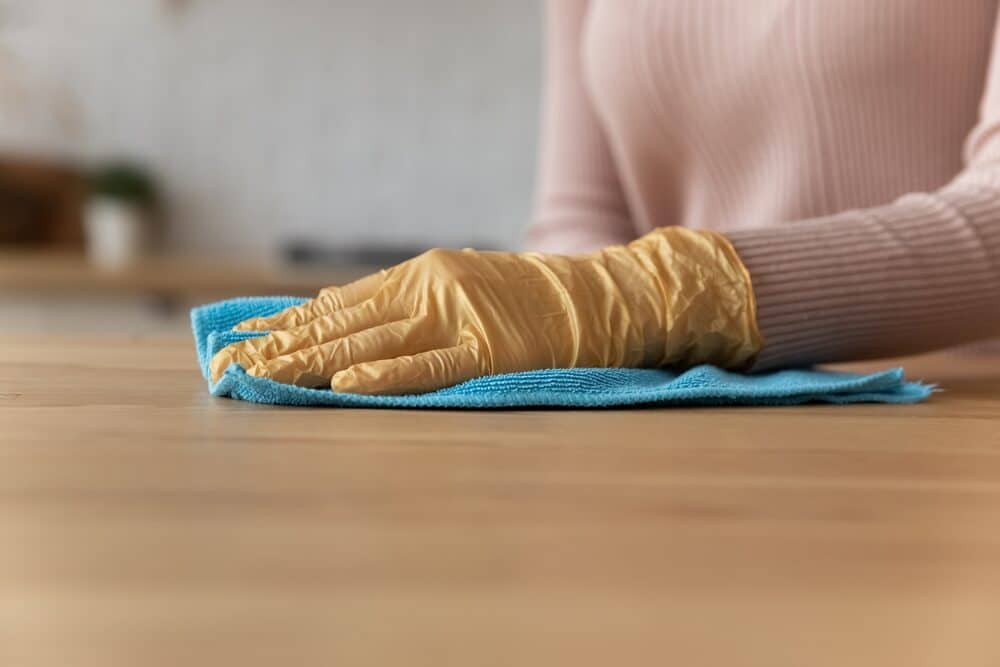
- Thorough Cleaning: Any grease, dirt, or old sealants on the worktop must be completely removed to ensure proper paint adhesion.
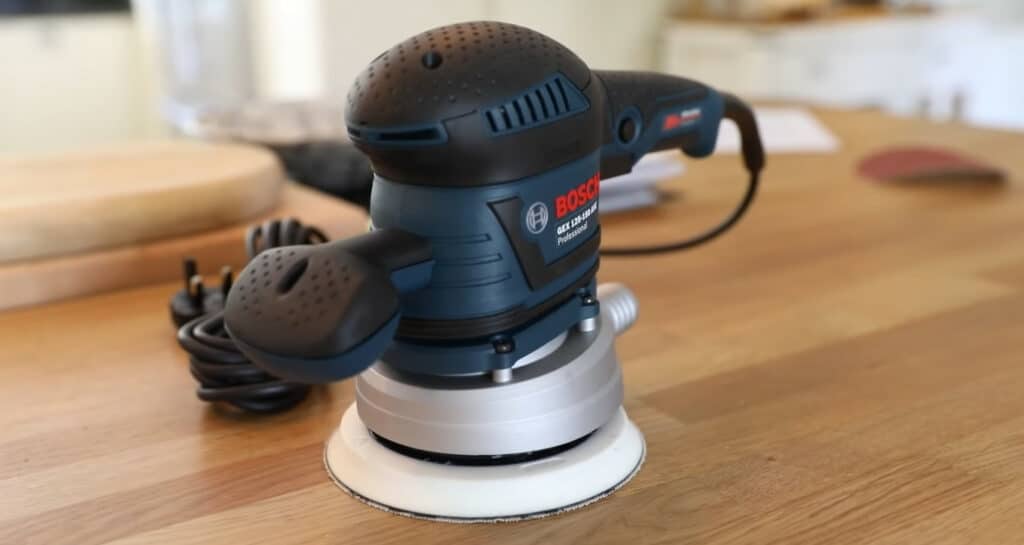
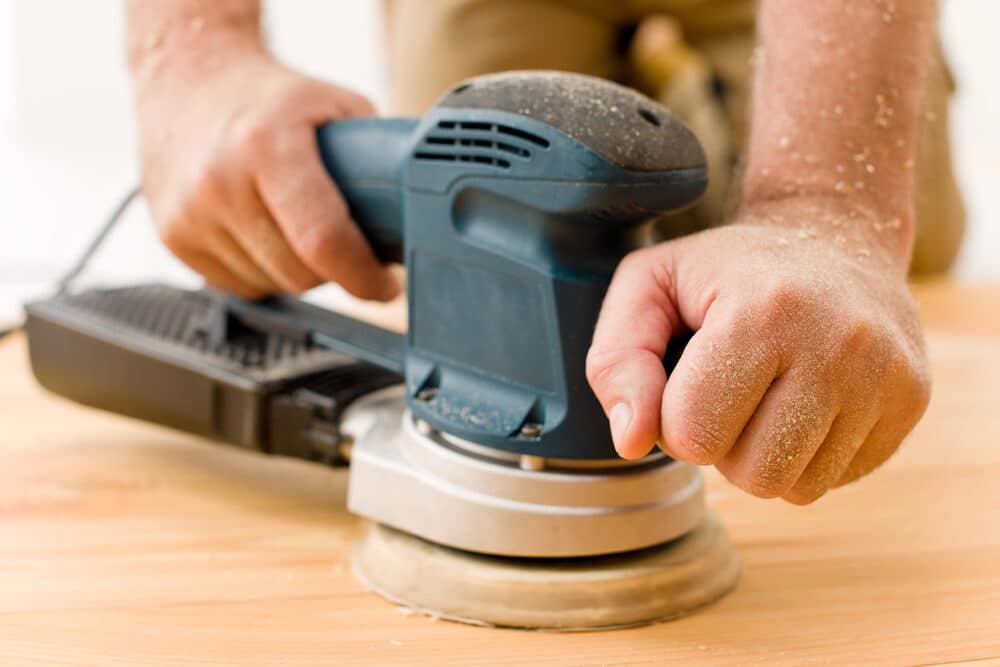
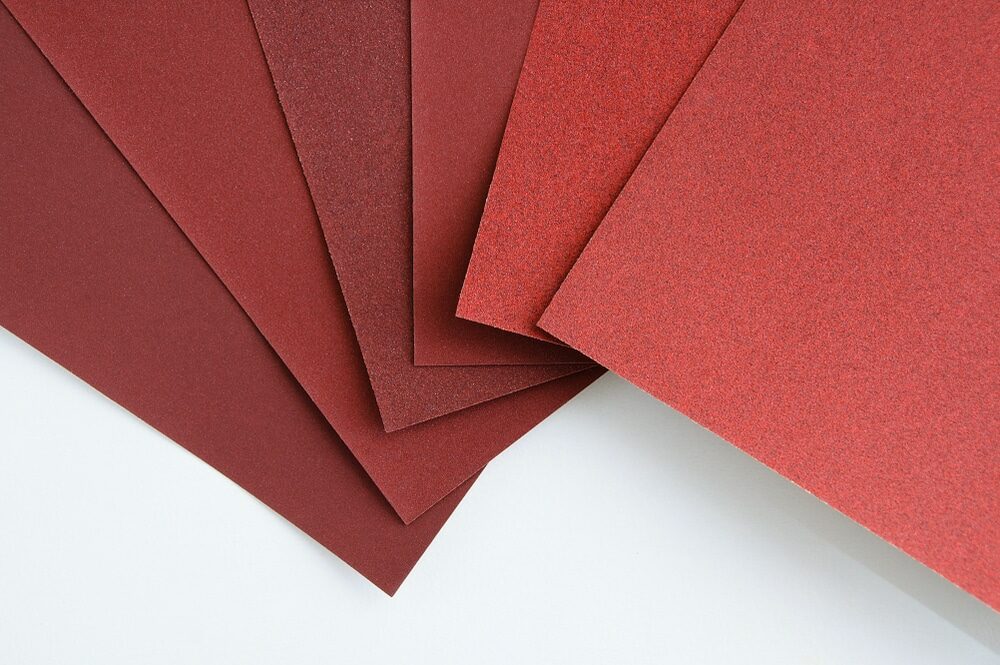
- Sanding Requirements: Depending on the worktop material, sanding might be necessary to create a surface that the paint can adhere to effectively.
- Repairing Damage: Filling in chips, cracks, or deep scratches is crucial for a smooth finish, but achieving the right level of repair can be tricky.
Choosing the Right Type of Paint
- Specific Formulations: Not all paints are suitable for worktop use. It’s important to choose a paint that’s designed for the specific material of your worktop and can withstand kitchen conditions.
- Durability Concerns: Kitchens are high-traffic areas, so the paint needs to be durable enough to resist heat, moisture, and everyday wear and tear.
- Finish and Aesthetics: Balancing aesthetics with functionality is key. Glossy finishes, for example, are more durable and easier to clean but might highlight imperfections on the surface.

Durability and maintenance issues
- Wear and tear: Painted worktops may not be as durable as their original material or as a new worktop, requiring more frequent touch-ups.
- Long-Term Maintenance: Understanding and committing to the maintenance requirements (like resealing or repainting) is essential for keeping your painted worktop looking its best.
Health and Safety Considerations
- Safe Paints: Ensuring that the paint and sealant are food-safe and non-toxic is crucial, especially where food preparation is involved.
- Ventilation: Adequate ventilation during the painting your deck and drying process is important for safety and achieving a smooth finish.
Realistic Expectations
- Outcome Variability: The final result can vary based on your skill level, the type of paint used, and the worktop’s original condition.
- Understanding Limitations: A painted worktop, while beautiful, might not have the same feel or longevity as natural stone or other high-end materials.
Step-by-Step Guide to Painting Your Worktop
Transforming your old kitchen worktop with paint can be a satisfying DIY project. Here’s a step-by-step guide to help you achieve the best results:
Necessary Tools and Materials
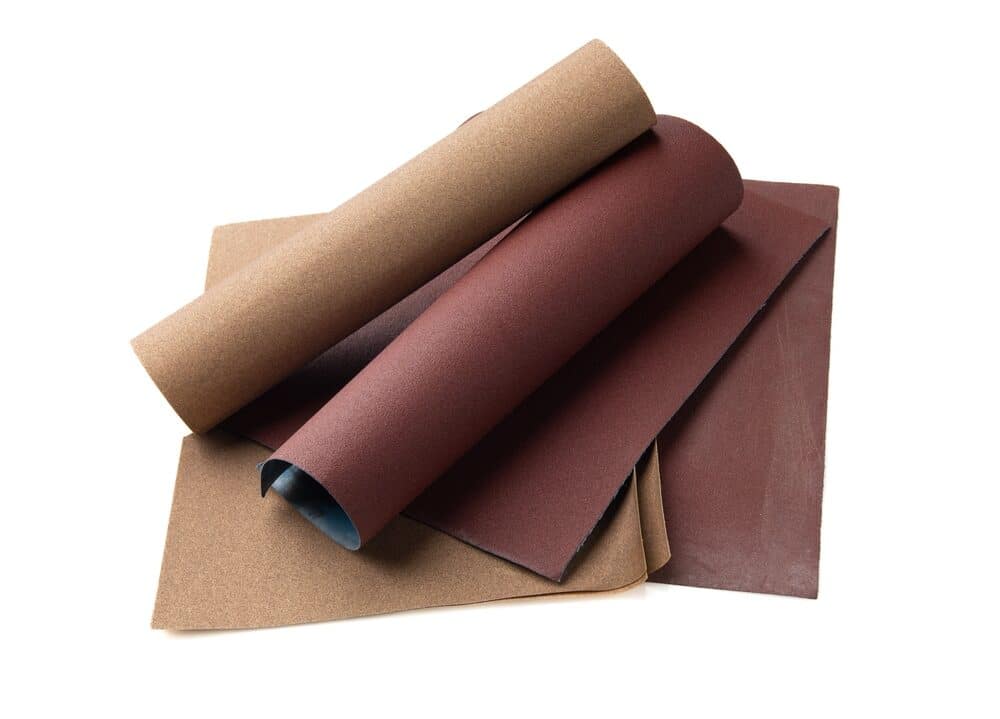
- Sandpaper (various grits)
- Primer is suitable for your worktop material.
- High-quality paint for worktops
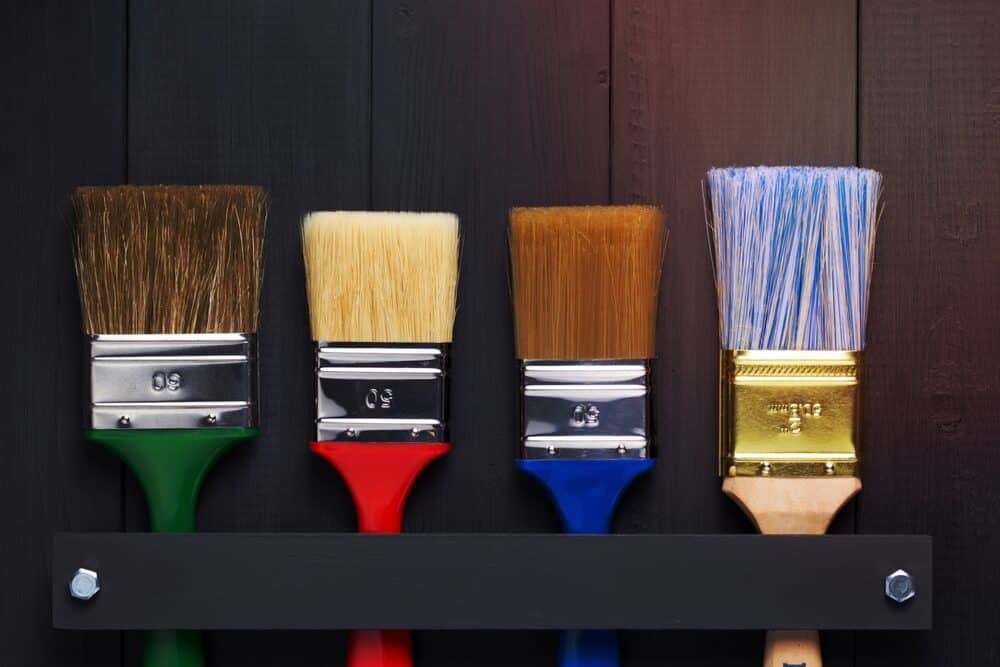
- Paintbrushes and rollers
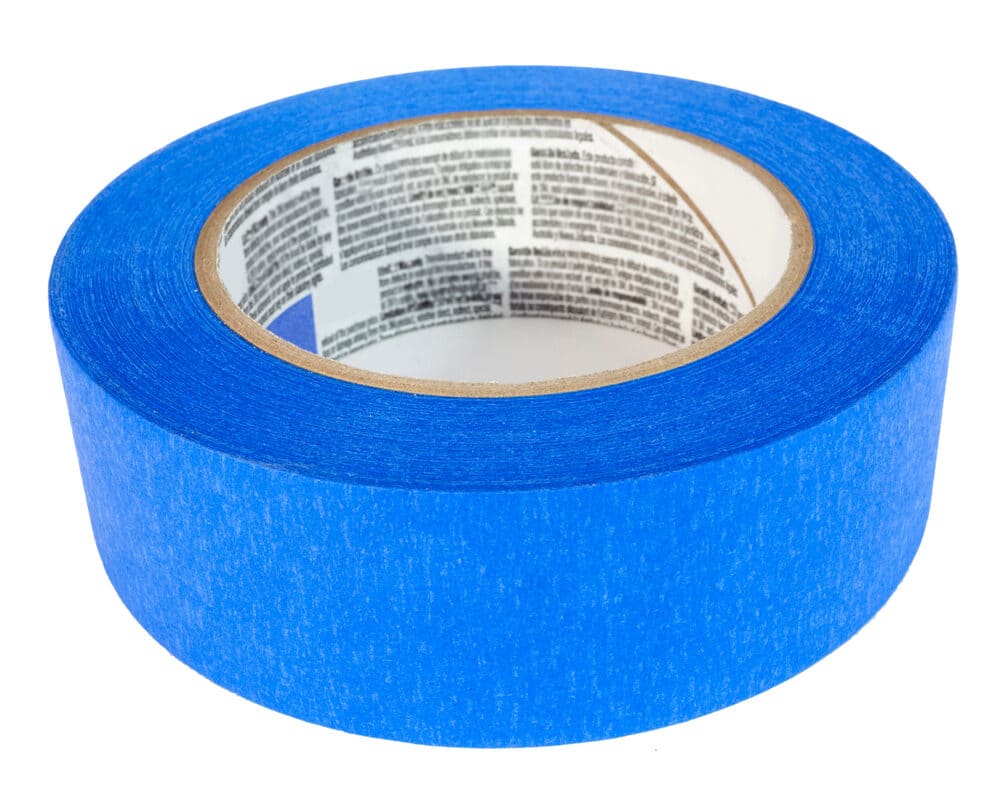
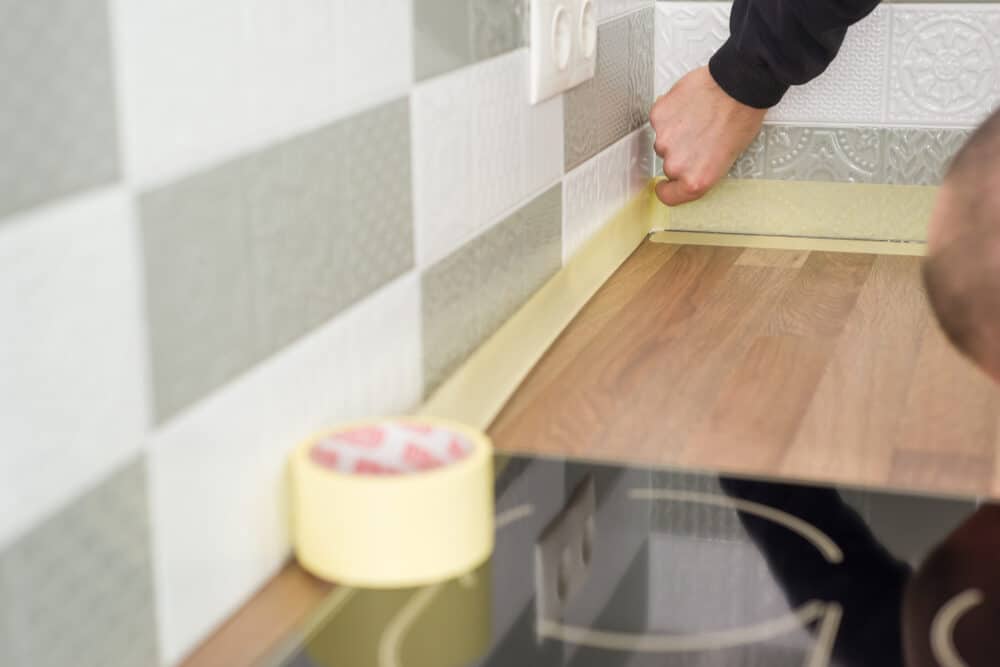
- Painter’s tape
- Filler for repairs
- Cleaning supplies
- Protective gear (gloves, mask)
Step 1: Cleaning and Preparing the Surface
- Remove all items from your worktop.
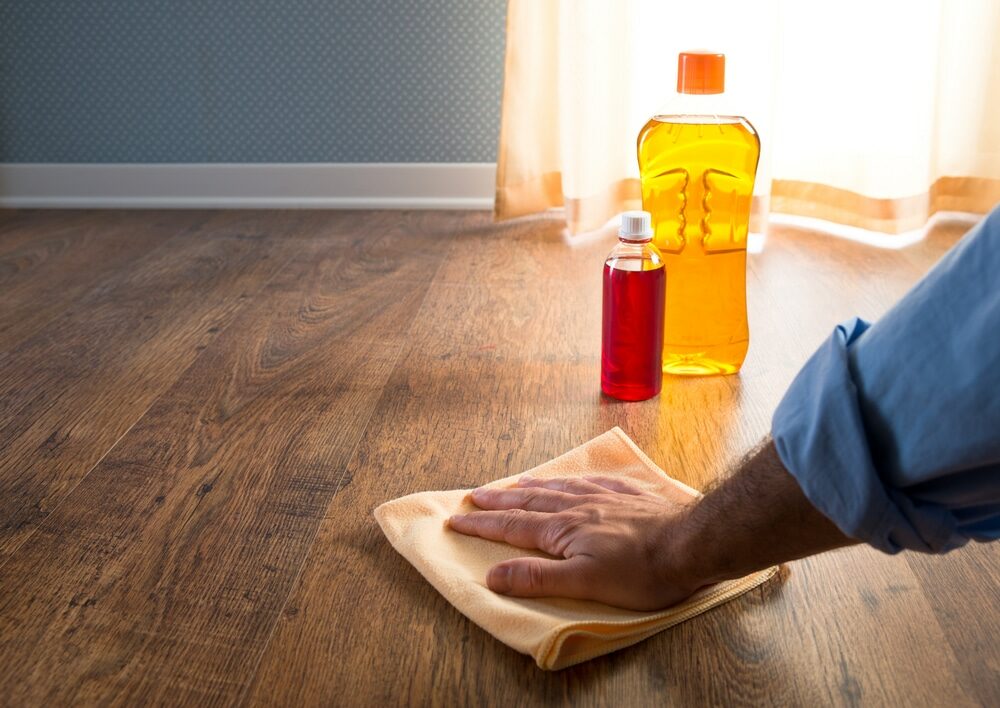
- Clean the surface thoroughly to remove grease, dirt, and residues.
- Repair any damages, like cracks or chips, with filler.
- Sand the surface lightly to create a rough texture for better paint adhesion.
- Wipe away all the dust after sanding.
Step 2: Primer Application
- Apply a suitable primer. This step is crucial for ensuring the paint adheres properly and provides a smooth finish.
- Let the primer dry completely, as per the manufacturer’s instructions.
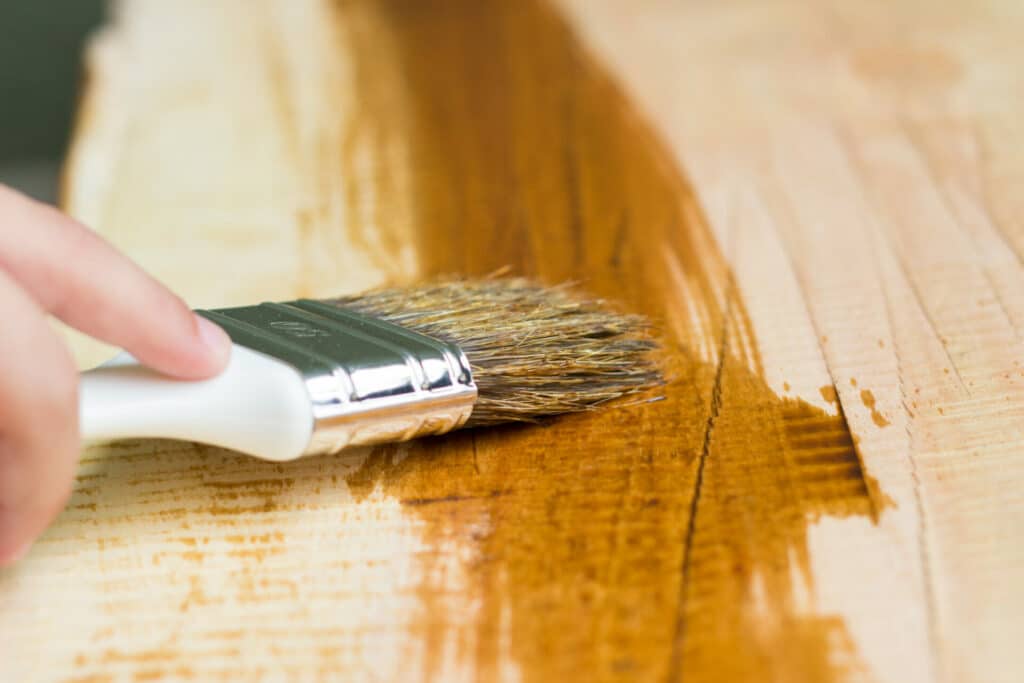
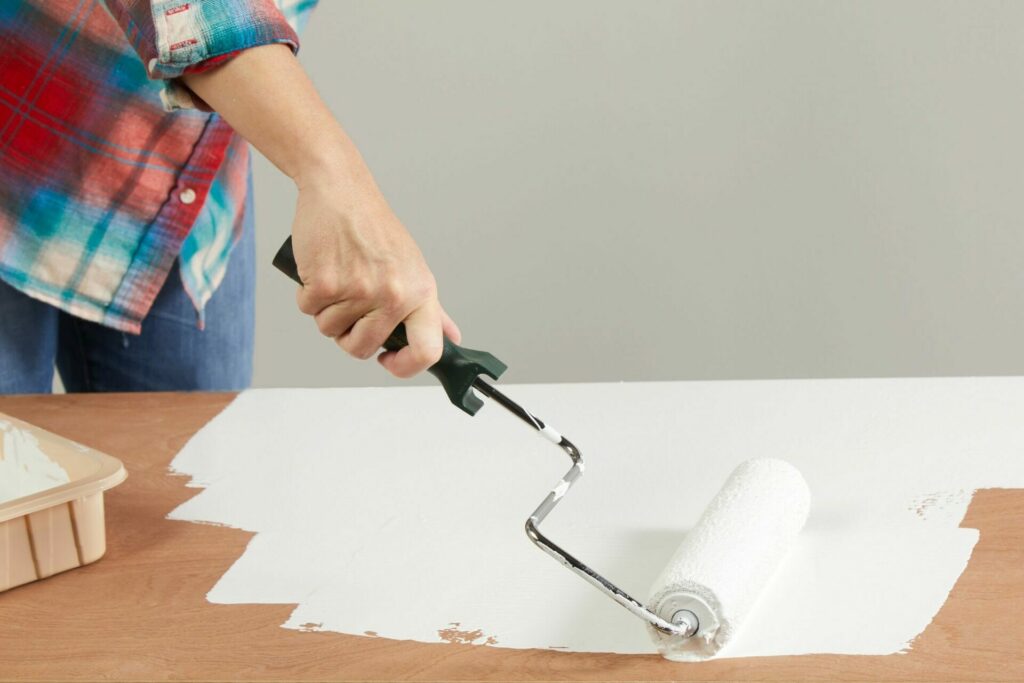
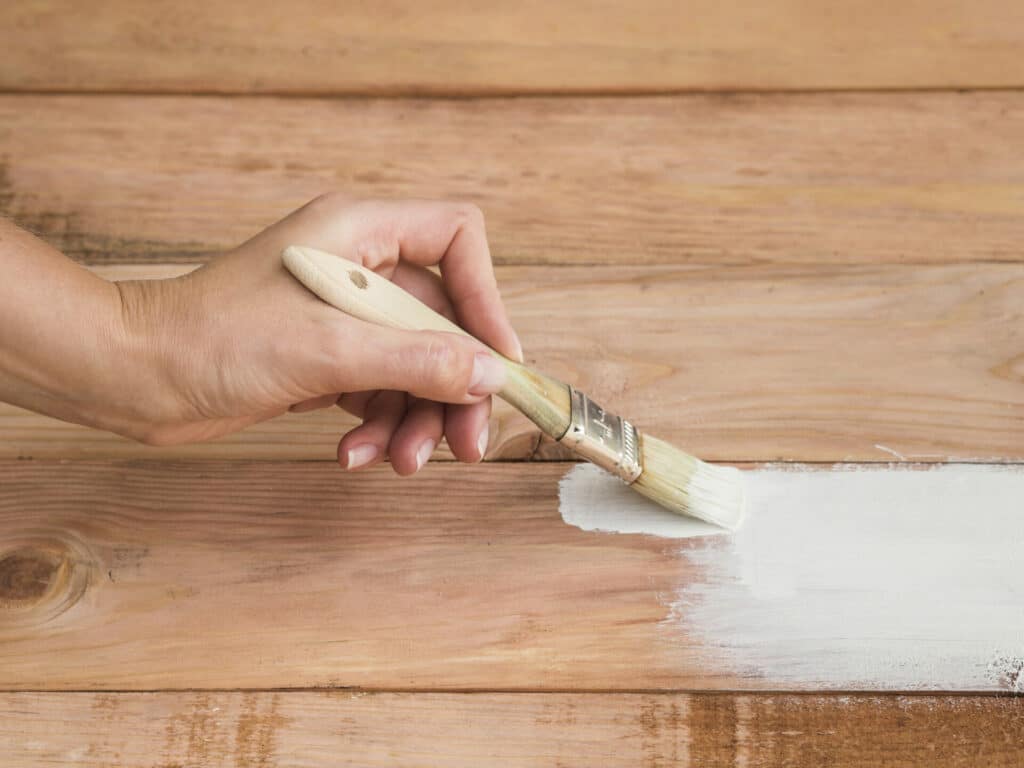
Step 3: Painting Techniques and Tips
- Apply the first coat of paint using a brush or roller. Start from one end and move steadily to the other.
- Allow the first coat to dry.
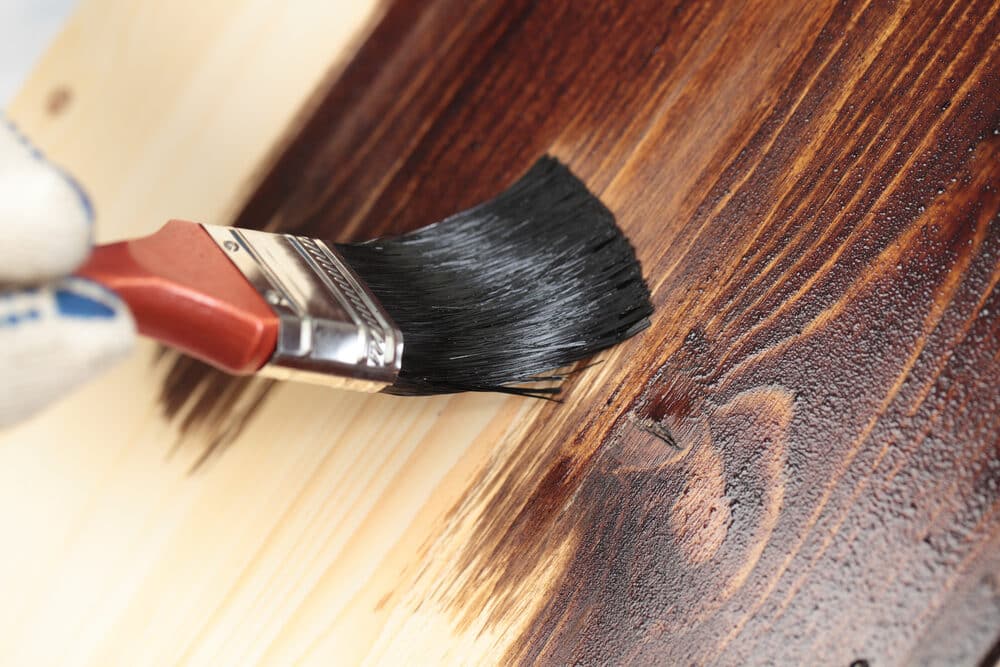
- Apply a second coat if needed for better coverage and depth of colour.
- Use smooth, even strokes to avoid streaks and brush marks.
Step 4: Sealing and Finishing Touches
- Apply a sealant if necessary, especially for worktops that will experience heavy use.
- Before using the worktop, let the paint cure for the amount of time the manufacturer recommends.
Tips for Best Results
- Test the paint and primer on a small, inconspicuous area first.
- Be patient between coats to ensure proper drying.
- Maintain a ventilated environment during the entire process.
- Use high-quality brushes and rollers for a smooth finish.
Step 5: Maintenance and aftercare
- Clean spills promptly to avoid staining.
- Use cutting boards and trivets to protect the surface.
- Regularly check for chips or scratches and touch up as needed.
Alternatives to Painting
While painting an old worktop can be a great option, it’s not the only way to refresh your kitchen’s appearance. If you’re considering alternatives, here are some options to explore:
Resurfacing Options
- Laminate Overlays: These are thin layers that can be applied over existing worktops. They come in various designs and can mimic the look of natural stone or wood.
- Epoxy Coatings: Epoxy provides a durable, glossy finish and can be used to create unique designs, including mimicking the appearance of marble or granite.
- Tile Overlays: Installing tiles over your existing worktop can give it a completely new look. This option allows for a high degree of customisation in terms of patterns and colours.
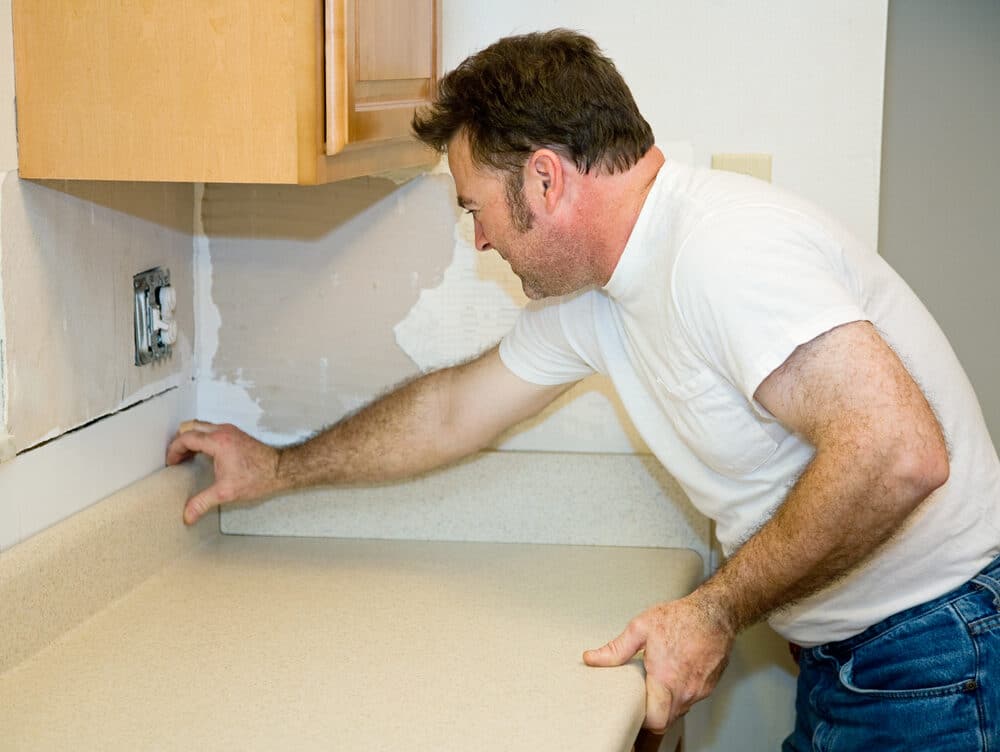
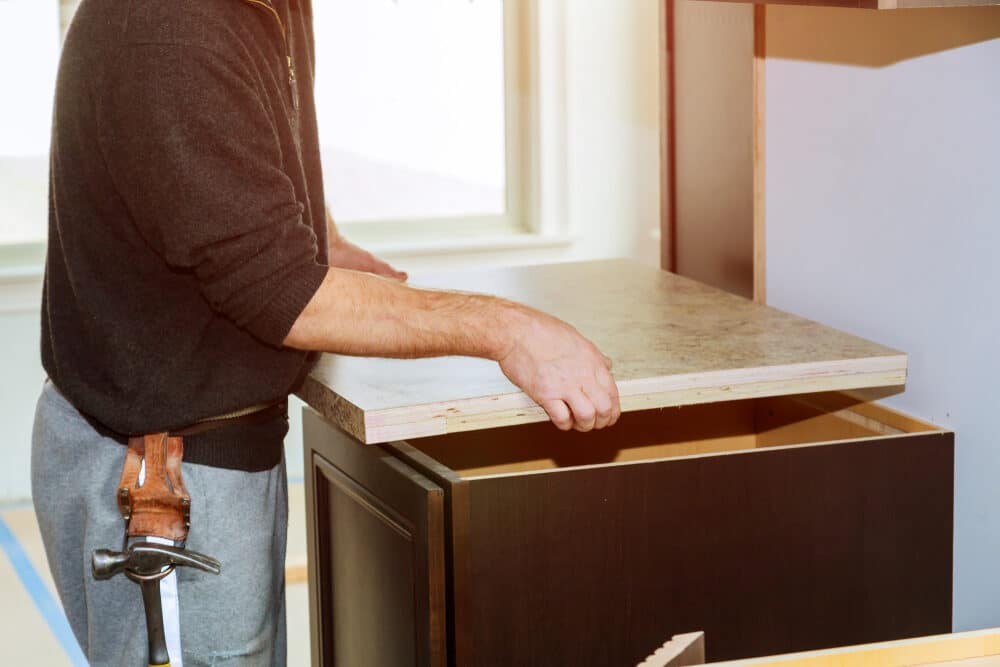
Replacement Options
- Complete Replacement: If your worktop is beyond repair or you want a completely new material, replacing the worktop is a viable option. This can be more expensive but offers a long-term solution.
- Prefabricated Worktops: These are pre-cut worktops available in standard sizes. They can be a more budget-friendly option for replacement, though the choices in materials and designs might be limited.
Other cosmetic updates
- Change the backsplash: Sometimes, updating the backsplash can make a significant impact on your kitchen’s overall look, complementing or contrasting with your existing worktop.
- Update Cabinetry: Painting or replacing cabinet doors can dramatically change the kitchen’s appearance without touching the worktop.
Considerations for Alternatives
- Budget: Your budget will largely dictate which option is feasible. Some alternatives might require more investment than painting.
- Longevity and Durability: Consider how long you want the update to last. Some options, like epoxy coatings or complete replacements, offer more durability than paint.
- Skill Level Required: Some alternatives might require professional installation, especially if they involve complex procedures or heavy materials.
- Impact on Home Value: Think about how the update will affect your home’s value. High-quality materials and professional finishes can be more appealing to potential buyers.
Maintenance and Care for Painted Worktops
After investing time and effort into painting your kitchen worktop, proper maintenance and care are crucial to preserving its appearance and extending its lifespan. Here are some essential tips to keep your painted worktop looking its best:
Daily care tips
- Gentle Cleaning: Use a soft cloth or sponge with mild soap and water to clean the surface. Avoid abrasive cleaners or scouring pads, which can damage the paint.
- Immediate Spill Cleanup: Wipe up spills as soon as they happen to prevent staining and water damage, especially on surfaces painted with water-soluble paints.
- Avoid Excessive Water Exposure: Although sealants protect the paint, it’s best to keep the surface as dry as possible. Don’t let water stand on the worktop for prolonged periods.
Protecting the surface
- Use Cutting Boards: Never cut directly on the painted worktop. Always use cutting boards to prevent scratches and gouges.
- Hot Pads and Trivets: Place hot pads or trivets under hot pots and pans to protect the worktop from heat damage.
- Prevent heavy wear and tear: Be mindful of the activities on your worktop. Heavy-duty tasks may require a more durable surface.
Addressing chips and scratches
- Touch-Up Paint: Keep some of your worktop paint for touch-ups. Small chips and scratches can be easily repaired if the same paint is available.
- Regular Inspections: Regularly check the surface for any signs of wear or damage and address them promptly to prevent further deterioration.
Long-Term Maintenance
- Reapply Sealant: Depending on the type of sealant used, you may need to reapply it periodically to maintain its protective layer.
- Avoid Harsh Chemicals: Harsh chemicals can strip the paint and sealant. Use gentle, pH-neutral cleaning agents.
Lifestyle Adjustments
- Mindful Usage: Being conscious of how you use your kitchen can go a long way towards maintaining your worktop. Consider how daily activities impact the worktop’s durability.
- Educating Household Members: Make sure all family members or cohabitants understand how to care for the painted worktop to ensure consistent maintenance.
Conclusion
As we’ve explored in this comprehensive guide, painting your old kitchen worktop is a feasible and rewarding project that can dramatically transform the look of your kitchen. It’s a cost-effective, environmentally friendly alternative to replacement, offering a chance for creative expression and customization. However, it’s important to weigh this option against the challenges it presents, like the need for meticulous surface preparation, choosing the right type of paint, and committing to ongoing maintenance of your kitchen worktop.
Remember, the success of painting your worktop largely depends on a proper assessment of its current condition, careful preparation, and precise application of materials. Moreover, maintaining and caring for your painted worktop will ensure its longevity and continued appeal.
For those who decide that painting isn’t the right choice, there are numerous other options to consider, from resurfacing with laminate or epoxy coatings to replacing the worktop entirely. Each alternative comes with its own set of considerations, from budget constraints to the desired longevity of the update.
Ultimately, whether you choose to paint, resurface, or replace your kitchen worktop, the goal is to create a space that you love and enjoy spending time in. Your kitchen is more than just a place to prepare meals; it’s a central hub for gathering, creating, and sharing. By making thoughtful choices about how to update your worktop, you’re investing not just in your home’s functionality and aesthetic but also in the heart of your home.
We hope this guide has provided you with valuable insights and practical advice to help you make the best decision for your kitchen worktop. Happy renovating!


Sanding
We provide virtually dust-free sanding with our continuous belt machinery with mobile extraction units, giving you a safer environment for your family.
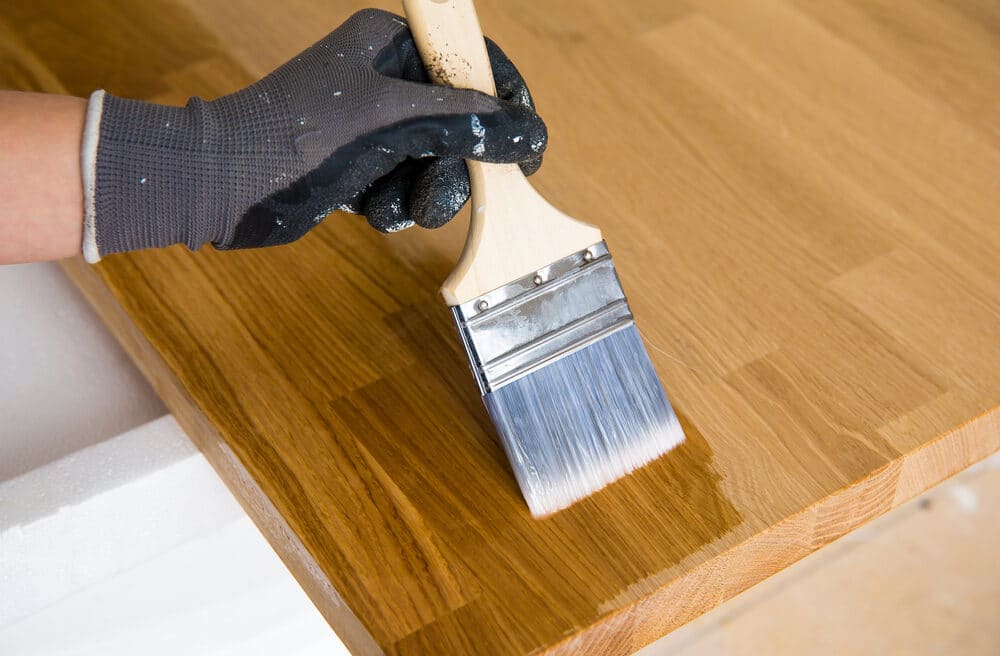
Oiling
This organic finish not only adds beauty to your home but also has exceptional water-repellent characteristics, making it easier to clean and maintain.
Waxing
This natural floor finish offers the softest and most mellow appearance – and leaves your floor able to breath.
Buffing
Using soft buffing machines (and hand-polishing where required) will bring a wonderful sheen to your newly-finished floor.
Repairs
We offer a full assessment of your wooden floors to determine what repairs are needed to provide the perfect working surface for the later stages of sanding, staining and sealing.
Restoration
We offer a comprehensive restoration process designed to address floors that are improperly fitted or damaged over time through wear and tear.
Request a fixed price quote for your wood floor restoration now
Simply enter your postcode below to get started.
Services
Wood Floor Sanding Wood Floor Restoration Wood Floor Scratch Repair Squeaky Wood Floor Repair Parquet Floor Sanding Parquet Floor Restoration Commercial Floor Sanding Church Floor Sanding Community Centre Floor Sanding School Floor Sanding Gap Filling Gap Filling with ResinCopyright © Mr Sander®
Privacy & Cookies Terms & Conditions Complaints Procedure Cancellation Rights Sitemap

Get An Instant Price Estimate Before You Go…
Simply enter the rooms you need sanded and we’ll provide you with a price estimate instantly! Try our price calculator now.
Get a Price Estimate NowLocal Floor Sanding Experts
Over 500 5-Star Reviews
Safe, Dust Free Sanding
Operating Since 1994