London:
Nationwide:
25,000+
Floors Restored
27 Years Experience
Wood Flooring Association Certified
The Science of Sanding: Techniques and Tips for Refinishing Granwood School Floors in the UK
Posted on April 24, 2024
Granwood School Floors

Mastering the Art of Sanding: Refinishing Techniques for Granwood Floors in UK Schools
Welcome to a comprehensive guide on the science of sanding, specifically tailored for refinishing Granwood school floors in the UK. Granwood flooring, a composite construction of wood flour, cement, and fillers, has been a staple in educational institutions due to its durability and ease of maintenance. However, even the sturdiest floors wear down and require refurbishment to restore their original lustre and functionality. This guide aims to demystify the process, offering in-depth techniques and practical tips to achieve professional-grade results. First, we’ll delve into what makes Granwood flooring unique. Unlike traditional hardwood, granwood offers a unique challenge and opportunity for refinishing due to its composite nature. We’ll explore its composition, properties, and the reasons behind its popularity in schools across the UK, providing a solid foundation of knowledge before you embark on the physical work of sanding. Sanding is more than just an aesthetic update; it’s a necessary maintenance that extends the life of the flooring and ensures the safety and comfort of school environments. Proper sanding techniques can revitalise a floor, improve its appearance, and increase its resistance to wear and tear. This section will set the stage for the detailed techniques to follow, emphasizing why mastering the art of sanding is essential for anyone tasked with the care of Granwood floors. By the end of this introduction, you’ll have a clear understanding of the value and methods of refinishing Granwood floors, equipped with the knowledge to proceed with confidence and precision. Whether you’re a facilities manager, a maintenance staff member, or a DIY enthusiast, this guide will provide you with the tools and insights needed to effectively refurbish and maintain Granwood flooring, ensuring it continues to serve its purpose in educational settings for years to come.
Understanding Granwood Floors
Granwood flooring is an innovative solution widely utilized in various institutional settings, particularly in schools across the UK. Its unique composition and beneficial properties make it an excellent choice for high-traffic areas. This section explores the essential characteristics of Granwood flooring, providing the necessary background to understand its maintenance needs and refinishing techniques.
Composition and Characteristics
Granwood flooring is made from a mixture of wood flour, cement, and mineral fillers compressed under high pressure to form a dense, durable block. This composite nature gives it a distinctive edge over traditional wood floors.
- Durability: Granwood floors are highly resistant to wear, making them ideal for environments with heavy foot traffic.
- Moisture Resistance: Unlike traditional wood, Granwood’s cementitious base significantly reduces its susceptibility to moisture and humidity changes, minimising warping and swelling.
- Fire Resistance: The materials used provide better fire resistance than standard wooden floors.
- Eco-Friendly: Made from natural materials, Granwood flooring is a sustainable choice, often featuring recycled components.

Benefits of Granwood Flooring in Schools
Granwood’s unique attributes translate into several practical advantages when used in educational environments:
- Low Maintenance: The floor’s durability means lower maintenance costs over its lifespan compared to traditional wood floors.
- Acoustic Properties: Granwood’s dense composition helps reduce noise levels, a significant benefit in bustling school settings.
- Health & Safety: The floor’s smooth, non-porous surface is easy to clean, reducing the accumulation of dust and allergens and enhancing indoor air quality.
- Aesthetics: Available in a variety of colours and patterns, Granwood flooring can be finished to meet aesthetic preferences and complement the school’s interior design.
Understanding these aspects of Granwood flooring is crucial for anyone involved in its maintenance. Knowing what the flooring is made of and appreciating its properties can guide more effective and specialized care, particularly when it comes to refinishing tasks. With this foundation, the next sections will delve deeper into the specific processes and best practices for sanding and refinishing these robust, versatile floors to ensure they continue to offer their considerable benefits for many more years.
Preparation for Sanding
Proper preparation is key to achieving the best results when refinishing Granwood floors, particularly in a school setting. This stage sets the groundwork for a successful sanding process, ensuring that the floor is ready for treatment and the work environment is safe for all involved. Here’s how to prepare efficiently and effectively:
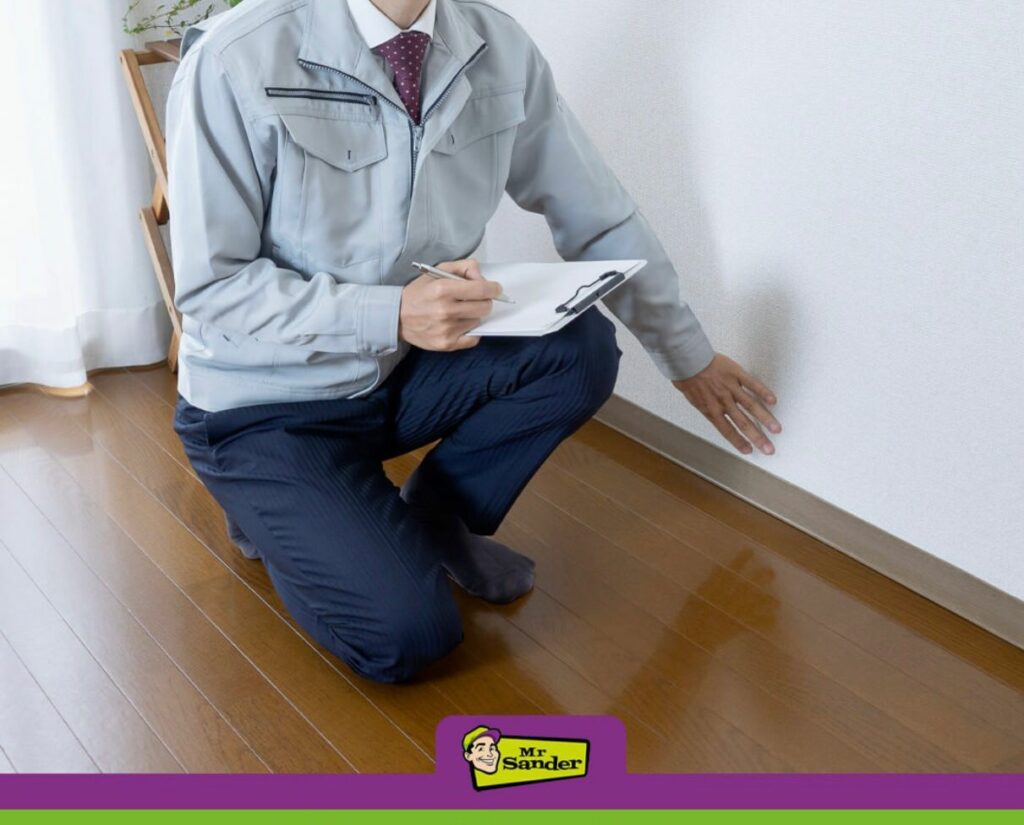
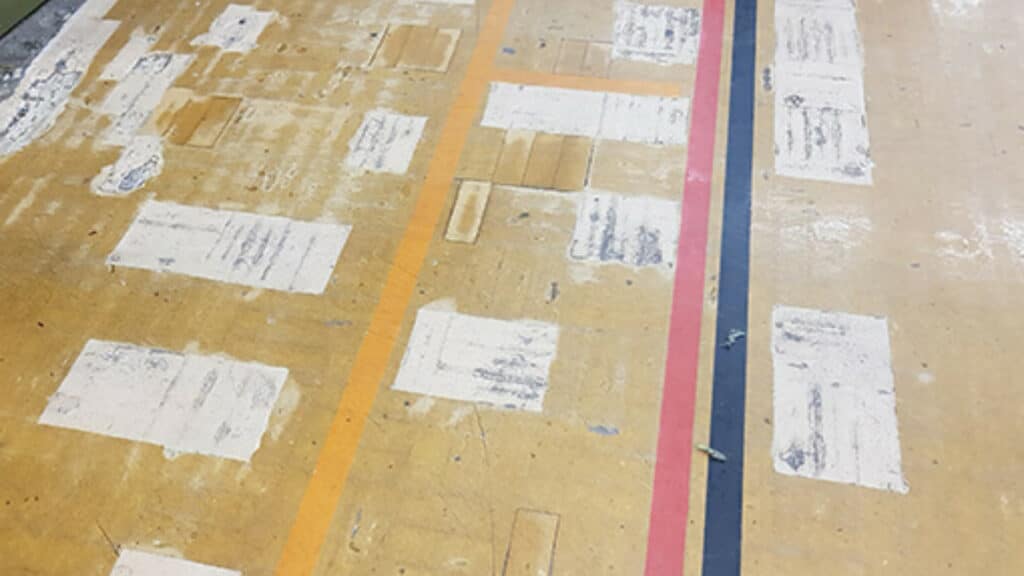
Assessing the Floor’s Condition
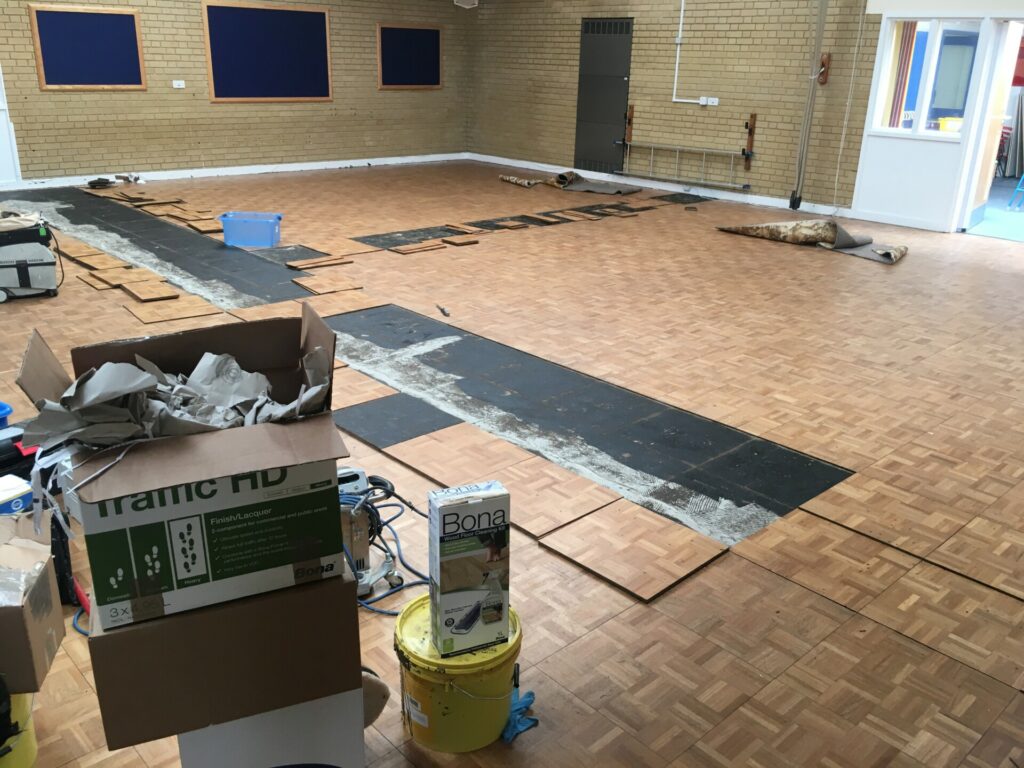
Before beginning any sanding project, a thorough assessment of the flooring’s current condition is essential. Look for signs of damage, such as deep scratches, gouges, or uneven areas. Also, check for any loose or missing blocks that may need repair or replacement. This initial evaluation will help you determine the scope of the project and the specific tools and materials required.
Necessary Tools and Materials
Gathering the right tools and materials is crucial for sanding Granwood floors. Here is a basic list of what you might need:
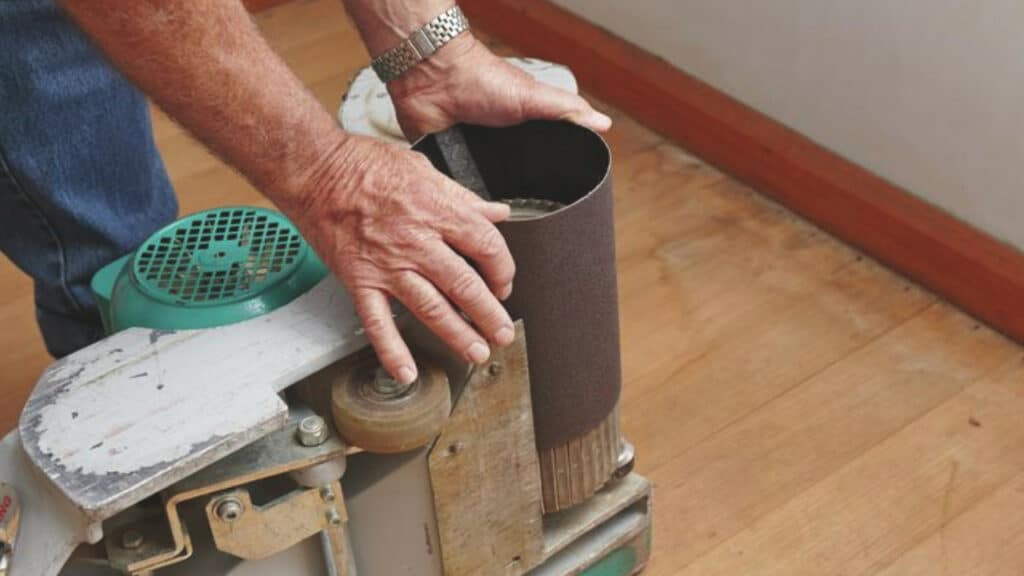
- Sanding Machine: A professional-grade drum or orbital sander suitable for Granwood floors.
- Sandpaper: Various grits, starting from coarse (for removing the old finish and smoothing out rough areas) to fine (for finishing touches).
- Edge Sander: For reaching the edges and corners where larger machines can’t access them.
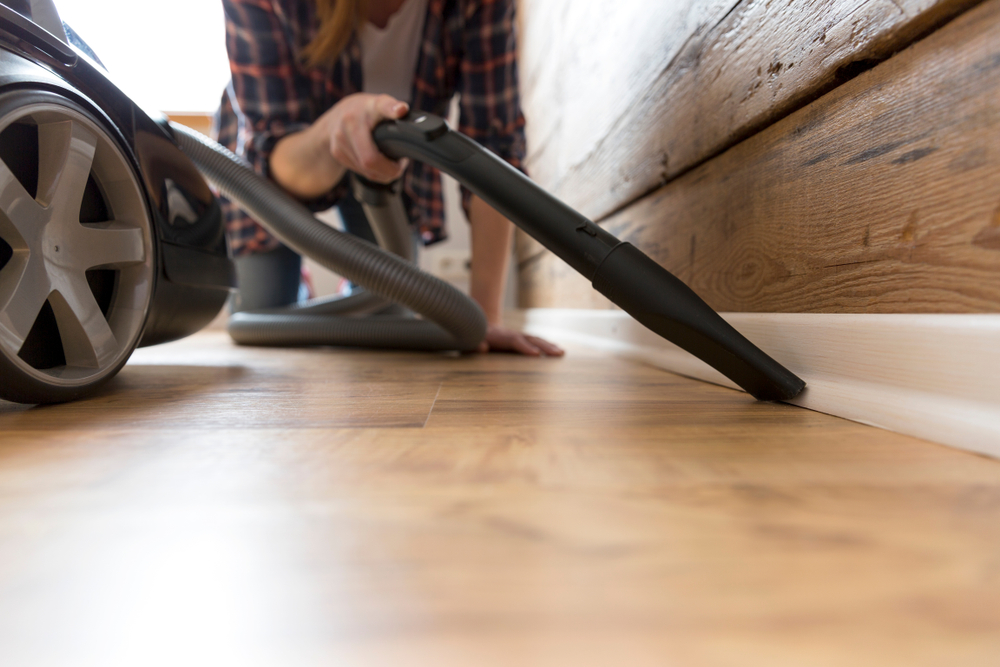
- Vacuum Cleaner: For dust collection, ensuring a clean working environment.
- Safety Equipment: Dust masks, safety goggles, and ear protection to safeguard against dust and noise.

Safety Precautions
Safety cannot be overstated, especially in an environment frequented by students and staff.
- Ventilation: Ensure good ventilation to manage dust and fumes from coatings or adhesives.
- Dust Control: Use dust collection systems and seal off work areas to prevent dust from spreading.
- Personal Protective Equipment (PPE): Always wear appropriate PPE to protect against dust, noise, and potential chemical exposure.

Preparing the Environment
- Clear the Area: Remove all furniture and fixtures from the room. Cover any immovable objects with dust sheets.
- Check the Flooring: Make sure the floor is free of any nails, staples, or debris that could damage the sanding equipment.
- Floor Cleaning: Clean the floor thoroughly to remove any dirt and grime that could affect sanding efficiency.
This preparation phase is crucial to setting up a successful refinishing job. It not only ensures that the floor itself is ready to be sanded but also that the process will be as smooth and safe as possible for everyone involved. With everything in place, you’re now ready to move on to the specific techniques and steps involved in sanding Granwood floors.
Sanding Techniques for Granwood Floors
Sanding granwood floors requires precision and an understanding of the material’s unique properties. The following techniques and steps ensure effective sanding, which can rejuvenate the appearance and longevity of the flooring. Here’s how to approach the sanding process for Granwood floors:

Choosing the Right Sandpaper Grit
- Start with Coarse Grit: Begin with a coarser grit sandpaper (around 36 to 40 grit) to remove the old finish and smooth out any significant unevenness or deep scratches. This initial stage is crucial for levelling the floor.
- Progress to Medium Grit: Once the major imperfections are addressed, switch to a medium-grit sandpaper (around 60 to 80 grit) to further smooth the surface without removing too much material.
- Finish with Fine Grit: Finish the sanding process with a fine-grit sandpaper (100 to 120 grit) to refine the surface, making it smooth and ready for finishing.
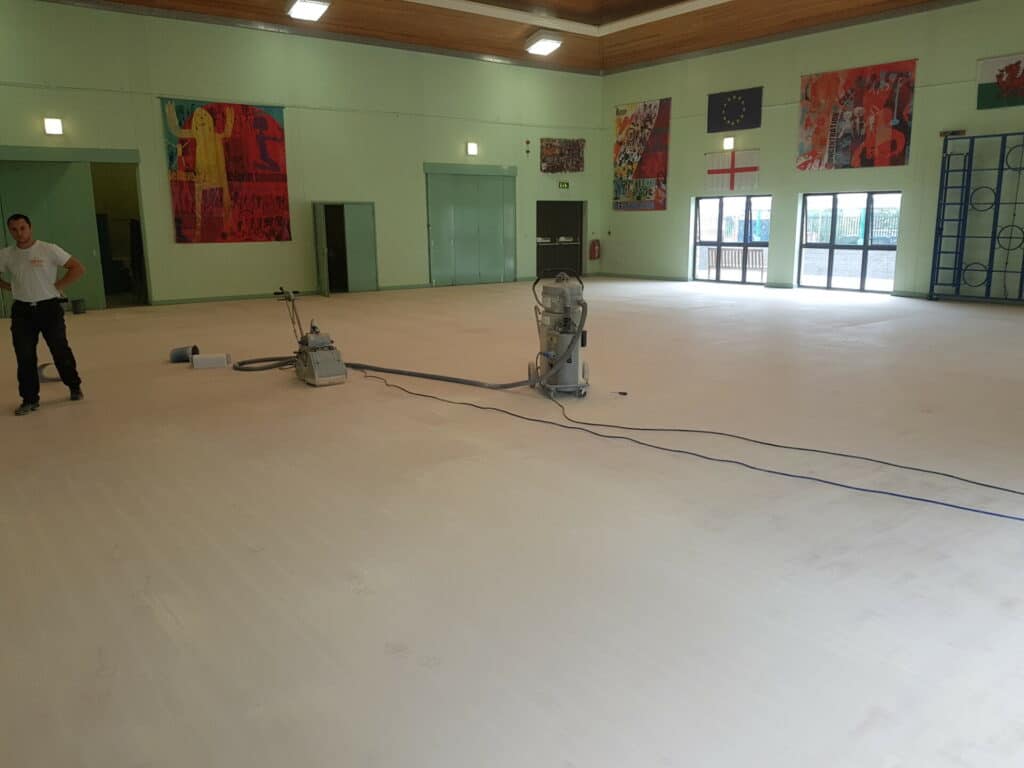
Machine Sanding vs. Hand Sanding
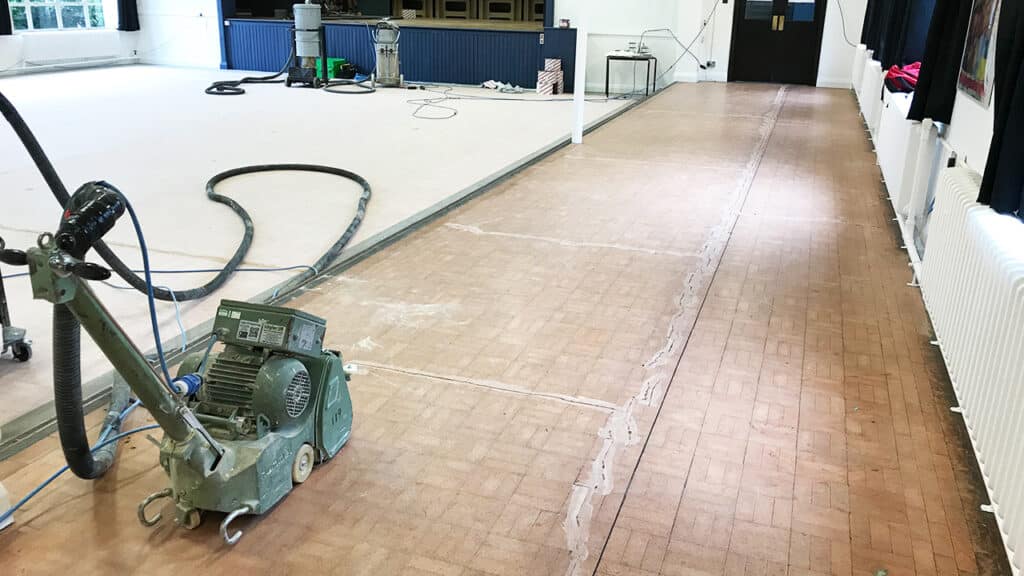
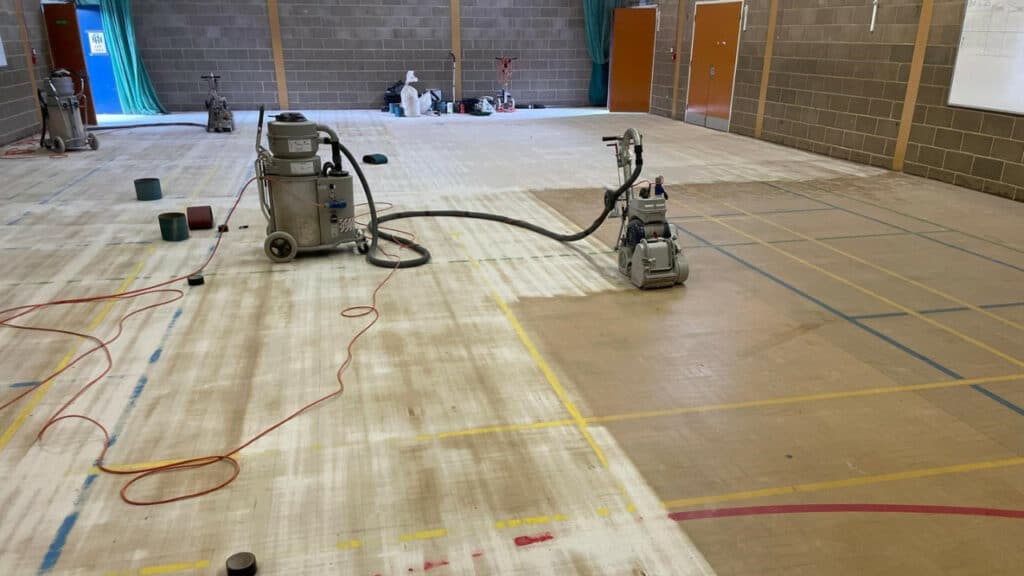
- Machine Sanding: Use a drum or orbital sander for the main areas of the floor. These machines are efficient for large spaces and provide a consistent finish. Ensure to move the sander evenly across the floor to avoid gouging or uneven sanding.
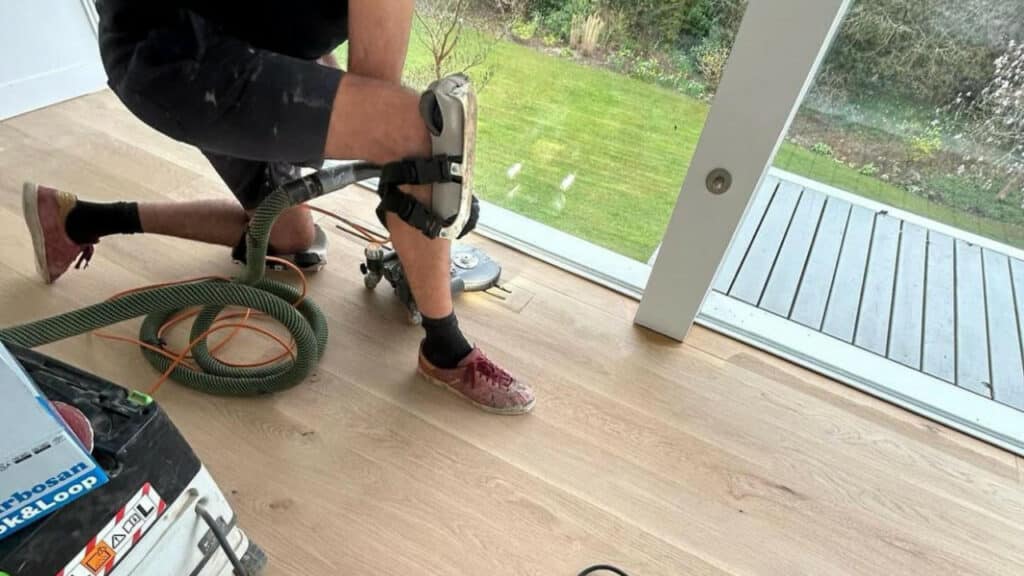
- Hand Sanding: For edges, corners, and hard-to-reach areas, hand sanding is necessary. Use an edge sander or a hand-held orbital sander. This ensures that the finish is uniform throughout, including those areas not accessible by larger machines.
Step-by-Step Sanding Process
- Preparation: Ensure the floor is clean and free of debris. Set up the room for dust collection and safety, as discussed in the preparation section.
- Initial Sanding: Start with the coarse-grit sandpaper to remove the old finish and level the floor. Sand in the direction of the grain was visible; for Granwood, follow the orientation of the blocks.
- Vacuuming: After each pass with the sander, thoroughly vacuum the area to remove all dust and debris. This step is vital for clear visibility and to ensure subsequent sanding stages are effective.
- Intermediate Sanding: Switch to medium-grit sandpaper and repeat the sanding process to further smooth the floor. Ensure even and thorough coverage.
- Final Sanding: Use fine-grit sandpaper for the final sanding pass. This stage is crucial for achieving a smooth, professional-quality finish.
- Detailed Touch-Ups: Inspect the floor for any missed spots or uneven areas. Use hand sanders or fine-grit sandpaper for touch-ups.
- Final Clean-up: Once all sanding is complete, do a thorough clean-up with a vacuum and a damp mop, if necessary, to ensure all dust is removed before applying any finish.
Following these techniques will ensure the Granwood floor is properly sanded, maximising the adhesion and longevity of the finish while restoring the floor’s aesthetics and durability. With the sanding complete, the floor will be ready for finishing touches, which involve selecting and applying the appropriate sealant or varnish.
Common Challenges and Solutions
Refinishing Granwood floors, while rewarding, can present a set of challenges that may complicate the sanding process. Understanding these common issues and knowing how to effectively address them can lead to a smoother, more successful refinishing project. Here are some frequent challenges and their practical solutions:
Dealing with Uneven Surfaces
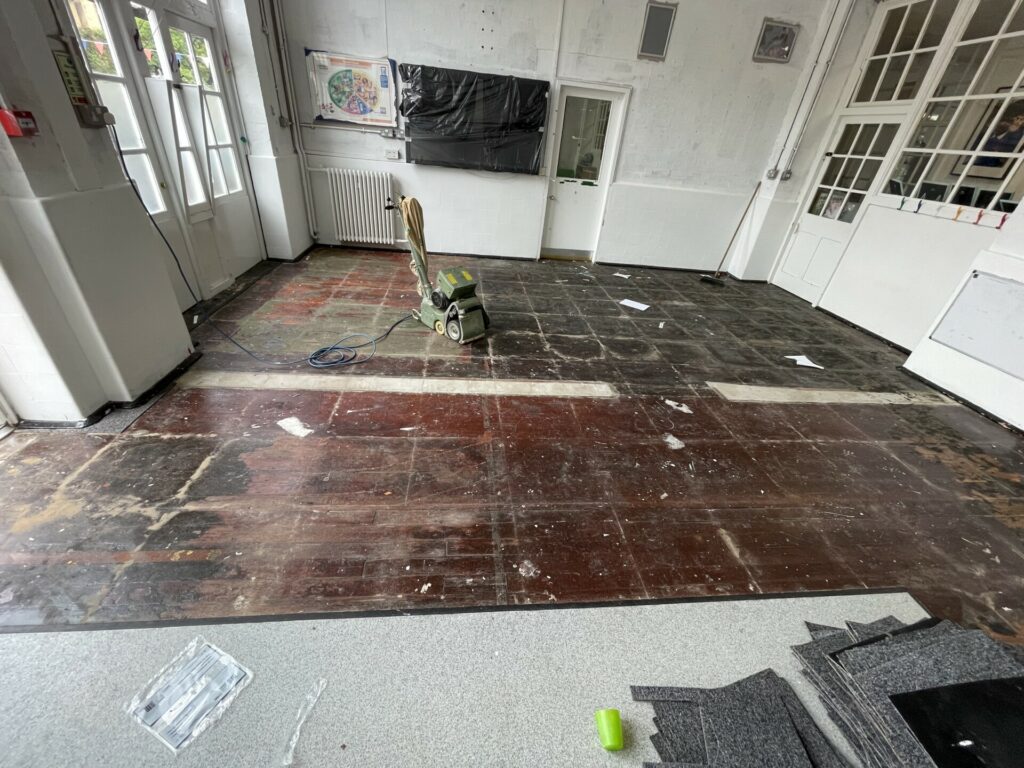
- Challenge: Granwood floors may become uneven over time due to settling, improper installation, or heavy use. Uneven surfaces can lead to inconsistent sanding results.
- Solution: Use a drum or orbital sander with coarse-grit sandpaper to level the surface initially. It’s essential to sand evenly across the floor, making multiple passes if necessary. For significant unevenness, consider using a floor grinder before sanding to reduce high spots.
Addressing Deep Scratches and Gouges
- Challenge: Deep scratches and gouges not only detract from the appearance of the floor but can also harbor dirt and debris, making the floor difficult to clean.
- Solution: Fill deeper scratches and gouges with a matching Granwood filler before sanding. Allow the filler to dry completely according to the manufacturer’s instructions, then sand over the area to smooth it out and ensure it is flush with the surrounding floor surface.
Tips for Avoiding Common Sanding Mistakes
- Inconsistent Sanding Pressure: Applying uneven pressure or moving the sander too quickly can result in dips or unfinished patches.
- Solution: Maintain even pressure and move the sander at a consistent, moderate pace. Practice using the sander to get a feel for its handling and operation before starting on the main floor area.
- Skipping Grit Progressions: Jumping from a very coarse grit to a fine grit can leave deeper scratches that are hard to remove.
- Solution: Progress through sandpaper grits sequentially. Each grit should refine the scratches left by the previous coarser grit until they are imperceptible.
- Over-sanding: Over-sanding can wear down the Granwood material unnecessarily, leading to thinning of the floor or damage.
- Solution: Keep track of the sanding passes and inspect the floor frequently. Granwood floors generally require fewer passes compared to traditional hardwood because of their density and composite nature.
- Dust Management: Poor dust management can obscure the work area, leading to missed spots or uneven sanding.
- Solution: Use dust extraction systems and perform regular cleanups between sanding passes. Ensure all equipment is functioning correctly and filters are clean to maintain effective dust capture.
By anticipating these challenges and implementing the suggested solutions, you can ensure a more effective and efficient sanding process for Granwood floors. Each step taken to address these issues not only helps in achieving a beautifully refinished floor but also extends the longevity and durability of the flooring, making it a worthwhile investment for any educational or institutional setting.
Finishing After Sanding
After the sanding of Granwood floors is complete, applying a suitable finish is crucial to protect the floor and enhance its appearance. The right finishing touches not only seal the floor from wear and tear but also highlight its natural beauty. Here’s how to select and apply the right finish for Granwood floors:
Selecting the Right Finish for Durability and Aesthetics
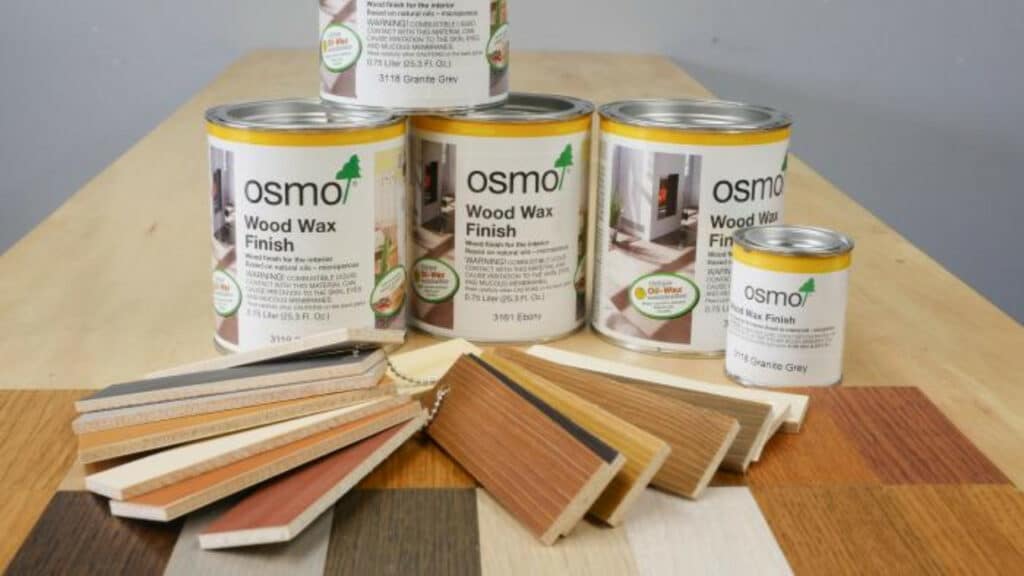
- Types of finishes:
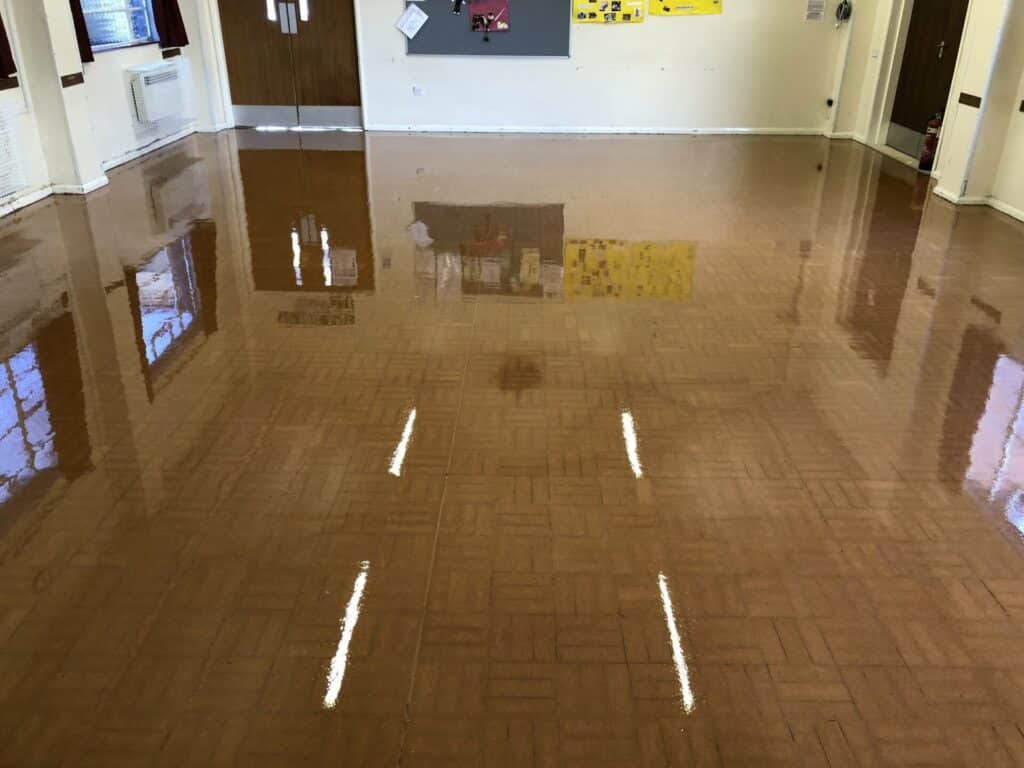
- Polyurethane is a popular choice for granwood floors due to its durability and resistance to scratches and scuffs. Available in various sheens, from matte to high gloss, polyurethane is ideal for high-traffic areas.
- Water-Based Finishes: These are less odorous and dry faster than oil-based alternatives, making them a practical choice for schools where quick turnaround and low VOC emissions are important.
- Oil-Based Finishes: Known for their hard-wearing properties and depth of sheen, oil-based finishes enhance the natural colour of granwood and are excellent for areas subjected to heavy use.
- Factors to consider:
- Traffic Levels: Higher traffic areas may require a more durable finish like polyurethane.
- Maintenance Requirements: Consider how much maintenance you are willing to perform, as some finishes require more frequent upkeep.
- Aesthetic Preferences: Choose a finish that complements the interior design of the space.
Application Techniques for a Flawless Finish
- Preparation:
- Ensure that all sanding dust is removed completely by vacuuming and then wiping down the floor with a tack cloth.
- Make sure the room is well-ventilated and the temperature is within the range recommended by the finish manufacturer.
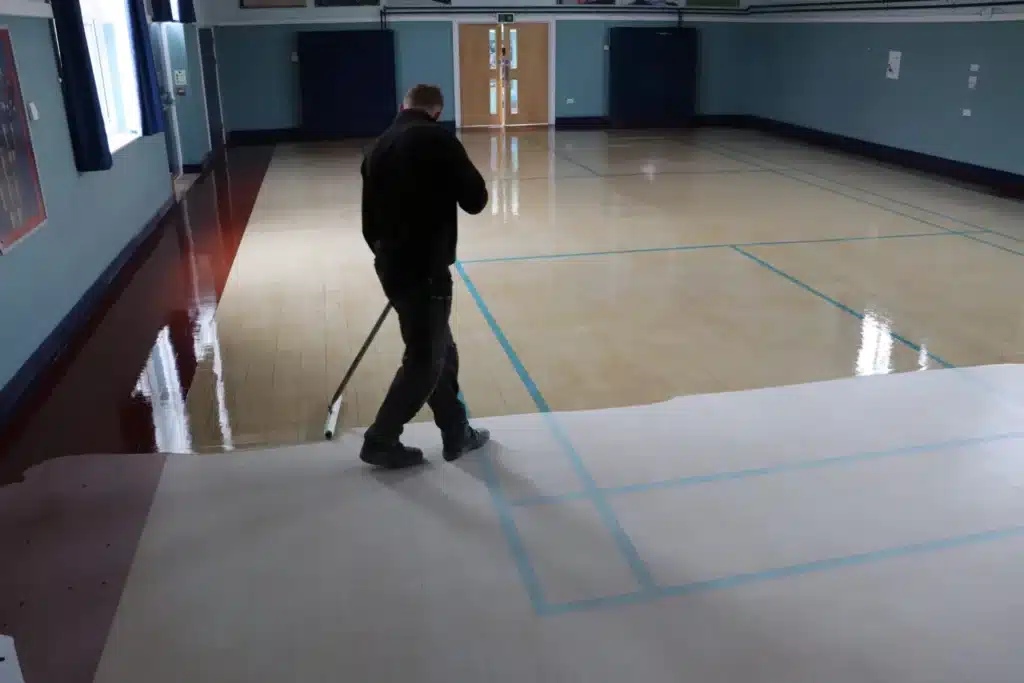
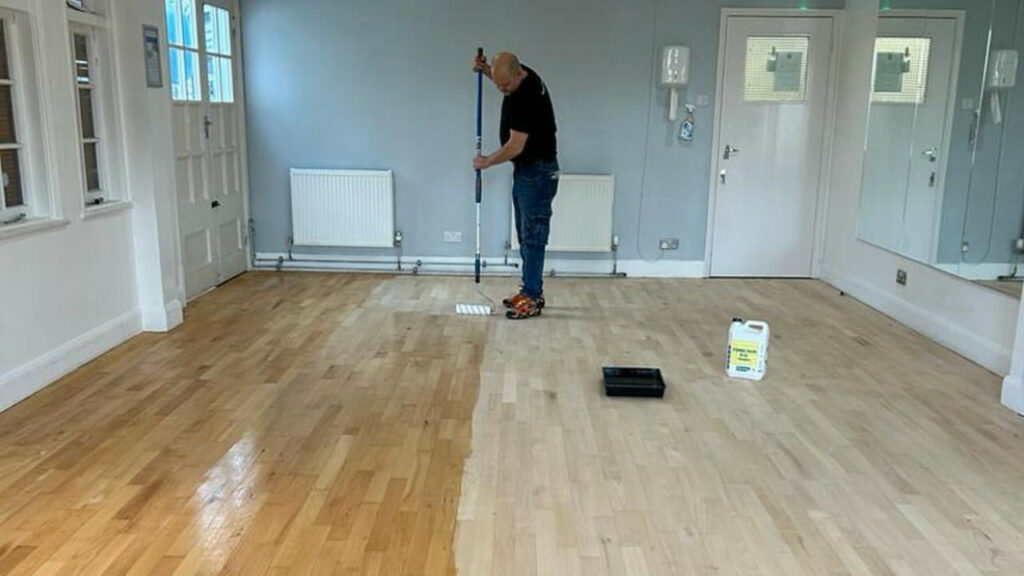
- Application Process:
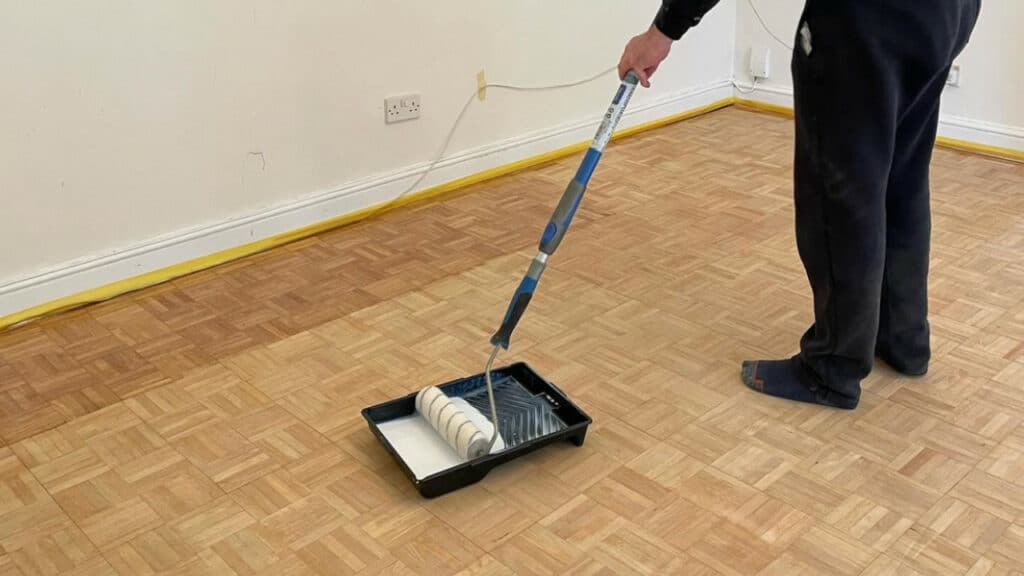
- First Coat: Apply the first coat of finish using a roller, brush, or applicator pad, starting at the farthest corner of the room and working your way towards the exit. Be sure to follow the manufacturer’s directions regarding application.
- Drying Time: Allow the first coat to dry thoroughly, based on the manufacturer’s recommendations. Avoid rushing this process, as adequate drying is crucial for a durable finish.
- Sanding Between Coats: Once dry, lightly sand the floor with a fine-grit sandpaper or screen to promote adhesion of the next coat. Vacuum and tack-cloth the floor again to remove all dust.
- Second Coat (and Subsequent Coats): Apply additional coats as required. Two to three coats are typically sufficient, but some situations may benefit from additional layers.
- Curing Time:
- Allow the final coat to cure fully before allowing traffic on the floor. Curing times can vary depending on the type of finish used and environmental conditions, but generally range from a few days to a week.
- Post-Application Care:
- Avoid placing furniture or allowing heavy traffic on the floor until the finish is fully cured.
- Follow the specific care instructions provided by the finish manufacturer to ensure the longevity of the floor.
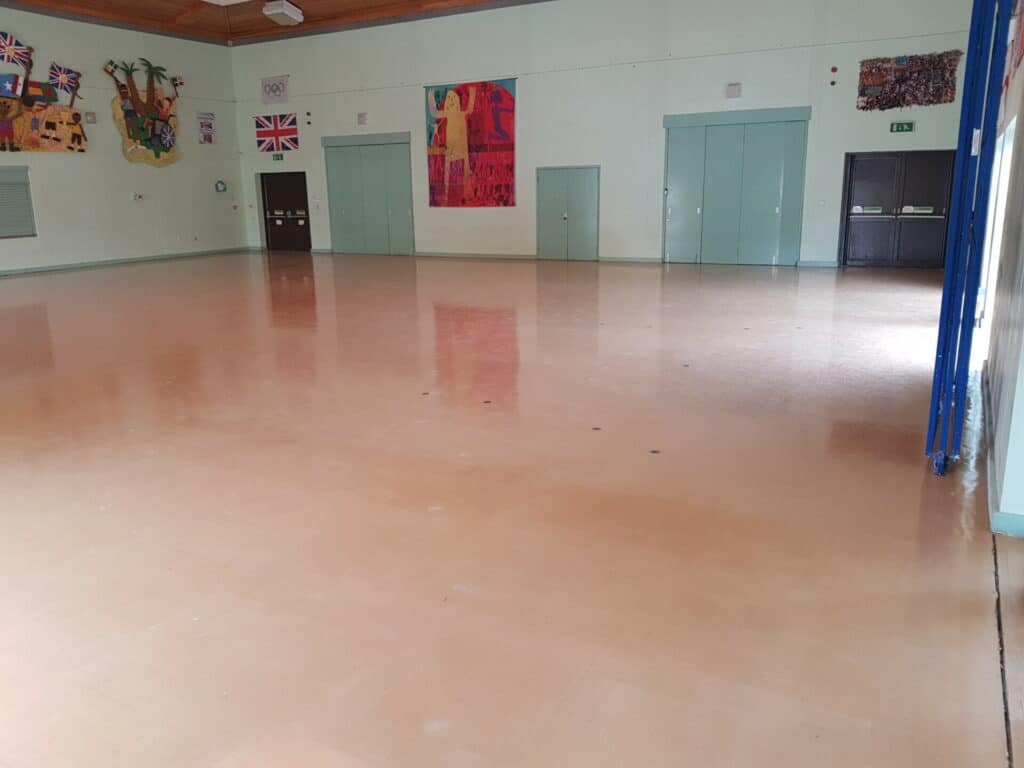
By following these guidelines, your refinished Granwood floor will not only look revitalized but will also be well-protected against future wear and tear, maintaining its appearance and functionality for years to come.
Maintenance Tips
Maintaining Granwood floors properly extends their lifespan and keeps them looking their best. Regular care and periodic maintenance can prevent the need for more extensive and costly repairs. Here are some effective tips for daily, weekly, and long-term maintenance of Granwood flooring:
Daily and weekly care recommendations
- Daily Dusting and Sweeping:
- Use a microfiber mop or soft-bristled broom to remove dust and loose debris. This prevents the accumulation of grit that can scratch the floor surface.
- Weekly Mopping:
- Use a damp mop with a mild detergent solution to clean the floor. Make sure the mop is well-wrung to avoid excess moisture, which can damage the floor. Avoid using harsh chemicals or abrasive cleaners that could strip the finish or damage the material.
- Spot Cleaning:
- Immediately clean spills and stains to prevent slipping hazards and potential staining. Use a soft cloth and a mild cleaner suited for Granwood floors.

Long-Term Maintenance Strategies
- Periodic deep cleaning:
- Schedule a professional deep cleaning once or twice a year, depending on the usage and traffic. This helps to remove ingrained dirt and restore the floor’s appearance.
- Refinishing:
- Periodically, the floors may require refinishing to address wear and tear, especially in high-traffic areas. A typical interval might be every 5–10 years, but this can vary based on usage, care, and the quality of the previous finishing job.
- Protective Measures:
- Use doormats at entrances to reduce the amount of dirt and grit brought onto the floors.
- Consider using furniture pads under table and chair legs to prevent scratches.
- Monitor the floor for signs of wear or damage, particularly in areas with frequent or heavy use.
Handling Specific Issues
- Scuff marks and scratches:
- Treat scuff marks with a soft eraser or a specialized floor cleaner designed for Granwood. For light scratches, touch-up kits or a bit of finish can be applied to the affected area.
- Gouges and Chips:
- Fill gouges and chips with a matching Granwood filler, then refinish the area to match the surrounding floor.
- Preventive Care:
- Regularly inspect the floor for signs of loosening or lifting blocks. Address these issues promptly to prevent further damage.
By following these maintenance tips, you can ensure that your Granwood flooring remains functional and visually appealing for many years. Regular care not only enhances the floor’s durability but also promotes a cleaner, safer environment for everyone using the space.
Conclusion
Refinishing Granwood school floors in the UK involves a detailed understanding of the material, precise preparation, expert sanding techniques, and the appropriate application of finishes. The success of such a project hinges not only on the methods employed during the refinishing process but also on diligent maintenance afterward. This guide has aimed to equip you with the knowledge and techniques required to effectively manage the entire lifecycle of Granwood flooring, from initial assessment and preparation through to long-term care and maintenance.
Recap of Key Points
- Understanding Granwood Floors: Recognising the unique composite nature of Granwood flooring is crucial for proper care and refinishing.
- Preparation for Sanding: Effective preparation sets the stage for a successful refinishing job, emphasising safety and thoroughness.
- Sanding Techniques: Using the right tools and sandpaper grit sequence ensures that the floor is smoothly and evenly refinished.
- Finishing: Selecting and applying the right finish not only enhances the appearance of the floor but also protects it against future wear and tear.
- Maintenance: Regular and long-term maintenance is essential for sustaining the floor’s durability and aesthetic appeal.
Encouraging sustainable maintenance practices
Maintaining Granwood floors sustainably ensures that these valuable assets continue to provide safe, attractive surfaces for educational environments. By following the outlined practices, schools can minimise the ecological impact of their maintenance routines while ensuring that their floors stand the test of time. In conclusion, the science of sanding and refinishing Granwood floors, while complex, is deeply rewarding. With the right approach, these floors will not only look beautiful but will also maintain their functionality and durability, making them a smart, sustainable choice for educational institutions across the UK.


Sanding
We provide virtually dust-free sanding with our continuous belt machinery with mobile extraction units, giving you a safer environment for your family.
Oiling
This organic finish not only adds beauty to your home but also has exceptional water-repellent characteristics, making it easier to clean and maintain.
Waxing
This natural floor finish offers the softest and most mellow appearance – and leaves your floor able to breath.
Buffing
Using soft buffing machines (and hand-polishing where required) will bring a wonderful sheen to your newly-finished floor.
Repairs
We offer a full assessment of your wooden floors to determine what repairs are needed to provide the perfect working surface for the later stages of sanding, staining and sealing.
Restoration
We offer a comprehensive restoration process designed to address floors that are improperly fitted or damaged over time through wear and tear.
Request a fixed price quote for your wood floor restoration now
Simply enter your postcode below to get started.
Services
Wood Floor Sanding Wood Floor Restoration Wood Floor Scratch Repair Squeaky Wood Floor Repair Parquet Floor Sanding Parquet Floor Restoration Commercial Floor Sanding Church Floor Sanding Community Centre Floor Sanding School Floor Sanding Gap Filling Gap Filling with ResinCopyright © Mr Sander®
Privacy & Cookies Terms & Conditions Complaints Procedure Cancellation Rights Sitemap

Get An Instant Price Estimate Before You Go…
Simply enter the rooms you need sanded and we’ll provide you with a price estimate instantly! Try our price calculator now.
Get a Price Estimate NowLocal Floor Sanding Experts
Over 500 5-Star Reviews
Safe, Dust Free Sanding
Operating Since 1994