London:
Nationwide:
25,000+
Floors Restored
27 Years Experience
Wood Flooring Association Certified
Using Hand Sanding to Smooth Out Uneven Floors
Posted on January 10, 2024
Floor sanding techniques
Mastering Uneven Floor Restoration with Hand Sanding
In the realm of interior design, the foundation upon which a room stands is of paramount importance. The wood flooring, often regarded as the canvas of the space, sets the stage for the entire aesthetic. However, over time, even the most exquisite floors may lose their lustre and charm, succumbing to the wear and tear of daily life. Unevenness, bumps, and imperfections can mar the once-pristine surface, making it not only unsightly but also inconvenient.
In this journey of home improvement, we shine a light on a time-honoured and often overlooked technique: Hand sanding, with its roots in craftsmanship and precision, emerges as a hidden gem in the world of interior restoration. It holds the power to transform uneven and flawed floors into surfaces of smooth perfection.
In this blog post, we embark on an enlightening exploration into the world of hand sanding, uncovering its artistry, its benefits, and its role in smoothing out uneven floors. We will delve into the nuances of this technique, from understanding the unevenness itself to the meticulous steps involved in achieving a flawlessly even surface. Join us as we unlock the secrets of hand sanding, an artful approach to home improvement that can breathe new life into your living space.
Assessing the unevenness
Before embarking on the journey of hand sanding to smooth out your uneven floors, it is essential to begin with a thorough assessment of the unevenness. This critical step sets the foundation for a successful restoration process.
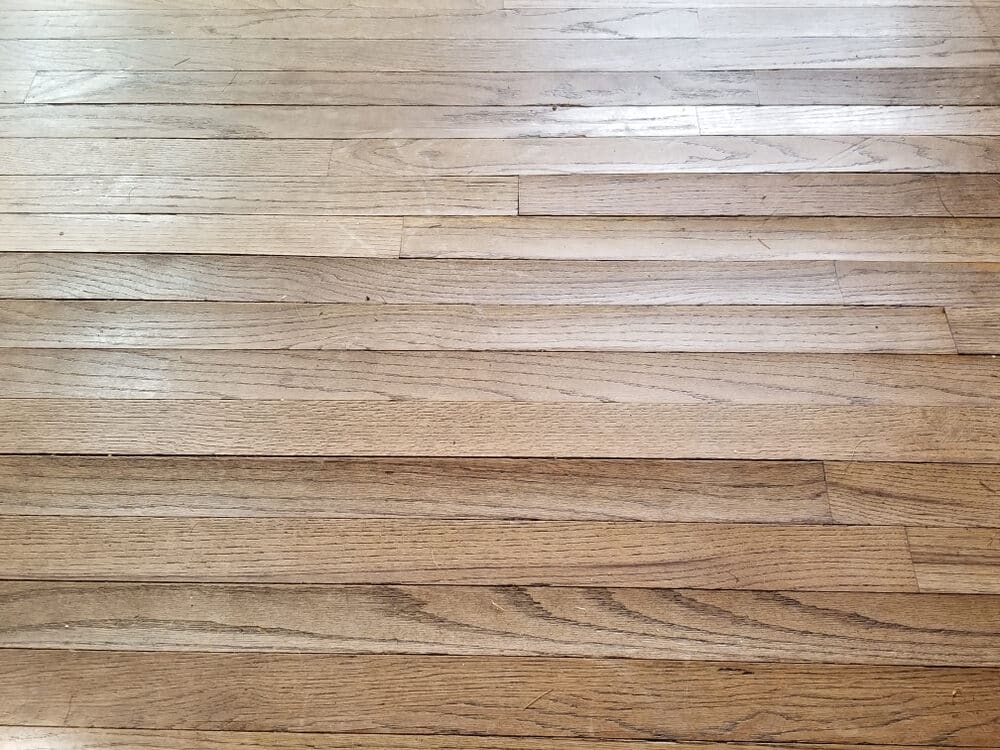
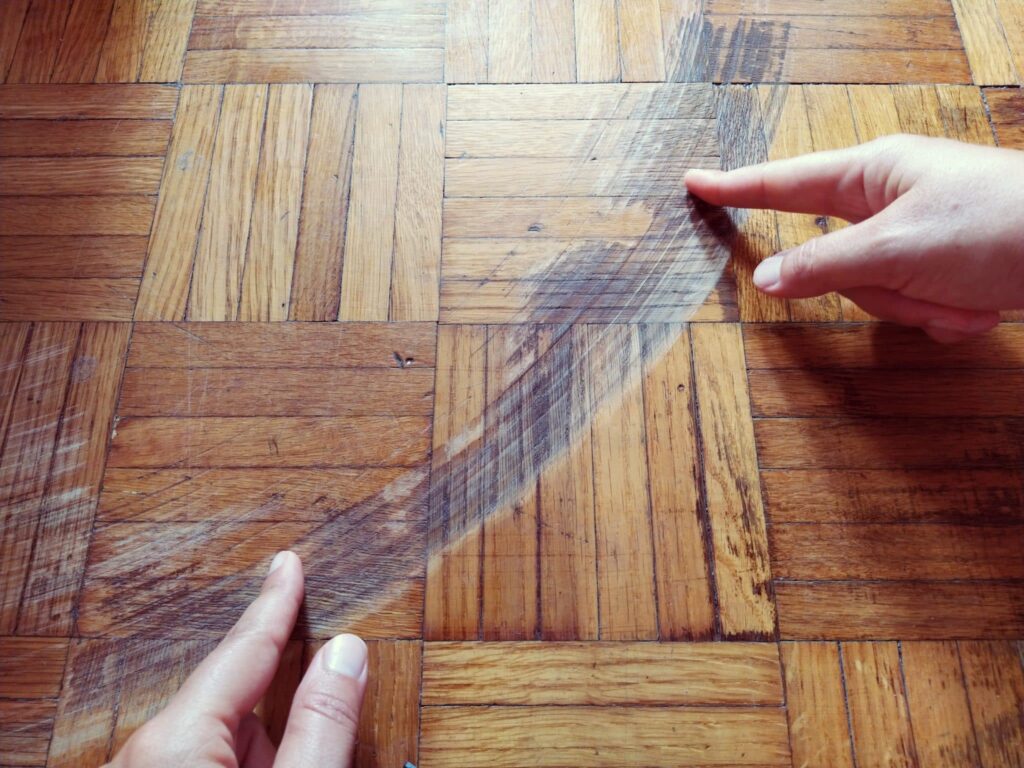
Identifying Uneven Areas
Begin by carefully inspecting your floor to identify the uneven areas. Unevenness can manifest as bumps, depressions, or irregularities in the surface. Pay close attention to areas where you notice a noticeable difference in height or where the floor feels uneven underfoot.

Understanding the Causes of Uneven Floors
Unevenness in flooring can be attributed to various factors. Common causes include subfloor issues, such as settlement or warping, moisture-related problems like buckling or cupping, or simply wear and tear over time. Understanding the underlying causes of the unevenness will guide you in selecting the most effective approach for restoration.
Why Addressing Unevenness Matters
Addressing uneven floors is not solely about aesthetics; it is also about functionality and safety. Uneven flooring can lead to tripping hazards, create an unstable surface for furniture, and impact the overall comfort and usability of a room. By smoothing out these irregularities, you not only enhance the visual appeal of your space but also ensure its practicality and safety.

The Art of Hand Sanding
What is hand-sanding?
Hand sanding, often underestimated in its complexity, is an age-old technique that involves manually smoothing a surface using sandpaper. While it may appear straightforward, hand sanding is far more than a mechanical process; it is an art form that requires precision, patience, and a deep understanding of the medium.
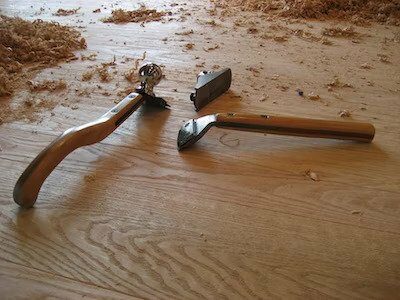
Tools and Materials Needed
The tools and materials for hand sanding may seem minimal at first glance—sandpaper, a sanding block, and skilled hands. However, it’s the skill with which these tools are employed that makes all the difference. The choice of sandpaper grit, the pressure applied, and the angle of the strokes all contribute to the precision of the process. Each element plays a crucial role in achieving the desired smoothness and evenness.
Advantages of hand sanding
Hand sanding offers a unique set of advantages that set it apart from mechanised methods. Foremost among these is the unparalleled precision and control it affords. Each stroke is a deliberate act, allowing the restorer to target specific imperfections or intricacies in the wood. This level of precision is challenging to achieve with machine sanding.
Preservation of Original Charm
In the world of floor restoration, especially in historical homes or properties with distinctive character, preserving the original charm of the flooring is paramount. Hand sanding excels in this regard. It allows for meticulous restoration while safeguarding the floor’s innate beauty and historical significance. This artful approach ensures that the floor continues to tell its story.
Minimising dust and noise
Another noteworthy benefit of hand sanding is its ability to minimise the dust and noise often associated with machine sanding. While no restoration process is entirely devoid of these inconveniences, hand sanding creates a more harmonious environment for both craftsmen and homeowners. This reduction in disruption during the restoration journey is a welcomed benefit.
Steps to Smooth Out Uneven Floors
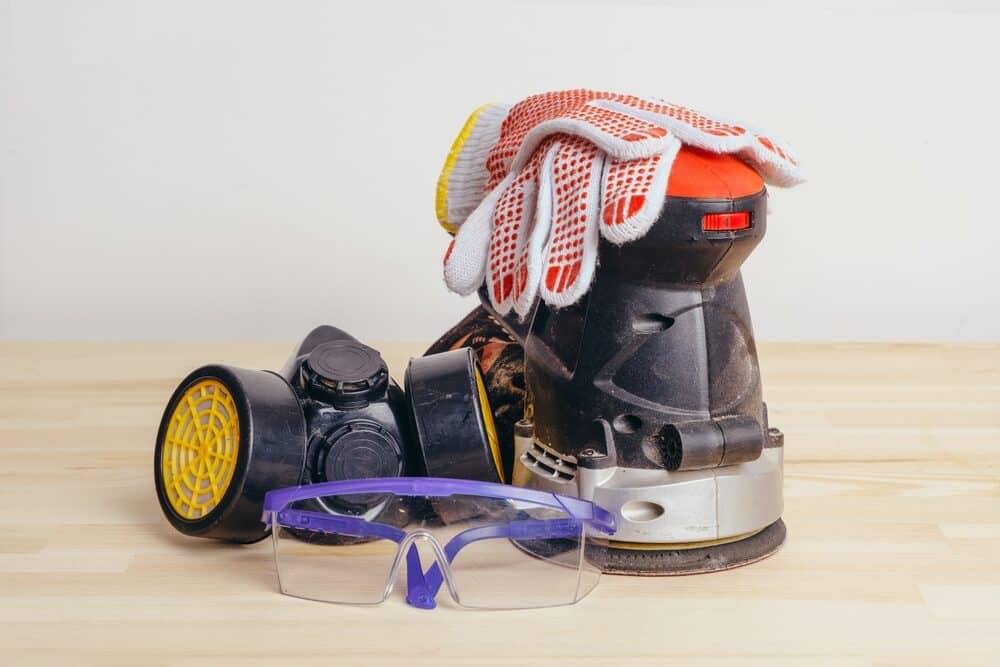
Preparation and Safety Precautions
The journey towards achieving a smooth and even floor begins with meticulous preparation and safety precautions. Before you begin, ensure that the room is cleared of furniture and obstacles, providing you with unrestricted access to the floor. Additionally, don protective gear, including safety goggles, a dust mask, and ear protection, to safeguard yourself from dust and noise.
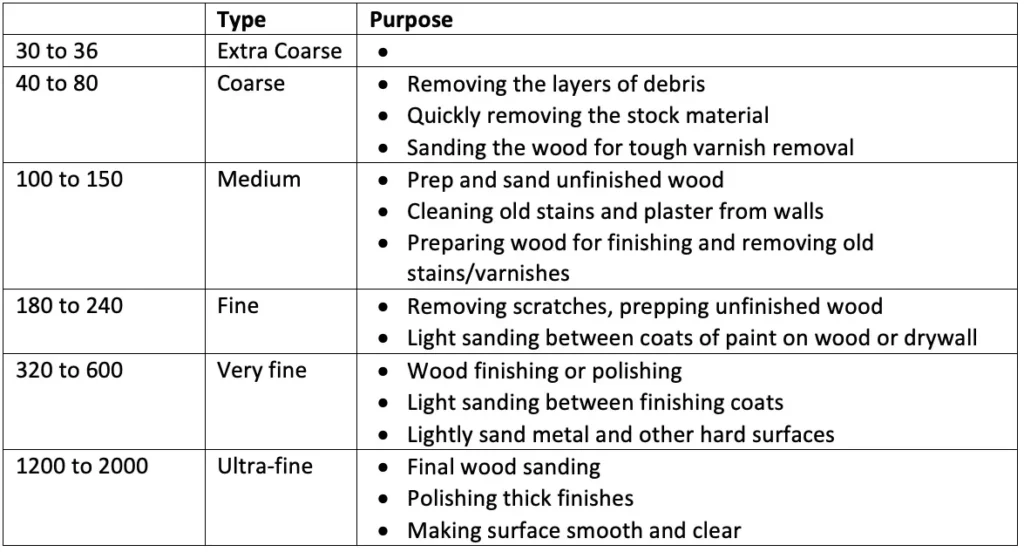
Choosing the Right Sandpaper Grit
Selecting the appropriate sandpaper grit is crucial for a successful restoration. Begin with a coarser grit, typically around 40–60, to address deeper imperfections and unevenness. As you progress, move on to finer grits such as 100–120, 150–180, and finally, 220. Each successive grit serves to refine the surface further, ultimately achieving a smooth finish. Always follow the manufacturer’s recommendations for the specific type of wood you are working with.
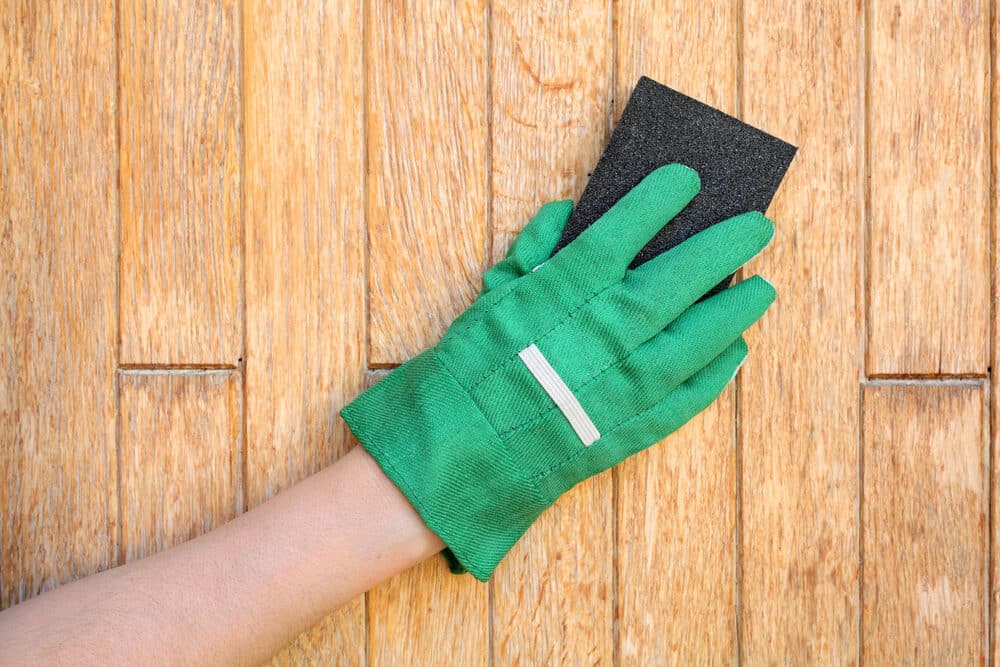
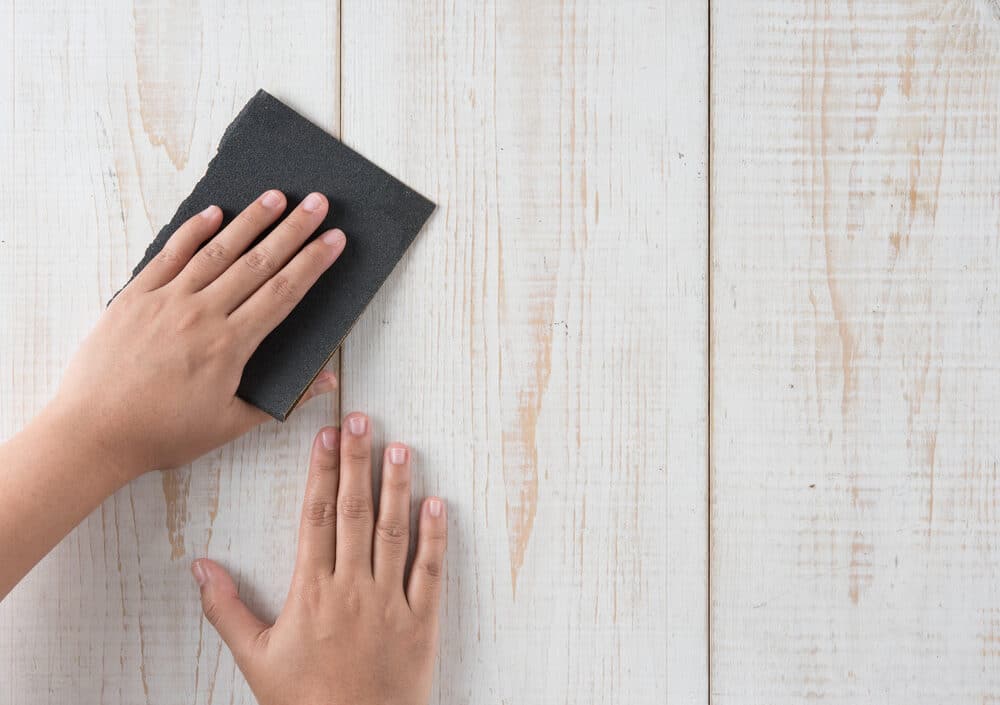
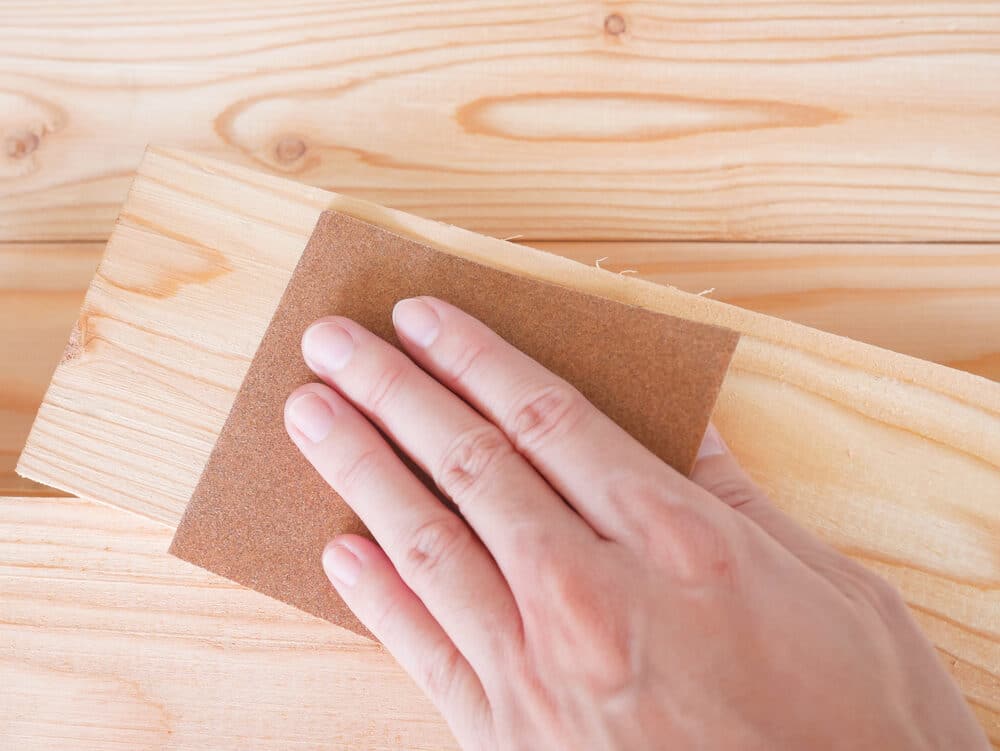
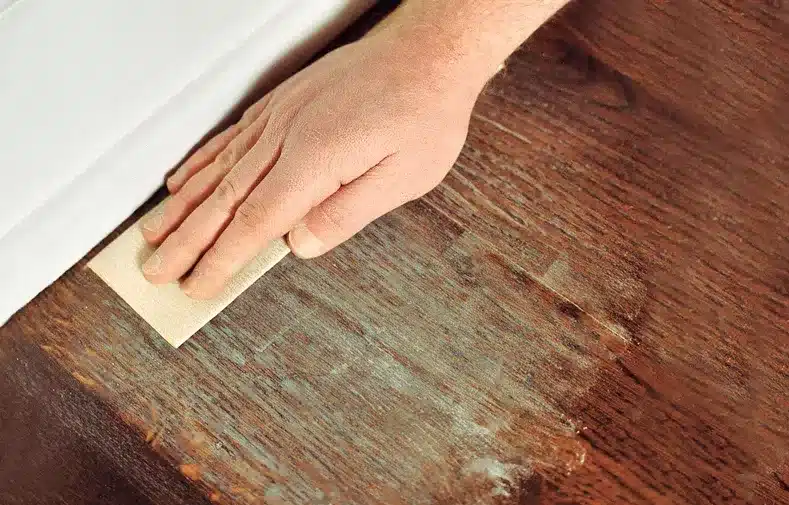
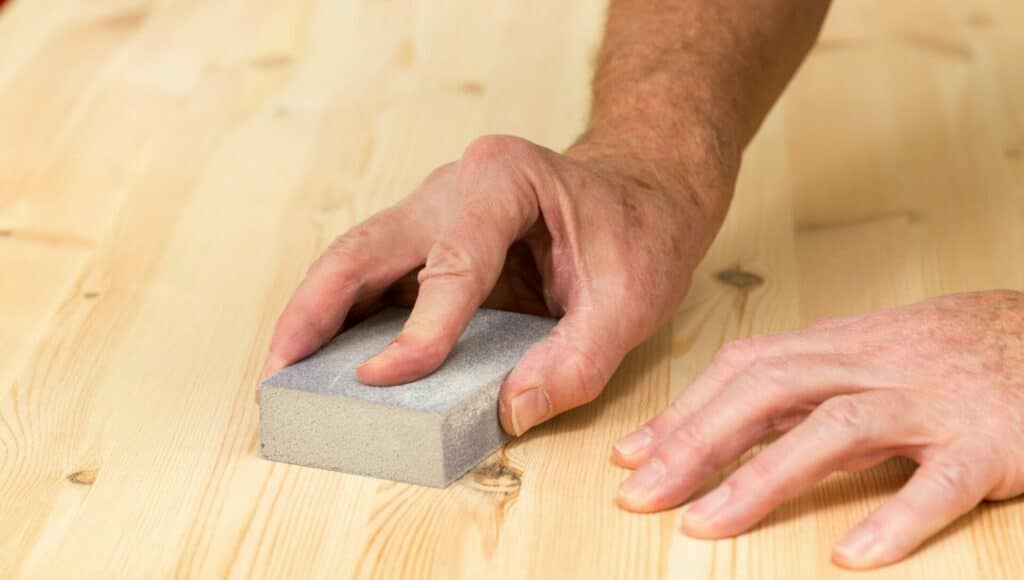
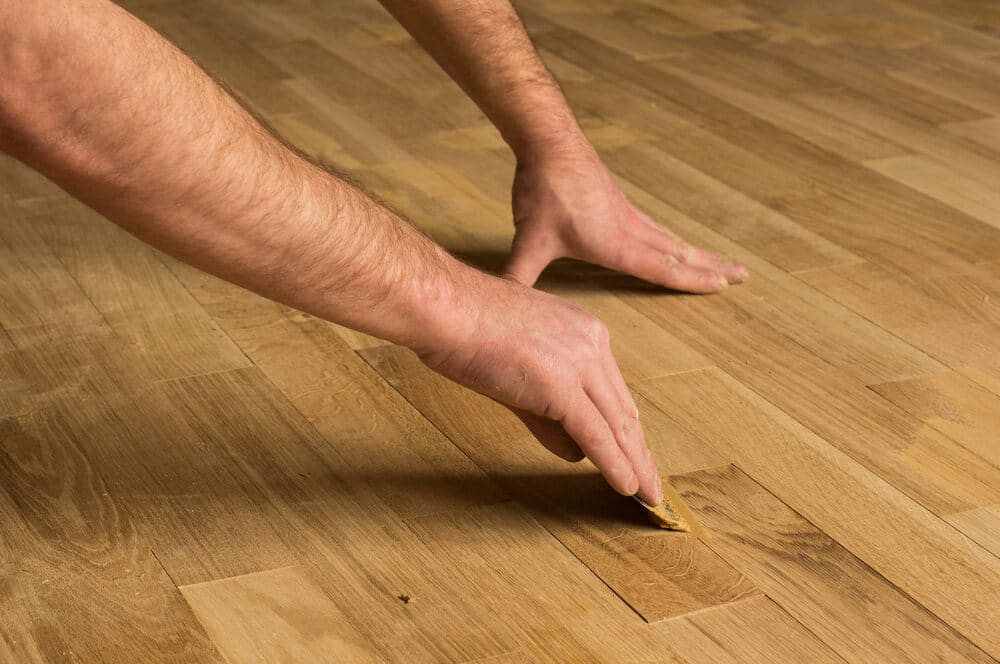
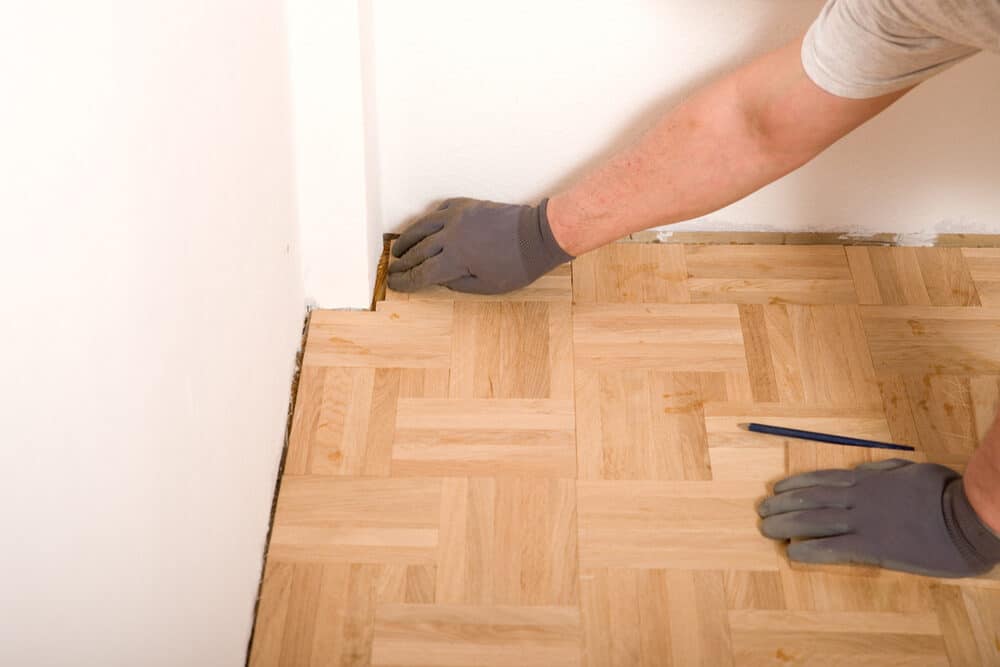
Proper Sanding Techniques for Evenness
Effective sanding techniques are the heart of achieving evenness on your floor. Hold the sandpaper firmly, folding it around a sanding block if necessary to enhance control. Sand with the grain of the wood, using long, even strokes. Avoid applying excessive pressure, as this can lead to uneven sanding or over-sanding in certain areas.
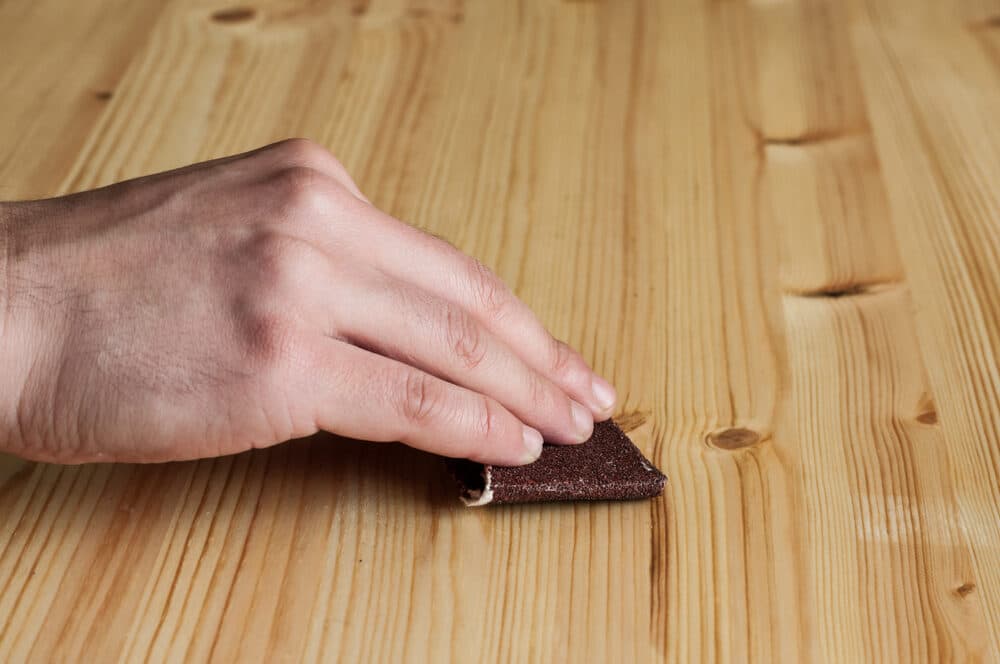
Addressing problematic spots
While sanding, be vigilant about identifying problematic spots that may require extra attention. Deep scratches or stubborn imperfections may necessitate additional sanding with a coarser grit. Ensure that these areas are blended seamlessly into the surrounding surface for uniformity.

Checking for uniformity
Periodically, pause to inspect the sanded area for uniformity. Examine the surface to ensure that it is smooth and even, with no visible imperfections. Make any necessary adjustments, and continue sanding until the entire floor achieves a consistent level of smoothness.
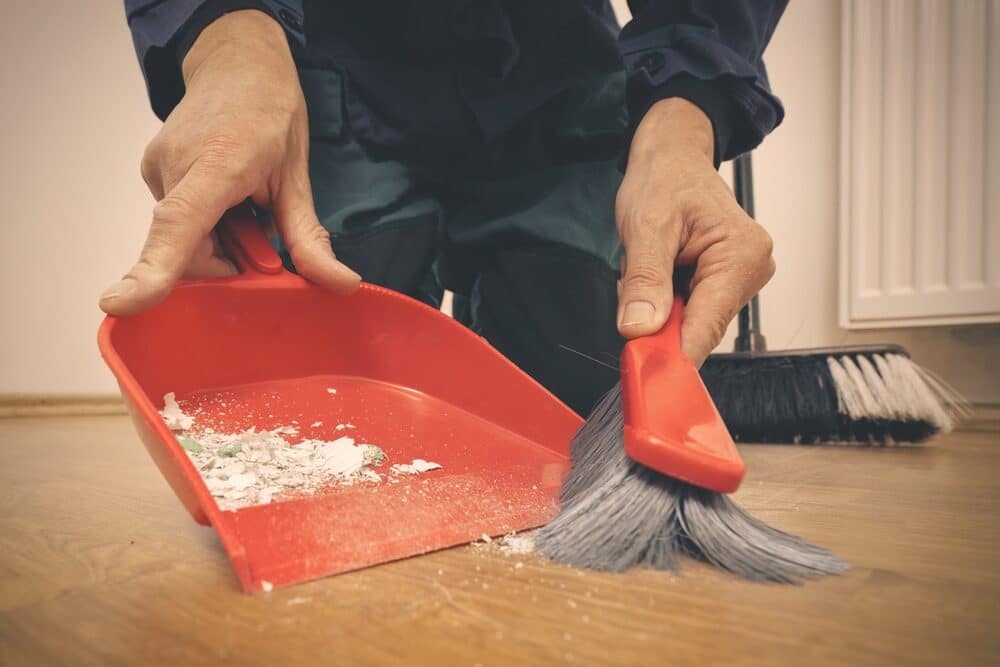
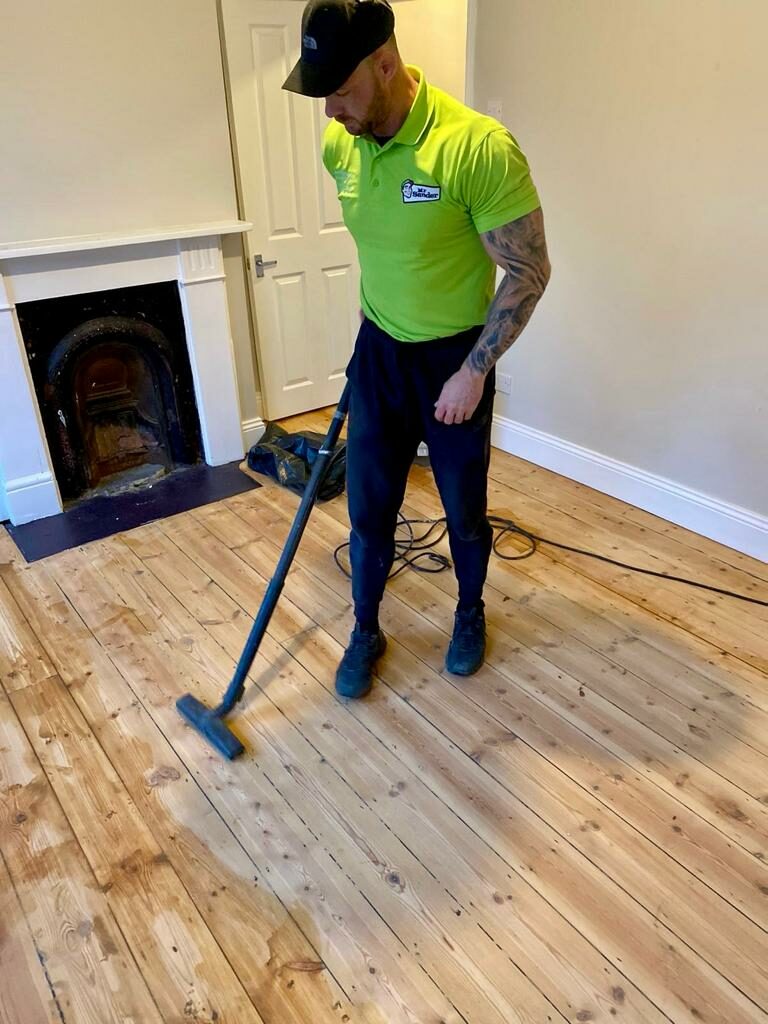
Removing dust and debris
As you sand, dust and debris will accumulate on the surface. Regularly remove this dust to prevent it from becoming embedded in the wood during sanding. Use a vacuum cleaner or a tack cloth to keep the work area clean and maintain a clear view of your progress.
Common challenges and how to overcome them
While Hand sanding holds the promise of a beautifully even floor, it is not without its set of challenges. Here, we explore some of the common challenges encountered during the hand sanding process and provide insights on how to overcome them:
Dealing with Severe Unevenness
- Challenge: Severe unevenness, such as deep gouges or warped areas, can be particularly challenging to address with hand sanding alone. These imperfections may require extensive sanding, which can be time-consuming and physically demanding.
- Solution: To tackle severe unevenness, consider using coarser-grit sandpaper initially to remove the bulk of the imperfections. You may need to sand these areas more extensively than the rest of the floor. Be patient and persistent, checking the progress regularly. Gradually transition to finer grits as you approach a more even surface.
Achieving Uniformity
- Challenge: Achieving uniformity throughout the entire floor can be challenging, especially for beginners. Inconsistent sanding strokes or pressure variations can result in uneven surfaces.
- Solution: To overcome this challenge, maintain a consistent sanding technique throughout the entire process. Pay close attention to your hand pressure and the angle of your strokes. Regularly inspect the sanded areas for uniformity and re-sand any uneven spots as necessary. Practicing your technique on a scrap piece of wood can help you refine your skills before tackling the entire floor.
Avoiding Over-Sanding
- Challenge: Over-sanding, or removing too much material from the wood, is a risk when hand sanding. This can result in irreversible damage and an uneven surface.
- Solution: To avoid over-sanding, use a light touch and minimal pressure while sanding. Be mindful of the grit of the sandpaper you are using; coarser grits can remove material more quickly, so exercise caution. Regularly check the sanded surface to ensure you are achieving the desired level of smoothness without over-sanding. When in doubt, err on the side of caution and sand conservatively.
Inconsistent Finish
- Challenge: Achieving a consistent finish across the entire floor can be challenging, as different areas may require varying levels of sanding.
- Solution: To achieve a consistent finish, maintain a systematic approach to your sanding. Start with a coarse grit to address the most significant imperfections, and gradually transition to finer grits as you progress. Focus on blending the sanded areas with the surrounding surface to ensure a seamless finish. Taking your time and paying attention to detail is key to achieving uniformity.
Combining Hand Sanding with Other Techniques
Hand sanding, with its precision and artistry, can be seamlessly integrated with other restoration techniques to enhance and complement the overall outcome. Here, we explore how hand sanding can harmoniously combine with other methods to achieve stunning results:
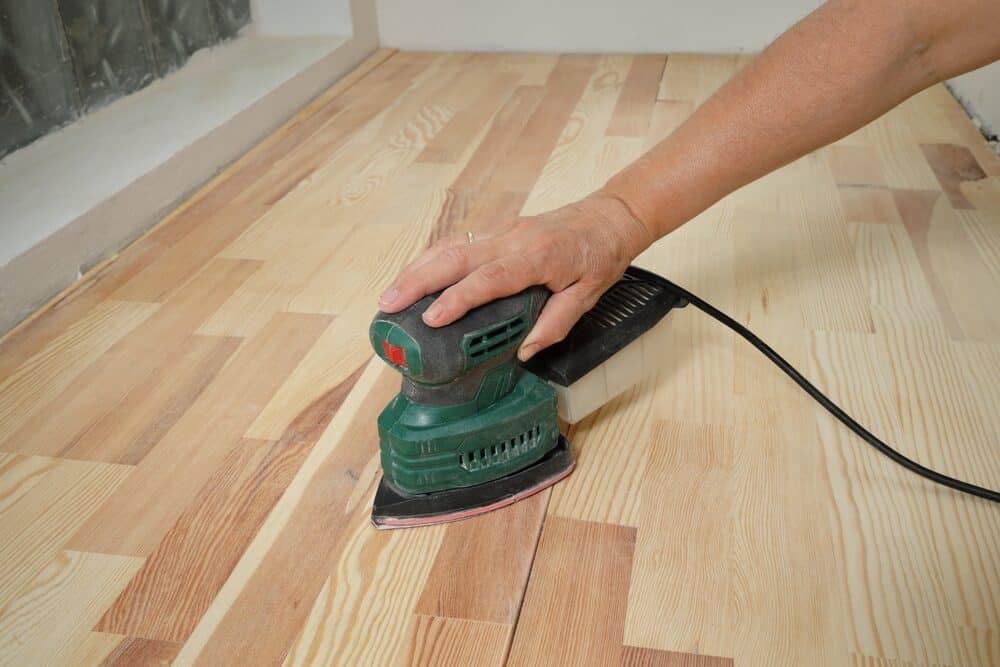
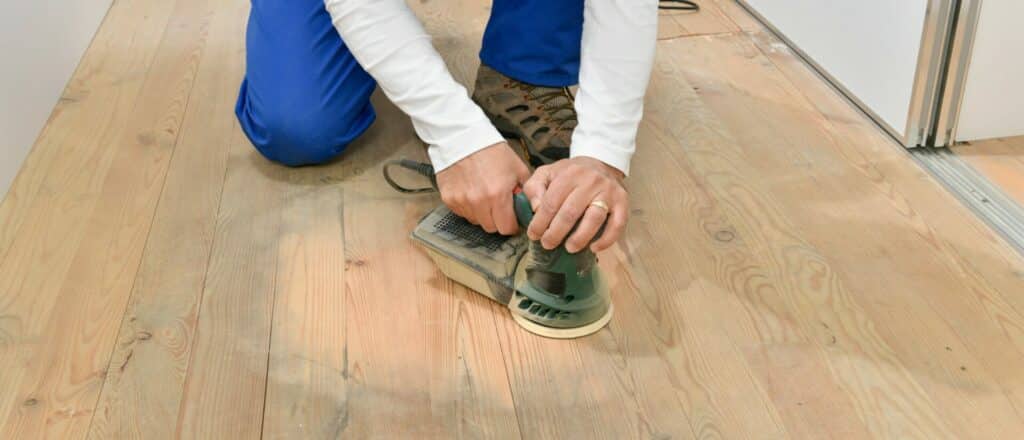
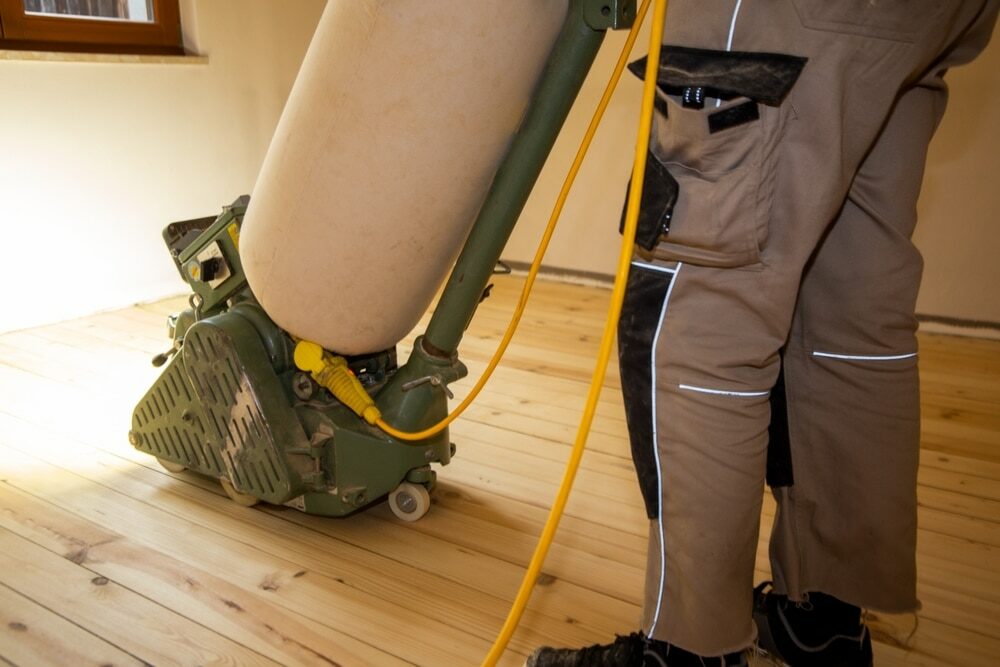
The Role of Machine Sanding
- Machine Sanding: Machine sanding is highly efficient for covering large areas quickly. Begin your restoration project by using a floor sander or edger to remove the bulk of imperfections and unevenness. This initial step will save you time and effort, allowing you to focus hand sanding on specific areas that require extra attention.
Using Fillers for Deeper Unevenness
- Fillers: For areas with deeper unevenness or gaps, consider using wood fillers. After machine sanding, apply a suitable wood filler to these spots. Once the filler has dried, hand sand the filled areas to ensure a smooth and flush finish. This combination of machine sanding and filler application can help address more complex imperfections.
Staining and Finishing for a Polished Look
- Staining: Staining is often used to alter the colour of the wood or enhance its natural beauty. Hand sanding plays a crucial role in preparing the surface for staining. After machine sanding, hand sanding can be employed to blend and feather the edges, achieving a seamless transition between stained and unstained areas.
- Finishing: The final step in floor restoration involves applying a protective finish, such as varnish or polyurethane. Hand sanding can be used to smooth the surface between coats of finish, ensuring a silky-smooth and even result. It’s especially important to hand sand between coats to remove any imperfections and achieve that glass-like finish.
Customisation and artistry
- Artistic Detailing: Hand sanding allows for intricate customisations and artistic detailing that machine sanding cannot replicate. Skilled artisans can create unique designs, patterns, or distressing effects through hand sanding, adding a personal touch to the restoration project. Whether you want to recreate a vintage look or add a touch of creativity, hand sanding offers the versatility to achieve your desired aesthetic.
Edge and corner work
- Edge and Corner Sanding: Machine sanders may struggle to reach edges and corners effectively. Hand sanding is invaluable for precisely sanding these challenging areas, ensuring that no part of the floor is left untouched. It allows for a seamless transition between the main surface and the edges, creating a polished and cohesive look.
Restoring Heritage Floors
- Preservation of Heritage: In cases where the goal is to preserve the historical authenticity of a floor, hand sanding is often the method of choice. It allows for the gentle restoration of aged wood, ensuring that the floor retains its unique character and charm. Combining hand sanding with other techniques can provide the flexibility needed to maintain the integrity of heritage floors.
Finishing Touches
As you near the completion of your wood floor restoration journey, it’s time to focus on the finishing touches that will elevate your project to a flawless and polished finish. These final steps are crucial for ensuring that your newly smoothed and even floor remains in its best possible condition.
Cleaning up the workspace
After hours of meticulous hand-sanding and possibly other restoration processes, your workspace is likely to be covered in dust and debris. Before proceeding with the final touches, it’s essential to thoroughly clean the area. Use a vacuum cleaner or a tack cloth to remove all dust from the floor and surrounding surfaces. A clean workspace not only ensures a better final result but also enhances safety.
Applying protective finishes
Once your floor is perfectly smooth and even, it’s time to consider applying protective finishes. This step is vital for preserving the beauty and longevity of your restored floor. Common finishes include varnish, polyurethane, or a specialised wood floor finish. These finishes provide a protective barrier against wear and tear, moisture, and stains.
- Choosing the Right Finish: Select a finish that aligns with your aesthetic preferences and the specific needs of your floor. Some finishes offer a glossy sheen, while others provide a more matte appearance. Consult with a flooring professional or consider the requirements of your space when making this decision.
- Application: Follow the manufacturer’s instructions for applying the chosen finish. Typically, this involves using a clean applicator or brush to evenly distribute the finish across the floor. Be careful not to apply too thick a coat, as this can result in an uneven finish.
- Drying and Curing: Allow the finish to dry and cure according to the recommended time frame. During this period, it’s essential to keep the area free from foot traffic and potential contaminants. Adequate drying time ensures a durable and long-lasting finish.

Maintaining Your Newly Smoothed Floor
Congratulations! Your floor is now beautifully restored and protected! However, the journey doesn’t end here. To keep your floor in its best condition for years to come, consider implementing a regular maintenance routine:
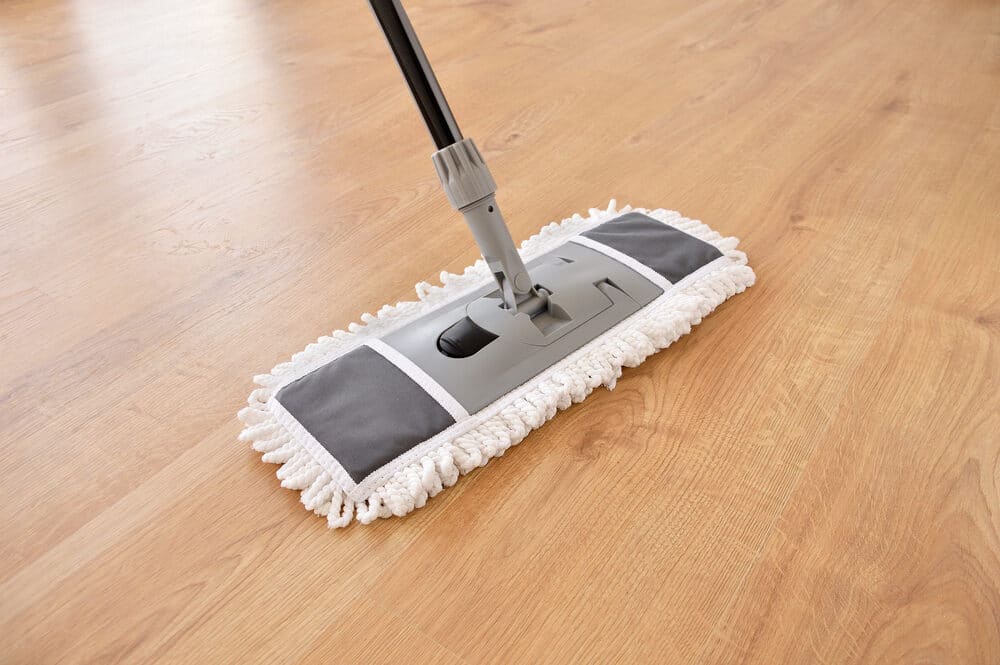
- Routine Cleaning: Regularly sweep or vacuum your floor to remove dust and debris that can scratch the surface. Use a damp mop with a mild, wood-friendly cleaner for deeper cleaning.
- Furniture Protection: Use furniture pads or felt protectors under the legs of your furniture to prevent scratches and dents.
- Avoiding Moisture: Be cautious about excessive moisture, as it can damage wood floors. Wipe up spills promptly, and use rugs or mats in areas prone to moisture, such as kitchens and bathrooms.
- Periodic Refinishing: Over time, the protective finish may wear down. Periodically monitor the condition of your floor and consider refinishing it as needed to maintain its lustre and protection.
Conclusion
In the realm of interior floor restoration, where aesthetics meet functionality, the journey of smoothing out uneven floors through the art of hand sanding culminates in a satisfying and transformative conclusion. It is a journey that encompasses meticulous assessment, precise craftsmanship, and a touch of artistry, resulting in floors that are not merely surfaces but reflections of dedication and craftsmanship.
As we conclude this exploration into the world of hand sanding, we stand in admiration of the power it wields. Hand sanding, with its precision and attention to detail, has the ability to breathe new life into tired and uneven floors. It offers a unique blend of artistry and practicality, creating not just a surface but a canvas for the stories of our homes.
In the process of addressing unevenness, we have witnessed the importance of understanding the root causes, the intricacies of hand sanding, and the benefits of combining this technique with others. We have navigated the challenges and learned how to overcome them, emerging with floors that are not only smooth but also functional and safe.
Moreover, we have discovered the significance of finishing touches and maintenance, ensuring that our newly restored floors stand the test of time. With protective finishes and regular care, these floors will continue to shine, enhancing our living spaces for years to come.
In essence, the journey of smoothing out uneven floors through hand sanding is not just a renovation project; it is a testament to craftsmanship, precision, and the transformative power of dedication. It is a celebration of the art of restoration and the beauty of evenness. It is an ode to the floors that support our lives and the floors that tell our stories.
So, whether you are a seasoned professional or an enthusiastic homeowner embarking on a DIY project, remember the significance of hand sanding. It is a craft that transcends time, creating floors that are not merely functional but also pieces of enduring beauty. In the realm of home improvement, hand sanding stands as a beacon of precision and artistry, ensuring that your flooring becomes a source of pride and admiration for generations to come.

Sanding
We provide virtually dust-free sanding with our continuous belt machinery with mobile extraction units, giving you a safer environment for your family.
Oiling
This organic finish not only adds beauty to your home but also has exceptional water-repellent characteristics, making it easier to clean and maintain.
Waxing
This natural floor finish offers the softest and most mellow appearance – and leaves your floor able to breath.
Buffing
Using soft buffing machines (and hand-polishing where required) will bring a wonderful sheen to your newly-finished floor.
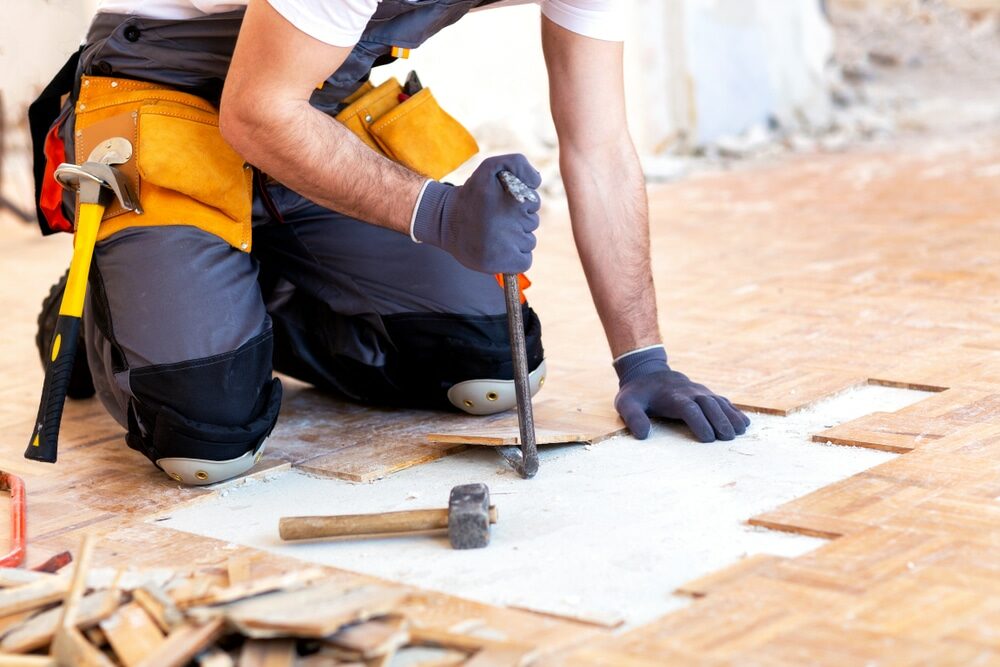
Repairs
We offer a full assessment of your wooden floors to determine what repairs are needed to provide the perfect working surface for the later stages of sanding, staining and sealing.
Restoration
We offer a comprehensive restoration process designed to address floors that are improperly fitted or damaged over time through wear and tear.
Request a fixed price quote for your wood floor restoration now
Simply enter your postcode below to get started.
Services
Wood Floor Sanding Wood Floor Restoration Wood Floor Scratch Repair Squeaky Wood Floor Repair Parquet Floor Sanding Parquet Floor Restoration Commercial Floor Sanding Church Floor Sanding Community Centre Floor Sanding School Floor Sanding Gap Filling Gap Filling with ResinCopyright © Mr Sander®
Privacy & Cookies Terms & Conditions Complaints Procedure Cancellation Rights Sitemap

Get An Instant Price Estimate Before You Go…
Simply enter the rooms you need sanded and we’ll provide you with a price estimate instantly! Try our price calculator now.
Get a Price Estimate NowLocal Floor Sanding Experts
Over 500 5-Star Reviews
Safe, Dust Free Sanding
Operating Since 1994