London:
Nationwide:
25,000+
Floors Restored
27 Years Experience
Wood Flooring Association Certified
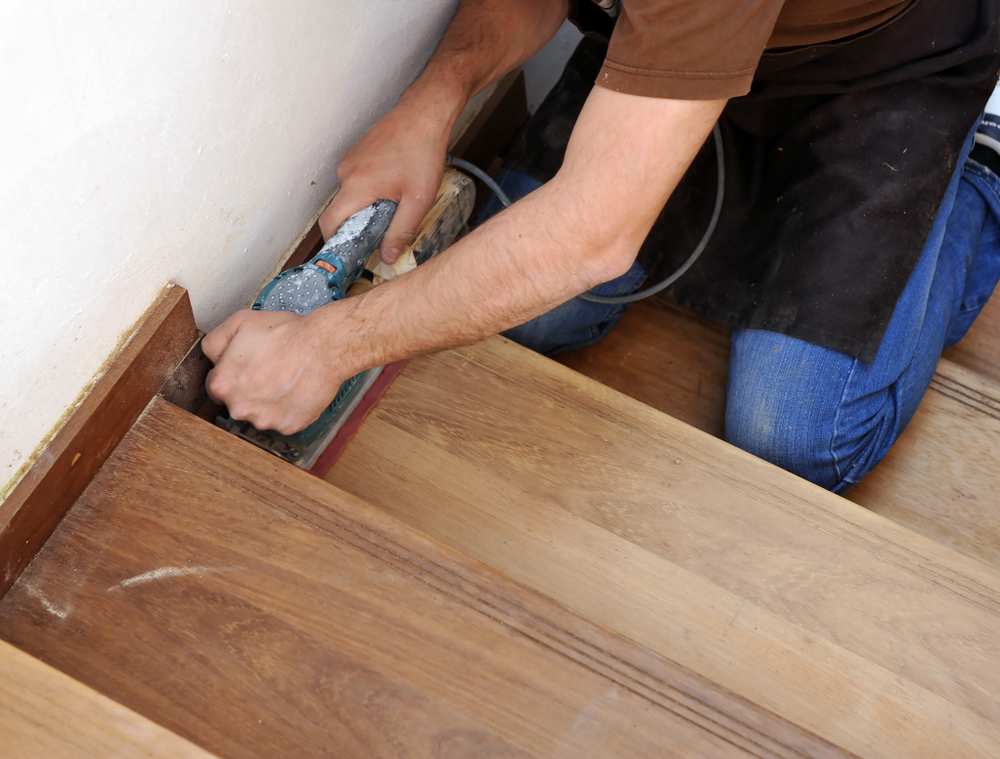
Tips for Effective Hand Sanding on Staircases
Posted on January 15, 2024
Floor sanding techniques
Mastering Hand Sanding Techniques for Staircase Renovation
When it comes to refurbishing a staircase, the finesse and attention to detail in hand sanding can make a significant difference in the final outcome. A well-sanded staircase not only enhances the aesthetic appeal of your home but also ensures a smooth, professional finish for any paint or varnish applied. This guide offers practical tips and insights into the art of hand-sanding staircases, a task that requires patience, precision, and a bit of elbow grease.
Hand sanding is particularly crucial for staircases, as they are often a central feature in a home and subject to high traffic. Unlike mechanical sanders, hand sanding gives you greater control and allows for a more thorough job, especially in hard-to-reach areas. Whether you’re a seasoned DIY enthusiast or a first-timer, these tips will help you achieve a flawless finish on your staircase, ensuring both durability and elegance.
In the following sections, we’ll delve into the essentials of hand sanding, from selecting the appropriate sandpaper to mastering the technique. We’ll also cover the intricacies of dealing with various parts of the staircase, such as steps, edges, corners, and tight spaces. Safety precautions and finishing touches will also be discussed, ensuring a comprehensive understanding of the hand-sanding process.
Understanding the Basics of Hand Sanding
Before embarking on the task of hand-sanding your staircase, it’s important to understand the fundamental principles that govern this meticulous process. Hand sanding is not just about scrubbing away at the wood; it’s a methodical practice that requires both technique and understanding of the material you are working with.
Why hand sanding?
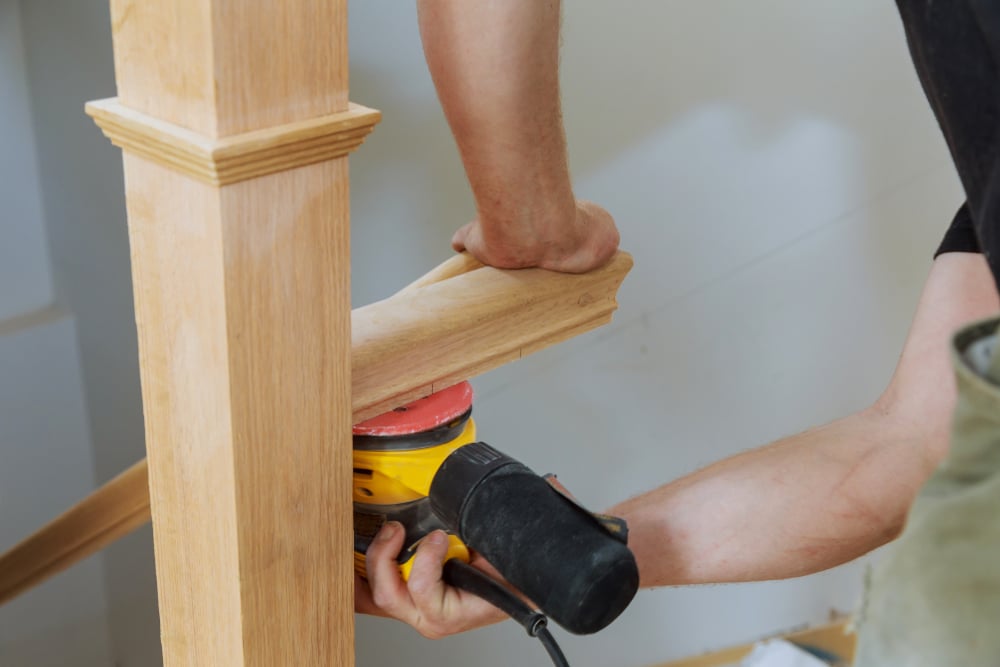
Hand sanding offers a level of control and precision that power sanders often cannot match, especially on intricate surfaces like staircases. It allows for a gentle and gradual removal of the surface layer, providing a more even finish. This is particularly important for staircases, where a uniform surface is essential for both aesthetic and safety reasons.
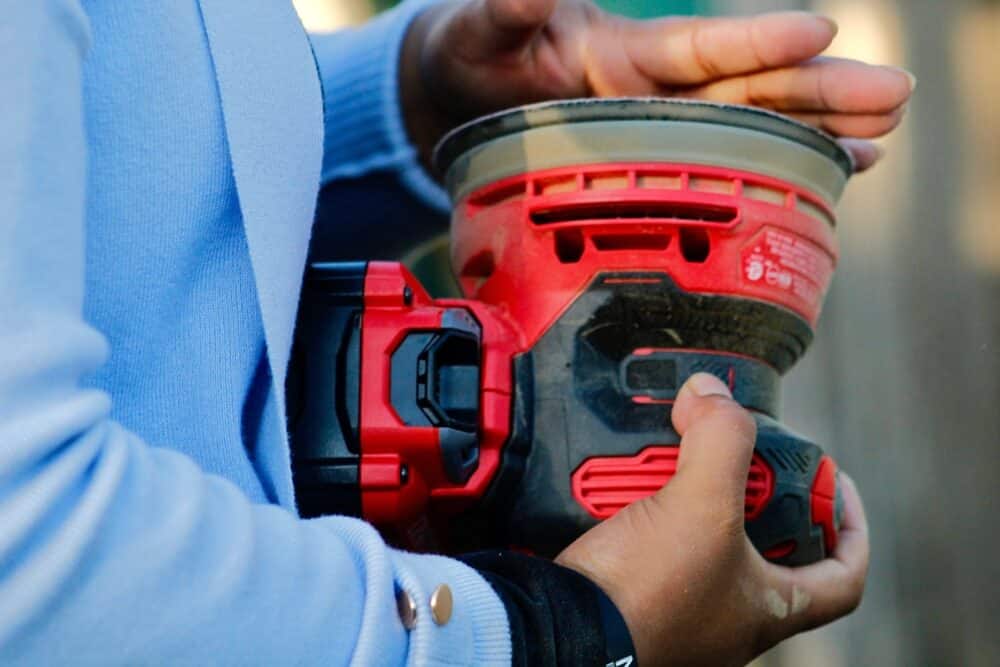
The Right Tools
The most critical tool in hand sanding is, undoubtedly, the sandpaper. Sandpaper comes in various grits, which refers to the size of the abrasive particles on the paper. A lower grit number means coarser paper, ideal for removing old finishes and smoothing out rough surfaces. Higher grit numbers indicate a finer paper used for finishing and polishing the surface of your staircase.
It’s also essential to have a sanding block, which provides even pressure and prevents the sandpaper from wrinkling or tearing. For tight spaces and intricate details, you might also need smaller tools, like a sanding sponge or even just your fingertips wrapped in sandpaper.
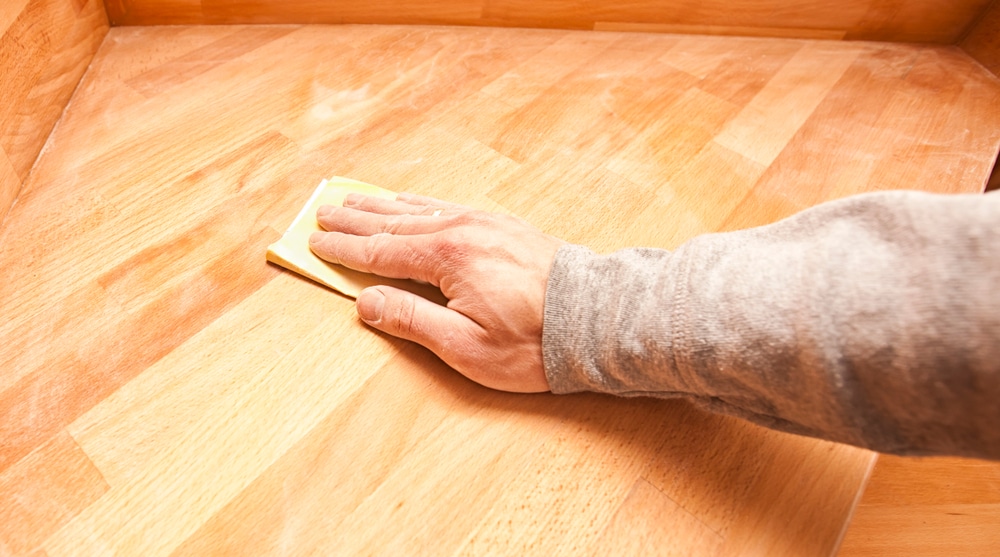
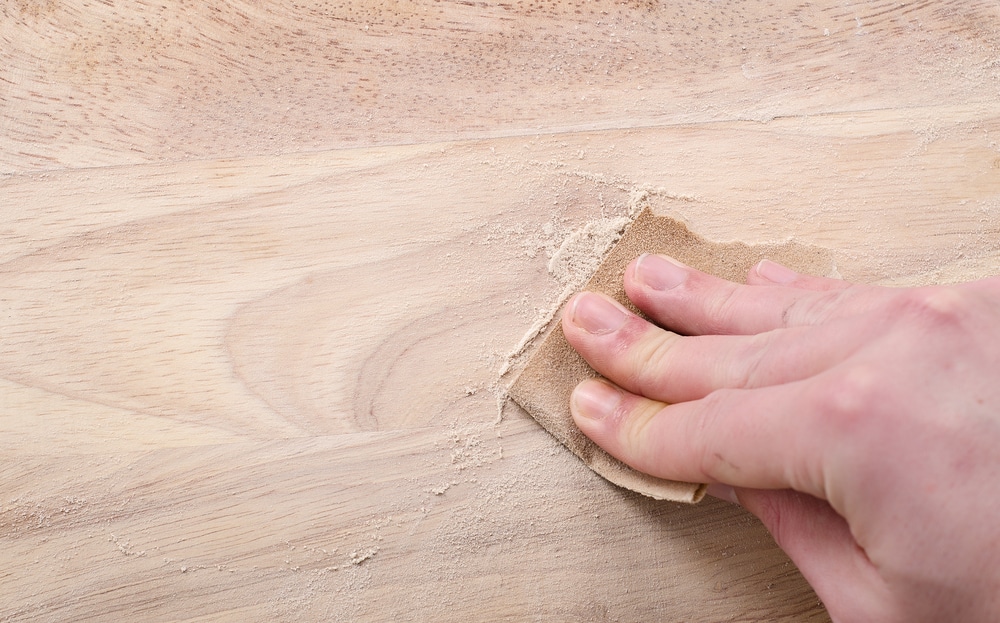
Technique Matters
When sanding by hand, always sand in the direction of the wood grain. This helps to avoid scratches that are conspicuous and difficult to remove. Apply steady, even pressure, and avoid pressing too hard, as this can create depressions in the wood. The aim is to achieve a smooth, uniform surface without altering the shape or contours of the staircase.
Start coarse, finish fine.
Begin with a coarser grit to remove any old finish, paint, or significant imperfections. Once the major issues have been addressed, gradually move to finer grits to smooth out the surface and prepare it for finishing. This step-by-step progression is key to achieving a professional-looking finish.
By grasping these basic principles, you are now ready to begin the hands-on work of hand-sanding your staircase. It’s a task that demands patience and attention to detail, but the satisfaction of a job well done and the beauty of a well-finished staircase are well worth the effort.
Selecting the Right Sandpaper
Choosing the correct sandpaper is crucial to achieving a smooth and professional finish on your staircase. Sandpaper is categorised by its grit, which indicates the size of the abrasive particles on the paper. The choice of grit depends on the condition of your staircase and the type of finish you’re aiming for.
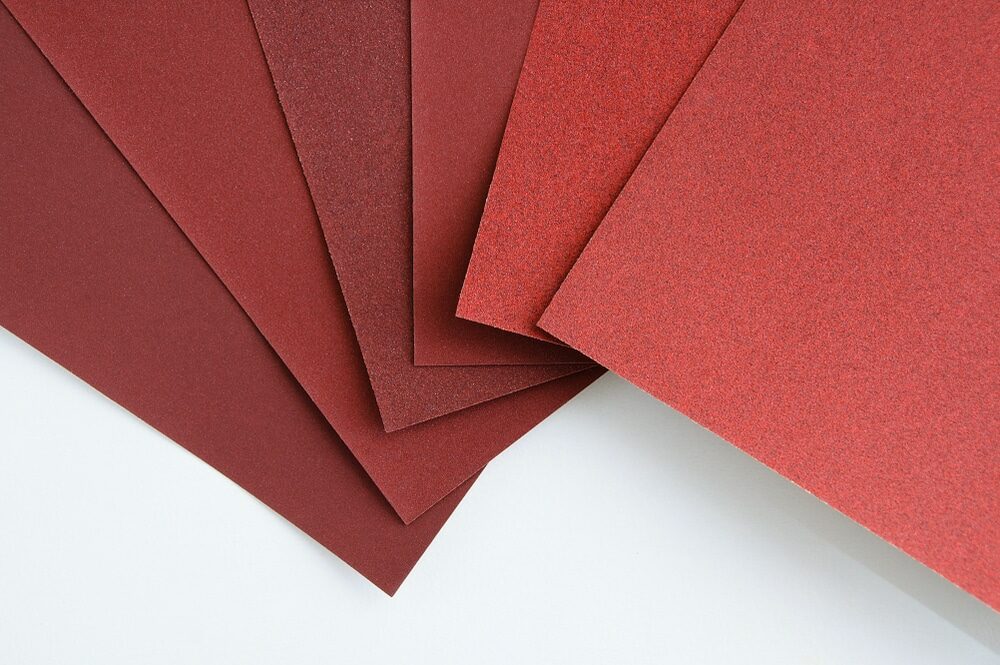
Understanding Grit Numbers
- Coarse Grit (40–60): These are used for heavy material removal, such as stripping away old paint or varnish and smoothing out rough surfaces. Coarse grit is ideal for the initial stages of sanding, especially if the staircase has significant damage or old layers of finish.
- Medium Grit (80–120): This range is suitable for smoothing out the roughness left by the coarse grit. Medium-grit sandpapers are often used for the second phase of sanding, refining the work done with the coarser papers.
- Fine Grit (150–220): Fine grit sandpapers are used for the final sanding before applying a finish. They help in achieving a smooth surface without significant scratches.
- Very Fine Grit (240–320): These are used for final touches and between coats of paint or varnish. Very fine-grit sandpapers are excellent for giving your staircase a polished look.
Material Matters
Sandpaper is available in various materials, with the most common being aluminium oxide and silicon carbide. Aluminium oxide is durable and suitable for sanding wood, while silicon carbide is harder and sharper and is often used for finishing and polishing.
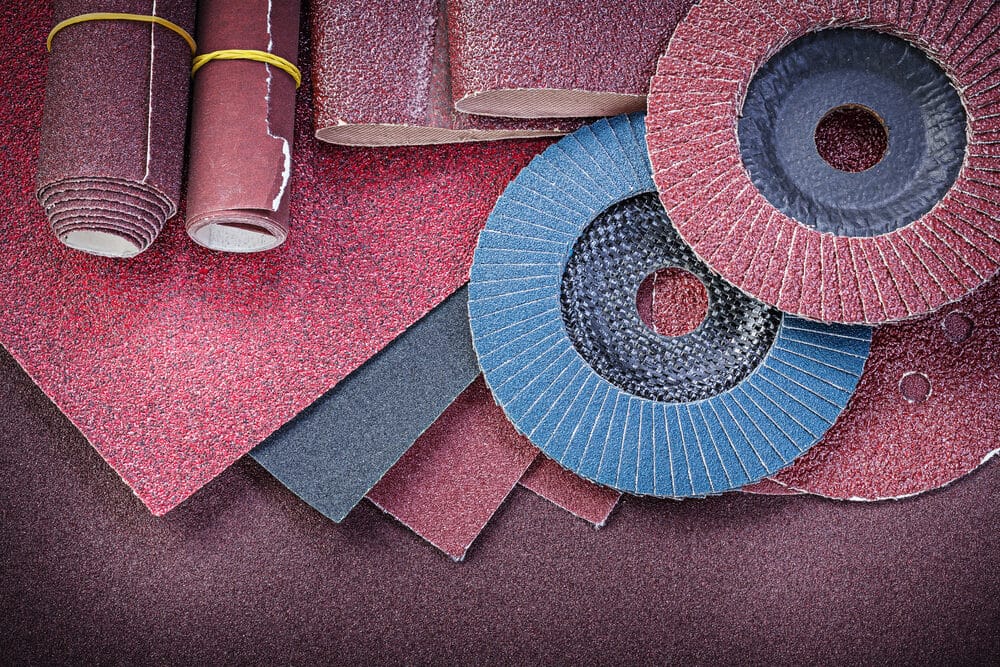
Choosing the Right Type
- Sheet sandpaper: This is the most common form and can be cut to fit your sanding block or tool. It’s versatile and suitable for both flat surfaces and corners.
- Sanding Sponges: These are ideal for contoured or hard-to-reach areas. The sponge backing conforms to the shape of the surface, providing an even sanding pressure.
- Detail Sanding Paper: For intricate areas, like the crevices and detailed work on a staircase, detail sanding paper or small abrasive pads can be particularly effective.
Tips for Selection
- Assess the condition: Look at the current state of your staircase. If there are layers of old paint or deep scratches, start with a coarse grit.
- Plan the progression: Don’t jump from a very coarse grit to a very fine grit. Progress gradually to ensure a smooth transition and even finish.
- Test First: If unsure, test the sandpaper on a small, inconspicuous area of the staircase to ensure it does not damage the wood.
Selecting the right sandpaper is not just about the grit; it’s about understanding the needs of your staircase and how each type of sandpaper can bring you closer to that perfect finish.
The Importance of Technique
While the right tools are essential for hand sanding, the technique you employ will significantly influence the quality of the finish. Proper technique ensures an even, smooth surface and minimises the risk of damage to the wood. Here are key aspects to consider when sanding your staircase:.
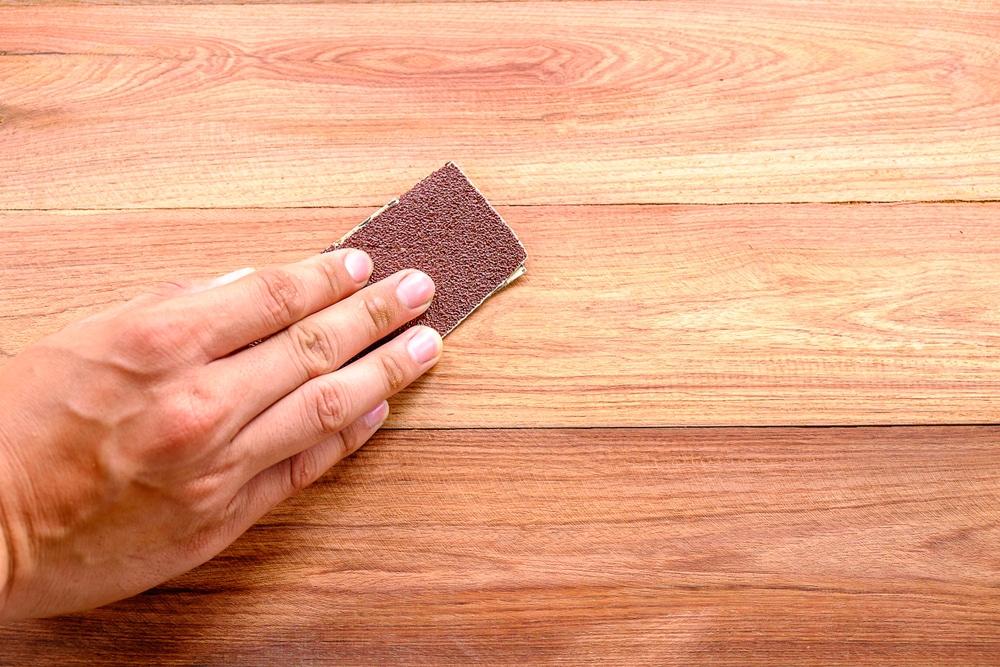
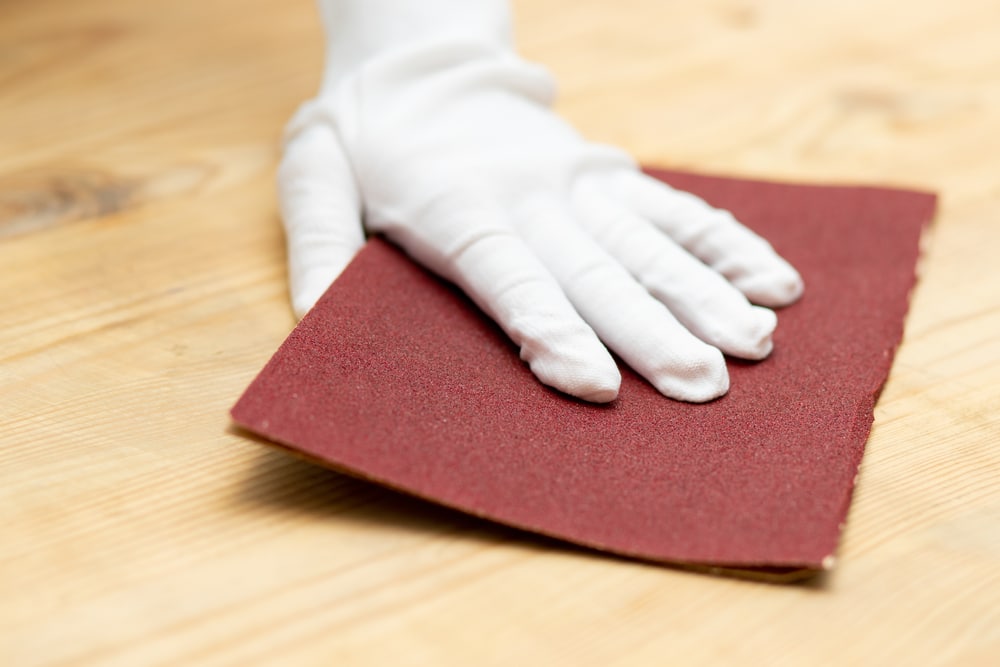
Sanding with the Grain
The cardinal rule of sanding is always to sand in the direction of the wood grain. This approach helps to prevent scratches that can be glaringly obvious and difficult to rectify. Sanding against the grain can tear the wood fibres, leading to an uneven and rough finish.
Consistent Pressure
Apply steady, moderate pressure as you sand. Excessive force can gouge the wood, creating uneven spots that are challenging to correct. Conversely, too light a touch may not be effective in smoothing the surface or removing the old finish. The goal is to achieve a balance that allows the sandpaper to do its work without damaging the wood.
Keeping the Sandpaper Fresh
Sandpaper wears down with use. As the grit becomes duller, it becomes less effective and can even cause damage. Be sure to change your sandpaper regularly to maintain efficiency and effectiveness. You’ll know it’s time to switch when sanding becomes noticeably more challenging or the results are less smooth.
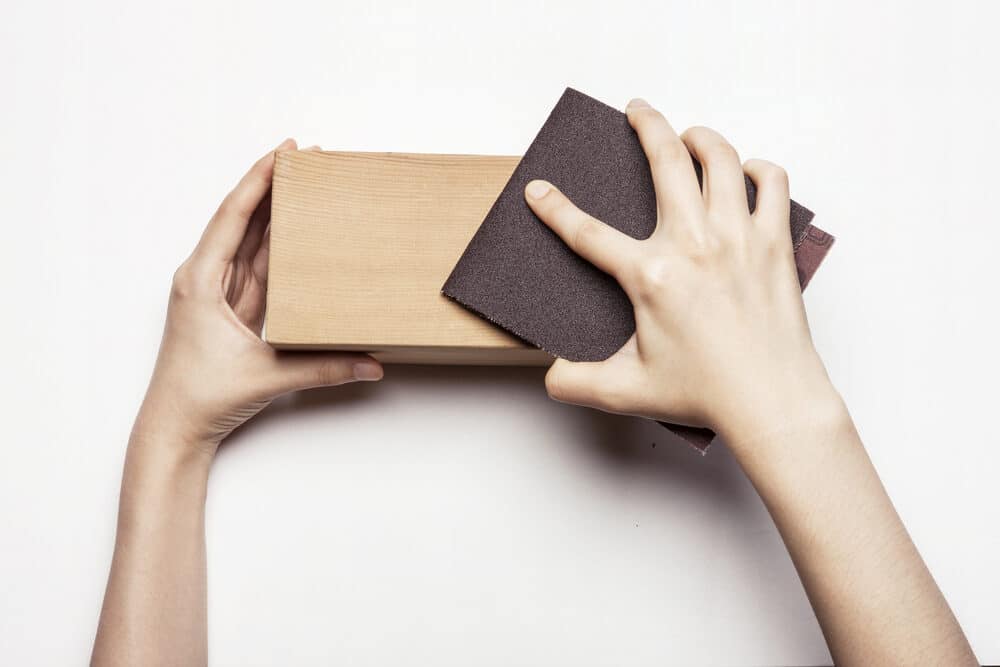
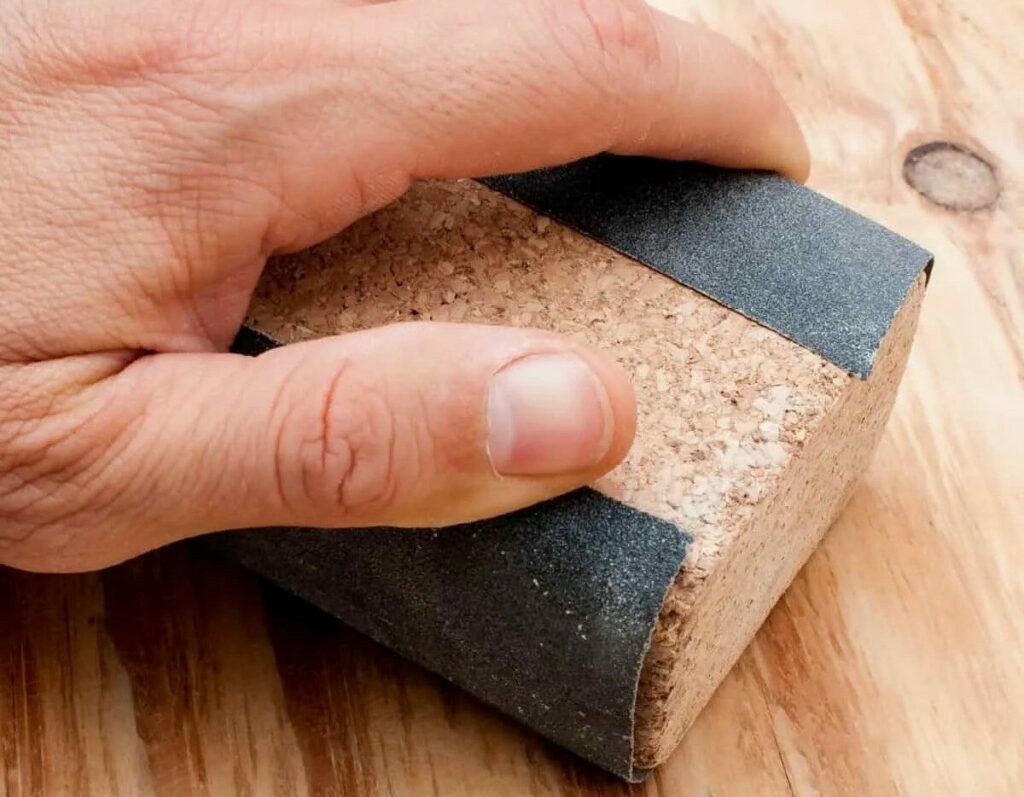
Using a Sanding Block
A sanding block, which can be as simple as a piece of wood or a specially designed tool, helps distribute pressure evenly over the sandpaper. This prevents the sandpaper from folding or tearing and ensures a more uniform sanding process, especially on flat surfaces.
Tackling Corners and Edges
Corners and edges require special attention. Use your fingers or a smaller sanding tool to reach these areas. Be careful not to sand too vigorously in these spots, as they can wear down more quickly than flat surfaces.
Dust Management
Sanding produces a lot of dust, which can not only be a health hazard but also hinder your view of the work. Regularly clean the surface with a soft brush or a vacuum with a brush attachment. This step will provide you with a clear view of your progress and ensure that dust doesn’t settle on the fresh surface.
The art of patience
Sanding is a slow and steady process. Rushing can lead to mistakes and uneven surfaces. Take your time and focus on achieving a smooth, even finish. Remember, the quality of your sanding will greatly affect the final look of your staircase.
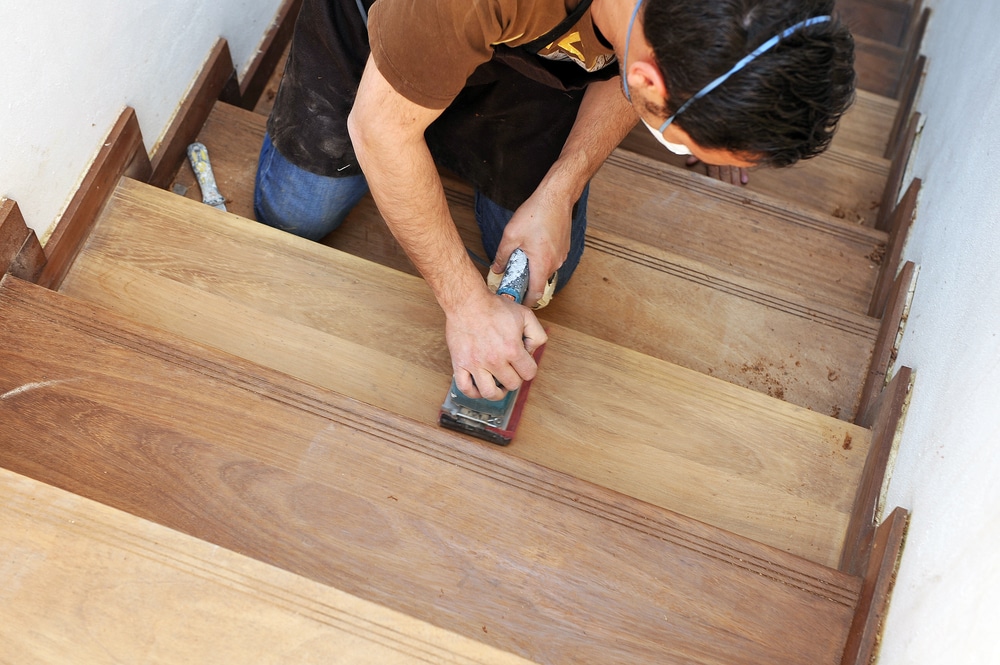
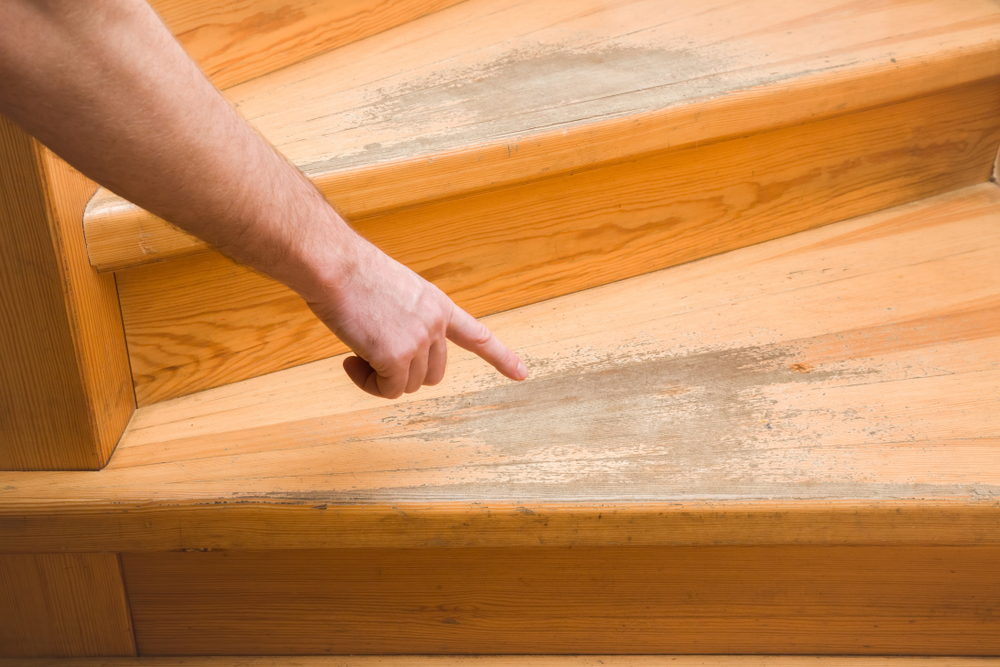
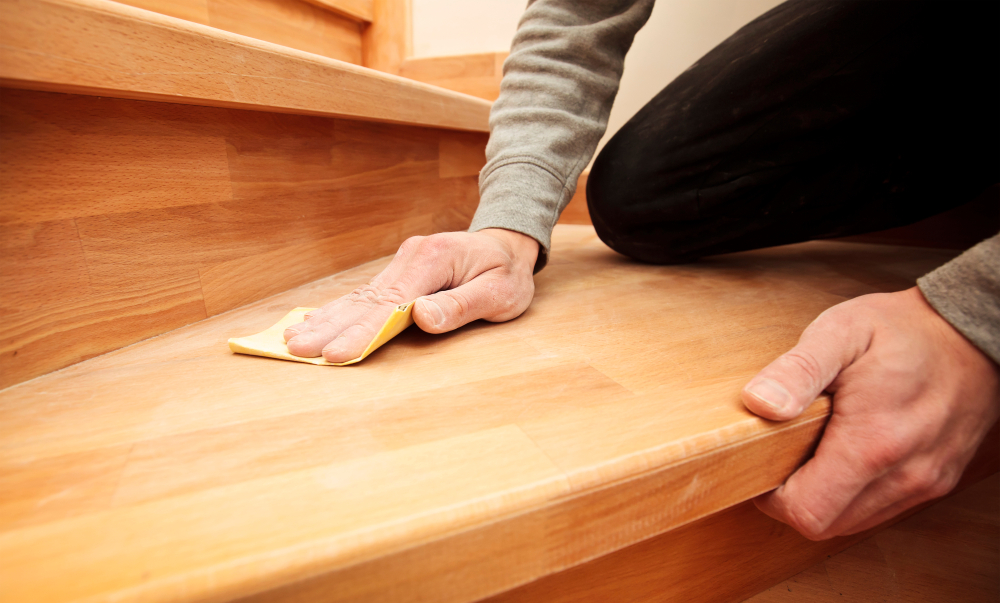
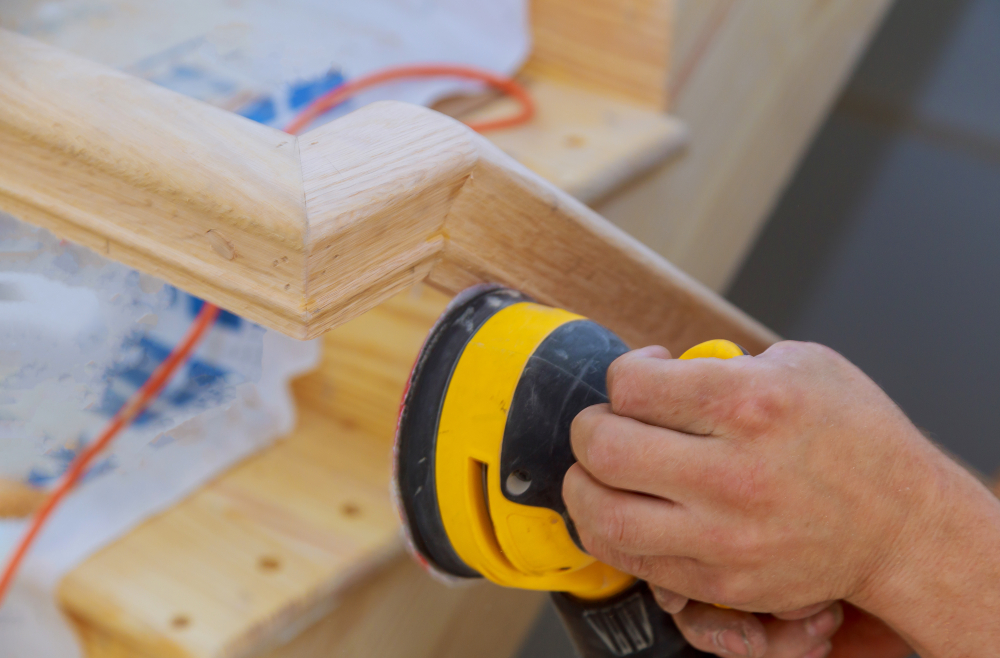
Sanding Steps and Edges
Sanding the steps and edges of a staircase can be particularly challenging due to their high usage and the wear and tear they endure. These areas require extra attention to detail to ensure a smooth and durable finish. Here’s how to effectively sand the steps and edges of your staircase.
Focus on steps
- Start with the treads: The horizontal part of the step, known as the tread, often shows the most wear. Start with a coarse grit to remove any old finish, marks, or stains, then progress to finer grits for a smooth surface.
- Risers: The vertical sections between steps, or risers, usually require less aggressive sanding. Use medium to fine grit, depending on their condition.
- Even Sanding: Ensure that you sand each tread and riser evenly. Inconsistent sanding can lead to a patchy appearance and uneven wear over time.
Edges and corners
- Hand Sanding for Precision: Use your hand, wrapped in sandpaper, or a small sanding block to get into the edges and corners. This allows for more precision and control.
- Gentle Approach: Edges and corners can wear down more quickly than flat surfaces. Sand these areas gently to avoid rounding them off or altering their shape.
- Detail Tools: For very tight corners, consider using detail sanding tools or a sanding sponge that can conform to the space.

Dealing with Nooks and Crannies
- Staircases often have nooks and crannies, especially where the steps meet the stringers (the side parts of the staircase). Use smaller, more flexible sanding tools to reach these areas.
Smooth Transition
- Ensure a smooth transition between the different parts of the step. The edge where the tread meets the riser is particularly important. A sharp, clean line here gives the staircase a professional finish.
Sanding the Nosings
- The nosing is the protruding edge of the tread. It’s a high-impact area and requires thorough sanding. Be careful not to round off the edges, maintaining the nosing’s shape and ensuring safety.
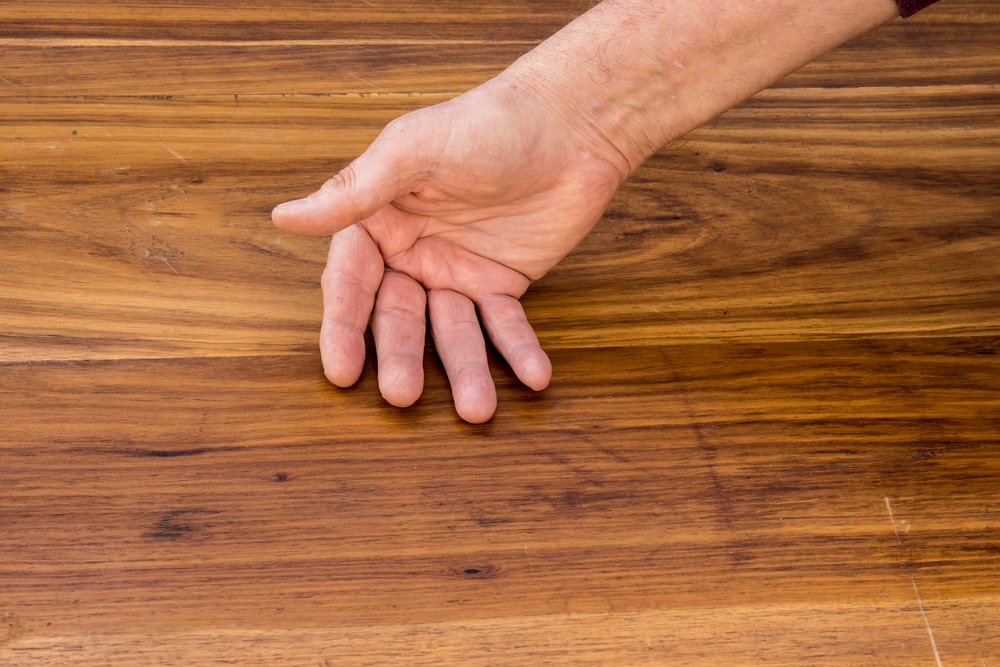
Final Check
- After sanding, run your hand over the surfaces to check for any rough spots or inconsistencies. This tactile inspection can often catch imperfections that the eye might miss.
Sanding steps and edges with care and attention will not only improve the appearance of your staircase but also its longevity and safety. This meticulous process lays the groundwork for a successful finish, whether you’re painting, varnishing, or staining.
Safety Precautions
When undertaking a project like hand-sanding a staircase, it’s crucial to be mindful of safety. Sanding can pose various risks, from physical strain to the inhalation of dust particles. Here are some essential safety precautions to consider:
Personal Protective Equipment (PPE)
- Dust Masks or Respirators: Sanding produces fine dust, which can be harmful if inhaled. Use a dust mask or a respirator to protect your lungs.
- Safety Glasses: Protect your eyes from dust and debris with safety glasses or goggles.
- Hearing Protection: If you’re also using power tools, hearing protection like earplugs or earmuffs is advisable.
- Gloves: Wear gloves to protect your hands from splinters and abrasions, but ensure they don’t hinder your dexterity.

Dust Management
- Work in a Well-Ventilated Area: Open windows and doors to ensure good airflow, which helps in dust dissipation.
- Dust Extraction: If available, use a dust extractor or a vacuum cleaner with a brush attachment to minimise dust accumulation.
- Regular Cleaning: Frequently clean the area with a vacuum or a damp cloth to remove dust.
Ergonomics and Posture
- Correct Posture: Maintain a comfortable posture to avoid strain or injury. Use a stool or a kneeling pad if necessary.
- Regular Breaks: Sanding can be physically demanding. Take regular breaks to prevent muscle fatigue and strain.
- Avoid overreaching: Move around the staircase instead of overreaching or stretching to prevent falls or back strain.
Safe Work Environment
- Keep the Area Clear: Ensure the work area is free from clutter and tripping hazards.
- Stable Platform: If using a ladder or a step stool, make sure it’s stable and securely placed.
- Lighting: Adequate lighting is crucial for safety and precision in sanding. Ensure your workspace is well-lit.
Tool Safety
- Inspect Tools: Before starting, check that all tools are in good condition and safe to use.
- Proper Storage: Keep tools and materials safely stored when not in use, especially if there are children or pets in the home.
Health Consideration
- Skin Protection: Prolonged exposure to dust can irritate the skin. Consider using a barrier cream or wearing long sleeves.
- Stay Hydrated: Sanding can be a strenuous activity, so drink plenty of water to stay hydrated.
By adhering to these safety precautions, you can ensure that your staircase sanding project is not only successful but also conducted in a safe and healthy environment.
Finishing Touches
After the meticulous process of sanding your staircase, the finishing touches are what will truly bring out the beauty of the wood and your hard work. These final steps are crucial to protecting the staircase and enhancing its appearance.
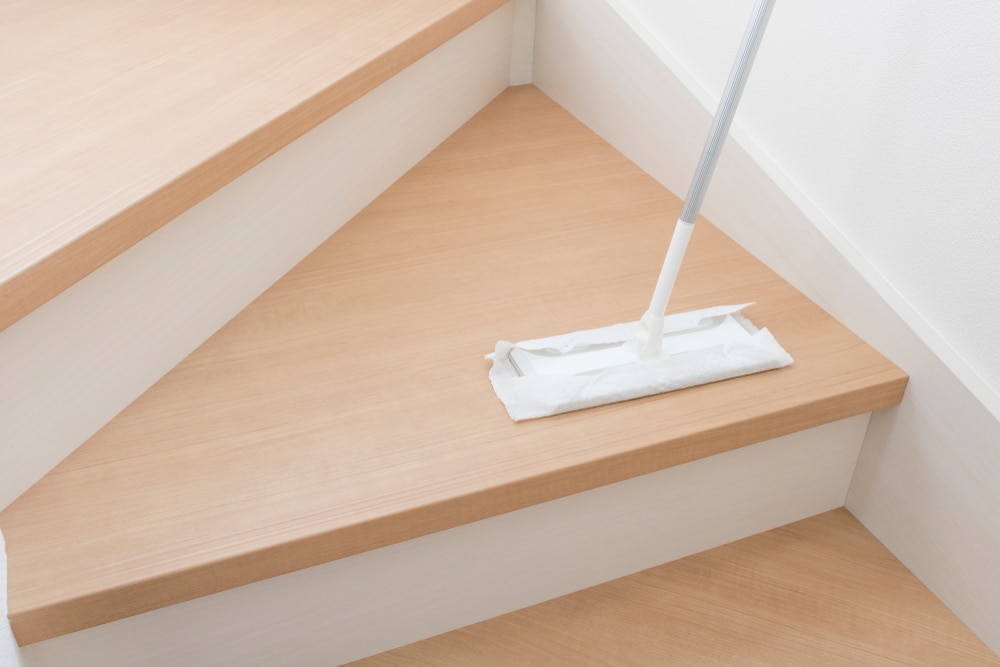
Cleaning the surface
- Thorough Dusting: Begin with a thorough dusting of the entire staircase. Use a soft brush or a vacuum with a brush attachment to remove all sanding dust.
- Wiping Down: Follow up with a damp cloth to wipe down the surfaces. This not only removes the remaining dust but also prepares the wood for finishing. Ensure the wood is completely dry before applying any finish.
Choosing the Right Finish
- Varnish or polyurethane: These finishes are durable and ideal for high-traffic areas like staircases. They come in various sheens, from matte to high gloss, depending on your preference.
- Stain: If you wish to change the colour of the wood or enhance its natural hue, consider applying a stain before the varnish or polyurethane. Always test the stain on a small, inconspicuous area first to ensure you’re happy with the colour.
- Paint: For a more dramatic change, painting the staircase can be a great option. Use a paint suitable for wood and consider a semi-gloss or gloss finish for durability.
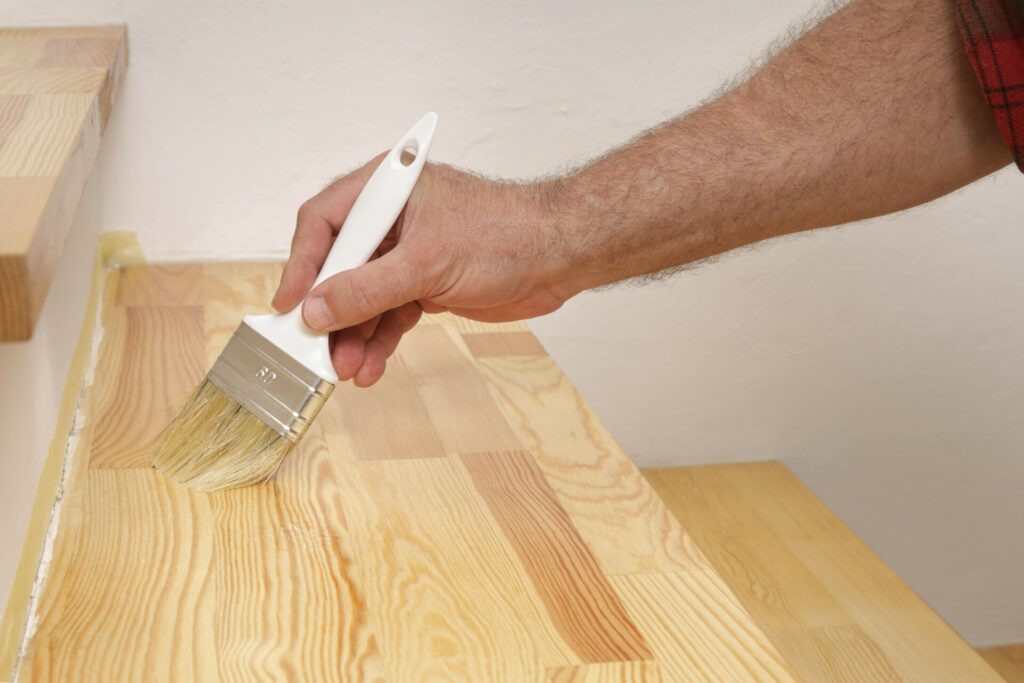
Application Techniques
- Even Coats: Apply the finish in even, thin coats. This helps prevent drips and ensures a smooth finish.
- Brush Quality: Use a high-quality brush or applicator. Poor-quality brushes can leave bristles or streaks in the finish.
- Drying Time: Allow sufficient drying time between coats. Rushing this process can result in a finish that is not durable or smooth.
Final Inspection
- After the final coat has dried, inspect your work. Look for any drips, streaks, or missed spots. If necessary, apply a light additional coat to even out the finish.
Maintenance Tips
- Regular Cleaning: Regular cleaning and maintenance will keep your staircase looking great for years. Dust and clean it regularly with products suitable for the finish you’ve applied.
- Touch-Ups: For varnished or painted staircases, keep some of the finish on hand for touch-ups as needed in the future.
The finishing touches are not just about aesthetics; they’re about protecting your staircase and ensuring that your hard work stands the test of time. With these final steps, your staircase will not only look fantastic but will also be a durable and cherished part of your home.
Conclusion
Refurbishing a staircase through hand sanding is a task that requires patience, dedication, and attention to detail. However, the rewards of this endeavour are significant. A beautifully sanded and finished staircase can transform the aesthetic of your home, adding character and warmth to the space.
Throughout this process, we’ve explored various facets of hand sanding, from selecting the appropriate sandpaper to mastering the technique and applying the finishing touches. Each step is integral to achieving a professional and lasting result.
Remember, the quality of your sanding job is the foundation of any finish you apply, whether it’s varnish, stain, or paint. The time and effort invested in properly preparing your staircase will be evident in the final product.
Safety, too, is paramount. The use of personal protective equipment and adherence to safety guidelines ensure that your DIY project is not only successful but also safe.
Finally, the satisfaction that comes from completing such a project with your own hands is incomparable. The transformation of a worn staircase into a piece of beauty is a testament to your skills and efforts.
We hope that these tips and insights will assist you in your hand-sanding project and contribute to the successful revitalization of your staircase. With these skills and knowledge, you’re well-equipped to tackle this rewarding challenge.


Sanding
We provide virtually dust-free sanding with our continuous belt machinery with mobile extraction units, giving you a safer environment for your family.
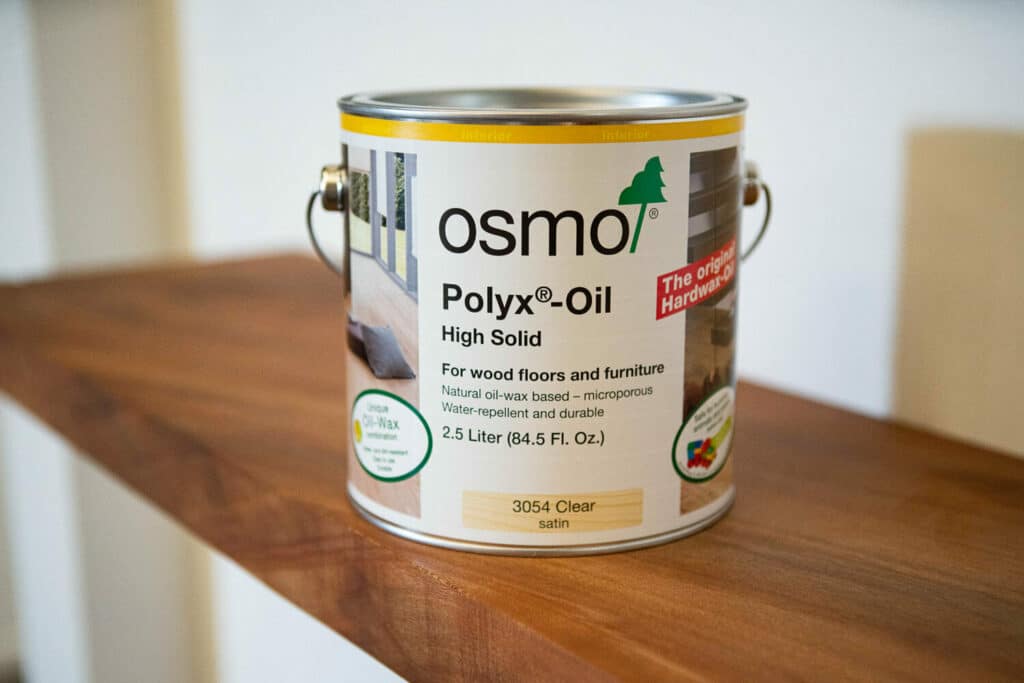
Oiling
This organic finish not only adds beauty to your home but also has exceptional water-repellent characteristics, making it easier to clean and maintain.
Waxing
This natural floor finish offers the softest and most mellow appearance – and leaves your floor able to breath.
Buffing
Using soft buffing machines (and hand-polishing where required) will bring a wonderful sheen to your newly-finished floor.
Repairs
We offer a full assessment of your wooden floors to determine what repairs are needed to provide the perfect working surface for the later stages of sanding, staining and sealing.
Restoration
We offer a comprehensive restoration process designed to address floors that are improperly fitted or damaged over time through wear and tear.
Request a fixed price quote for your wood floor restoration now
Simply enter your postcode below to get started.
Services
Wood Floor Sanding Wood Floor Restoration Wood Floor Scratch Repair Squeaky Wood Floor Repair Parquet Floor Sanding Parquet Floor Restoration Commercial Floor Sanding Church Floor Sanding Community Centre Floor Sanding School Floor Sanding Gap Filling Gap Filling with ResinCopyright © Mr Sander®
Privacy & Cookies Terms & Conditions Complaints Procedure Cancellation Rights Sitemap

Get An Instant Price Estimate Before You Go…
Simply enter the rooms you need sanded and we’ll provide you with a price estimate instantly! Try our price calculator now.
Get a Price Estimate NowLocal Floor Sanding Experts
Over 500 5-Star Reviews
Safe, Dust Free Sanding
Operating Since 1994