London:
Nationwide:
25,000+
Floors Restored
27 Years Experience
Wood Flooring Association Certified
Tips for Effective Drum Sanding of Narrow and Hard-to-Reach Areas
Posted on August 22, 2023
Drum sanding
Mastering Drum Sanding: Tips for Narrow and Hard-to-Reach Areas
Woodworking enthusiasts and professionals alike understand that achieving a perfectly smooth finish on wooden surfaces is both an art and a science. Drum sanders, especially when tackling detailed projects, can be a godsend. Yet, the regular drum sander often falls short when it comes to narrow and hard-to-reach areas. This post offers insights and tips for effectively utilizing drum sanders for those challenging nooks and crannies.
What is drum sanding?
Before diving into the specifics, let’s briefly revisit the basics. Drum sanders are powerful woodworking machines designed to smooth out wooden surfaces. The sander utilizes a spinning cylinder (or drum) wrapped in sandpaper to eliminate imperfections, ridges, and bumps.Challenges in Narrow and Hard-to-Reach Areas
While drum sanders are great for expansive surfaces, they often struggle with narrow areas and corners. Some common challenges include:- Over-sanding: the risk of removing too much material
- Inconsistency: uneven sanding due to the inability to access tight spaces.
- Damage: accidental gouging or scratching adjacent areas
Essential Tips for Effective Drum Sanding in Tricky Spots
1. Select the right tool.
Several drum sander variations have been explicitly designed for detail work:- Detail Sanders: These are smaller versions of traditional drum sanders.
- Pneumatic Drum Sanders: They adjust to the contour of your workpiece, proving very effective for irregular shapes.
- Oscillating Spindle Sanders: These are excellent for smoothing edges and curves.

2. Opt for the Right Grit
The grit of your sandpaper plays a crucial role in the finish.- Coarse grit (40–60): suitable for rapid material removal but leaves a rougher finish.
- Medium grit (80–120): ideal for general-purpose sanding.
- Fine grit (150–220): Perfect for finishing touches and smooth finishes.
3. Maintain even pressure.
You might feel tempted to press harder when accessing tight spaces to ensure the sander impacts the wood. Avoid this! Excessive pressure can lead to overspending. Let the machine do the work; maintain even, consistent pressure throughout.4. Regularly clean your sandpaper.
Sawdust accumulation reduces the efficiency of the sandpaper. Regular cleaning ensures consistent sanding and extends the life of the paper. A rubber sanding block is perfect for cleaning up accumulated residue.5. Utilise Extension Attachments
Some drum sanders come with narrow extensions specifically designed for tight spaces. These can be extremely useful in ensuring uniformity and precision.6. Practise on scrap wood
Before you approach your main project, practice on scrap pieces. This will familiarise you with the feel and limitations of the tool in narrow spaces.
7. Work in Stages
Begin with the larger surfaces and gradually work towards the narrower areas. This sequential approach reduces the risk of accidental damage.8. Protect adjacent areas.
When working on a specific section, protect the adjacent areas using painter’s tape or a physical barrier. This ensures you don’t accidentally scuff or damage them.9. Stay patient.
Rushing rarely yields good results in woodworking. Especially in intricate areas, patience is a virtue. Slow, methodical strokes will ensure consistent results.10. Safety First
Always wear appropriate safety gear, including safety glasses, ear protection, and a dust mask. Also, ensure your workspace is well-lit to see your progress.
11. Understanding Wood Grain
It’s essential to always sand in the direction of the wood grain. Rubbing against the grain can cause scratches and imperfections that are challenging to remove later. By understanding and respecting the wood grain’s direction, you can significantly enhance the finished look of your project.12. The Significance of Dust Extraction
A sound dust extraction system isn’t just crucial for health reasons; it can also play a pivotal role in achieving a better finish. By efficiently removing sawdust, you ensure the sandpaper maintains maximum contact with the wood, reducing the likelihood of imperfections and providing a smoother finish.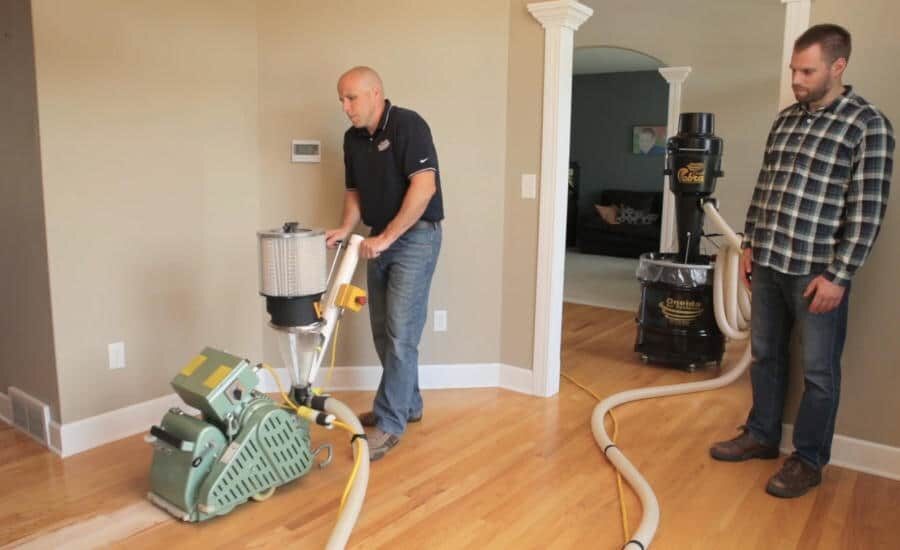
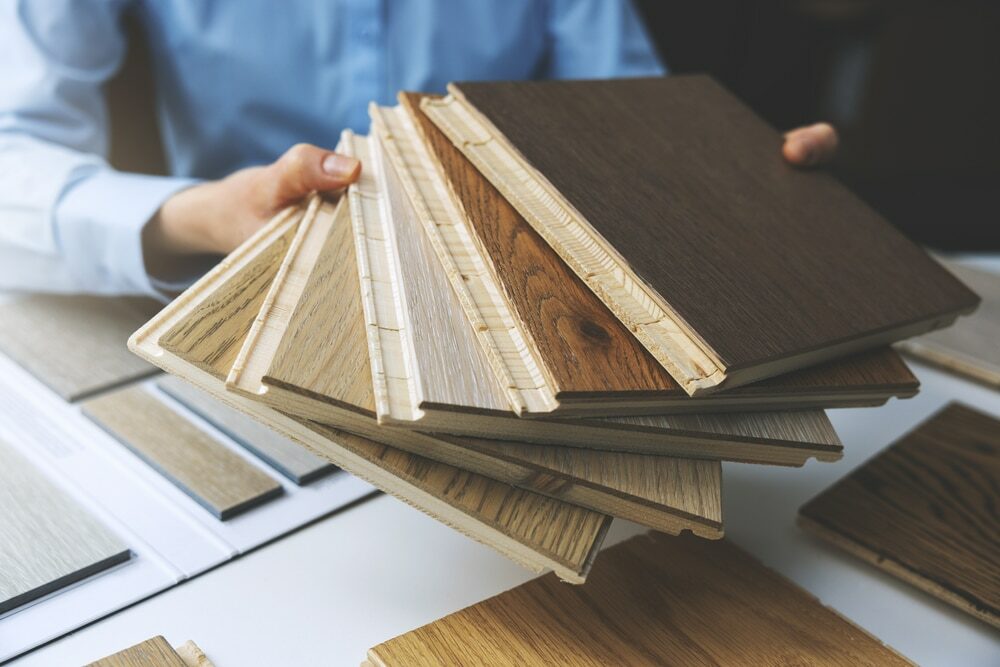
13. Consider the wood type.
Different woods have varying hardness levels. Hardwoods like oak or maple can be more challenging to sand and might require coarser grits initially. Conversely, softwoods like pine can be over-sanded easily if not carefully approached. Adjust your technique and grit choice depending on the wood type.14. Regular Maintenance of Your Drum Sander
The tool’s condition plays a crucial role in the quality of the work produced. Regularly inspect your drum sander for wear and tear. Check the alignment, ensure moving parts are well lubricated, and replace worn-out components. A well-maintained tool serves you longer and ensures consistency in the quality of your projects.
15. Finishing touches matter.
After drum sanding, especially in narrow and hard-to-reach areas, consider hand sanding with a fine-grit sandpaper to achieve that final smooth finish. Hand sanding allows you to feel the wood, helping you identify and address any remaining imperfections.
16. Stay updated with new techniques and tools.
The woodworking world constantly evolves, with new tools and techniques regularly emerging. Stay connected with woodworking communities, forums, and workshops. This ongoing learning will introduce you to novel approaches and tools to make drum sanding more efficient and effective. Now, with these additional insights, you are better equipped to face the challenges of drum sanding, ensuring that every nook and cranny of your woodworking project shines with professionalism and finesse.Conclusion
Drum sanding in narrow and hard-to-reach areas is undeniably a challenging endeavor. However, you can achieve a flawless finish, even in the trickiest spots, with the right tools, techniques, and patience. Embrace the journey, keep refining your style, and soon, those daunting nooks and crannies will become another aspect of your woodworking prowess. Remember, as with all skills, practice makes perfect. So, grab that piece of wood, fire up your drum sander, and let’s smooth those edges!Some Useful Links:
- Stairs Sanding & Refinishing
- Floor Sanding Services
- School Floor Sanding
- Wood Floor Restorations
- Wood Floor Repairs
- Wood Floor Polishing
More from our Blog:
The Differences Between Drum Sanding and Belt Sanding How to Sand and Refinish Wooden Floors with a Drum Sander Drum Sanding Techniques for Removing Old Stains and Finishes The Most Common Mistakes in Drum Sanding Wooden Floors The Best Drum Sander Brands for Professional Floor Sanding The Pros and Cons of Drum Sanding versus Orbital Sanding
Get more floor restoration advice…

Sanding
We provide virtually dust-free sanding with our continuous belt machinery with mobile extraction units, giving you a safer environment for your family.
Oiling
This organic finish not only adds beauty to your home but also has exceptional water-repellent characteristics, making it easier to clean and maintain.
Waxing
This natural floor finish offers the softest and most mellow appearance – and leaves your floor able to breath.
Buffing
Using soft buffing machines (and hand-polishing where required) will bring a wonderful sheen to your newly-finished floor.
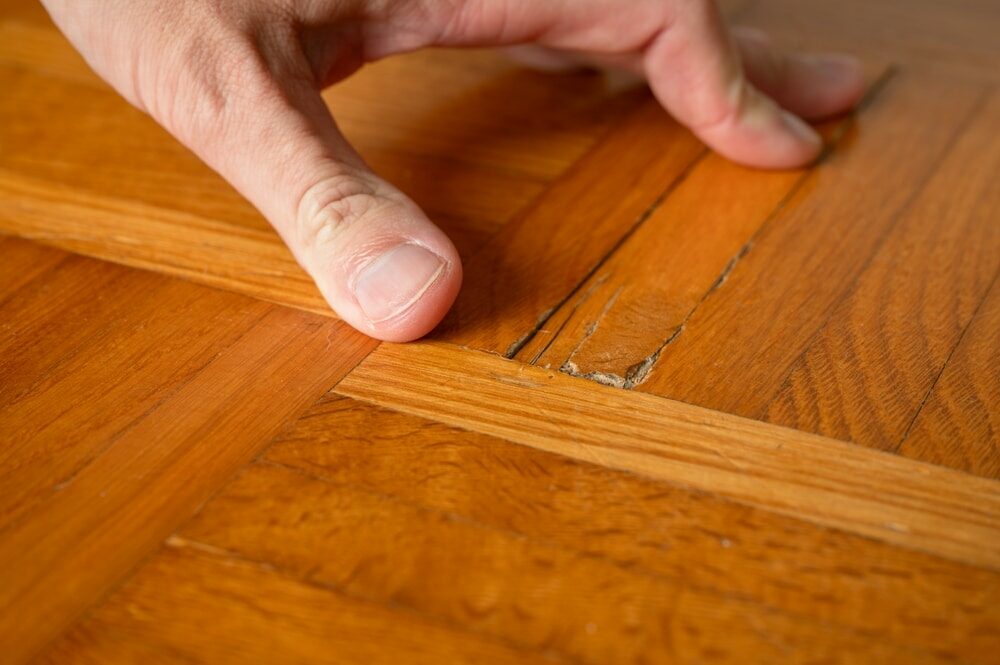
Repairs
We offer a full assessment of your wooden floors to determine what repairs are needed to provide the perfect working surface for the later stages of sanding, staining and sealing.
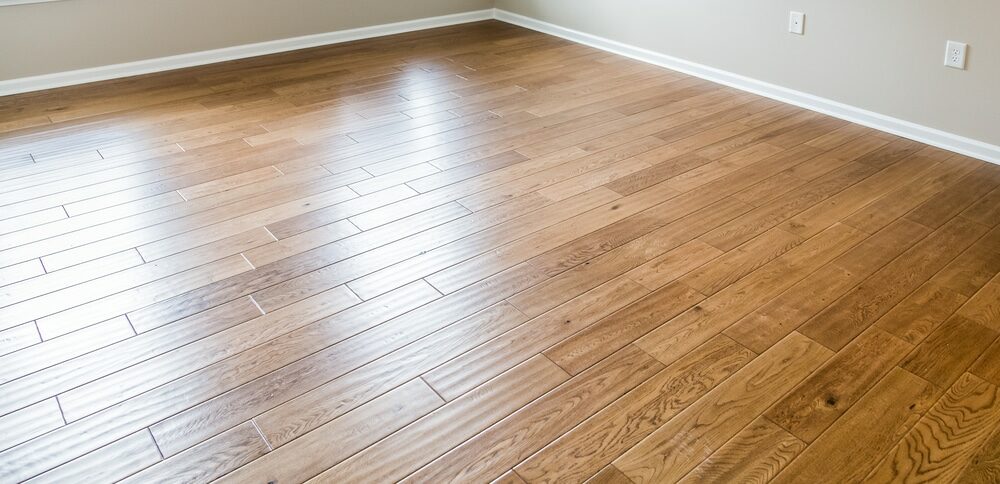
Restoration
We offer a comprehensive restoration process designed to address floors that are improperly fitted or damaged over time through wear and tear.
Request a fixed price quote for your wood floor restoration now
Simply enter your postcode below to get started.
Services
Wood Floor Sanding Wood Floor Restoration Wood Floor Scratch Repair Squeaky Wood Floor Repair Parquet Floor Sanding Parquet Floor Restoration Commercial Floor Sanding Church Floor Sanding Community Centre Floor Sanding School Floor Sanding Gap Filling Gap Filling with ResinCopyright © Mr Sander®
Privacy & Cookies Terms & Conditions Complaints Procedure Cancellation Rights Sitemap

Get An Instant Price Estimate Before You Go…
Simply enter the rooms you need sanded and we’ll provide you with a price estimate instantly! Try our price calculator now.
Get a Price Estimate NowLocal Floor Sanding Experts
Over 500 5-Star Reviews
Safe, Dust Free Sanding
Operating Since 1994