London:
Nationwide:
25,000+
Floors Restored
27 Years Experience
Wood Flooring Association Certified
The Safety Precautions to Take When Using a Drum Sander for Floors
Posted on August 24, 2023
Drum sanding
The Essential Guide to Safe Drum Sanding for Wooden Floors
The charming rooms of British homes, steeped in history, have seen the footfalls of countless generations. They tell tales of the ebbs and flows of time, gatherings, quiet moments, and celebrations. The floor beneath our feet is an ever-constant witness to these moments, and often, the wooden floors bear the brunt of our everyday lives. Over time, they demand rejuvenation. Enter the drum sander, the artisan’s trusted companion, breathing new life into weary floors. But like every craft, it requires respect and understanding. Drum sanding is like dancing; one must be in perfect rhythm and balance with the tool to get the desired outcome. However, this dance can be hazardous without the proper precautions. Let’s waltz through the safety measures every homeowner and artisan should remember when using a drum sander for floors.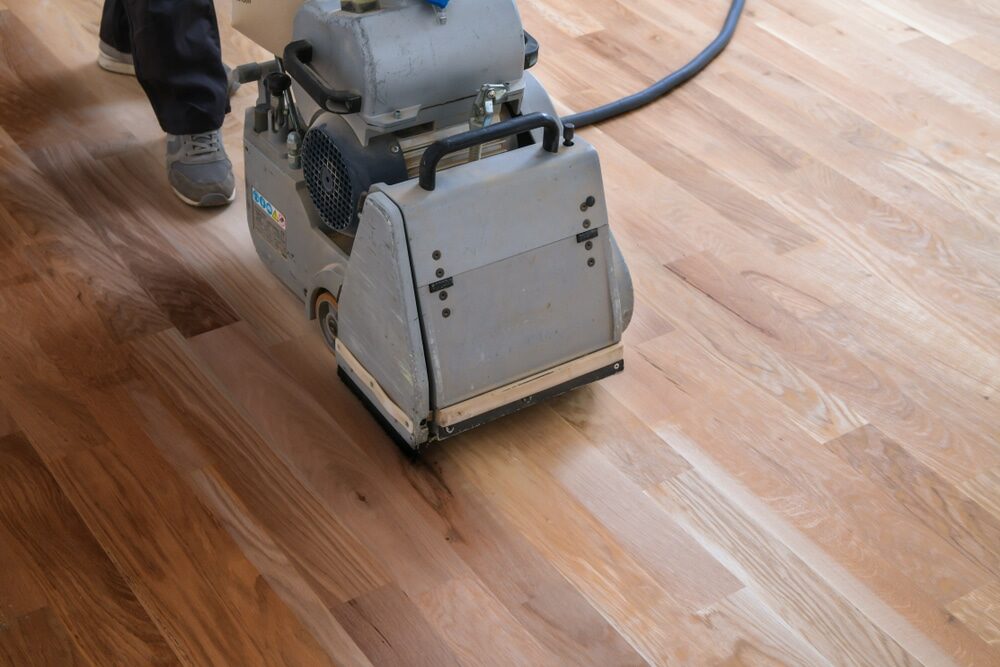
The Historical Tapestry of Wooden Floors
Centuries ago, wooden floors were the mainstay of British homes. Stone floors were cold and damp; carpets were a luxury, so wood became the natural choice with its warmth and resilience. As time meandered on, the floors took a beating. And by the 19th century, with the advent of mechanization, tools like the drum sander came into being, offering salvation to these tired boards.The Renaissance of Drum Sanding
In recent years, the trend has turned full circle. Contemporary homeowners are rediscovering the charm of authentic wooden floors. Underneath layers of paint, varnish, or newer coverings, many find treasures waiting to be polished and displayed. Drum sanders are enjoying a renaissance, championing the revival of floors to their former splendor.The Philosophy Behind the Tool
But why a drum sander? Unlike orbital sanders, which are gentle and forgiving, drum sanders are aggressive and assertive. They demand respect and a certain artistry. Each drum sander pass can strip away years of wear, revealing the pristine wood hidden underneath. It’s not just about rejuvenation; it’s about resurrection. Now that we understand this craft’s legacy and depth, it’s paramount to approach it with the proper measures. Safety is not just about protecting oneself but also about preserving the narrative of the floor, ensuring that it continues to tell its tales for years to come.1. The Preliminaries: Dressing the Part
Just as one would never stroll to the opera in their gardening attire, the same holds for drum sanding—Do proper work clothing.- Eye Protection: A good pair of safety goggles shield those peepers from errant dust and particles.
- Ear Protection: Those old-world radios might have been loud, but a drum sander can be noisier! Ear protection is a must.
- Dust Masks: Let’s not inhale what we intend to remove. A mask ensures you breathe quickly away from the wood dust.
- Comfortable Work Shoes: Ditch the slippers for sturdy shoes with a good grip. A misstep can be costly.

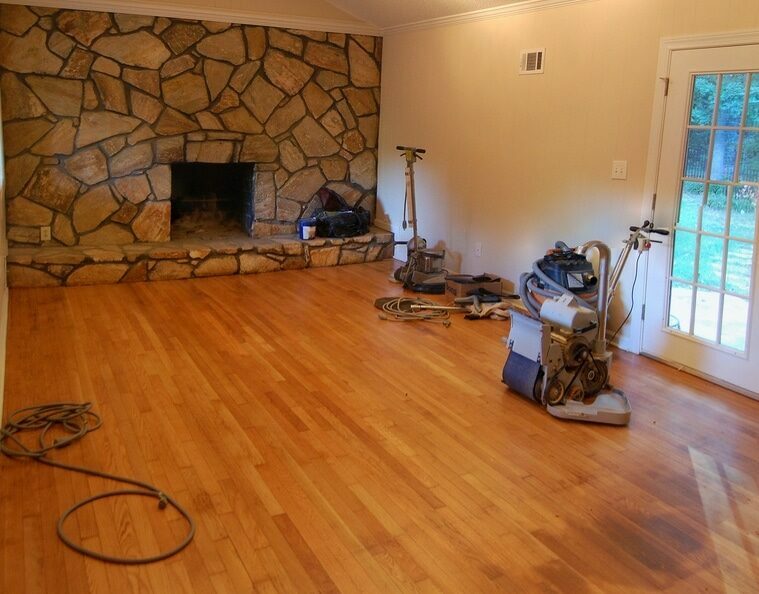
2. The Dance Floor: Preparing the Area
Before launching into your sanding escapade:- Remove All Furniture: Like clearing the room for a grand ball, ensure the floor is free of obstacles.
- Check for protruding nails. These little villains can damage your sander and floor. Ensure they’re all below the wood surface.
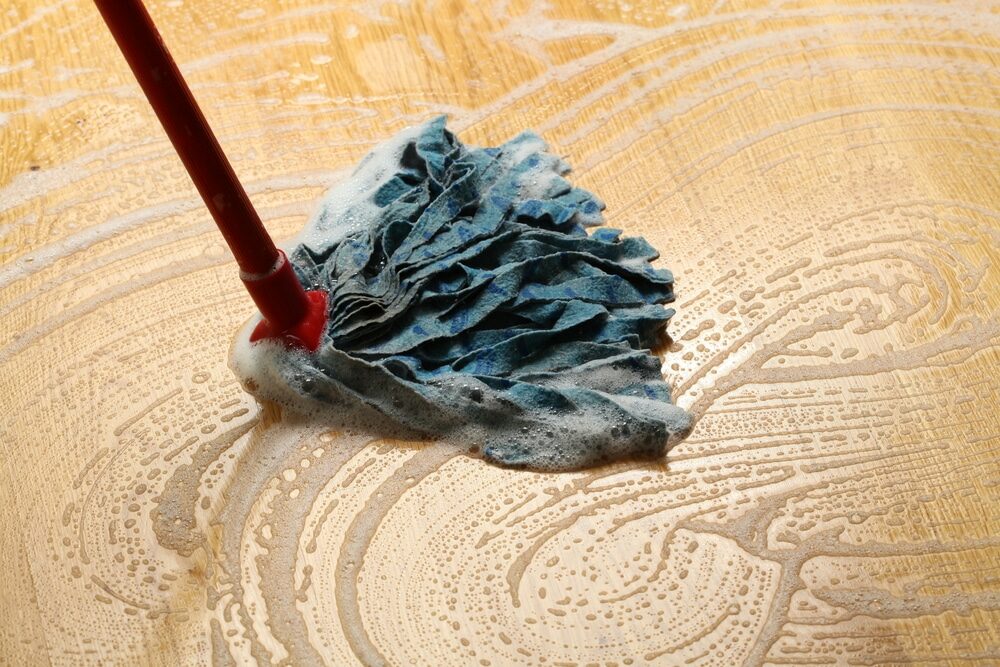
- Clean the floor: Use a soft broom or vacuum. This helps avoid sanding in dirt, which would blemish the floor further.
3. Choose Your Partner Wisely: The Right Grit
Using the wrong sandpaper grit can be as catastrophic as wearing winter boots to a summer garden party. Start with a coarser grit for floors in dire straits and move to finer grits for a smooth finish.4. Lead, Don’t Be Led: Handling the Drum Sander
Like a partner in a dance, the drum sander will move with you, but it also has a mind of its own.- Handle with both hands: This ensures control, especially when the sander is active.
- Keep It Moving: Just as one wouldn’t stop abruptly in the middle of a jive, don’t let the sander sit in one spot. This can create depressions in the wood.
- Go Along the Grain: Wood has a pattern and a rhythm. Sand in the direction of this grain, never against it. It prevents unsightly scratches.
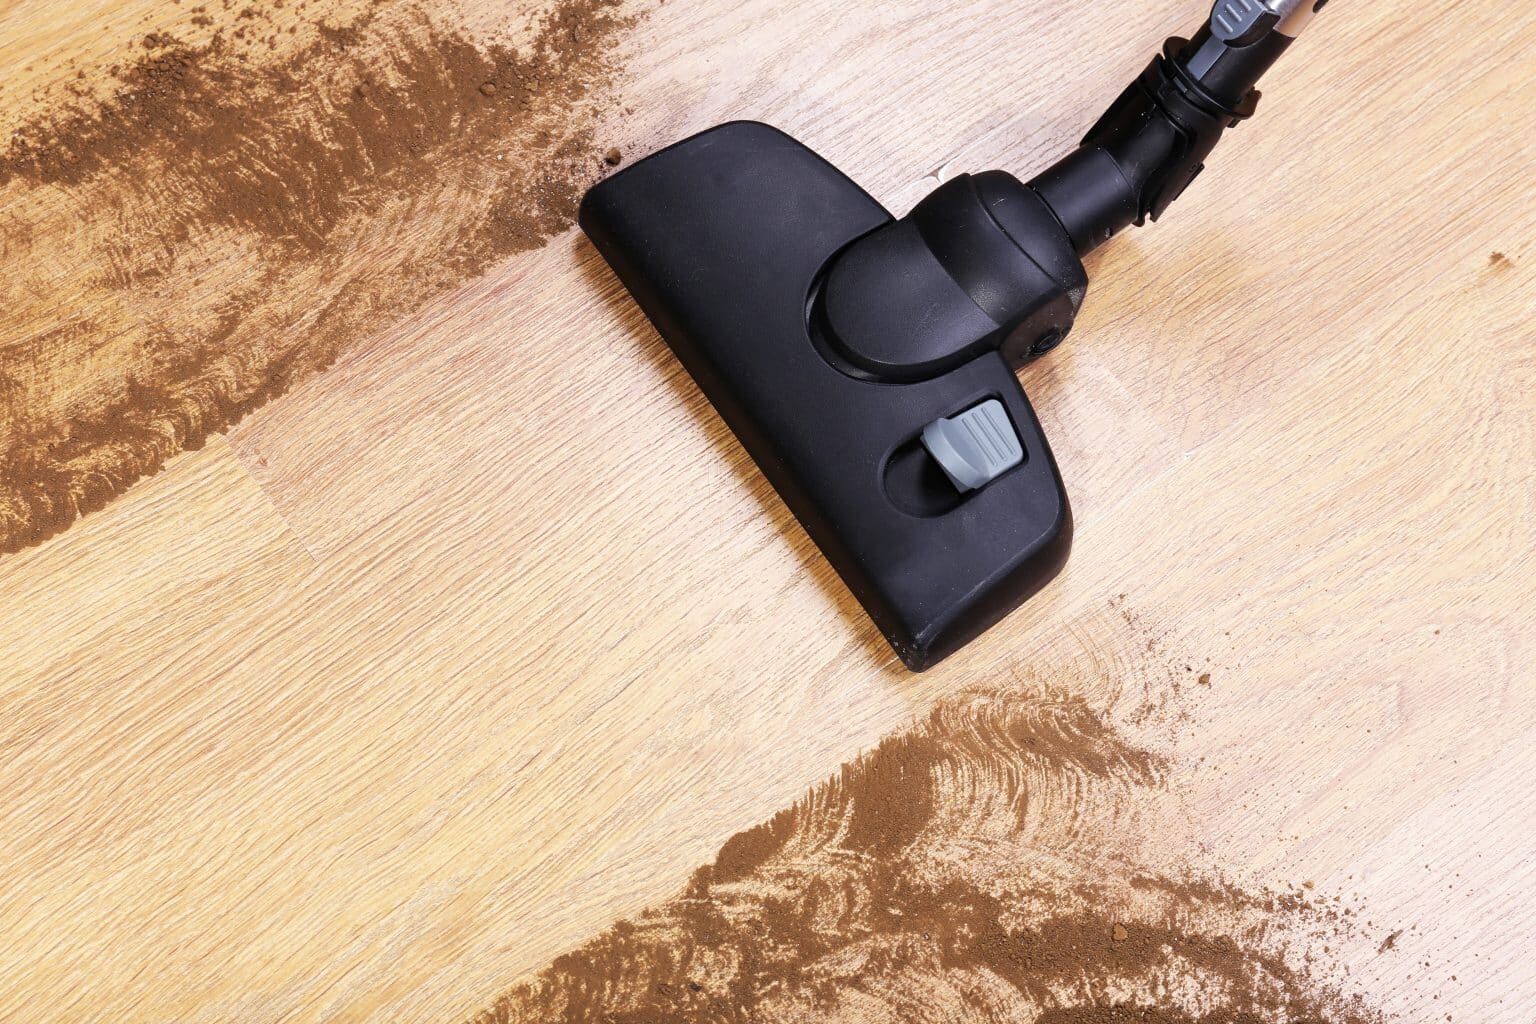
5. The Grand Finale: Cleaning Up
Once your floor has been revitalized,- Vacuum again and capture any residual dust. This is the curtain call of your sanding performance.
- Wipe with a damp cloth: This ensures that the uninvited guests’ minute particles are removed.
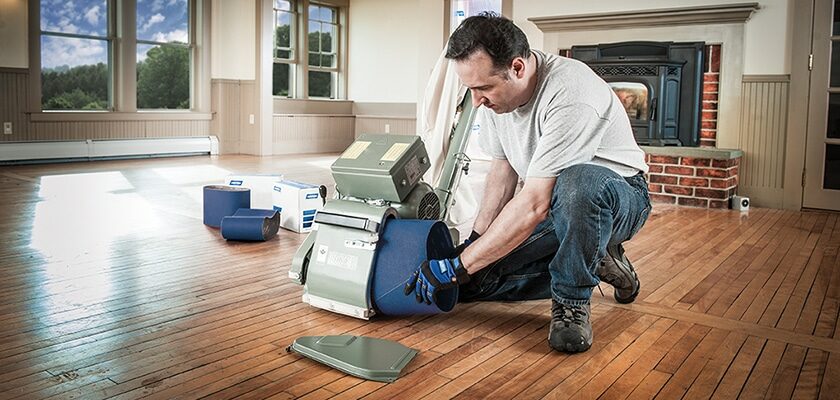
6. A Word on Maintenance
Much like a prized possession, your sander requires care.- Regularly check belts and sanders. Wear and tear can affect performance and safety.
- Clean After Every Use: A clean machine is a happy machine. Ensure it’s free from sawdust and debris after each performance.
Conclusion
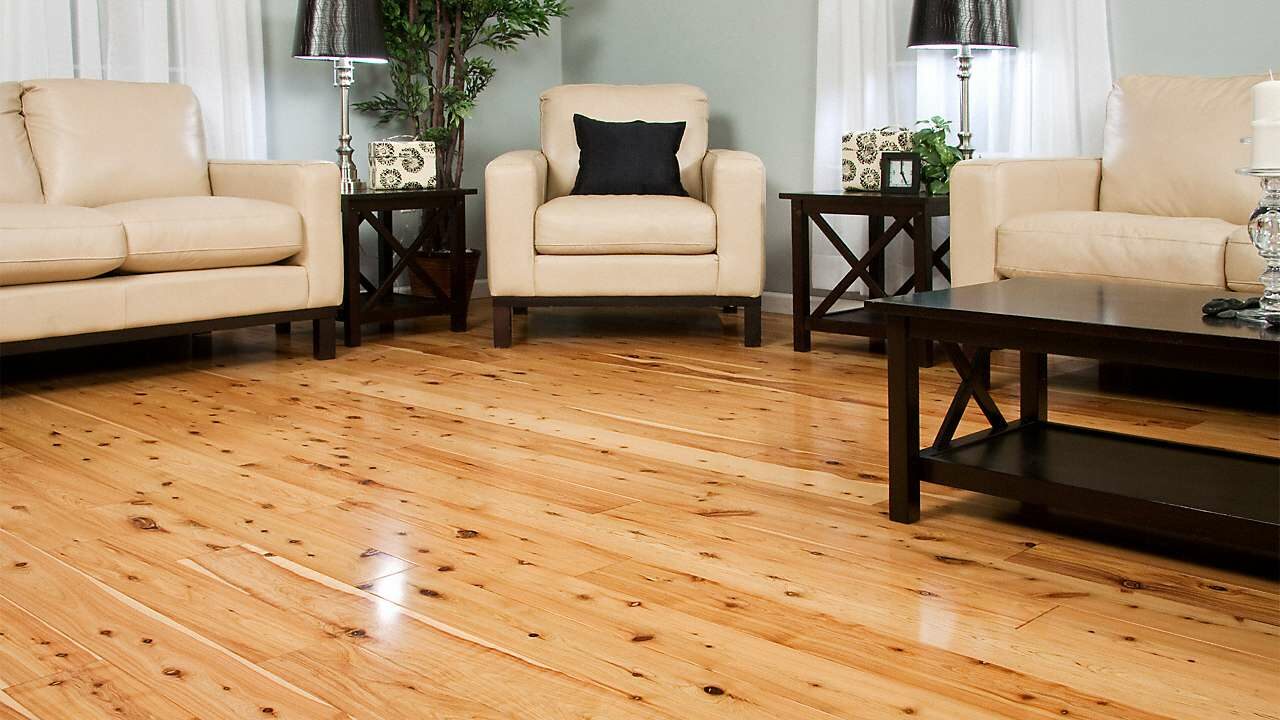
A perfectly sanded floor can transform a room, casting it in a new light and reflecting its history and beauty. But like any worthy endeavor, it’s not just about the end but also the journey. Approach drum sanding with the respect it commands, arm yourself with knowledge and safety measures and have a splendid floor that tells tales of your craftsmanship and care. After all, our homes deserve nothing less than our best, performed safely and with heart. Happy sanding!Some Useful Links:
- Stairs Sanding & Refinishing
- Floor Sanding Services
- School Floor Sanding
- Wood Floor Restorations
- Wood Floor Repairs
- Wood Floor Polishing
More from our Blog:
How to Achieve a Smooth and Even Finish with a Drum Sander How to Choose the Right Abrasive Grit for Drum Sanding Floors The Benefits of Using a Professional Drum Sander for Floor Sanding How to Handle Drum Sanding of Softwood Floors The Cost of Professional Drum Sanding Services for Wooden Floors Tips for Effective Drum Sanding of Narrow and Hard-to-Reach Areas The Differences Between Drum Sanding and Belt Sanding
Sanding
We provide virtually dust-free sanding with our continuous belt machinery with mobile extraction units, giving you a safer environment for your family.
Oiling
This organic finish not only adds beauty to your home but also has exceptional water-repellent characteristics, making it easier to clean and maintain.
Waxing
This natural floor finish offers the softest and most mellow appearance – and leaves your floor able to breath.
Buffing
Using soft buffing machines (and hand-polishing where required) will bring a wonderful sheen to your newly-finished floor.
Repairs
We offer a full assessment of your wooden floors to determine what repairs are needed to provide the perfect working surface for the later stages of sanding, staining and sealing.
Restoration
We offer a comprehensive restoration process designed to address floors that are improperly fitted or damaged over time through wear and tear.
Request a fixed price quote for your wood floor restoration now
Simply enter your postcode below to get started.
Services
Wood Floor Sanding Wood Floor Restoration Wood Floor Scratch Repair Squeaky Wood Floor Repair Parquet Floor Sanding Parquet Floor Restoration Commercial Floor Sanding Church Floor Sanding Community Centre Floor Sanding School Floor Sanding Gap Filling Gap Filling with ResinCopyright © Mr Sander®
Privacy & Cookies Terms & Conditions Complaints Procedure Cancellation Rights Sitemap

Get An Instant Price Estimate Before You Go…
Simply enter the rooms you need sanded and we’ll provide you with a price estimate instantly! Try our price calculator now.
Get a Price Estimate NowLocal Floor Sanding Experts
Over 500 5-Star Reviews
Safe, Dust Free Sanding
Operating Since 1994