London:
Nationwide:
25,000+
Floors Restored
27 Years Experience
Wood Flooring Association Certified
The Art of Hand Sanding for a Smooth Floor Finish
Posted on January 15, 2024
Floor sanding techniques
Mastering Hand Sanding: Achieve a Perfectly Smooth Floor Finish
In the realm of woodworking and wood floor finishing, hand sanding is an age-old technique revered for its ability to yield remarkably smooth surfaces. This introductory passage delves into the timeless appeal of hand sanding, exploring its enduring relevance in an era where mechanised methods abound.
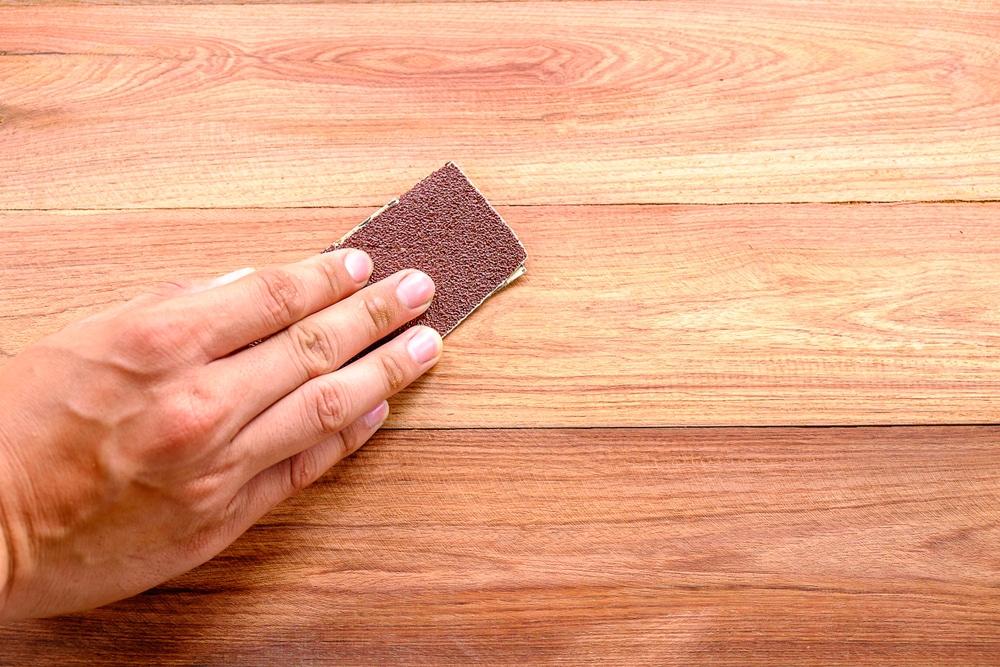
Wood Floor Hand Sanding, in its most fundamental essence, is a testament to the woodworker’s patience and attention to detail. Unlike power sanding tools, hand sanding offers a level of control and finesse that machine sanders often fail to achieve. This meticulous process allows the artisan to intimately connect with the material, understanding its grain, texture, and character in a way that mechanical methods cannot replicate.
Hand sanding is not merely a method; it’s a craft steeped in tradition. For generations, master woodworkers have passed down techniques that celebrate the slow, deliberate movements of hand sanding. In this practice, every stroke of the sandpaper is purposeful, aimed at achieving a level of smoothness and a quality of finish that speaks of bespoke craftsmanship.
At its core, hand sanding is about using abrasive materials to smooth and prepare wood surfaces for finishing. The process begins with the selection of appropriate sandpaper, moving from coarse to finer grits to gradually refine the surface. This gradual progression is key to achieving a flawless finish, as each step in the process builds upon the last, removing imperfections and leaving behind an increasingly smooth surface.
In hand sanding, one must develop an understanding of the wood’s grain direction. Sanding with the grain minimises scratches and enhances the natural beauty of the wood. It’s a harmonious dance between the hand, the sandpaper, and the wood, where each element plays a crucial role in the final outcome.
The beauty of hand-sanding lies in its simplicity and the tactile connection it fosters between the woodworker and the wood. It is an art that demands patience, skill, and a deep respect for the material. As we delve deeper into the nuances of hand sanding in the following sections, we will explore the tools, techniques, and tips that make this age-old craft an essential skill for any aspiring woodworker or DIY enthusiast seeking to achieve a perfectly smooth floor finish.
Tools of the Trade
Moving into the heart of hand sanding, this section focuses on the essential tools and materials required for this meticulous task. The right tools not only make the process more efficient but also contribute significantly to the quality of the finish.
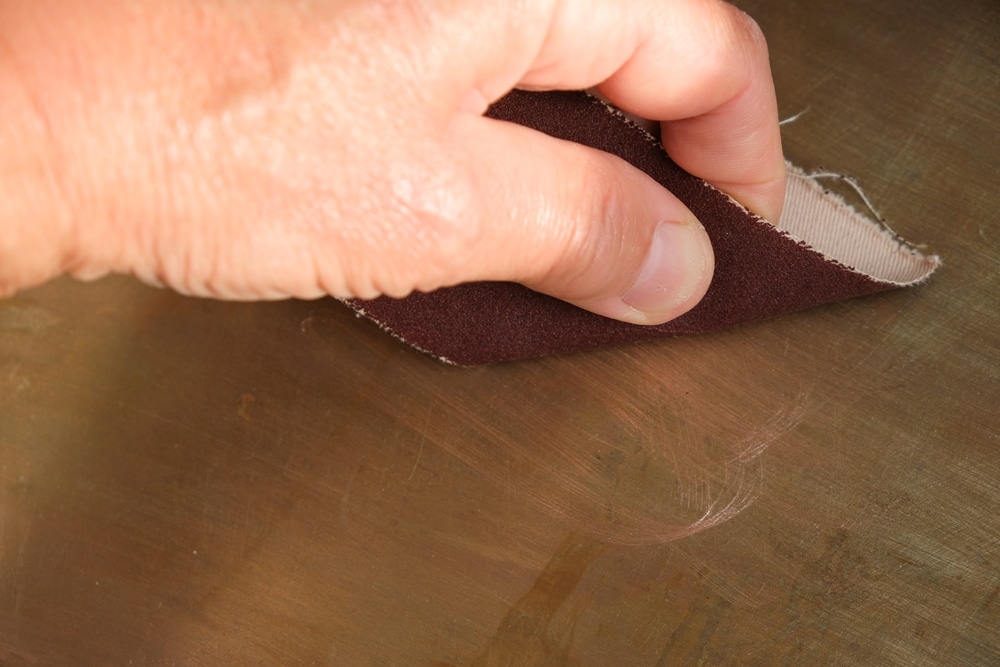
Selecting the Right Sandpaper
Sandpaper is the cornerstone of hand sanding, and its selection is critical. Sandpapers come in various grits, which indicate the coarseness of the abrasive particles. For floor sanding, one typically begins with a coarser grit to remove old finishes and surface imperfections and gradually moves to finer grits for a smooth finish.
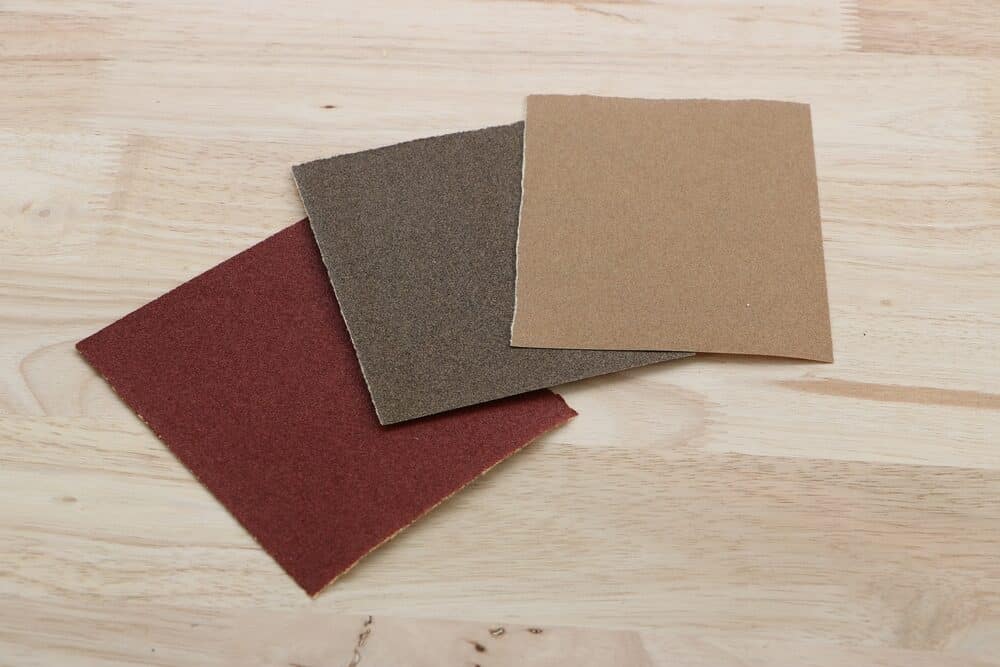
- Coarse Grit (40–60): Ideal for removing old varnish, paint, or significant surface irregularities.
- Medium Grit (80–120): Used for smoothing out scratches from the coarse grit and preparing the wood for finer sanding.
- Fine Grit (150–220): Employed for final smoothing before applying the finish. It ensures a surface that’s smooth to the touch without significant scratches.
It’s important to invest in high-quality sandpaper, as it tends to last longer and provides a more consistent finish.
Essential Accessories
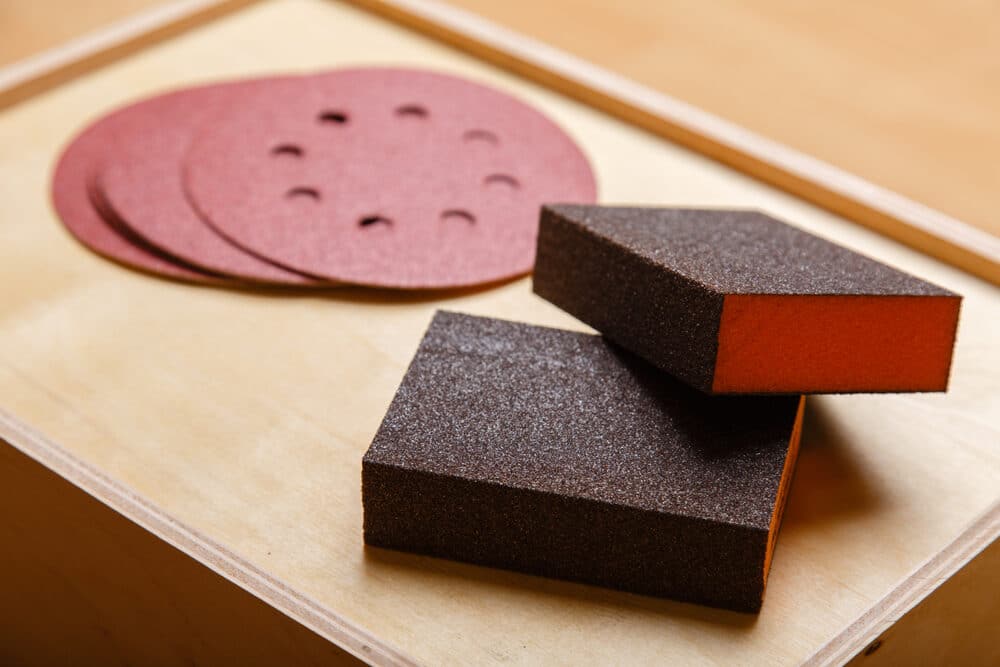
In addition to sandpaper, several accessories can enhance the hand-sanding experience:
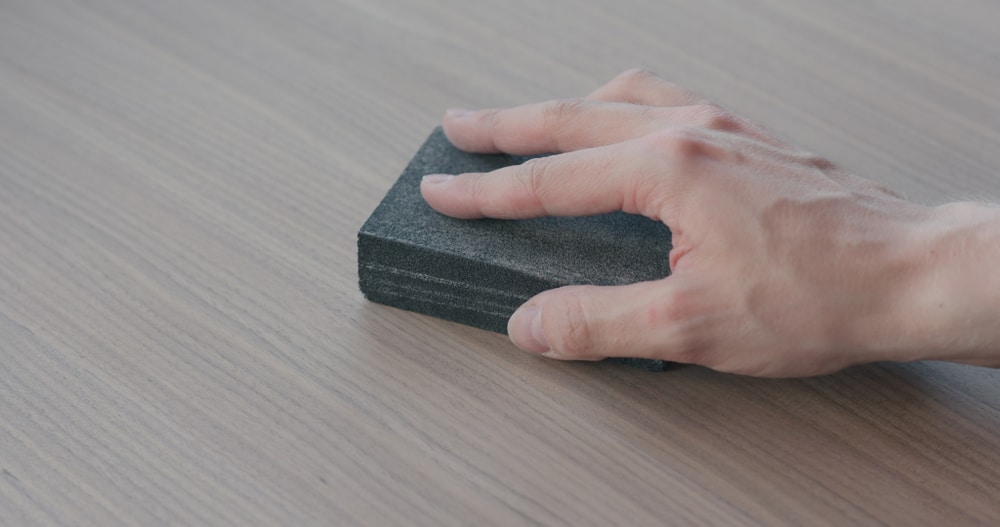
- Sanding Block: A sanding block, which can be either purchased or homemade, provides an even pressure distribution and helps prevent hand fatigue. It also allows for more uniform sanding as opposed to using sandpaper alone.
- Dust Mask and Eye Protection: Safety is paramount in any woodworking project. A dust mask prevents inhalation of wood dust, while safety goggles protect the eyes.
- Tack Cloth: After each sanding session, a tack cloth is invaluable for picking up residual dust and particles, ensuring a clean surface for the next phase of sanding or for the application of the finish.
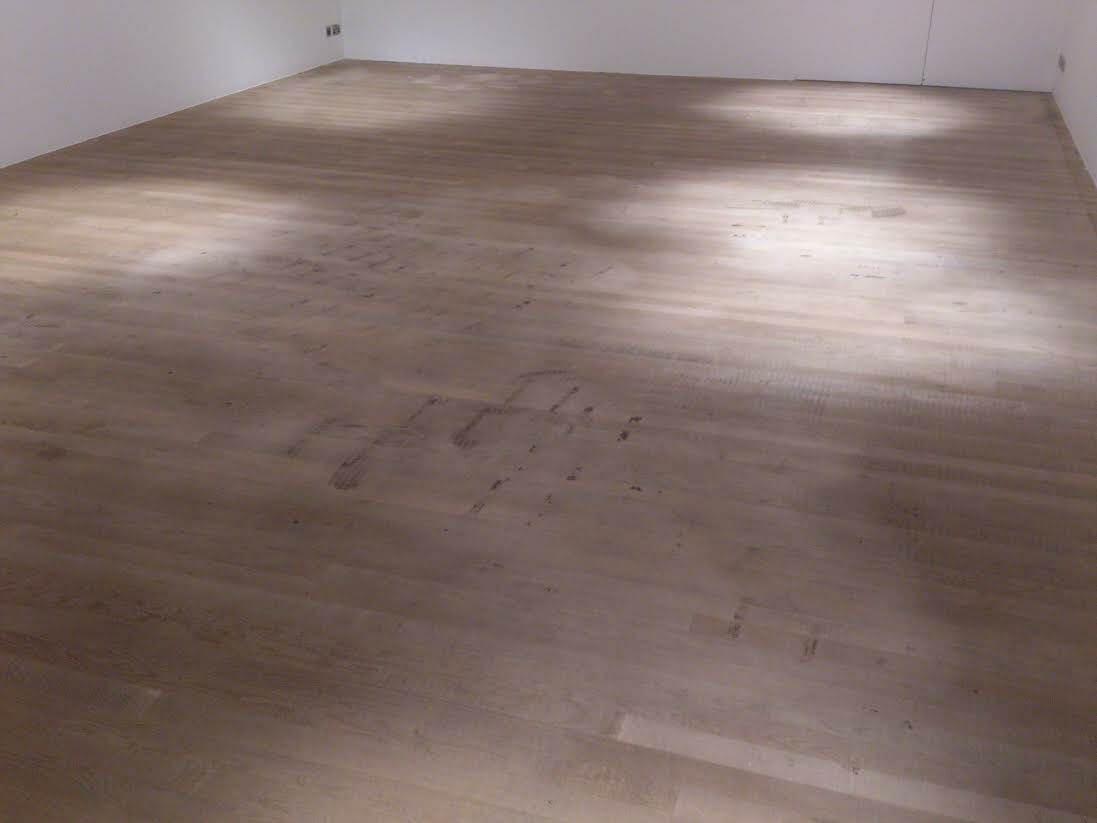
Preparing the Floor
Prior to embarking on the actual sanding process, proper floor preparation is crucial. This stage sets the foundation for a successful sanding job, ensuring that the surface is primed and ready for the meticulous work ahead.
Cleaning and assessment
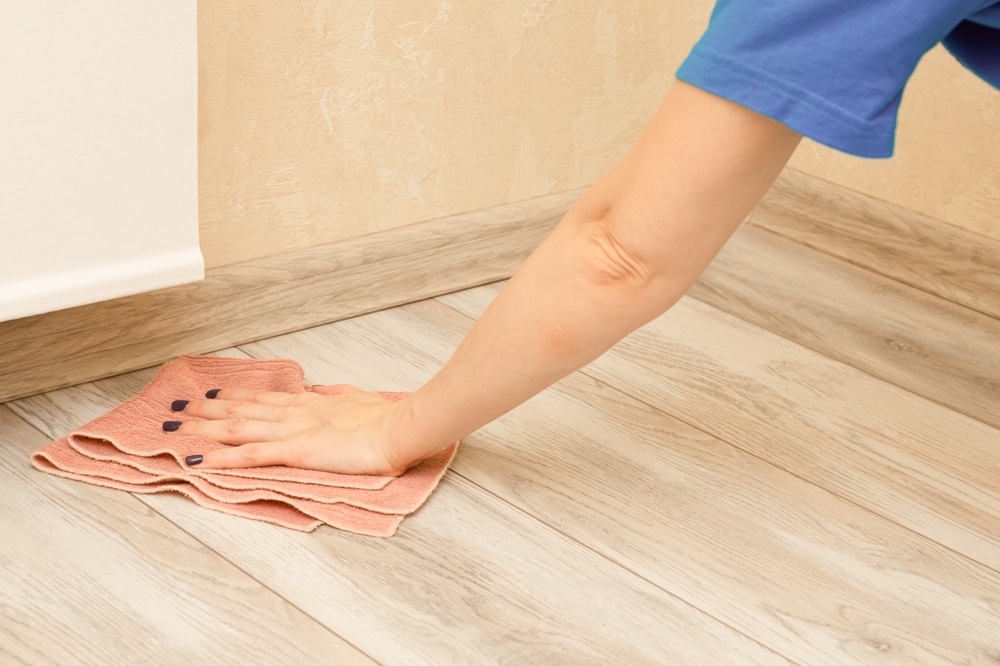
The first step in preparing the floor is a thorough cleaning. Remove all furniture, rugs, and any other items from the room. Sweep or vacuum the floor to eliminate all traces of dust, dirt, and debris. A clean surface is essential to prevent any particles from scratching the wood during sanding.
Next, assess the condition of the floor. Look for any signs of damage, such as deep scratches, dents, or warped boards. Pay attention to the type of wood and its grain pattern, as these factors will influence your sanding technique and the choice of sandpaper grit.

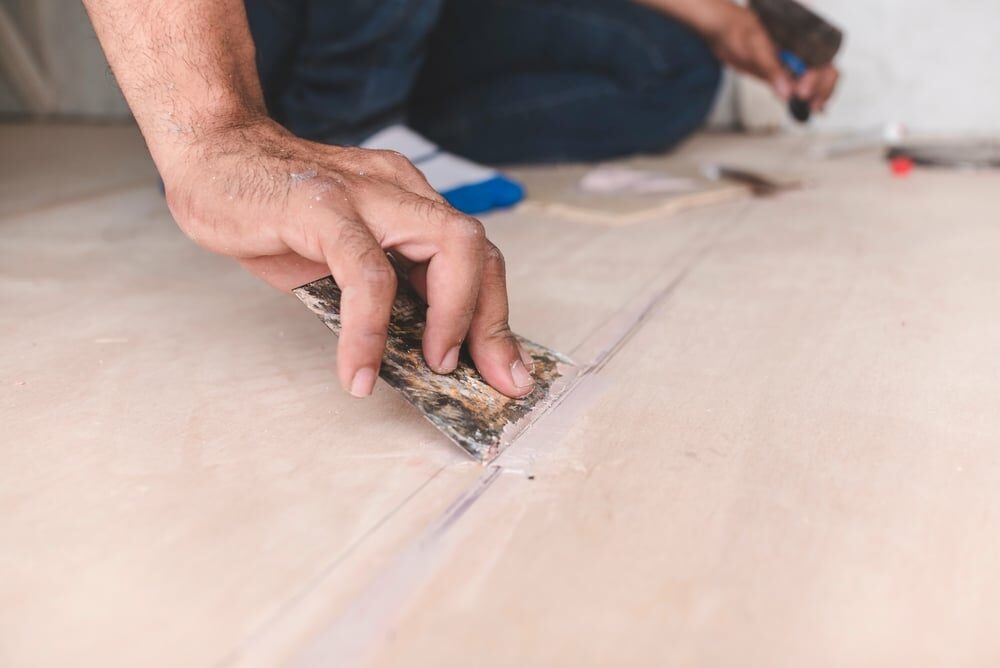
Repairing Imperfections
Once the floor is clean and its condition assessed, the next step is to repair any imperfections.
- Filling Gaps: Small gaps or cracks in the wood can be filled with wood filler that matches the floor’s color. Apply the filler according to the manufacturer’s instructions and allow it to dry completely.
- Fixing Loose Boards: If you find any loose or squeaky boards, secure them back into place. This can be done by screwing them down from above or, in some cases, from underneath if you have access to the subfloor.
- Sanding Down High Spots: If there are any raised or high spots on the floor, these should be sanded down first to ensure an even surface.
It’s important to remember that floor preparation is as important as the sanding itself. A well-prepared floor not only makes the sanding process smoother but also contributes significantly to the overall quality of the finish. With the floor now ready, the next section will guide you through the actual sanding process, detailing techniques and patterns for achieving the best results.
The sanding process
With the floor properly prepared, we enter the crux of the task—the sanding process itself. This stage demands patience, precision, and a steady hand. The objective is to methodically smooth the wood, ensuring an even and consistent finish.
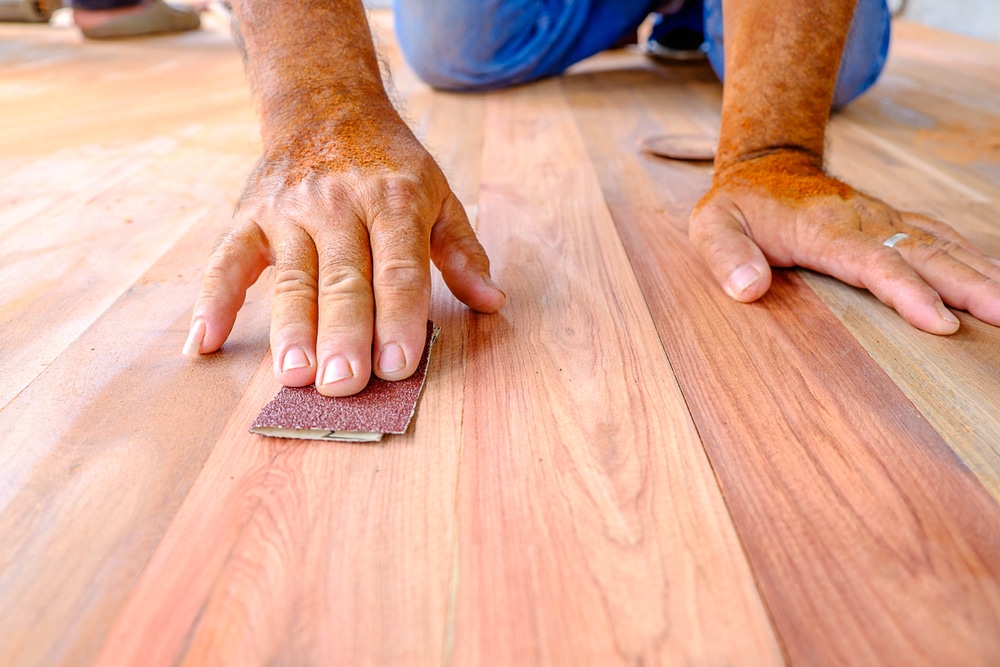
Techniques and Patterns
- Starting with Coarse Grit: Begin with coarse grit sandpaper to remove the old finish and level out any significant unevenness. Sand in the direction of the wood grain to avoid creating cross-grain scratches. Use even and firm pressure, but avoid pressing too hard, as this can create dips in the wood.
- Progressing to Finer Grits: Once the major imperfections are removed, switch to a medium-grit sandpaper. This stage is about smoothing out the scratches left by the coarse grit. Continue sanding in the direction of the grain.
- Finishing with Fine Grit: The final sanding stage uses fine-grit sandpaper. This step is crucial for achieving that ultra-smooth finish. The fine grit will polish the wood surface, preparing it for the application of the finish.
It’s essential to clean the floor between each grit change. Vacuuming or wiping with a tack cloth will remove dust and ensure a clean surface for the next round of sanding.
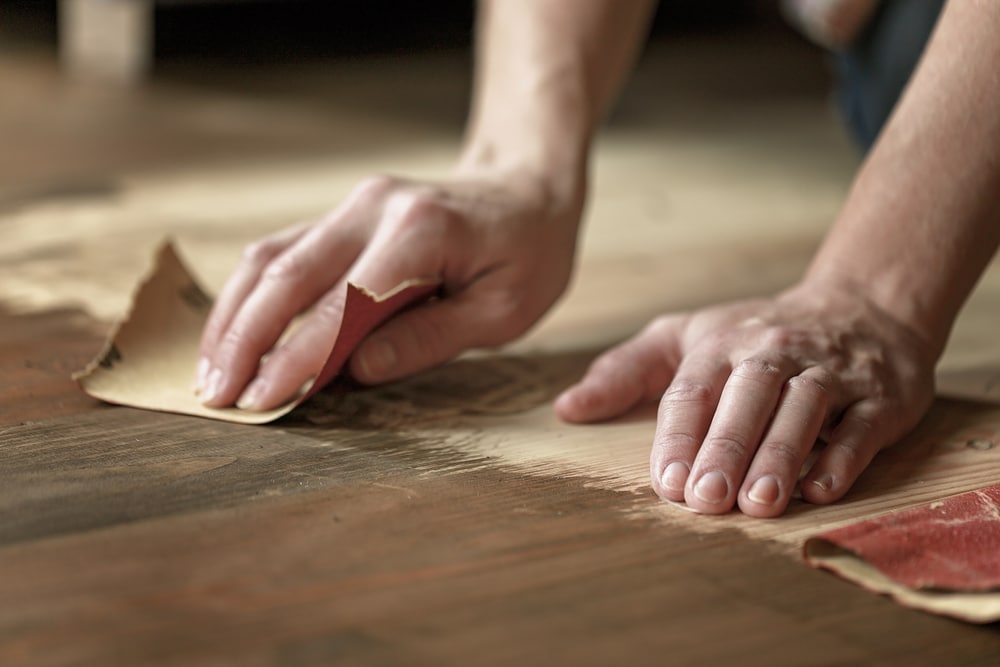
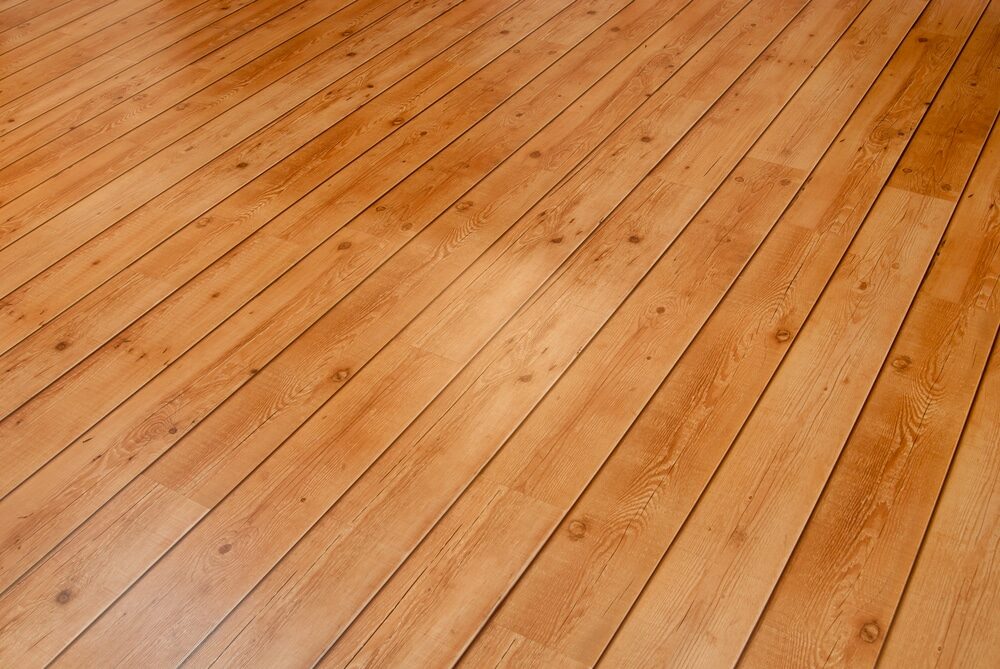
Working with the Grain
The key to a flawless finish is working with the grain of the wood. Sanding across or against the grain can leave noticeable scratches and damage the wood’s natural pattern. Always move the sandpaper parallel to the grain.
Remember to check your progress frequently. Run your hand over the sanded areas to feel for any rough spots or inconsistencies. The goal is to achieve a uniformly smooth surface across the entire floor.
Dust management and cleanup
An often overlooked yet critical aspect of hand sanding is effective dust management and cleanup. The fine particles generated during sanding can pose health risks and affect the final finish if not properly handled.
Effective dust control strategies
- Regular Cleaning: Regularly pause your sanding work to clean up accumulated dust. This not only maintains a healthier work environment but also allows you to check your progress more accurately on a clean surface.
- Using a Dust Mask and Goggles: Always wear a dust mask and safety goggles while sanding. This protects your lungs from fine particulates and your eyes from any stray wood dust.
- Dust Extraction Systems: If available, use a dust extraction system or a vacuum with a fine dust filter. These systems are effective at removing dust directly from the work area, reducing the overall number of airborne particles.
- Wet Sanding Option: For some finishes, wet sanding can be an option. This method involves using a lubricant such as water or oil, which helps to trap the dust and reduce airborne particles. However, this technique is specific to certain types of projects and finishes.

Post-Sanding Cleanup Tips
- Thorough Vacuuming: After completing the sanding, vacuum the entire room thoroughly. Use brush attachments to get into corners and along edges.
- Wiping Down Surfaces: Following vacuuming, wipe down all surfaces, including walls and windows, with a damp cloth. This helps to capture any remaining dust particles.
- Final Tack Cloth Wipe: Before applying any finish, give the floor a final wipe with a tack cloth. This sticky cloth picks up even the smallest dust particles, ensuring a clean, dust-free surface.
- Disposal of Dust: Safely dispose of the collected dust and sandpaper. Wood dust can be a fire hazard, so it’s important to remove it from your work area promptly.
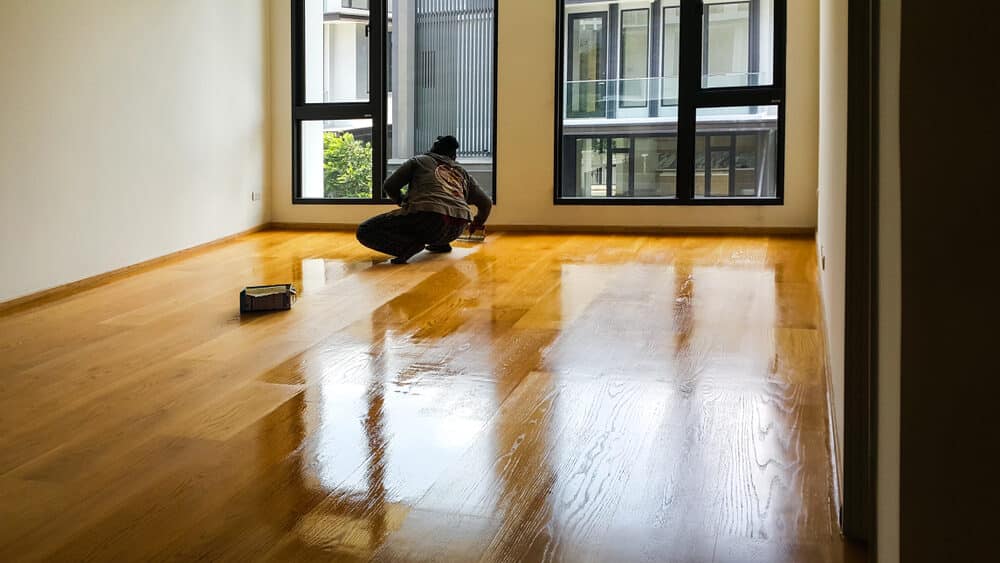
Applying the Finish
Once the sanding is meticulously completed, the next pivotal step is the application of the finish. This stage transforms the sanded floor into a polished, protected surface, enhancing both its appearance and durability.
Choosing the Right Finish
Selecting the right type of finish depends on several factors, including the type of wood, the expected foot traffic, and the desired aesthetic. Common options include:
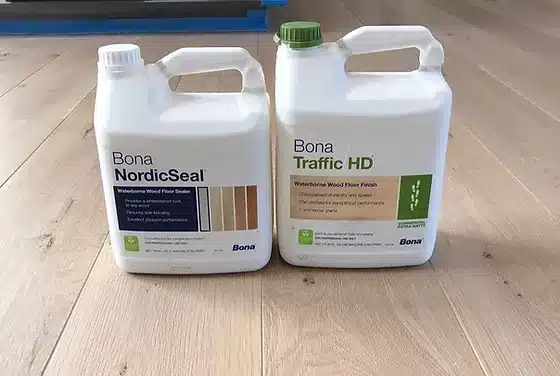
- Polyurethane is a popular choice for its durability and resistance to wear and tear. Available in both water-based and oil-based varieties, it offers a range of sheens, from matte to high gloss.
- Varnish: Known for its hard-wearing qualities and a slightly amber tint, varnish enhances the natural colour of the wood.
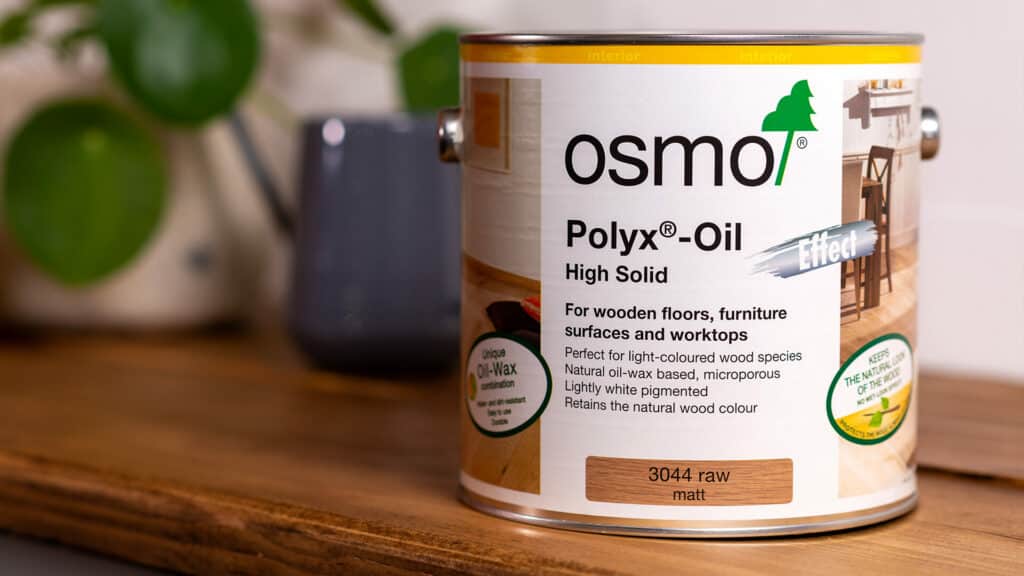
- Oil finishes, such as linseed or tung oil, penetrate deep into the wood, offering a more natural, matte look. They are easier to repair but require more maintenance.
- Wax: Provides a natural, soft-sheen finish. Wax is less durable than polyurethane or varnish but offers a unique, traditional appearance.
Application Techniques for Optimal Results
- Preparation:Ensure the room is well-ventilated. Wear protective gear, including gloves and a mask. Stir the finish gently to avoid creating bubbles.
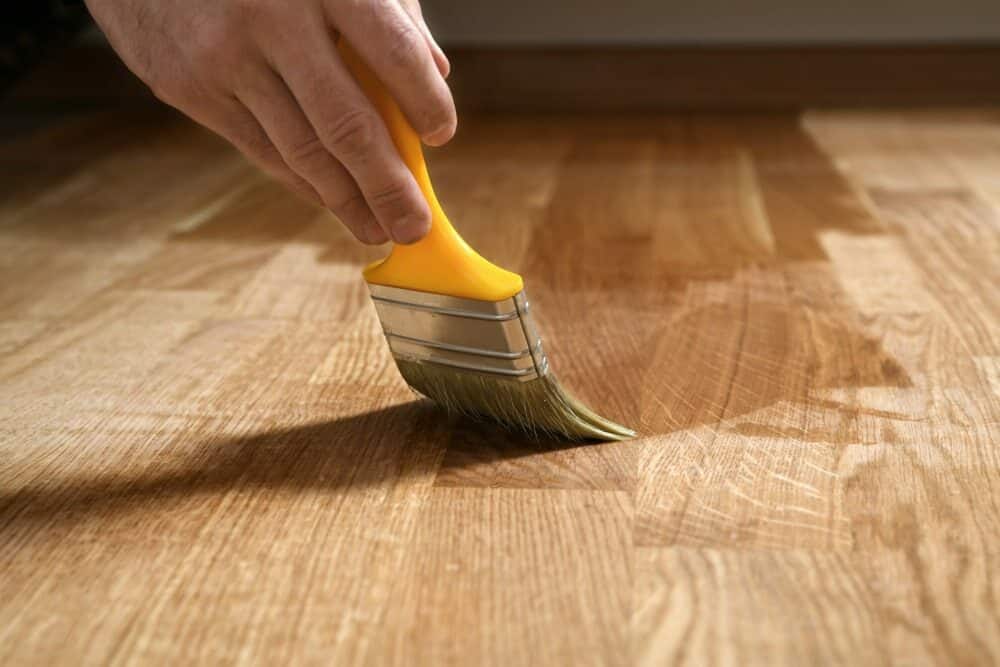
- Applying the First Coat: Use a high-quality brush or roller for application. Apply the finish with long, even strokes, working along the grain of the wood. Avoid over-application to prevent drips or uneven coating.
- Drying Time: Allow the first coat to dry thoroughly, following the manufacturer’s recommended drying time. Avoid walking on the floor during this period.
- Light Sanding Between Coats:
- Once the first coat is dry, lightly sand the floor with fine-grit sandpaper. This step is crucial for achieving a smooth, professional finish. Remove all dust with a tack cloth before applying the next coat.
- Applying Subsequent Coats: Apply at least two to three coats for durability, following the same process. Each coat should be thinner than the first. The final coat should be applied carefully to ensure a smooth, flawless finish.
- Curing Time: After the final coat, allow ample time for the finish to cure. This can vary from a few days to a week. The floor should not be subjected to heavy traffic or furniture placement during this period.
The application of the finish is a rewarding culmination of your hard work. It not only protects the floor but also showcases the beauty of the wood. With the right approach and attention to detail, you can achieve a finish that stands the test of time. The next section, ‘Maintenance and Care’, will guide you on how to preserve the beauty and longevity of your newly finished floor.
Maintenance and care
A beautifully sanded and finished floor is a sight to behold, but its longevity and appearance are largely dependent on proper wood floor maintenance and care. This section provides practical tips to preserve the floor’s beauty and extend its life.
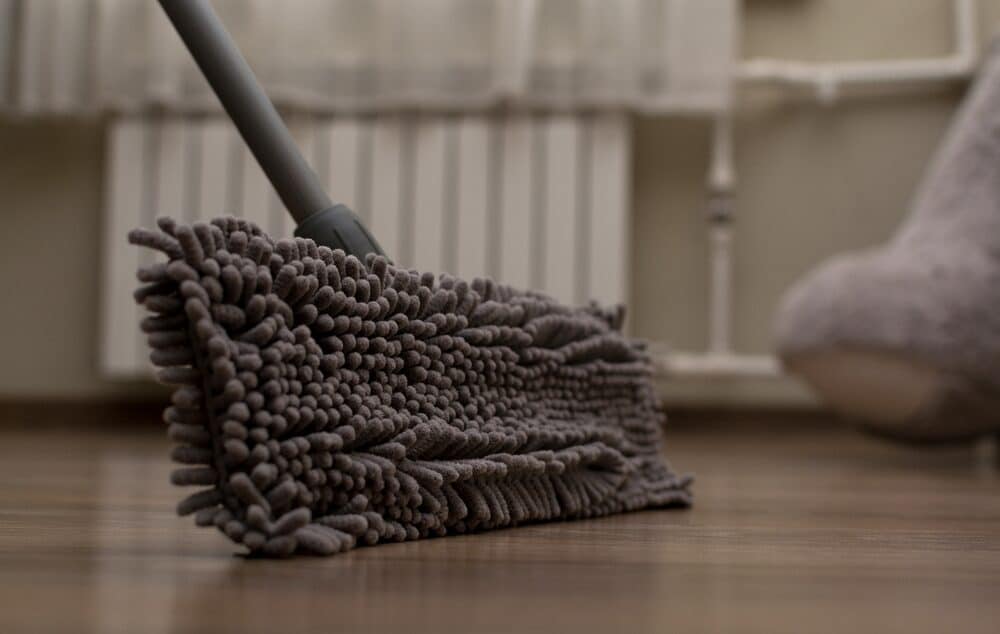
Routine Cleaning:
Regular cleaning is essential. Sweep, dust, or vacuum the floor regularly to remove dirt and grit that can scratch the surface. When using a vacuum, use a soft brush attachment to avoid scratching.
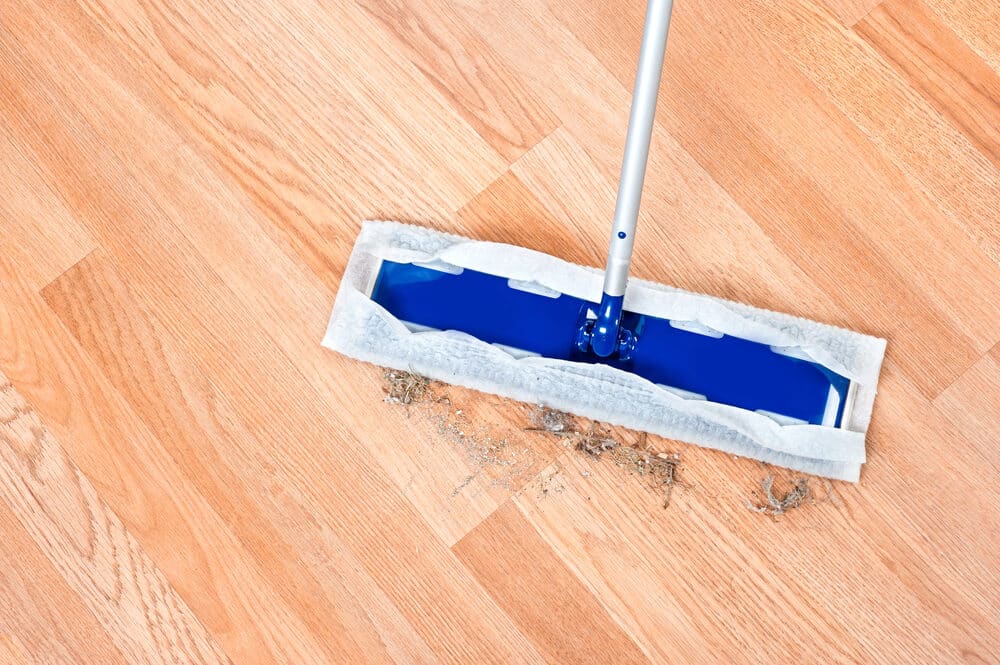
Mopping:
Use a slightly damp mop for cleaning. Excessive water can damage the wood. Avoid harsh cleaning agents; instead, opt for a pH-neutral cleaner specifically designed for wood floors.
Immediate Spill Cleanup:
Spills should be wiped up immediately to prevent water marks or damage to the finish. Use a soft, dry cloth to blot spills gently.
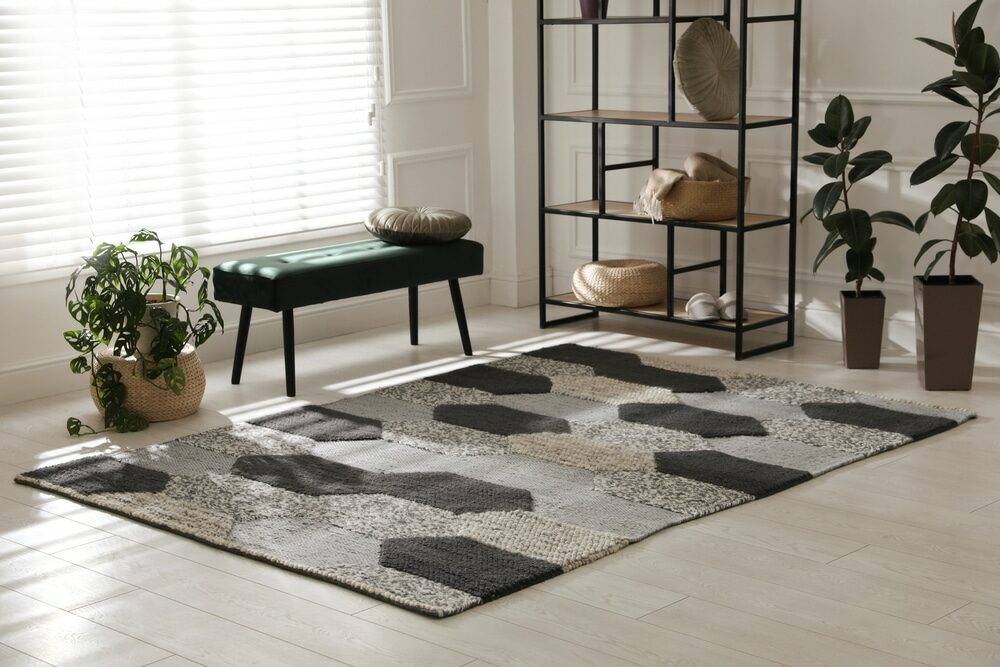
Use of Rugs and Mats:
Place rugs or mats at entryways to minimise the amount of dirt and grit brought onto the floor. Ensure that the underside of the rugs is safe for wood floors to prevent scratches.
Furniture Pads:
Attach felt pads to the legs of furniture to prevent scratches when moving pieces around.
Dealing with wear and tear
Surface Scratches:
Minor scratches can often be buffed out using a wood floor cleaner and a soft cloth. For deeper scratches, a touch-up kit made for your specific floor finish can be used.
Refinishing:
Over time, floors may require refinishing. This involves lightly sanding the surface and reapplying a top coat of finish. This process can significantly extend the life of your floor.
Avoiding Sun Damage:
Protect the wood from prolonged exposure to direct sunlight, which can cause discoloration. Use curtains or blinds to control the amount of sunlight hitting the floor.
Humidity Control:
Wood floors can be sensitive to changes in humidity. Maintain a consistent indoor climate to prevent the wood from expanding or contracting excessively.

Conclusion
Reflecting on the journey through ‘The Art of Wood flooor Hand Sanding for a Smooth Floor Finish’, it’s evident that this craft is more than just a series of steps; it’s an art form that requires patience, precision, and a deep appreciation for the material at hand.
Hand sanding is a testament to the woodworker’s skill and commitment to quality. Unlike mechanical sanding, it offers a unique opportunity to connect with the wood, understanding its nuances and responding to its individual character. This process, while time-consuming, rewards results that are often unmatched in their finesse and tailored appearance.
The techniques and tools discussed are time-honoured, blending traditional methods with modern insights to ensure your floor sanding project is both enjoyable and successful. The satisfaction derived from transforming a worn-out floor into a beautifully smooth and finished surface is immeasurable.
As we conclude, it’s important to remember that the true beauty of hand-sanded floors lies in their imperfections—the subtle marks of a hand-guided tool, the gentle undulations that speak of the human touch. These floors carry a story—a history of craftsmanship that adds depth and character to any space.
Moreover, the skills learned through hand sanding extend beyond the floor underfoot. They cultivate a mindset of patience, attention to detail, and an appreciation for the simpler yet profoundly rewarding aspects of manual work.
Whether you’re a seasoned woodworker or a DIY enthusiast, the art of hand-sanding is a valuable addition to your skill set. It challenges and enriches, leaving not just a physical mark on your work but an indelible impression on your approach to craft and creation.


Sanding
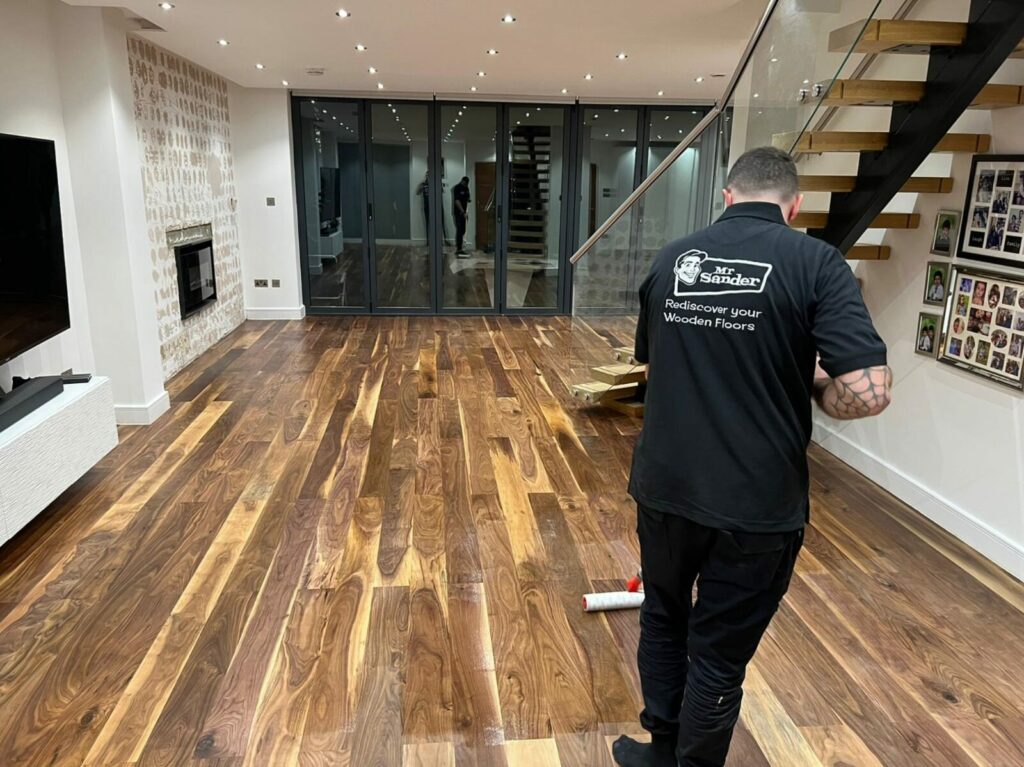
We provide virtually dust-free sanding with our continuous belt machinery with mobile extraction units, giving you a safer environment for your family.
Oiling
This organic finish not only adds beauty to your home but also has exceptional water-repellent characteristics, making it easier to clean and maintain.
Waxing
This natural floor finish offers the softest and most mellow appearance – and leaves your floor able to breath.
Buffing
Using soft buffing machines (and hand-polishing where required) will bring a wonderful sheen to your newly-finished floor.
Repairs
We offer a full assessment of your wooden floors to determine what repairs are needed to provide the perfect working surface for the later stages of sanding, staining and sealing.
Restoration
We offer a comprehensive restoration process designed to address floors that are improperly fitted or damaged over time through wear and tear.
Request a fixed price quote for your wood floor restoration now
Simply enter your postcode below to get started.
Services
Wood Floor Sanding Wood Floor Restoration Wood Floor Scratch Repair Squeaky Wood Floor Repair Parquet Floor Sanding Parquet Floor Restoration Commercial Floor Sanding Church Floor Sanding Community Centre Floor Sanding School Floor Sanding Gap Filling Gap Filling with ResinCopyright © Mr Sander®
Privacy & Cookies Terms & Conditions Complaints Procedure Cancellation Rights Sitemap

Get An Instant Price Estimate Before You Go…
Simply enter the rooms you need sanded and we’ll provide you with a price estimate instantly! Try our price calculator now.
Get a Price Estimate NowLocal Floor Sanding Experts
Over 500 5-Star Reviews
Safe, Dust Free Sanding
Operating Since 1994